It’s rare to find a collection of bolt-on parts that actually work in harmony and build additional horsepower and torque from an engine, let alone find them all under one manufacturer’s banner. Over the years, OFF-ROAD magazine has tested all manner of parts combinations, each one taking a different approach to enhancing a stock engine; some worked and some didn’t. This time, we went to the source of diesel-engine performance, Gale Banks Engineering, and struck gold. Not only did it take one stop to buy and have our parts installed, but the parts worked as advertised and the results were awesome. In this article, we had Banks outfit Duramax diesel engine-powered ’03 Chevrolet 3500HD Crew Cab pickup with the company’s PowerPack® system. The PowerPack included a new air intake, a free-flowing stainless-steel exhaust system, a computer upgrade, and a new turbo wastegate. The collection of parts improved the performance of the Duramax engine, and a Banks exhaust brake system aided in downhill braking situations when towing a heavy load. Once the systems were in place, we headed to the highway to see what improvements were made. We went to a familiar section of the freeway with a loaded car trailer and proceeded to haul but straight up a grade without our truck even giving off so much as a whimper. Acceleration definitely improved, and the motor was obviously making more torque. On the downhill side of the grade, the Banks exhaust brake worked perfectly, slowing our rolling convoy down without us having to lay on the primary braking system. The numbers generated from Banks Engineering’s chassis dyno served to cement our observation that this truck was definitely making more power. In short, the installation was involved, but the parts worked and we were happy with the results.
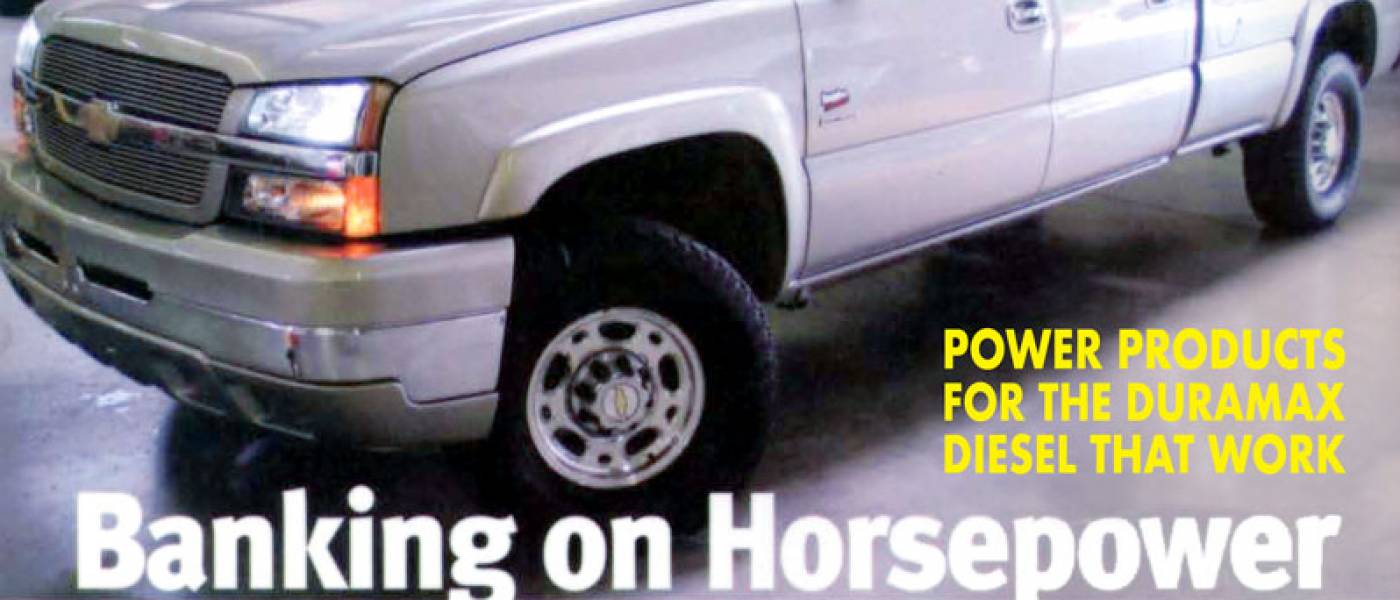
1. The Installation begins with the removal of the passenger-side plastic inner-fender liner. Removing the liner gives us access to the manifold.
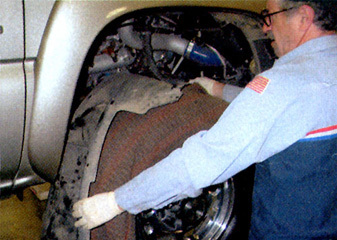
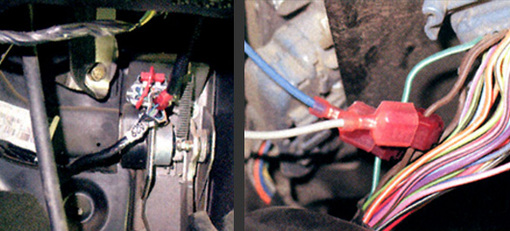
2. After drilling and tapping a hole into the passenger-side exhaust manifold, this EGT sensor is installed. The sensor will plug into the Banks computer and give feedback on how the motor is running when under boost.
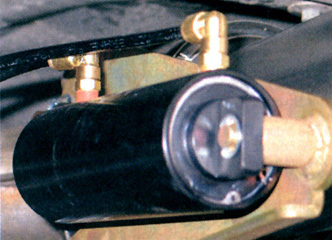
3. The next portion of this install involves the air compressor for the Banks exhaust brake.
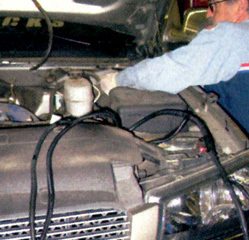
4. The compressor installs beneath the factory airbox, so it must be removed.
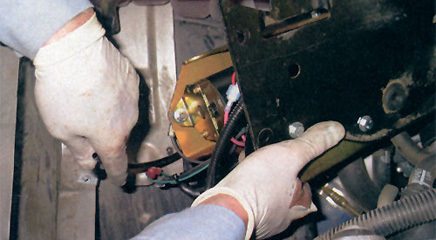
5. Next, a trio of holes are drilled into the airbox mounting base. The compressor is then bolted to the bottom side of the mounting plate.
6. The compressor and mounting are then installed onto the passenger-side inner fender.
7. The compressor wiring is then routed through the engine compartment.
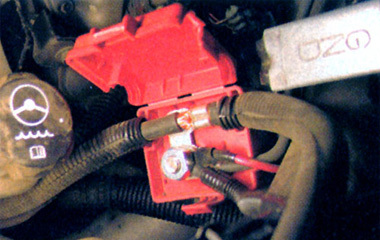
8. Power is tapped at the battery junction terminal on the driver-side fender.
9. The remaining wires run through the firewall on the driver-side of the truck.
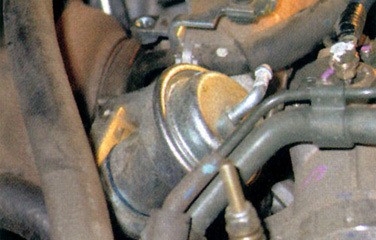
10. Next, the factory wastegate for the turbo system is removed from the truck.
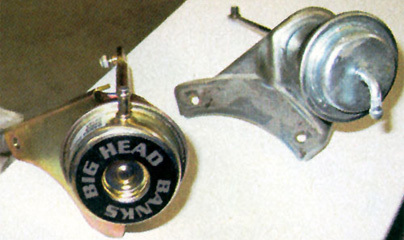
11. The Banks BigHead wastegate has a larger diaphragm area and stiffer springs compared with the stock wastegate. This means that the BigHead wastegate will produce more boost at lower rpms and produce more peak boost by preventing premature wastegate blow-off.
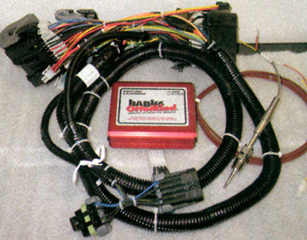
12. The OttoMind computer recalibrates the engine’s ignition timing and fuel curve to be compatible with the Banks PowerPack® system upgrades. The computer is what makes it possible for the engine to take advantage of the extra turbo boost and exhaust upgrade.
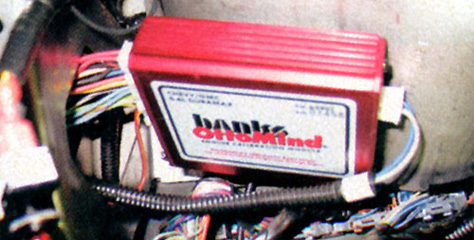
13. The computer is mounted beneath the steering column of the truck, behind the plastic dash paneling.
14. The OttoMind computer uses information from many different components of the truck. The majority of the computer connections plug into the factory wiring harness of the truck. There are several components in the truck where the wiring must tapped into, such as the transmission control module and brake-pedal switch.
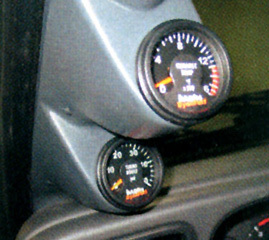
15. One of the options we chose was the Banks DynaFact gauge package. The package consists of an exhaust-temperature gauge, which was wired to the EGT sensor that we previously installed in the exhaust manifold. There was also a boost gauge, and both of them mounted into a slick replacement A-pillar.
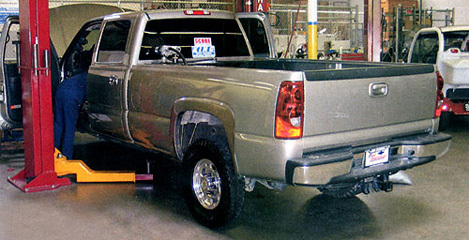
16. Next, the truck was lifted into the air on a hoist. It was time to install the Stinger exhaust system and the exhaust brake.
17. The stock exhaust system was cut off in several places to make removing it easy. The last cut was just behind the stock catalytic converter.
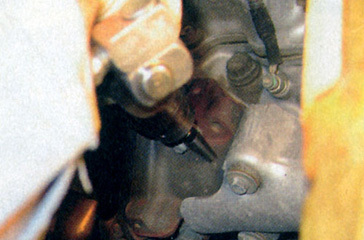
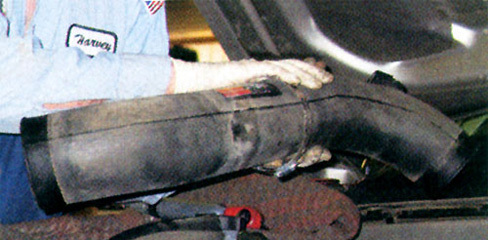
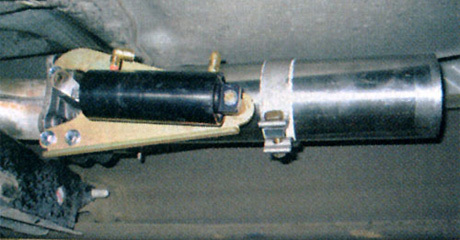
18. The exhaust brake is mounted to a section of exhaust tubing with a flange that bolts onto the factory after-cat pipe.
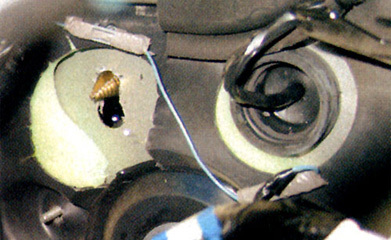
19. Here’s a look down the barrel of the exhaust. When the brake engages, it increases the backpressure of the exhaust system, which in turn will slow the engine’s rpm as the truck coasts down a steep grade.
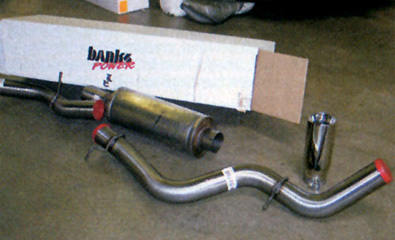
20. The rest of the Monster exhaust system is built from 4-inch-diameter stainless-steel tubing and exits from a 5-inch, polished stainless-steel tip.
21. Once the new cat-back is in place, a pair of plastic air lines are routed from the air compressor that we previously installed to the exhaust brake.
22. Back inside the cab of the truck, a switch is installed into the dash bezel. This on/off switch controls the exhaust brake system. Once everything had been tested and all systems were working properly, we headed to the chassis dyno and then off to the highway. The dyno charts showed an increase of more than 140hp, but more importantly, the torque number jumped more than 300 lb-ft. Now that’s some trailer pulling grunt!