97736 Monster Exhaust for 2011-2016 Chevy/GMC 3500 6.6L Duramax Dual Rear-Wheel
INSTALL INSTRUCTIONS
Part #s
49834, 49834-B
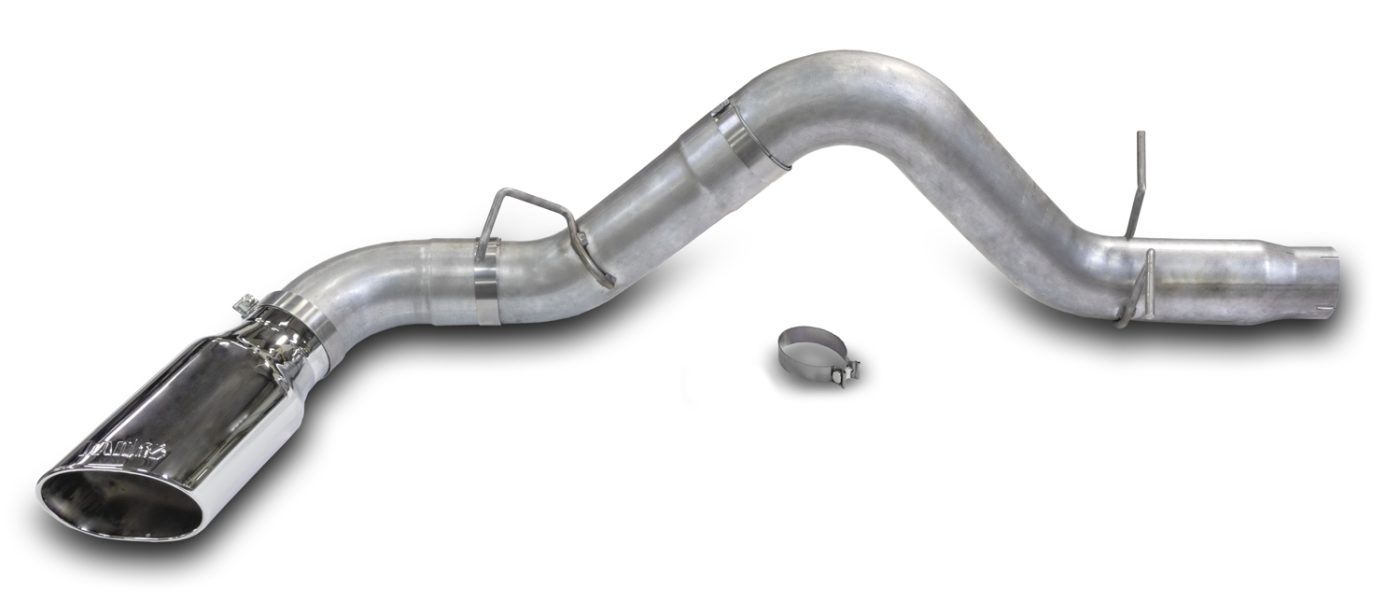
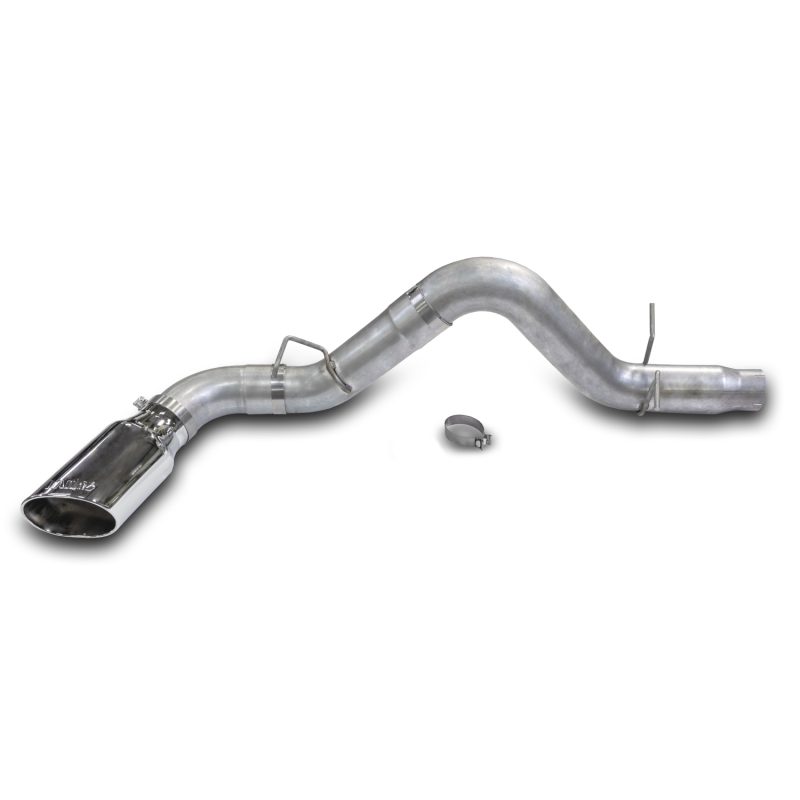
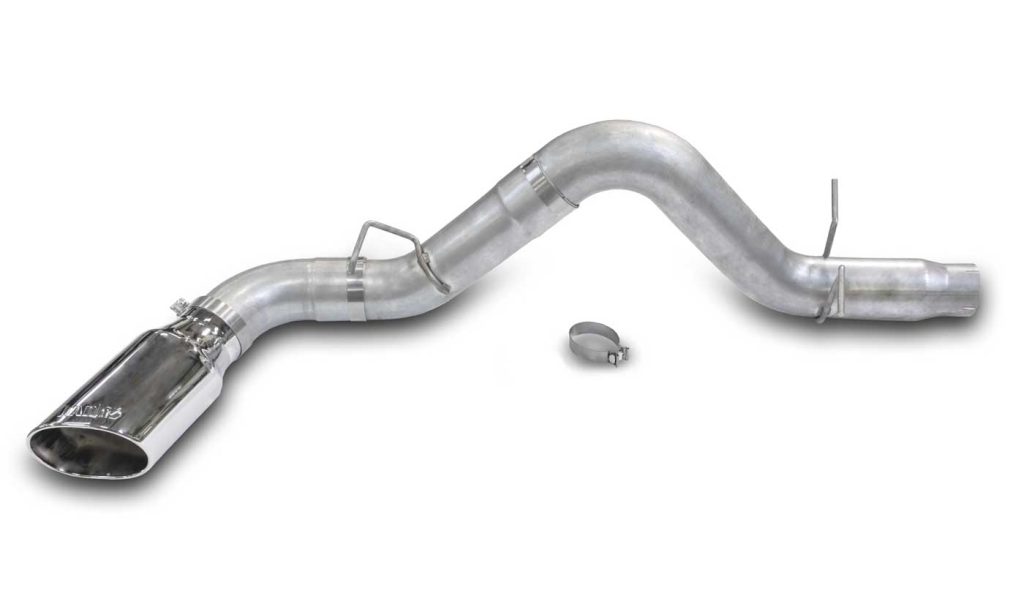
Banks Monster Exhaust® 5-inch System 2011-2016 Chevy/GMC 3500 6.6L Duramax Dual Rear-Wheel
Please read through the following instructions thoroughly before starting your installation. If you have any questions please visit our Support Page.
Bill of Materials
| Part Number | Description | QTY |
| XXXXX | Rubber Exhaust Hanger | 1 |
| 52481 | 4″ Exhaust Clamp | 1 |
| 52482 | 5″ Exhaust Clamp | 3 |
| 53818 | Front Tailpipe | 1 |
| 53832 | Middle Tailpipe | 1 |
| 53833 | Rear Tailpipe | 1 |
| 52762 | 5″ Obround-Slash Cut Tip (Chrome or Black) | 1 |
General Installation Practices

Monster Exhaust System Installation

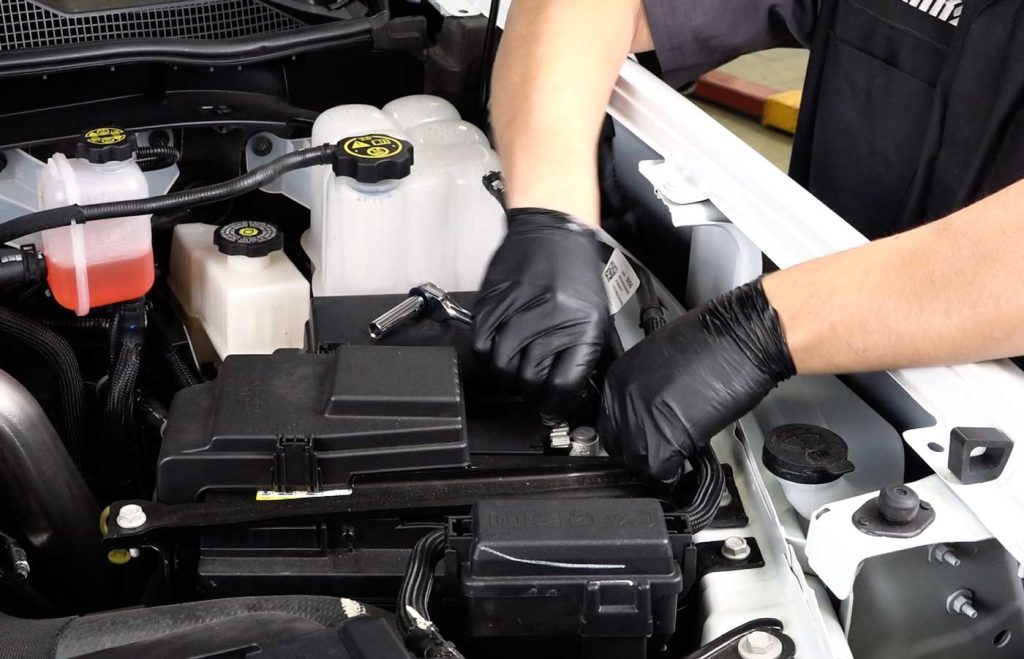
1. Disconnect the battery(s).
As a precaution, disconnect the ground of the battery (if there is more than one battery, disconnect both.)
Tuck the cable out of the way to prevent contact with the battery.
2. Raise the vehicle and support it with properly weight-rated safety stands, ramps, or a commercial hoist.
Follow the manufacturer’s safety precautions and take care to balance the vehicle to prevent it from slipping or falling.
When using ramps, be sure the front wheels are centered squarely on the ramps; place the transmission in park; set the parking brake, and place blocks behind the rear wheels.
Wearing safety goggles is highly recommended.
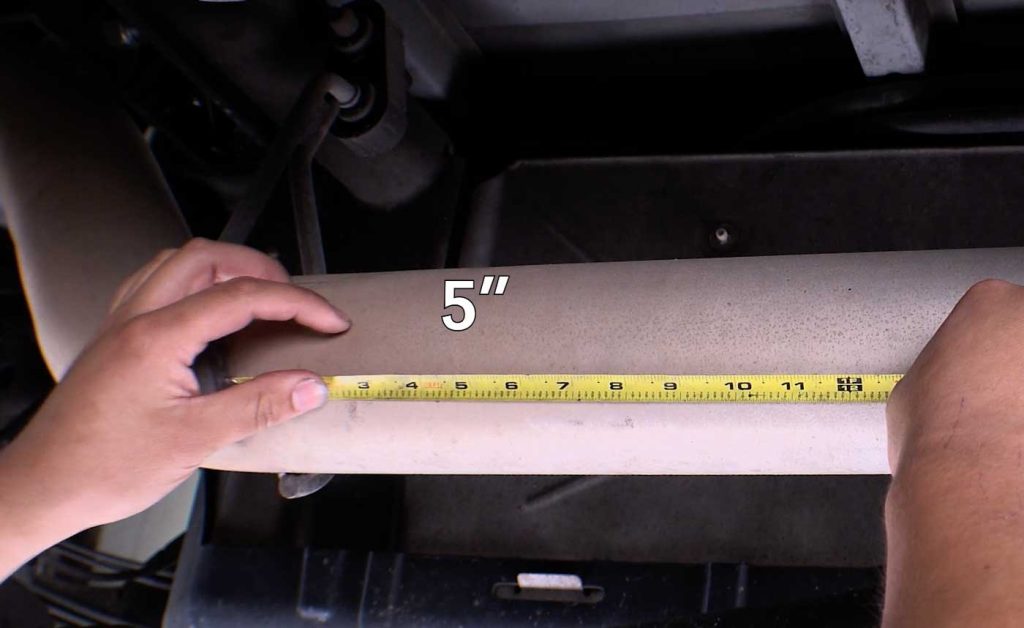
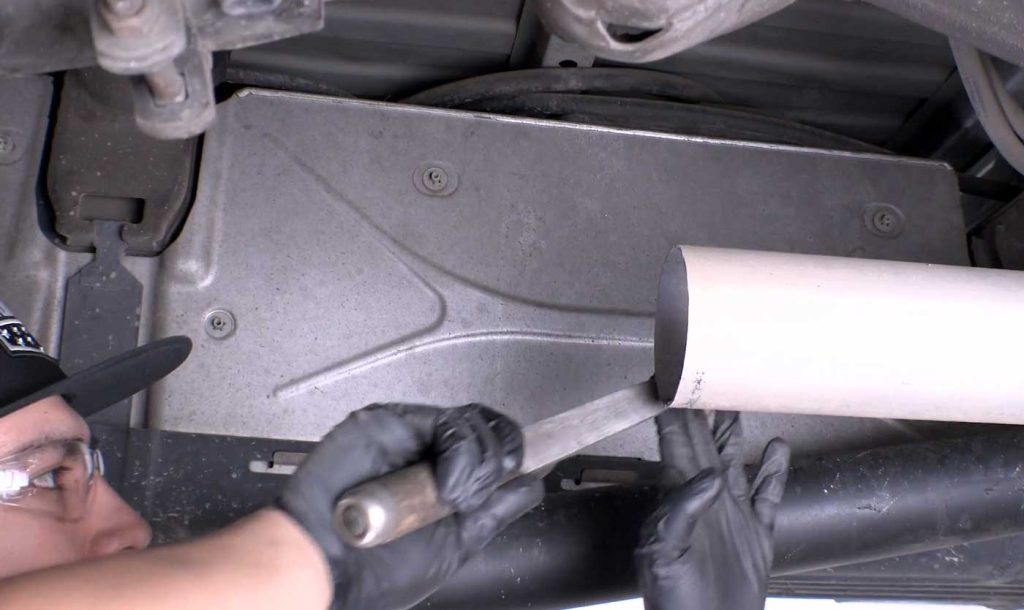
3. Measure five inches from the exhaust hanger towards the diesel particulate filter, and cut.
With a marker, mark a visual of where to cut. This step will require you to use a reciprocating saw.
Take your time to make sure the cut line is straight.
Double-check the length and cut line before cutting.
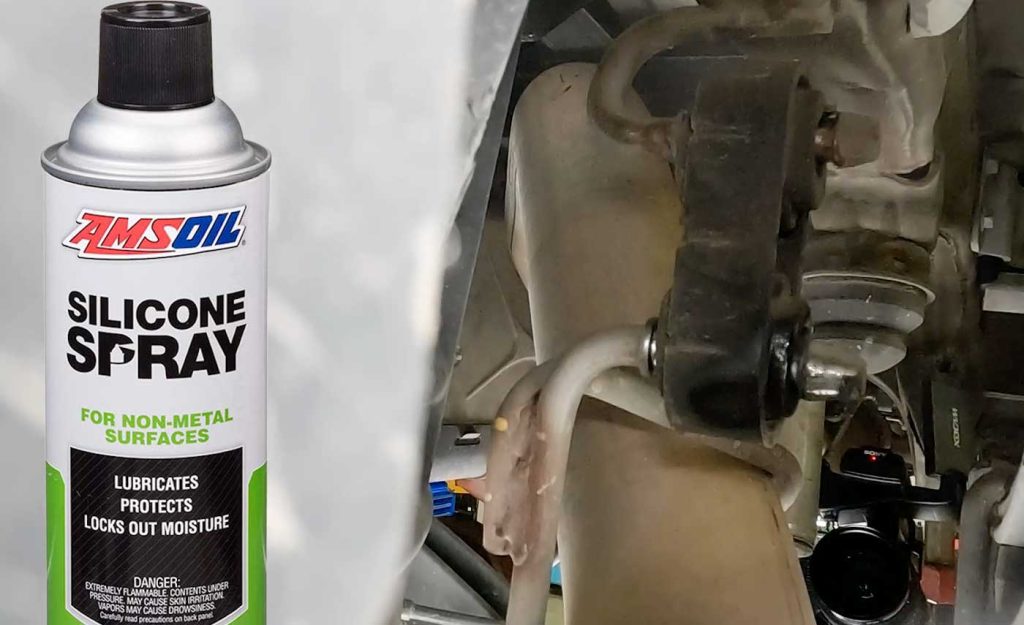
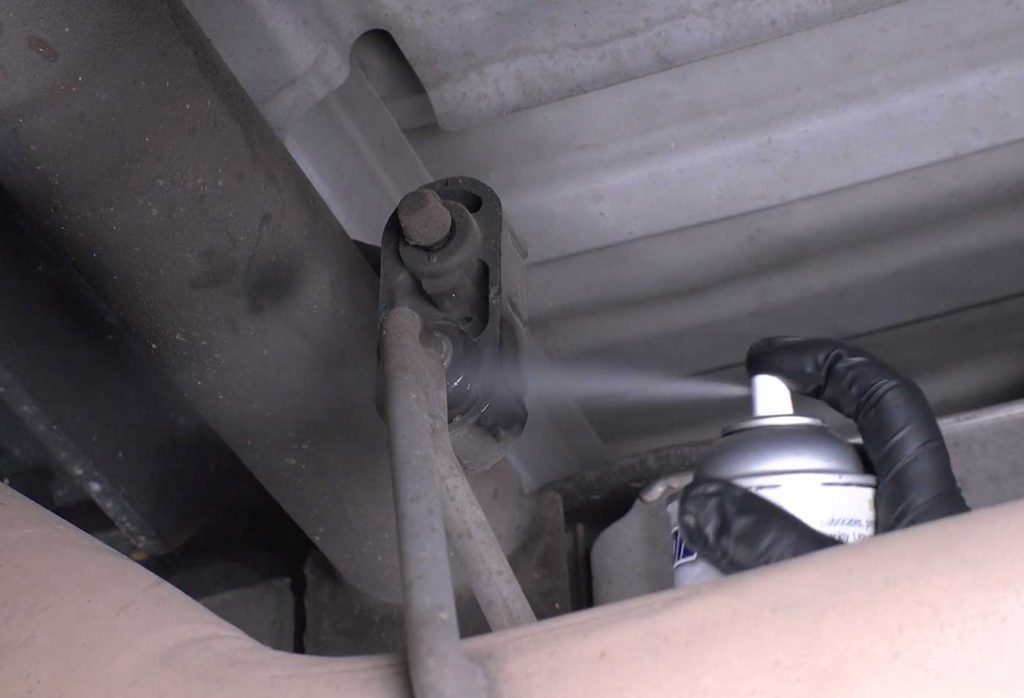
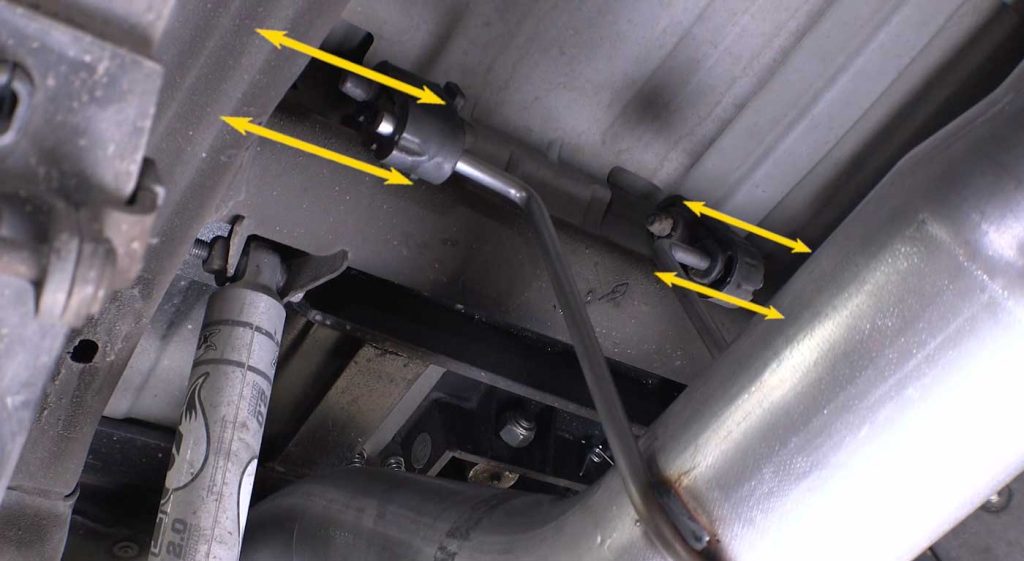
4. Remove the rear hanger pin, so give it another spray with lubricant to make it easier.
Then with a pry tool, disengage the hanger pin from the rubber hangers.
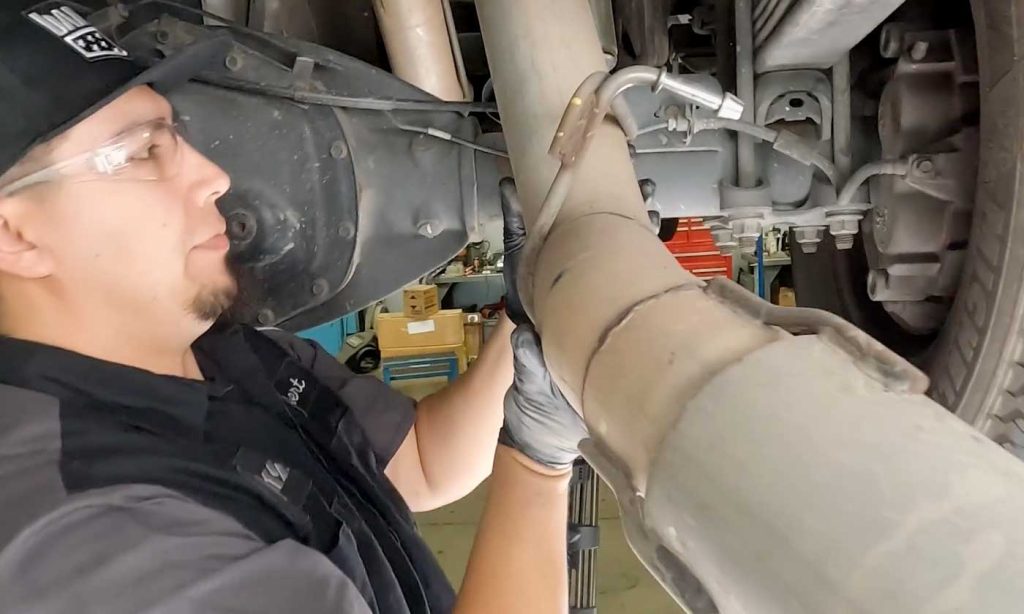
5. Once free, carefully guide the exhaust pipe down to where you can rest it.
6. Move back to the front hanger and remove that hanger pin.
Once that is free, completely remove the factory exhaust pipe from the truck.
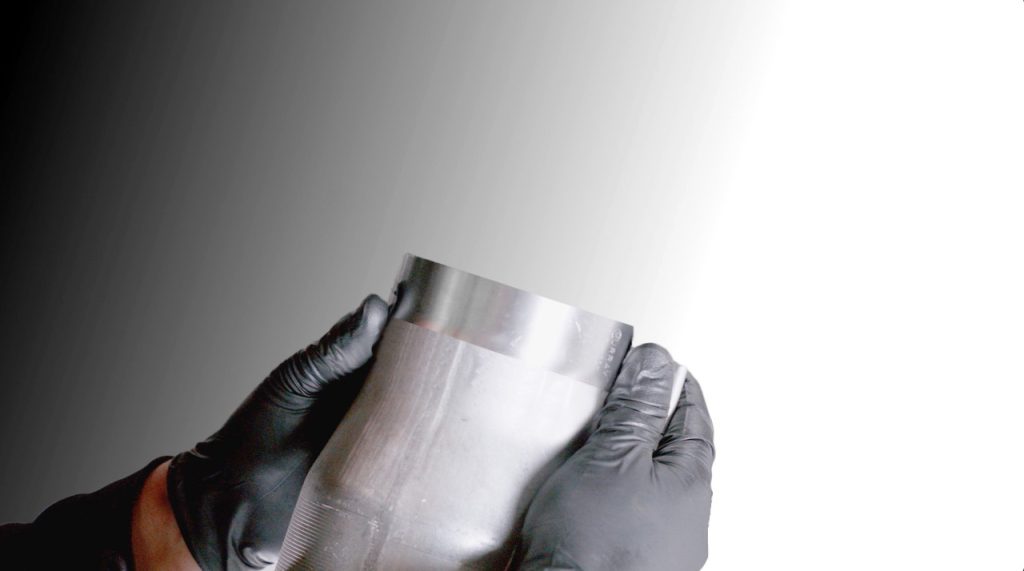
7. File the rough edges of the cut line from the remaining stock exhaust.
Installing Your New Banks Monster Exhaust
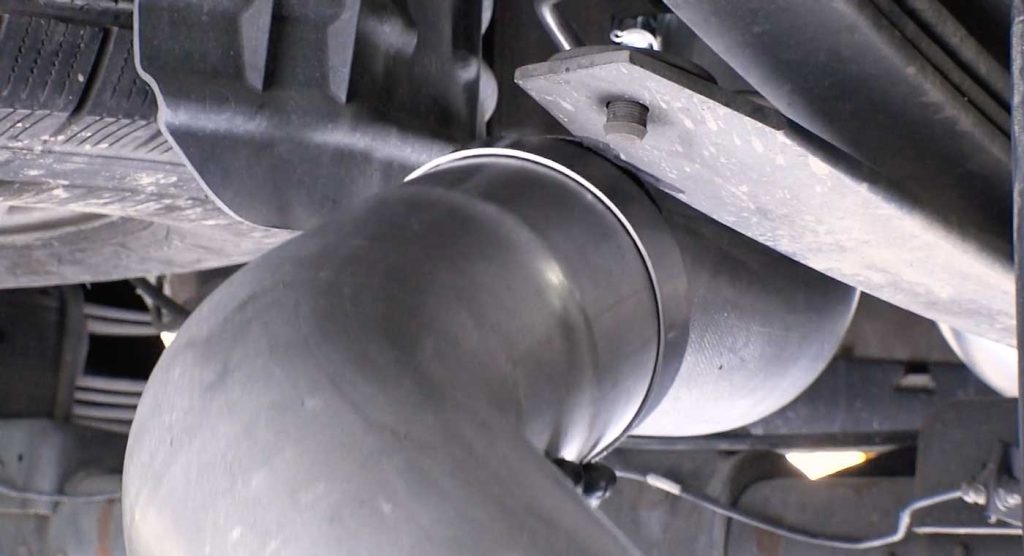
Raise the front tailpipe section into position and place the exhaust clamp on.
Fully engage the clamp so none of the notch is showing.
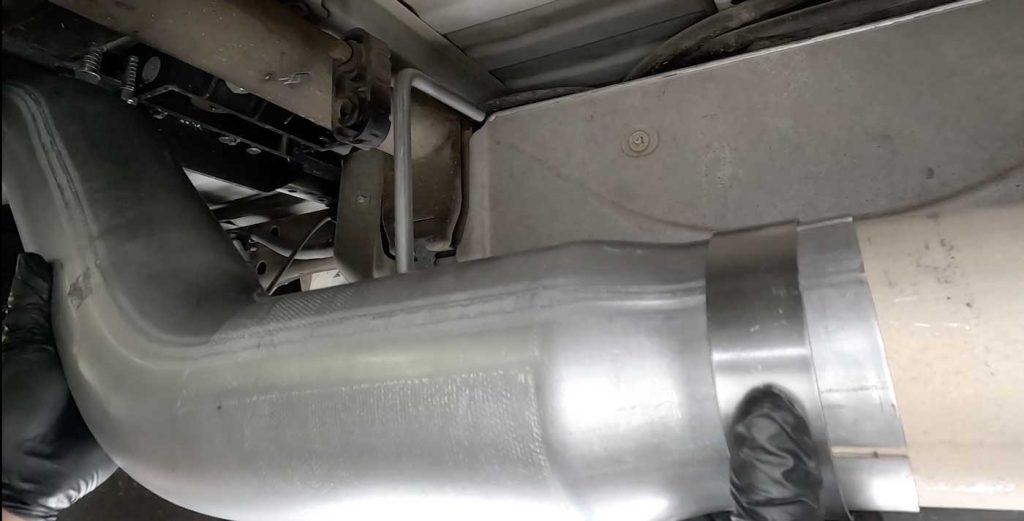
2. Insert the front tailpipe over the stock exhaust.
Adjust until it’s snug but not torqued.
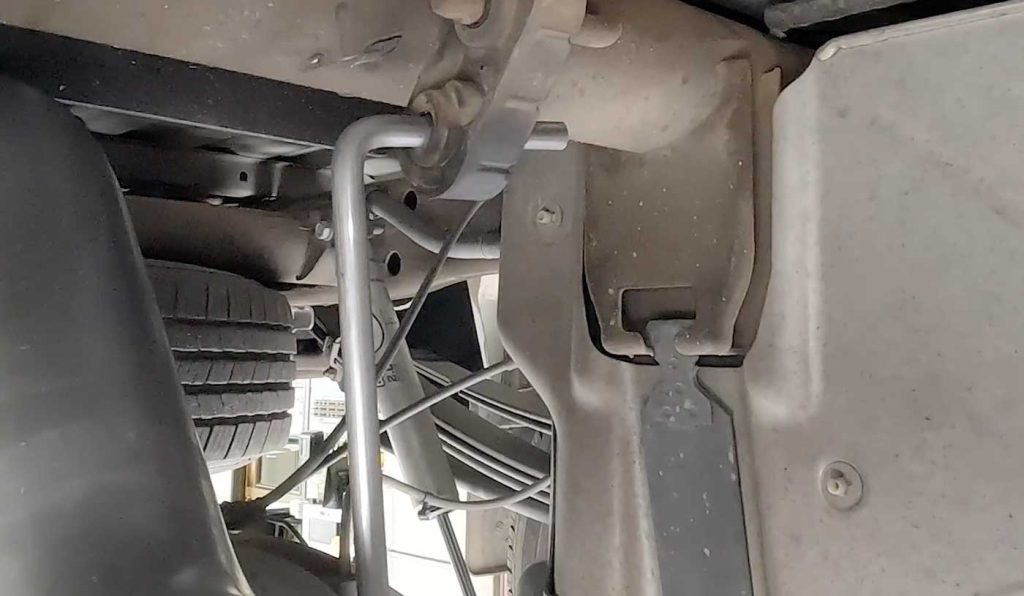
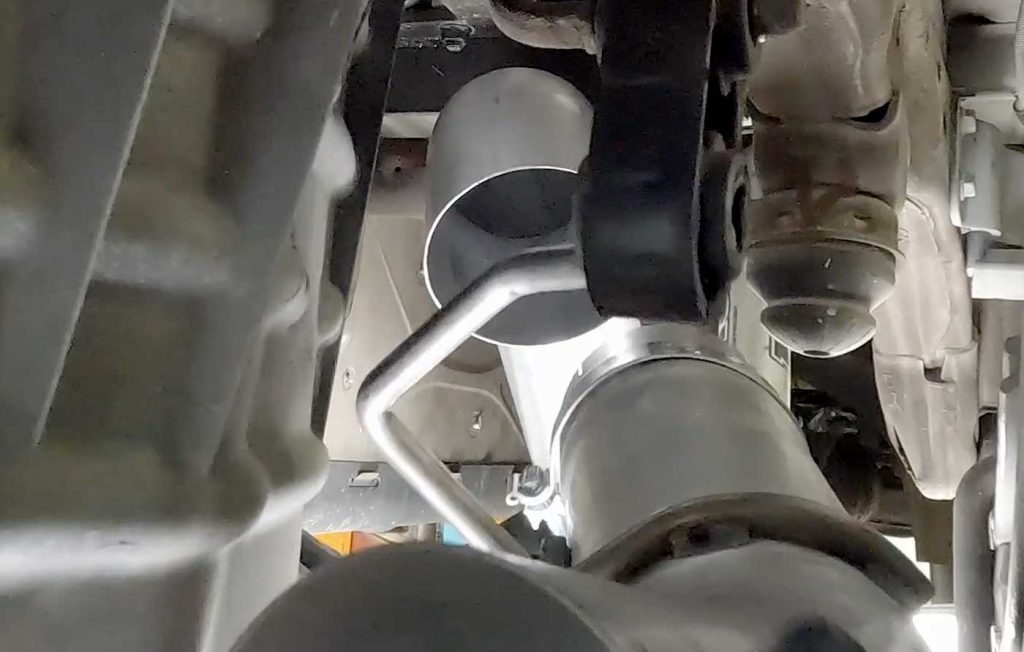
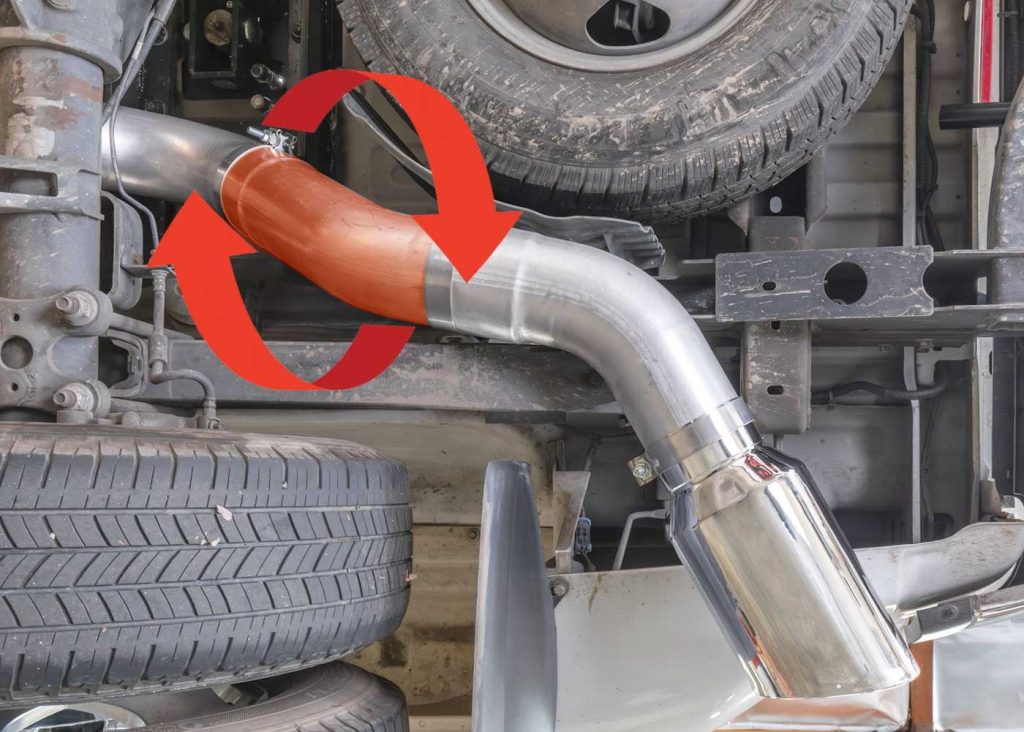
3. Moving to the back, place the exhaust hanger into the rubber hangers.
Rotate the tailpipe until the hanger pin is parallel to the frame-mounted pin.
4. Push the factory rubber hangers onto the hanger pins.

5. Snug all the clamps to hold everything in place.
Do not torque them, as you will want to fine-tune everything later.
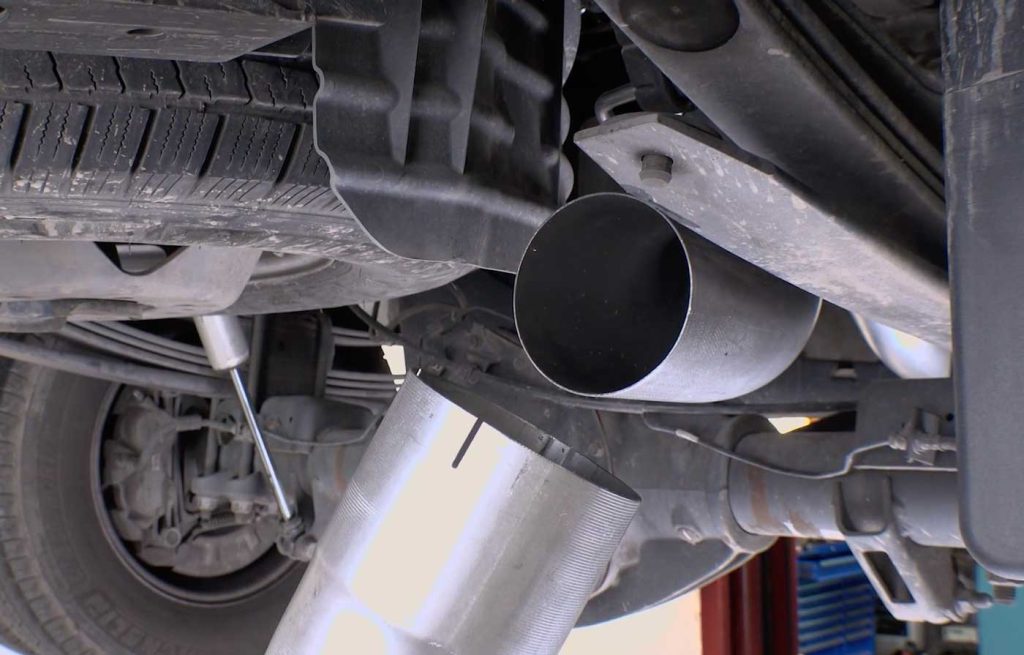
6. Retrieve the mid-tailpipe section, and place a 5″ clamp over the tip.
7. Raise the mid-tailpipe with the clamp and connect it to the front tailpipe.
Attach it to the rubber hanger as you go by pushing it into the hanger pin.
8. Slide the rear tailpipe onto the mid-tailpipe section.
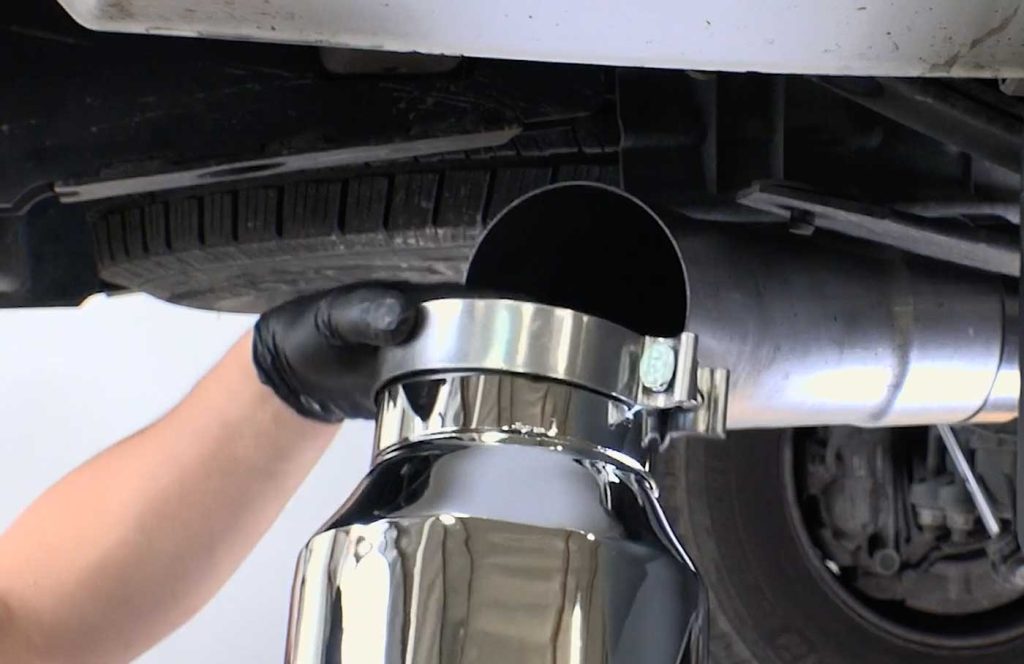
9. Place the remaining five-inch clamp over the exhaust tip.
Then slide the tip onto the rear exhaust pipe.
10. Tighten the clamp just enough to hold it into position.
11. We recommend placing the exhaust tip a few degrees down to allow condensation to drain.
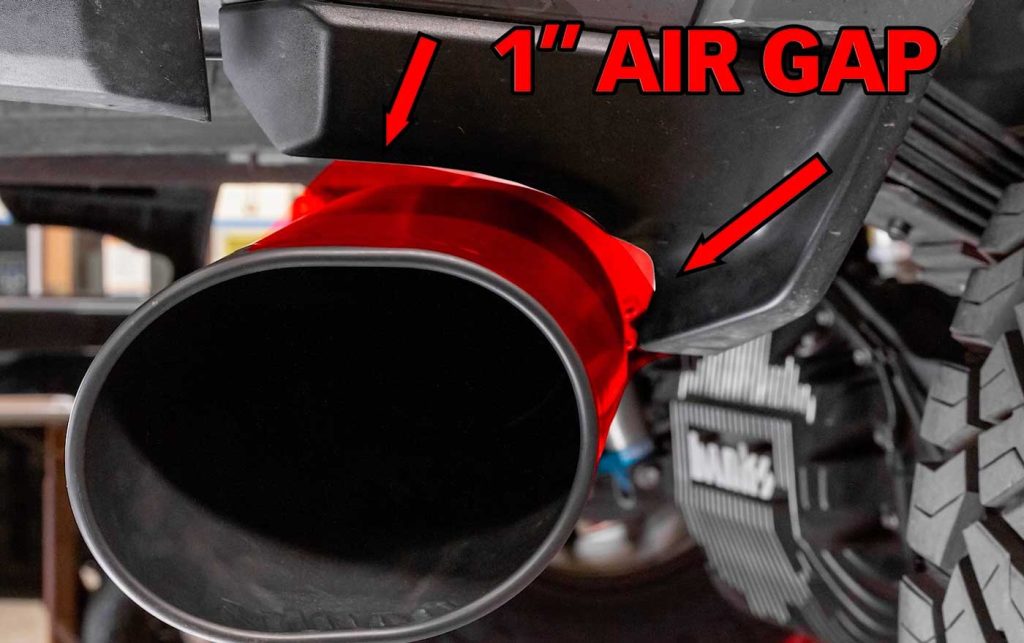
12. The tip is designed to roughly have a 1″ gap around the plastic molding.
Remember, the drain hole should face down.
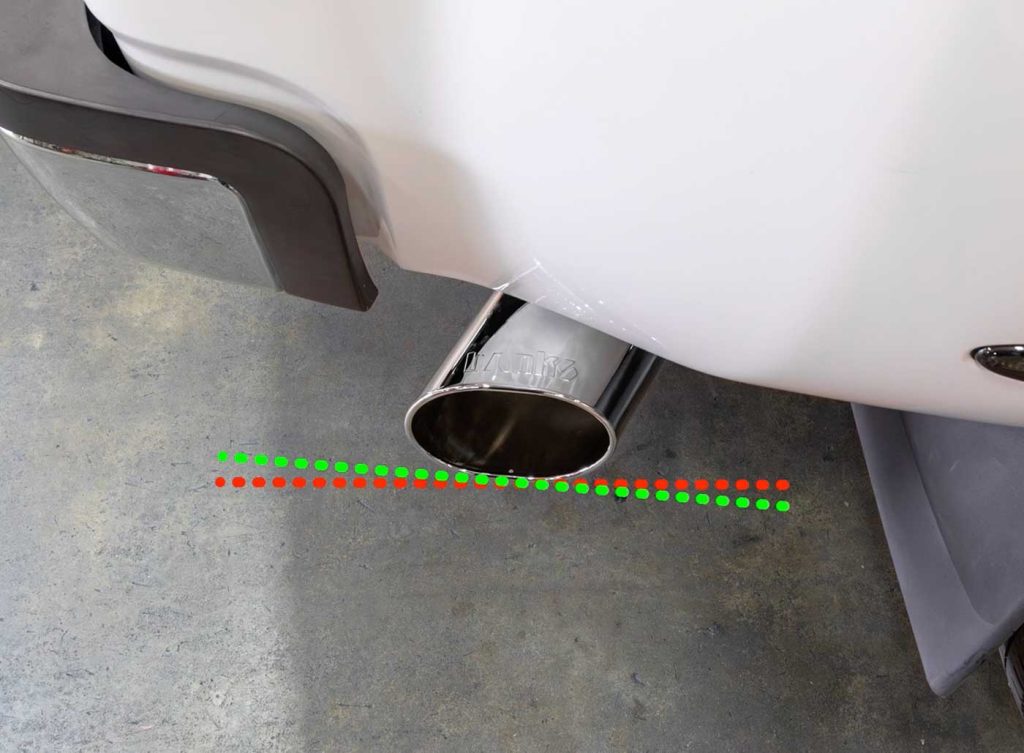
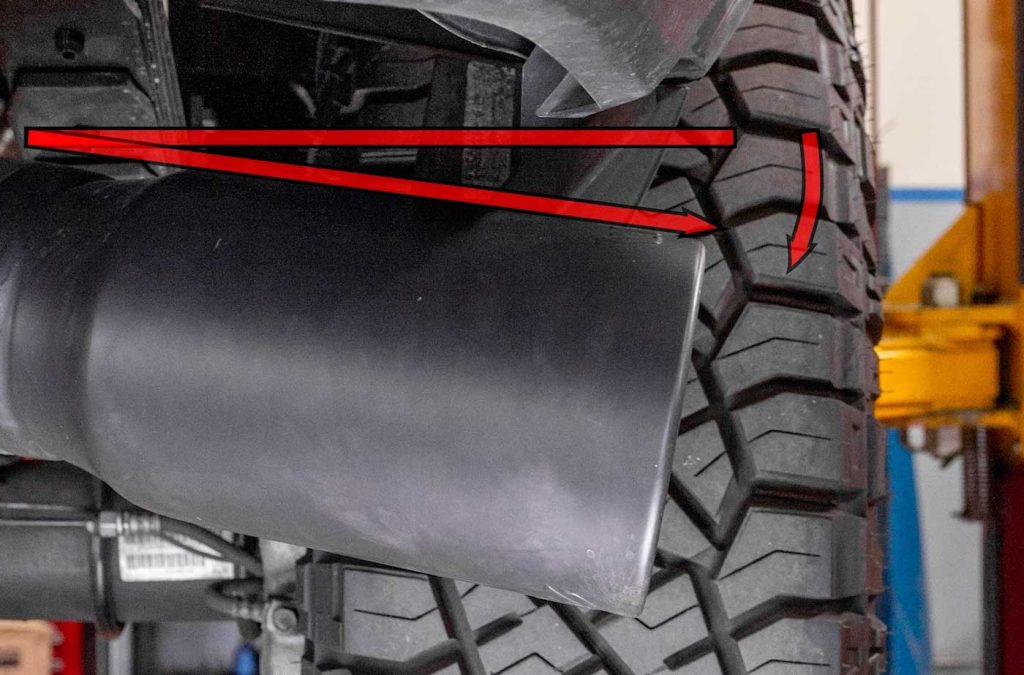
13. Additionally, the tip should be canted back a hair like the green line.
The opening should NOT be parallel to the truck body.
14. To get the exhaust tip in the proper place, you may need to adjust the other parts of the exhaust.
Leaning the over-axle piece toward the driver’s side will change the angle of the tip.
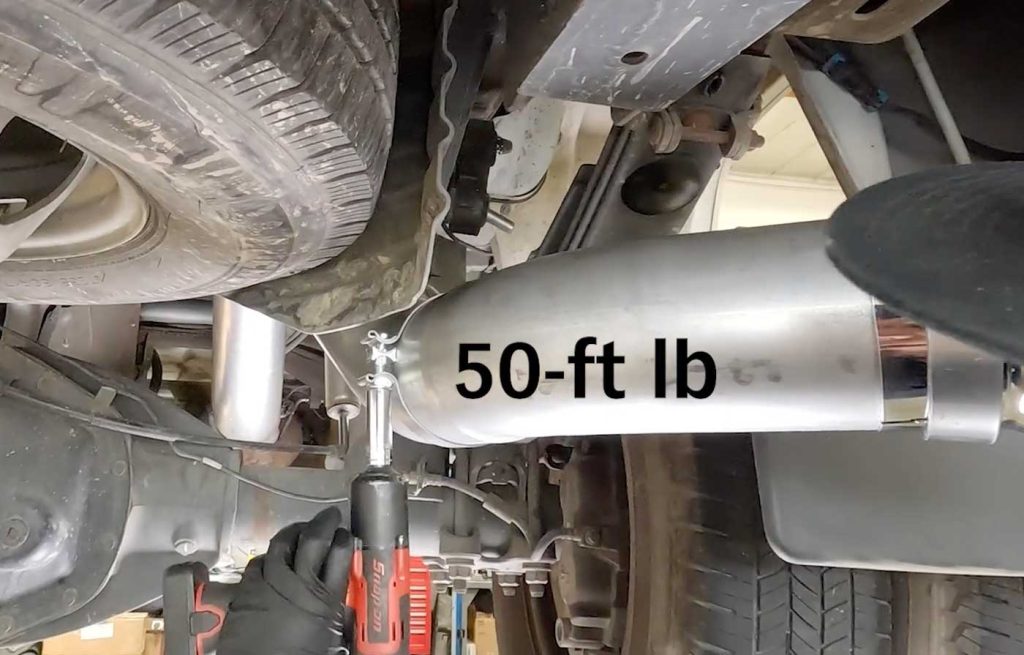
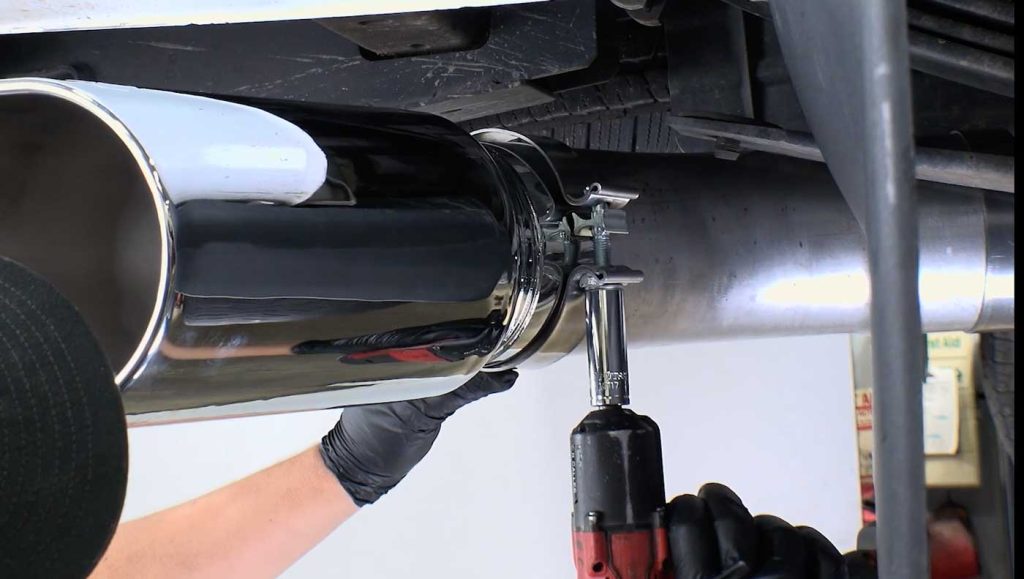
15. When you have the tip lined up correctly, torque all the clamps to 50-ft lb.
Then reconnect your battery, turn on the engine and give it a listen. If anything needs to be tightened, do so and enjoy!