No Bolt Worries, Plus Power

Full Video Transcript
00:25 hey everybody welcome back to the channel So today we’re going to start the uh tear down here and get ready to install this uh Banks monster elbow uh in the truck so um I have all my tools ready to go um and takes a 8 mm uh 10 mm 12 mm sockets as well as uh Allen wrenches and
00:49 other tools and we’ll walk you through all those as we go do do this project like I said uh before that um I’m not a Certified mechanic so please don’t take what I’m doing here is Gospel if you really want to watch somebody do it I’ll leave a link down below and they can their Certified
01:06 mechanic they can walk you through this thing I just uh I think I have enough experience as a mechanic I can do this uh without too much trouble if I run into a little bit of trouble go back and watch the video again but uh other than that I’m going to get started on this uh
01:21 please don’t forget to subscribe uh and and like and share this video so let’s get to it all right so first thing I’m going to do is I’m going to show you how to change out this uh crank case ventilation filter okay so taking off this wiring harness isn’t as easy as you might think
01:58 uh there’s a little cover it goes over and I kind of kind of can’t see it um the plug and then you can get out the slider to release the clip um so I almost have them all off uh I’m going to go ahead now and finish getting this cover off so I can show you how to replace this oh crank case
02:27 ventilation let’s get back here and well I’m glad I bought this creeper there we go okay and we got one more to go here all right so now we got all the bolts loose should just be able to pop this off let’s take off the cap first and then just all it does is just slides off okay right there all right
04:12 then we’re going to take this and you’re just going to pull it up with your hands actually we can use a little pry bar just be careful and don’t damage the gasket under here okay now that we got that off take it off it’s fairly heavy so make sure you pay attention to which this way this thing comes
04:49 off all right let’s turn the camera so we can kind of see it so this uh these O-rings right here need to be lubric ated before you put this back on so we’re just going to get a little oil and I’ve got some diesel oil that I can go ahead and get these lubricator
05:10 with the man this thing’s heavy tells me that it’s just about full but if you take this one and compare it man this is really light this one’s pretty heavy now that is full of oil please make sure that you dispose of it properly and I’m like one of these people that like to stay
05:40 clean I don’t take the wrapper off until I’m ready to install it all right so let’s uh we got some oil here go ahead and raise the camera up just a little bit that was a little much so we took this plate off that was right here two 8 mm bolts take that off and get rid of it not going to be used
06:22 again now we can put this cover back on all right and always put the cap on I don’t want anything falling down in there so I put the cap on and then we’re going to start with these right here I already know these go in the back one so I think we’re in good shape here
08:26 so yeah we’re not we’re not going to take this back off and we can just go ahead and move on so now we’re going to finish taking this dipstick loose take this Christmas tree off right here as it’s been called before we go now this cable right here that I’m messing with is the cable
09:27 that is connected to the grid heater so now that we’ve got these clips out of the way we’re going to reach down in here oh one more clip there we go all right that last clip is out of the way and now we can reach back in there see what size so it’s right in the way this is right
10:10 in the way but we should be able to push it back looks like 12 mm a little longer extension I’m sorry I don’t know when the battery died um we are right now we just took off the heat shield around the uh bottom of the Bell or the elbow and loosened up the clamp on the
10:46 tube now we’ll loosen it up a little bit more that’s better now break the seal on the rubber this doesn’t have a sharp edge on it so it’s the perfect tool to use for this so all right look like we pretty much got it so now we got to get we’ll take this bracket off and then remove the bolts for the
11:23 elbow and get it out of the way and that’s that’s kind of a major part of this right now all right we got the uh the good stuff coming up in a bit okay number 10 I think this is a number 10 so I was right so we’re going to take this one off first all right I think what we’re going to do here we use a
12:33 ratchet loosen them up and then we’ll use the electric one wow yeah that’s in there huh and we’re going to let’s get that PVC hose out of the way yeah these things work really nice for a lot of different thanks hey back now these bolts won’t get reused now if you didn’t notice this unit
15:25 moved I was taking the bolts out that tell need Loop all right now we don’t want to get all crazy about this because uh we’re going to we’re actually going to I’m going have to reach down see if I can get these out all right we’re going to take this bracket off all right cuz it’s getting in the way
17:36 and now ow ow ow ow ow that didn’t feel good I don’t think I’ve ever done one a day when I was mechanicing when I didn’t cut my finger or cut my hand all right now we’re loose so now we got to get out these back two all right now we this now we’re ready this doy so now the elbow’s loose but I’ve
18:57 got two cables back there that I still have to get off so let’s see let’s go ahead and get the top side creeper back in here and uh get those out that way okay there that one that’s the map you want to be really careful with that one and we got oh we got a Christmas tree I
20:00. got to get out first I can turn it over I do with my I don’t know else to call them things I know the guy on thorough diesel where I’ve been watching that’s what he calls them on Christmas trees that I him I want to make sure that I don’t damage them yeah like that one I don’t like
20:40 damaging them I’m breaking them all right all right so let’s go ahead and turn it over soon as I get this out of here I’m going to show you the oh gosh how about to shot all right I hate egr’s all right huh I did get me oh see I told you all right so this comes off that little cover comes
21:46 off and then this gets pushed in right there and then we pull that down it’s out and there we go okay so let me grab the camera here and I’m going to take it in there so you can see what that grid heater looks like all right Pi you up here now this is only after 60,000 miles guys that’s a lot of
22:36 soot a lot of soot oh we still got quite a bit to do here at the take out I got to finish taking out the uh the um wiring harness back here that way I can get this uh foam cover off Rail and then I can start taking out the rail and then we’ll end up by the last thing we’ll do is to get this plate
23:06 out right here right here this plate it’s got to come out we’ll get that here and just a bit this is going actually a little bit faster than I anticipated I’m trying to take my time here and not go too fast and the bad thing is you got to put all these clips back you got to be careful not to damage
24:27 them have to all go back yep yep yep okay before we get too much further here I’m going take a rag and stuff it down in the tube here make sure nothing Falls in here that over there ni look at that huh okay now should be able to get this out yeah I have no idea how I’m going to get back in there
26:14 it’s going to be fun but uh should be able to a little bit at a time knock this out okay well I think that’s it for tonight it’s getting late and uh I think the sun’s going to be down here in Pretty in a few minutes okay so we’ll get this in the morning see you guys then see you guys
26:48 then let’s see if I can back this out a little bit y I’ll see you guys in the morning and we’ll finish this up well I guess I had to turn the mic on so that you guys can hear me um I started the video and didn’t have the mic on um so uh we’re going good morning everybody
27:10 Welcome to welcome back to the channel uh we’re going to get started here um one of the first things we’re going to do though is we’re going to Mark the ports the ejector ports but we’re going to mark them as we go along uh and the reason why we want to Mark the ports as
27:22 far as where their location is in tightening them up in the head uh we don’t want them to move while we’re doing this if they do move we want to make sure that we put them right back to where they were before so that they don’t leak and this is really CR a critical step in this and then the other
27:39 thing is we want to make sure that this process stays as clean as possible uh one of the things that Banks does that I really like is they provide these caps so we’re going to be capping up both the fuel rail and the ports and the heads uh so that we keep them sealed and
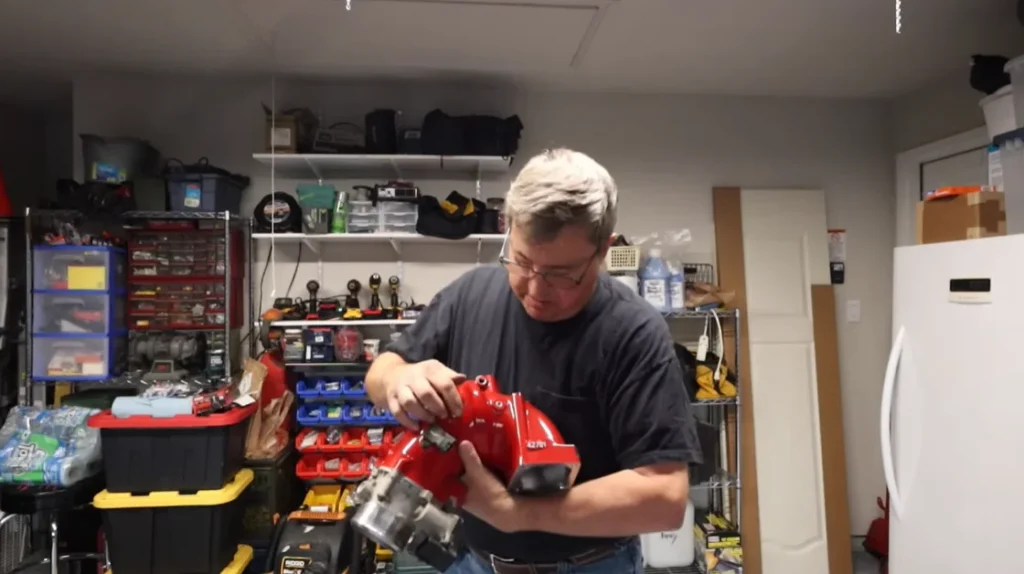
28:01 that there’s no contaminants that get in there that’s one of the reasons why I kept the um elbow in the plastic bag I kept everything in plastic until it was ready for today last night I did take a few minutes uh and let me go grab the um the elbow so I can kind of show you a
28:18 couple things I’ll be right back okay all right so in the head there are some ports there’s there’s five different ports hopefully you can see this here here here here and here now I’m not going to be using these ports uh some of these are for things like adding nitrous
28:40 oxide and other things I’m going to keep this truck as stock as possible uh this is really the only major upgrade that I’m probably going to do the only other upgrade I might do is I might put a new intercooler and tubes in to match this uh so that we can really keep the air
28:58 flow up but I took the time to get the throttle plate mounted and also to get these inserted the and these come with the banks kit to seal all these up and I use a little bit of red lock typ cuz again I don’t plan on taking these apart I’m not that much into uh beefing this thing up I just want it
29:24 to perform well I want it to have good air flow and from what I could see when I took this thing when I took the old one off um it there was so much crud wrapped around those um that heater uh grid that it surprised me that it was able to breathe at all so this should
29:43 really help with uh the breathability uh I’m going to take this back inside cuz I don’t want to bring it out here until I’m ready to install it I want it to stay nice and clean and uh I just did want to show you that that this is where uh this is where we’re at with
29:59 this elbow so all right so let’s get started all right so hopefully you can kind of see what we’re doing here got this pen All Shook Up now we’re going to mark it okay I think we got it kick started okay all right so we got that one marked and we’re going to mark this the next one
31:03 and we get those two off and then we’ll mark the next one as we go along just to get them out of the way now let’s move this out of the way we’ll keep this rag here try to keep the soot to a minimum so the nut here is a 24 mm and then the the pipe is a 19 mm okay there we go all
32:19 right all right so before we take those off let’s get the Caps we’re going to keep these caps right in this little pouch right here that way they’re right where I can get at them as I’m taking this apart I just don’t want any contamination going on in here so we’re going to go a little bit at a
32:43 time and you going to get a little fuel out of here residual not to worry that’s expected go okay it’s good all right now one other thing that I’m going to do here that just dawned on me is I need to keep these tubes clean so I’m going to go grab a gallon size zip lock and put these
34:30 in want get these in here first all right let me uh let me get something real quick put this tube in this one I’m not worried about because Banks uh gives you a replacement for number one so that it will fit around and I’ll grab that and show it to you here in just a
35:05 sec okay so this is this is the one that bank sends to replace number one so that it can get up and over the top of the uh elbow the new elbow so that’s a pretty big deal it’s pretty exciting that they send that all right okay so one more thing that I’m going to do is I’m going to
35:30 Mark each one of these rails each one of these tubes that’s coming out so this one here we’re not going to be we’re going to be replacing this one but this one we’re not we want to make sure that stays clean so let’s we’ll go ahead and Mark that as a number two and I’m just going to put
35:49 some hash marks on it if I can find my pen oh there it is I’m just going to go one two all right I’m going to put this in here keep that I’m getting contaminated so let me uh and this is this this is something that you just got to take your time doing you can’t rush this and you want
36:32 to make sure you don’t bend any of these tubes either um so we’ve got the uh Supply tube here that I’m going to have to put a cap on as well and it looks like I’ll have to take that nut off right there and I can get down there and loosen that up and let me do that looks like about a 13
37:05 mm so I’m not going to talk a lot very much more I’ll try to stop once in a while and show you where I’m at um but I’m not going to do a lot of videoing this cuz there’s just not any room to get the camera in there and I really want to get this done um got the first two off I got four more
37:22 to go uh the third one now the tube does not correspond to number three which is why I’m marking these things um you want you have to it it corresponds actually to number four uh port on the fuel rail so that’s important to remember when you’re putting this all back
37:47 together so here we go just going to I’m just I’ll come back on on the video uh I’ll you know when I’m every once in a while to show you how far I’ve gotten all right so you can see I got the plate out got the uh rail completely loose play out there is that bolt I know it’s difficult to
38:14 see let me try taking it into the sunlight maybe that’ll be a little easier so fortunately as you can I can tell that it’s starting to corrode I can see the bolt is starting to corrode so I think that the timing on this was perfect yep yep yep yep so let’s go take a look at the engine
38:55 bay all right so you can see I got the the rail is loose and uh oh I’m good I’m not taking it all the way out guys it’s just too much of a headache uh to get it all the way out so um we’re just going to work on it like we got it right here and now so the next part of this is
39:19 going to be I need to um get the gasket surface all cleaned up and then I’ll vacuum out that Valley right there that goes into the uh engine intake and uh and we’ll go from there all right I’m sorry that I’m not able to show you everything it just at this point in time it’s just uh a lot of
39:39 work and as I said I’m not a Certified mechanic and I don’t want to take uh a chance on giving you the wrong thing and have something happen to your engine so I suggest that you if you’re not comfortable with this um check with a local shop diesel shop preferably
39:58 and or uh I’ll leave a link to thorough uh Thoroughbred Diesel that’s where I got the information on how to do this it’s a little bit different than their video because I don’t have a banjo bolt up front mine’s way back in the back yeah so but it’s okay uh I figured out the best way to do
40:21 this without any issues all right we’ll get on with it okay so I got the plate in uh and I torqu down the bolts on the plate to uh 18 foot-pounds and it recommends 18 to 20 foot-pounds so all of those uh bolts with one exception and that is the bolt that holds the uh dipstick on I did not
40:50 um torque that down yet when I put the dip stick back on uh the dip stick hole down on then I will torque that down to 18 foot pounds but if you but as you can see um I’m getting ready to put all of the fuel lines back on and uh I’ve got my camera person here who is doing it so
41:10 I’m going to get in there and get all those lines put on and then once I get the lines on and get everything put back together uh I’ll come back on and show you the final uh look and see how it it came out and you’ll notice I’m not talking under the hood uh for some
41:25 reason the mic didn’t work on the video so I’m kind of overlaying the uh uh the speech right now on the on the video so um yeah we’ll as soon as I get the the whole thing put together then um I will definitely come back on and show you the finished product I’m really excited about getting this
41:47 done all right well that was a long hard job um and it is all done but let’s talk a little bit about some of the ins and outs of uh little tips and tricks that I found out out first of all um you got to make sure that you torque everything correctly uh if you watch the Thoroughbred Diesel
42:06 video he’s going to emphasize that and so will I um everything needs to get torqued and then you also need to make sure that you put some type of Loctite whether it’s blue or red on the bolts if you don’t put Loctite on there’s a possibility they’ll come loose and one
42:22 of these bolts is down inside the elbow and you don’t want that one coming loose and getting into your cylinders uh while it’s fairly large probably won’t get past the valves it could get it could um damage one of the valves so you want to make sure that you use some
42:37 Loctite and properly torque everything now I want to show you what it looked like so let’s uh let’s turn this around okay so one of the things that I found is if there’s a leak anywhere it’s going to show up as low boost pressure and then you got to figure out where the leak is
43:04 and so I had a leak and it was the EGR valve and this is an electric valve an electronic valve and um the gaskets underneath didn’t quite line up the way they were supposed to and I was in a little bit of a hurry when I did it um and so it they leaked and of course it shows up as low boost
43:30 pressure and it’s almost instantaneously you know showing up as low boost pressure so you got to make sure that you get everything tight that the gaskets get lined up um and that everything gets done correctly now one of the nice things about this is the heater in there and let me let me see if
43:52 I can get down a little closer Okay so let’s see you see where that oh get over here pull that dipstick out there’s a cable that goes to a stud back there and let me pull out the dipstick all right you see the cable back there and that’s the new heater and you have to be careful that you don’t damage
44:21 that Center conductor um and so you have to there’s there’s a nut on top and nut on bottom and a washer and you put the nut on the bottom up two or three threads and then you put the cable on and then you tighten the nut down and that makes sure that the uh you don’t damage that Center core and then
44:45 you use a wrench on the bottom to hold it and tighten up the wrench tighten up the nut on top so making sure that these gaskets on the EGR are correct is Paramount and then making sure everything’s tight and then making sure that you strap down all of the cables that you
45:10 had to break loose make sure you have put the Christmas trees back in everything everything’s got to be put back the way it was so that your cables don’t get up against exhaust manifolds or they don’t get too hot so I made sure that I did that even up here in front you can see this this cable here
45:34 um just to make sure everything stays good now I’m sorry I couldn’t show you everything it it was just there was a lot of work and I really wanted to get it done so um that’s why I got you know it took it still took me over eight hours to do the project so again that’s it um so if you
45:57 have any comments or questions uh don’t hesitate to leave them below um there this is really the expensive way to go about this uh just so you guys know this Bank kit um it started for me it started out at a at $1,200 uh for this particular model and then it was on sale for
46:17 968 and then I was able to find a a promo code that got it another 10% off and then because it went on back order they offered me $100 um bu payback program so it ended up costing me a little over $700 for this kit uh there is a $300 kit I think it’s like uh I’ll see if I can find the
46:37 link for it and I’ll put that down there and basically all it does is replace the plate and you still have the grid heater on there um but it replaces the plate so it doesn’t away with that bolt which is still a good deal that’s really the main reason why I did this was because of
46:51 that grid heater failure I did not want to have to spend $30,000 on an engine I do like the increase in power I I think it it uh it feels good it feels like there’s an increase in power we’ll see when I go pull the fifth wheel so again that’s it for this job um thanks for
47:08 watching please don’t help to please don’t forget sorry to subscribe like and share this video and that’ll be it take care see you on the road
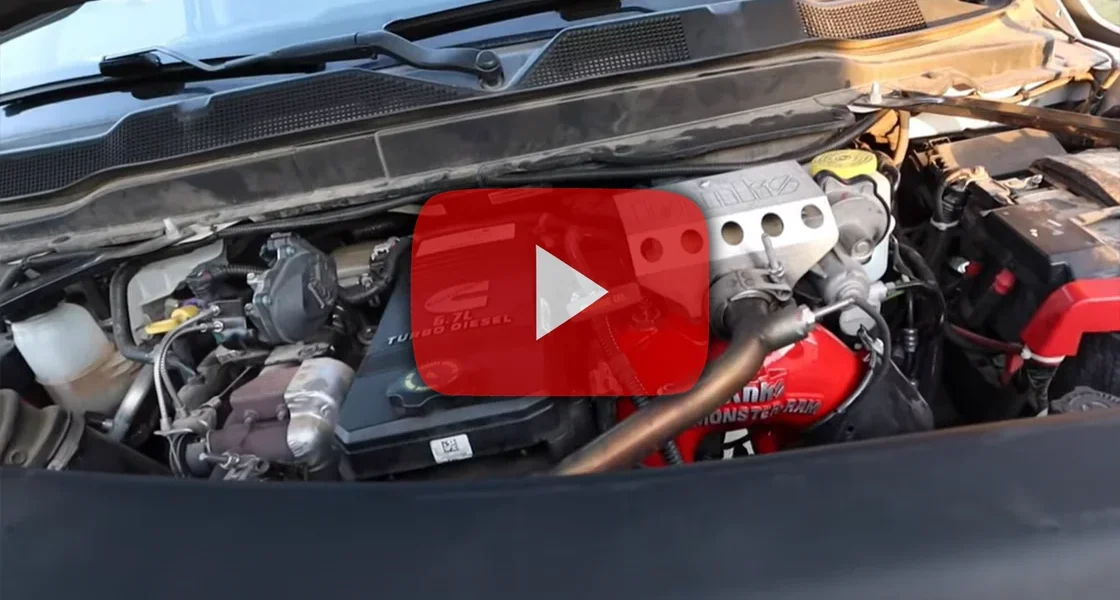
“There are five different ports for nitrous oxide, water methanol, and various sensors, but I’m going to keep this truck as stock as possible,” explains Ron from RVWeekenders. In his latest video, Ron installs a Monster-Ram on his RAM 6.7L for performance and the security of not having to worry about the grid heater bolt falling into the intake manifold and destroying the engine. The only other major thing that I might do is put in another intercooler and boost tubes to match this Monster-Ram so that we can keep the airflow up.”
“There are five different ports for nitrous oxide, water methanol, and various sensors, but I’m going to keep this truck as stock as possible,” explains Ron from RVWeekenders. In his latest video, Ron installs a Monster-Ram on his RAM 6.7L for performance and the security of not having to worry about the grid heater bolt falling into the intake manifold and destroying the engine. The only other major thing that I might do is put in another intercooler and boost tubes to match this Monster-Ram so that we can keep the airflow up.”