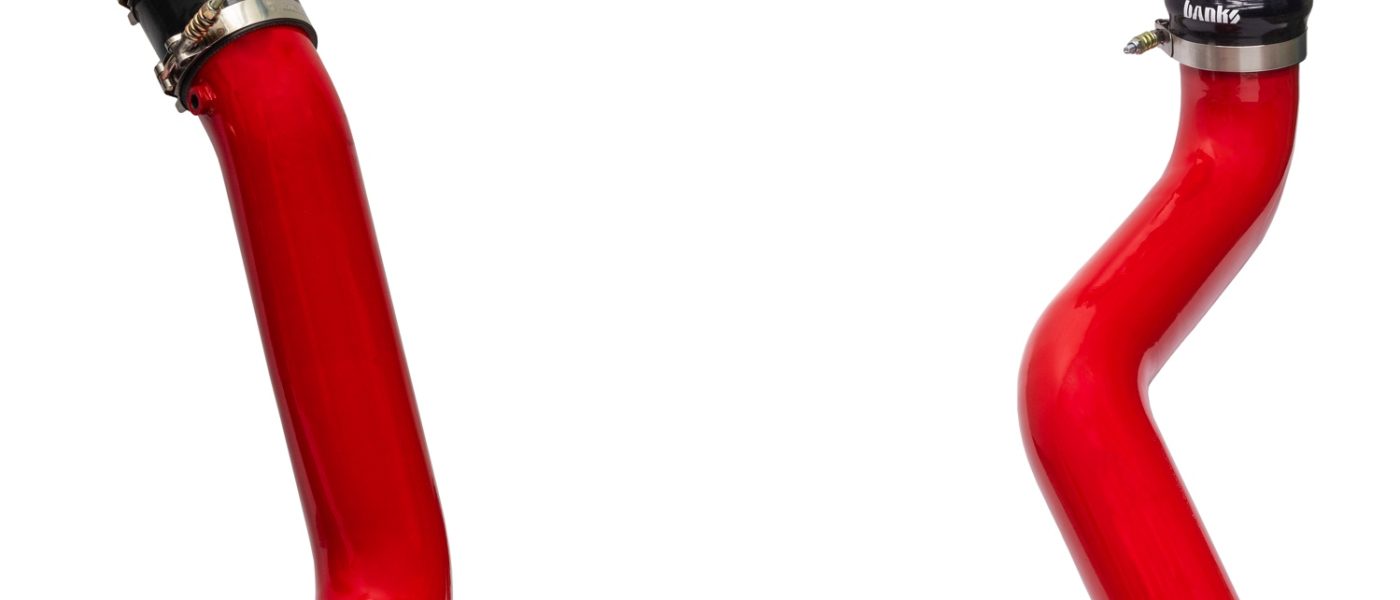
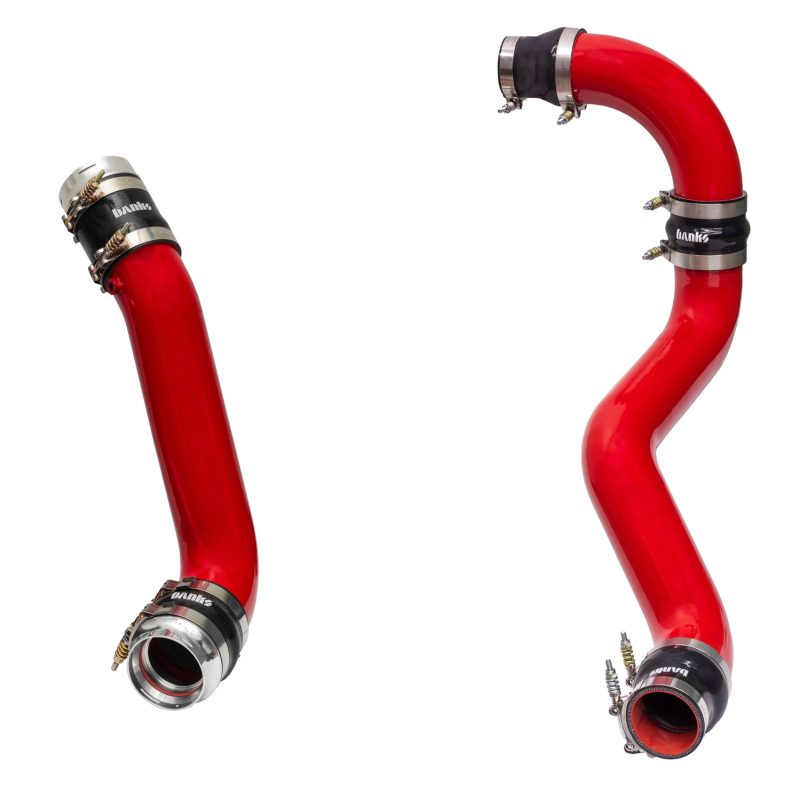
97721 Banks Boost Tube Upgrade Kit for 2020-2025 Chevy/GMC 2500/3500 6.6L Duramax L5P
INSTALL INSTRUCTIONS
Part #s
26005
Banks High-Flow Boost Tubes 2020-2024 Chevy/GMC 2500/3500 6.6L Duramax, L5P
Please read through the following instructions thoroughly before starting your installation. If you have any questions please visit our Support Page.
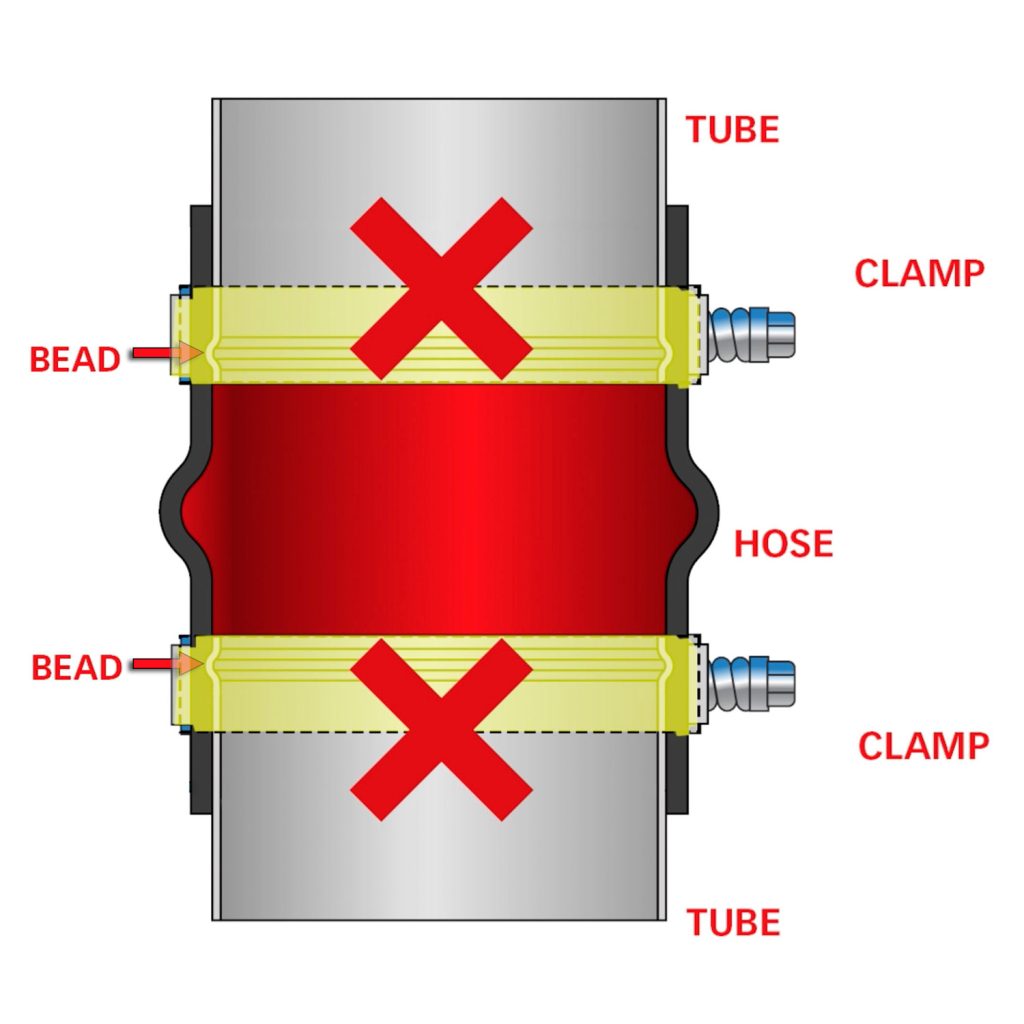
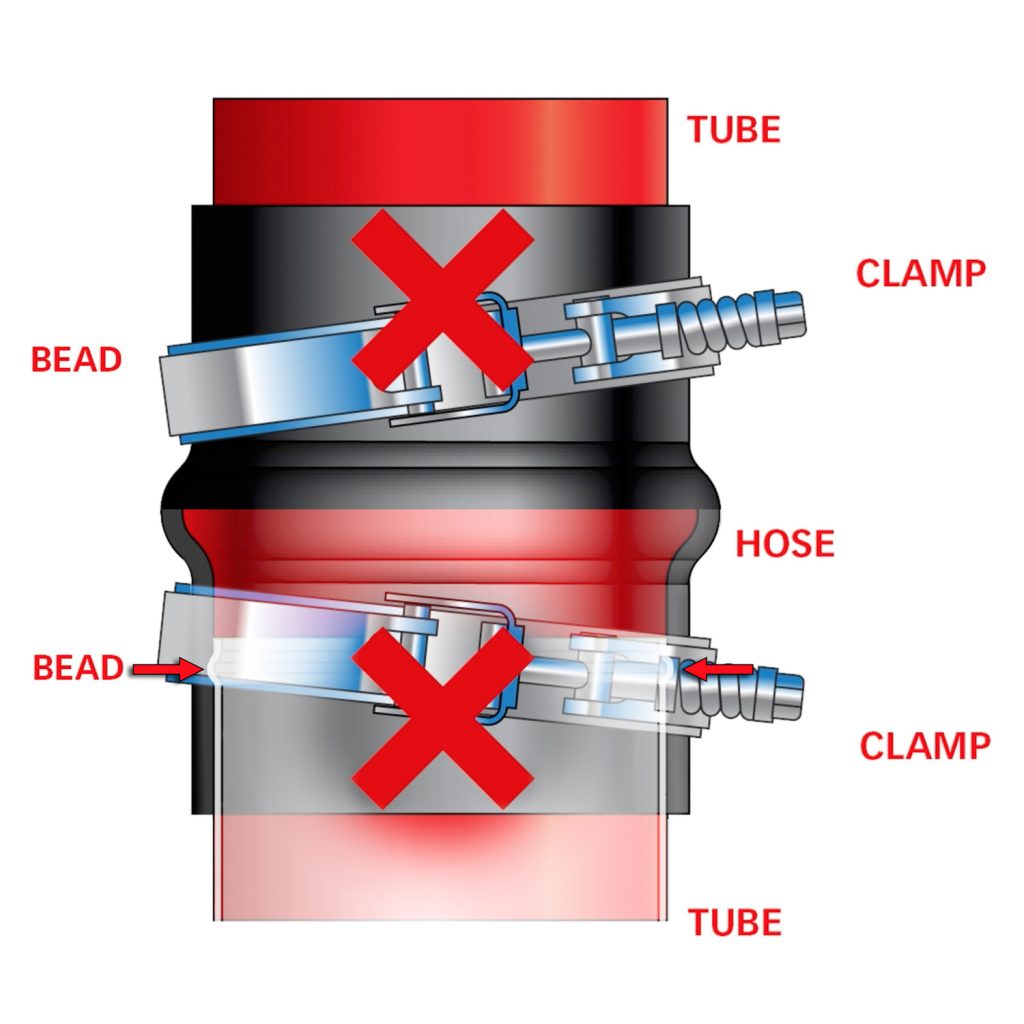
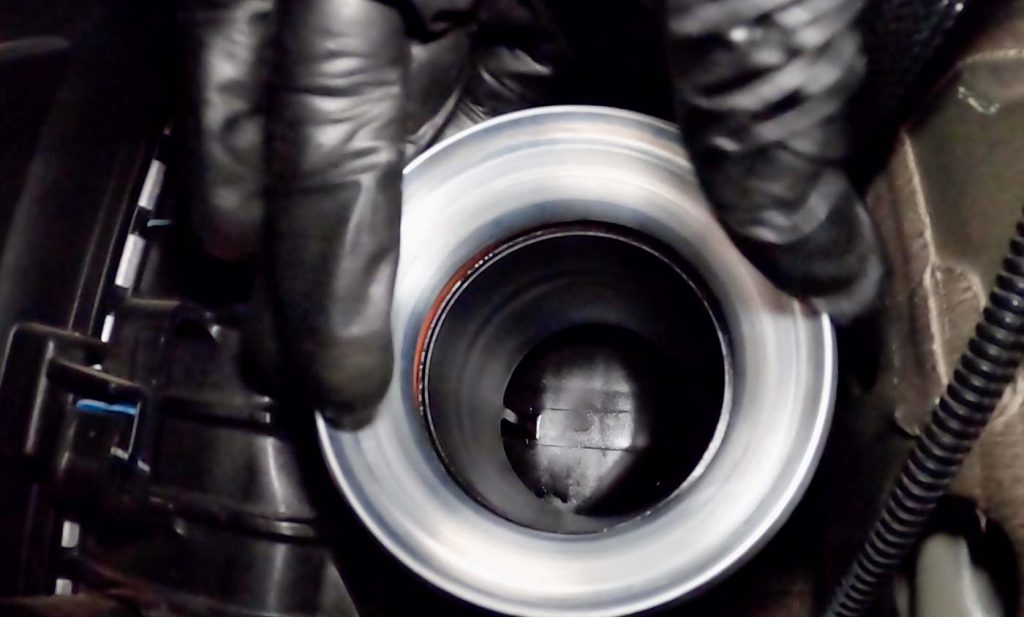
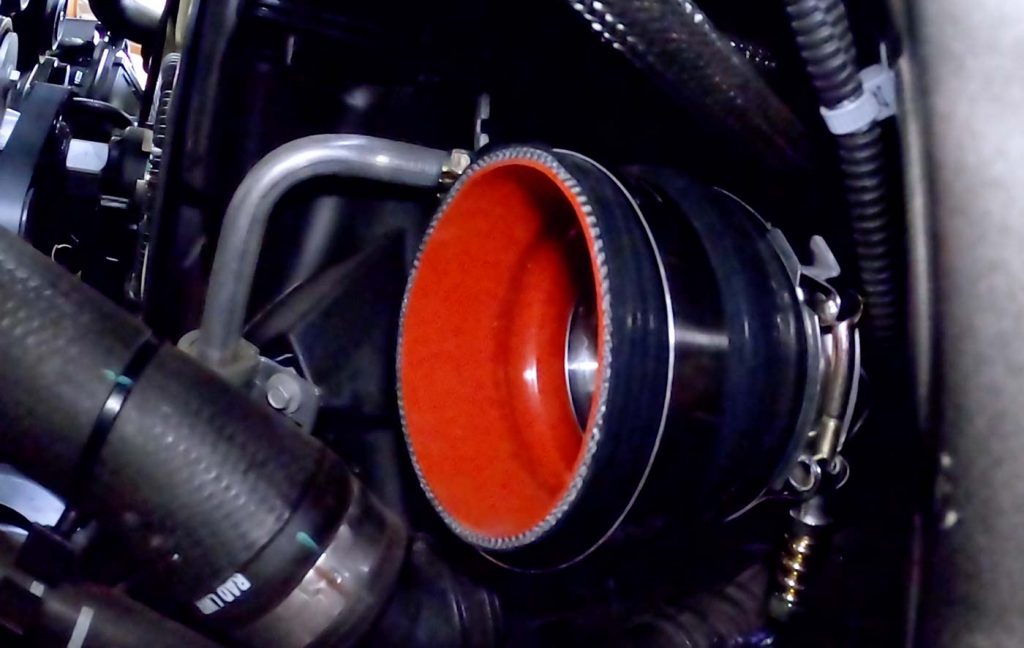
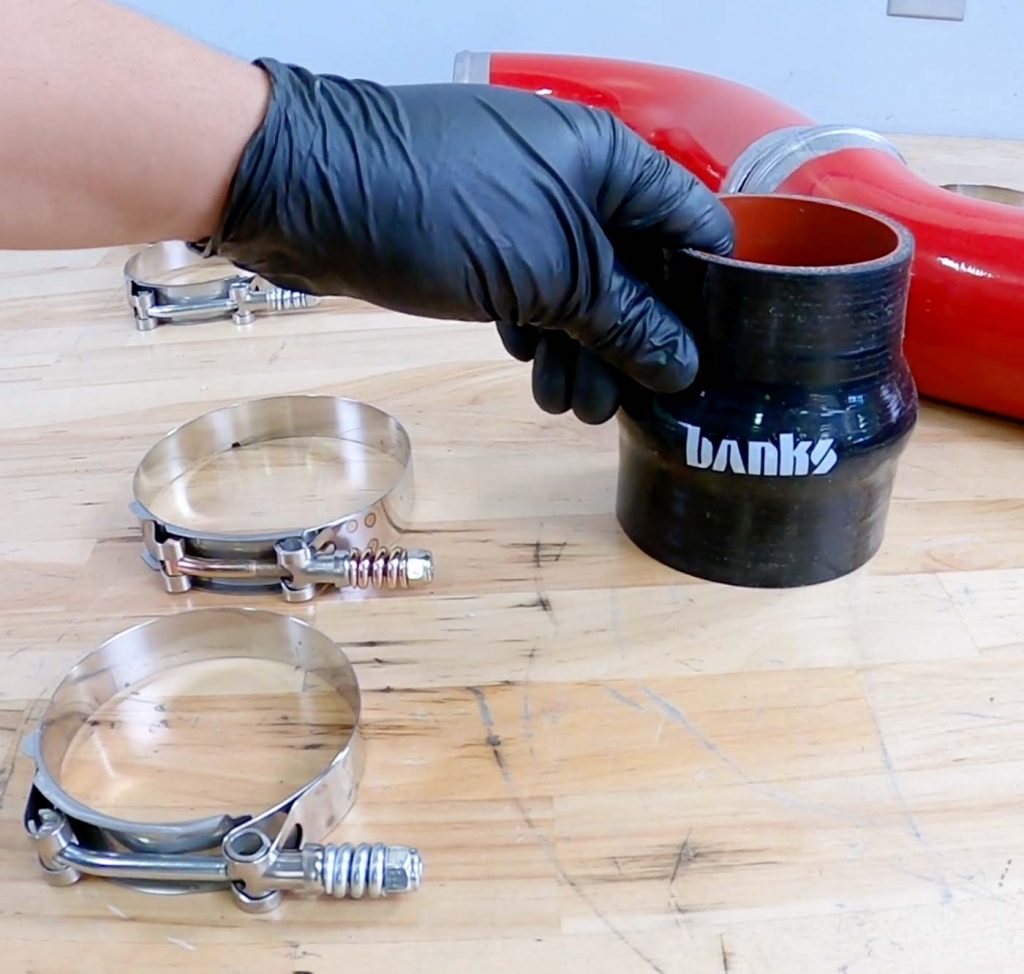
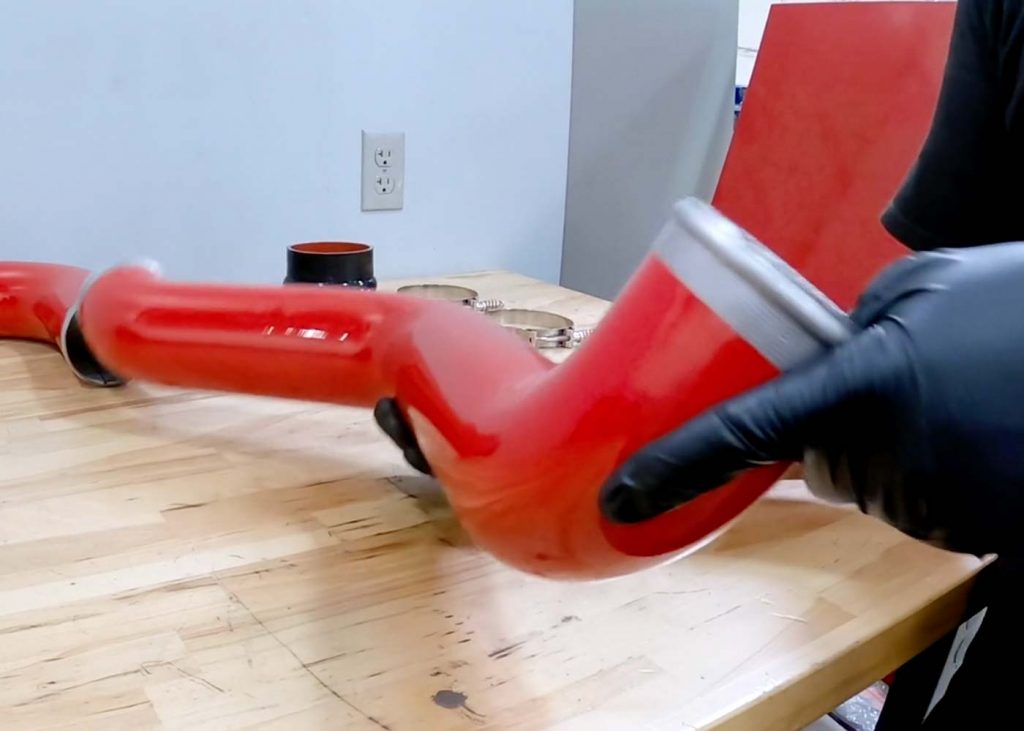
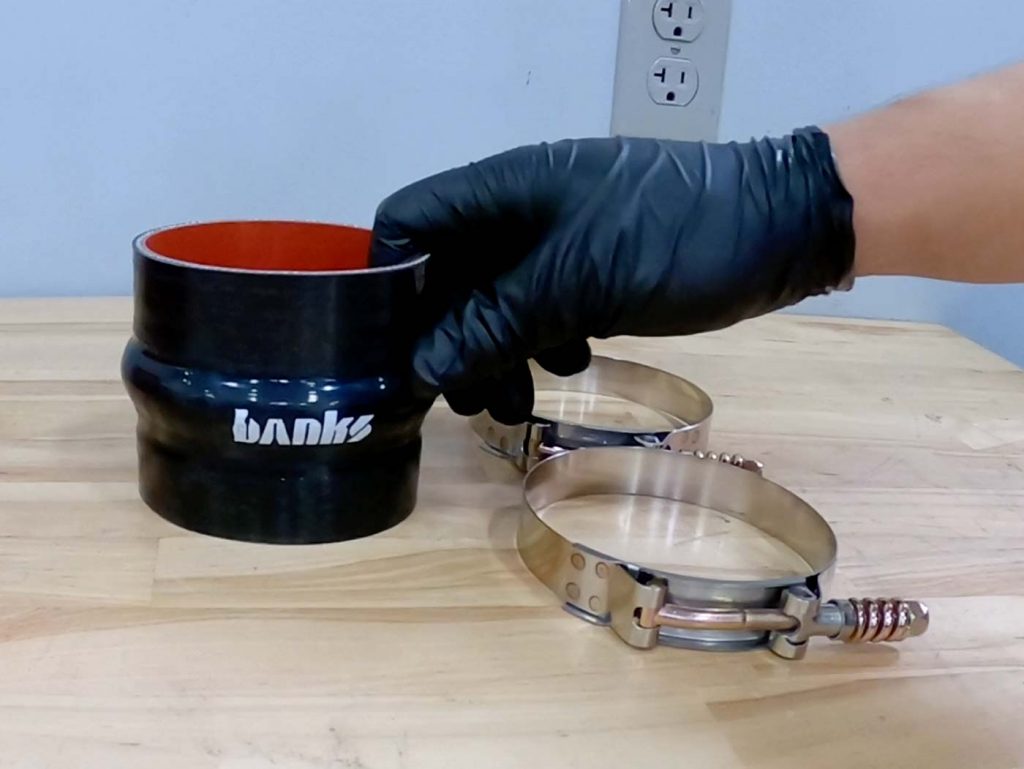
ATTENTION: Boost-Tube Clamps
When Installing the clamps, be sure the hose and clamps go on far enough to clear the bead on each end.
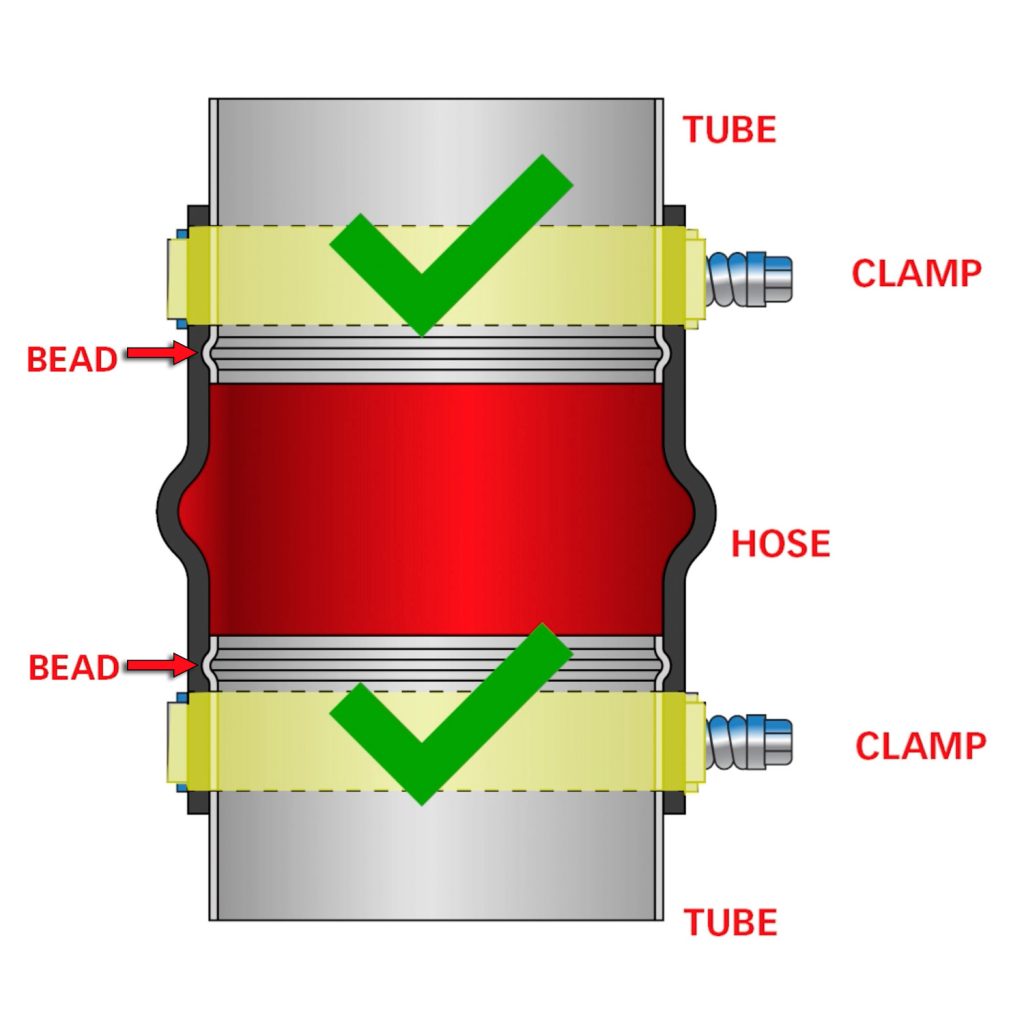
An improper installation, such as a clamp sitting directly on a bead or crossed diagonally, will result in a boost leak.
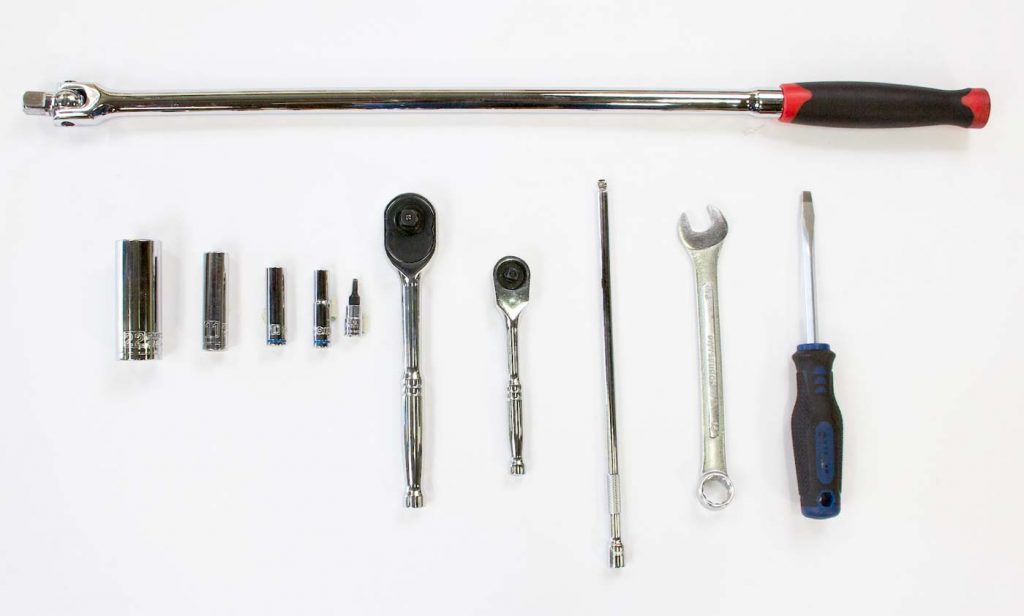
Required Tools
- ½” Breaker Bar
- 7, 10, 11, 22mm Sockets
- 16mm wrench
- Ratchet and extension
- Flat blade screwdriver
- T-15 Torx
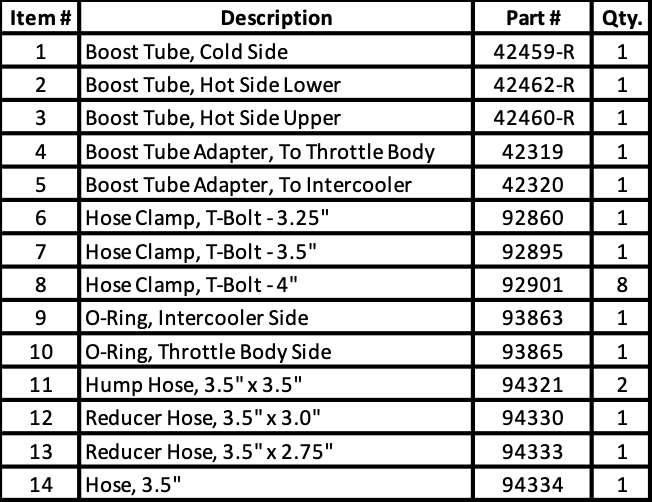
Bill of Materials
Section 1: Preparing for Installation
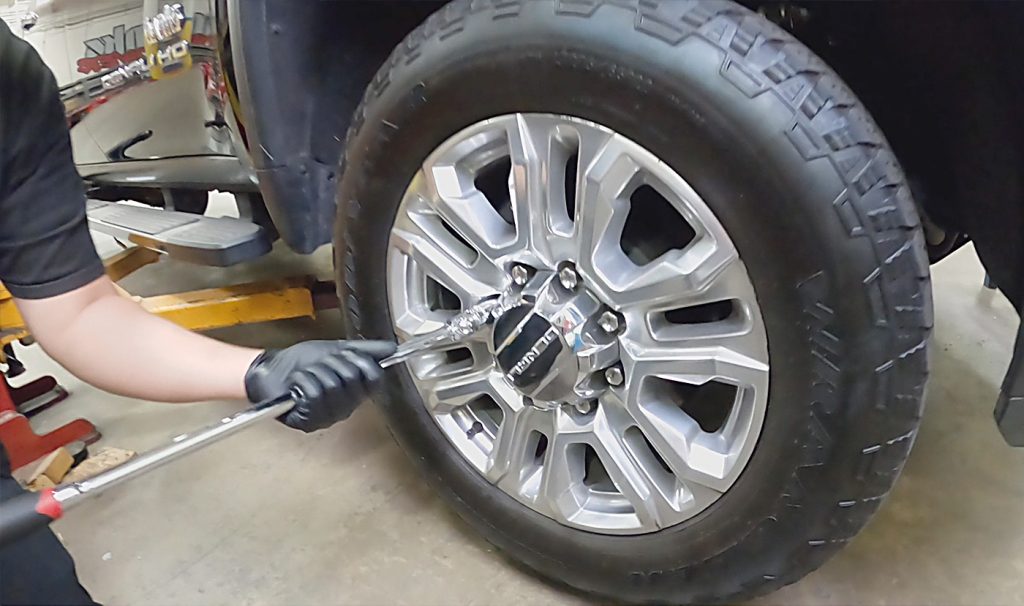
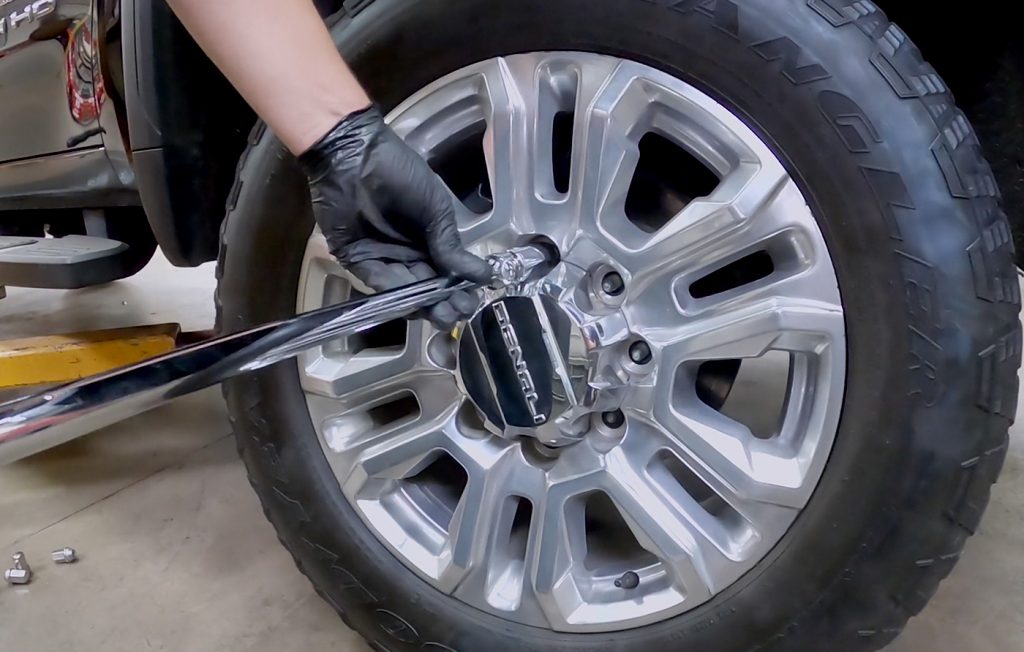
1. Secure the truck on a lift and remove both front wheels to allow for full access.
To remove the fender well, you will need a T-15 Torx bit.
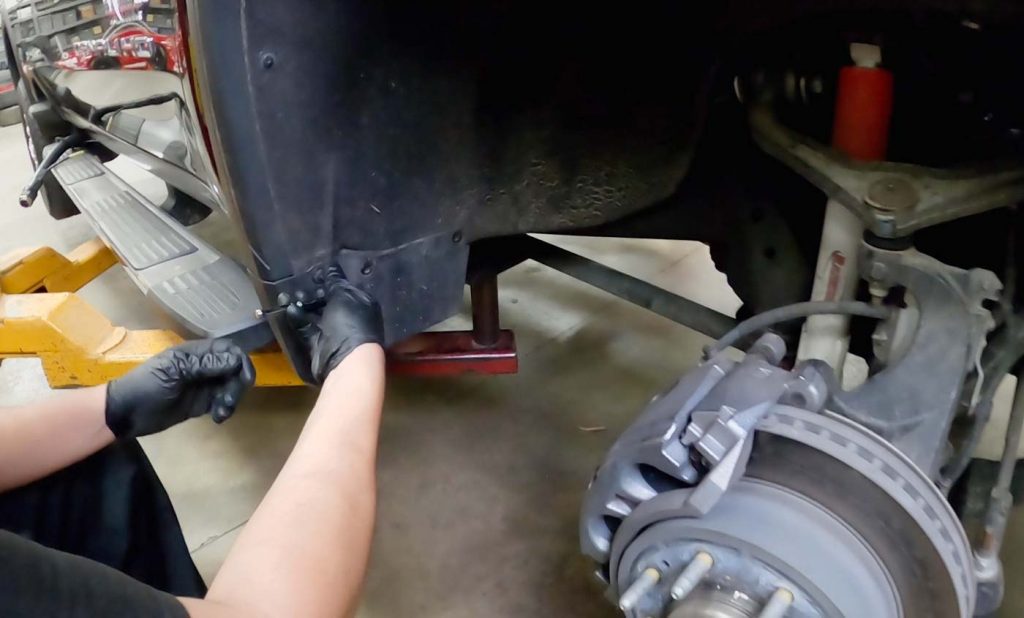
2. Remove both of the front fender liners.
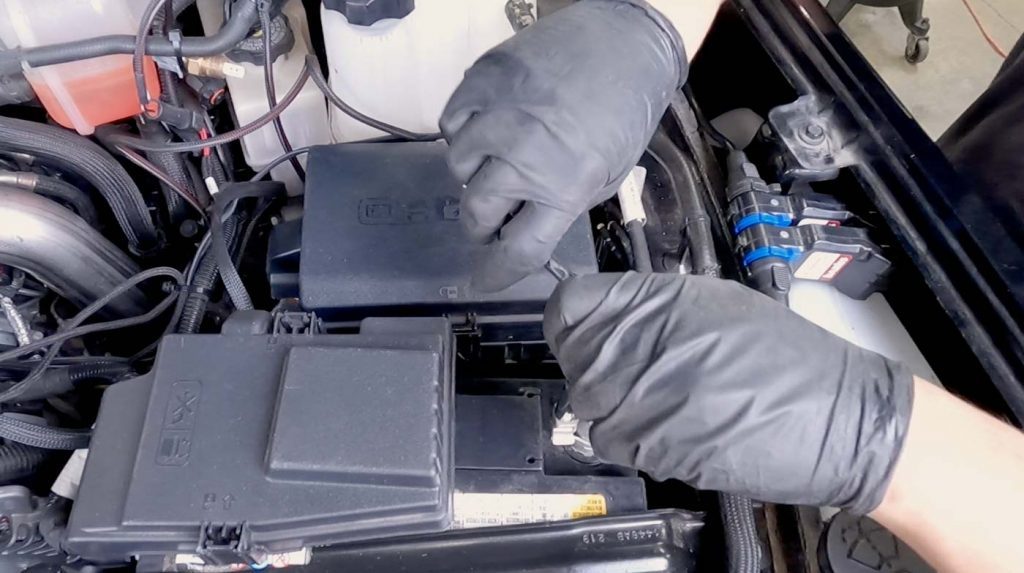
3. Using a 10mm socket, loosen and remove the negative terminal on the driver’s side battery.
Then move to the passenger’s side, and do the same on the 2nd battery.
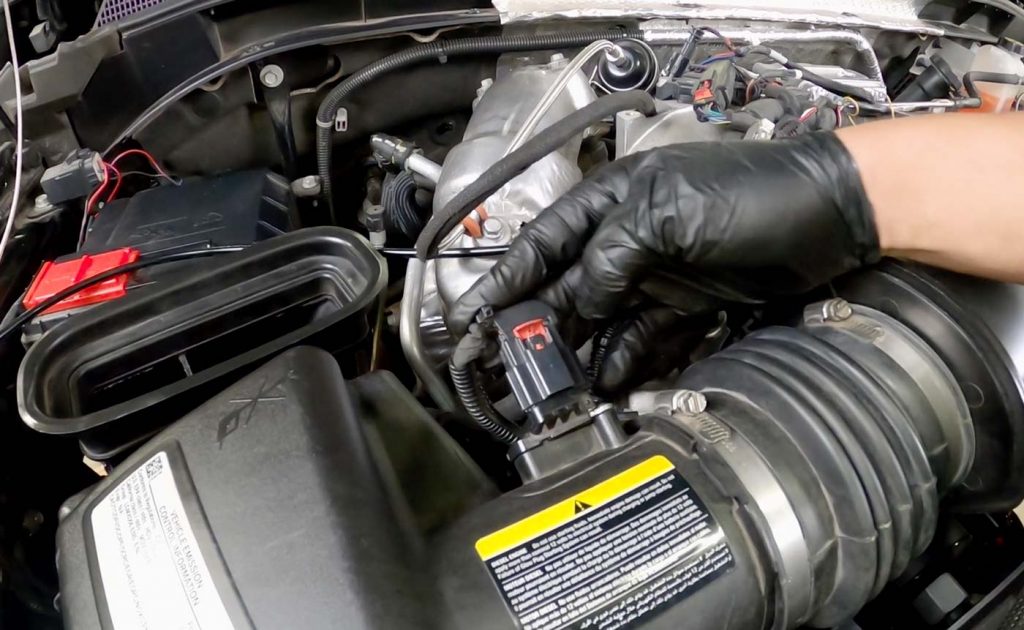
4. Disconnect the mass airflow sensor (MAF) from the factory intake box.
5. With a flat blade screwdriver or 8mm socket, loosen the hose clamp holding the intake tube to the turbo inlet.
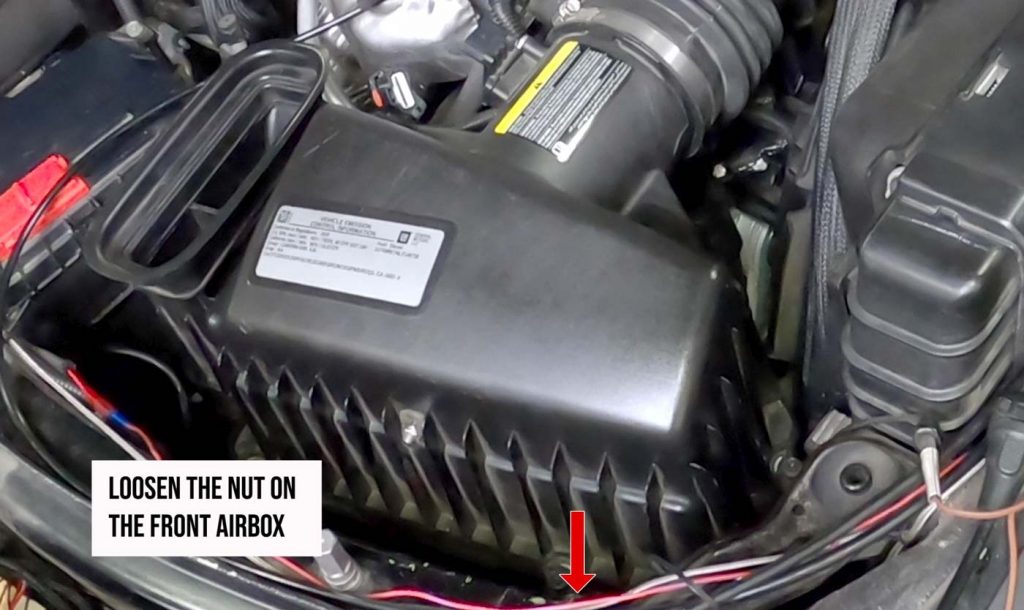
6. Loosen the nut on the front airbox.
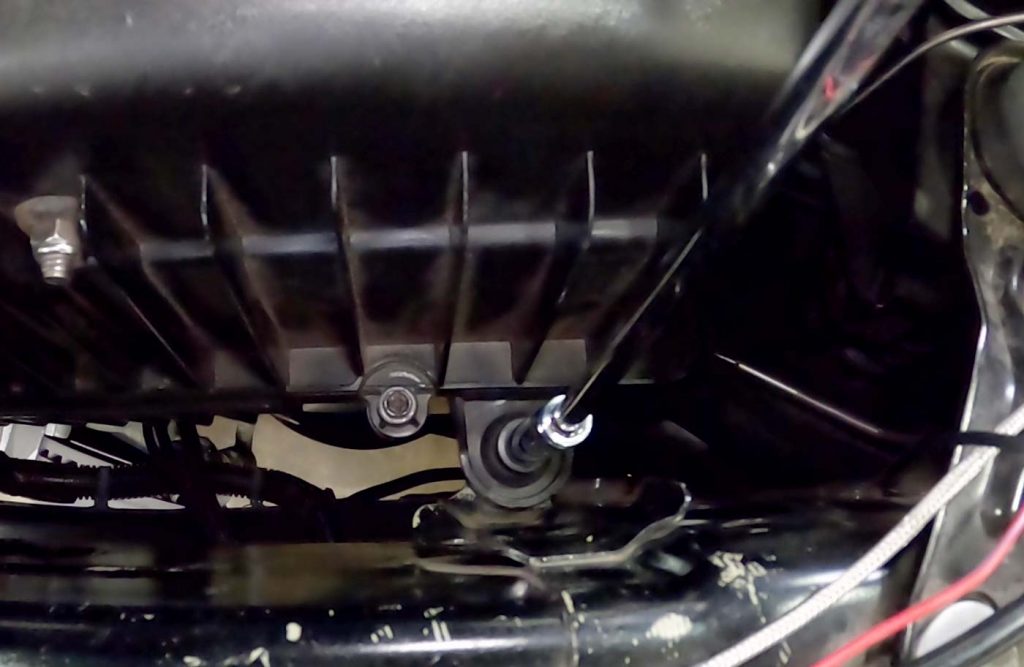
7. Using a 10mm deep wall socket, loosen the nut holding the front of the air intake housing.
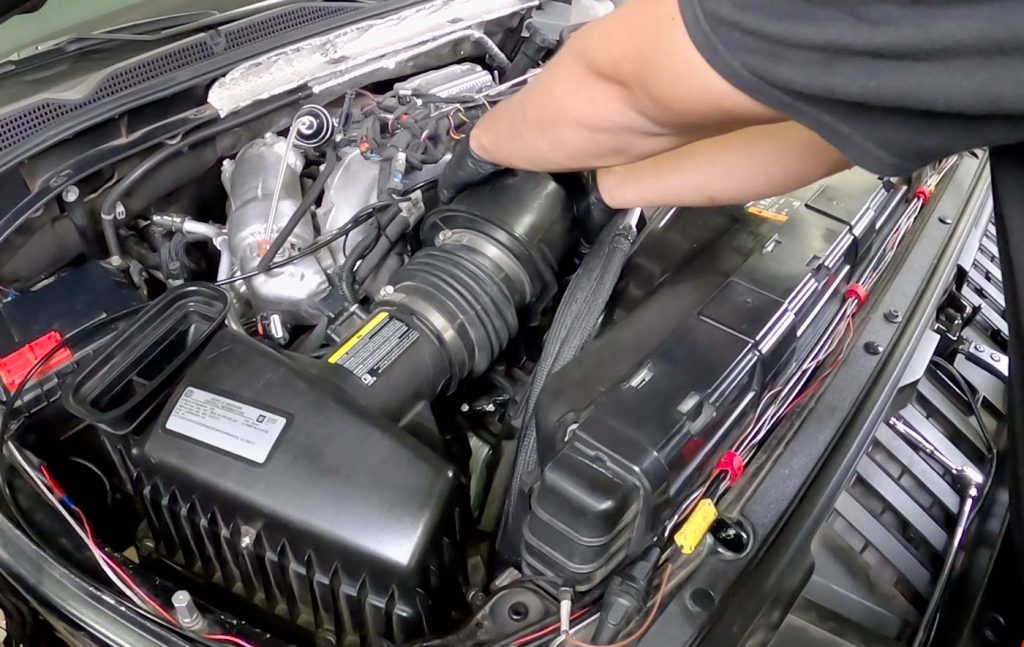
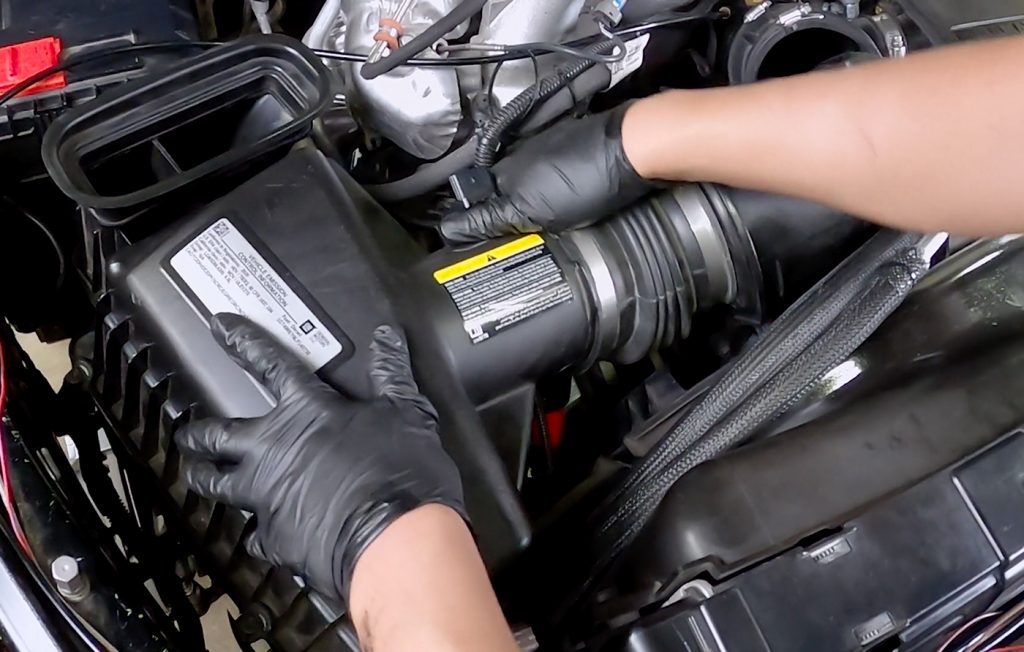
8. Starting at the turbo inlet, remove the factory air intake system.
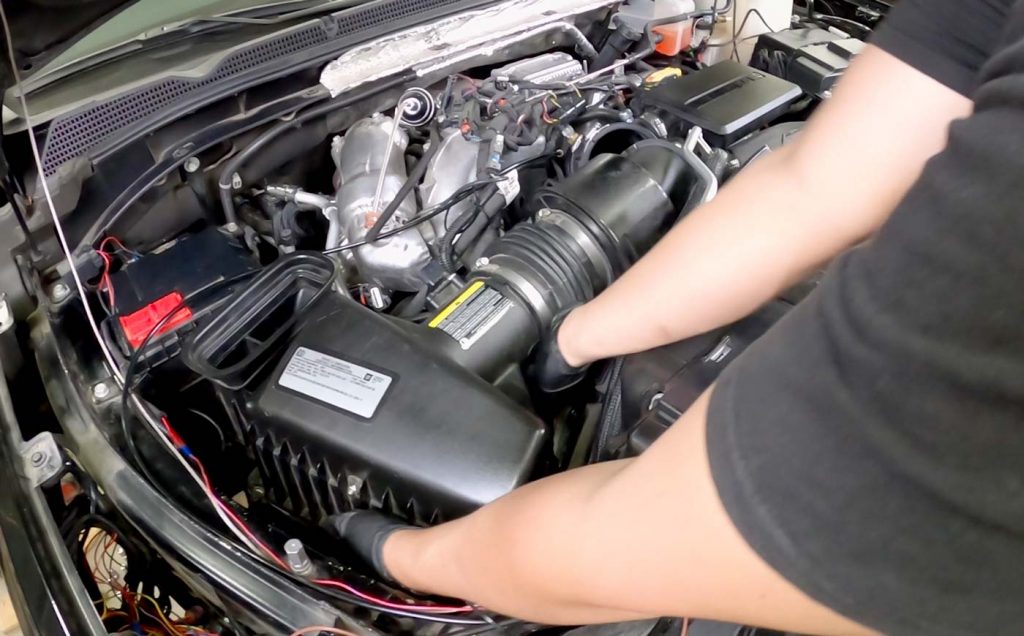
9. Then lift the intake assembly out of the engine bay, removing the whole thing from the truck.
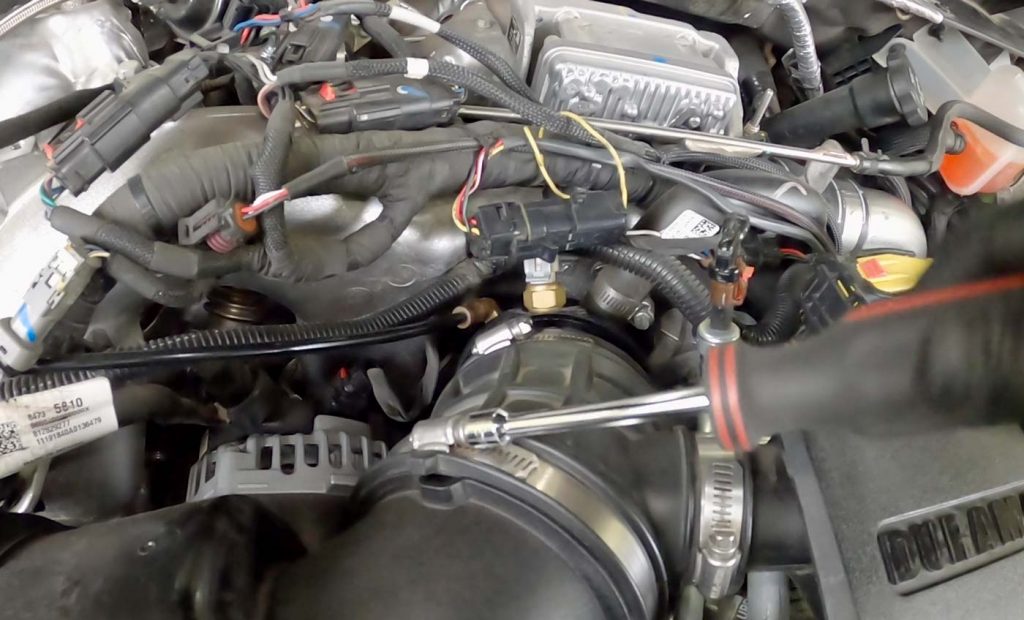
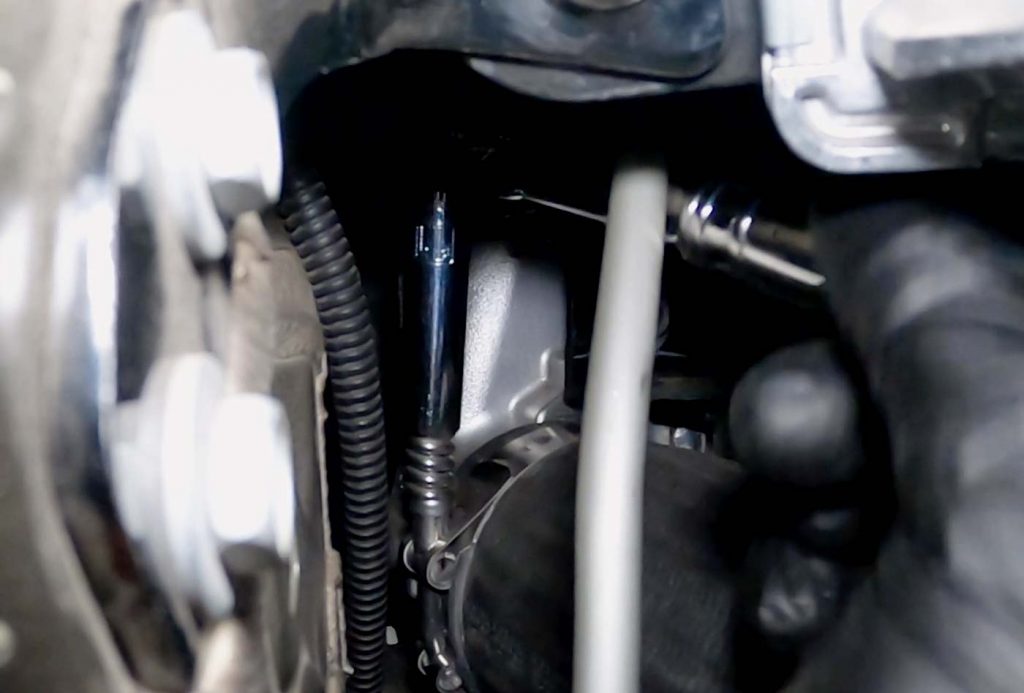
10. Disconnect the temperature sensor, and pull it back to release.
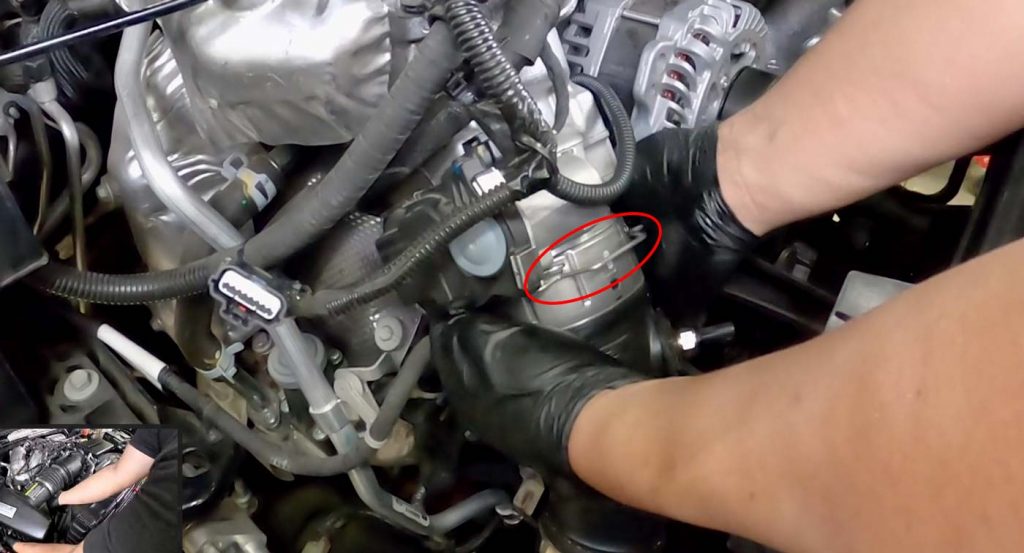
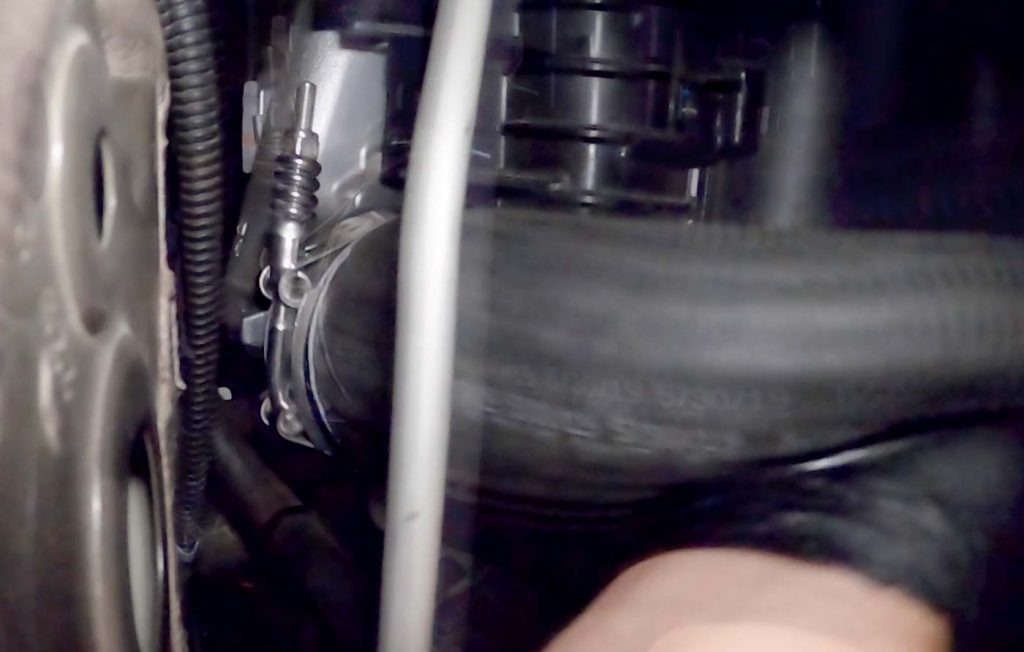
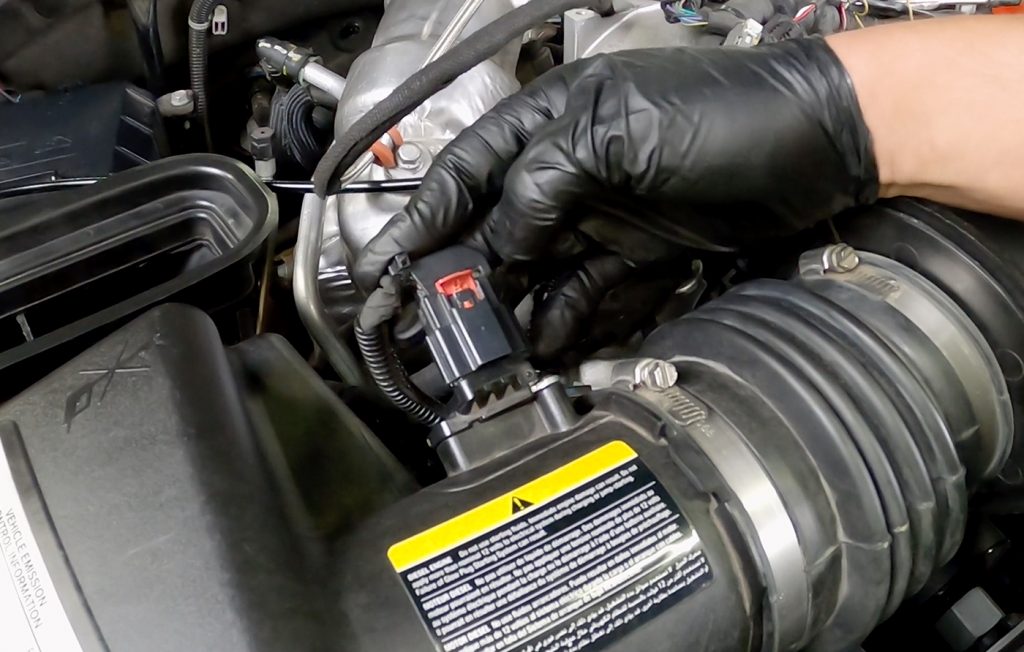
11. Release the clip to free the OEM tube from the throttle body.
Pull the upper clip from both sides and pull it back to remove.
12. Release the clip to free the OEM tube from the intercooler outlet.
13. Remove the cold side OEM tube from the Truck.
Section 2: Removal of the OEM hot side tube
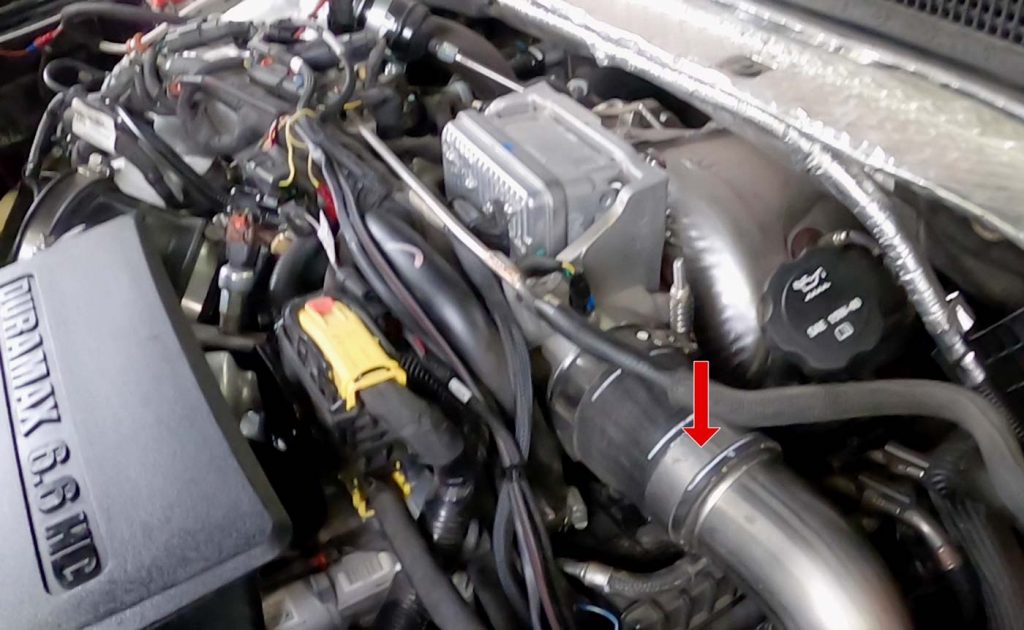
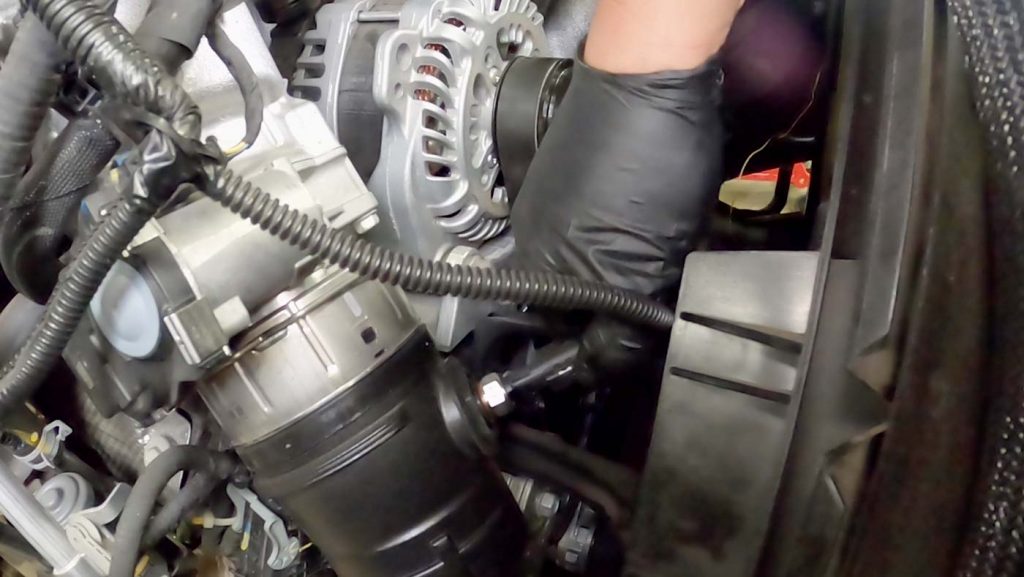
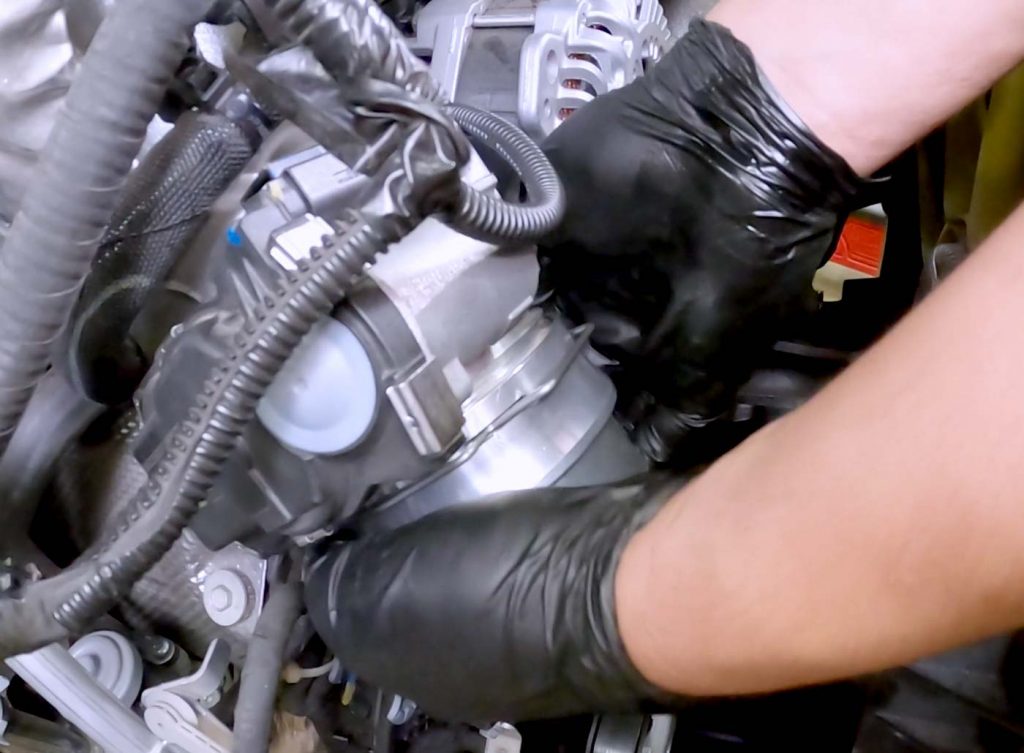
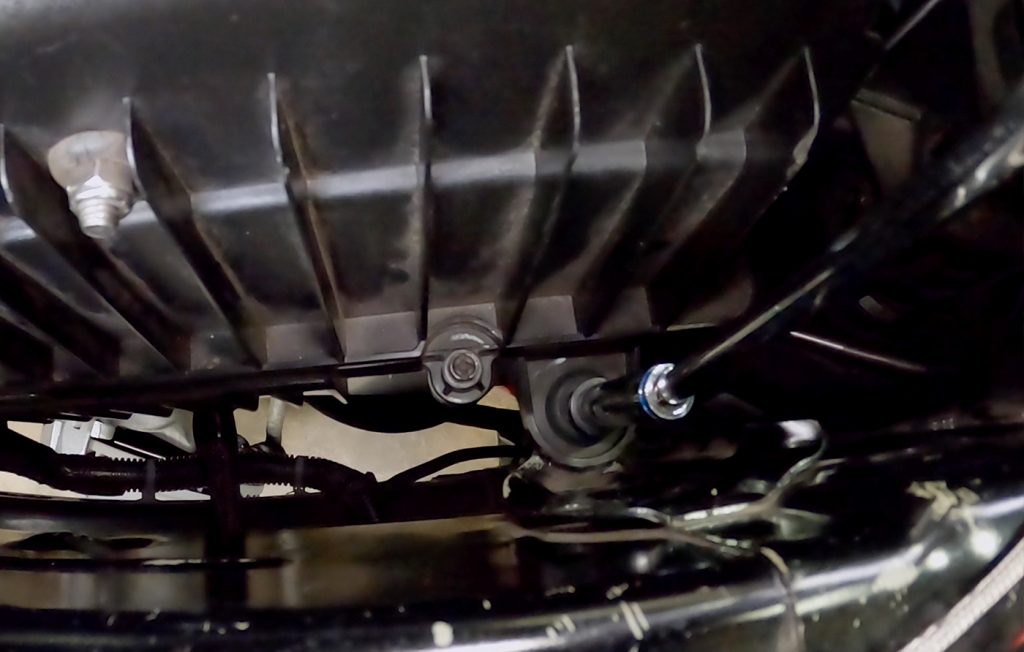
1. Undo the hose clamp holding the top of the OEM hot side tube to the turbo discharge.
2. Undo the hose clamp holding the bottom of the OEM tube to the Intercooler Inlet.
3. With a side-to-side motion, pull back until it’s free.

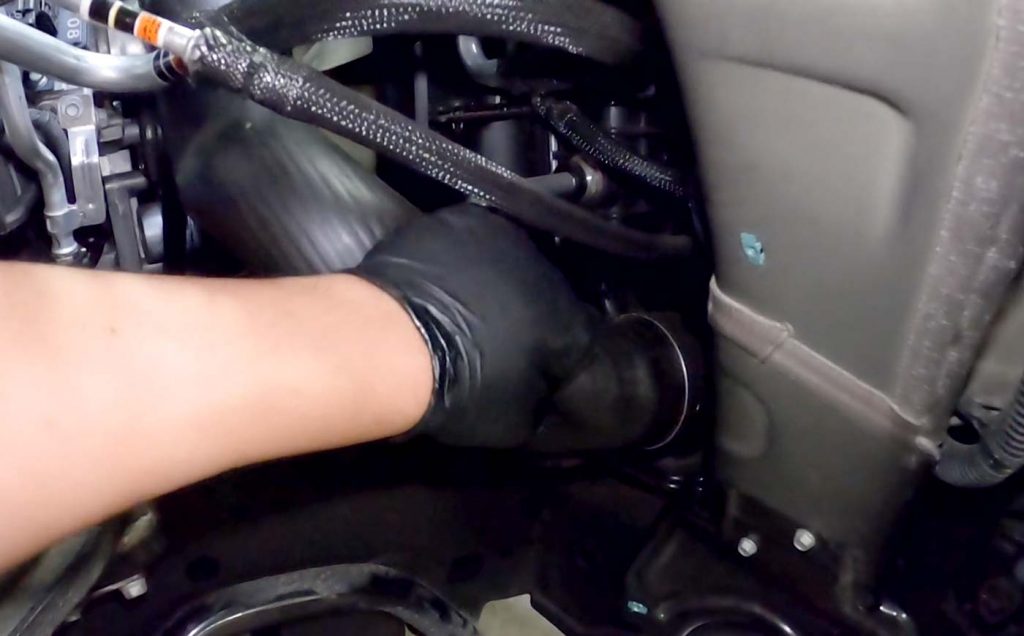
4. Disconnect the OEM hose connected to the turbo discharge.
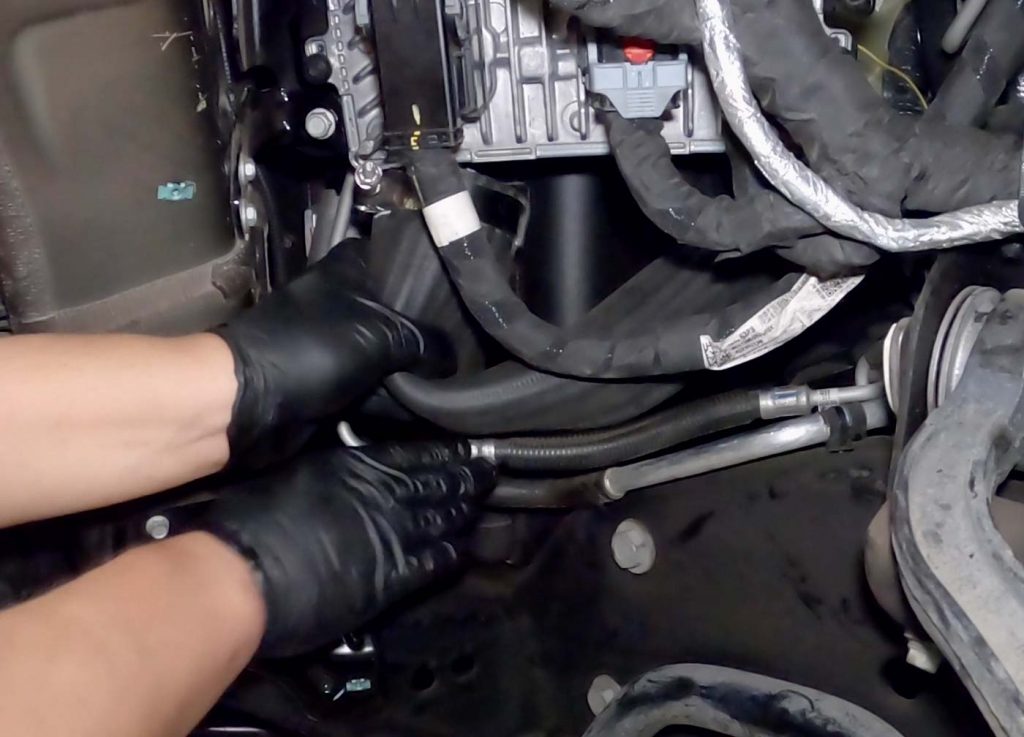
5. Now pull the entire OEM hot side tube down and out from the Truck.
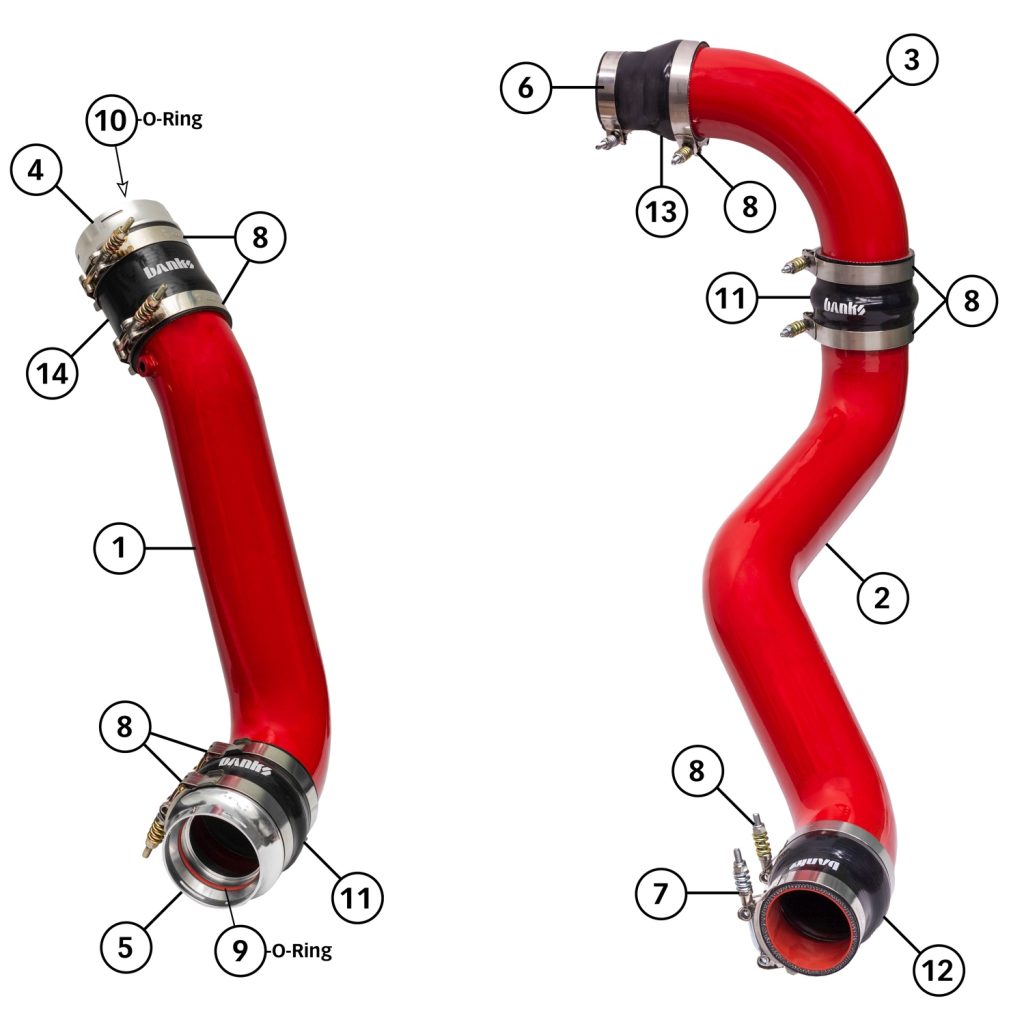
Section 3: Installing the Banks Cold Side Boost Tube
1. With a 16mm wrench, unscrew the temperature sensor from OEM cold side tube.
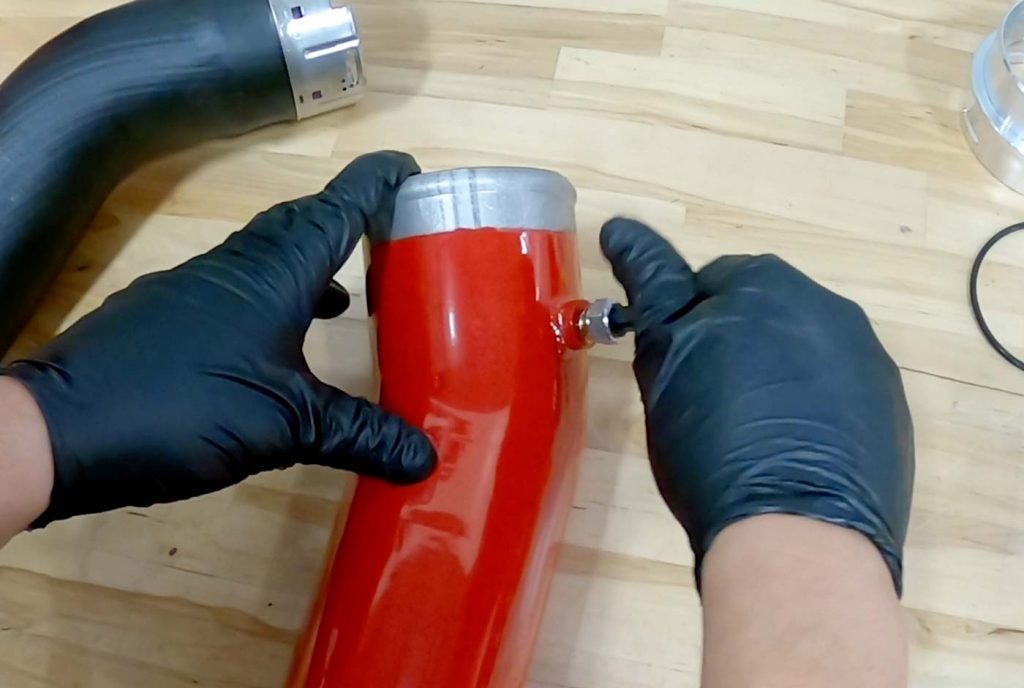
2. Fasten it to the Banks Boost Tube.
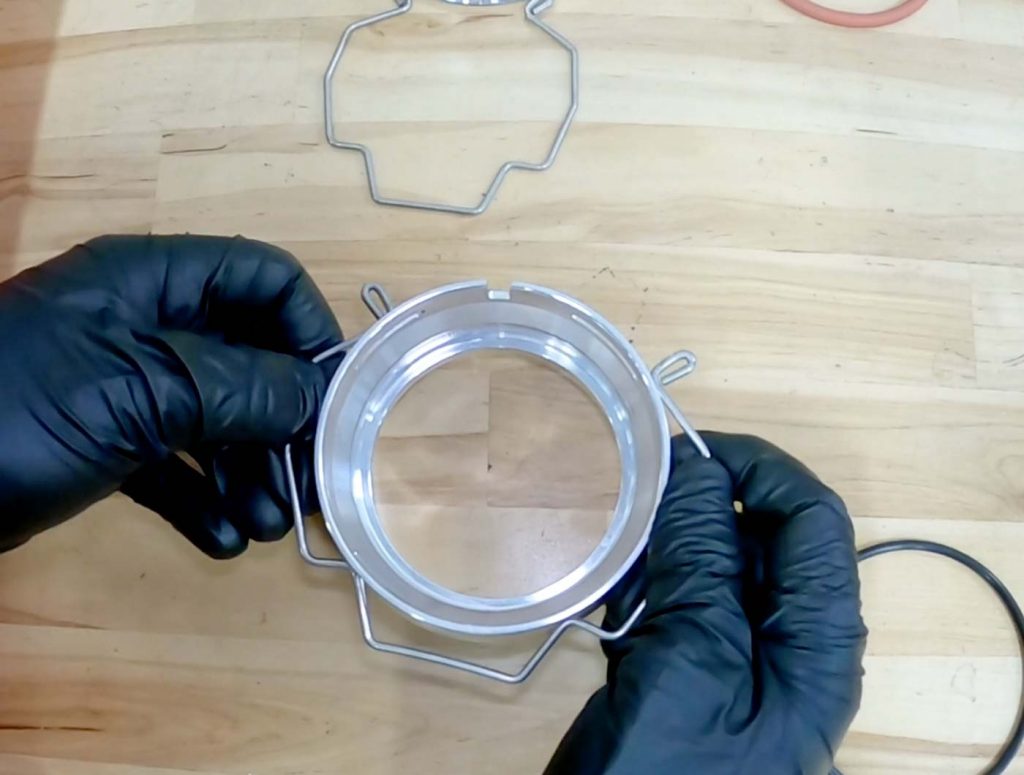
3. Transfer the retainer clips from both ends of the OEM tube to the Banks Billet adapters.

4. The clip off of the upper end of the OEM tube (larger clip) goes onto the Banks billet adaptor 42319.
5. The clip from the lower end of the OEM tube, (the smaller clip) goes onto the Banks billet adaptor 42320.
Lubricate and install the O-rings on the Banks adapters. Silicone spray or engine oil can be used as a lubricant.
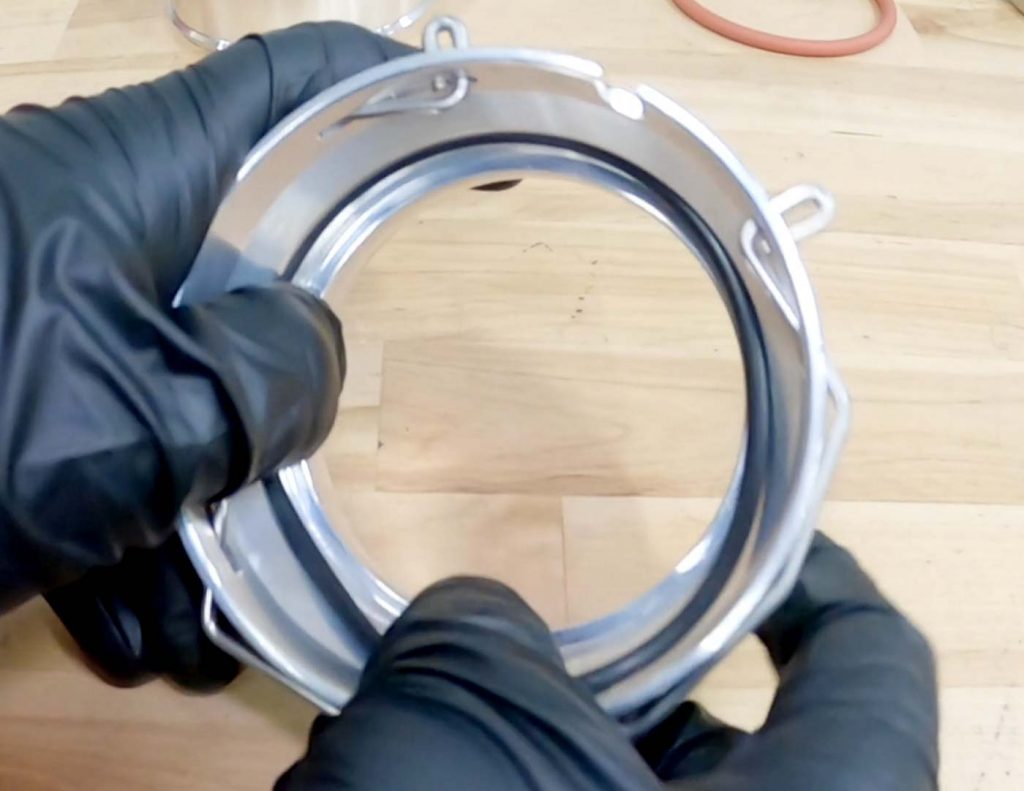
6. With your thumb, proceed to push the O-ring into the groove as you push and slide it into place. The thinner O-ring goes on the billet adaptor 42319.

7. The thicker one goes on the billet adapter 42320.
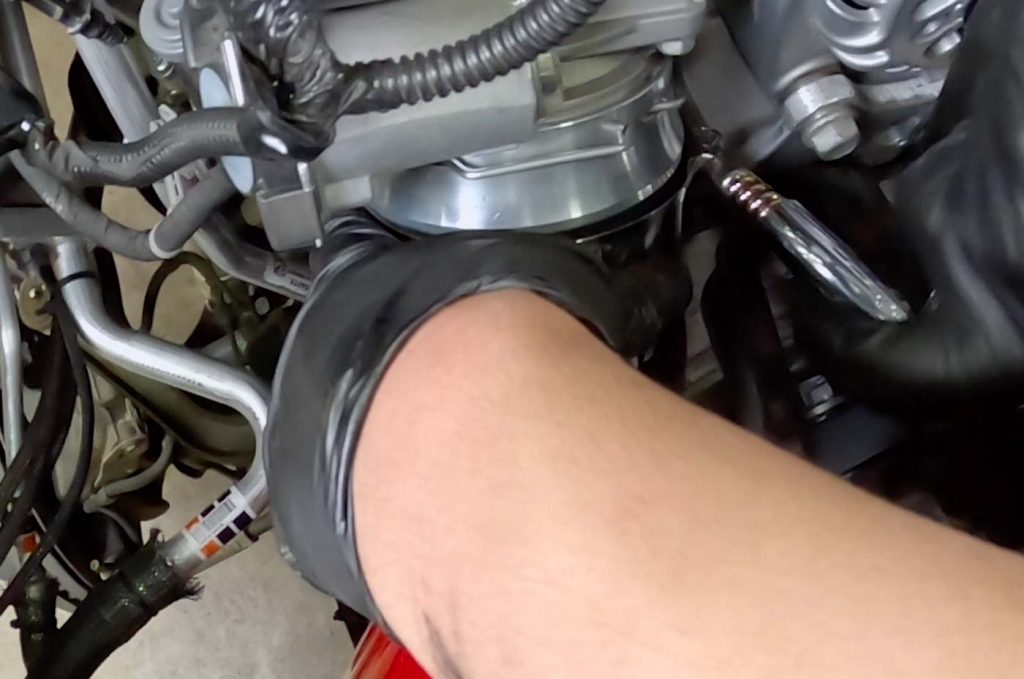
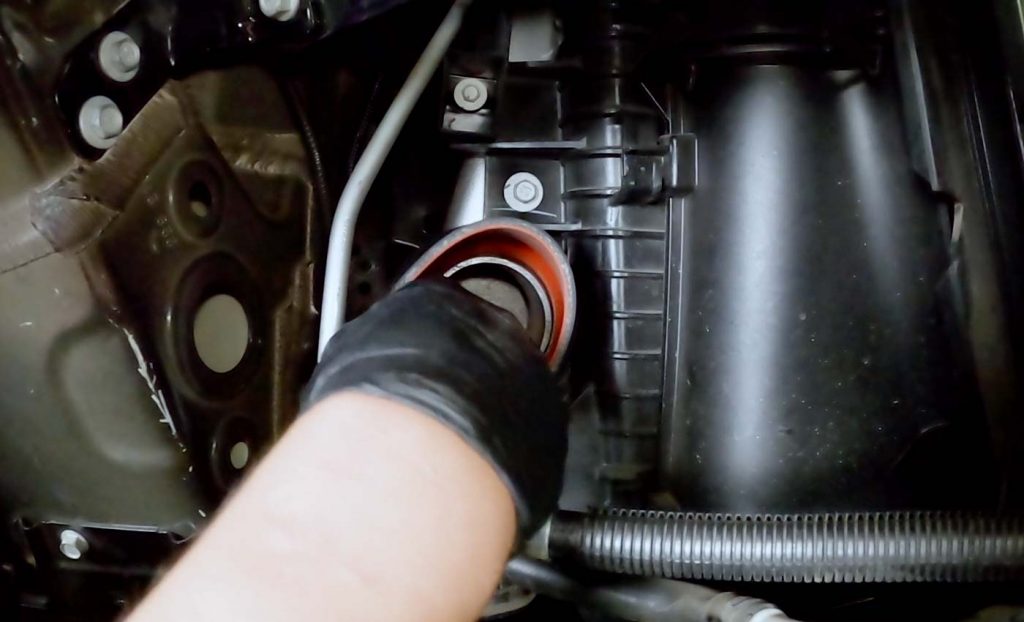
8. Push the adapters onto the throttle body and the intercooler outlet.
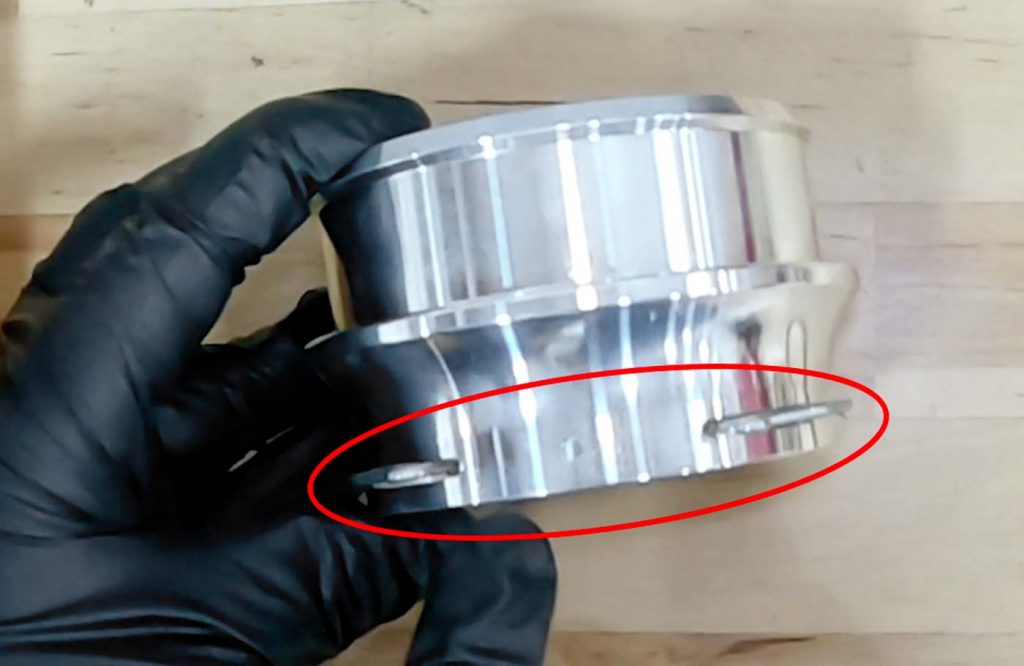
Check and confirm the retaining clips “click” into place.
9. Snap in the lower adaptor onto the intercooler, line up and push, slightly twist, as it clicks into place.
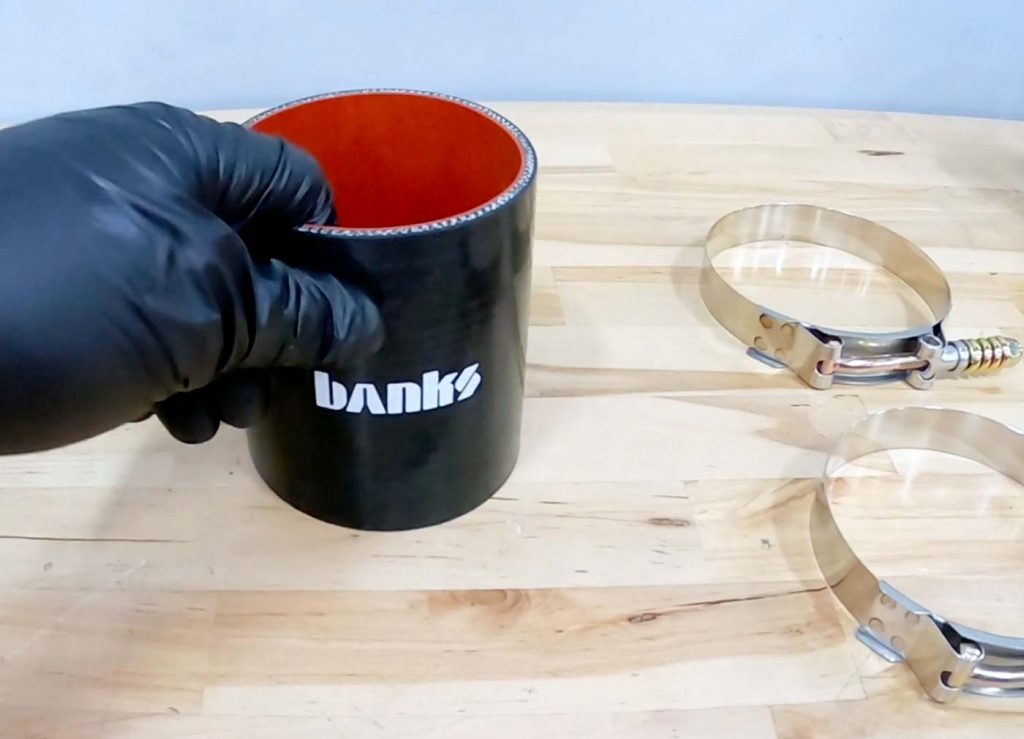
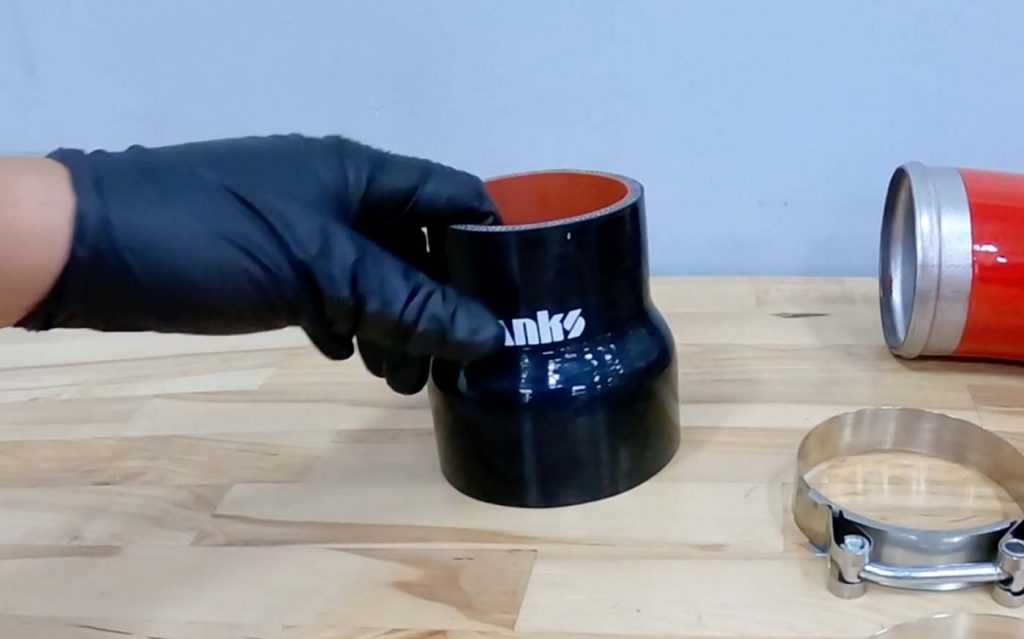
10. Grab the upper cold side hose (94334) and two 4″ clamps (92901).

11. Slip the hose and clamps onto the Upper Boost Tube Adapter.
Leave them all loose for now.
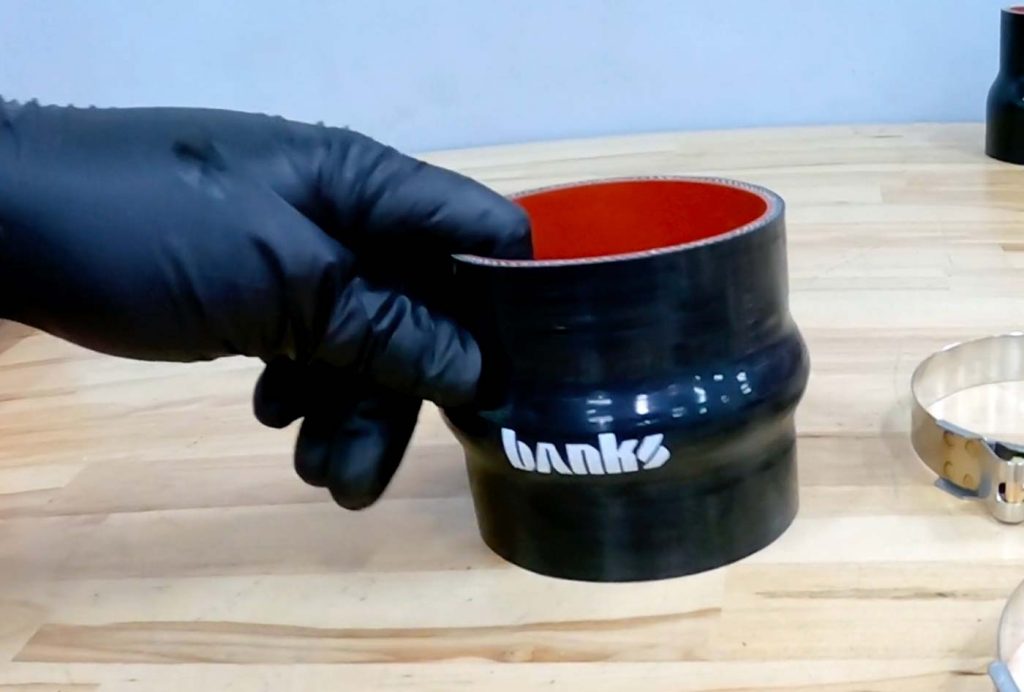
12. Grab the lower cold side Boost Tube hump hose (94321) with two 4″ clamps (92901).
13. Install the cold side bottom hose onto the billet adaptor connected to the intercooler with its clamps.
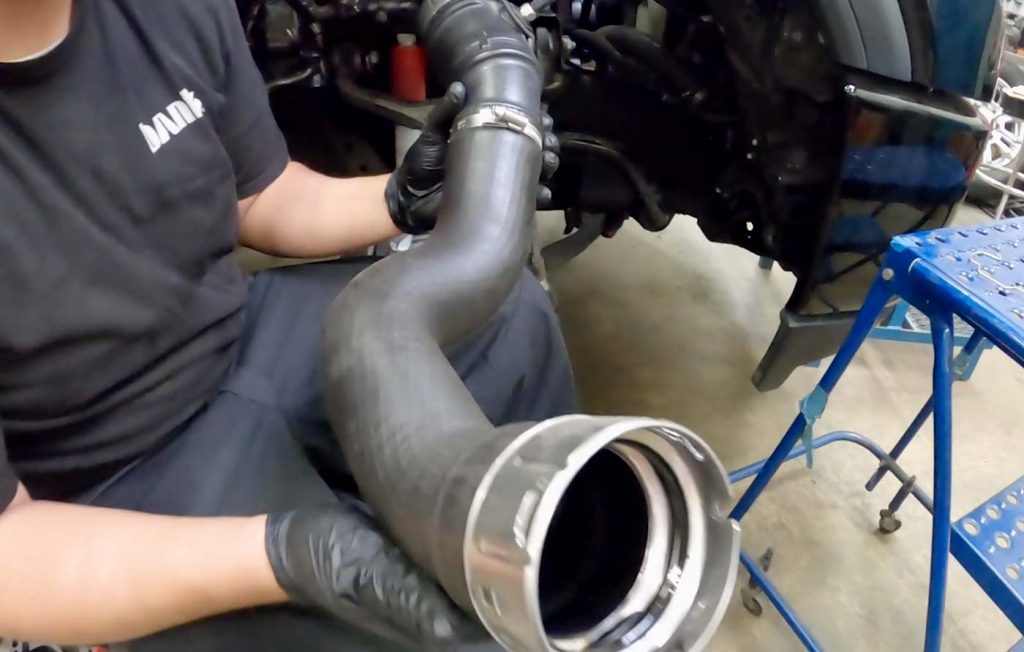
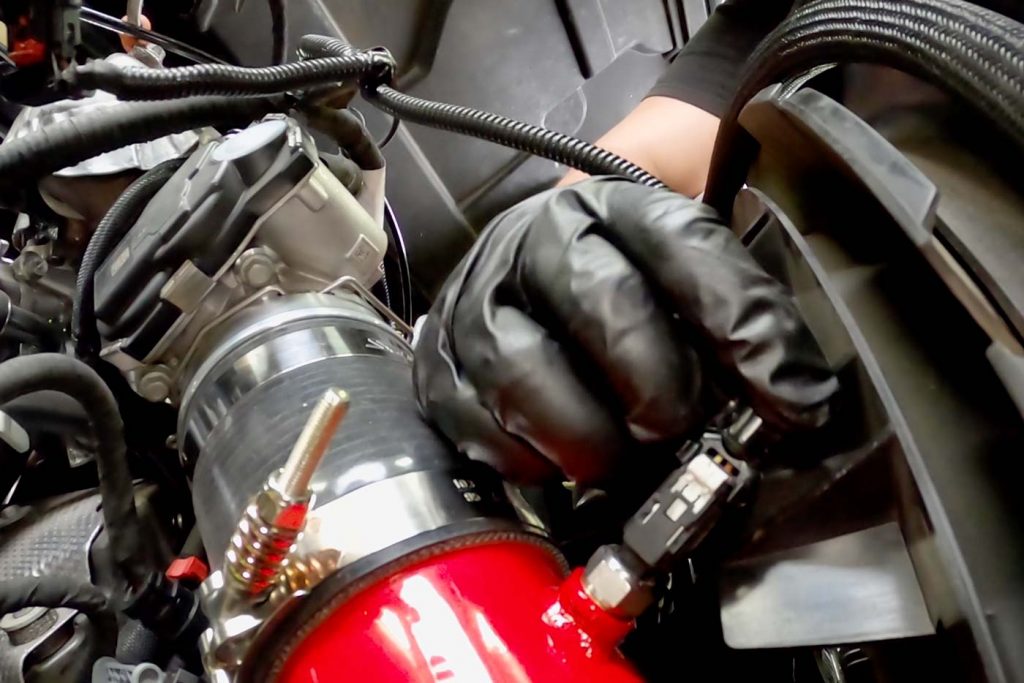
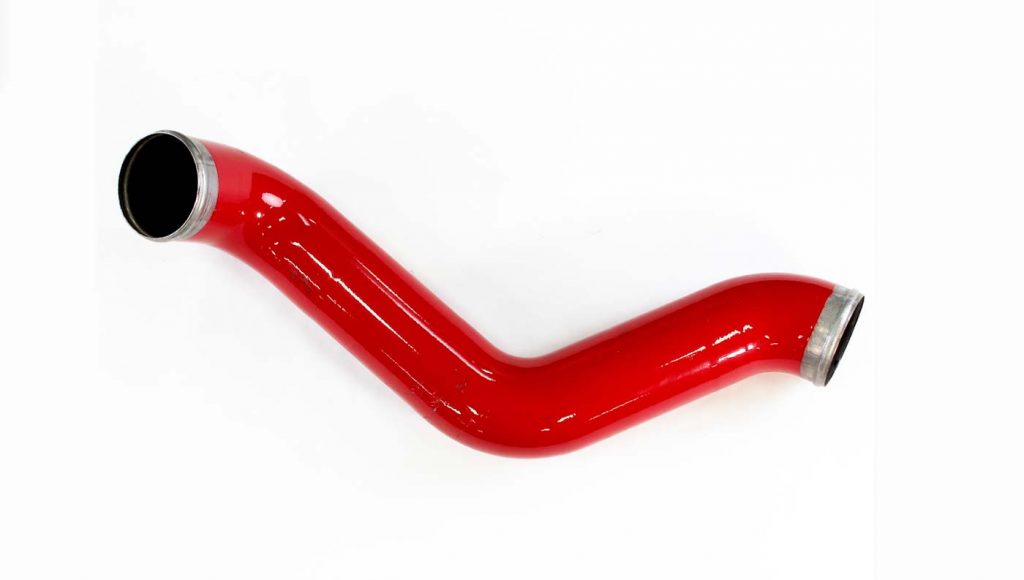
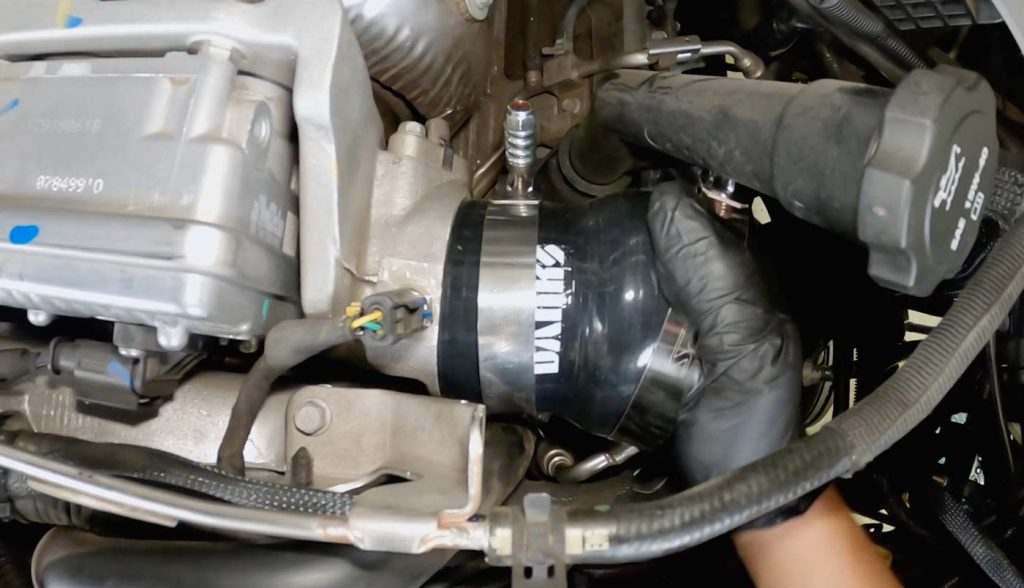
14. Grab the Banks cold side Boost Tube.
You’ll want to install from underneath the truck.
Make sure that the temperature sensor has proper clearance.
15. Slide the Banks cold side Boost Tube onto the upper cold side hose with the clamps preinstalled.
16. Then slip the lower hose on.
Adjust the tube before tightening all of the clamps.
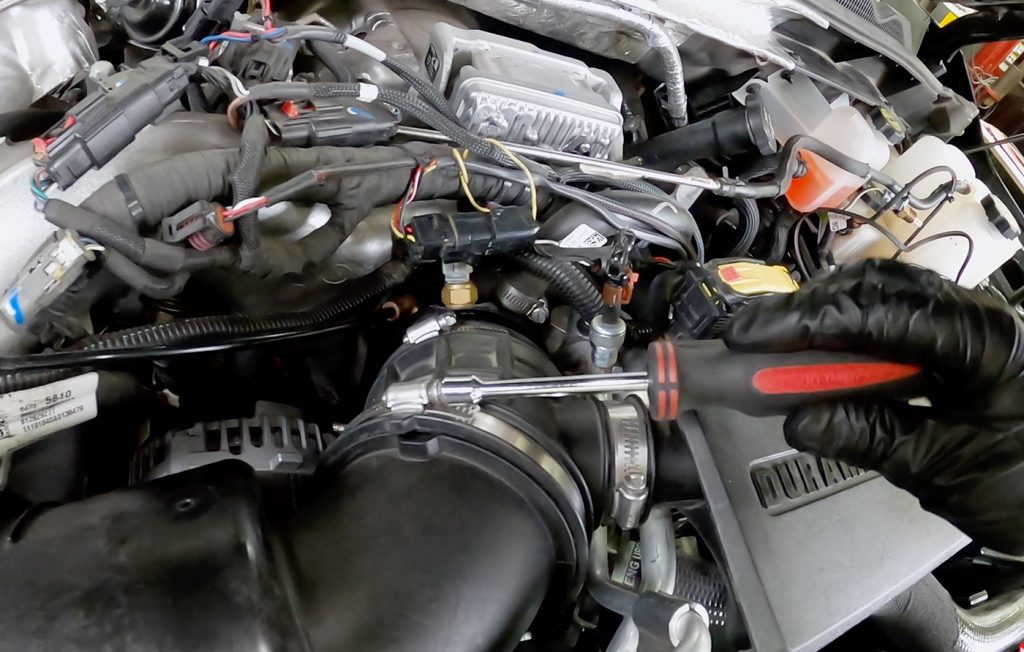
17. Once everything is in place, tighten the clamps on the coupler.
Torque them down to 5- foot-pounds.
Start with the top clamp and then move to the bottom clamp.

18. Move to the lower coupler on the Banks cold side Boost Tube clamps to tighten.
Start with the furthest one back, then tighten the front clamp.
19. Then plug in the temperature sensor.
20. Then reinstall the air intake system.
20a. With your flat blade screwdriver or an 8mm socket, tighten the hose clamp.
20b. With the Ratchet and a 10mm extension, reinstall the airbox nut.
20c. Reconnect the Mass Air sensor (MAF).
Section 4: Installing of Banks Hot Side Boost Tube
1. Grab the Banks lower hot side hose (94330), and clamps (92901 & 92895).
2. Fit the Banks hose over the Intercooler Inlet with both clamps in place but loose for now.
3. Grab the upper hot side Banks Boost Tube hose (94333) and clamps(92901 & 92860).
4. Fit the Banks hose (94333) over the turbo discharge with both clamps in place but leave loose.
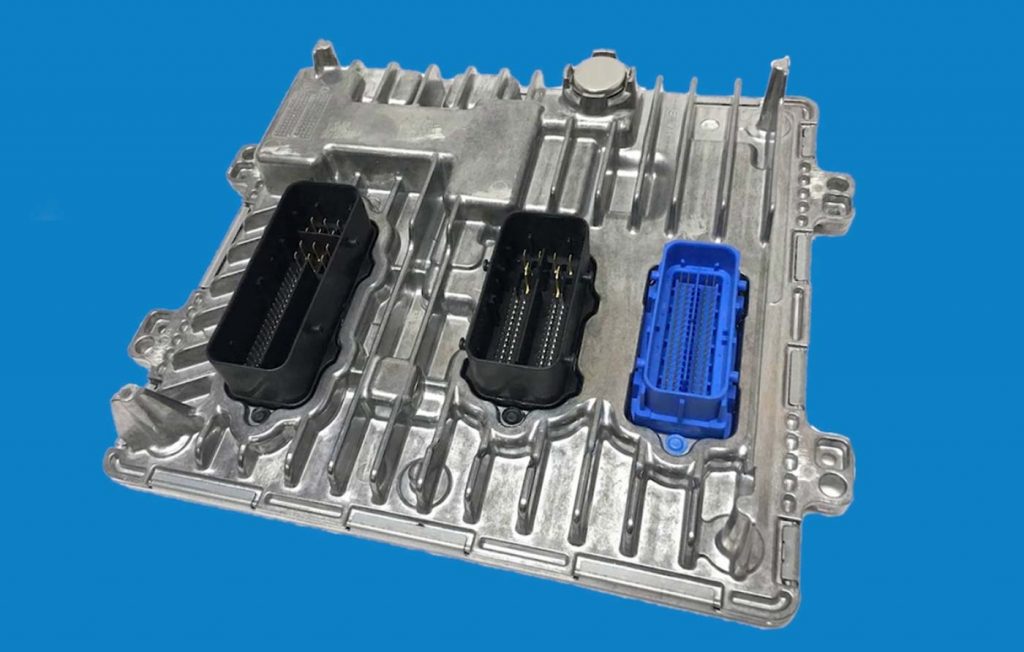
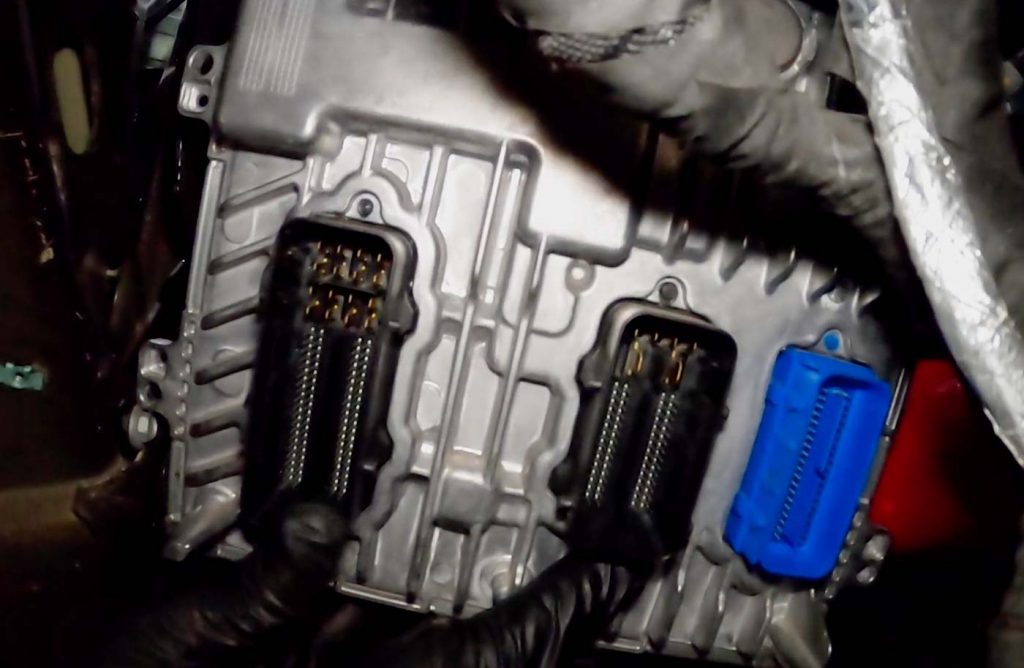
NOTE: For this next step, you will need to remove the engine computer to pass the lower hot side Banks Boost Tube through.
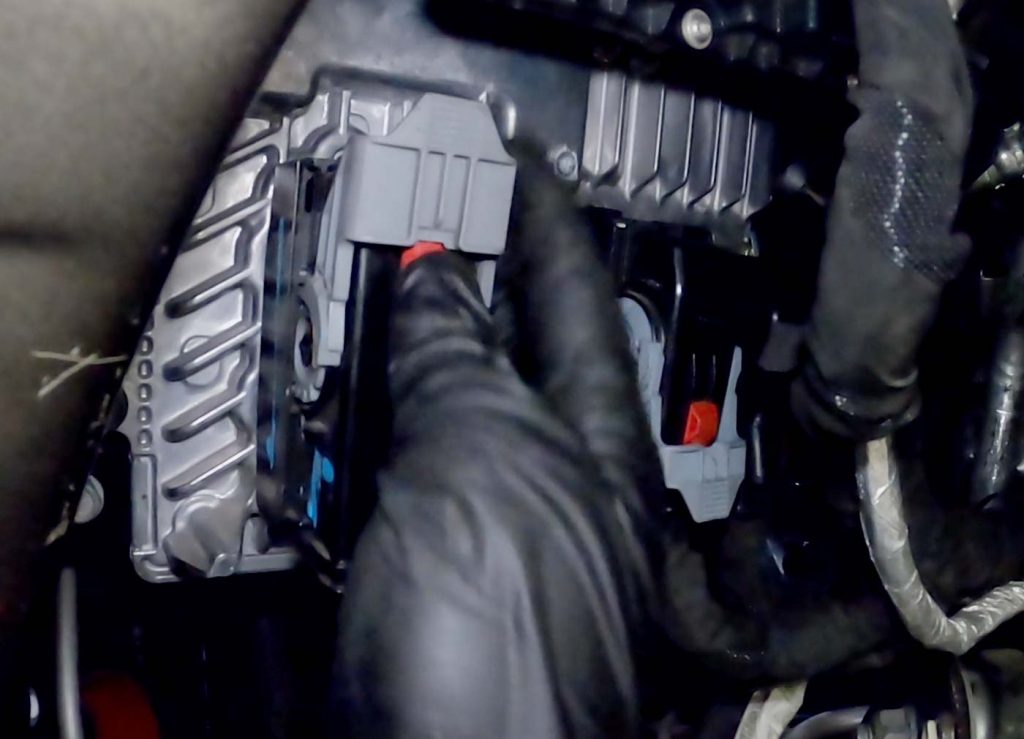
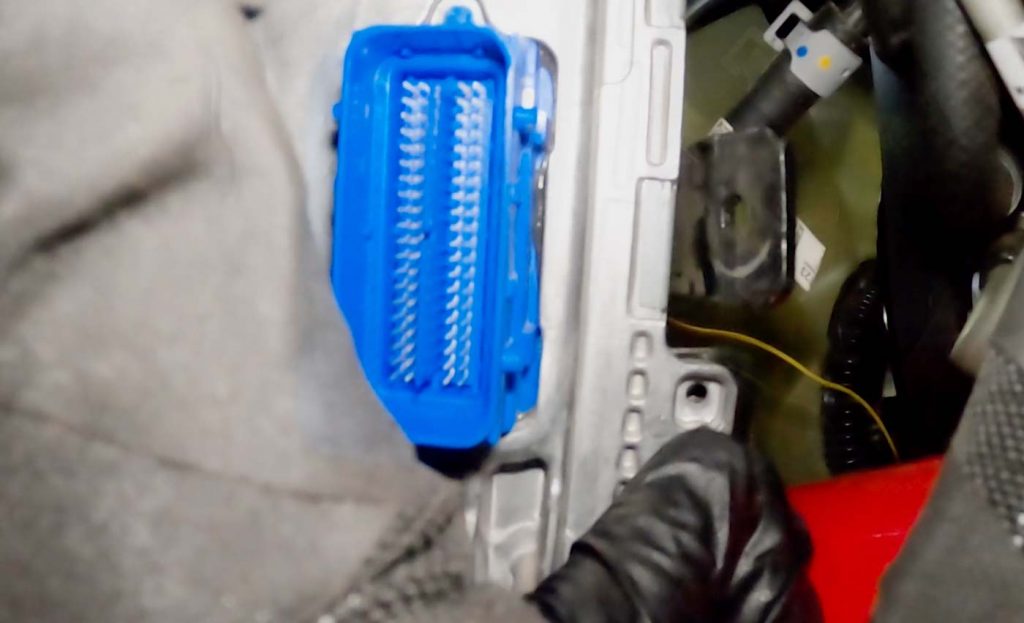
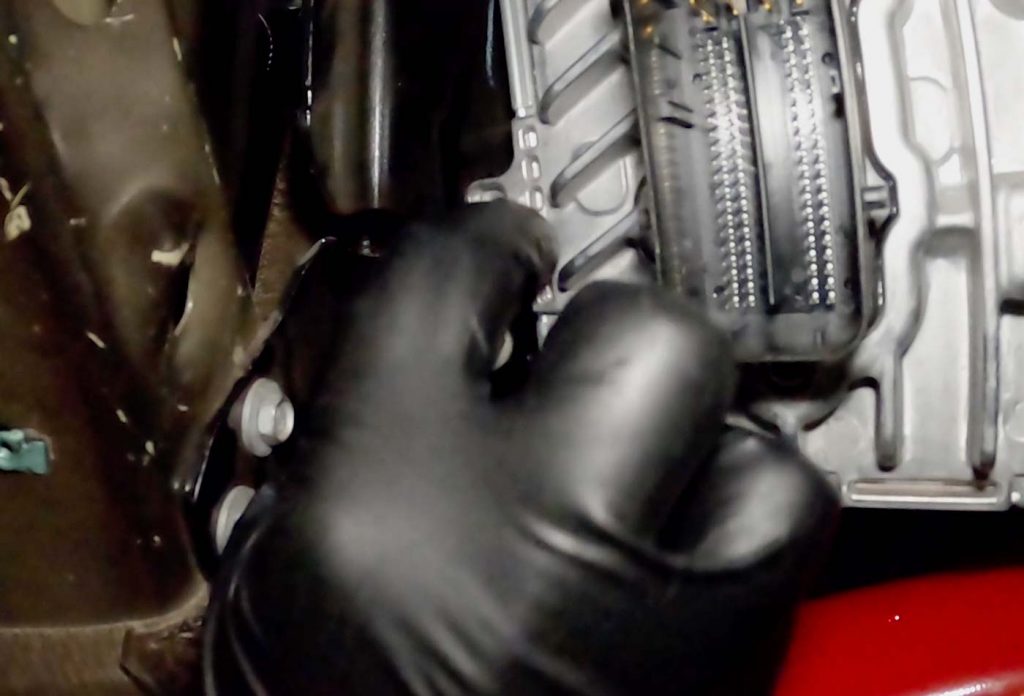
5. Disconnect the ECM, connectors. Fully lift the tab up and wiggle free.
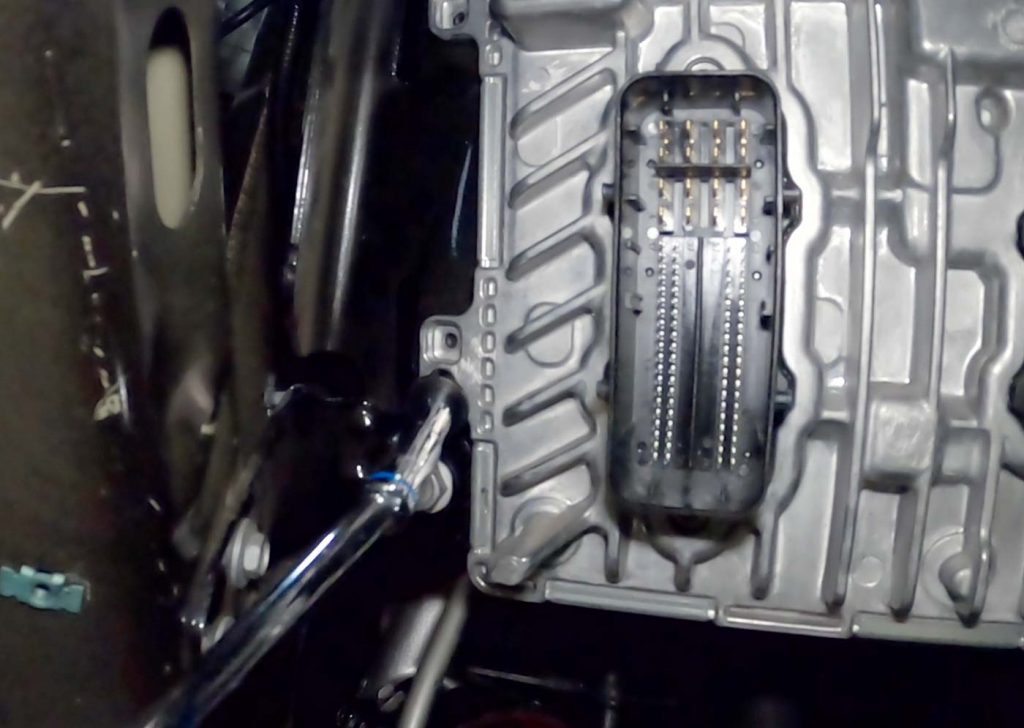
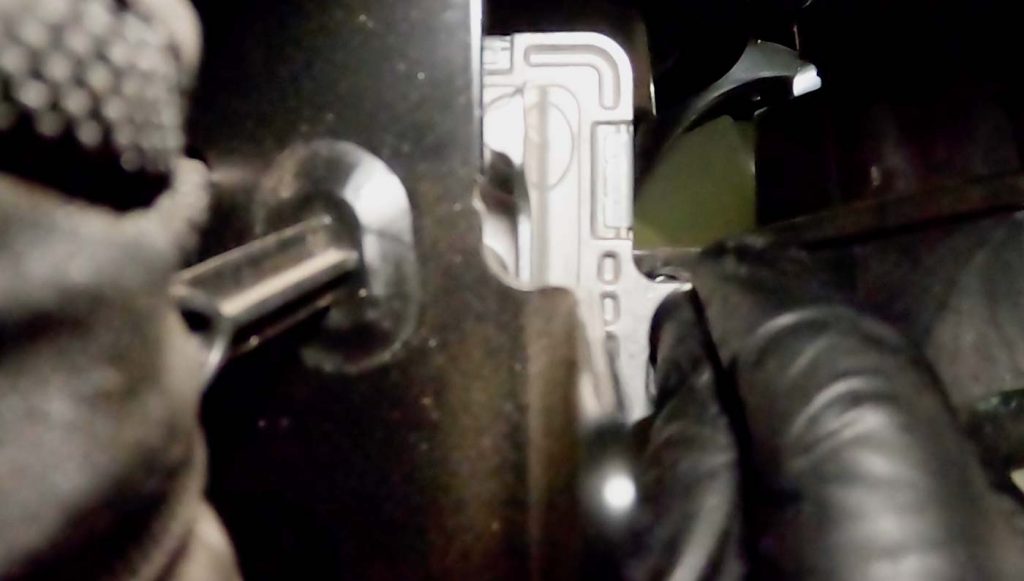
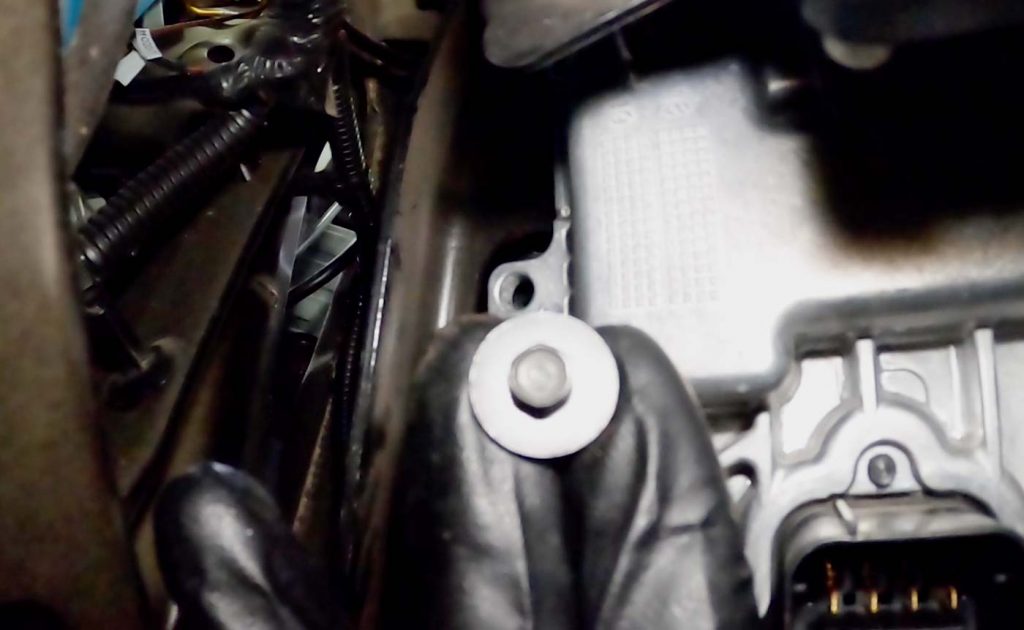
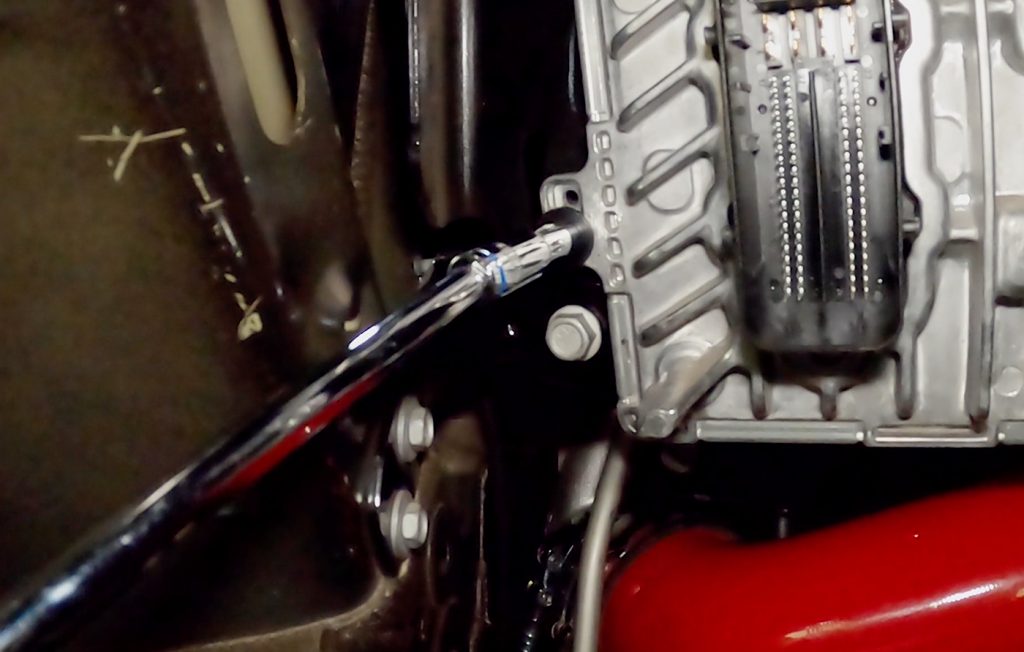
6. Next, remove the 4 bolts that hold it in place.
Then remove the ECM from the truck.
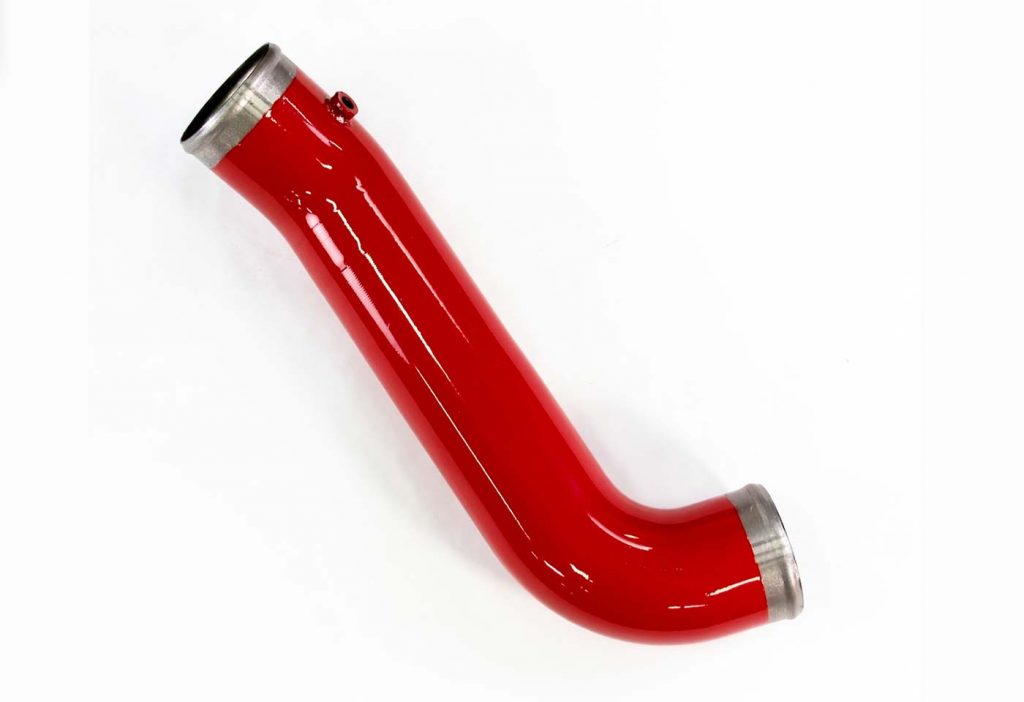
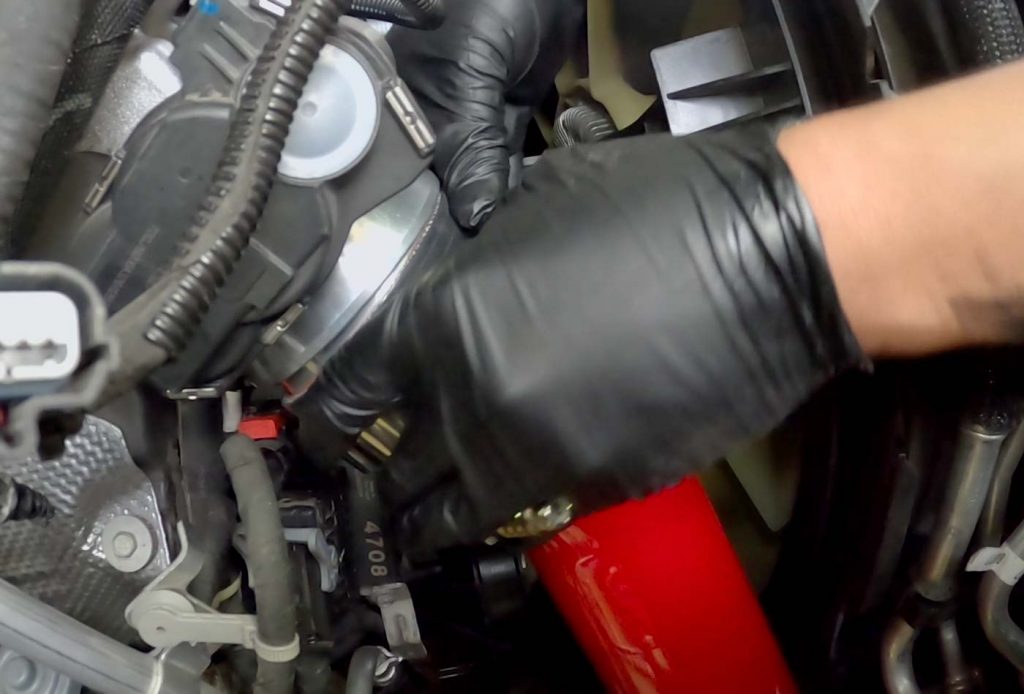
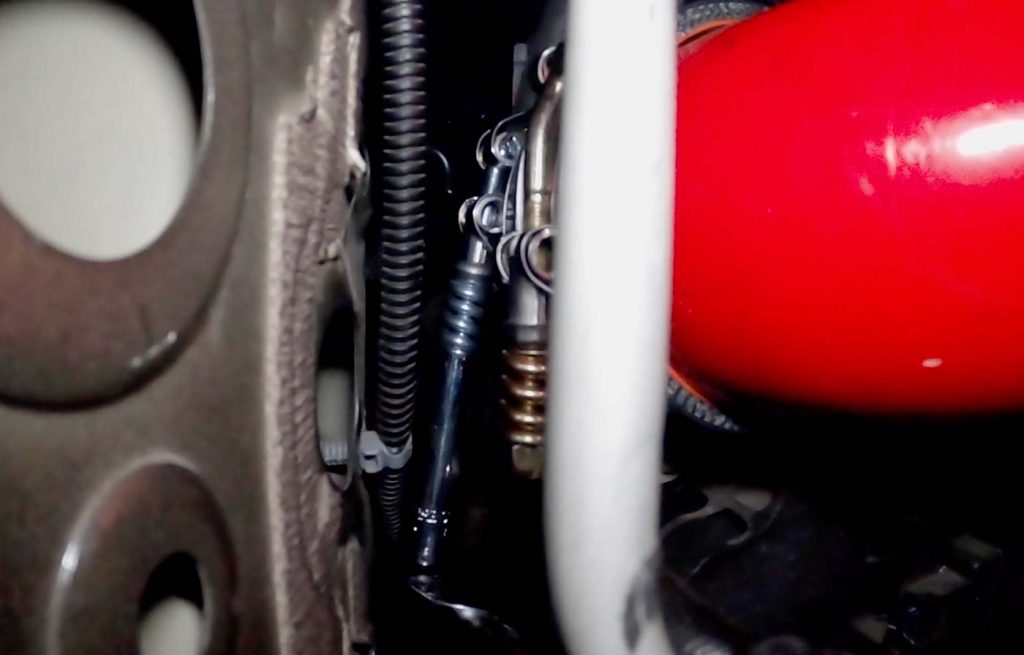
7. Grab the lower hot side Banks Boost Tube (42462-R).
8. Fit the lower Boost Tube into place by maneuvering it up from below the Truck.
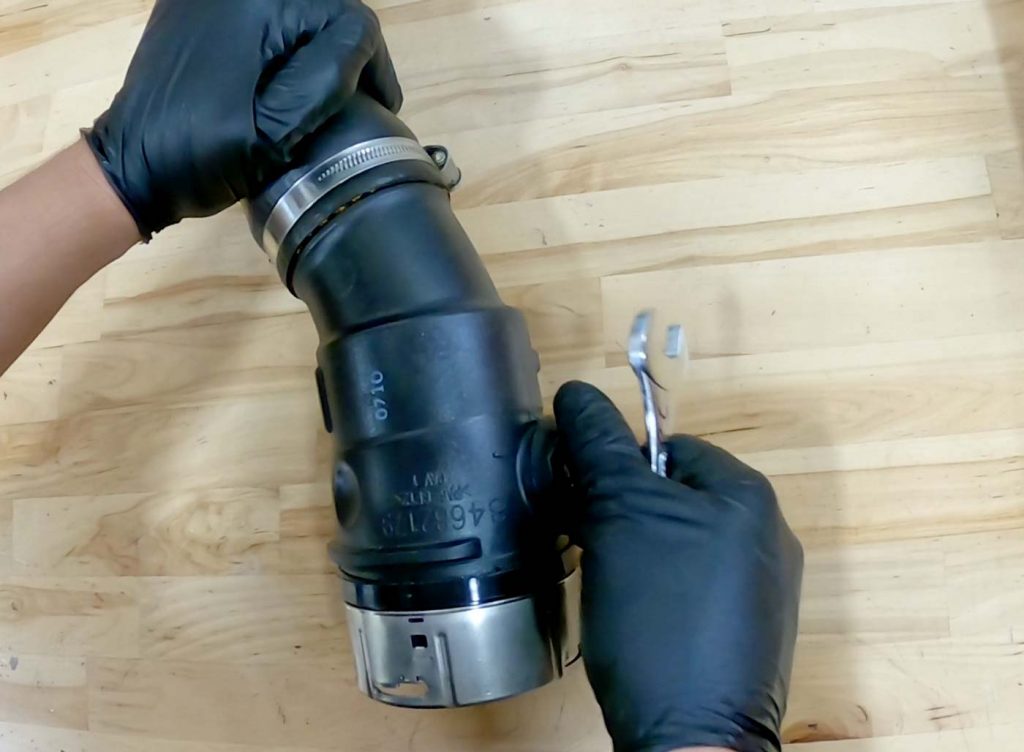
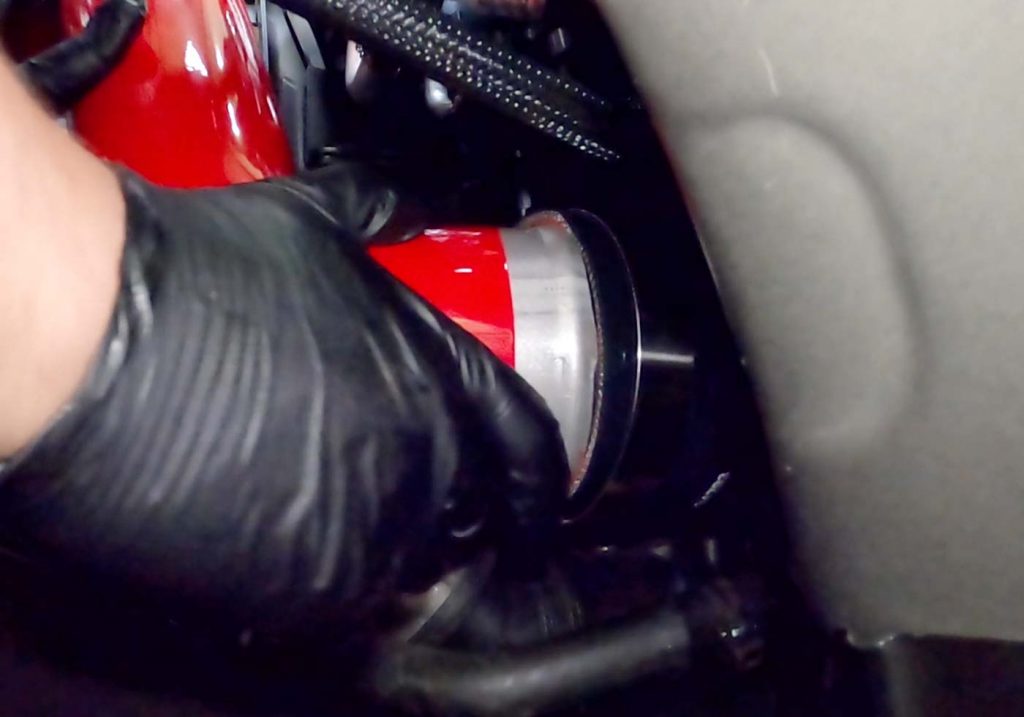
9. Now you will need the center hump hose (94321) and two 4″ clamps (92901 x2).

10. Slip the hump hose and clamps into place on the lower hot side tube.

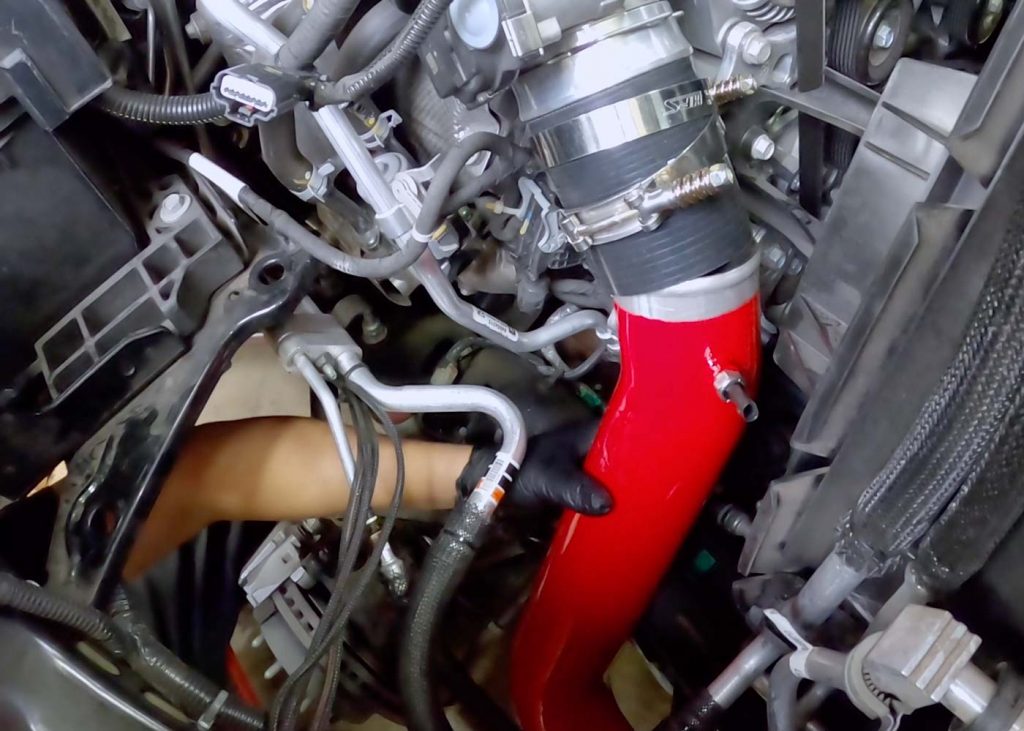
11. Grab the upper hot side Banks Boost Tube. (42460-R)
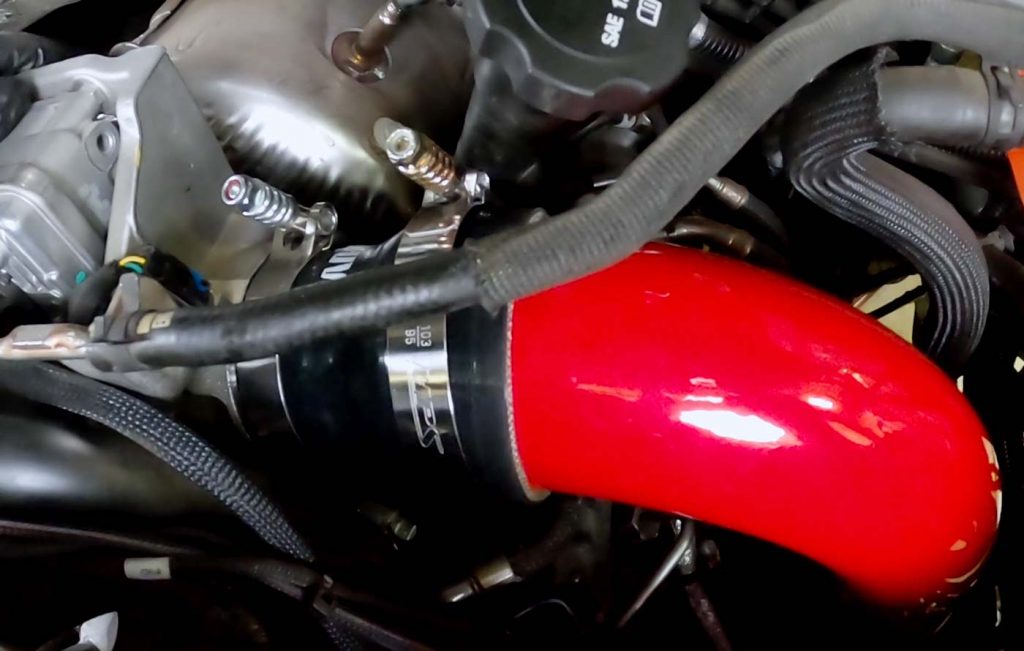
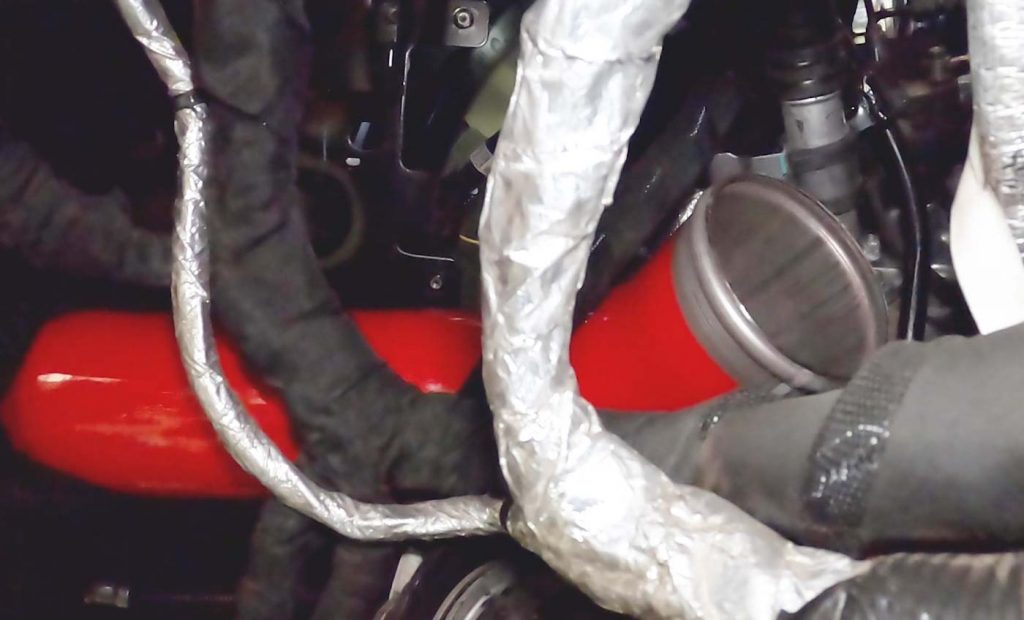
12. Fit the upper Boost Tube into place from the top of the engine bay.
Slip both ends of the Upper Boost Tube into the silicone hoses.
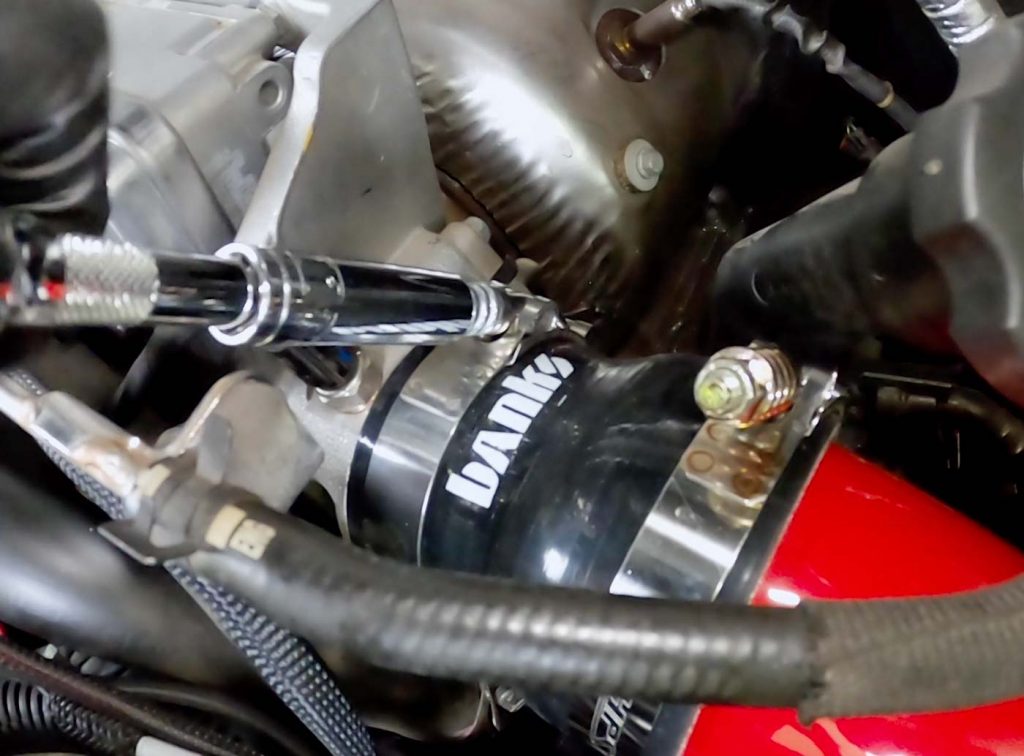
13. Tighten both of the upper Banks Boost Tube clamps on turbo discharge.
Torque the clamps to 5-foot-lbs.
Section 5: Connecting the Hot Side Intercooler Boost Tubes
14. Tighten the center Boost Tube hump hose upper clamp.

15. Next, tighten the center Boost Tube hump hose lower clamp.
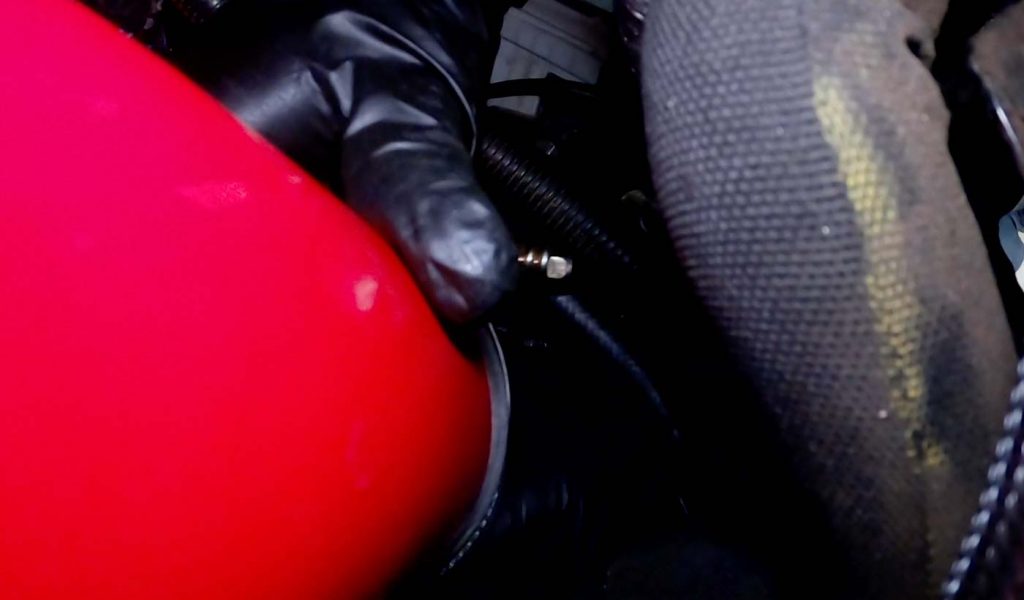
16. Tighten the bottom Boost Tube hose clamps, on the hot side intercooler.
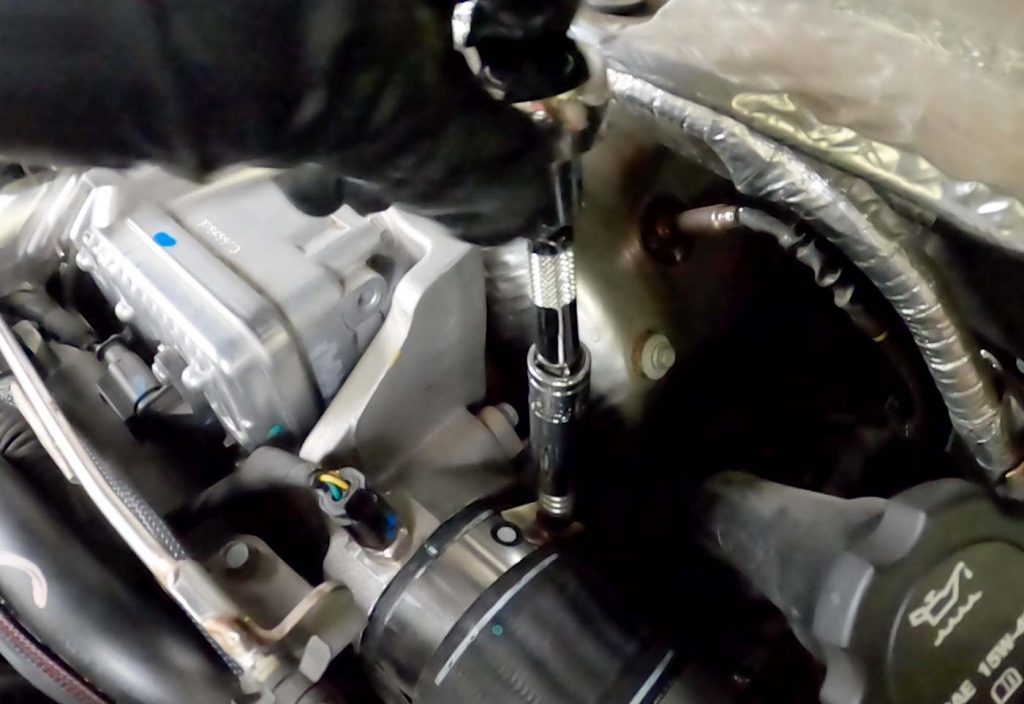
17. Now it’s time to reinstall the engine computer commonly referred to as the ECM.
Make sure not to tighten all the bolts until all 4 are seated and mostly threaded.
17a. Start by hand by installing the bottom bolt in the lower right corner.
17b. Next, place the 2nd bolt in the upper right corner.
17c. Then place the 3rd bolt in the lower-left corner.
17d. Lastly, place the 4th bolt in the top left corner.
18. With a ratchet, tighten all 4 of the ECM bolts.

19. With your T-15 Torx replace the booth of the fender liners.
20. Put both wheels back on.
Remove the truck from the hoist, and enjoy your brand-new Banks Power Boost Tube Kit!