


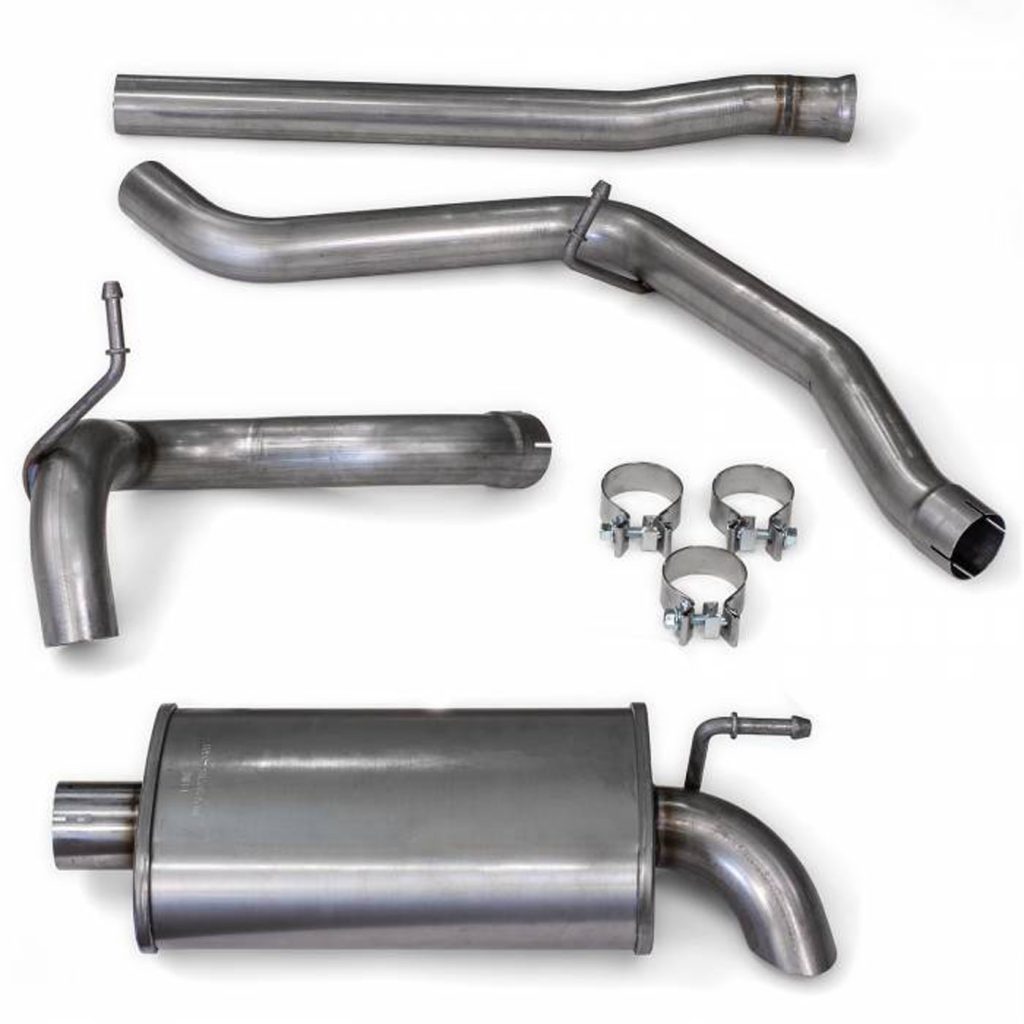
97725 Banks Monster Exhaust System 2018-24 Jeep JL 3.6L
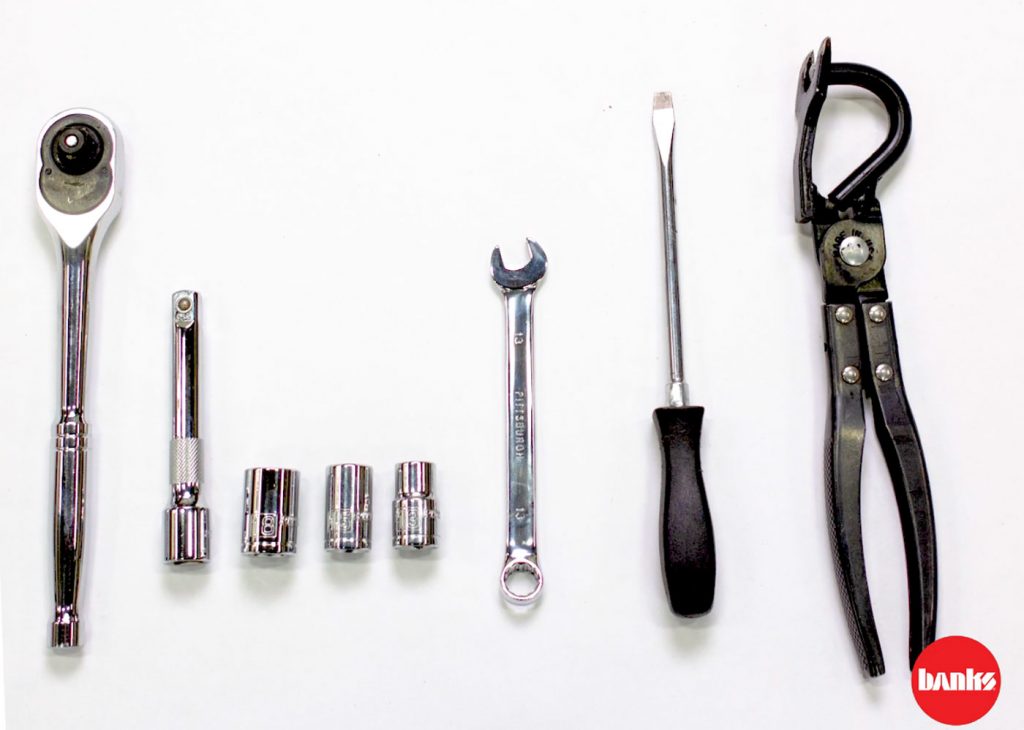
Required Tools
- Impact Driver or Wrench
- 15MM Socket
- 13MM Socket
- 18MM Socket
- Extensions
- Flat Head Screwdriver
- Exhaust Hanger Removal Pliers
NOTE: When removing the stock hardware, such as the hanger and assemblies, it is helpful to soak these parts with a spray lubricant, so you may want to add that to your set although it is not required
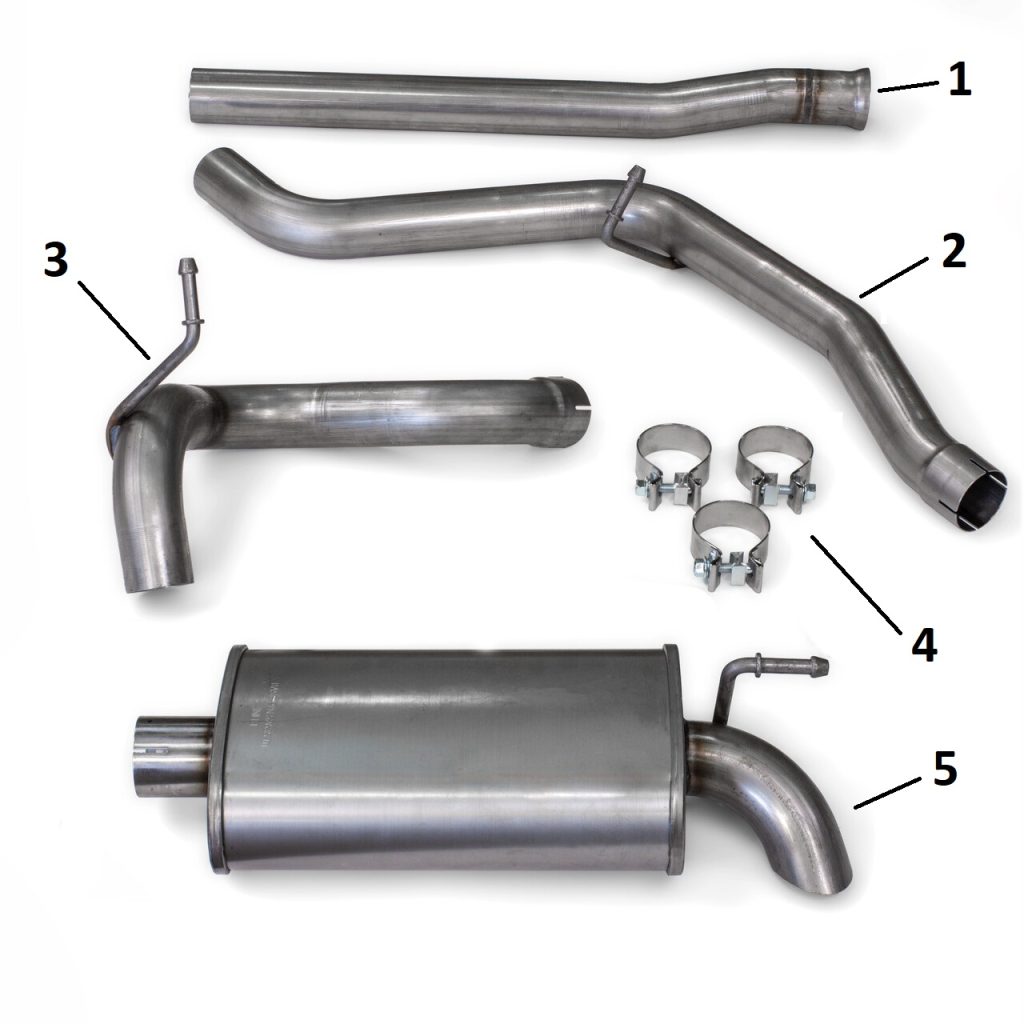
Bill of Materials

Section 1: Removing Stock Exhaust System
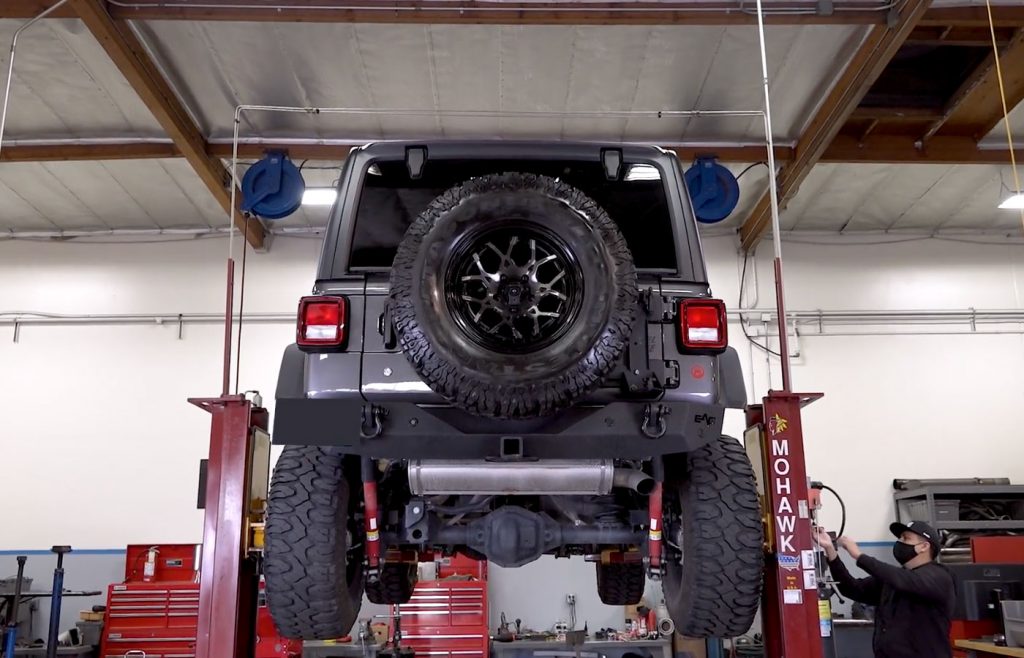
1. Secure the Jeep on a lift.
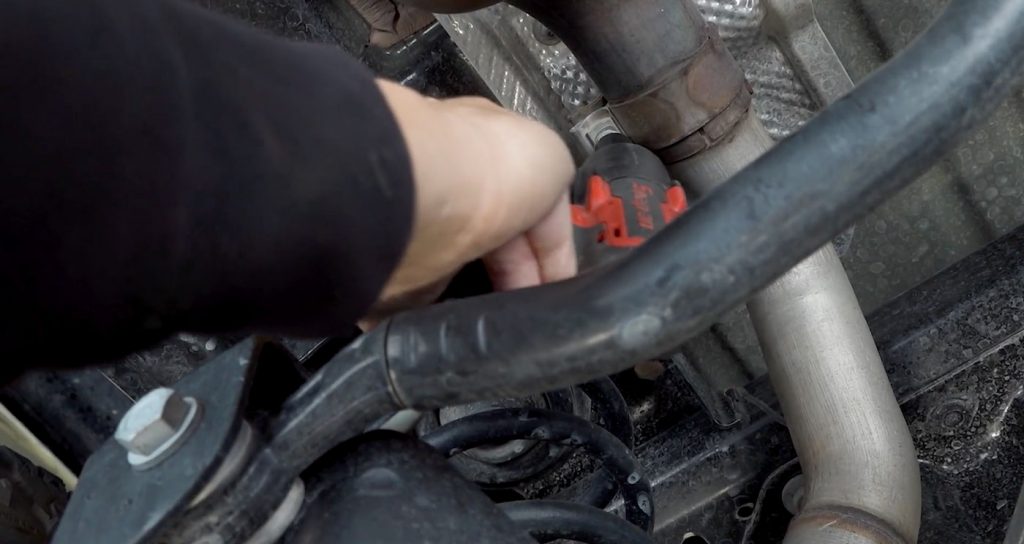
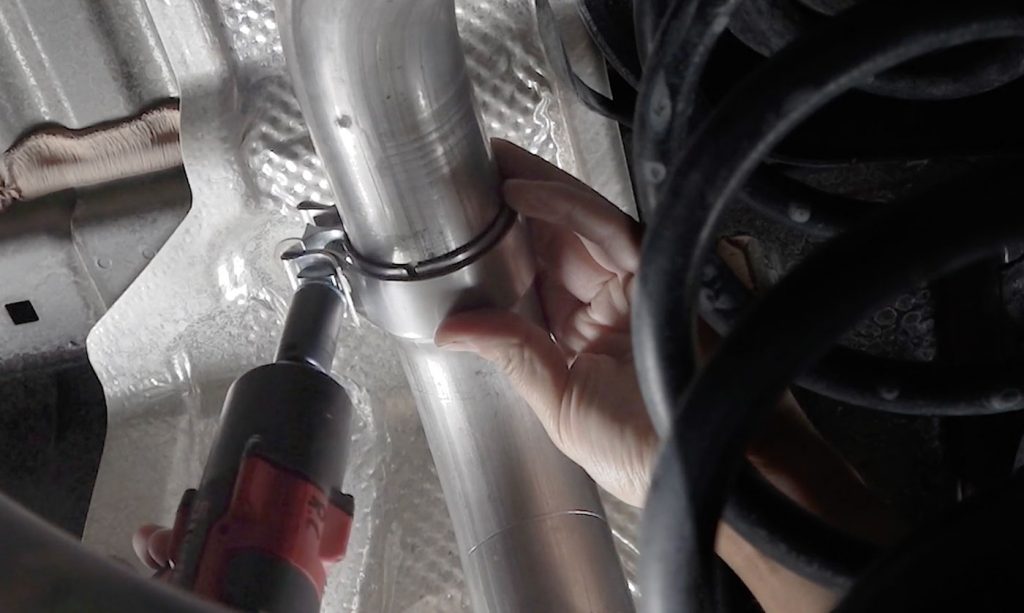
2. Loosen the driver-side exhaust clamp that secures the muffler pipe to the exhaust pipe.
3. With a 13mm wrench loosen and remove the bolt that secures the driver side muffler hanger to the chassis.
4. Next, with a 13mm socket remove the second bolt.
5. Now you’ll repeat the same procedure on the other side of the muffler and remove the two bolts that secure the passenger side muffler hanger to the chassis.
Note: Once you remove the bolts the muffler may sway and drop down.
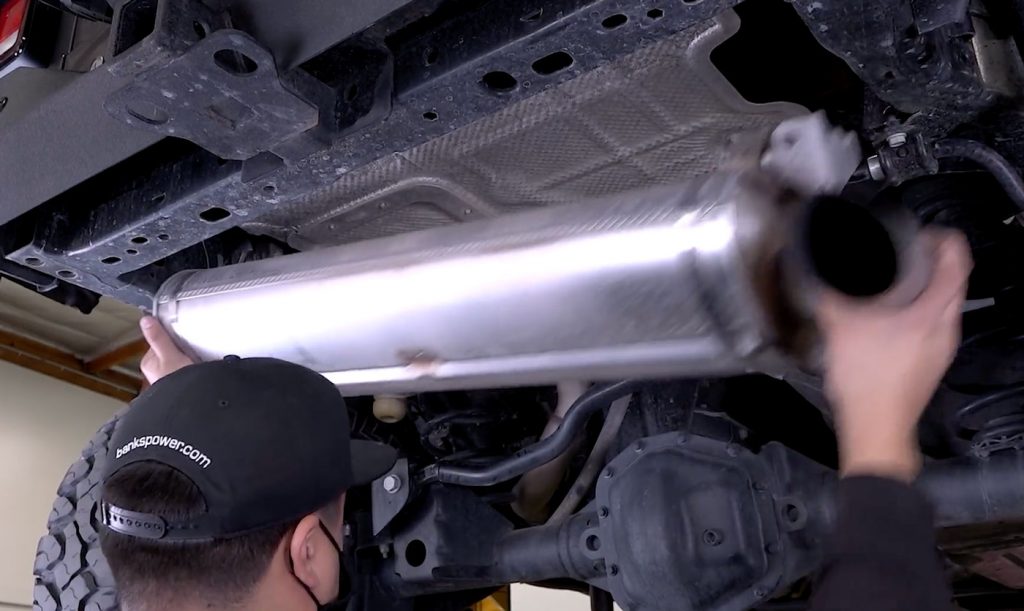
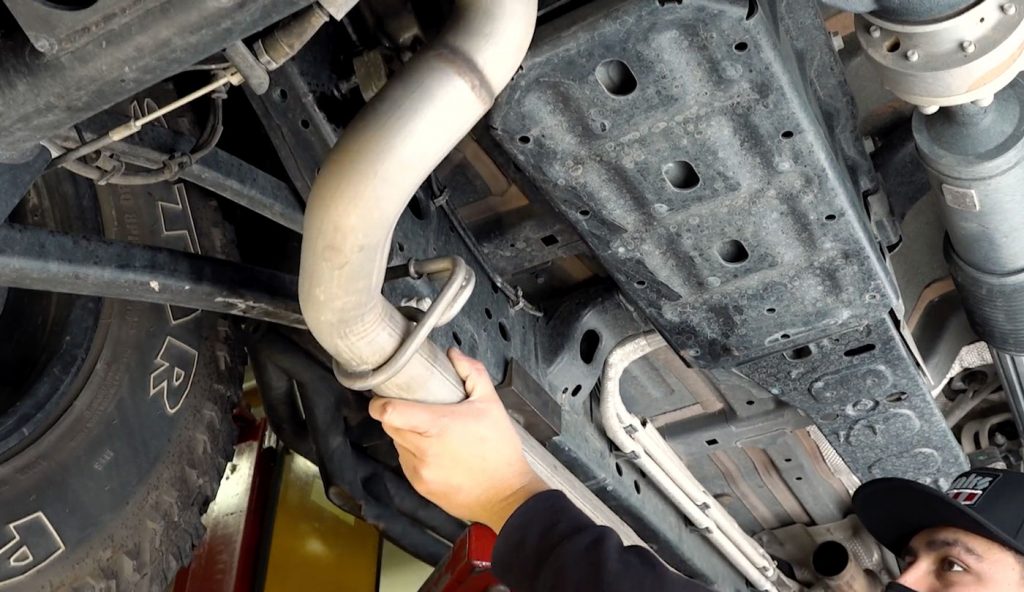
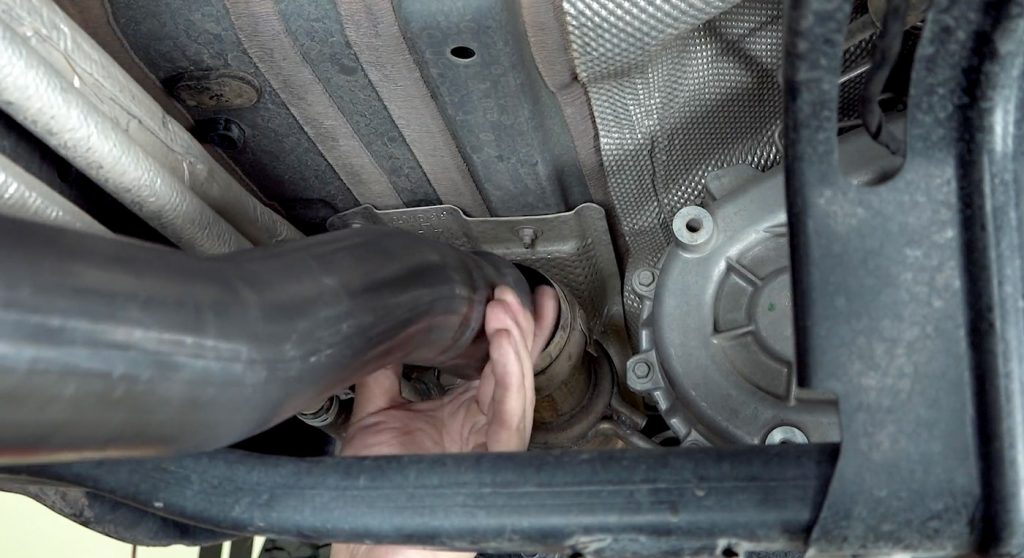
6. With a side-to-side rocking motion you will need to move the muffler pipe around to get the brackets to loosen so it slides off the exhaust pipe.
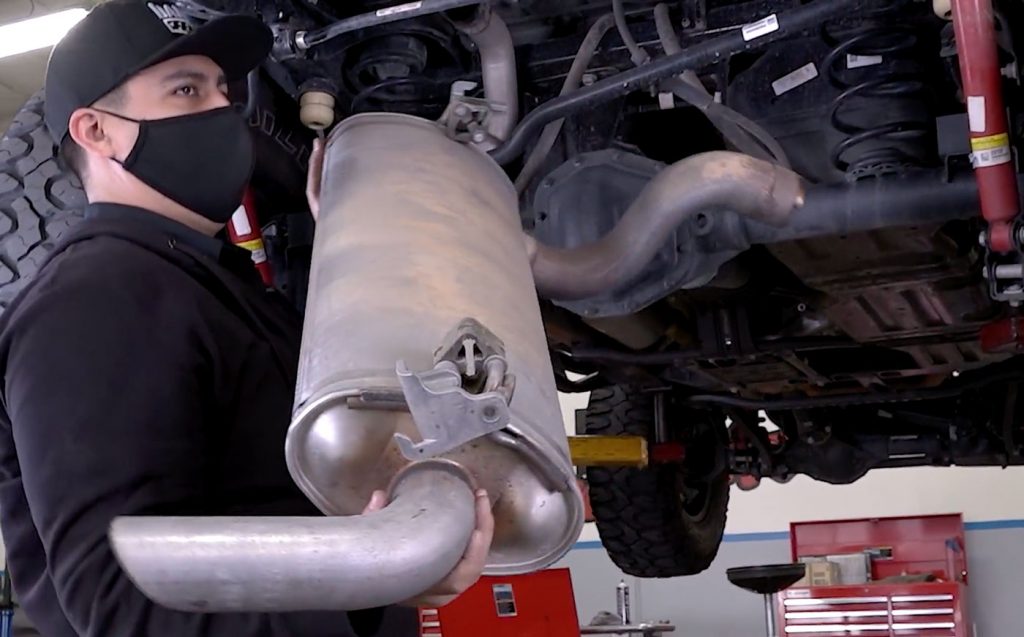
7. Once free, remove the muffler assembly from the vehicle.
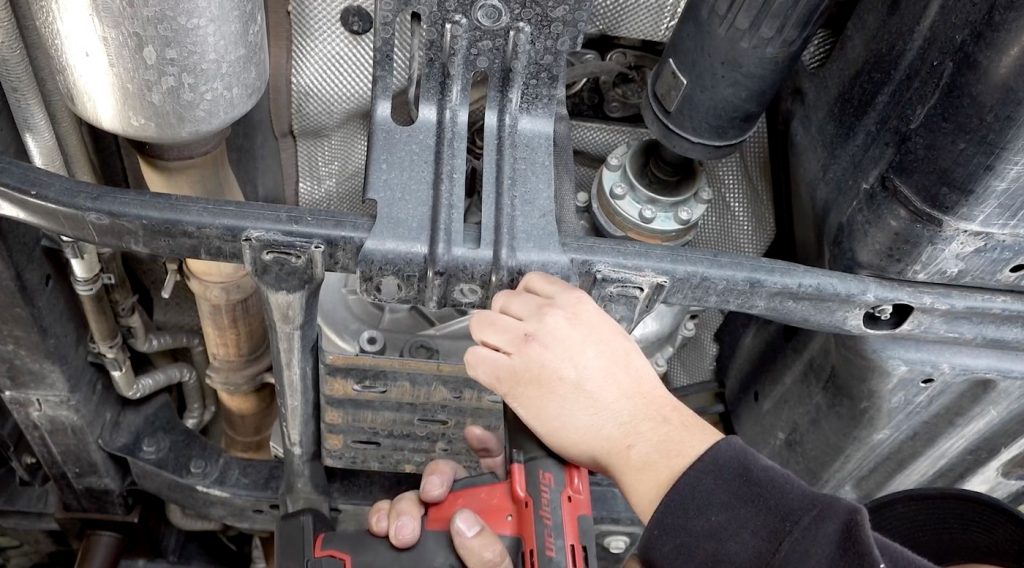
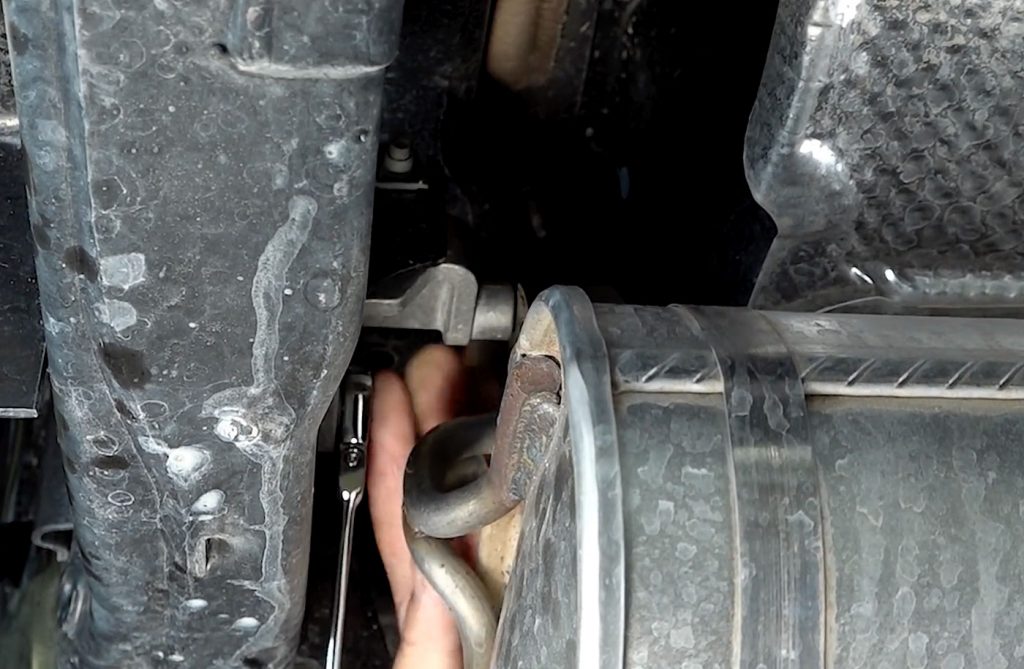
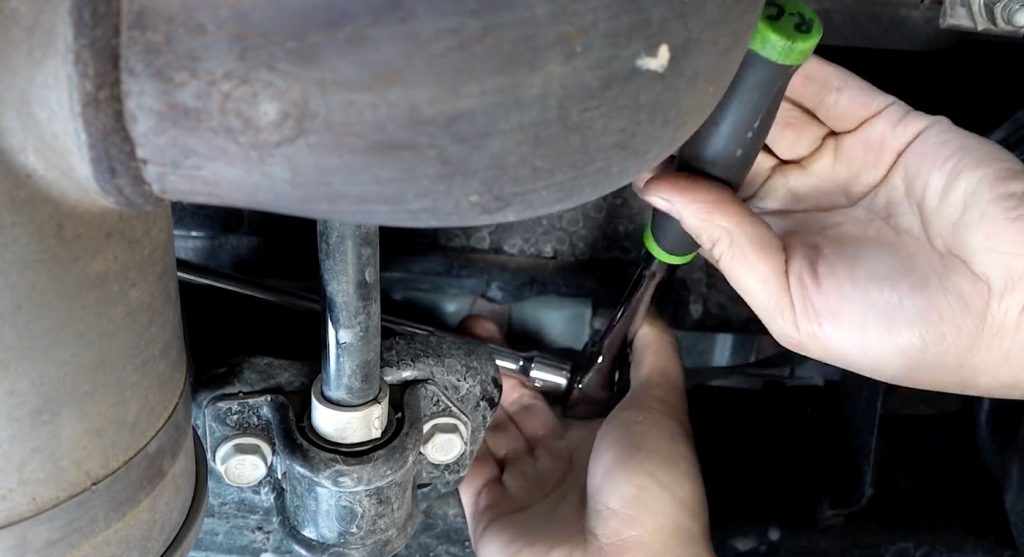
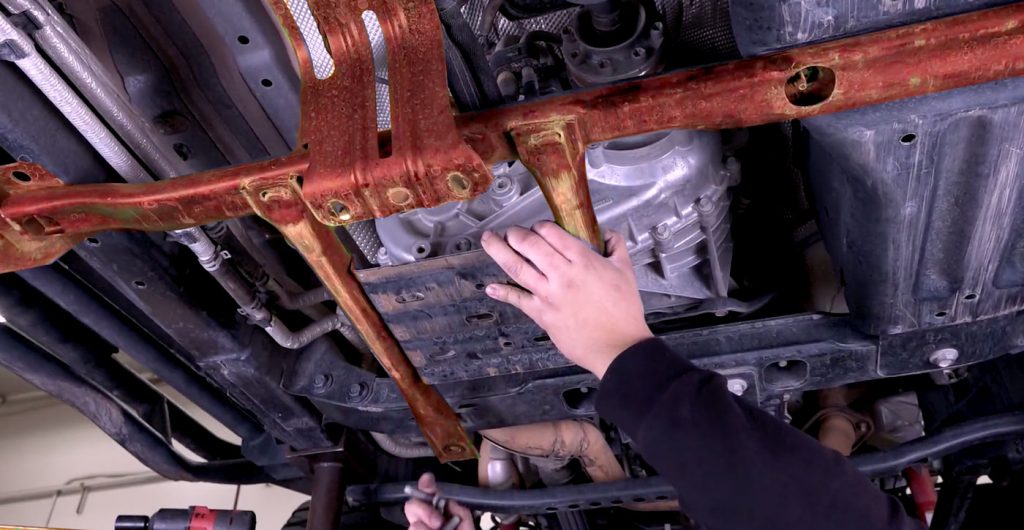
8. Remove all the bolts that secure the transfer case mount, and remove it from the vehicle.

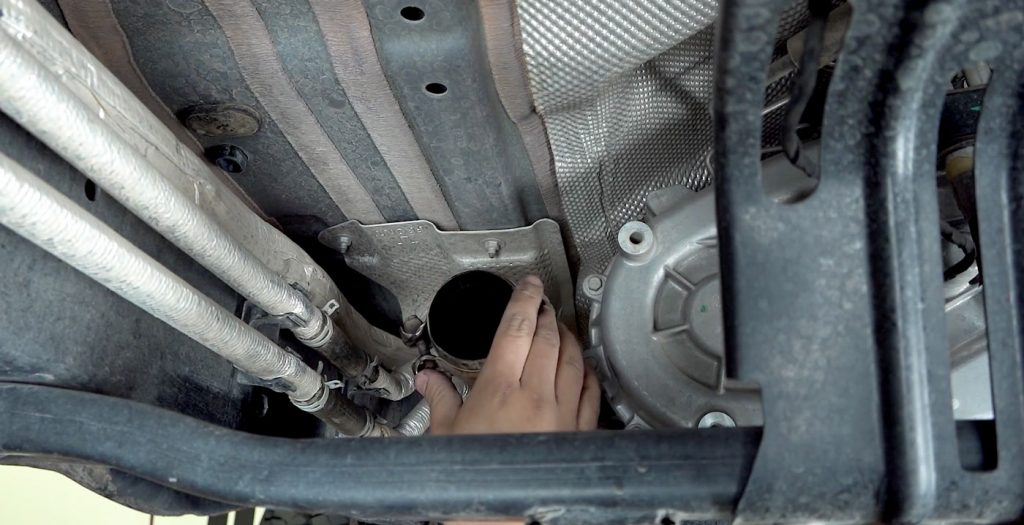
9. Loosen the clamp the secures the exhaust mid-pipe to the exhaust catalyst pipe.
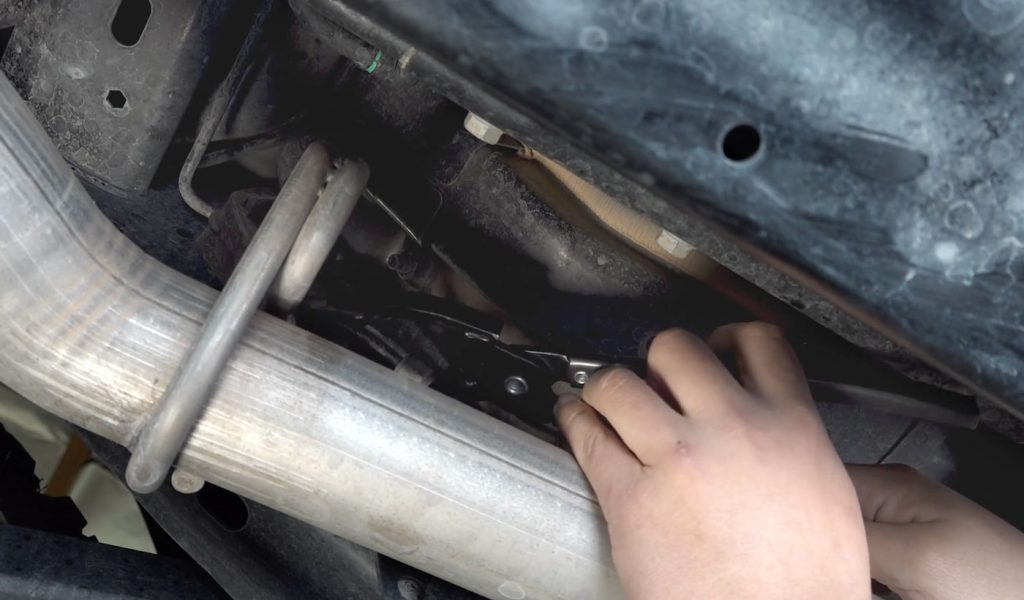
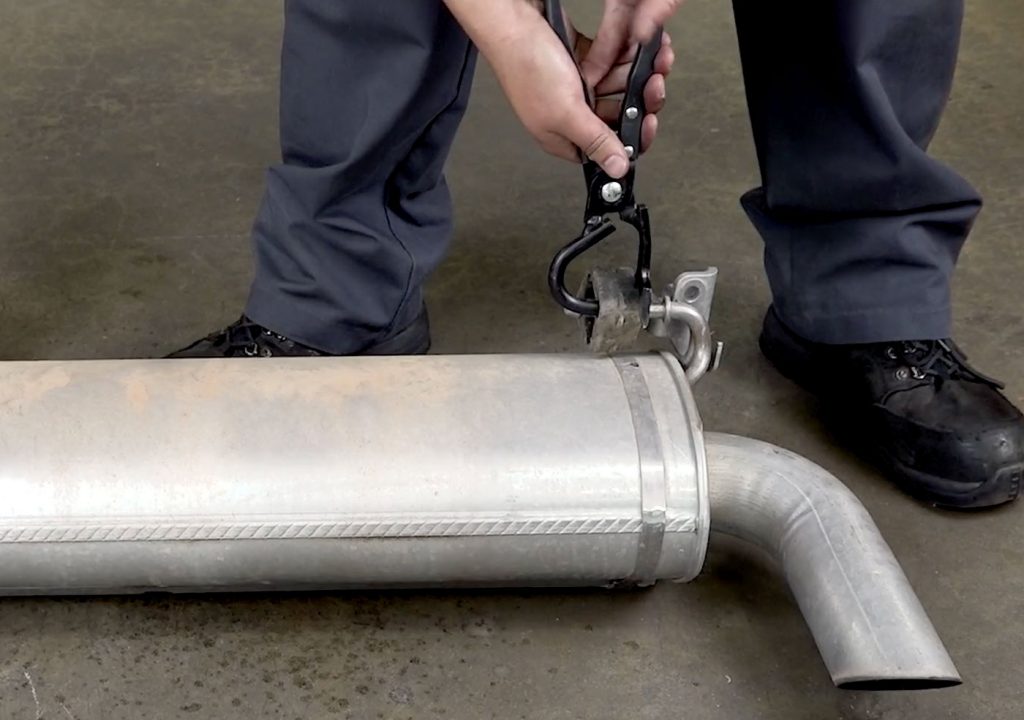
10. With an Exhaust Hanger Removal Pliers, disconnect the exhaust pipe hanger and then remove the exhaust pipe from the vehicle.
11. With an Exhaust Hanger Removal Pliers, disconnect the exhaust pipe hanger and then remove the exhaust pipe from the vehicle.
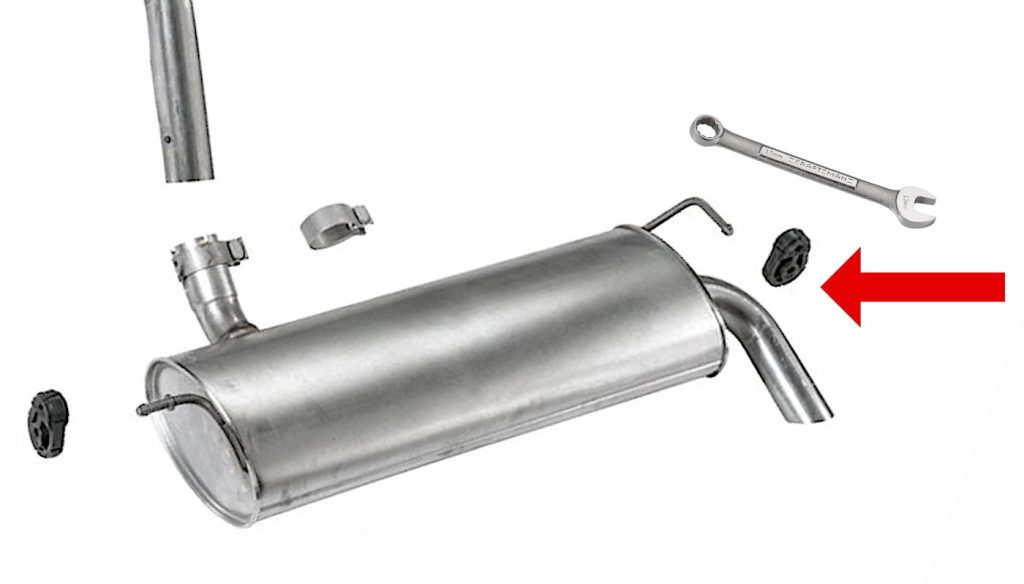
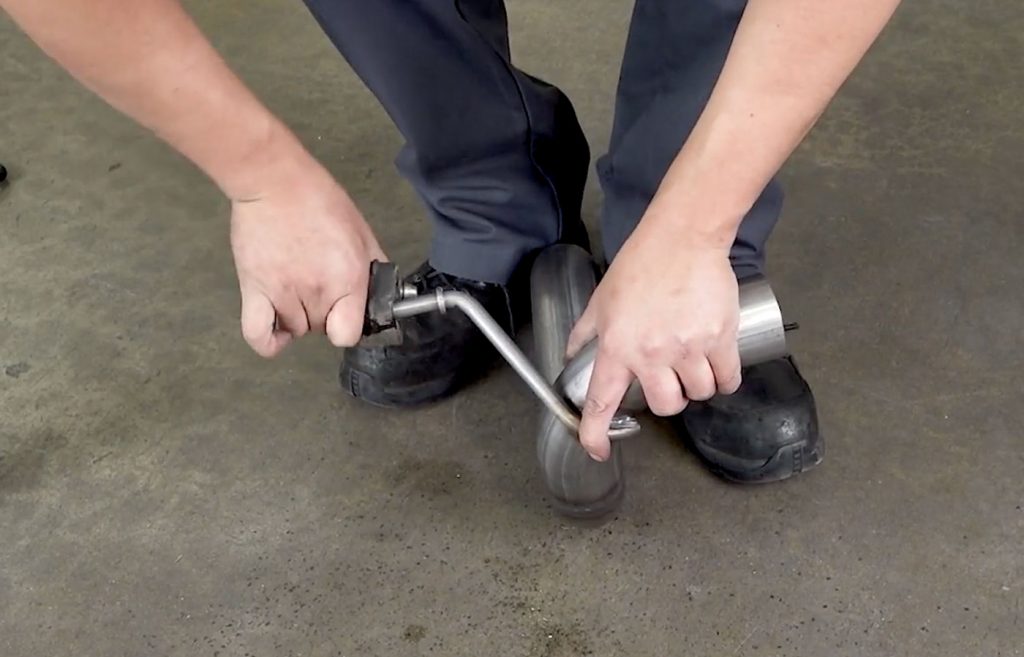
12. Continue by removing the exhaust hangars and, brackets from the stock muffler.
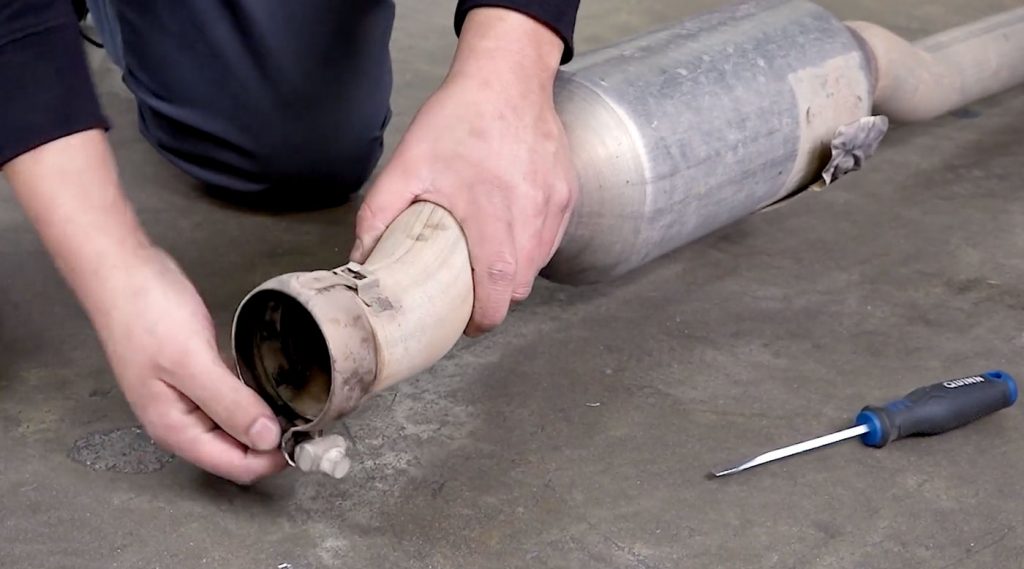
13. With a flat head screwdriver remove the retention clip.
14. Reinstall the transfer case mount, and hangars back onto the frame behind the axle.
15. Reuse the front “ball” clamp, by placing the loose section into position.
Section 2: Installing your Banks Monster Exhaust System
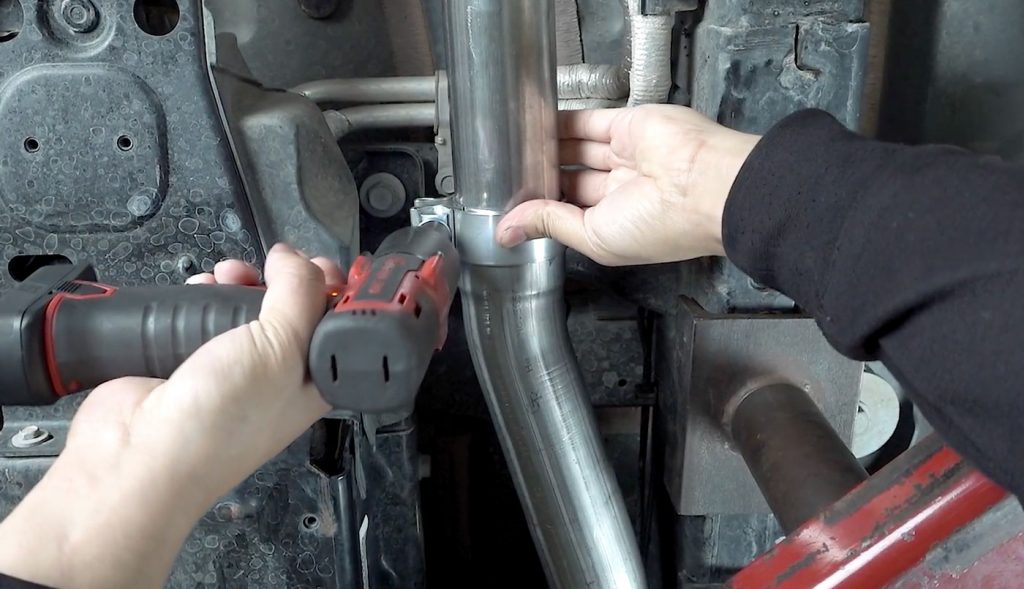
1. Now slide in and connect the new intermediate exhaust pipe and tighten the front “ball” clamp.
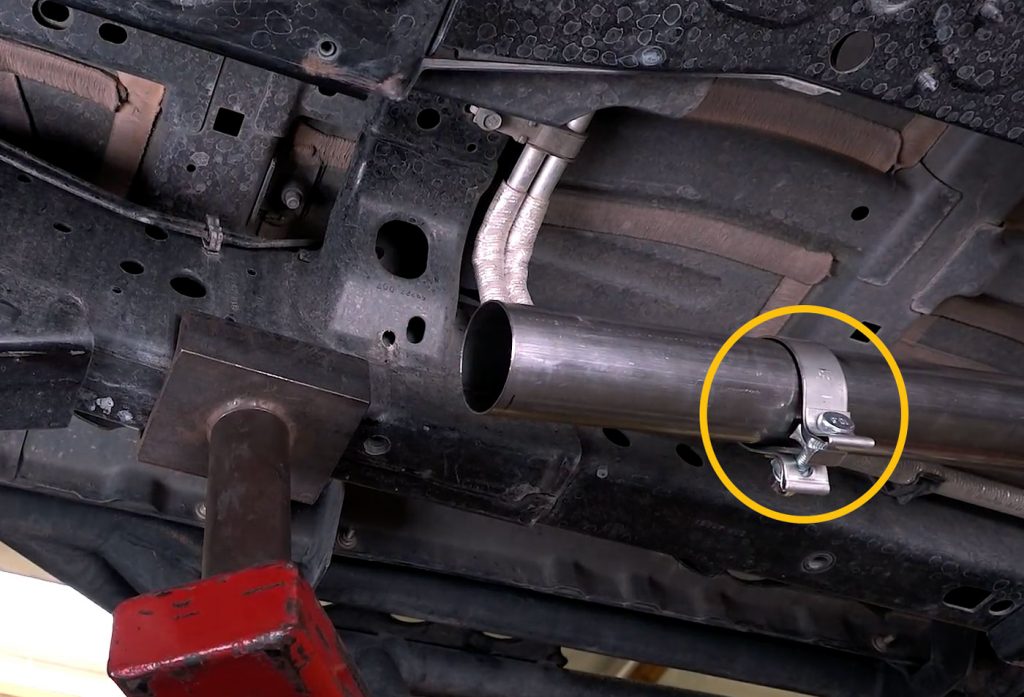
2. With the additional clamp in your kit, slide it over the new intermediate pipe.
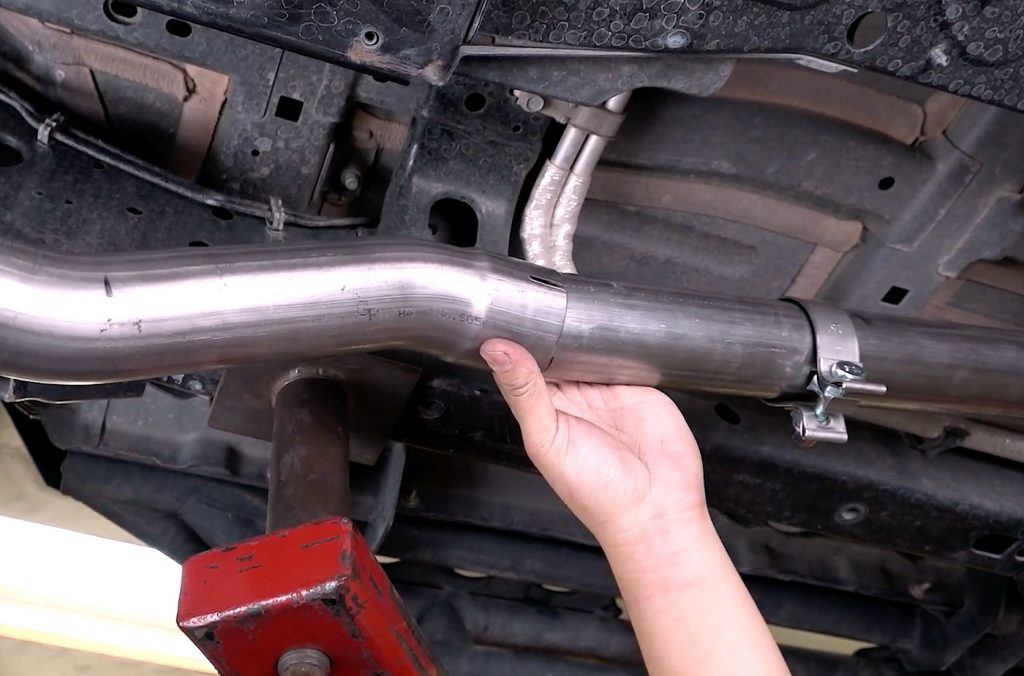
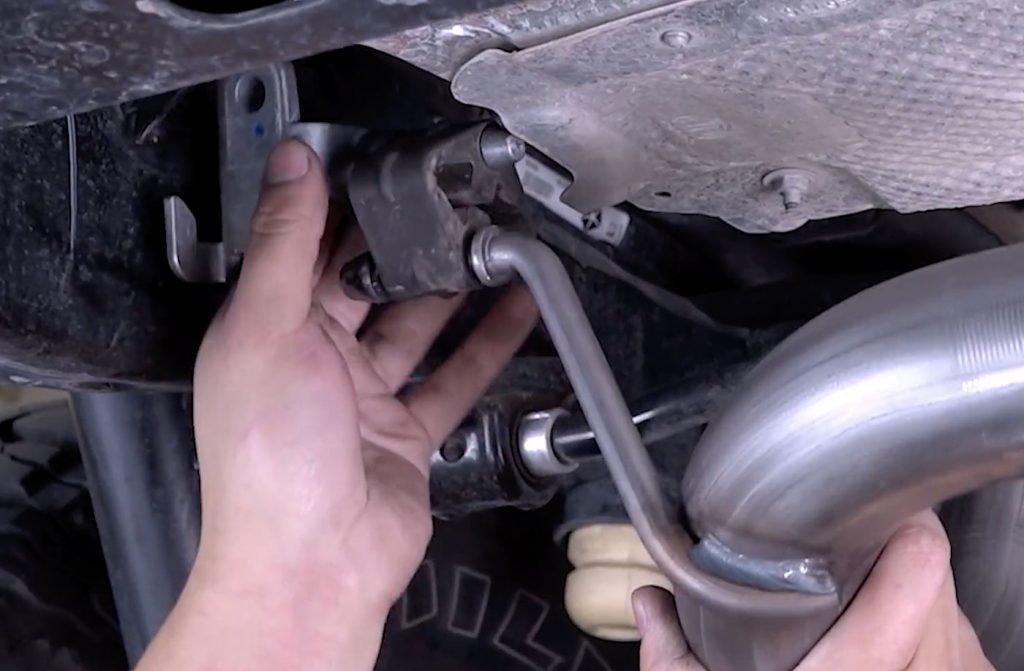
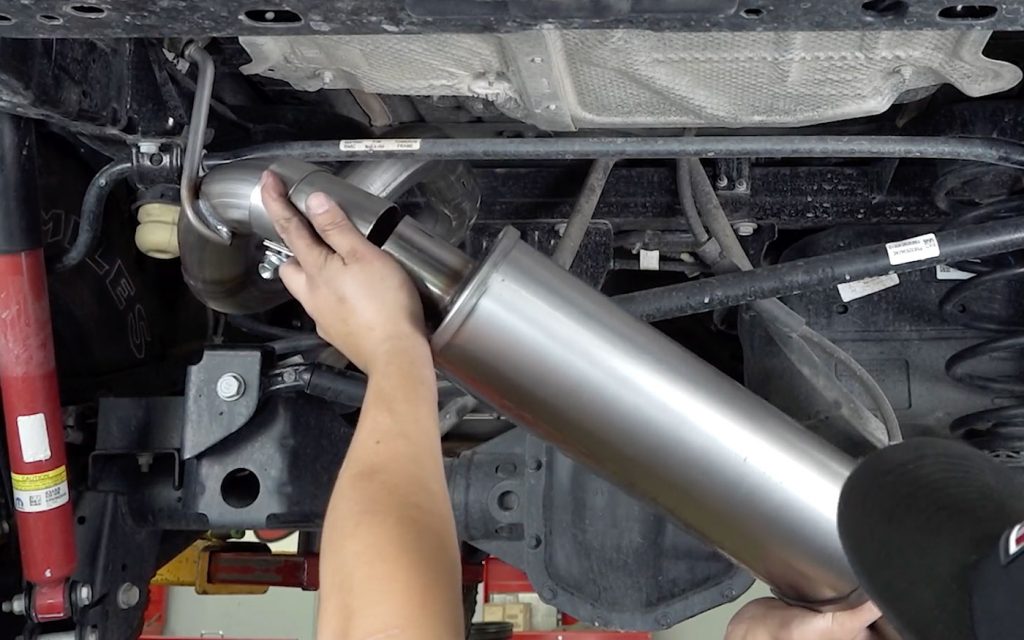
3. Install the axle tube onto the intermediate tube.
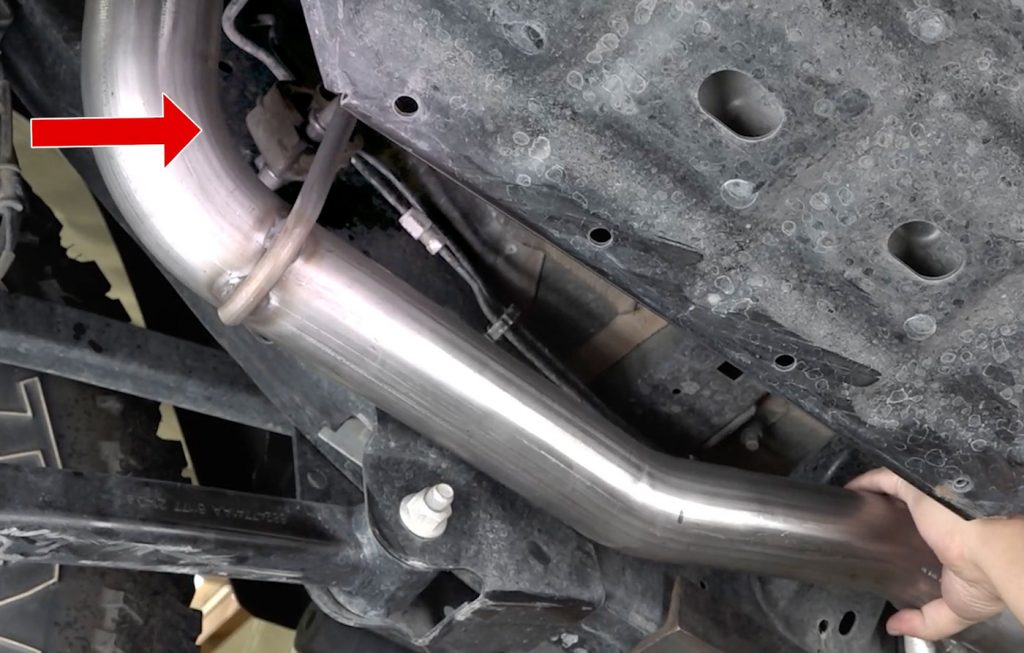
4. Install the axle tube hanger on the chassis rubber hanger.
5. Loosely tighten the clamp above the axle.
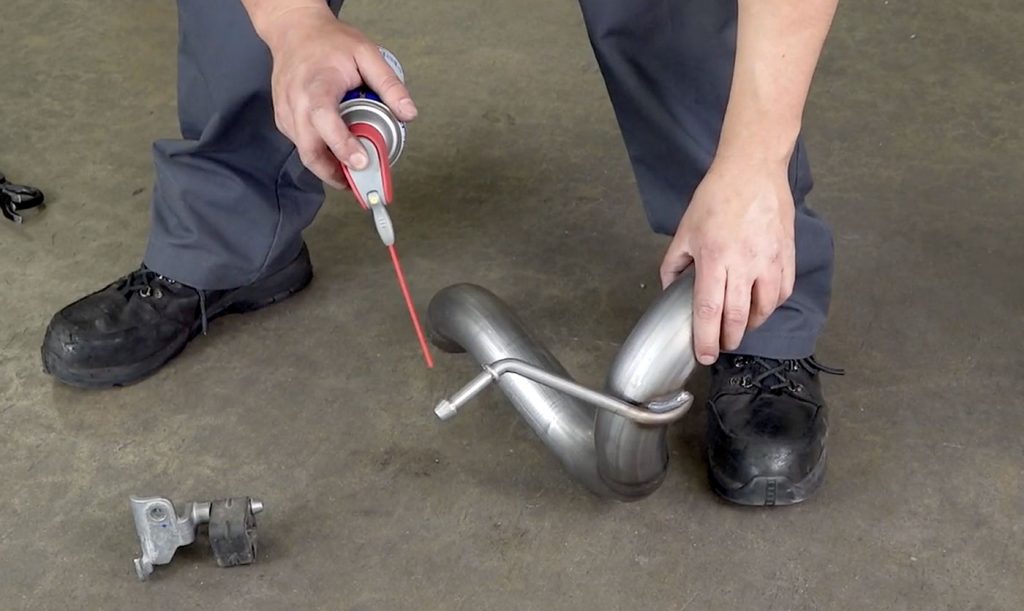
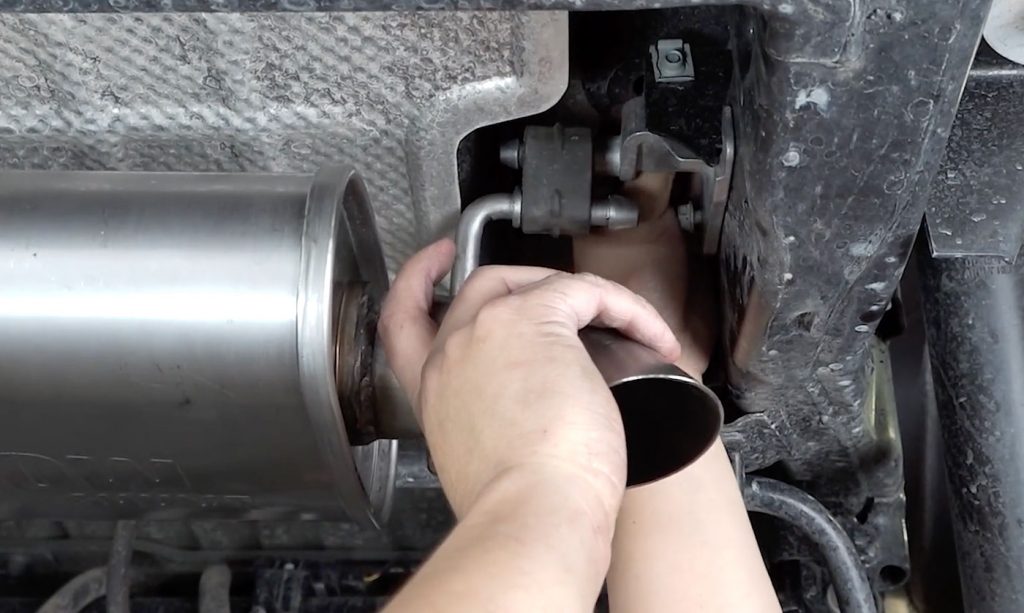
6. If required, use a lubricant spray on one or both of the tips when installing the exhaust hanger bracket.
7. Insert the pipe hanger into the rubber hanger.
8. Attach the muffler hanger onto the driver’s side exhaust bracket.
9. Using a 13mm socket proceed to tighten all the bolts.
10. With an exhaust hanger removal pliers, remove the second hanger bracket from the stock muffler and install it onto the Monster Exhaust muffler hanger.
11. Slide the last band clamp over the end over the axle tube, and connect the stainless-steel muffler with the hanger bracket attached.
12. Raise it up and hand tighten all the bolts to the hanger bracket.
13. With a 13mm wrench tighten all the bolts.
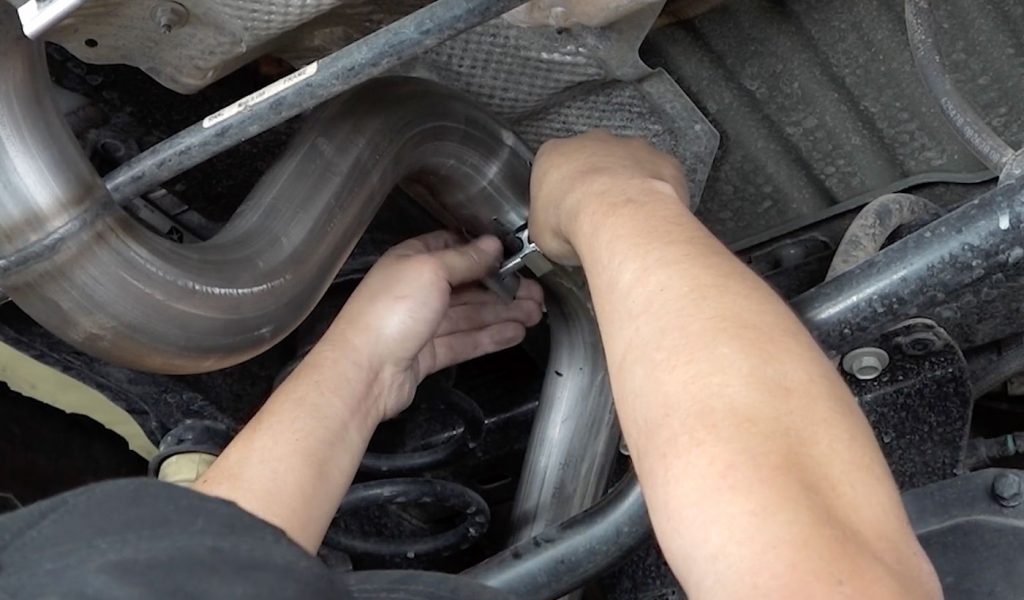
14. Now that the entire exhaust system has been adjusted properly and there is ample clearance, torque all the clamps.
15. Ensure all pieces are clocked correctly and tighten all the clamps to approximately 50-foot lbs.
Congratulations!
You have successfully installed your new Monster Exhaust System.