97278 AutoMind Programmer – Section 9 – Advanced Tuning Options Explained
Section 9: Advanced Tuning Options Explained Availability of specific options vary based on your vehicle’s make and model: Speed Limiter – Adjusts the top speed limiter by
The Leader in Diesel Performance
Section 9: Advanced Tuning Options Explained Availability of specific options vary based on your vehicle’s make and model: Speed Limiter – Adjusts the top speed limiter by

Installation instructions for Banks Ram-Air Cold Air Intake System for 2019-2024 Ram 2500/3500 6.7L Cummins
Section 7: Tuning Levels Explained Availability of specific tunes may vary based on your vehicle’s make and model. GM Diesel Truck Super Sport Super Sport is designed
Follow the vehicle preparation steps to ensure a complete program installation. These steps must be performed prior to installing the Banks AutoMind calibration. Failure to follow proper
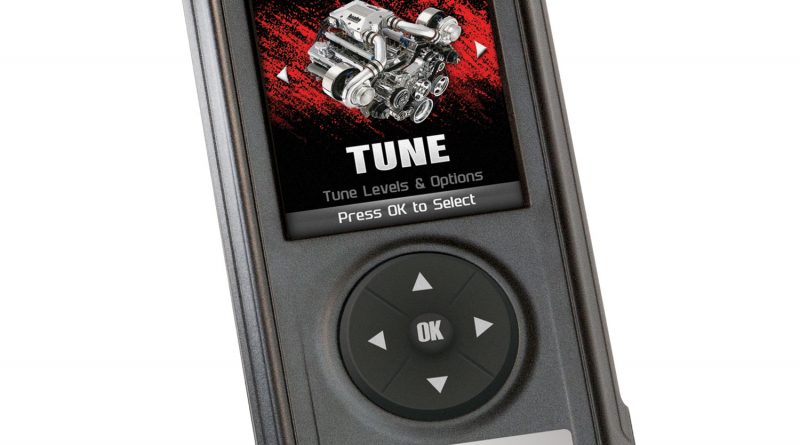
Section 8: Advanced Tuning Options Change the power level of your vehicle using custom options and settings. Not all features are available on every make, model, and
Tuning Levels Explained Availability of specific tunes may vary based on your vehicle’s make and model. GM Diesel Truck Super Sport Super Sport is designed for a
Section 6: Quick Tune Quick Tune: Changes the power level of your vehicle using the most popular features and settings. NOTICE: Not all features are available on
Section 5: Before You Begin List of components:• Banks AutoMind• USB Cable Navigating Tips:• To move back to the previous menu, press the button with the left-pointing arrow.•
Section 4: Basic Menu Layout WARNING: Misapplication or misuse of this product could lead to a serious or fatal injury. Comply with all safety information in this
Section 3: Preparing Vehicle & Connecting Banks AutoMind Programmer Follow the vehicle preparation steps to ensure a complete program installation. These steps must be performed prior to