97755 | Banks Ram-Air Transmission Pan for 2001-2019 Chevy/GMC 2500/3500 6.6L Diesel with Allison 1000 Transmission
INSTALL INSTRUCTIONS
Part #s
35146-B
---------------- 2001-2019 Chevy/GMC 2500/3500 6.6L Diesel
⬇Recommended Service Items⬇
Transmission Pan Gaskets
2001-2019 GM Part No. 29549684
Transmission Fluid Filters
2001-2004 GM Part No. 29537965
2006-2019 GM Part No. 29542833 or D116010AA
Please read through the following instructions thoroughly before starting your installation. If you have any questions please visit our Support Page.
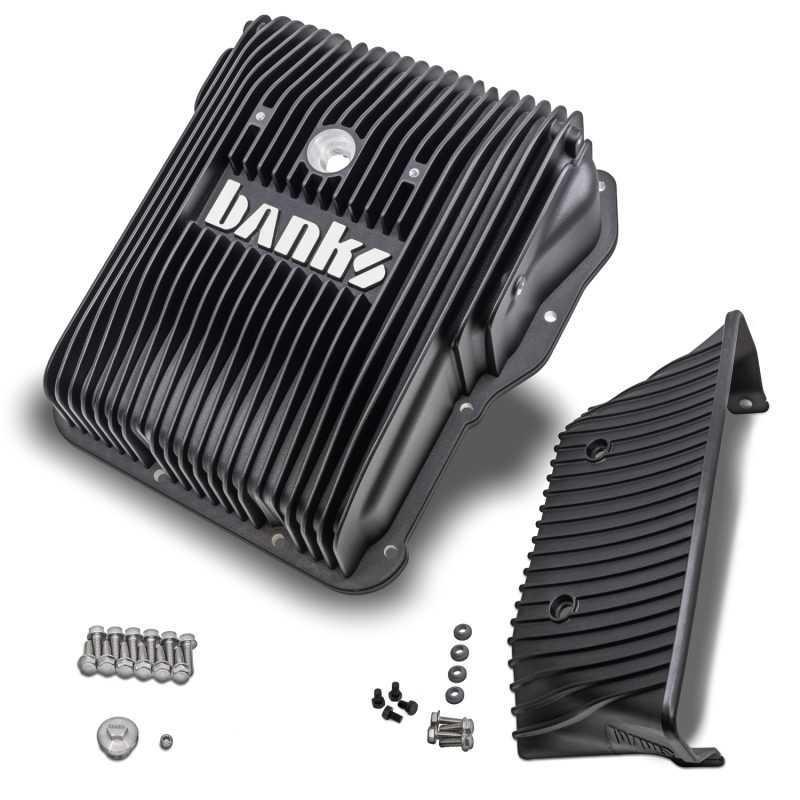
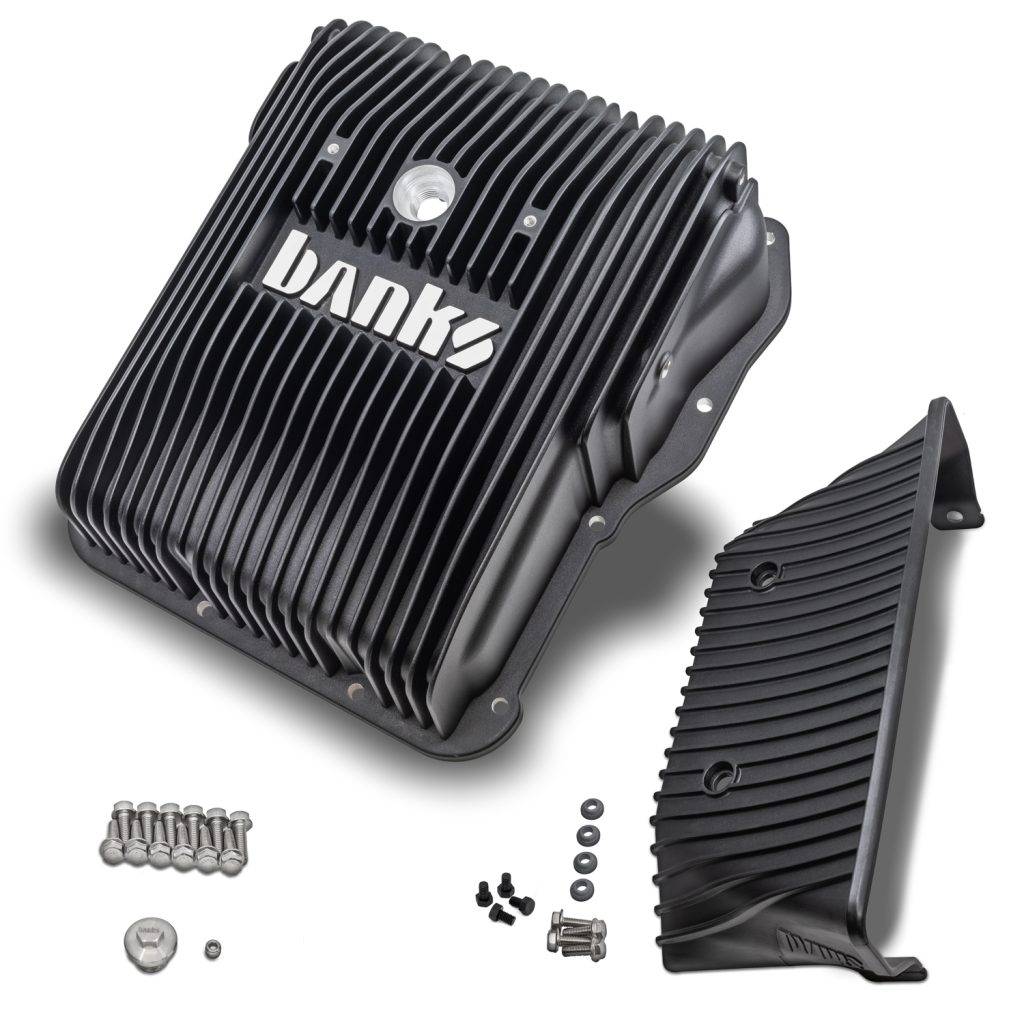
Bill of Materials
| Part Number | Description | QTY |
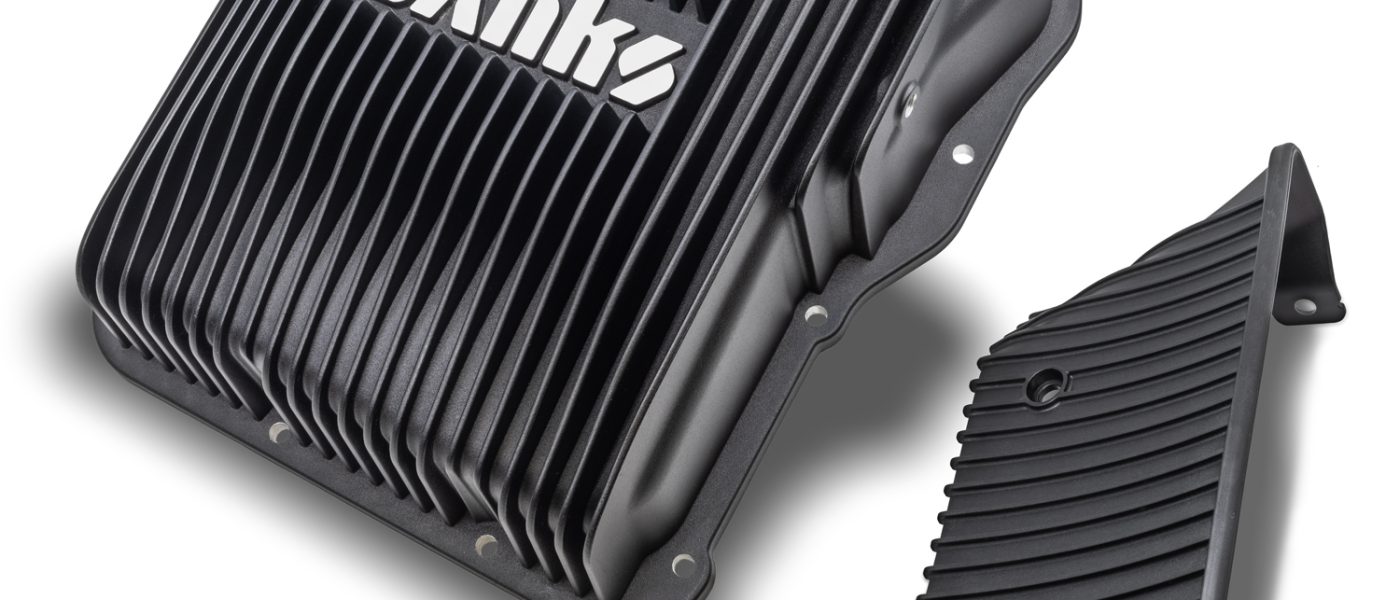
| 35147-B | Ram-Air Transmission Pan (Allison 1000) | 1 |
| 35150 | Ram-Air Scoop | 1 |
| 13251 | 1/8 NPT Hex Plug | 1 |
| 13278 | Magnetic Oil Plug | 1 |
| 91767 | M8 Hex Head Flange Screw | 12 |
| 91766 | M6 Hex Head Flange Screw | 4 |
| 91733 | Thread Protection Screws | 4 |
Optional Thread Protection Screws to be used when the Ram-Air Scoop is removed during off-roading or heavy snow conditions to protect threaded holes from debris or corrosion.
General Installation Practices

1) Initial Preparation
Raise the truck on a lift to provide ample access to the oil pan and the area you will be working with.
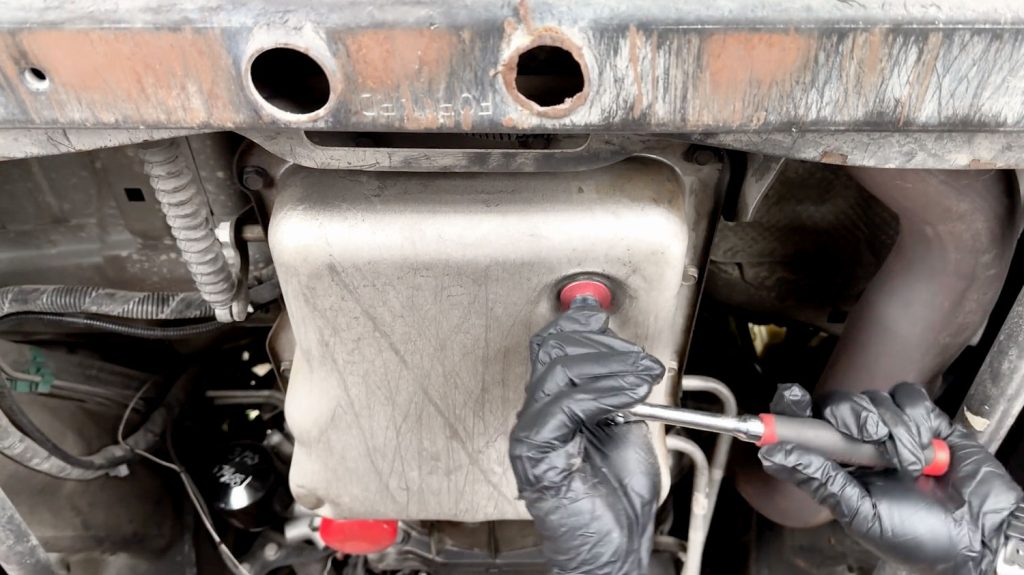
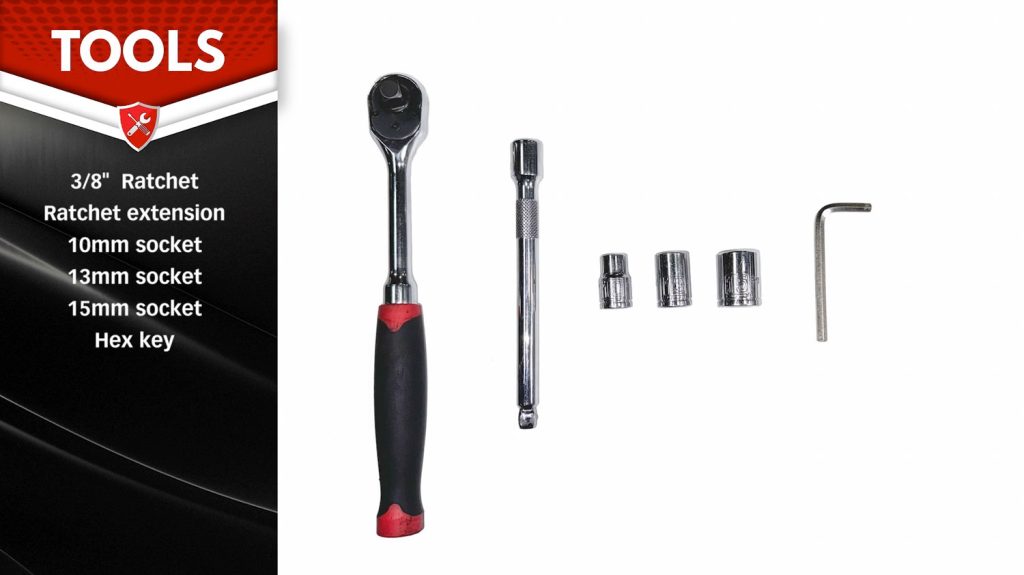
With a 15mm wrench, remove the stock drain bolt.
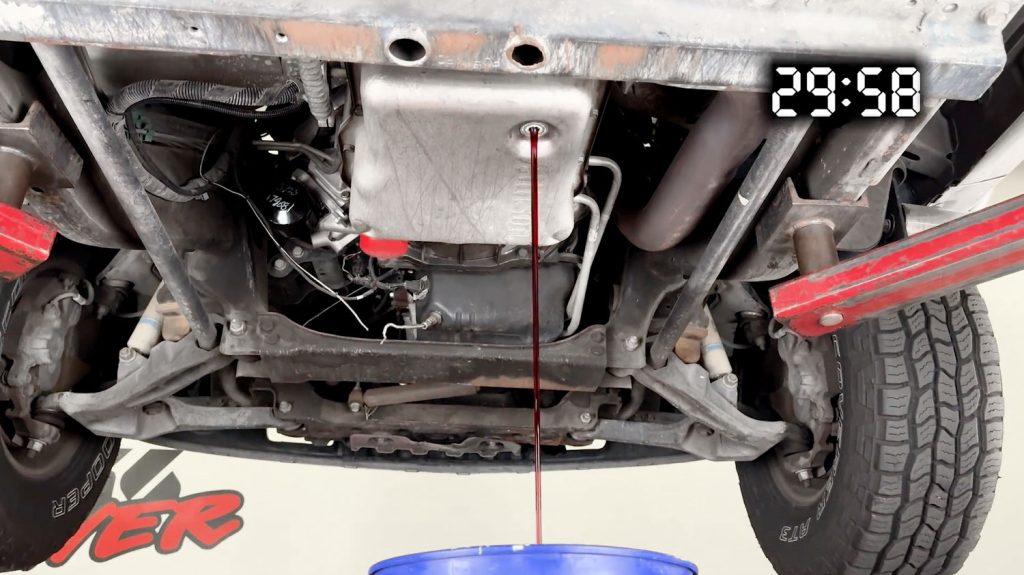
Allow for all the oil to drain from the pan and engine passages. (about 30 min)
2) Remove Transmission Pan
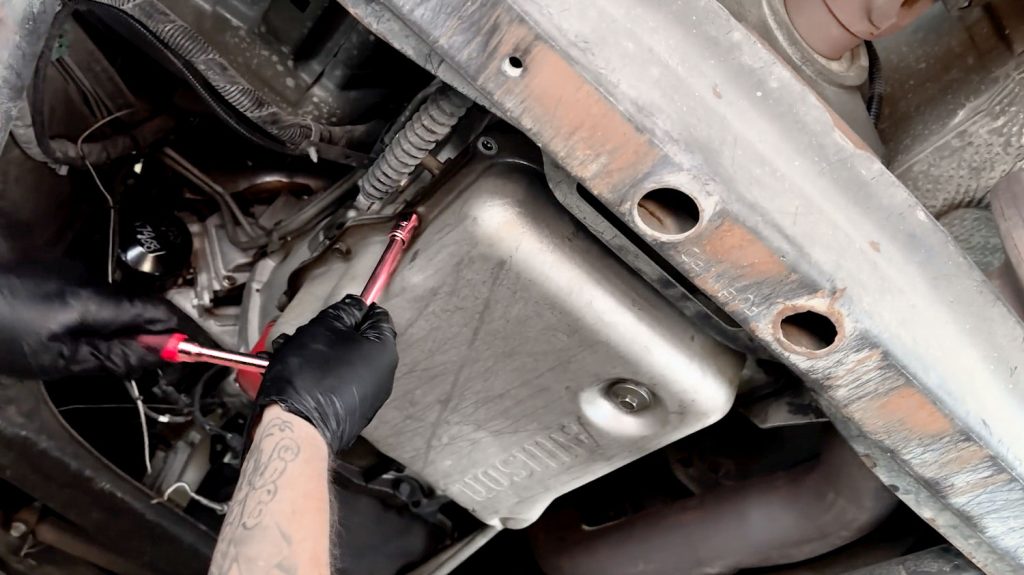
In no particular order, remove the 12 bolts that hold the transmission pan.
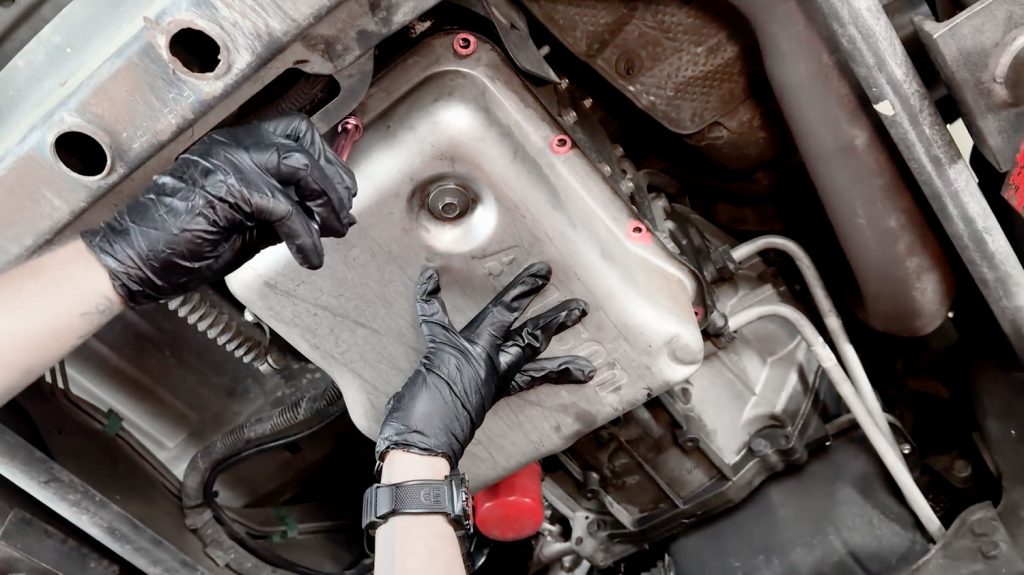
Be sure to support the pan as you remove the bolts to ease removal
Carefully lower the pan from the truck.
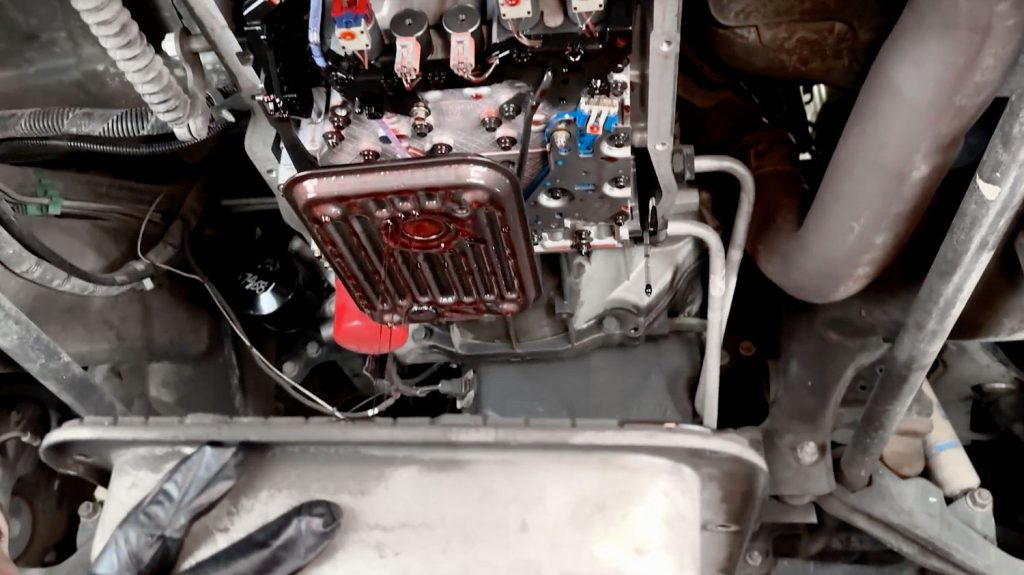
If you are replacing the filter in the pan, you can remove it now. Otherwise you may skip this step.
Note: there is still some fluid in the transmission pickup tube.
Links are provided at the top of this manual.
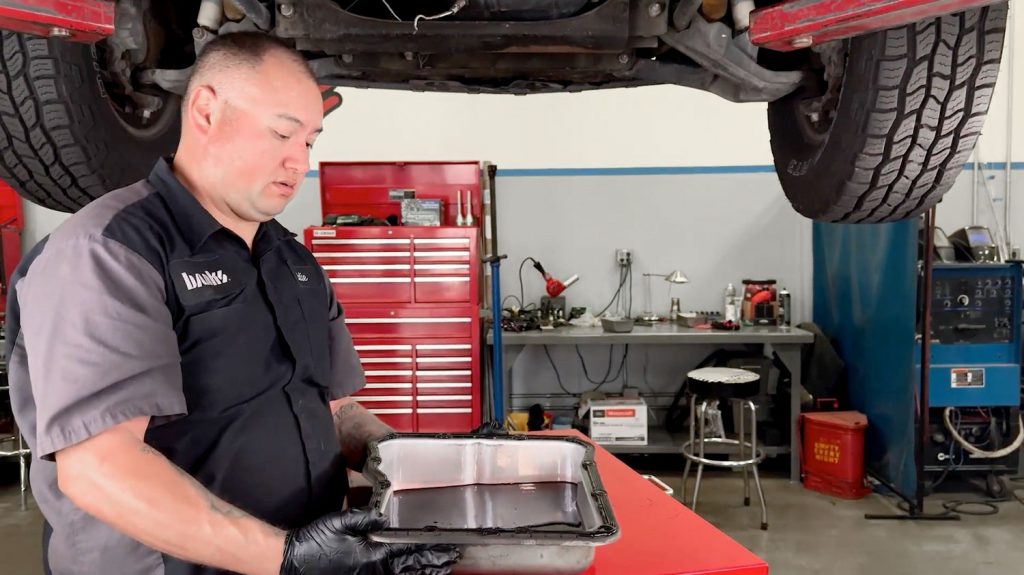
Use the OE pan to catch any remaining fluid.
Carefully remove the OE transmission fluid pickup tube & filter.
Be sure to capture and safely recycle all fluids.
3) Transmission Pan Installation
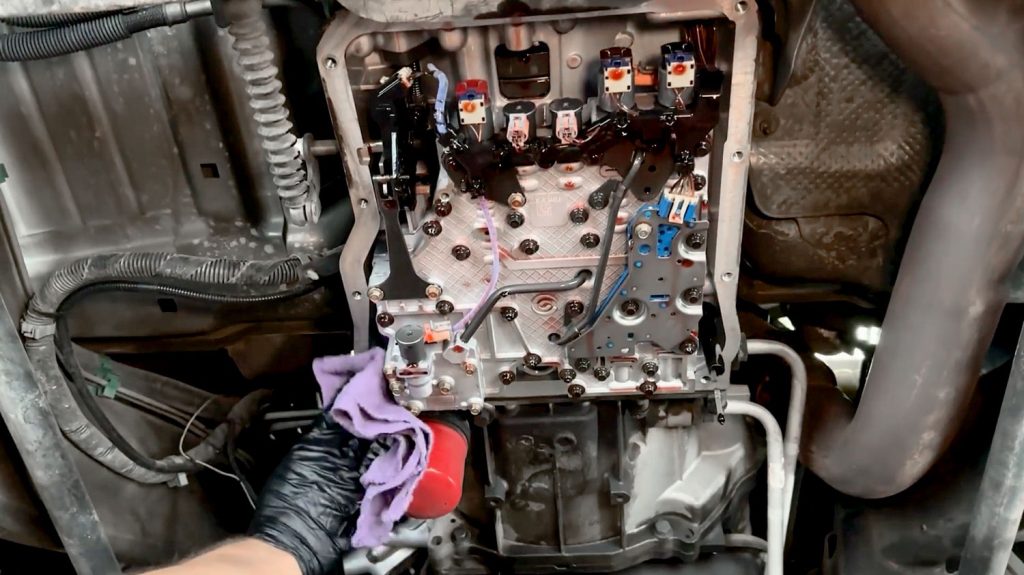
Clean up any excess fluid from the pan mating surface.
Lubricate the new Transmission Fluid Pickup Tube’s rubber seal with transmission fluid.
Install new pickup tube into the transmission.
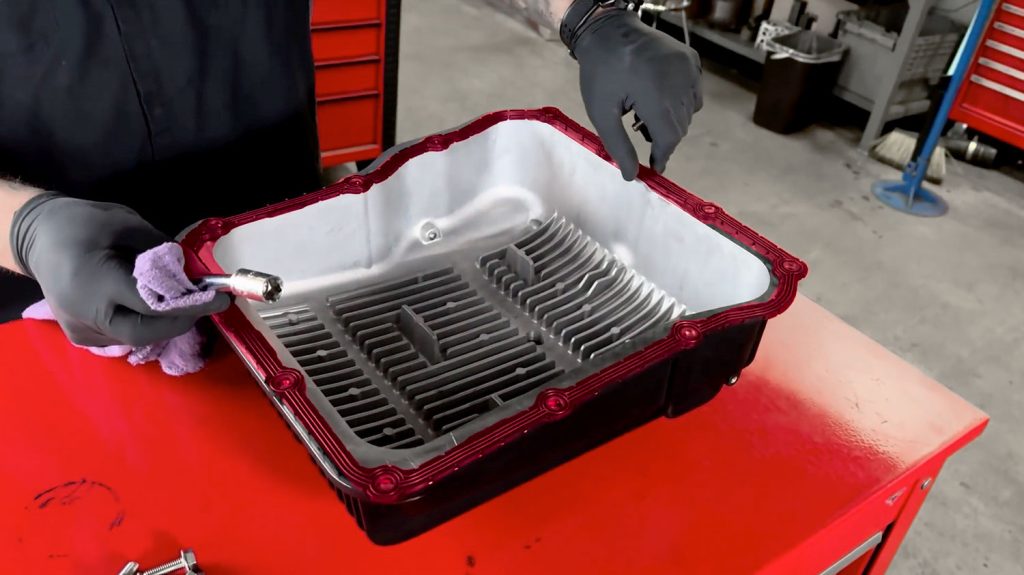
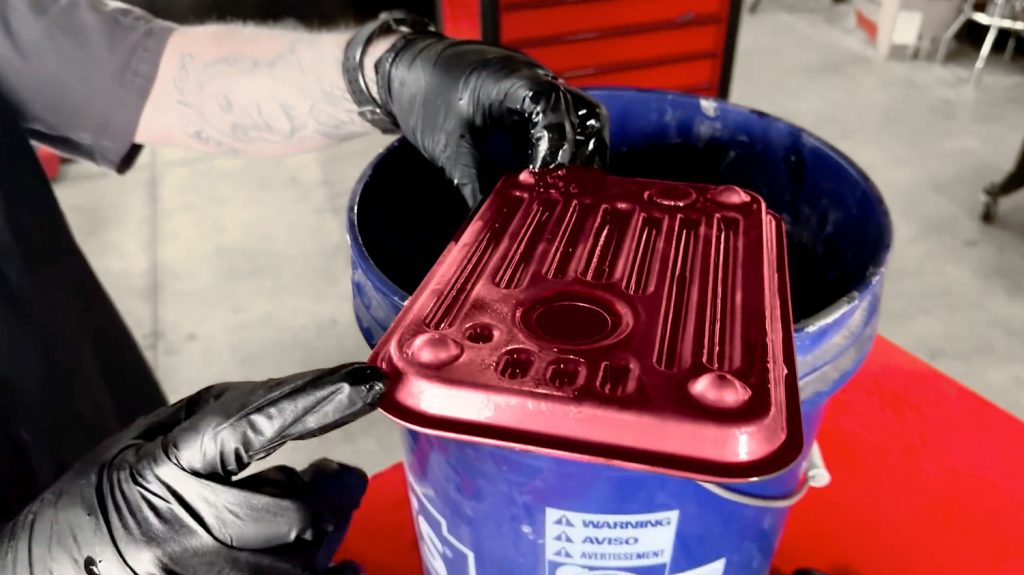
If your origional Gasket was in good shape, you can clean and reuse it. Otherwise install a new transmission gasket onto the Ram-Air Pan.
Links are provided at the top of this manual.
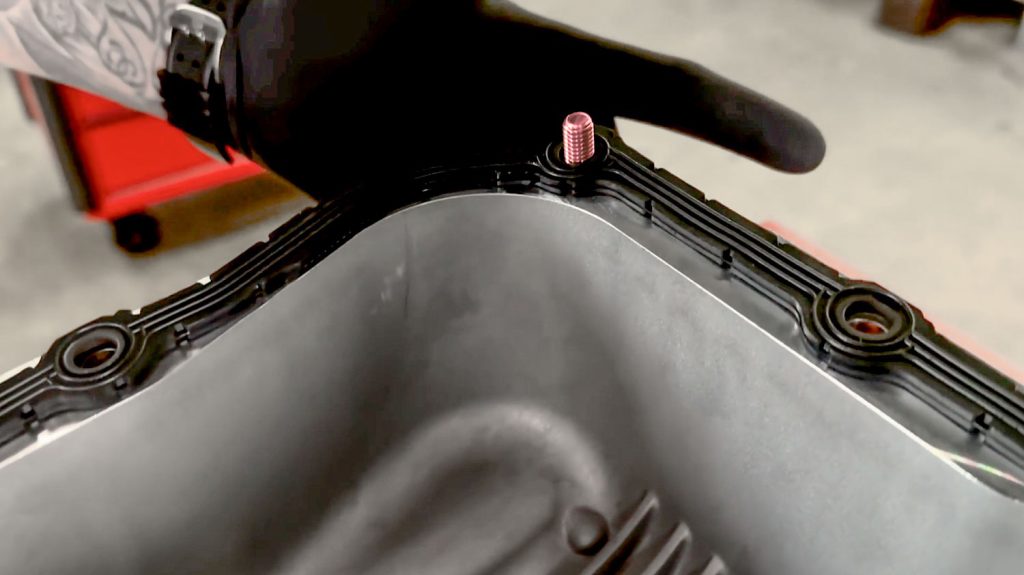
Use a bolt in the corner of the pan to help align the gasket for install.
Bring the Ram-Air Pan up to the transmission mating surface.
Start threading each bolt in by hand first to prevent cross-threading the bolts.

There are 12 bolts in total that need to be threaded in, there is no particular order for this step.
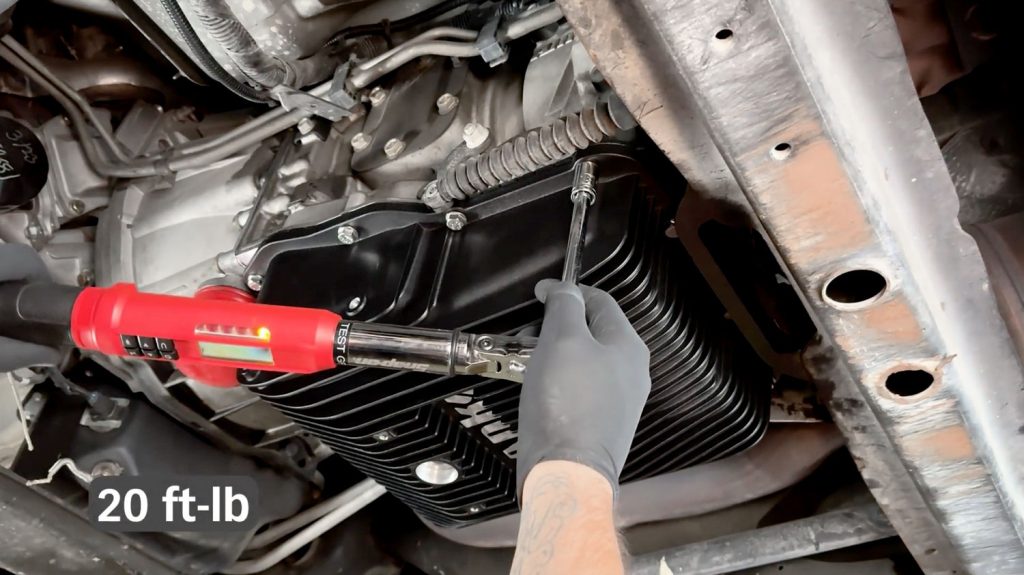
Once all the bolts are seated and hand tight, torque them to 20 lb-ft.
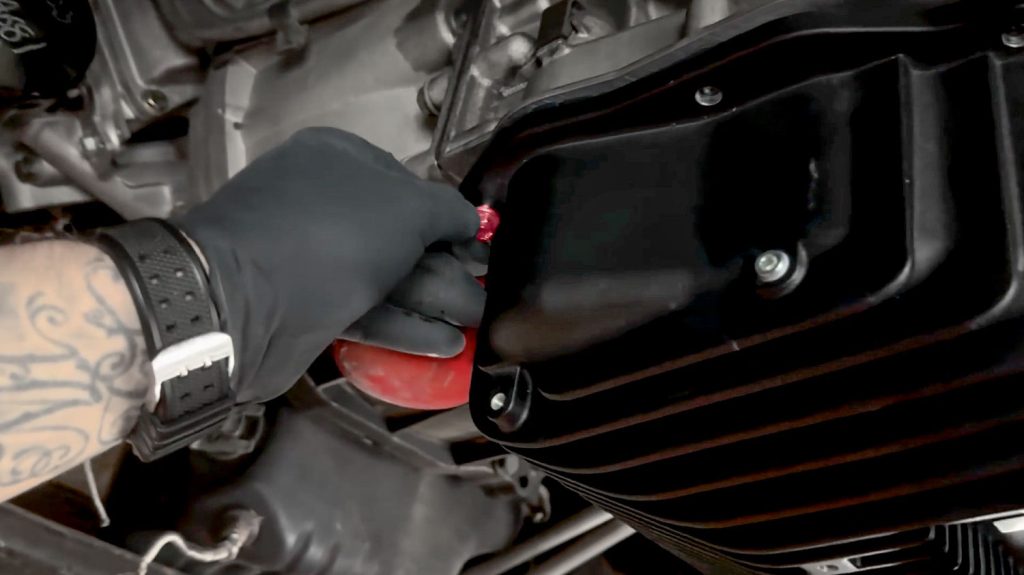
To avoid tearing and fraying, apply a small amount of ATF to the o-ring prior to installation of the drain plug.
Install the magnetic drain bolt.
Snug down the drain bolt by hand, and do not exceed 23 lb-ft
O-Ring Size: 25mm I.D. x 2.5mm C.S. FKM (Viton)
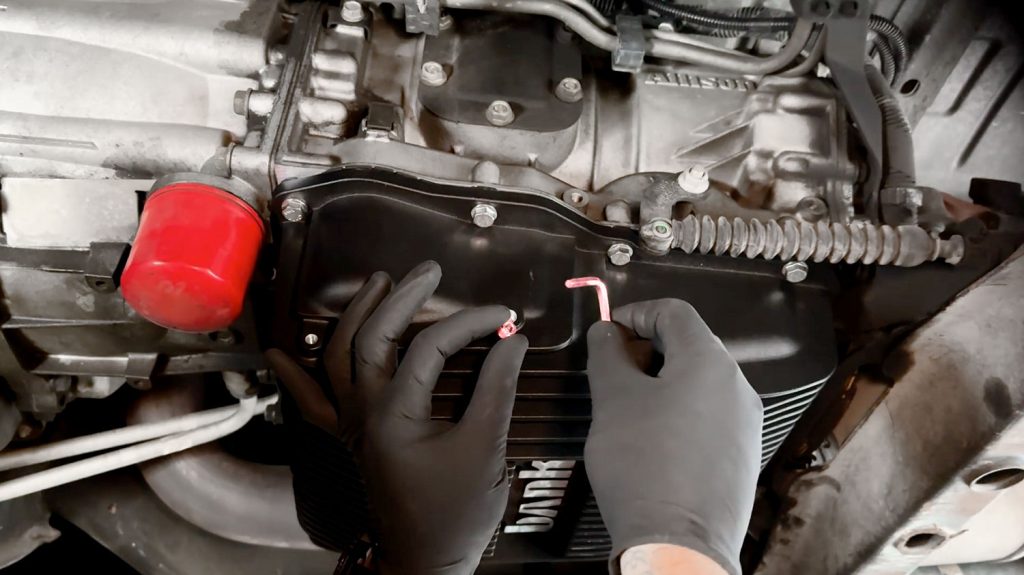
Install the supplied AN plug for the aux sensor position if you are not installing one at this time.
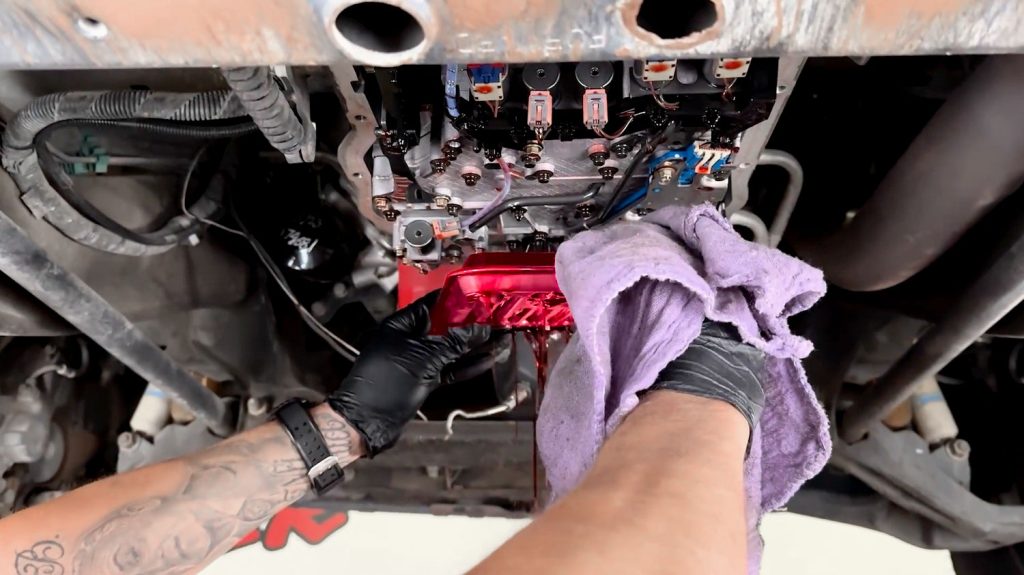
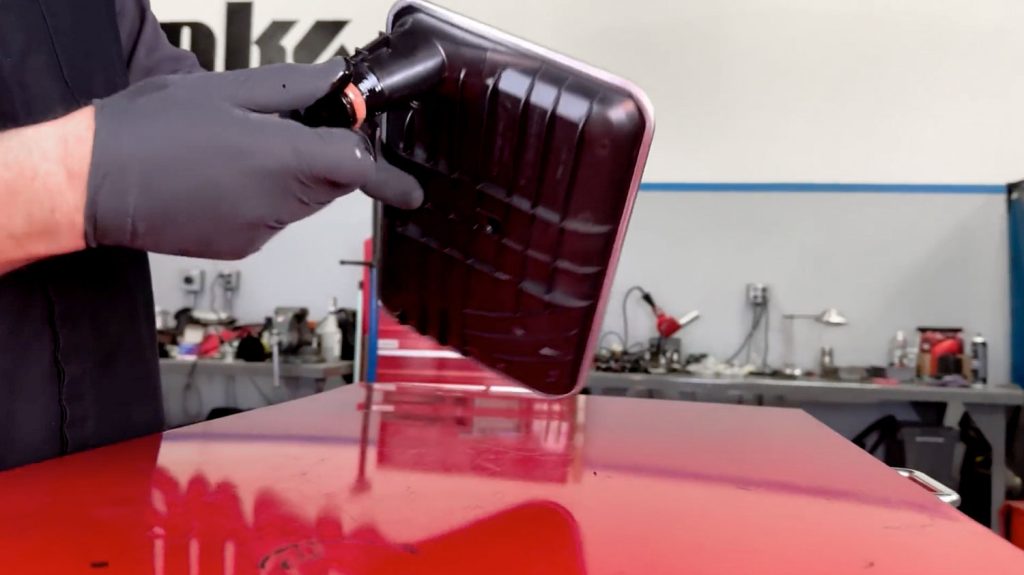
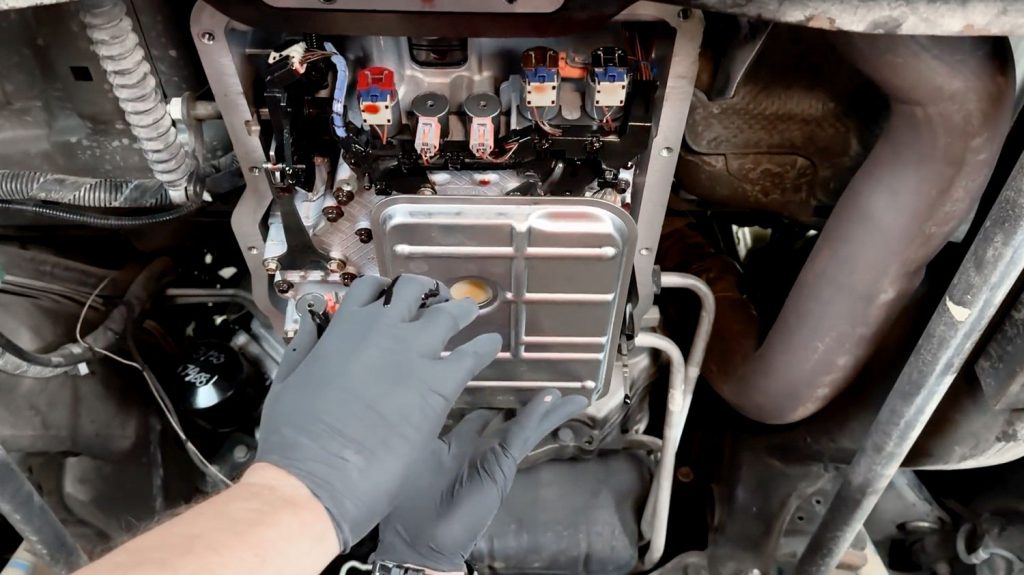
Remove the factory external transmission filter and catch any fluid that leaks out.
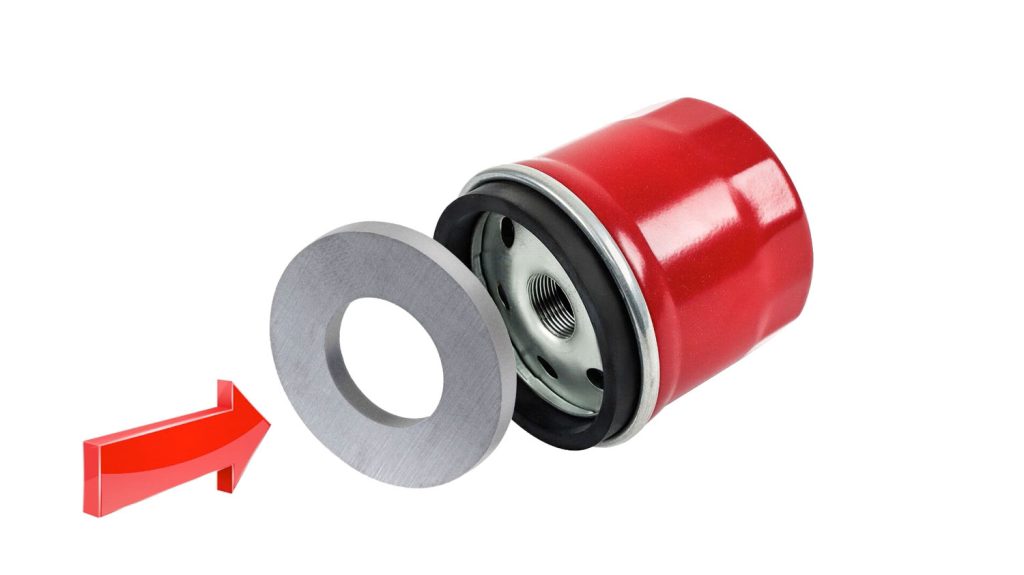
Be sure to remove the magnet found inside the factory external oil filter, and re-use it with your new transmission filter.

Install new external filter with the magnetic ring pre-installed.
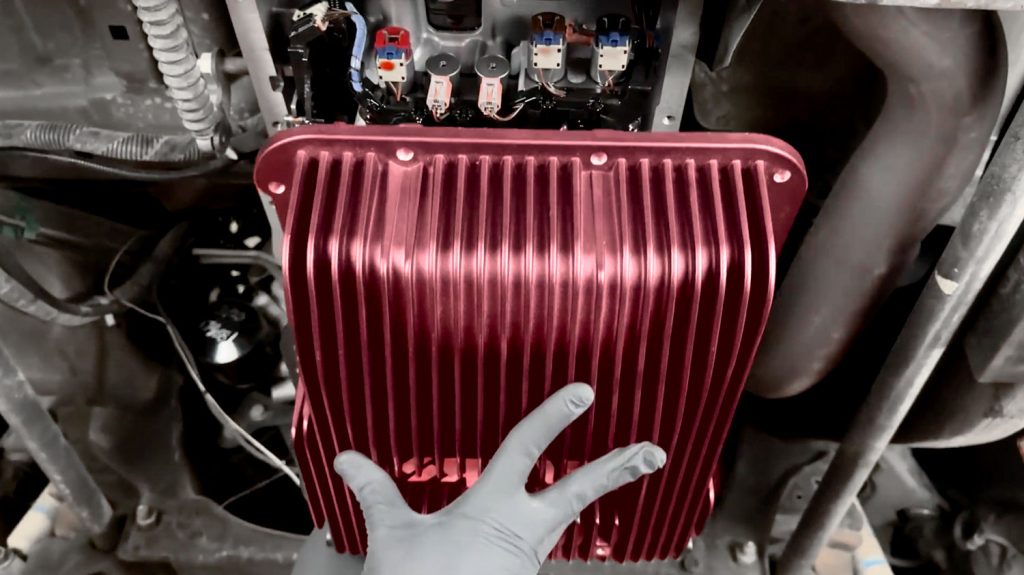
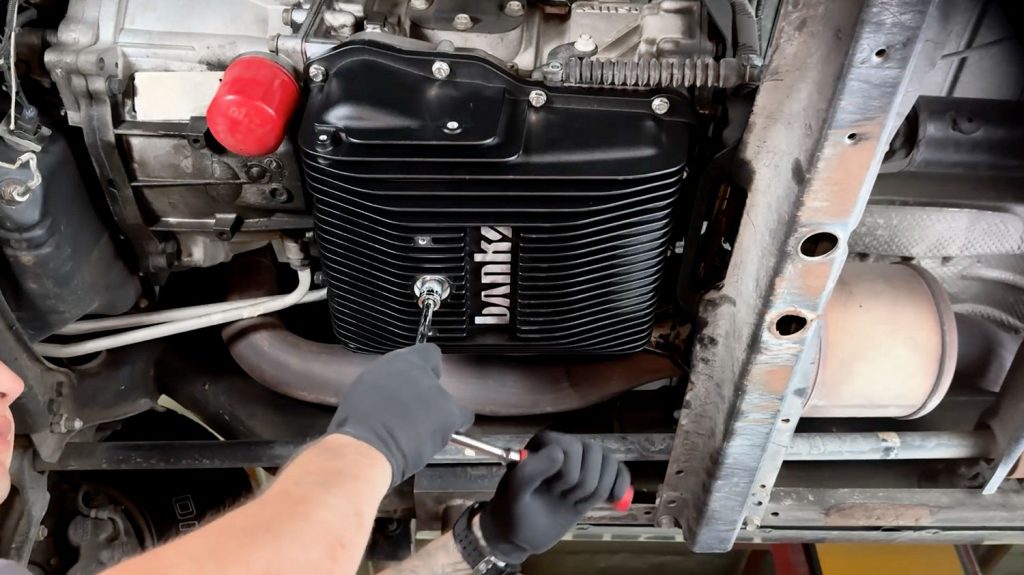
4) Ram-Air Scoop
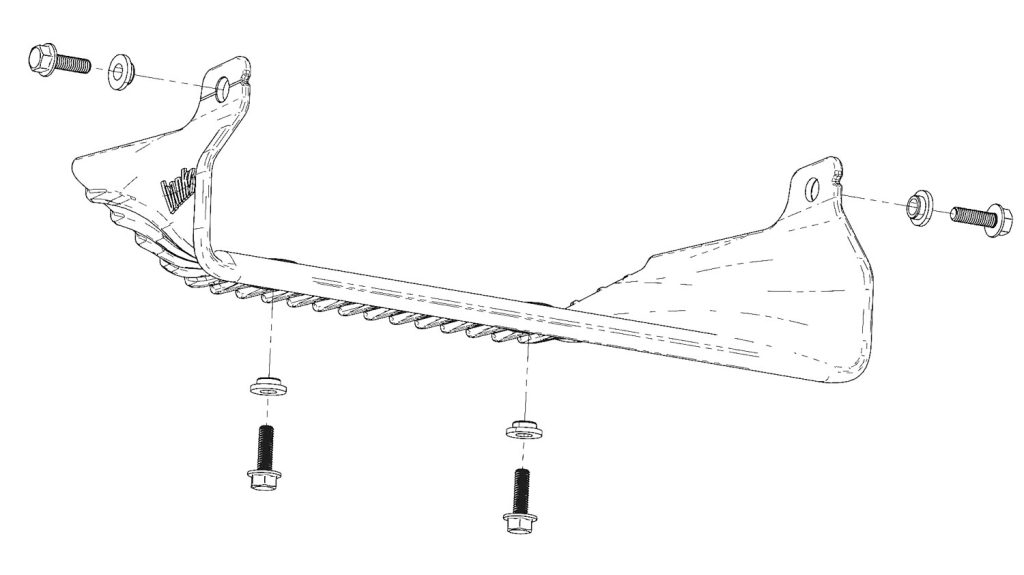
The Ram-Air scoop is held inplace by 4 washers and bolts. It is designed to break away in the event of a rock collision.
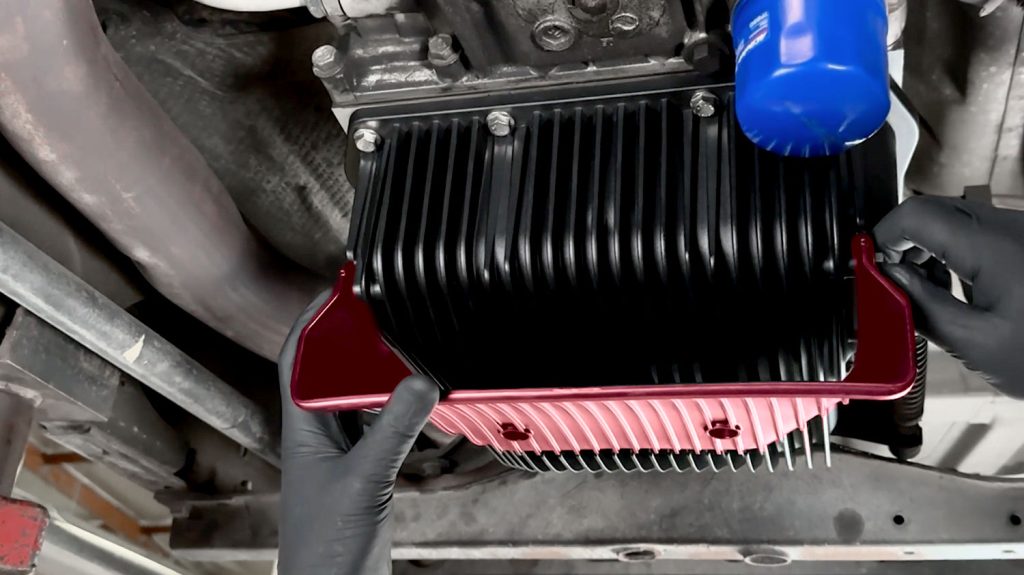
Line up the Ram-Air scoop first, then put the washers and bolts in.
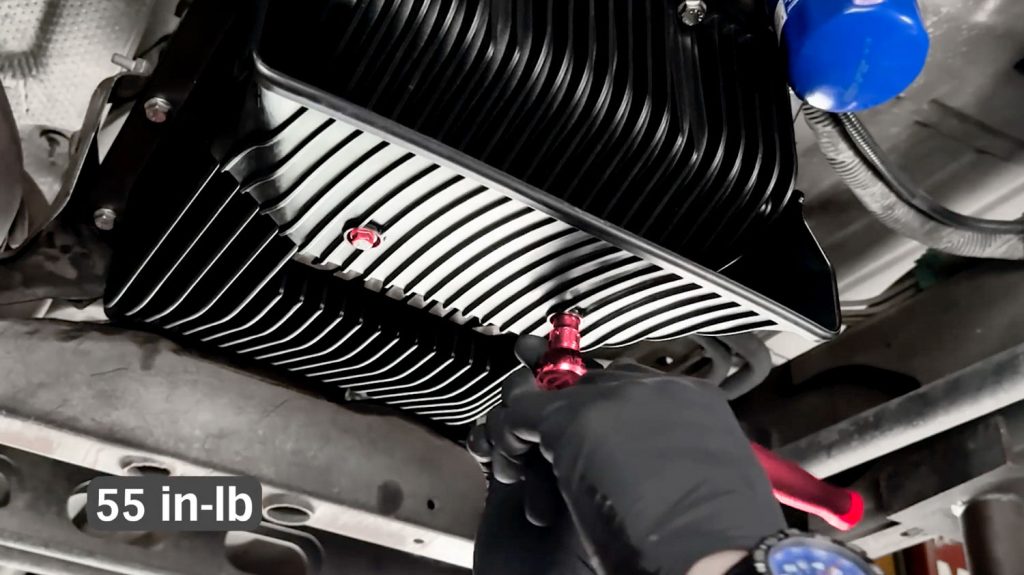
Tighten each bolt to 55 in-lbs.
5) Fluid Check
Lower the truck.
Refill the transmission with 12 Quarts of transmission fluid. Note: Although the recommended fill is 12 quarts in most Allison 5 and 6 speed transmissions, the dipstick will ultimately dictate your truck’s proper fill level. Follow these steps to ensure you fill to the proper level.
With the vehicle stationary, turn on the truck and run the transmission through each gear position for 5 seconds to pump fresh fluid to all the gear clutch packs.
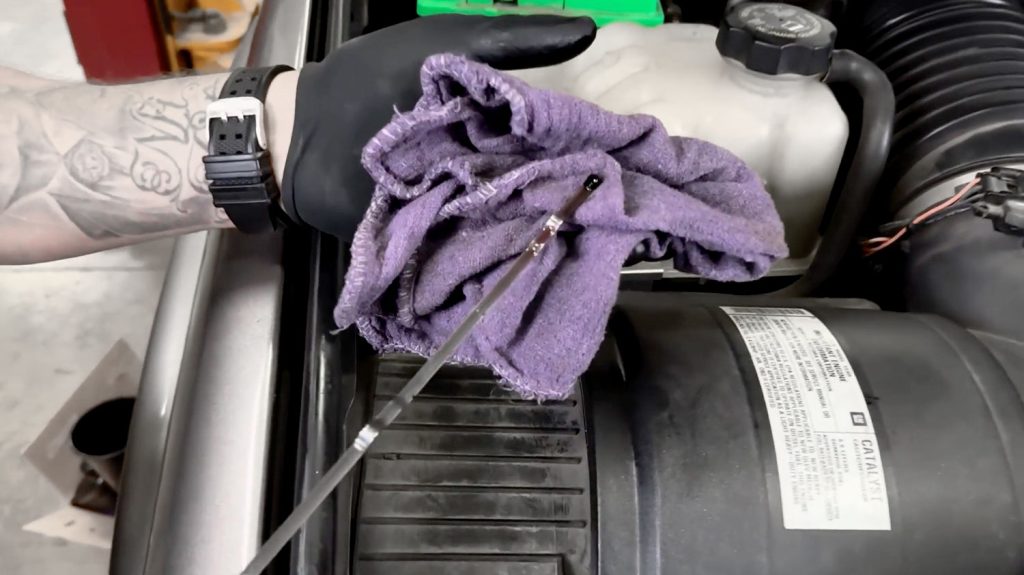
Re check the transmission is filled to the OE fill level. Add more fluid if needed.
Now hit the road and enjoy your new Ram-Air Transmission Pan.