

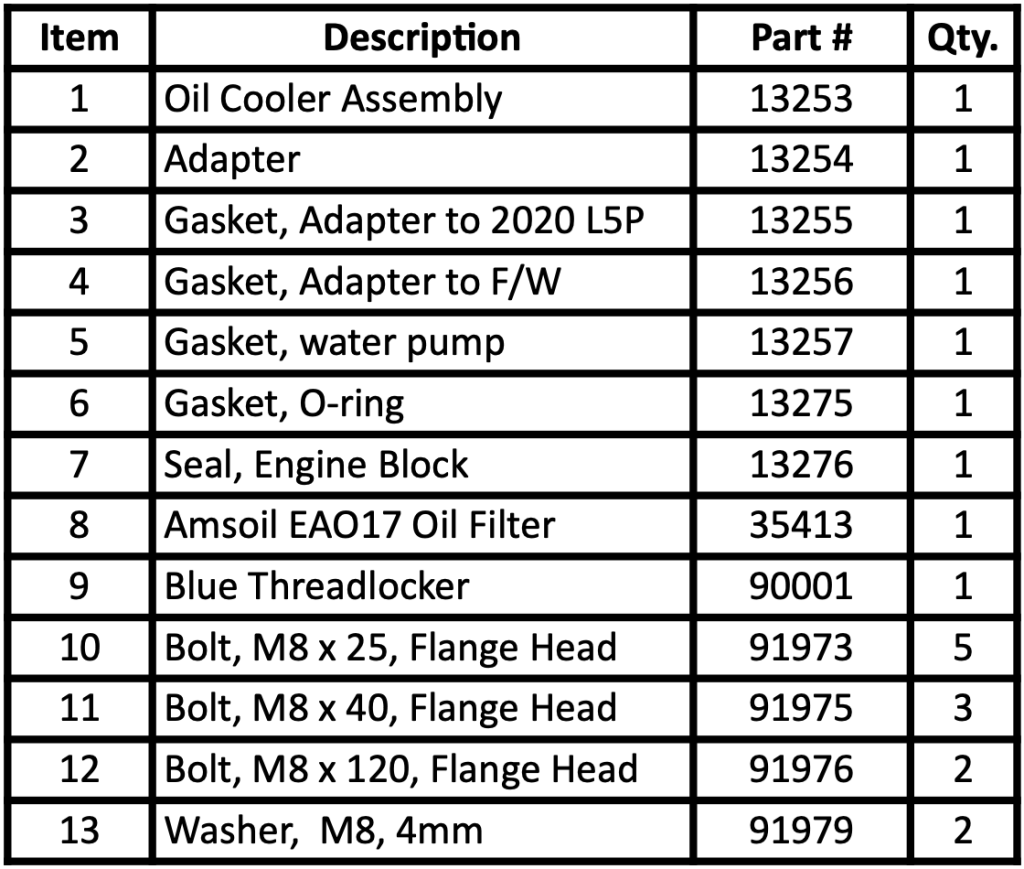
97708 Duramax Oil Cooler Upgrade Kit Owners Manual
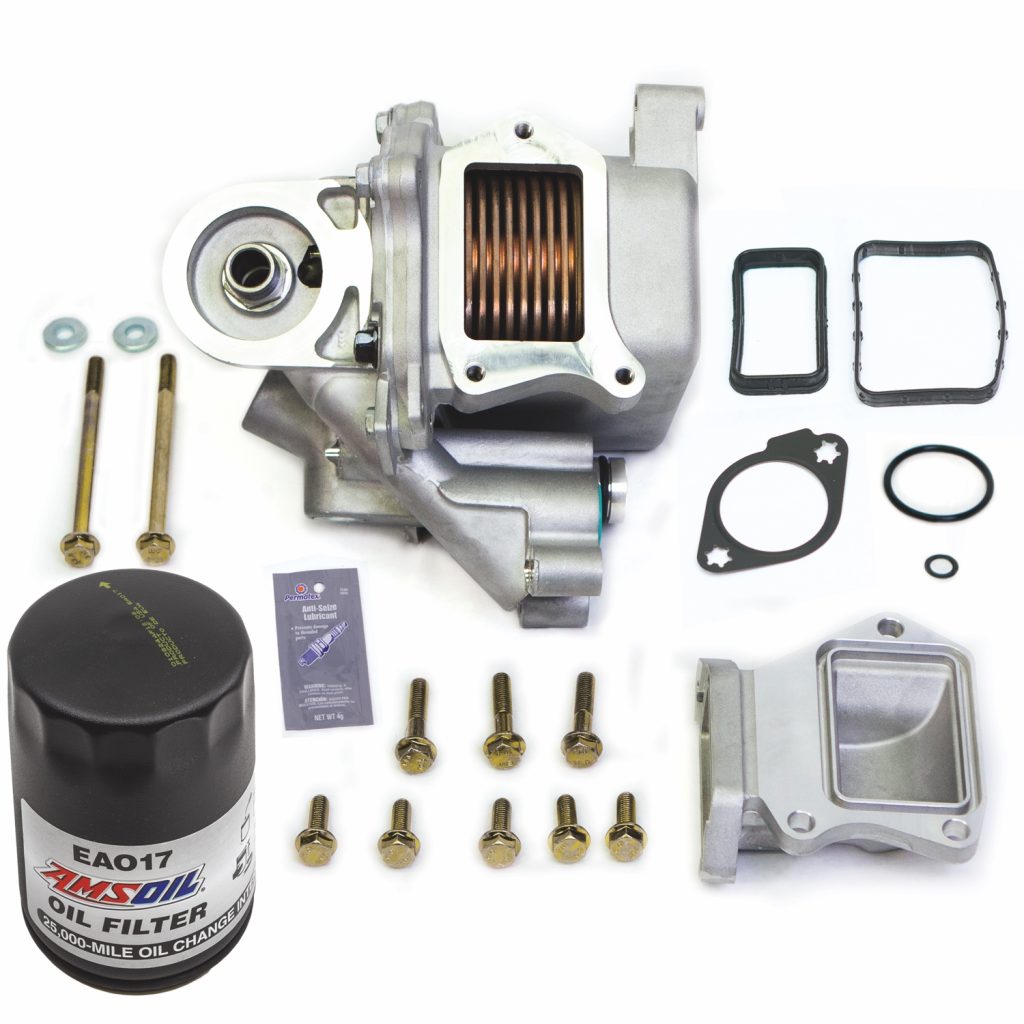
General Assembly
NOTES:
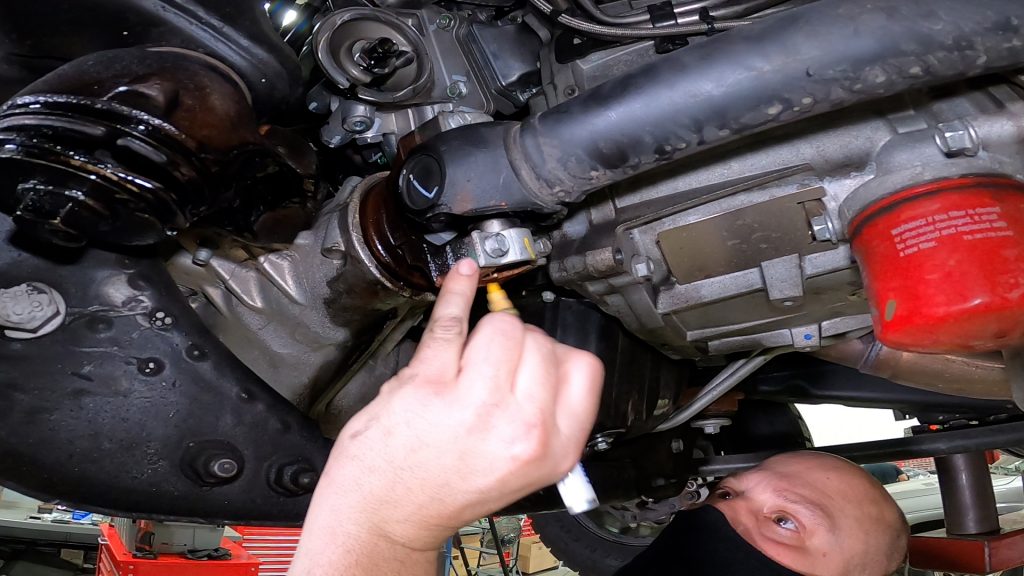
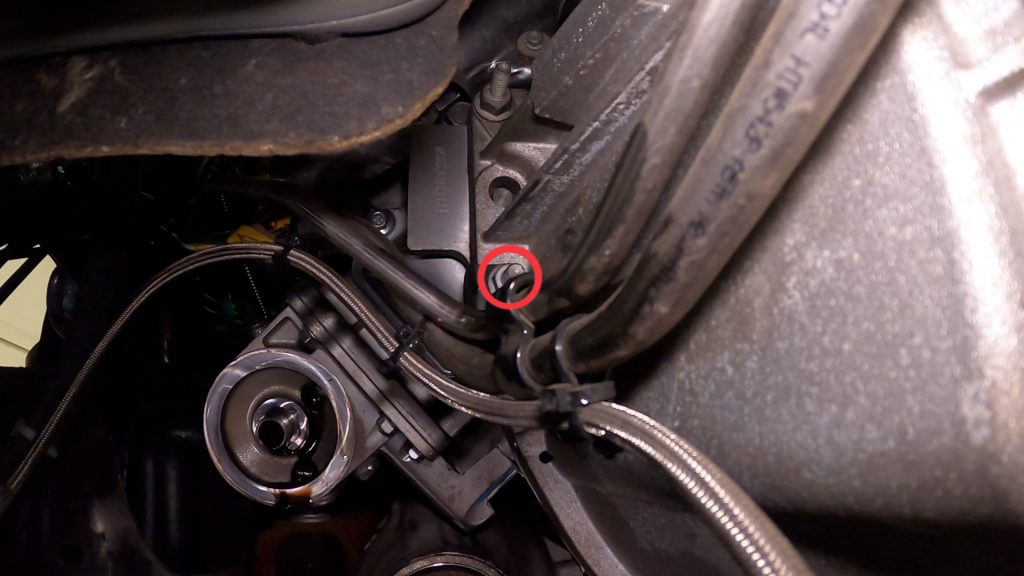
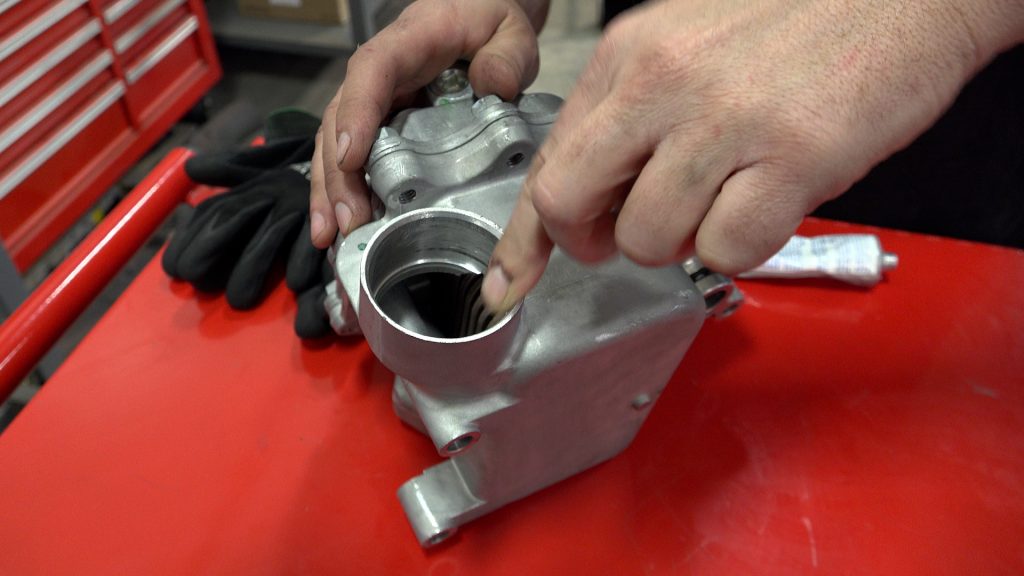
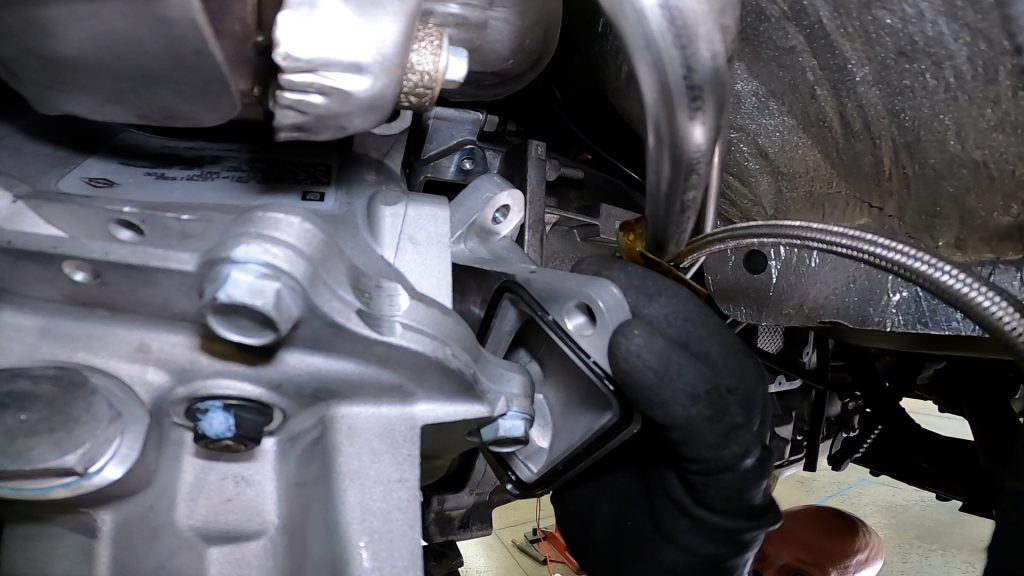
Sensor adapter and removable 1/8″ NPT sensor plug is pre-installed. Remove plug and replace with your choice of sensor prior to installation.
Small O-ring gasket/seal (13276) for the engine block coolant drain plug may not be needed. Most mechanics choose to leave the drain plug installed, simply allowing excess coolant to pour out when removing the oil cooler. You will only need this gasket if you choose to remove the engine block plug to drain the coolant. The factory gasket is designed to be replaced after removal.
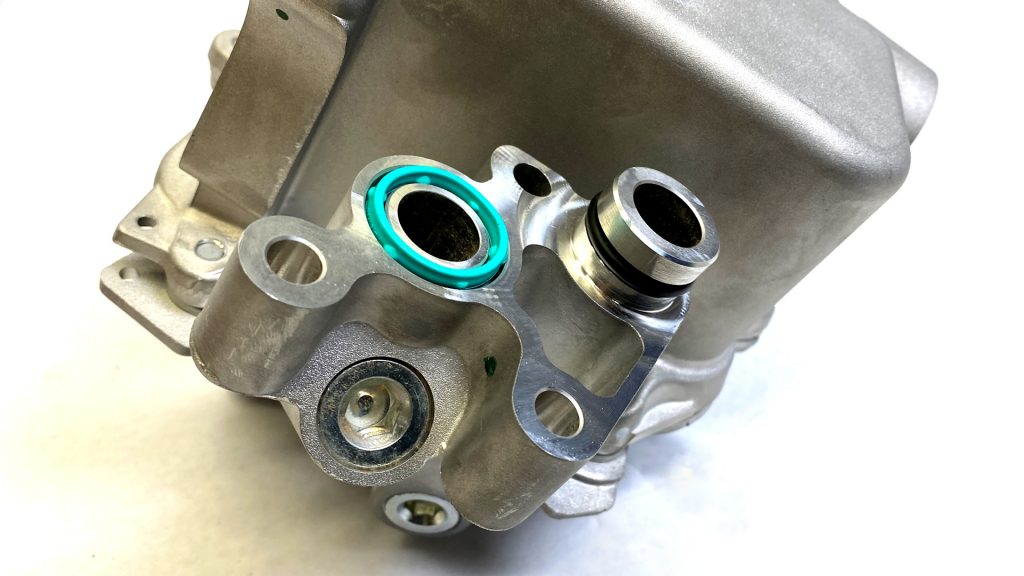
The green and black o-ring gaskets shown below are pre-installed.
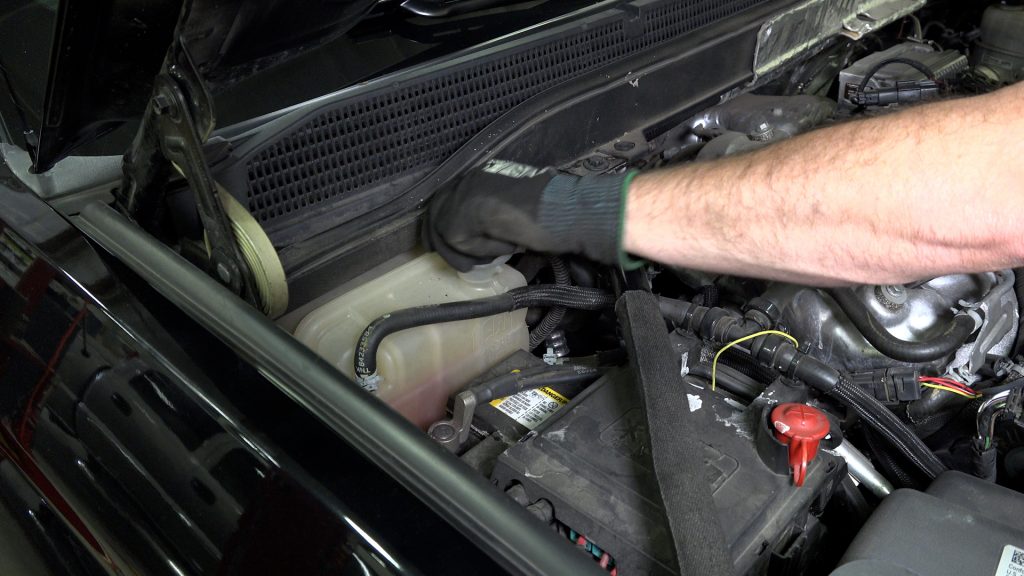
- Remove coolant reservoir cap to release pressure when draining coolant from block.
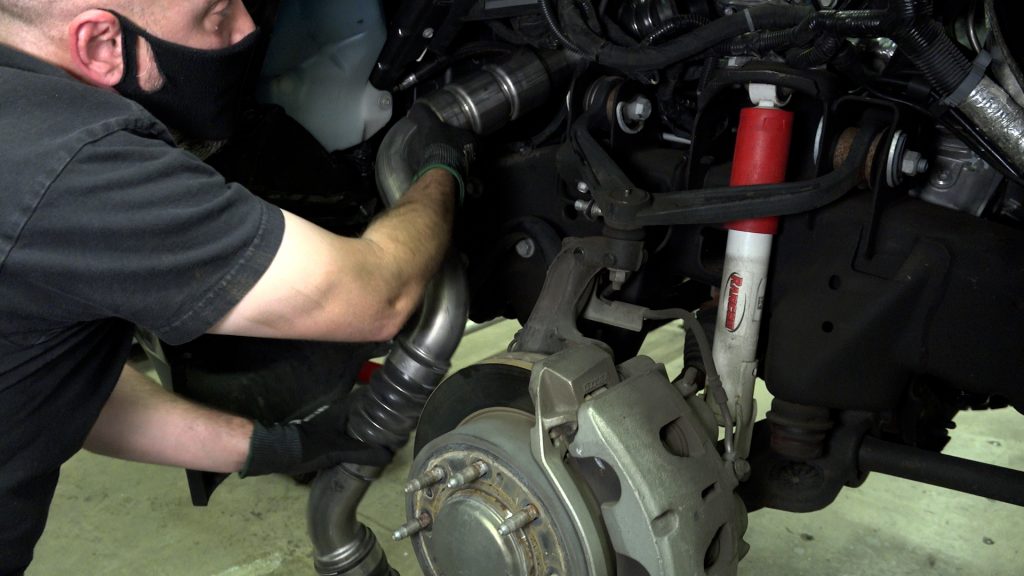
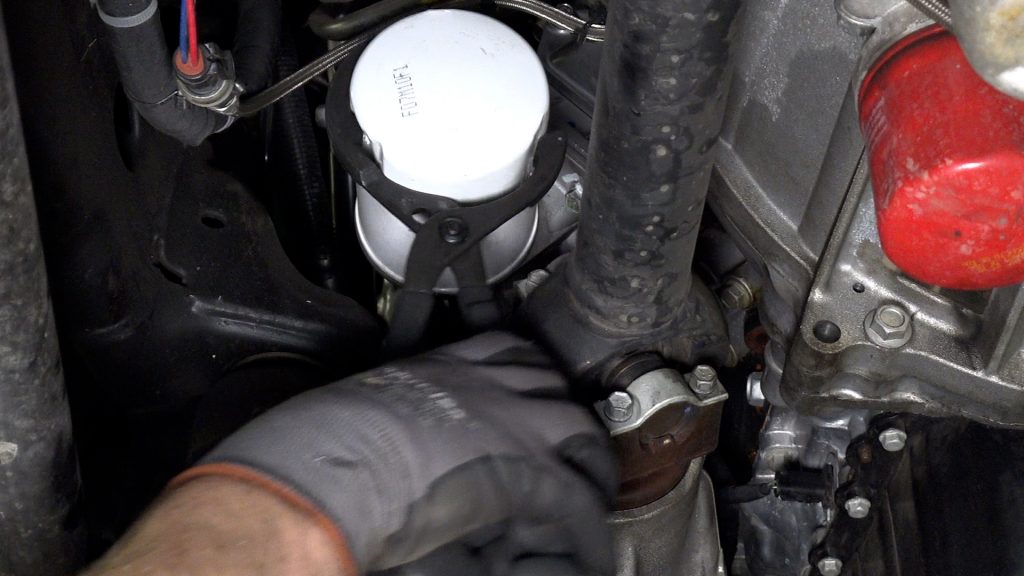
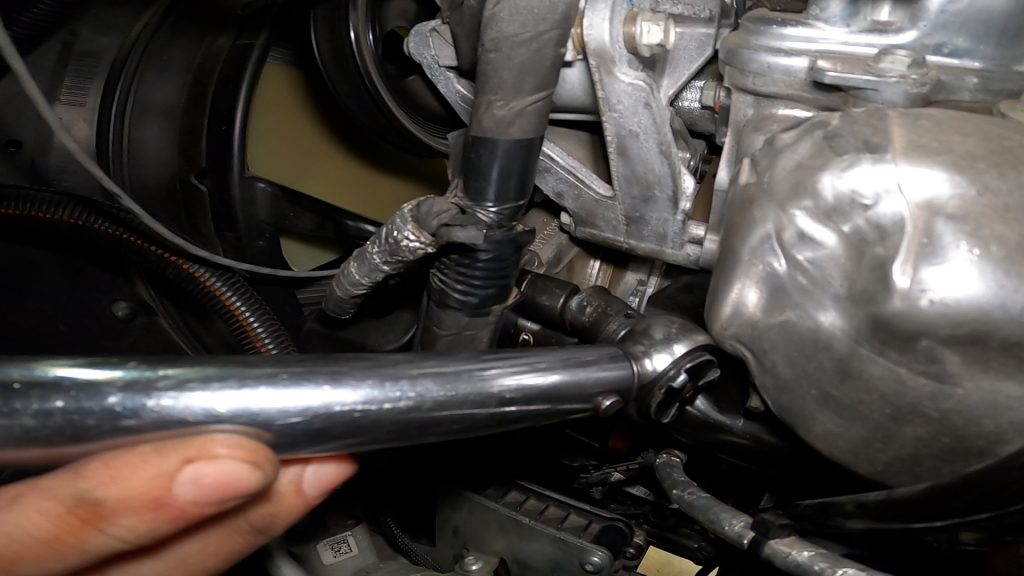
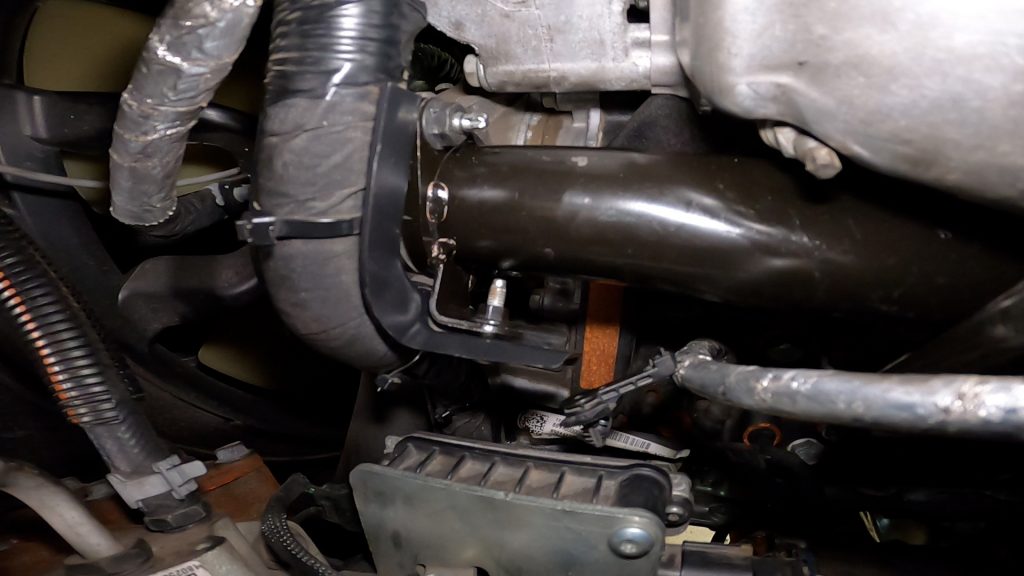
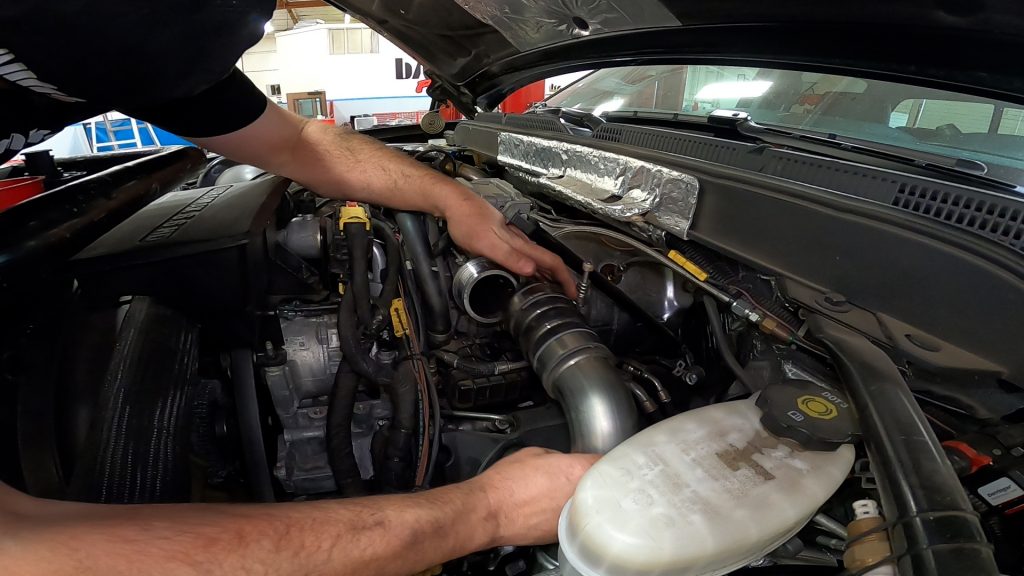
2. Uncouple the boost tube from turbo outlet. Loosen nut on spring-loaded T-bolt clamp.
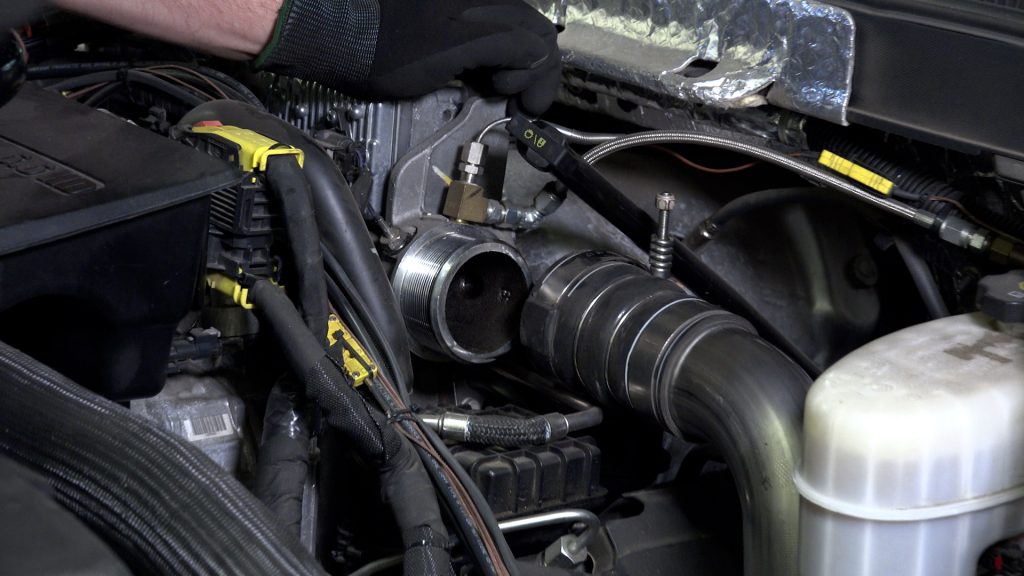
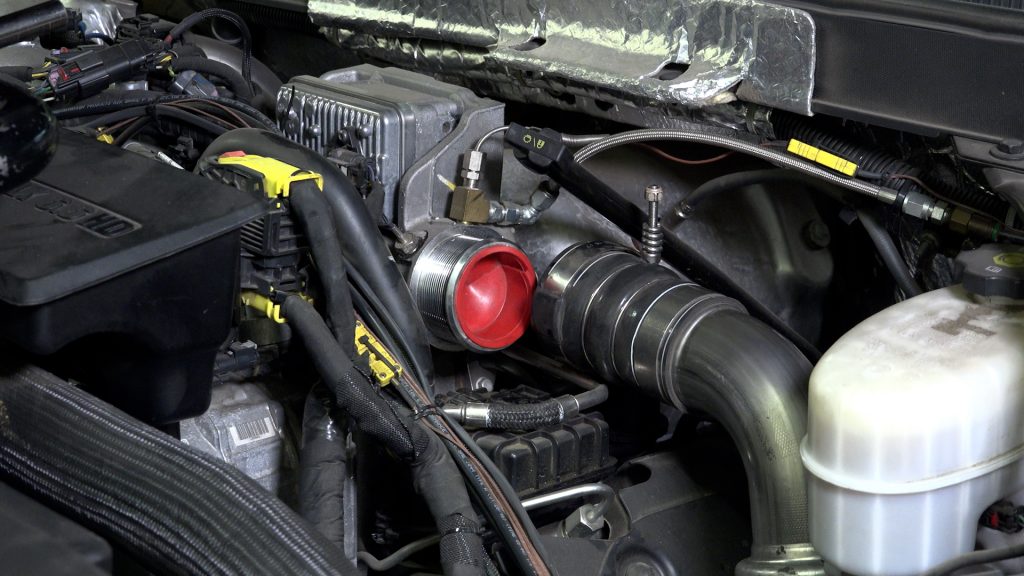
3. Cover turbo outlet and boost tube inlet so no tools or debris falls in.
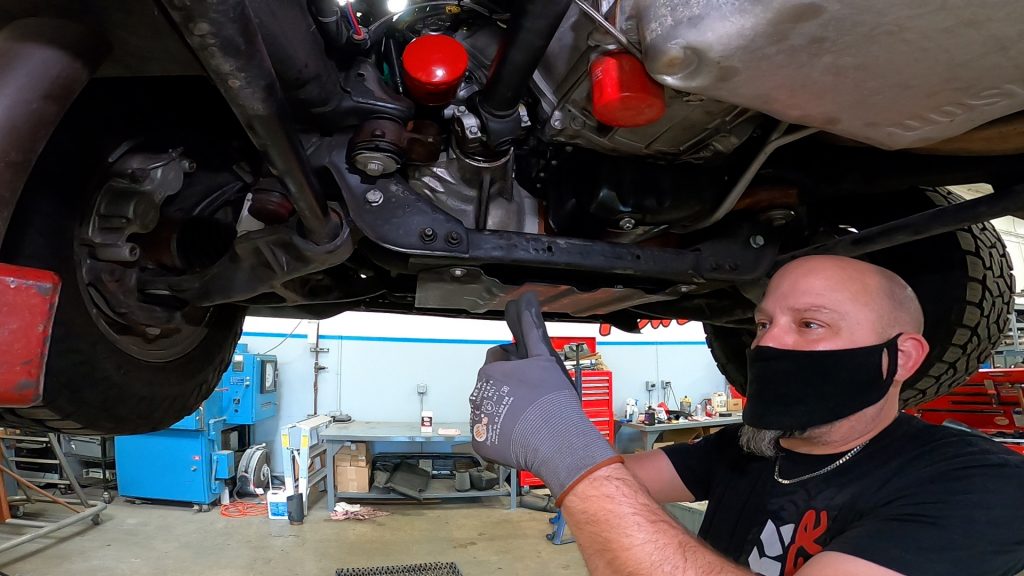
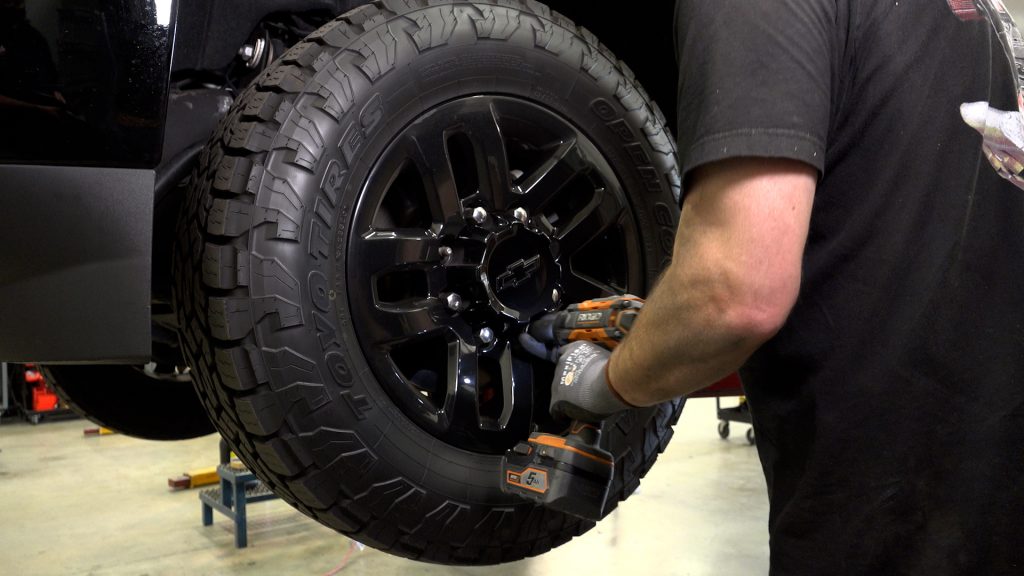
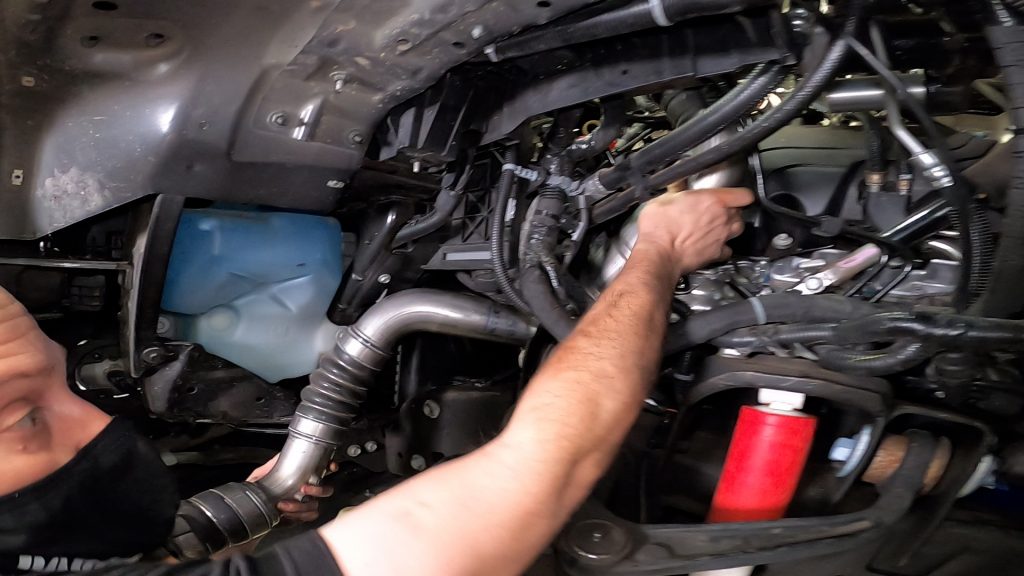
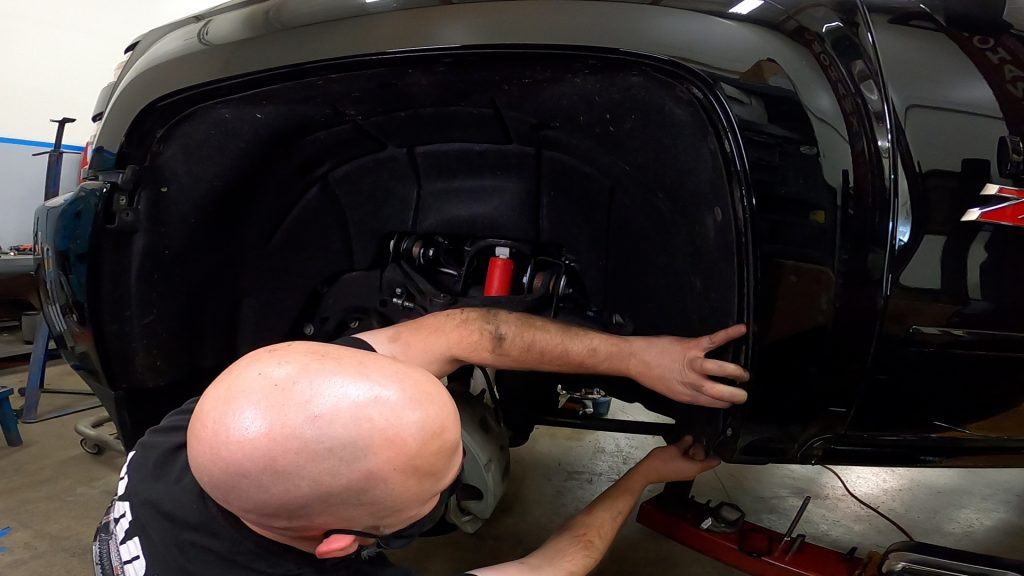
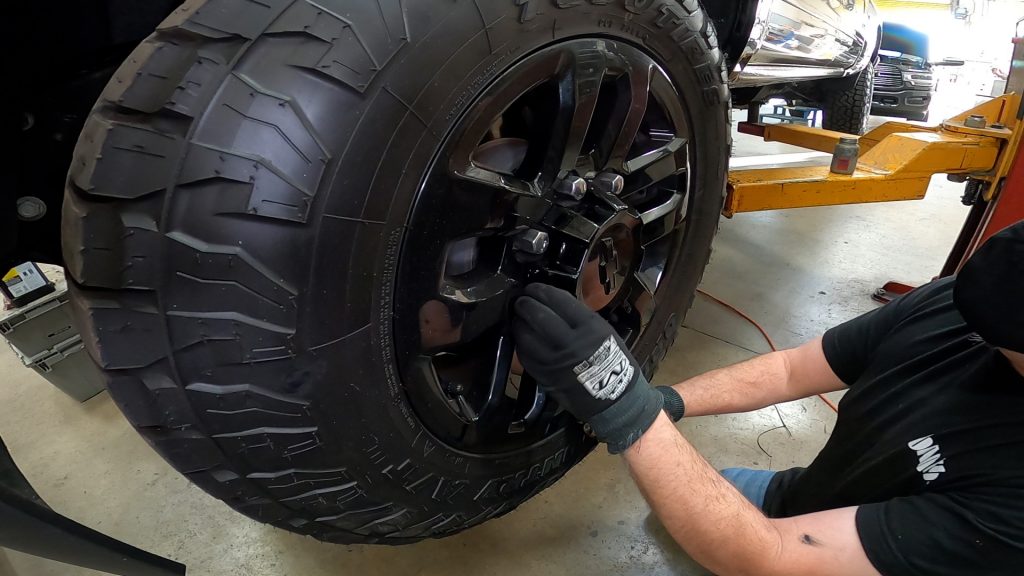
4. Remove driver’s side front wheel.
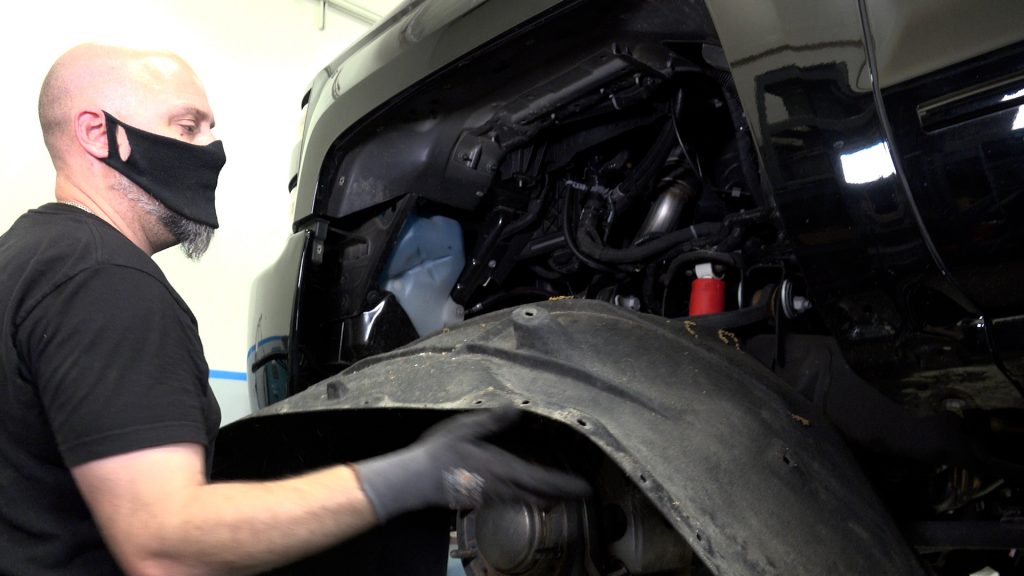
5. Remove fender liner.
6. Detach boost tube from intercooler by loosening T-bolt clamp.
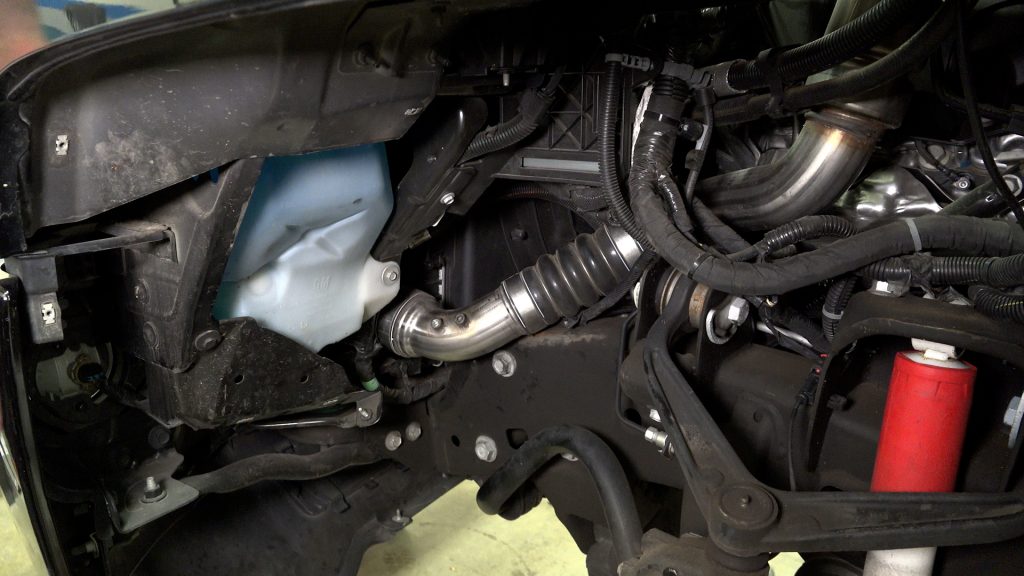
7. Slide boost tube down through engine bay.
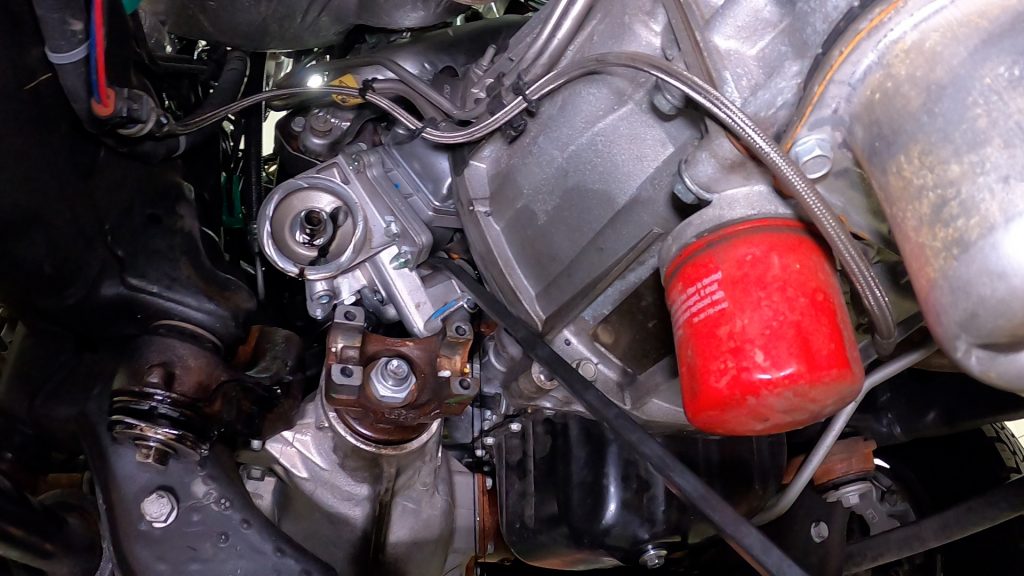
8. Remove oil pan plug and drain oil.
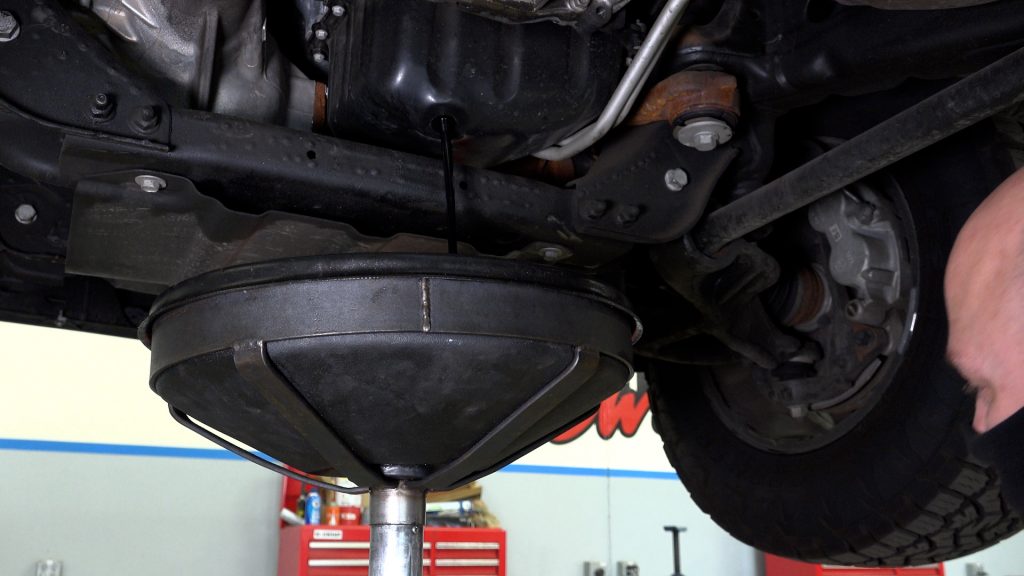
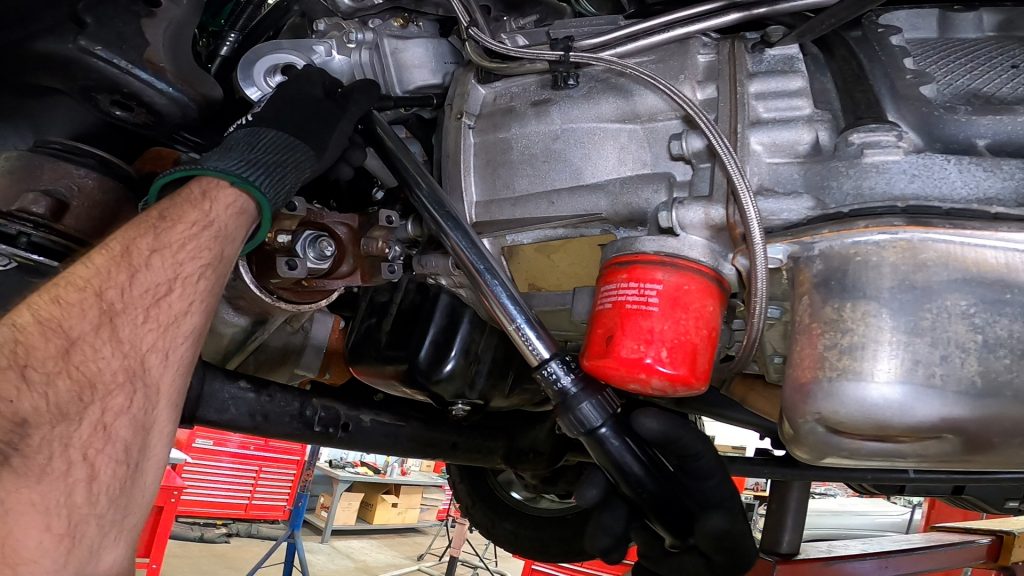
9. Remove oil filter.
10. Reinstall drain plug and torque to no more than 18 ft-lbs.
11. Place rag under oil cooler to catch oil still contained in cooler.
12. Located petcock on passenger side of radiator. It’s usually found near the frame rail. Loosen and let coolant drain.
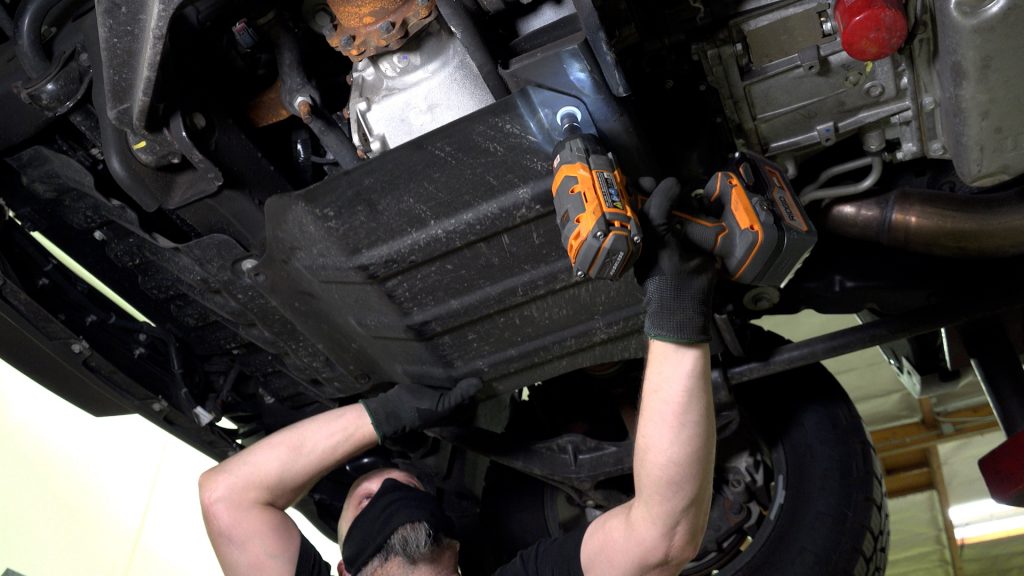
13. If truck as a skid plate, remove the four bolts securing it.
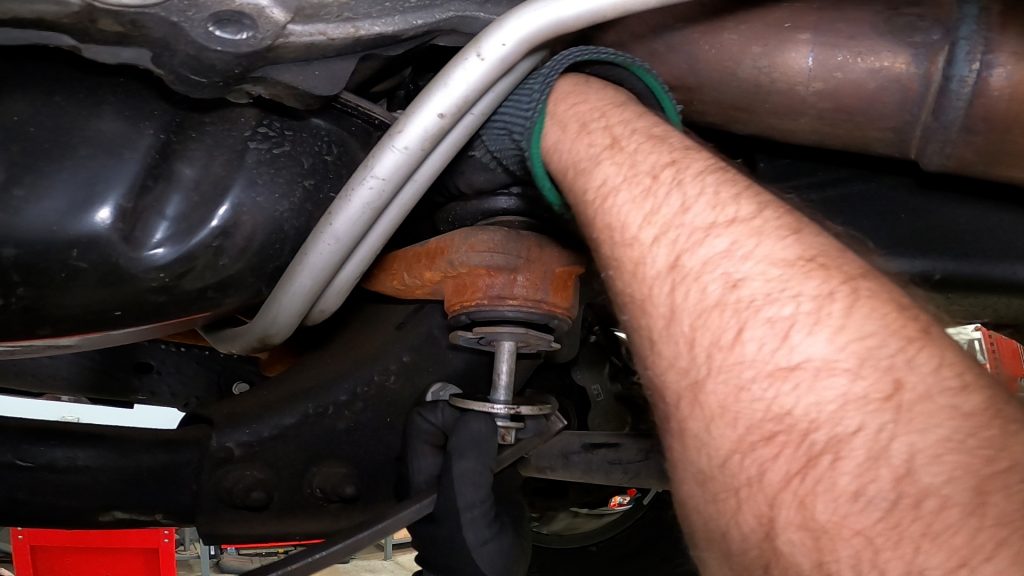
14. Remove engine block coolant plug using a socket and long extension.
15. Install supplied gasket (washer) onto coolant plug and re-install onto engine block. Torque to 13-ft-lbs.
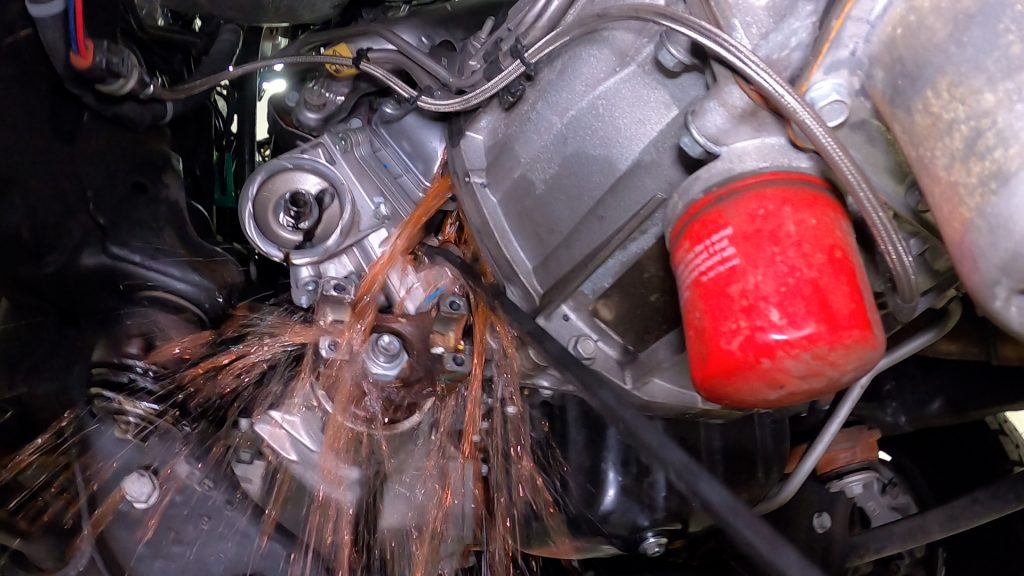
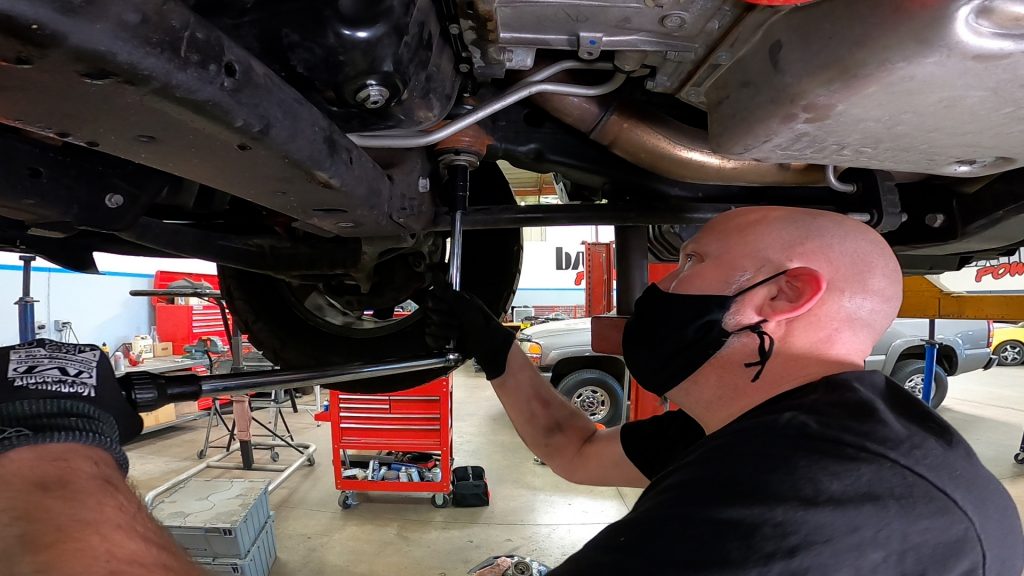
16. If truck is 4-wheel drive, mark alignment of the driveshaft need bearings and clamps so you know where to line it up upon re-assembly.
17. Remove four bolts holding drive line bearing clamp.
18. Tape up needle bearing to ensure it doesn’t fall apart. Move driveline to the side and zip-tie it out of the way so it doesn’t fall on your head.
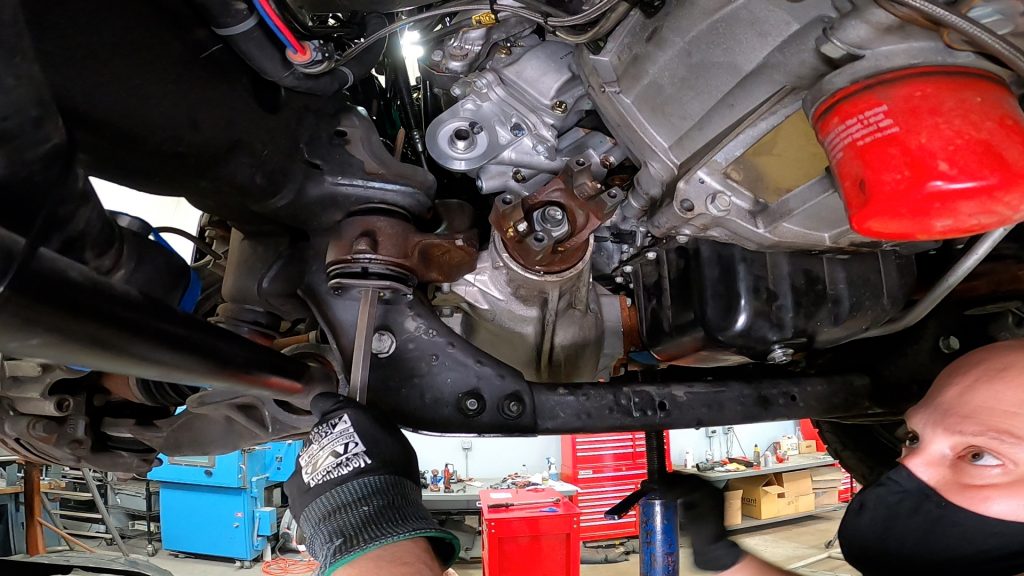
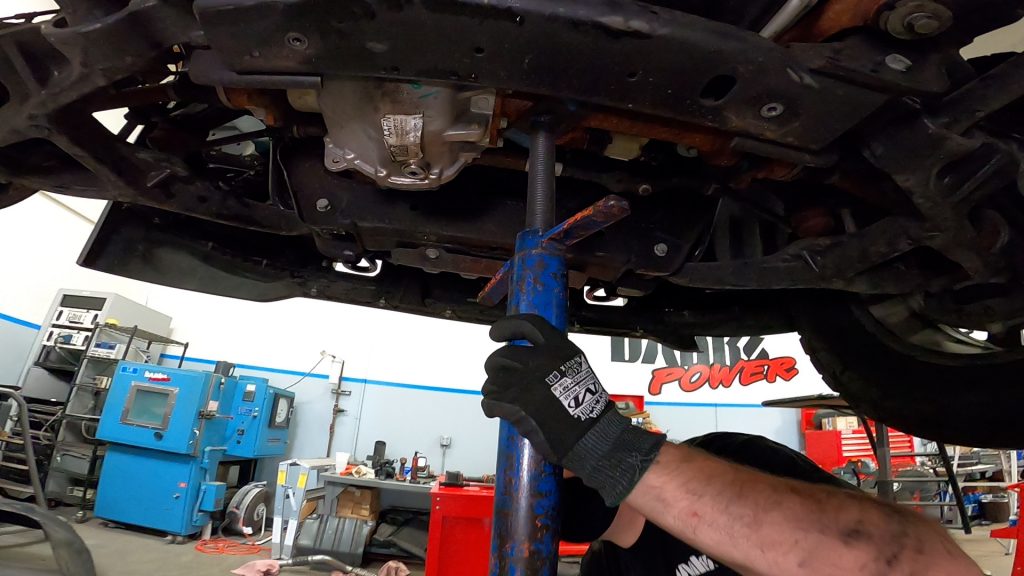
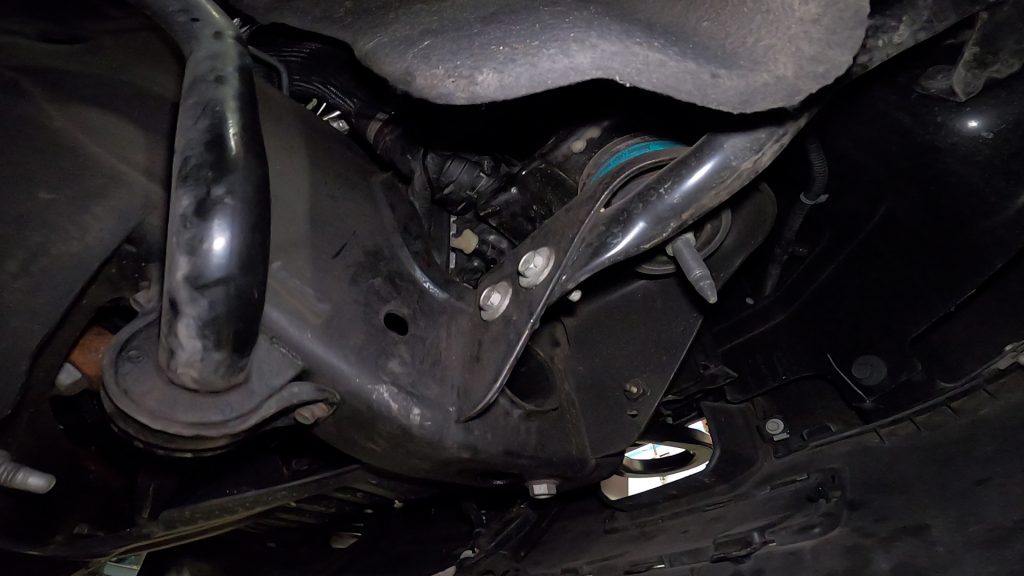
19. Place transmission support stand under front axle. Disregard if 2-wheel drive.
20. Remove four bolts supporting front wheel drive axle and housing. This is done so the front drive assembly can be lowered slightly, which provides more room to remove the oil cooler.
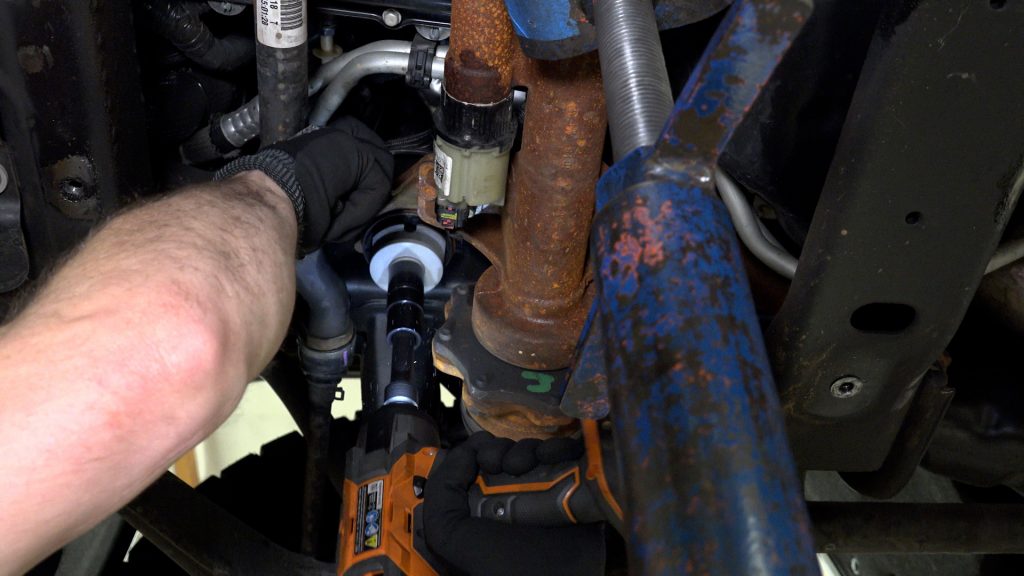
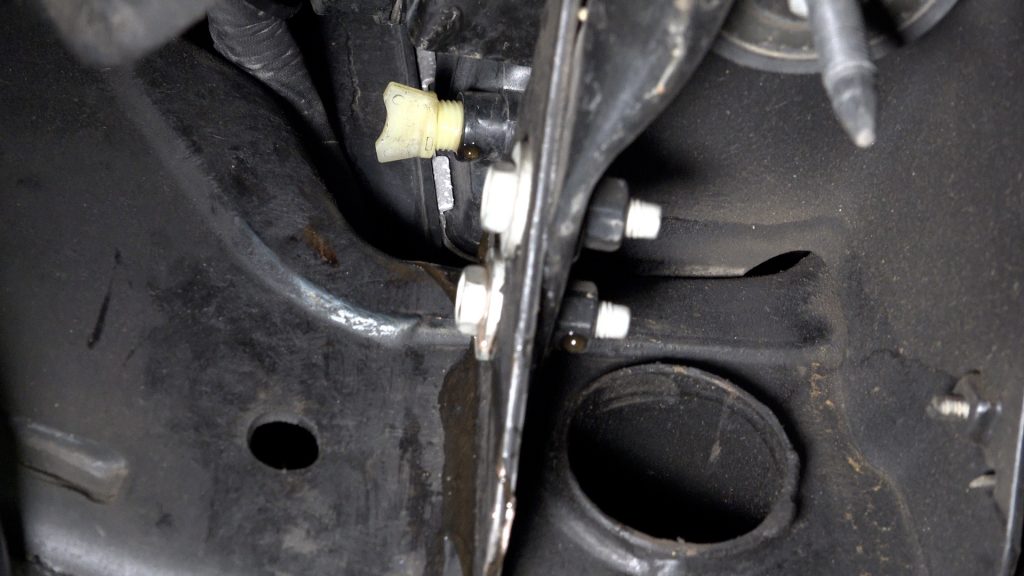
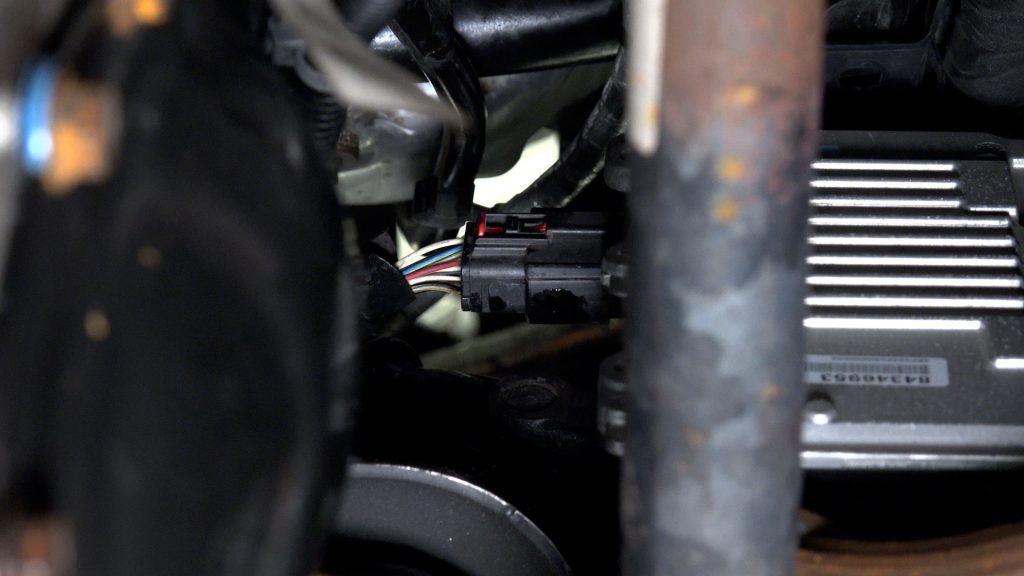
21. In some trucks, it may be necessary to remove the electrical plug located on the driver’s side front. Be sure to put it back when reassembling.
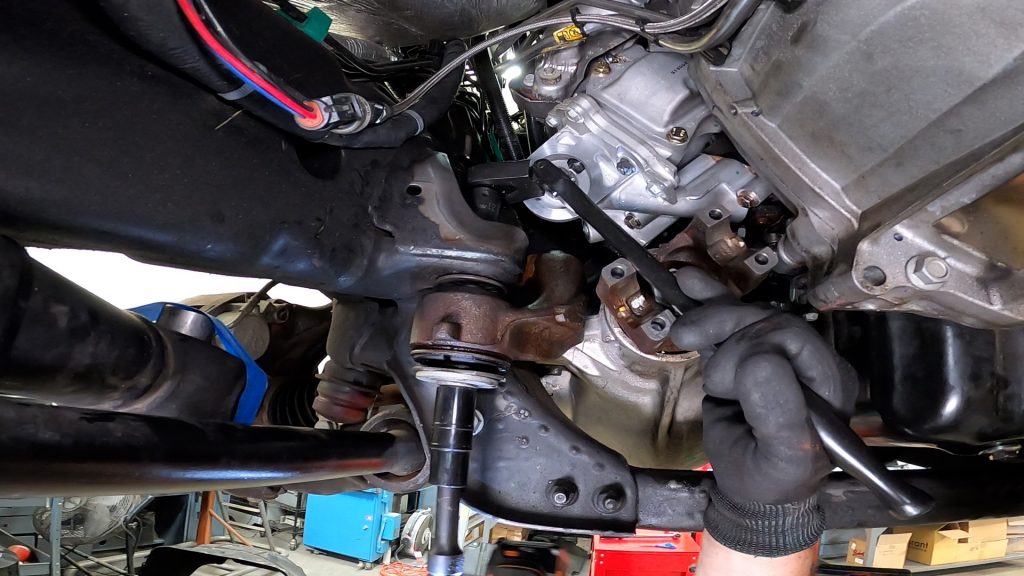
22. Now remove the nut and bolt from the front driver’s side. Then remove the nut and bolt from the rear of the driver’s side.
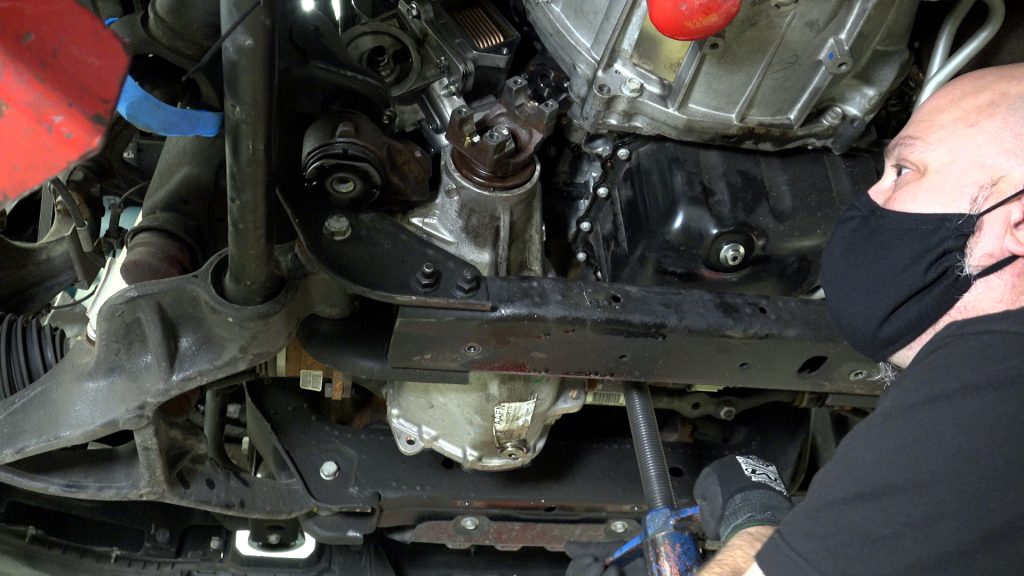
23. When the four bolts that support the axel to the chassis have been removed, you can lower the axel to rest on the subframe.
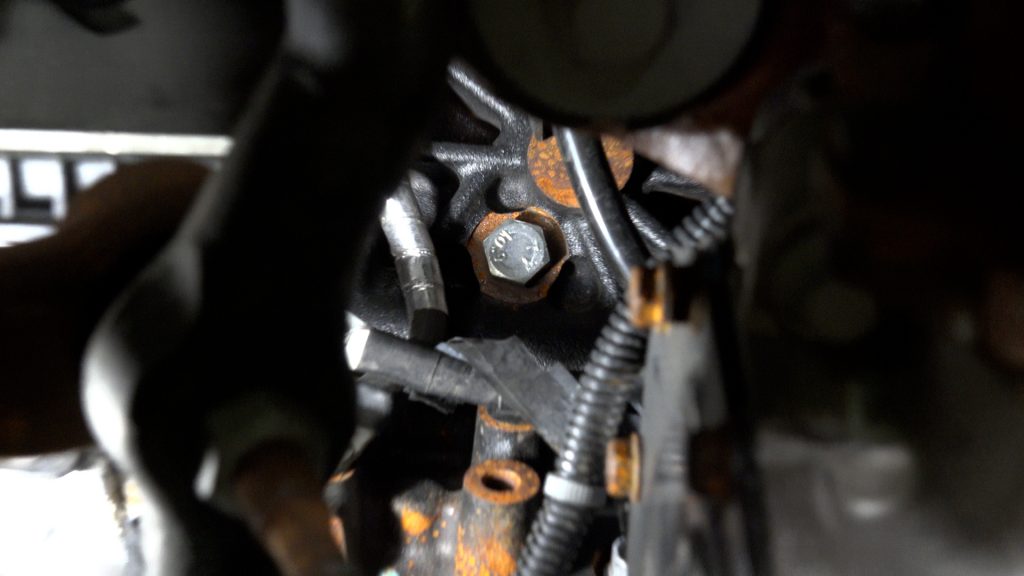
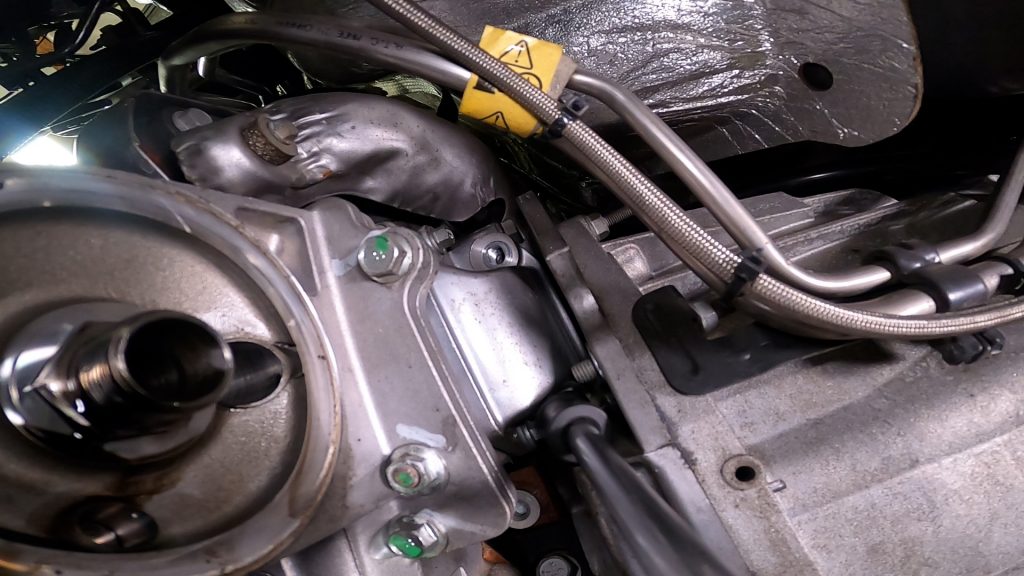
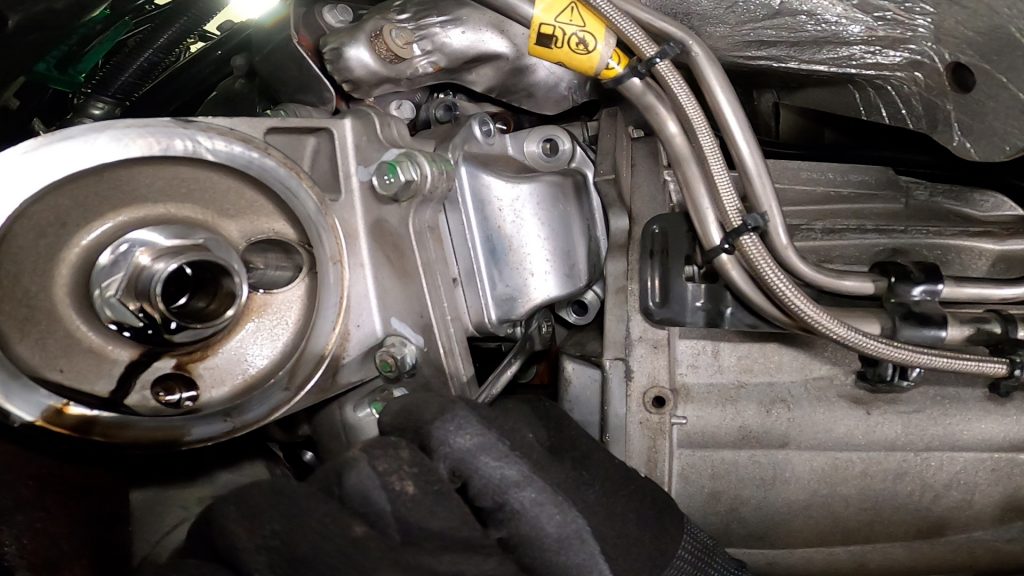
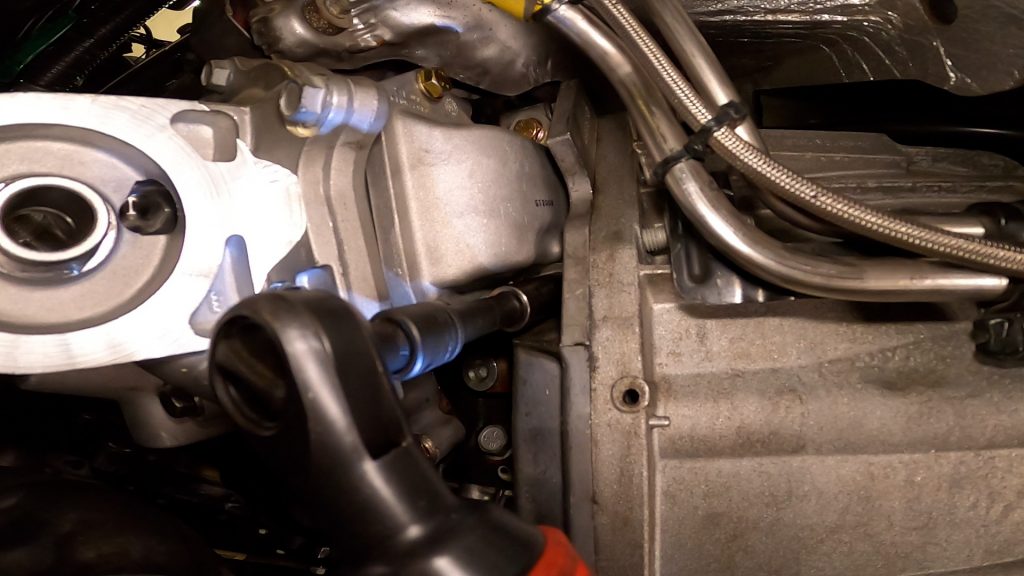
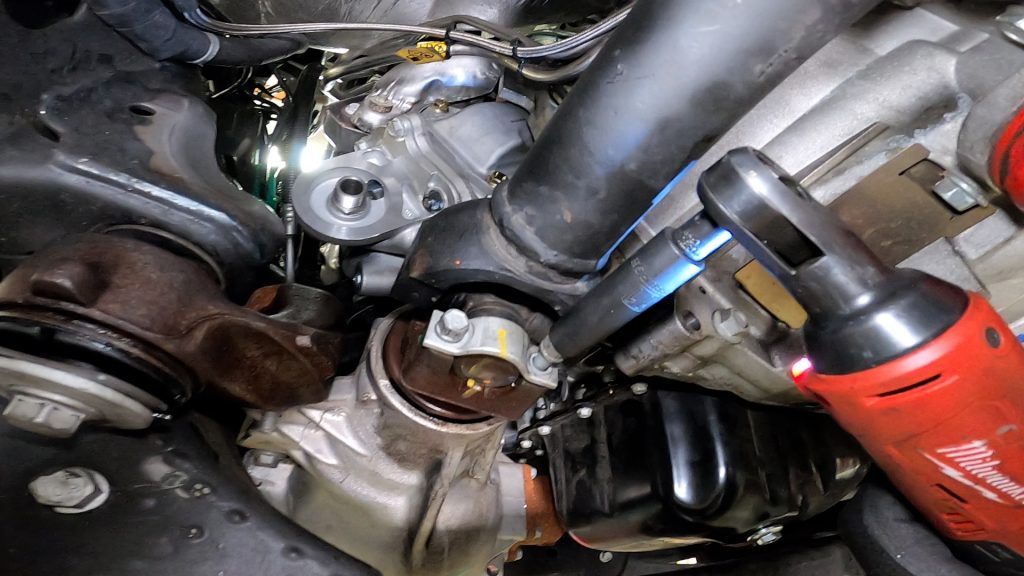
24. Remove the two bolts holding the elbow to the flywheel housing.
Please note: you will note remove the elbow.
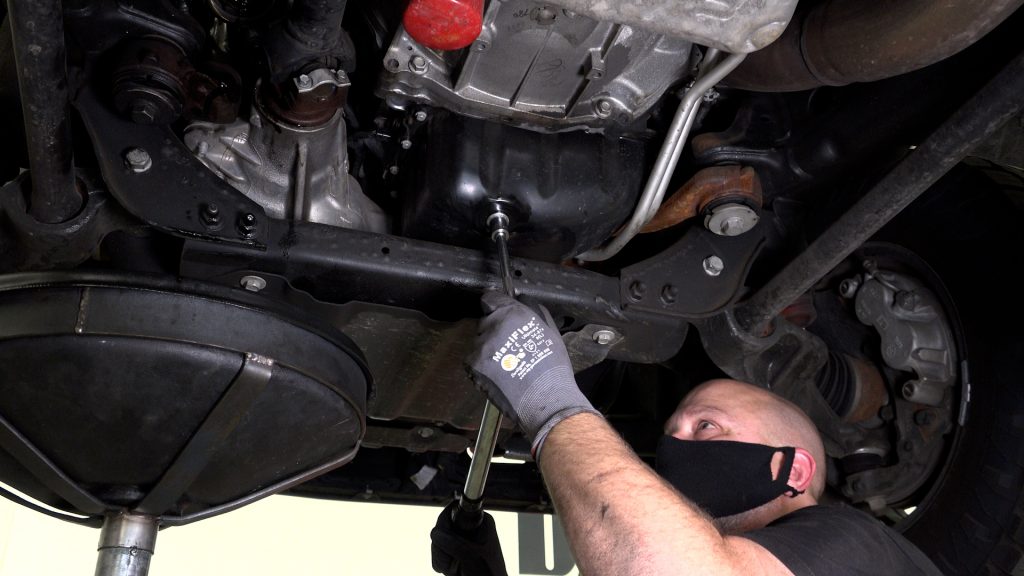
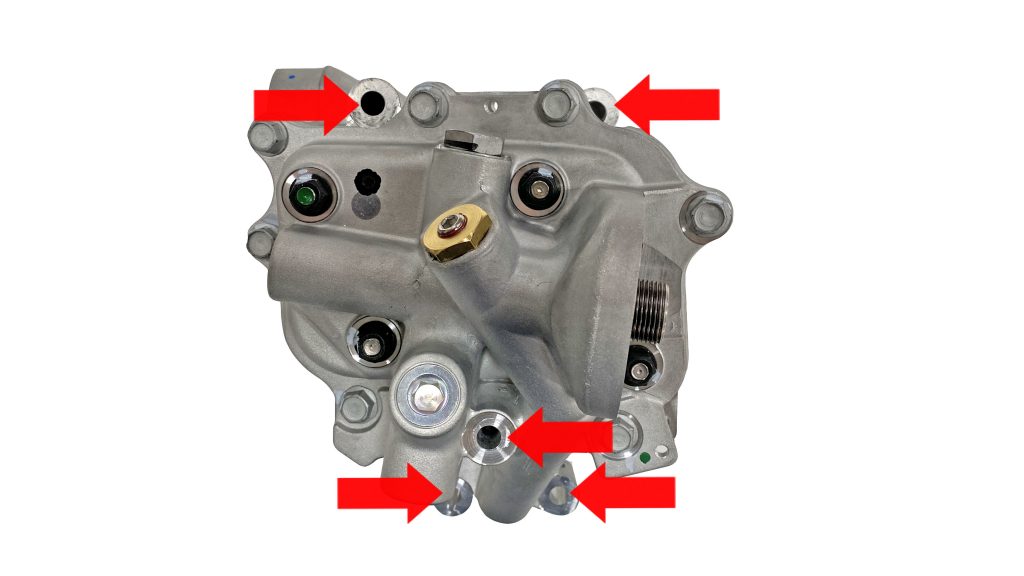
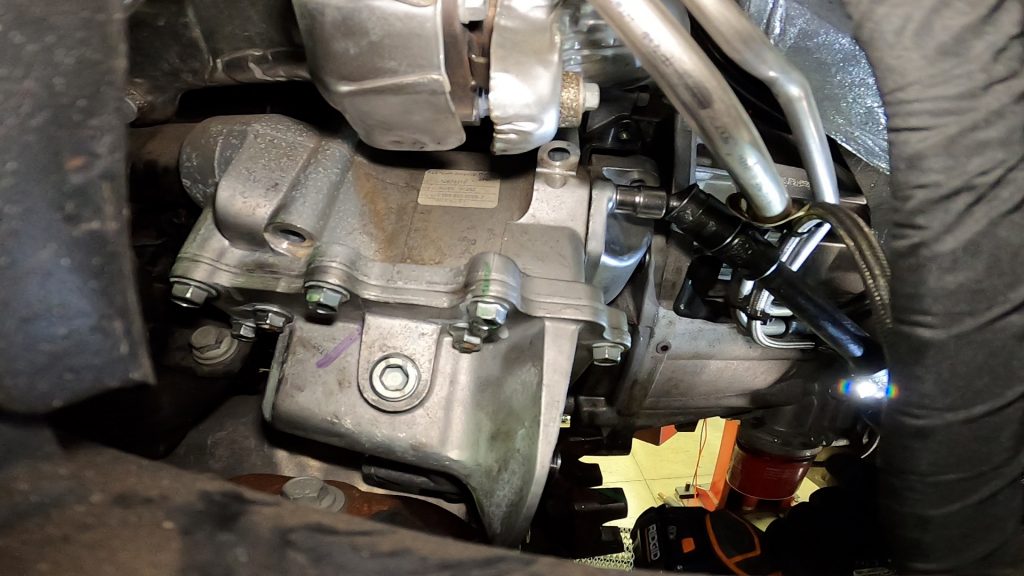
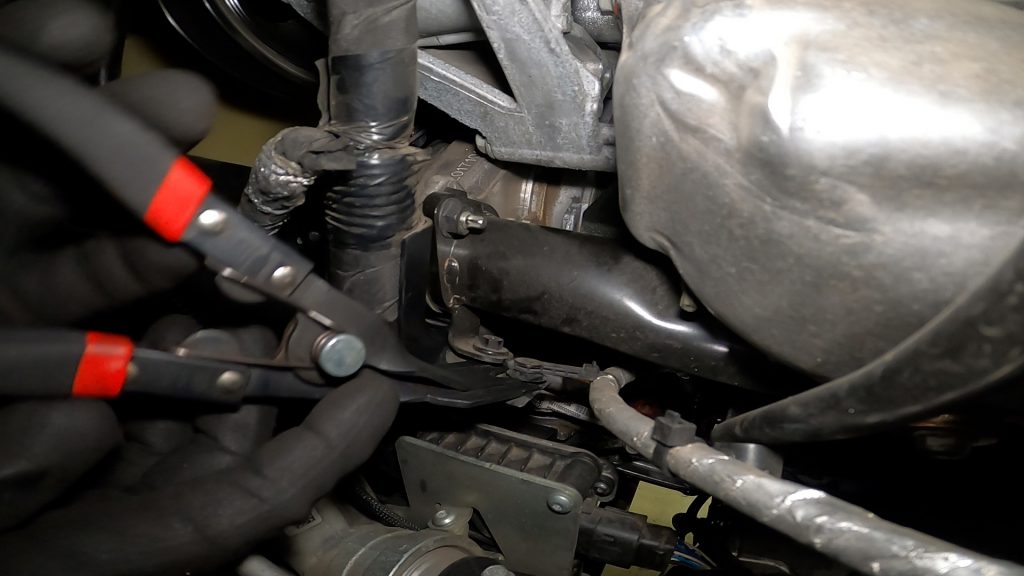
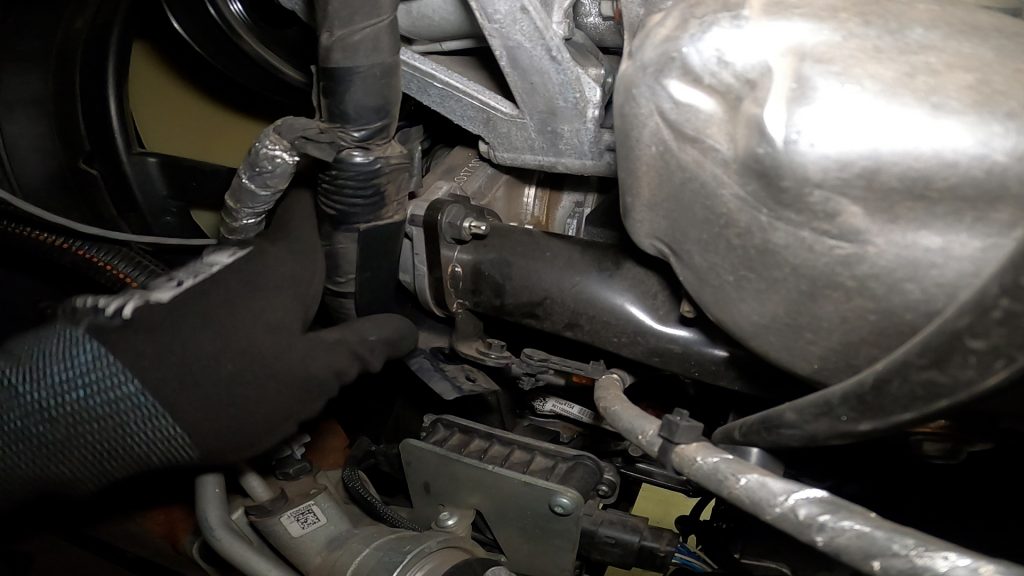
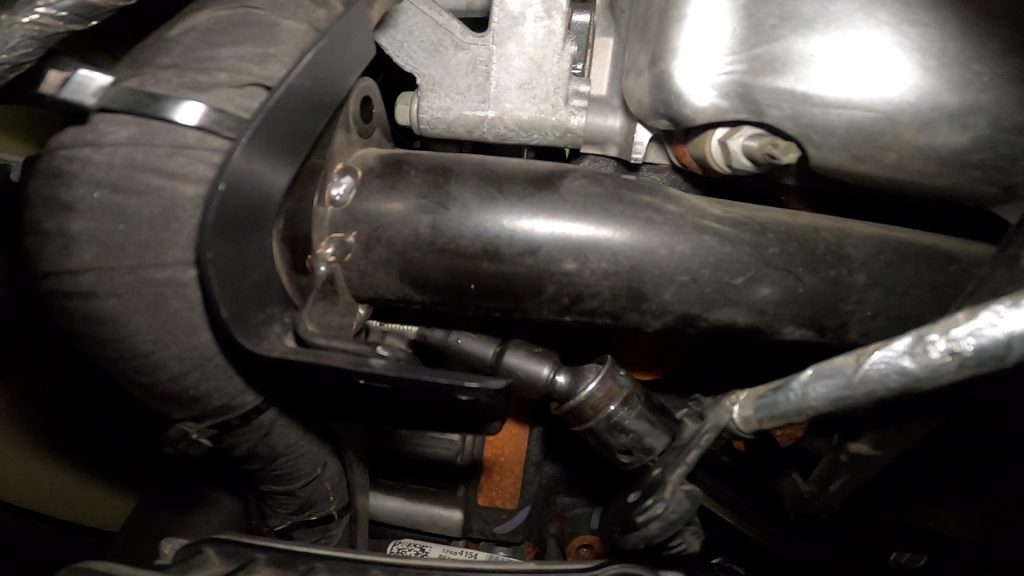
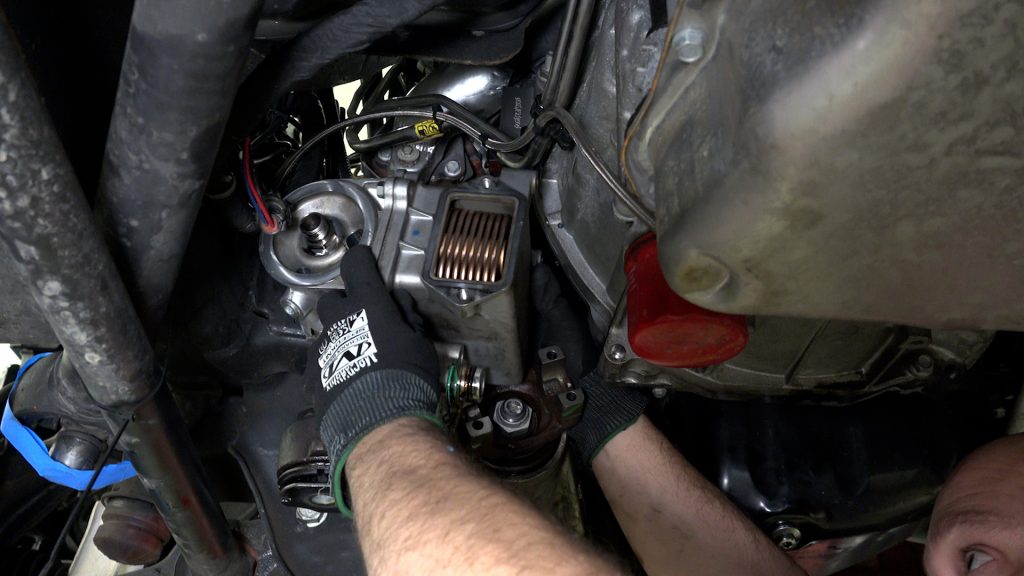
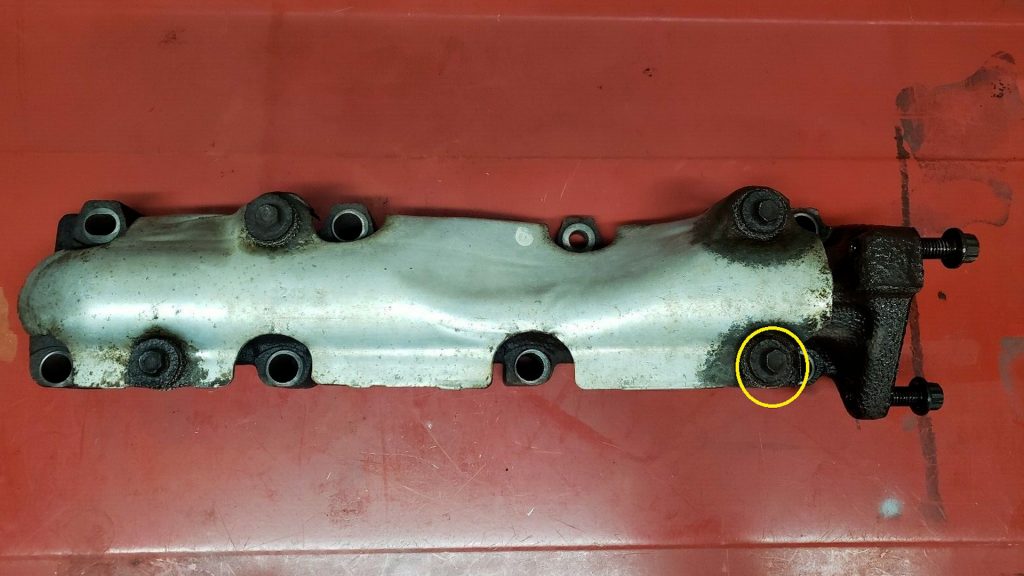
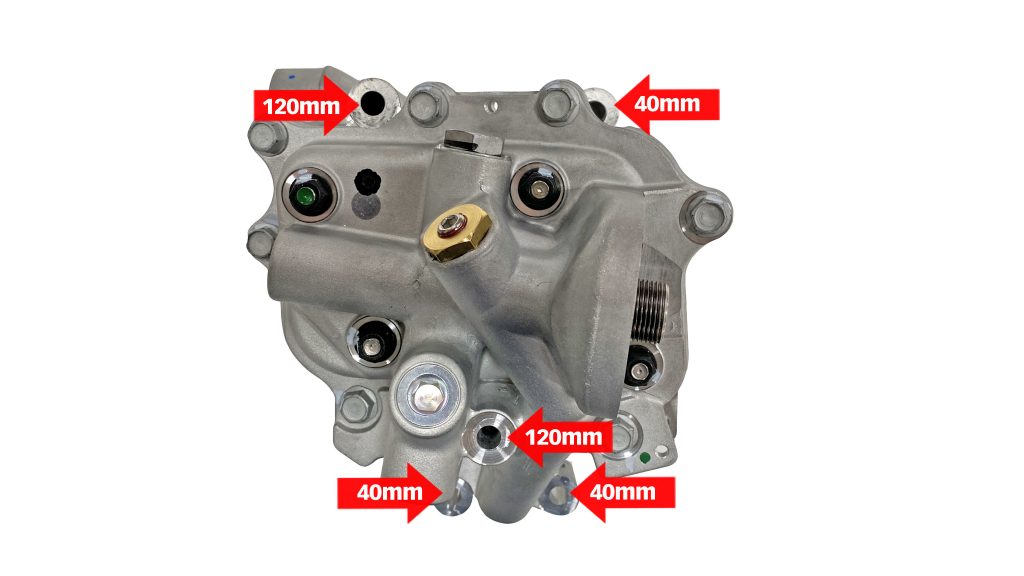
25. Remove all five bolts that hold the cooler to the engine block. The bolts are located as seen in the diagram below. Use wobble sockets to get in odd angles.
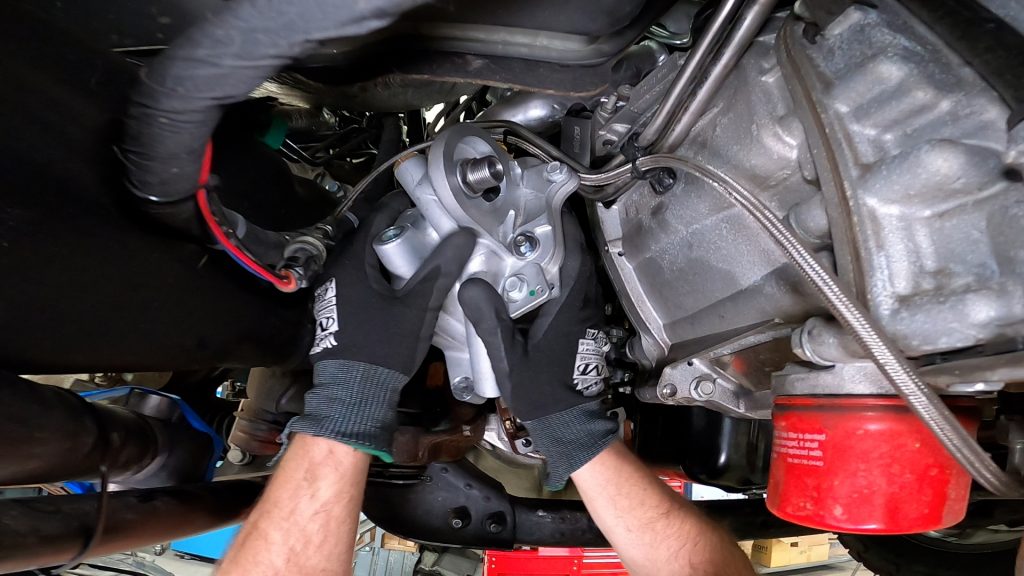
26. Now that the bolts have been removed, use a pry bar to pry the oil cooler away from the block.
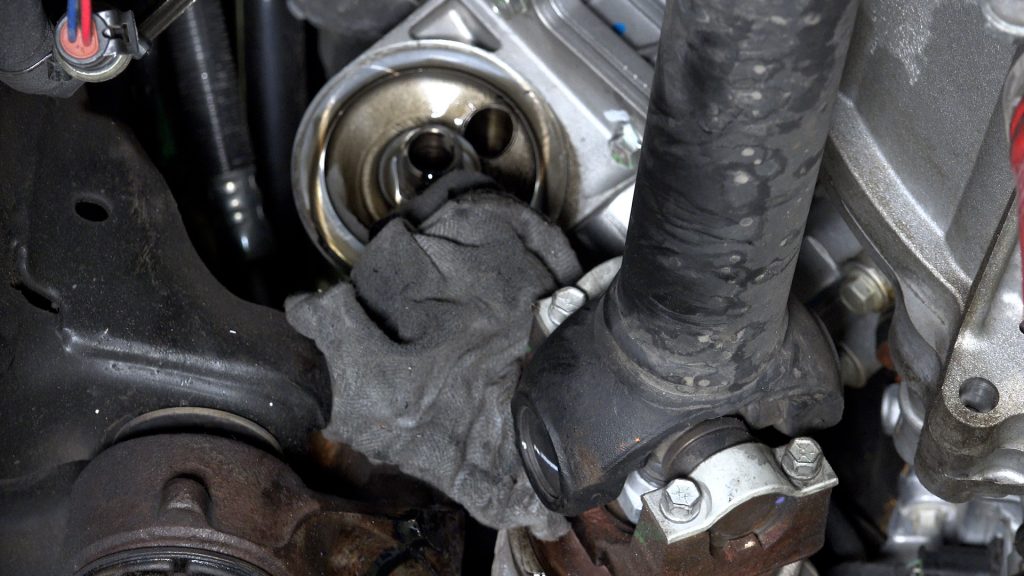
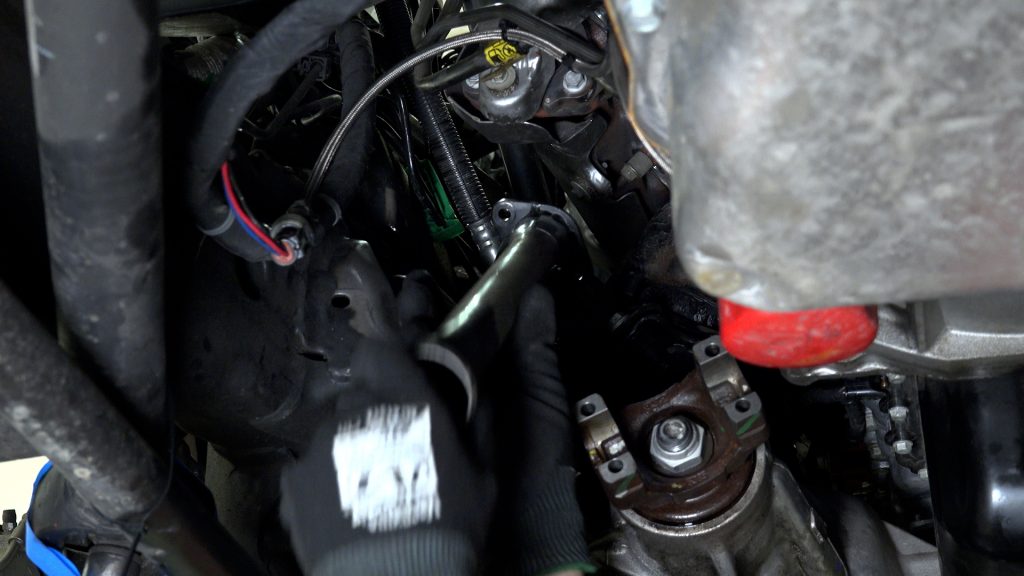
27. Be careful, and have a bucket ready because it’s waterfall time.
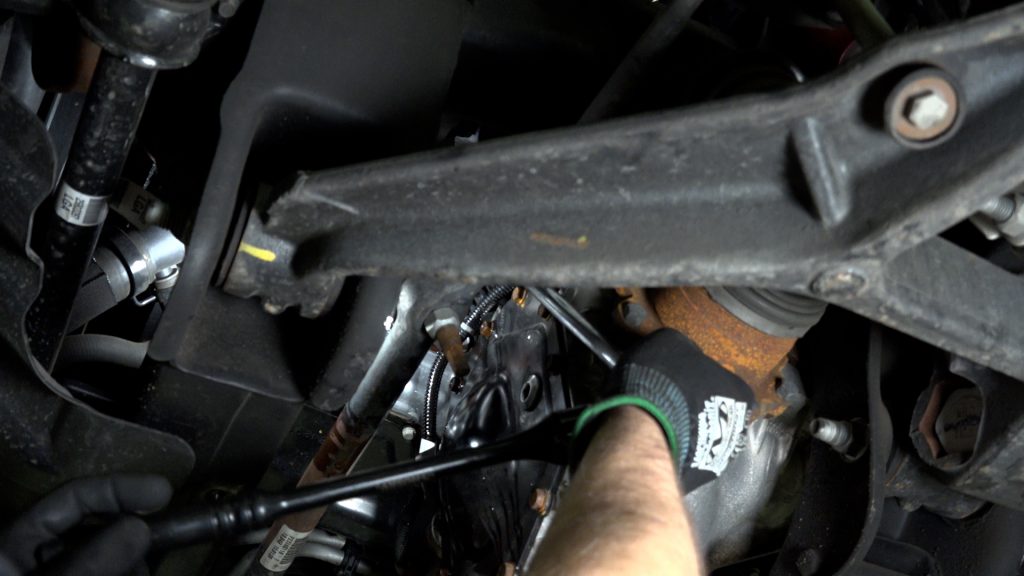
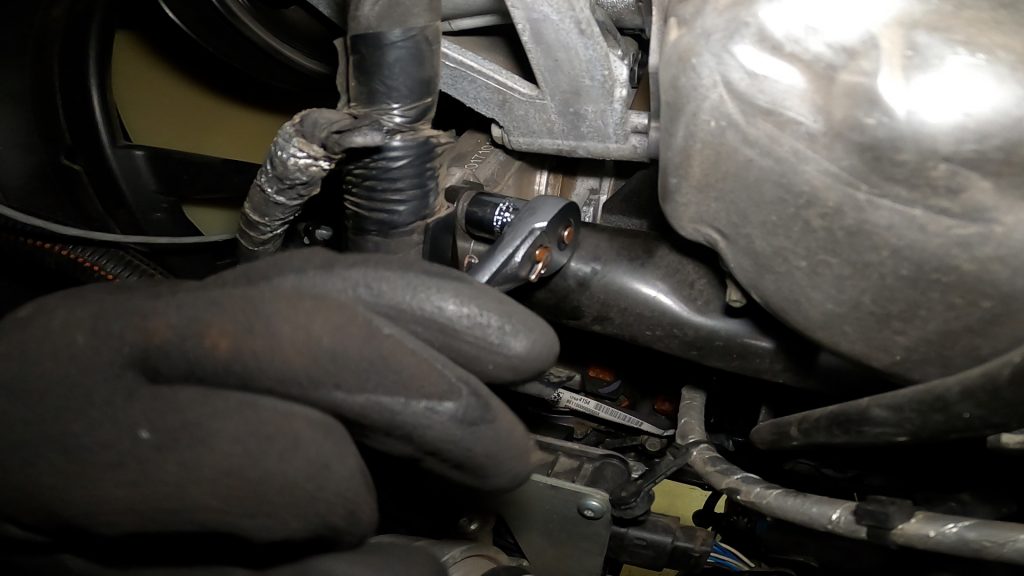
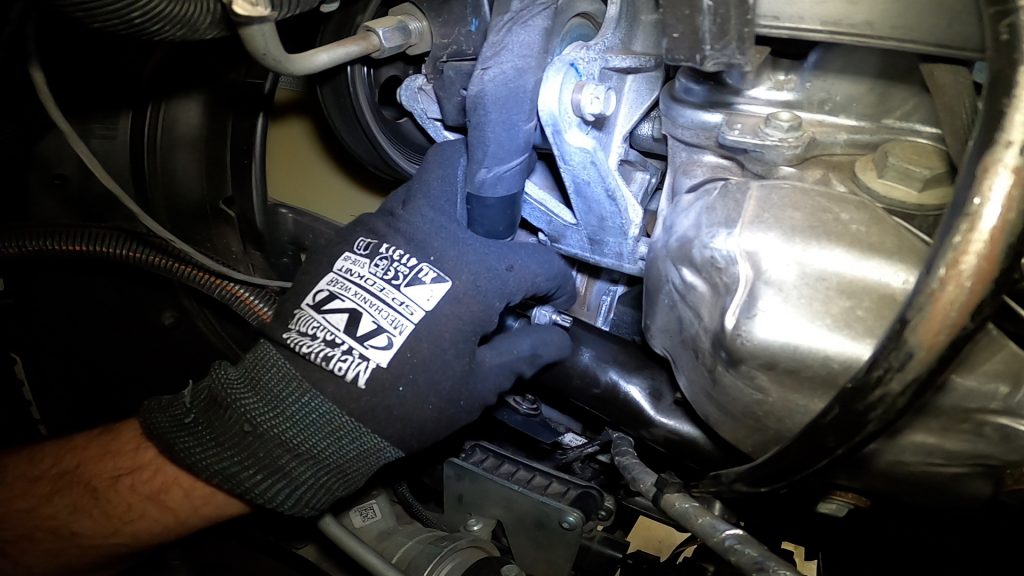
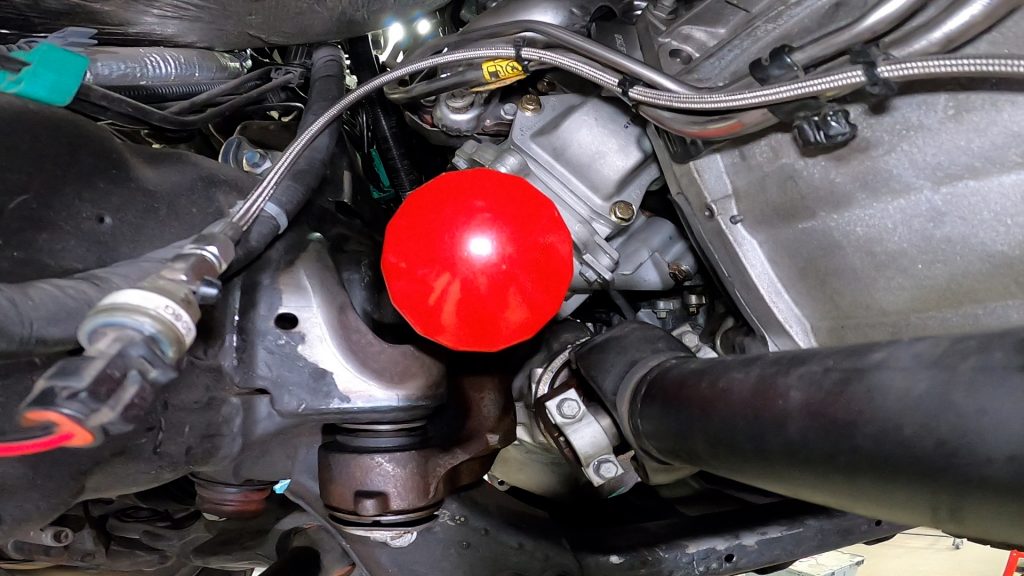
28. You cannot remove the oil cooler until you remove the elbow. To do this, you will need to loosen the bolt highlighted below in the belt housing.
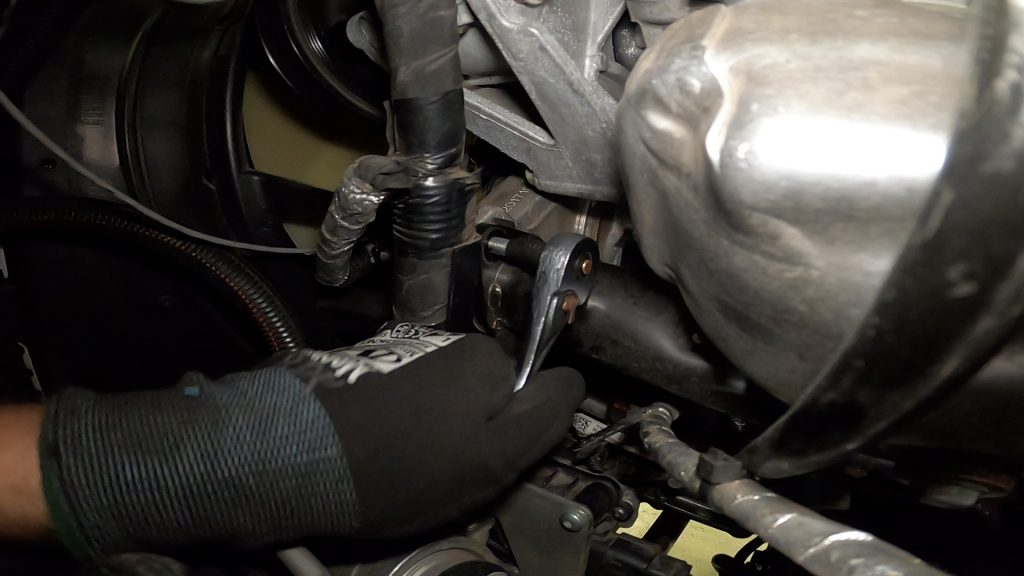
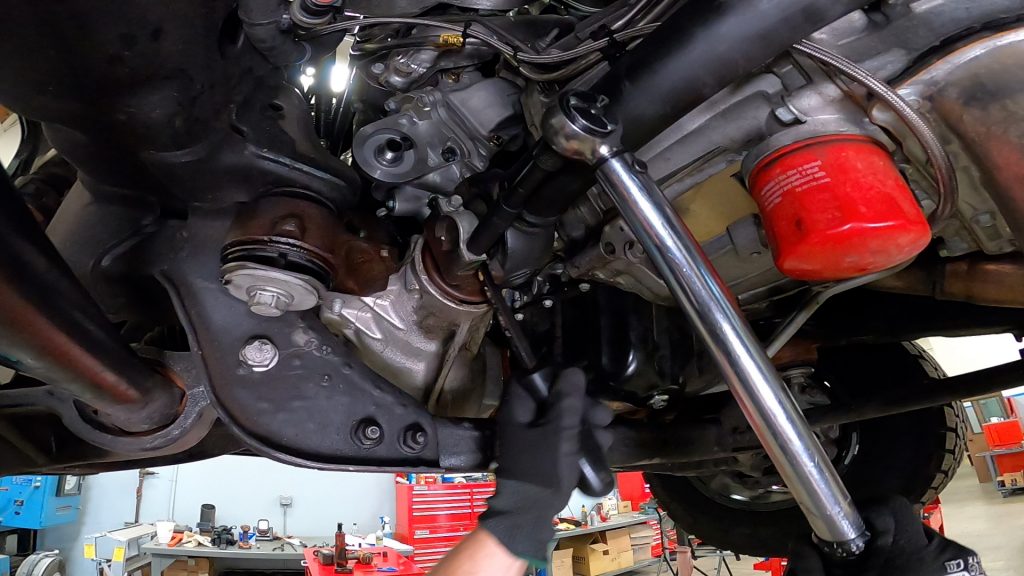
29. Now that the stud and belt housing has been removed, angle the cooler so you can access the last two bolts.
30. Now that you have access to the last two bolts, remove them and shimmy out the elbow.
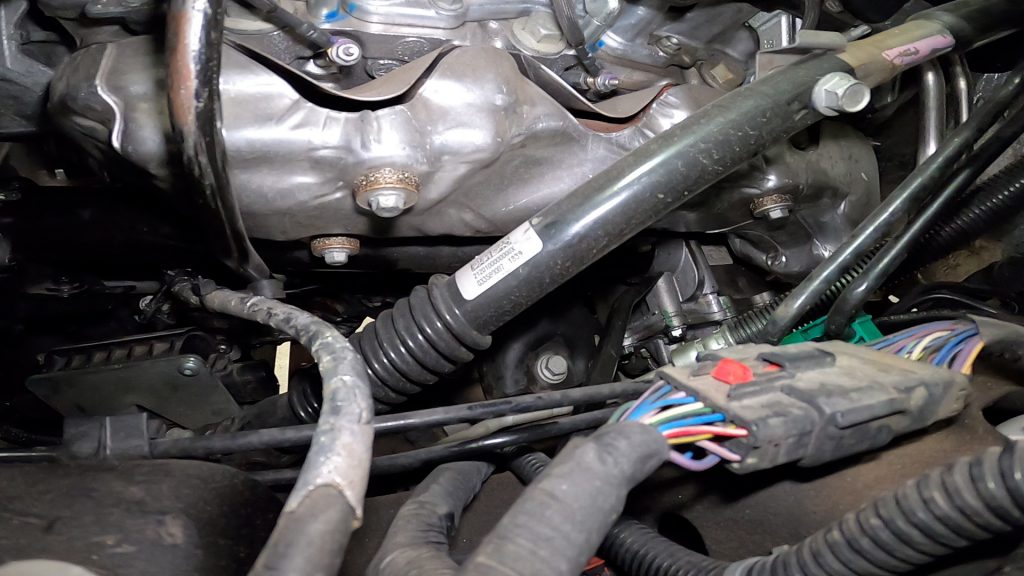
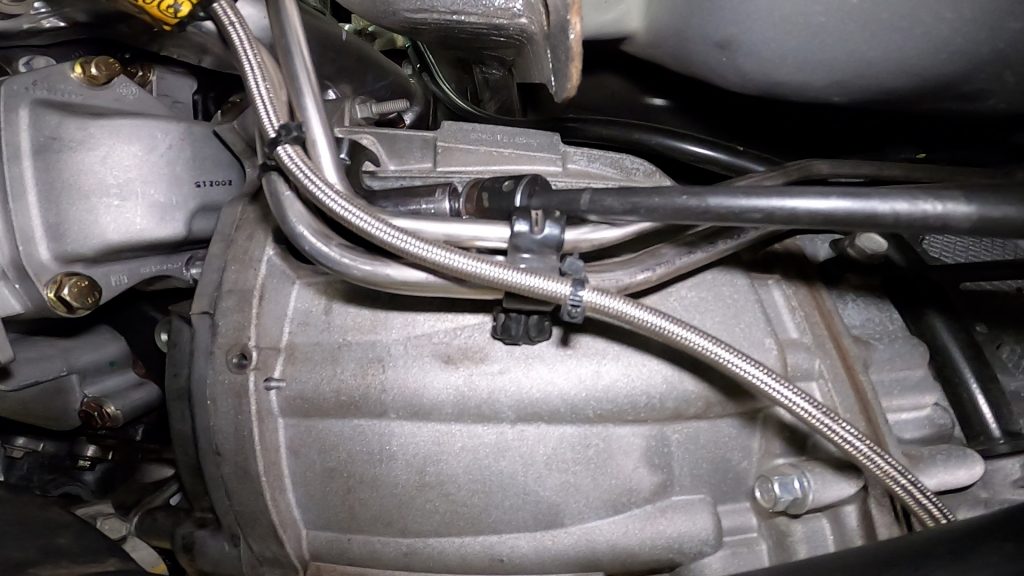
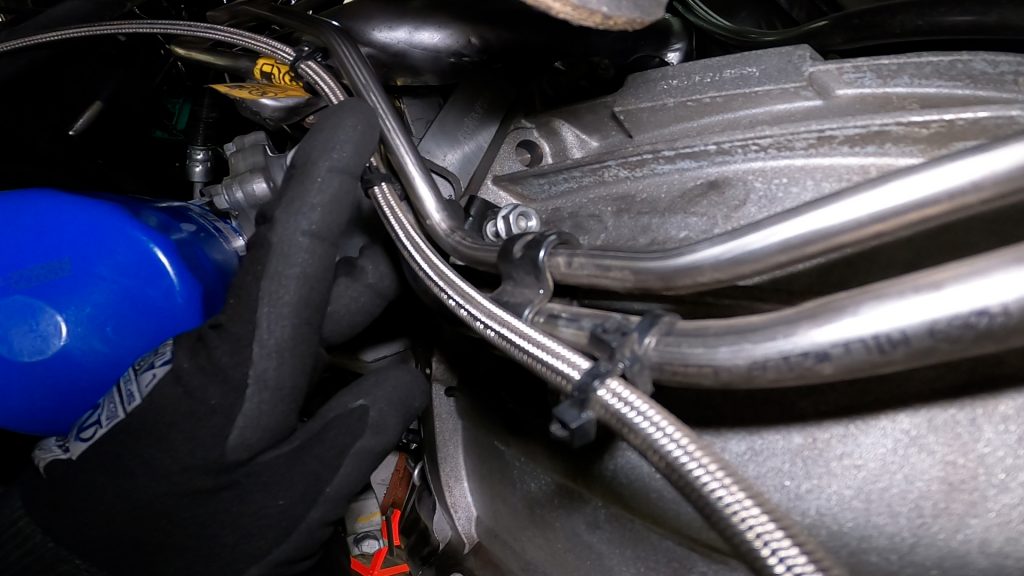
31. To start removing the coolant supply tube, remove the bolt on the bottom.
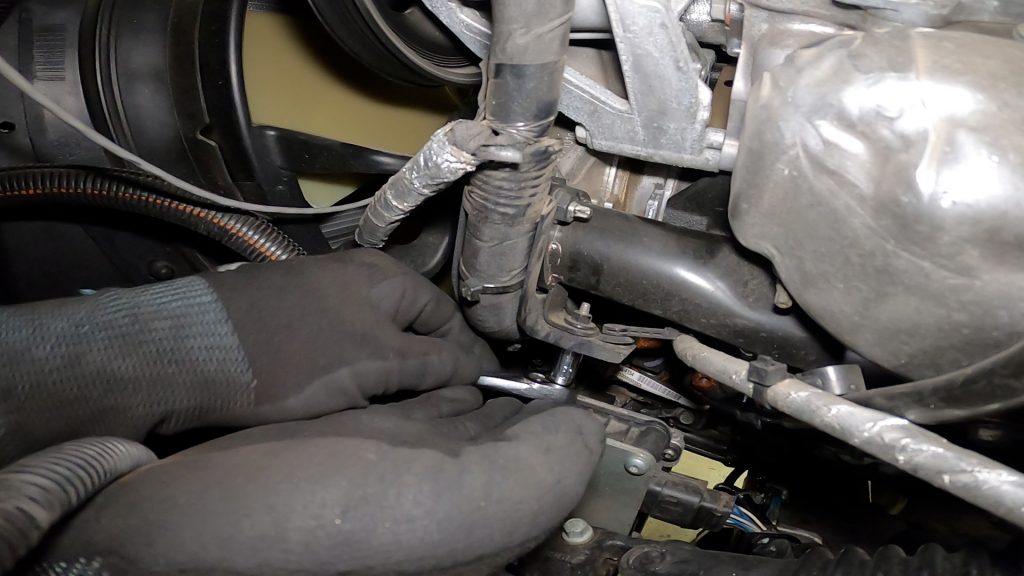
32. Locate and remove the plastic retaining clip.
33. Remove from the bracket, so you can remove the bracket from the coolant tube.
34. Remove the nut from the stud on the top of the coolant supply line.
35. Using a socket wrench, remove the stud.
36. Remove the lower nut and stud from the coolant supply tube.
37. The coolant supply line must stay in place. To do take one of the nuts and put it on a stud and twist it into the top hole to support the coolant supply line.
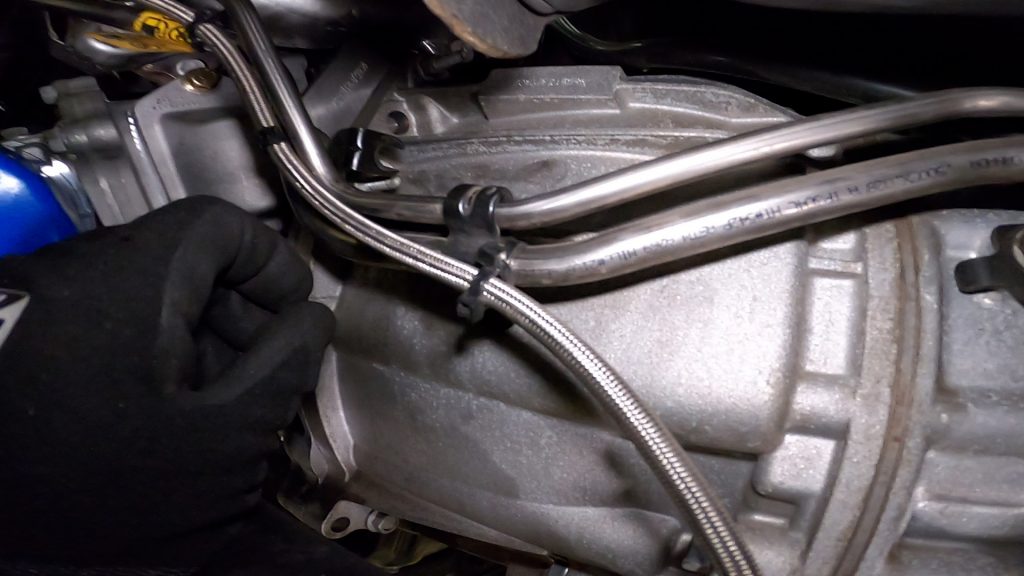
38. Detach the oil cooler from the coolant supply tube:
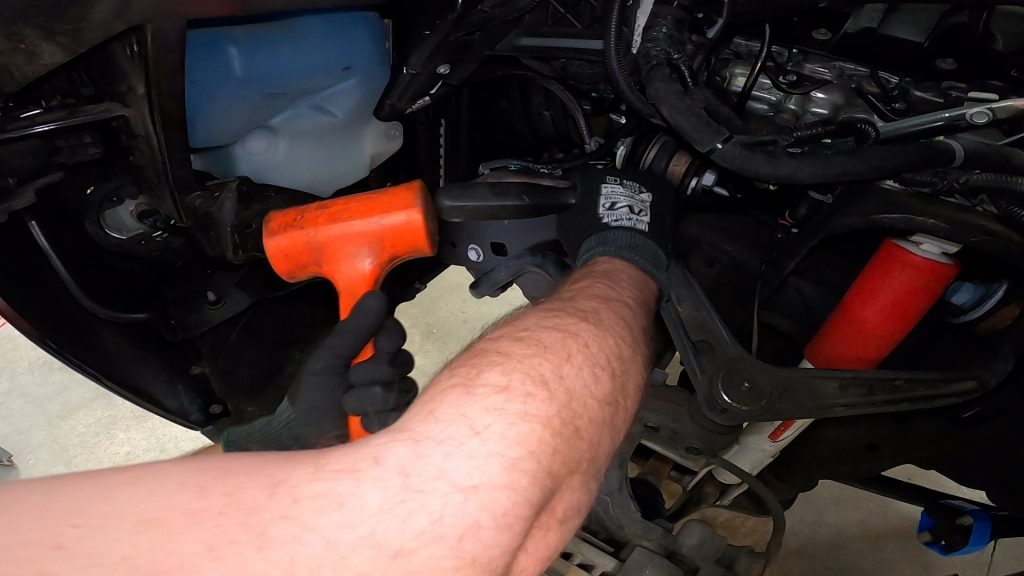
Using the pry bar, wedge it against the cooler.
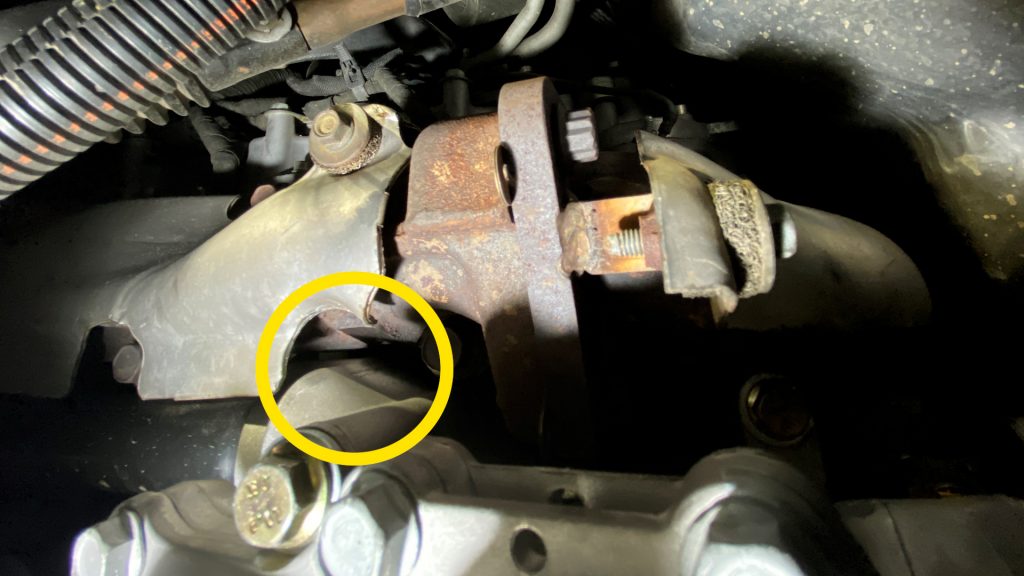
39. Give the pry bar a couple taps with a hammer. Now that the coolant tube and oil cooler have been separated, you can remove the bolt and stud.
40. Gently shake the oil cooler loose until it is removed.
41. With the oil cooler out, you can remove the coolant tube.
Prepare 2020 oil cooler for installation:
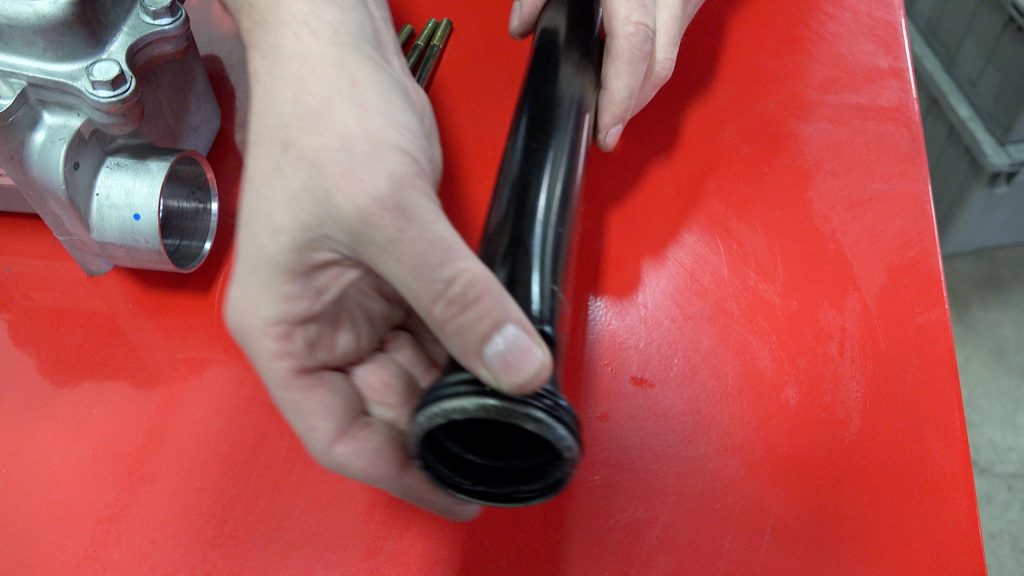
42. Apply the provided silicone lubricant to the o-ring and slide over the coolant tube.
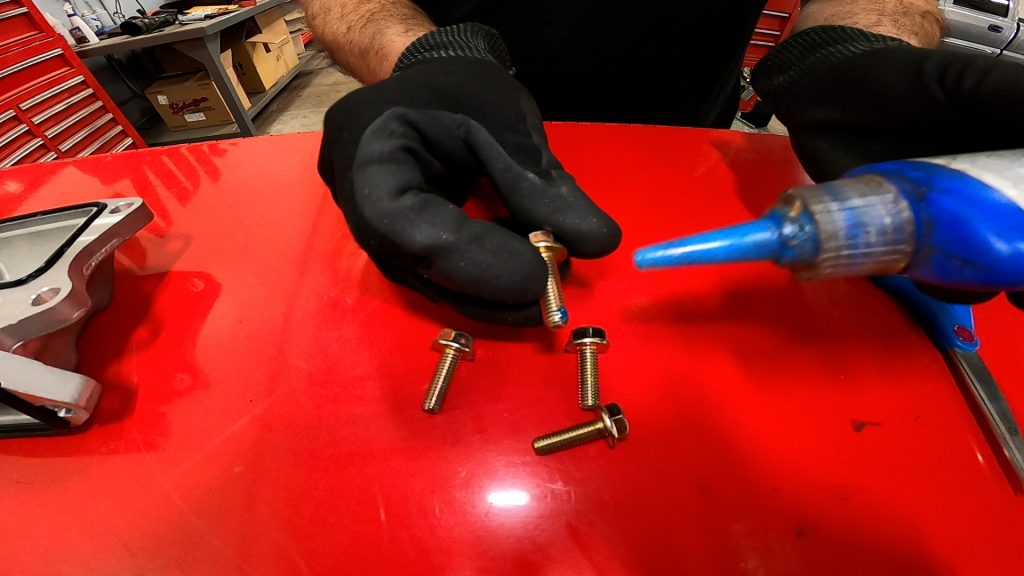
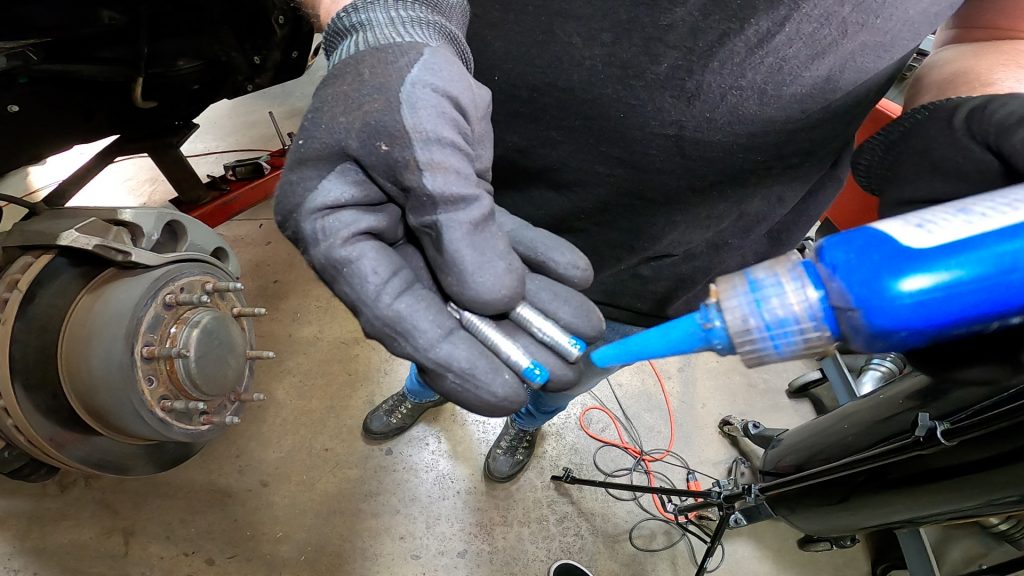
43. Apply a small amount of blue threadlocker to each of the supplied bolts.

44. Apply a small amount of silicon lubricant to the o-rings on the oil cooler.
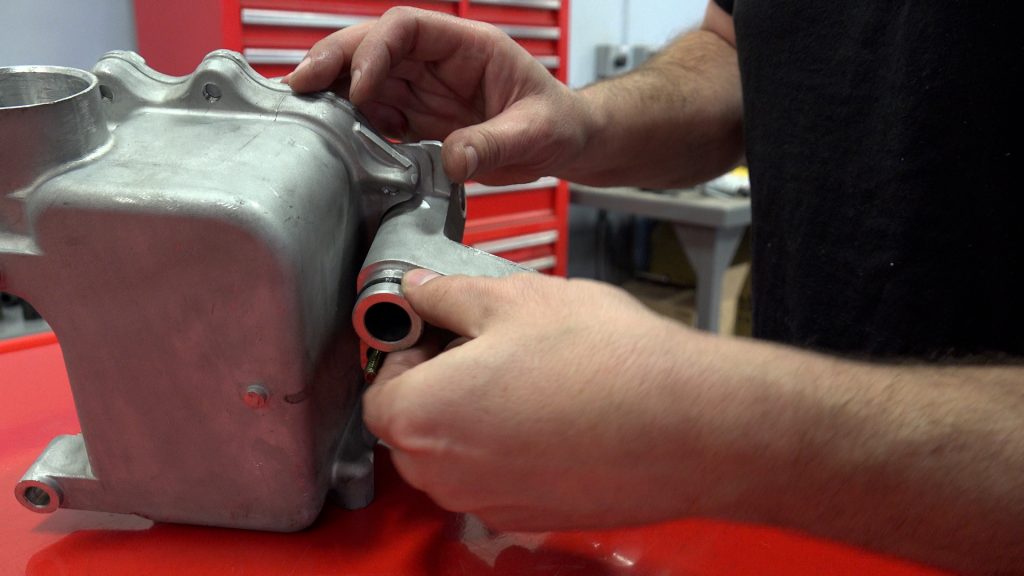
45. Apply a small amount of silicon lubricant to the cooler inlet. This will make it easier to slide the coolant tube in later.
46. Fitment note: Some 2001-2016 Duramax may require minor trimming of the manifold heat shield and heat shield boss. The circled bolt and boss marked below may need trimming. To do so, you will need to remove the heat shield from the engine.
47. Grind down the rear lower exhaust boss. See what the trimmed manifold and heat shield will look like after installation. The yellow circle highlights the section that was removed.
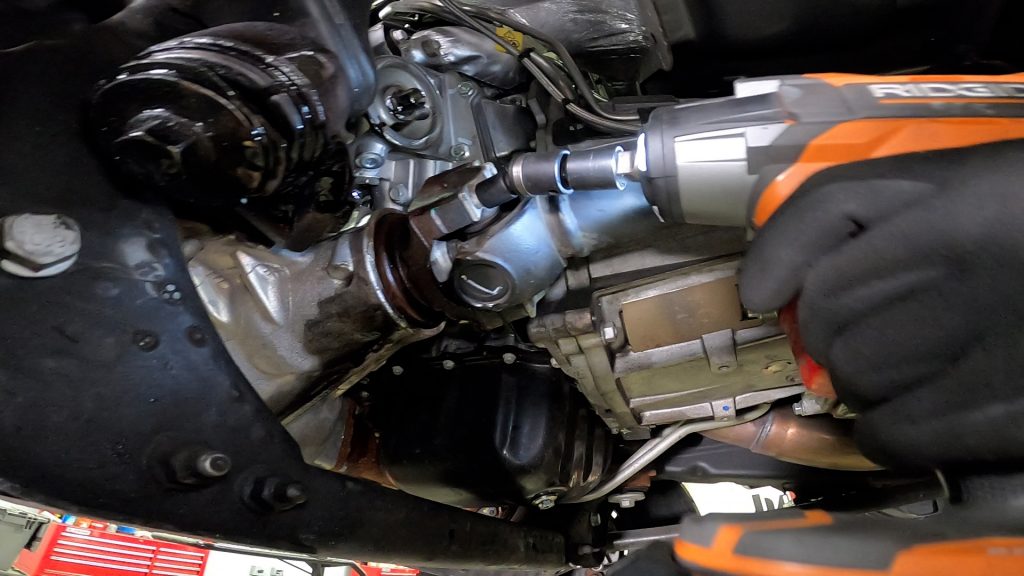
Installing the coolant tube:
48. To install the coolant tube, start with the tab facing up. Once you clear the dipstick tube, rotate the tube so the tab is facing down. As you insert the tube, push down on the front and push up on the back to clear the heat shield.
49. Now it’s time to install the cooler into the cavity and rotate so you can fit the coolant tube into the cooler.
50. Be sure not to pinch the o-ring when sliding the tube into the inlet.

51. Insert the bolts to secure the cooler.
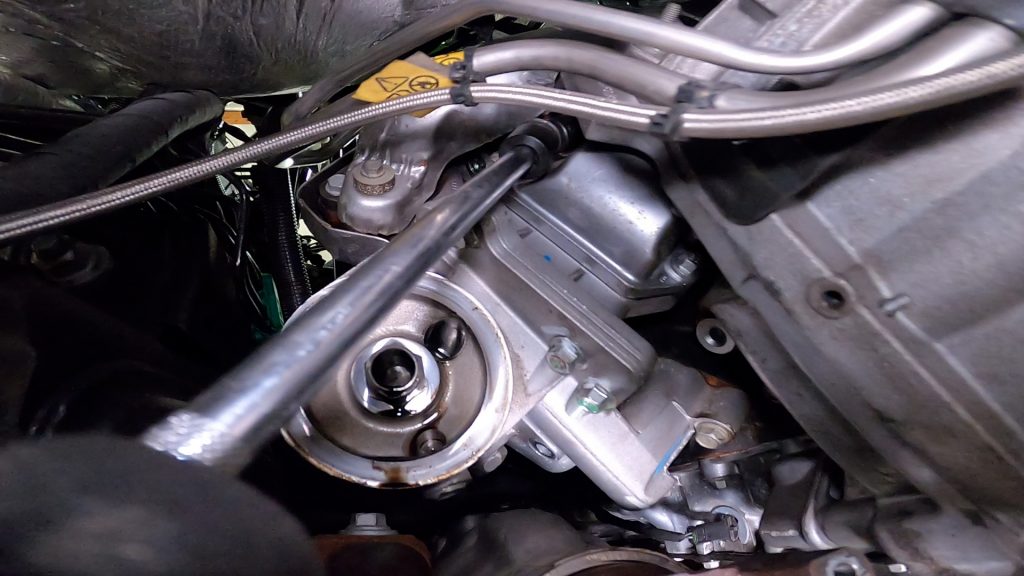
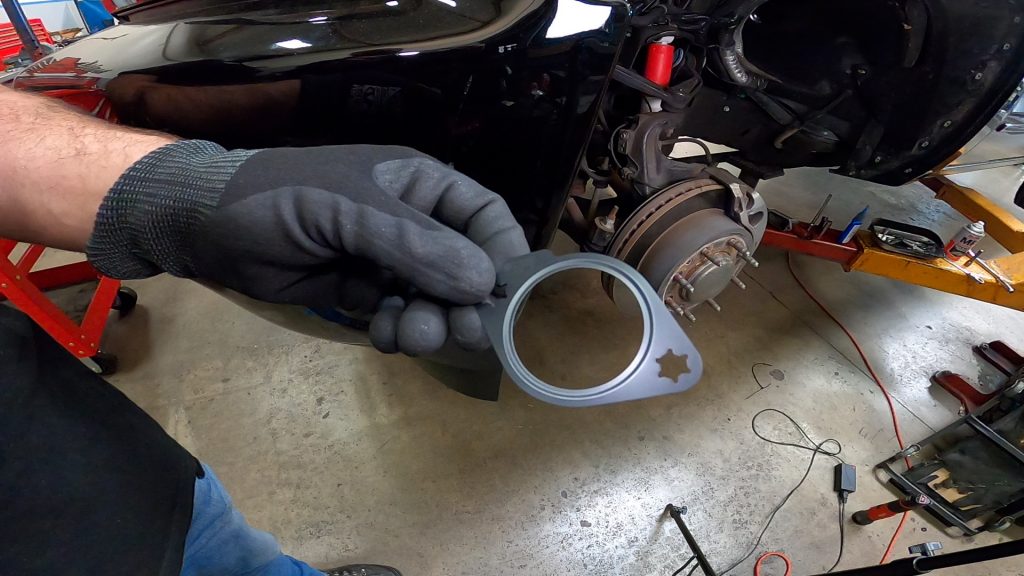
Prepare the cast aluminum elbow:
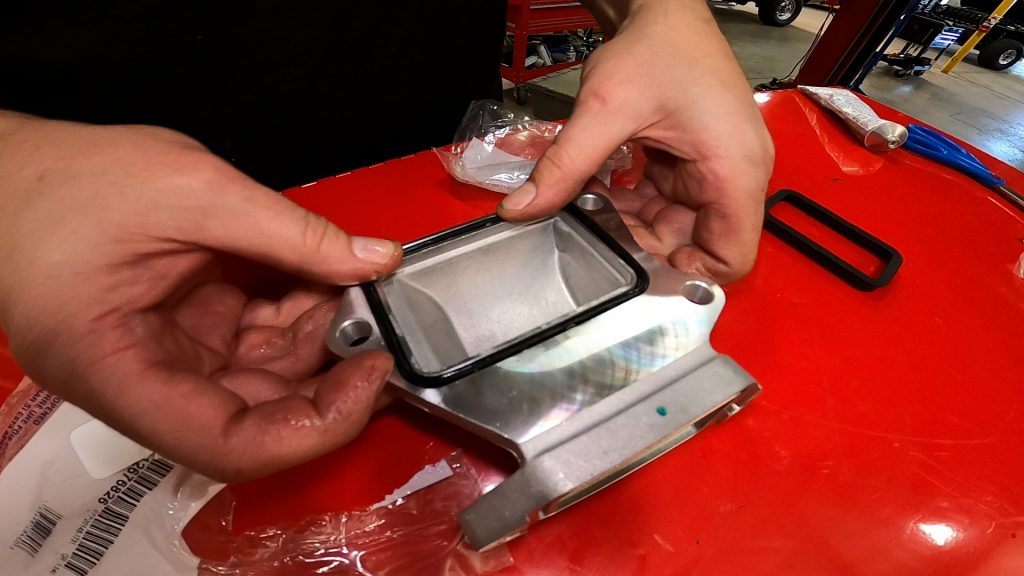
52. Locate the two supplied gaskets, moisten them with silicone lubricant, then carefully insert both of them into the grooves.
53. Apply threadlocker to the remaining four bolts.
54. Using two of the bolts, attach the elbow to the cooler assembly, and leave them hand-tightened for now.
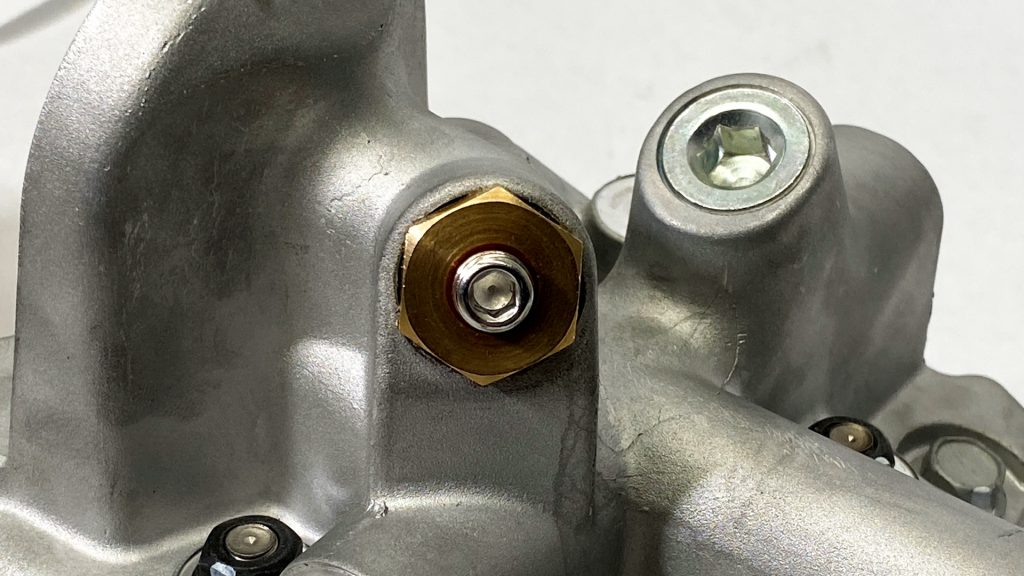
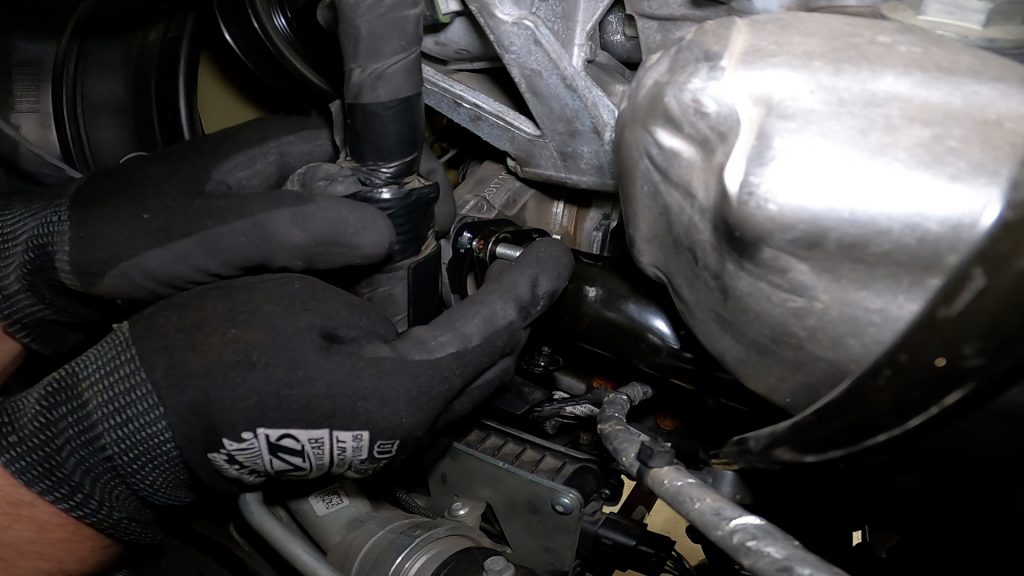
55. Install the remaining two bolts through the elbow and into the flywheel housing.
56. Once the oil cooler is aligned and the bolts are snug, torque the four bolts to 18 ft-lbs.
Mounting the front-drive assembly back to the chassis:
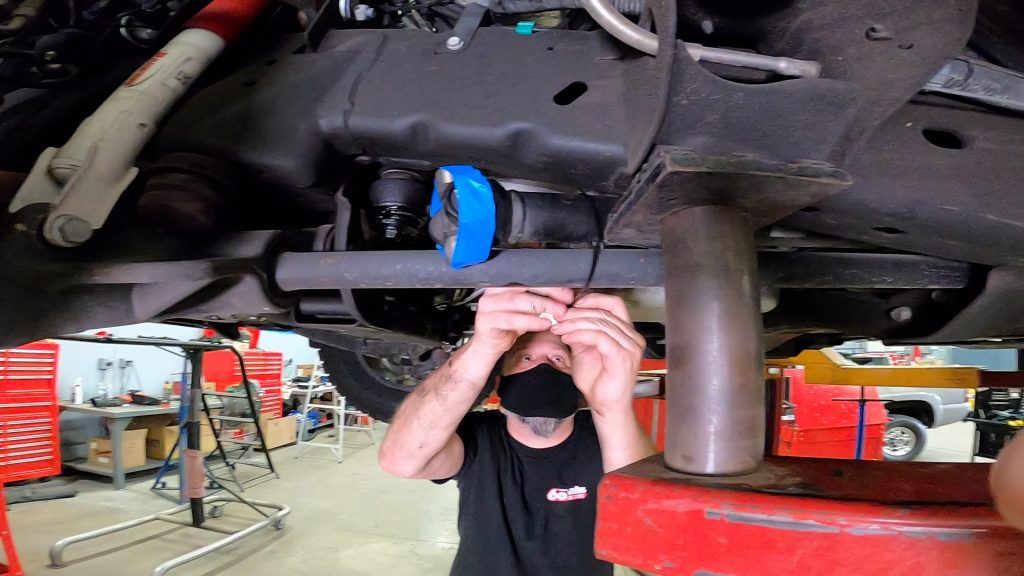
57. Line up the two holes using a long screwdriver.
58. Tighten the bolt and washer.
59. When you get to the bolt on the driver’s side front, remember to reinstall the electrical plug you disconnected earlier.

60. On the passenger side, install the bolt between the drive shaft and the chassis.
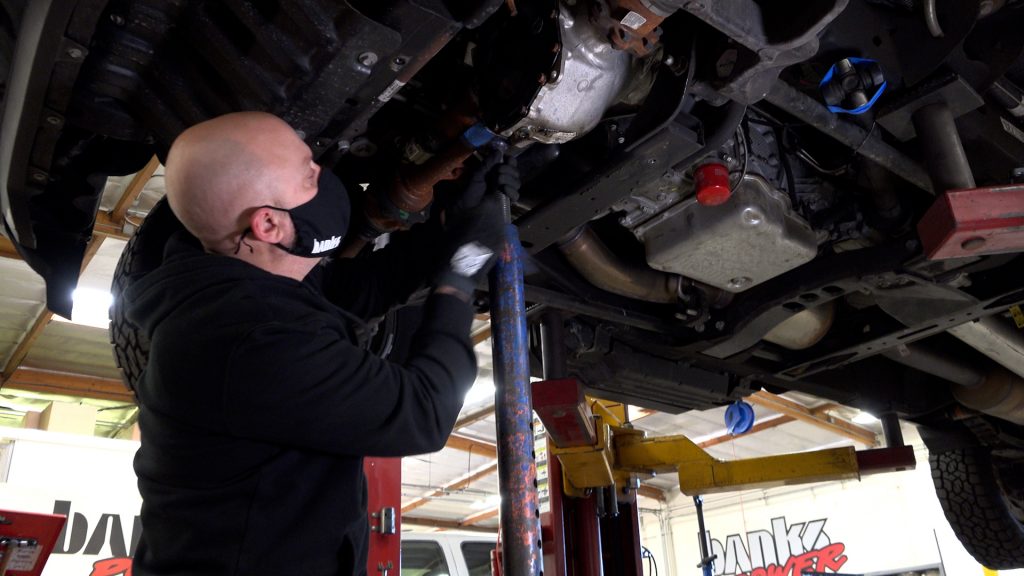
61. Once the bolts are relatively snug, you can lower the jack stand,
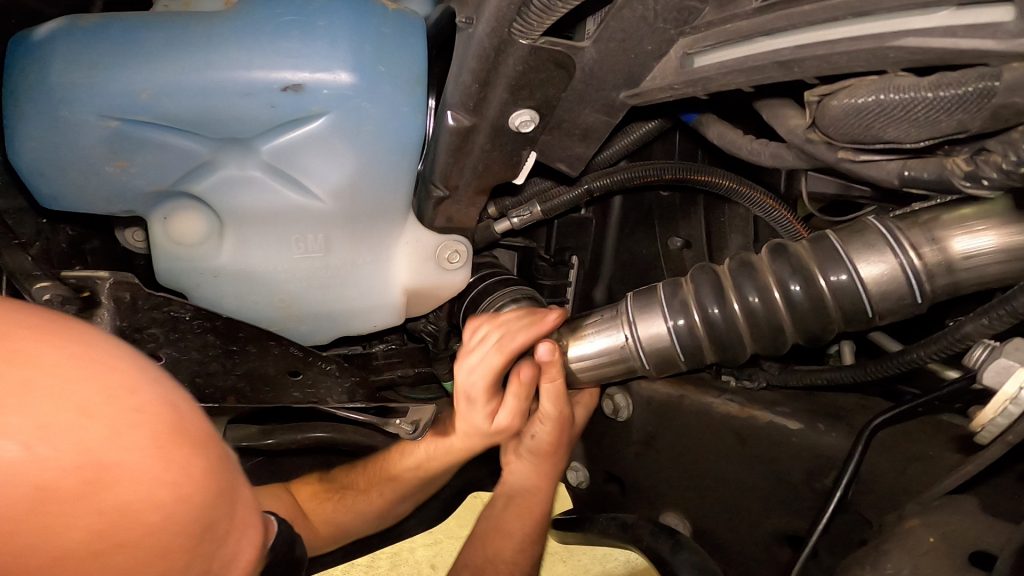
62. Now we’ll torque those four bolts to 118 ft-lbs.
63. Re-attach the front drive shaft and line it using the marks you made earlier.
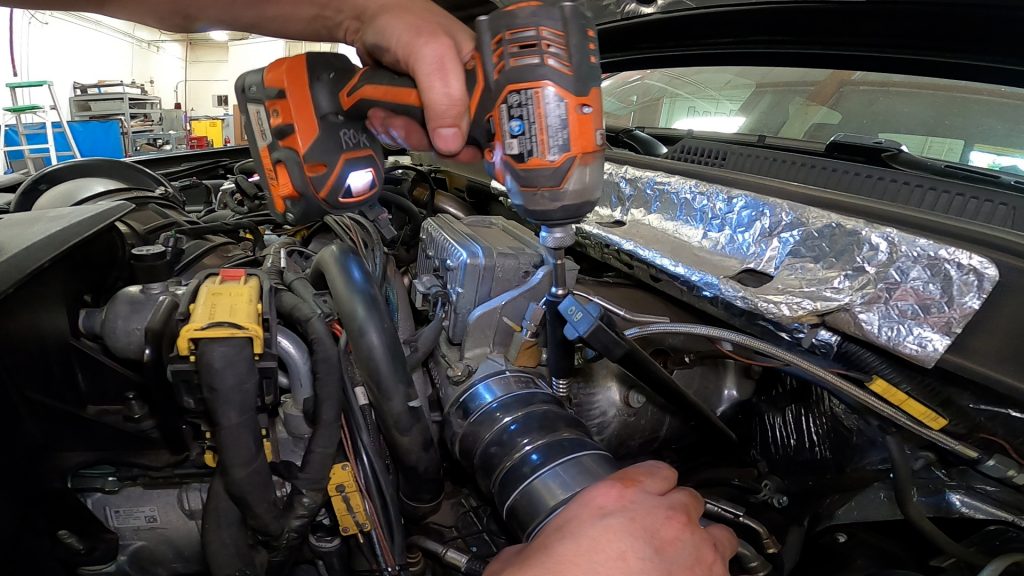
64. Torque the four bolts holding the clamp onto the drive shaft assembly to 18 ft-lbs.
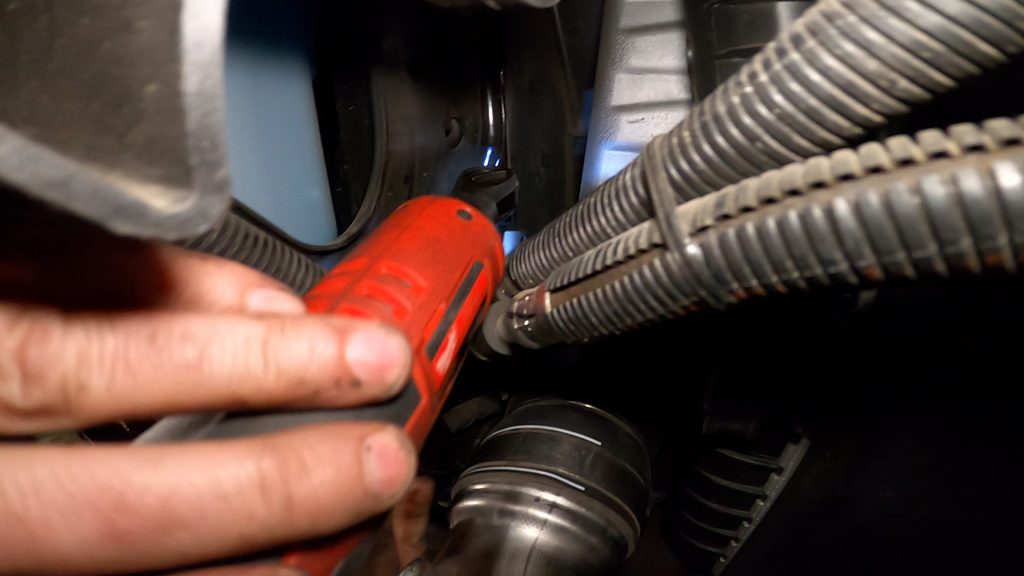
65. Tighten the stud on the bell housing to 37 ft-lbs.
66. Put the bracket over the stud, then put the nut on the stud.
67. Torque the nut to 13 ft-lbs.
68. Locate the supplied metal gasket for the coolant tube.
69. Apply blue threadlocker to the studs.
70. Carefully slide the metal gasket between the water pump and the coolant tube. Install studs in both of the holes.
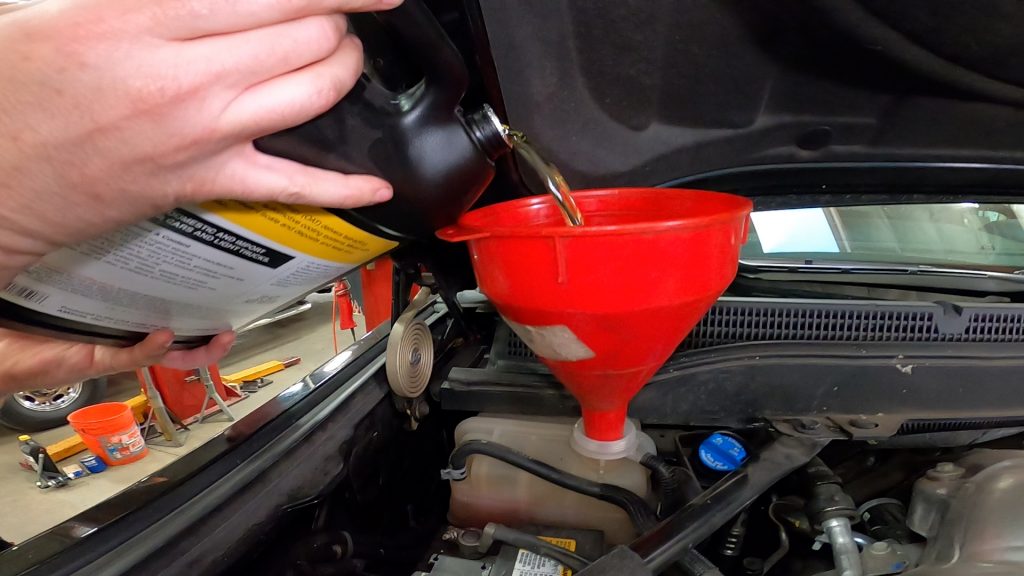
71. Tighten studs using a socket wrench to 80 in-lbs. Screw on both nuts onto the studs and torque to 18 ft-lbs.
72. Reinstall the bolt on the bottom of the coolant tube. This is the bolt that holds the wire loom bracket. Once tight, reattach the plastic clip that supports the shielded line.
73. With the truck lowered, snake the boost tube up through the wheel well.
74. Reattach the coupler between the boost tube and the intercooler.
75. Now in the engine compartment, reattach the coupling hose to the turbo outlet.
76. Then tighten using a socket wrench.
77. Moving back under the truck, tighten the nut on the t-bolt clamp, so the interface between the coupling hose and boost tube is tight.
78. Reinstall the fender liner.
79. Attach the skid plate.

80. Apply anti-seize to the wheel studs and put the wheel back on.
81. Close and then tighten the radiator petcock.
82. Fill with your preferred antifreeze and coolant.
Banks recommends Amsoil.
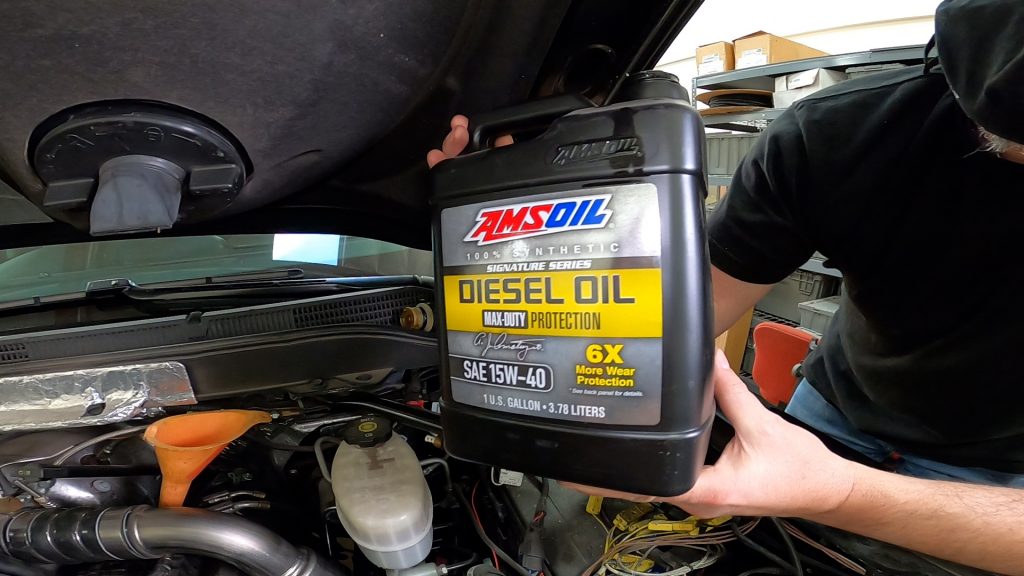
83. Now, fill with your favorite 100% synthetic diesel oil.
Banks also recommends Amsoil for this too.
84. Apply a thin layer of oil around the rubber gasket on the oil filter.
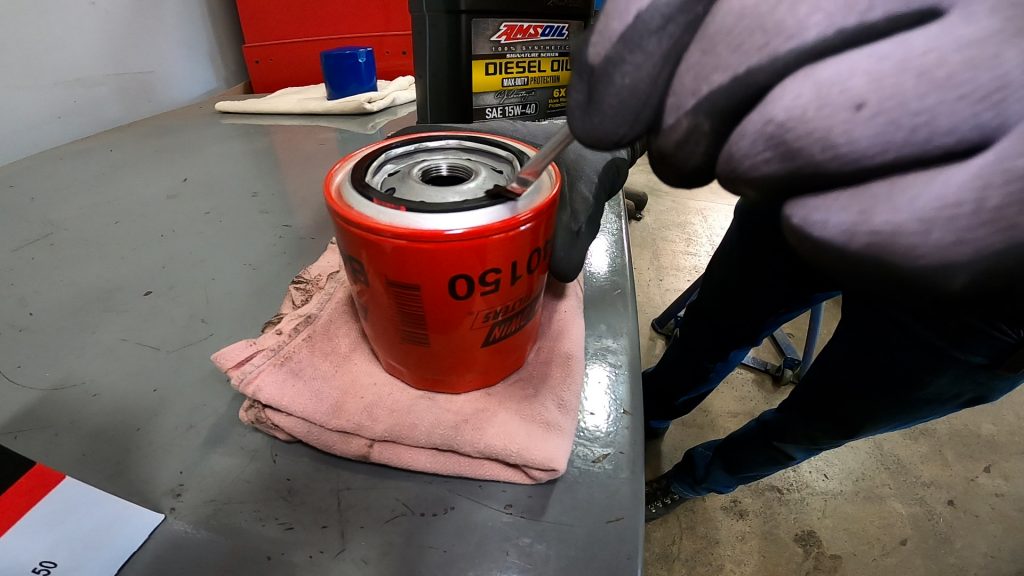
85. Hand-tighten the oil filter. Do not use a tool.
86. Congratulations! You’ve installed your Banks oil cooler upgrade kit. Enjoy!