97675 Monster Exhaust 5″ System for 2017-19 & 2020-2023 Chevy/GMC 6.6L L5P Duramax
INSTALL INSTRUCTIONS
Part #s
48996, 48996-B, 48997, 48997-B, and 49809, 49809-B
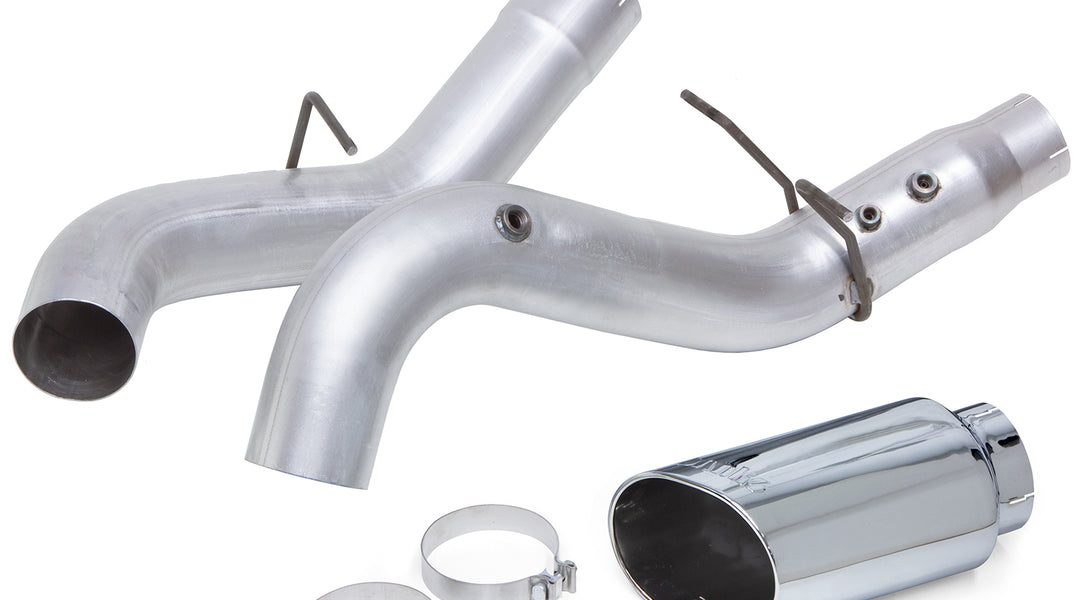
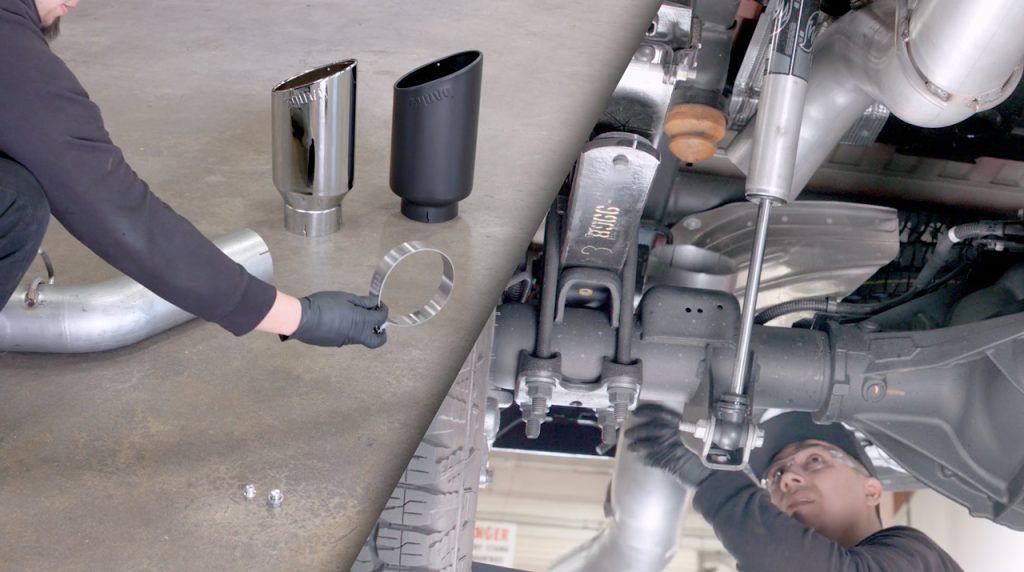
Banks Monster Exhaust® 5-inch System
2017-2019 & 2020-2023
Chevy/GMC 2500/3500 6.6L L5P Duramax
(inc. DCSB, DCLB, CCSB, CCLB & DRW)
Does NOT fit Single Cab Work Trucks
Please read through the following instructions thoroughly before starting your installation. If you have any questions please visit our Support Page.
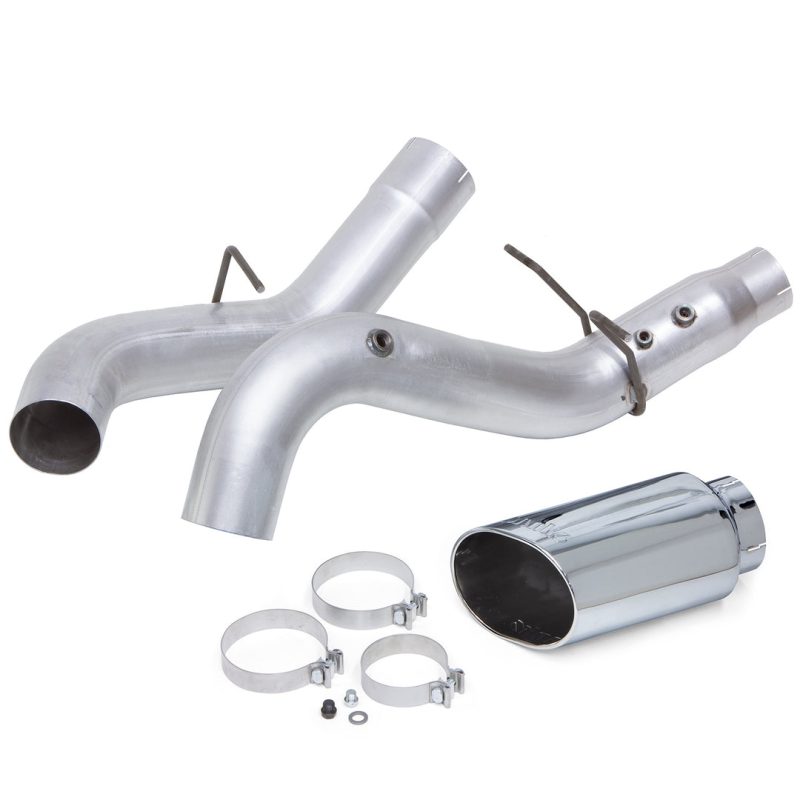
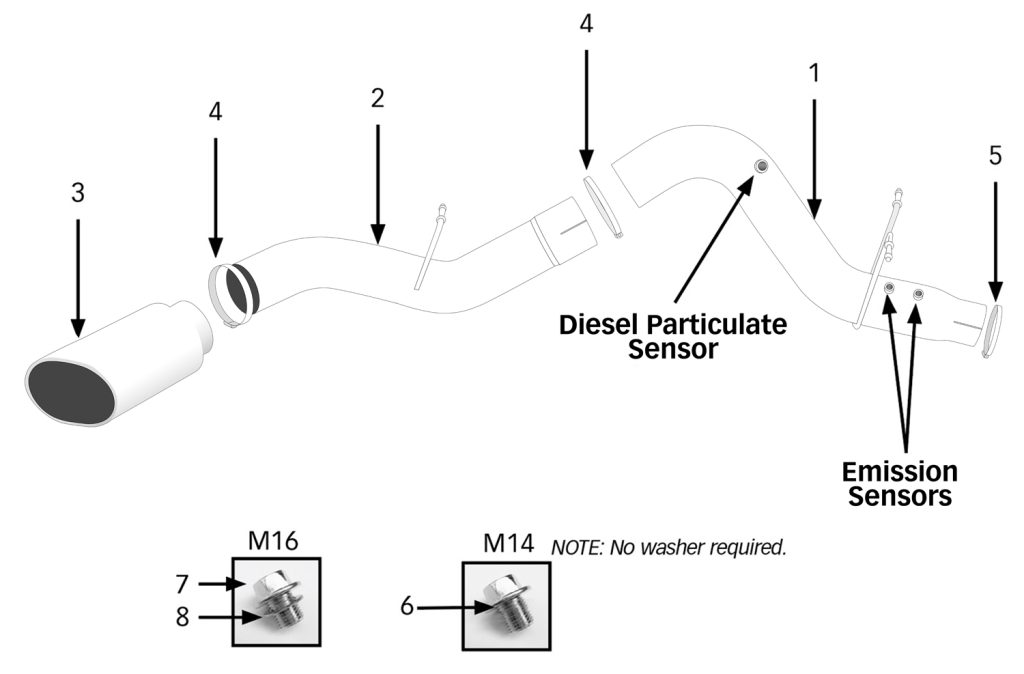
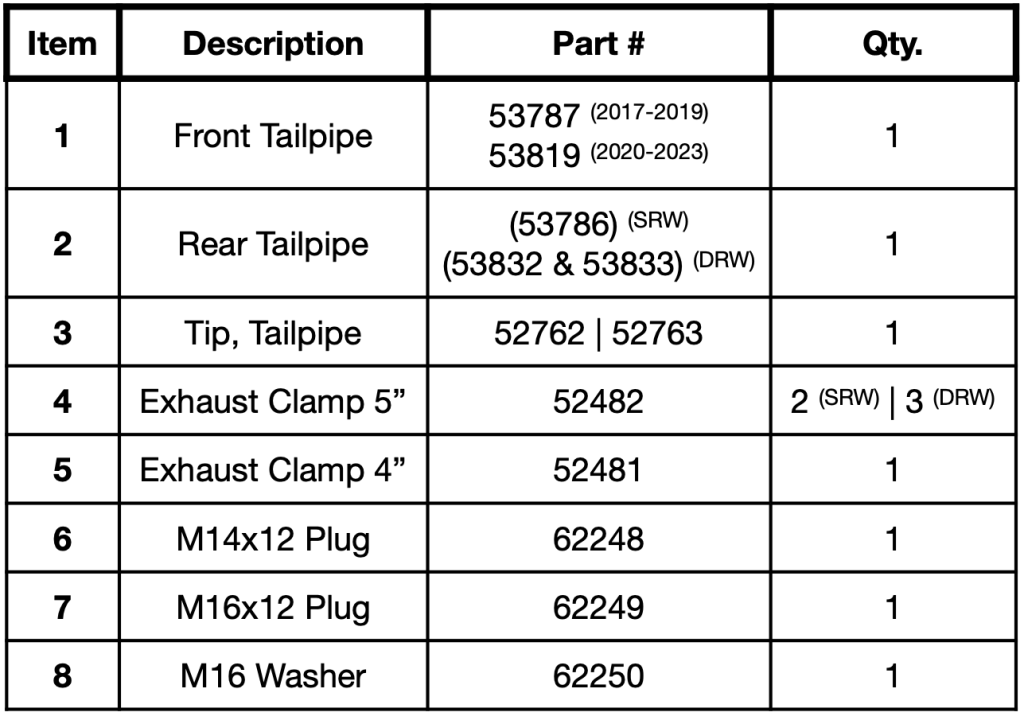
Bill of Materials
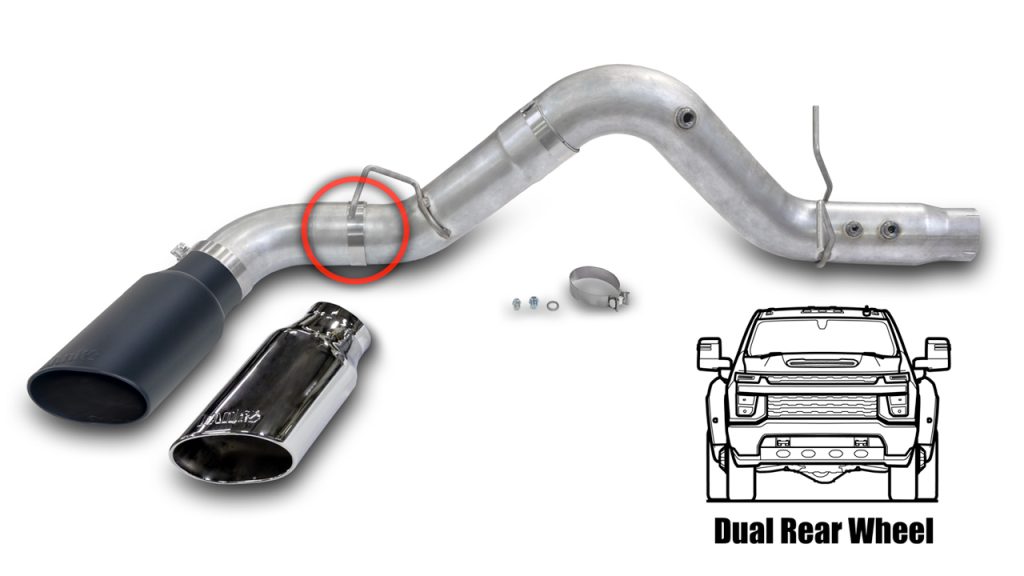
Note: 20+ DRW Models have a 2-piece Rear Tailpipe section for extra clearance around the wheel wells.
General Installation Practices
Monster Exhaust System Installation
IMPORTANT:
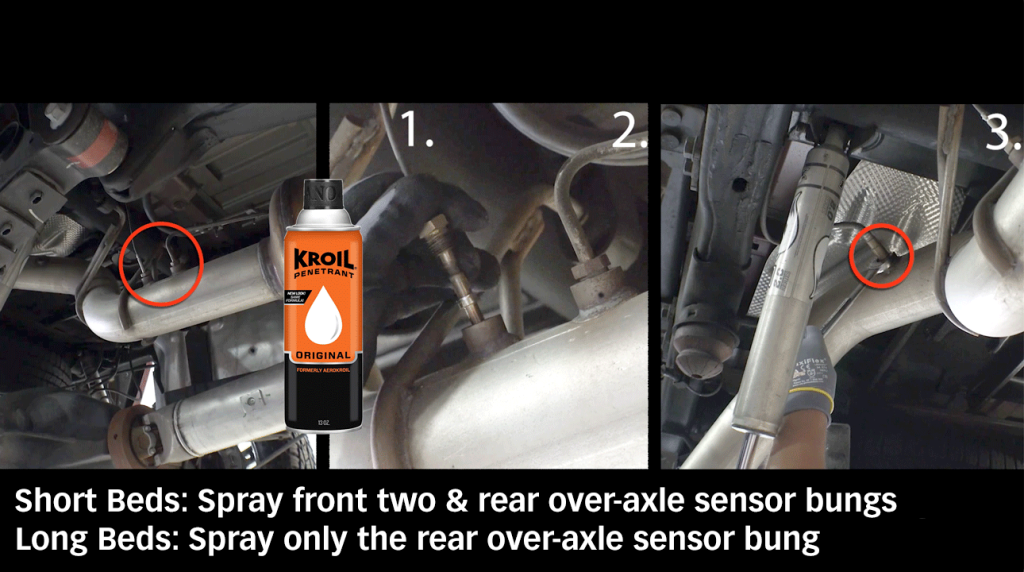
The day before your installation, spray your exhaust sensors with penetrating oil and check if the sensors can be removed. Due to age, heat, grime, or salted roads, these sensors may be rusted.
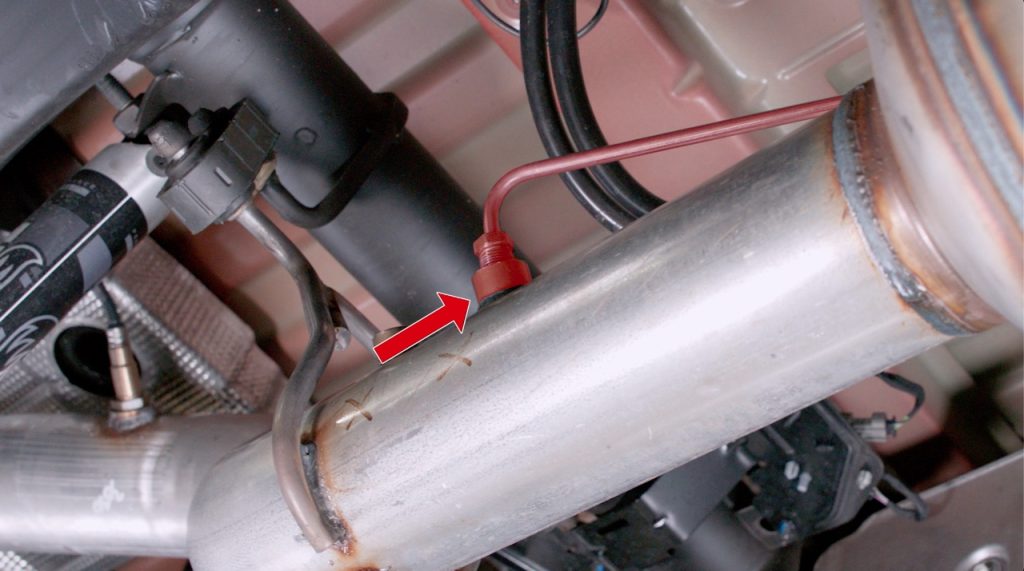
Attention Short Bed:
The Exhaust Pressure Differential Sensor Pipe has a hard line that could be kinked and damaged if removed improperly.
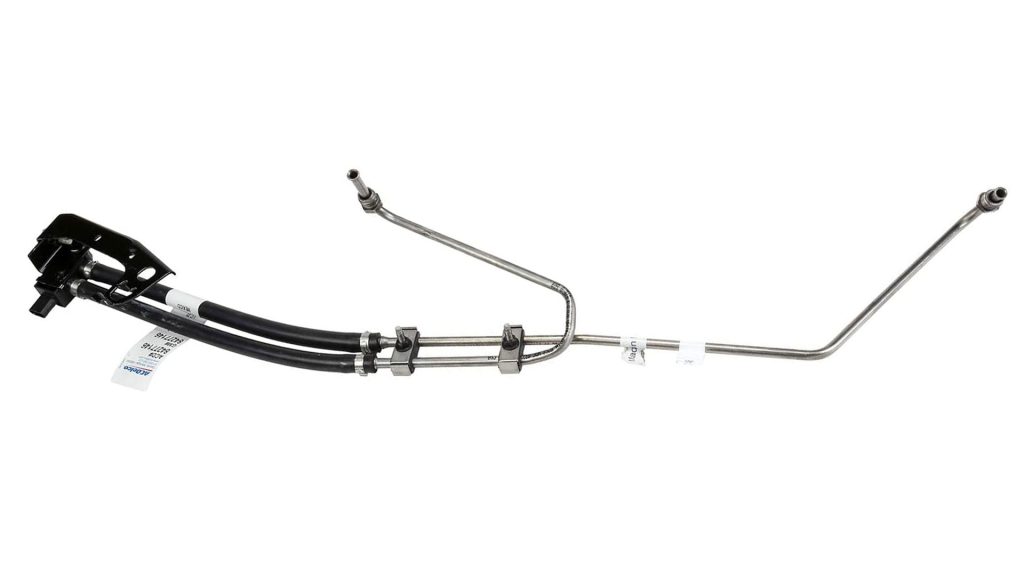
If this sensor needs to be replaced and you have a 2017-19, search for the following GM part numbers.
84277125 for 167.7″ wheelbase
84277146 for 153.7″ wheelbase
If you have 2020-23, search for
84346523 for standard cab 141.5″ wheelbase
84346524 for crew cab or extended cab 149.4, 158.9, 162.5 wheelbase
84346525 for crew cab long bed 172.0 wheelbase
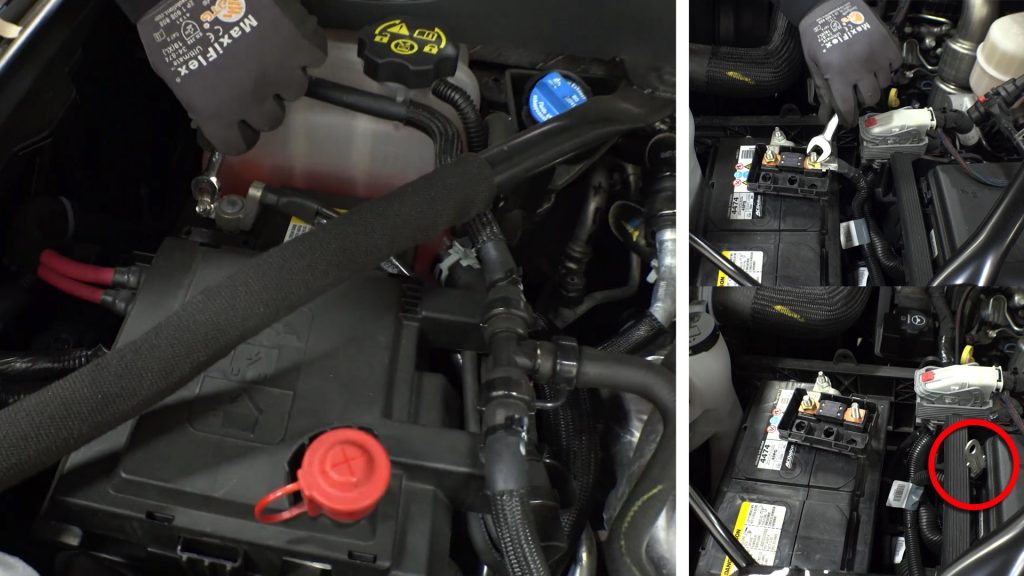
1. Disconnect the battery(s).
As a precaution, disconnect the ground of the battery (if there is more than one battery, disconnect both.)
Tuck the cable out of the way to prevent contact with the battery.
2. Raise the vehicle and support it with properly weight rated safety stands, ramps or a commercial hoist.
Follow the manufacturer’s safety precautions and take care to balance the vehicle to prevent it from slipping or falling.
When using ramps, be sure the front wheels are centered squarely on the ramps; place the transmission in park; set the parking brake, and place blocks behind the rear wheels.
CAUTION: DO NOT WORK UNDER ANY VEHICLE SUPPORTED ONLY BY A JACK. SEVERE INJURY MAY RESULT.
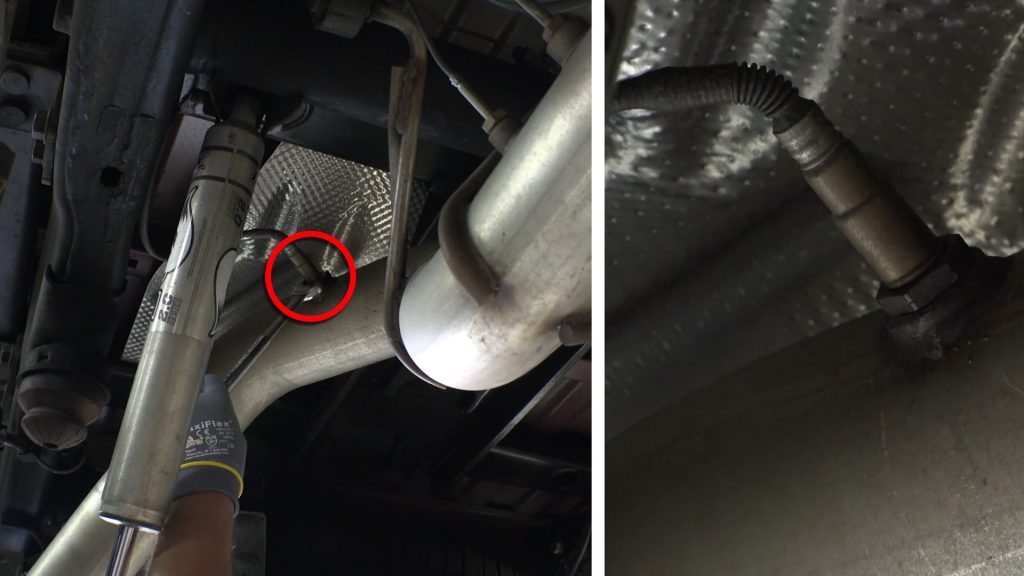
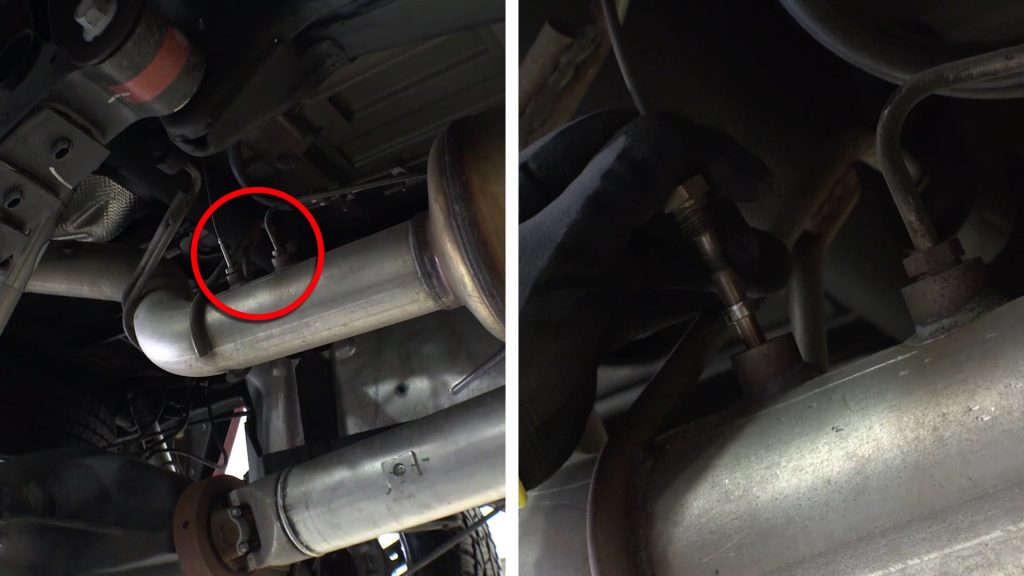
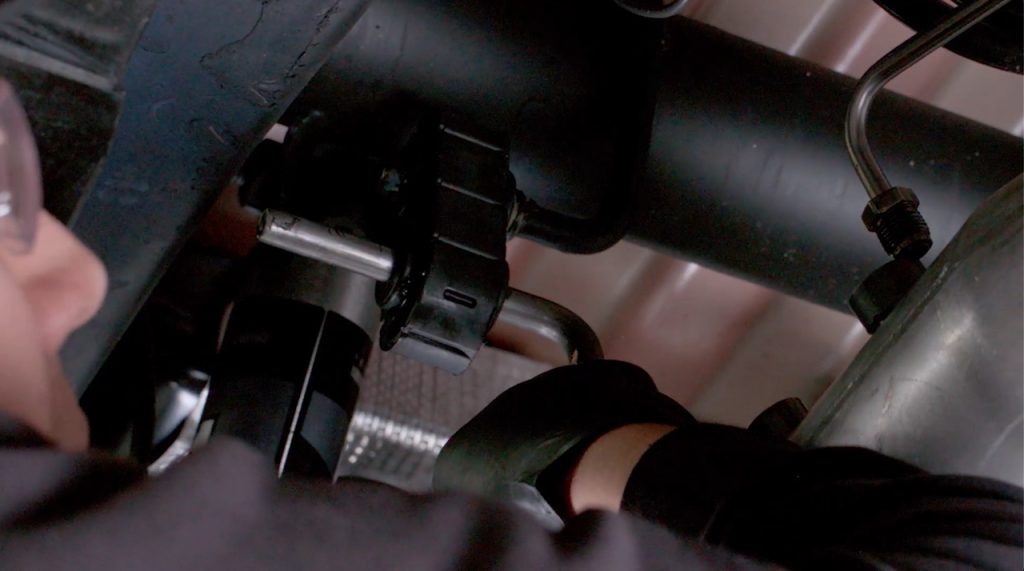
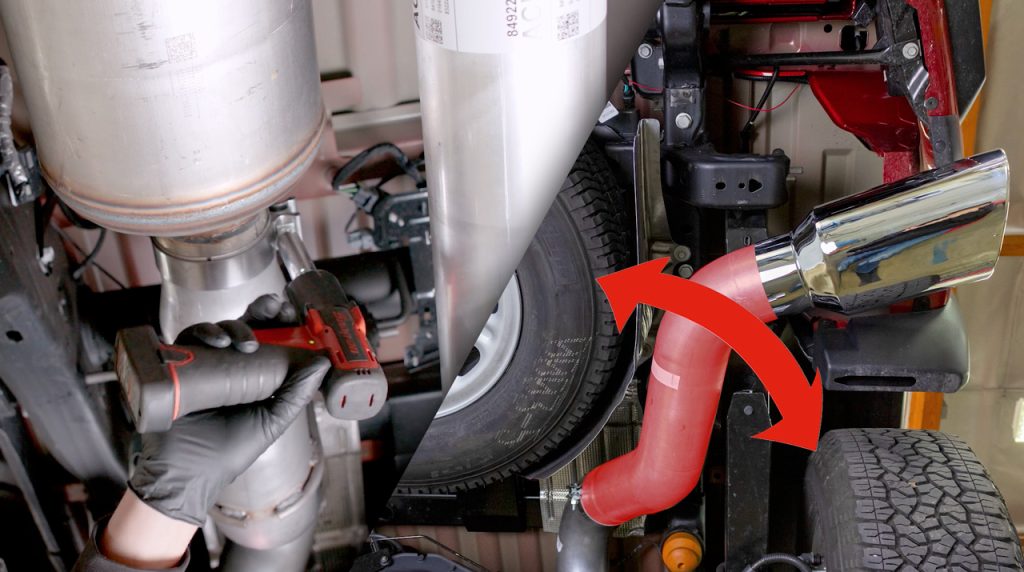
3. Remove the Diesel Particulate Sensor from the over-axle pipe using a 24mm wrench.
NOTE: If the sensors appear to be rusted and/or seized, soak them for a few hours in rust-penetrating oil or equivalent.
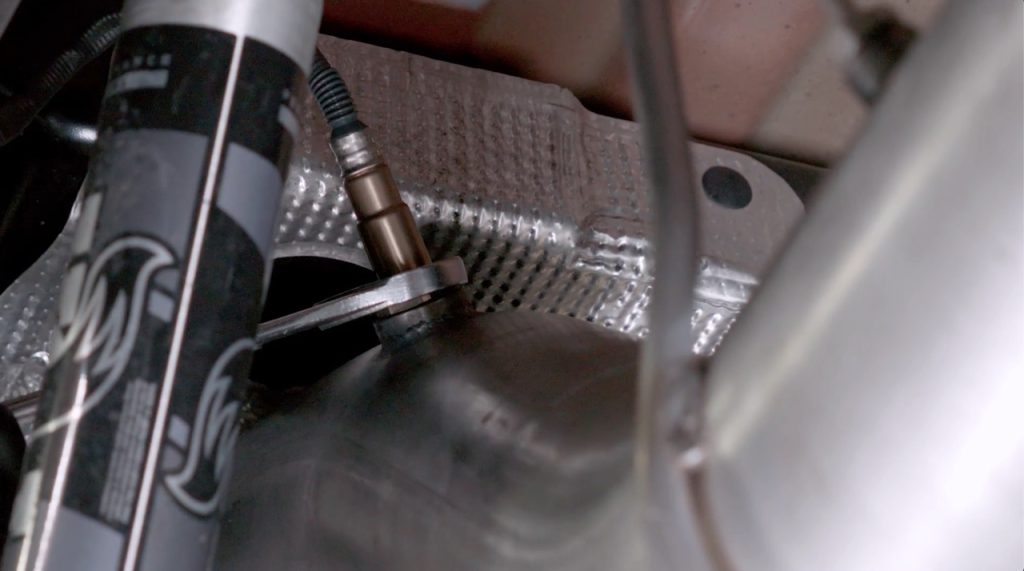
Short Bed:
Remove the two emissions sensors using a 17mm wrench. Move the sensors out of the way. They will be reinstalled into the Banks Monster Exhaust.
The stainless steel tube coming out of the sensors should not twist as you loosen the sensor. If it twists, STOP NOW.
New replacement pressure sensors are available on Amazon. Part # 84277146.
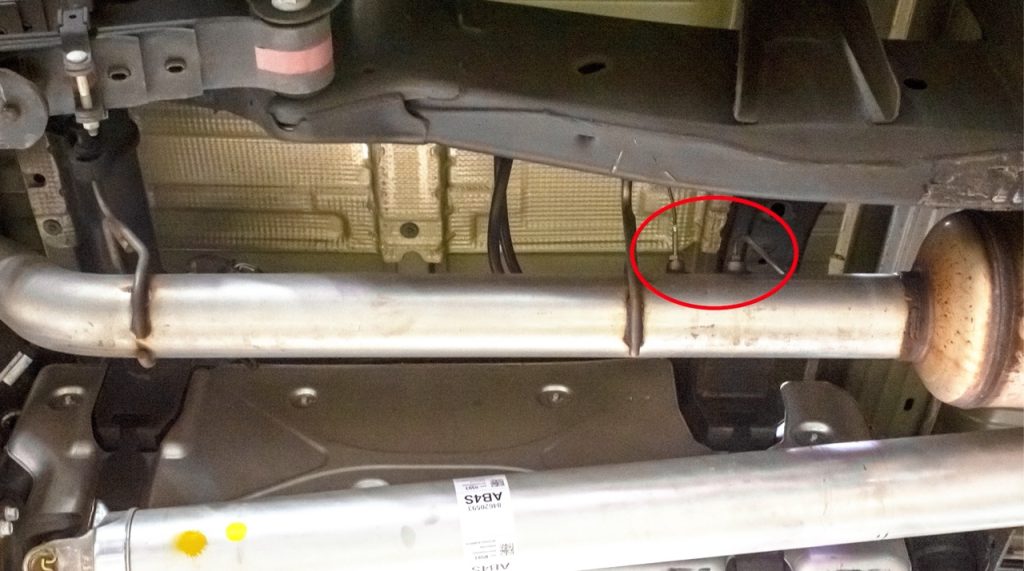
Long Bed:
Long Bed DPF sensors will not be removed. They will not interfere with your cut line.
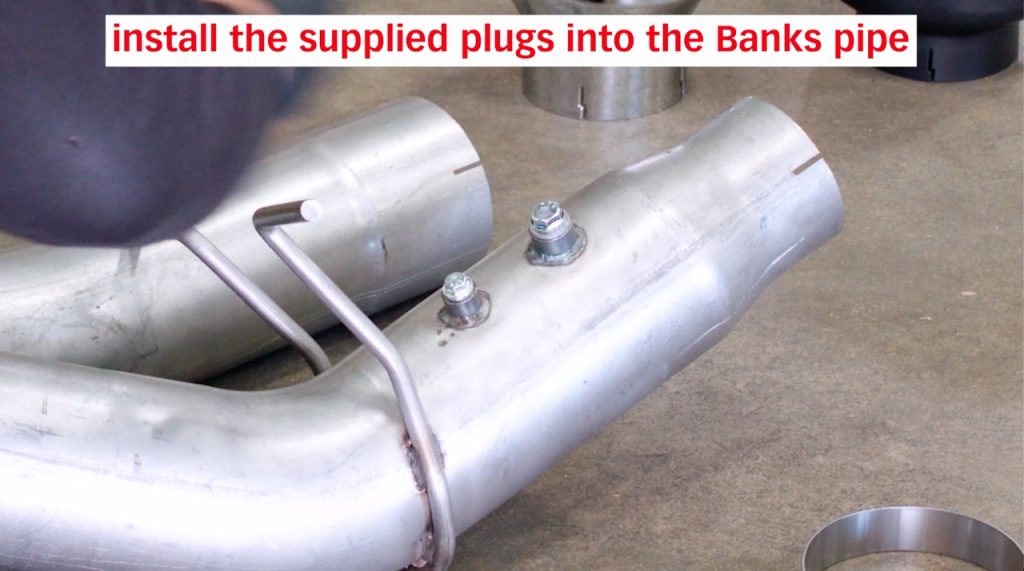
Use the supplied hardware kit to plug the Monster Exhaust sensor bungs.
WARNING! The following step will require the use of a saw. Proper safety equipment should be used. Failure to use proper safety equipment may result in severe injury.
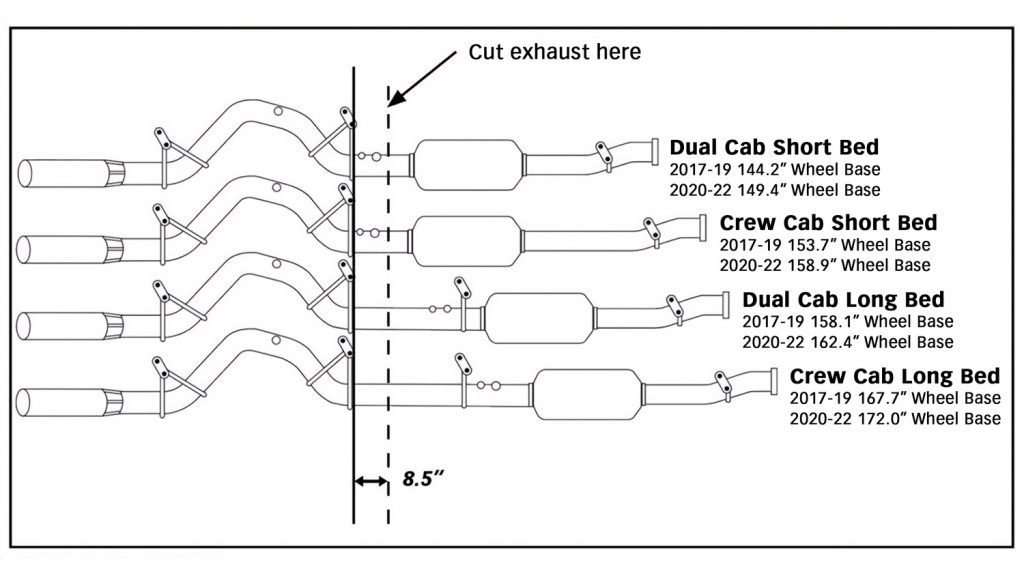
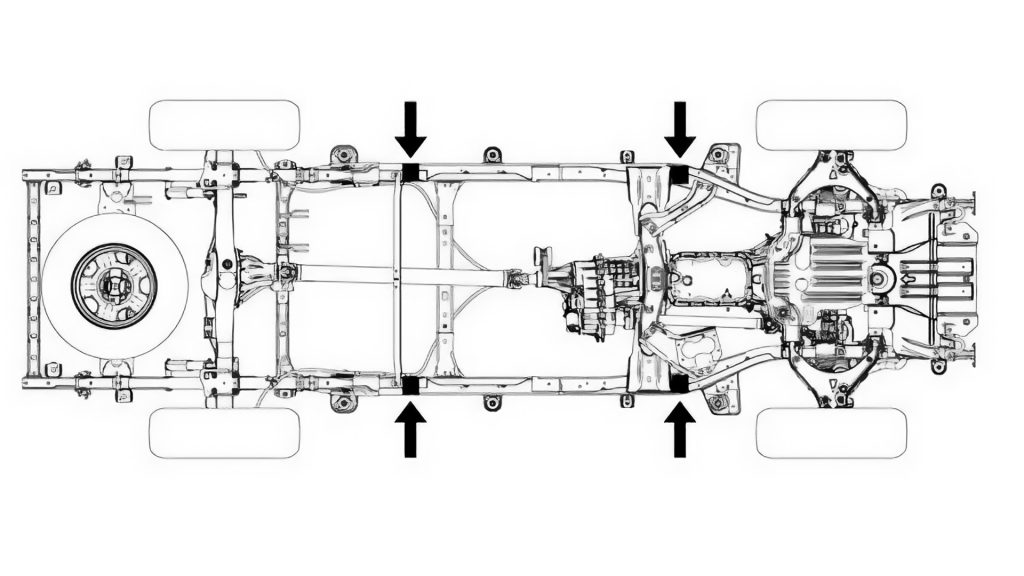
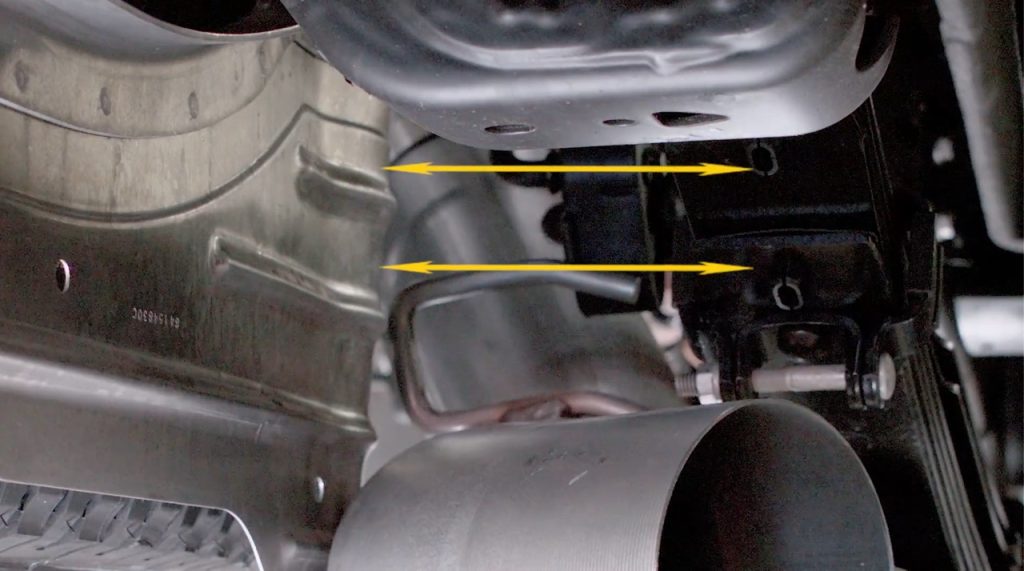
4. Measure from the front of the exhaust hanger, as shown, toward the DPF.
Take time when measuring and cutting the factory pipe to ensure the proper location and a straight cut. An improper cut will result in poor fitment.
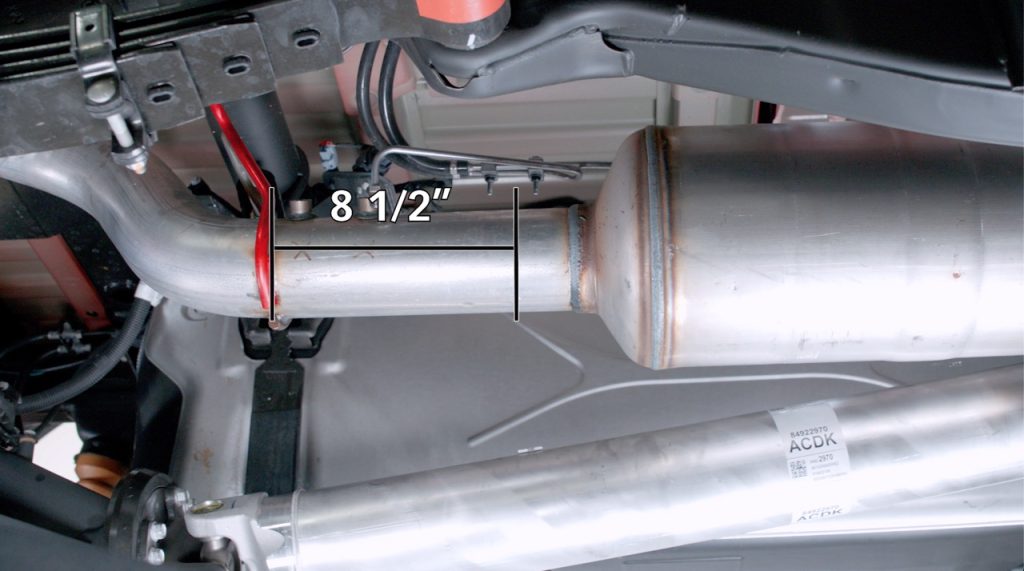
5. Cut the factory exhaust pipe 8.5 in from the rear hanger towards the Diesel Particulate Filter (DPF).
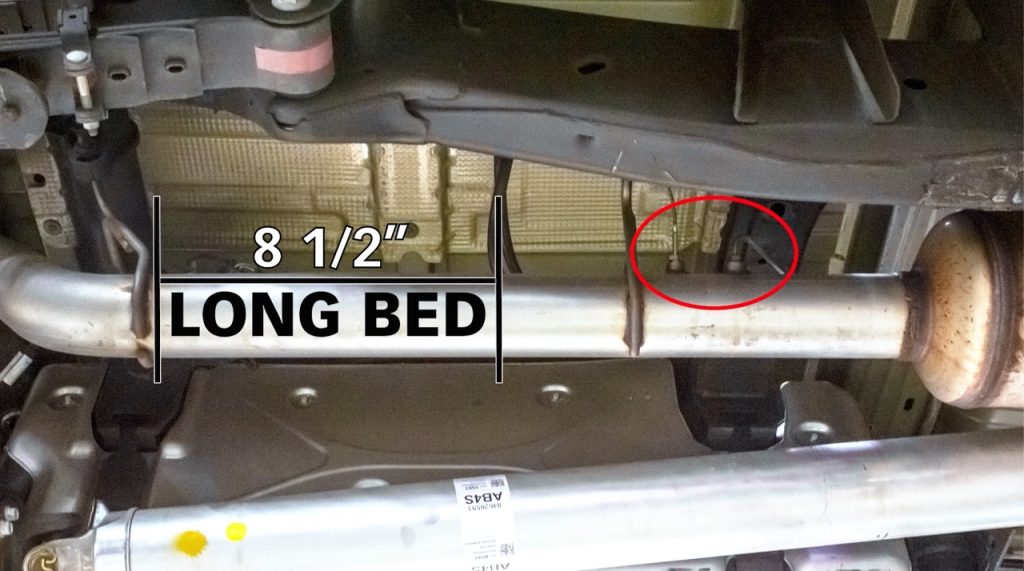
Long Bed Models will still cut from the rear over-axle hanger 8.5in. DPF Pressure & Temp sensors remain in place.
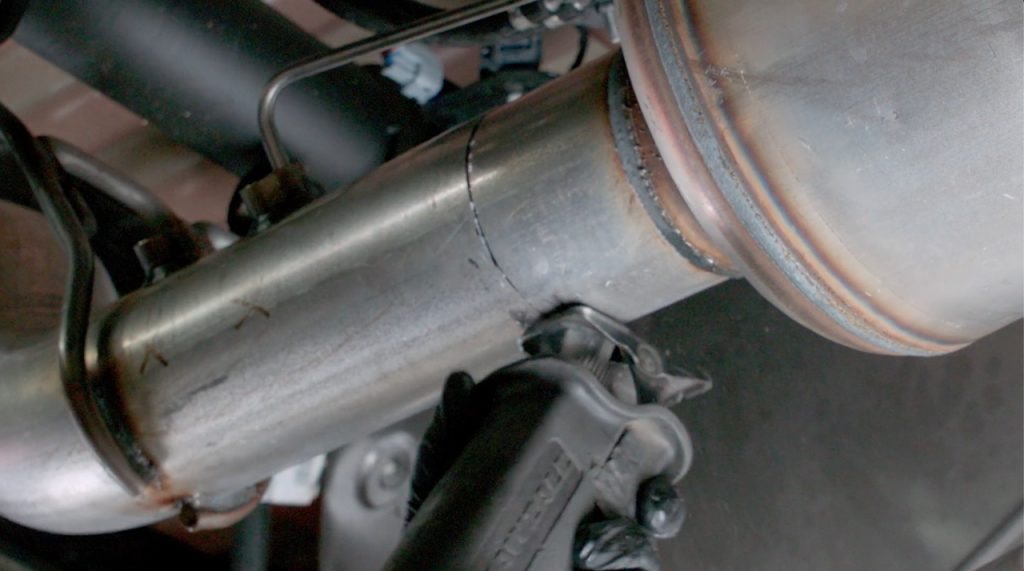
Be sure to cut straight, a crooked line will cause improper fitment and alignment.
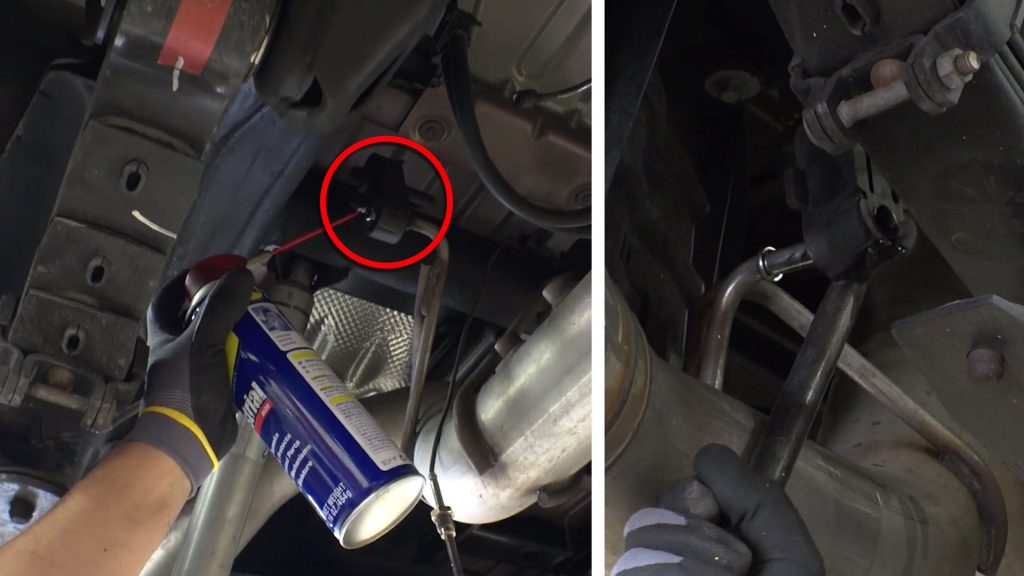
NOTE: Lubricating the rubber hangers with WD-40 or similar lubricant will ease the removal of the hanger pins.
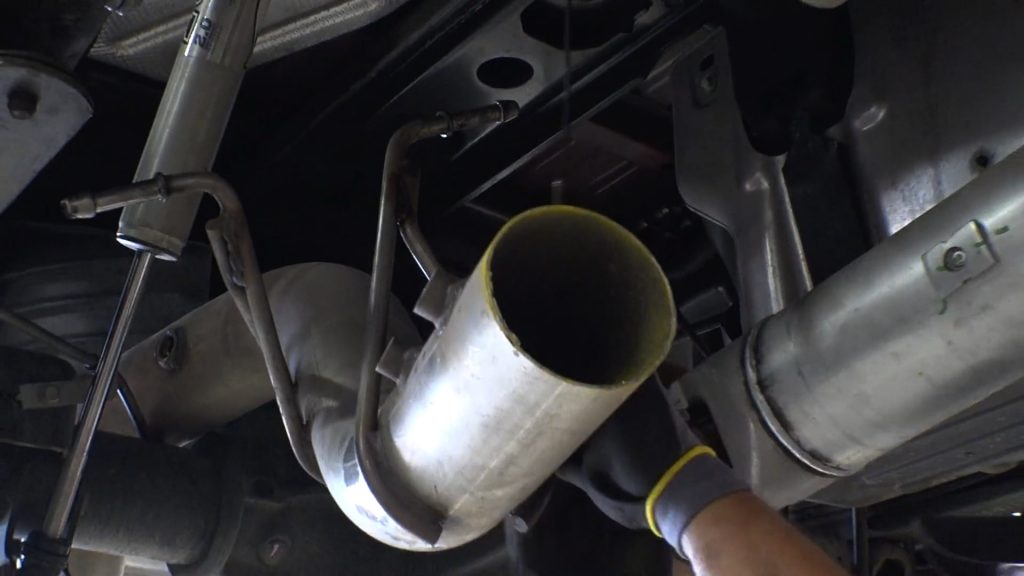
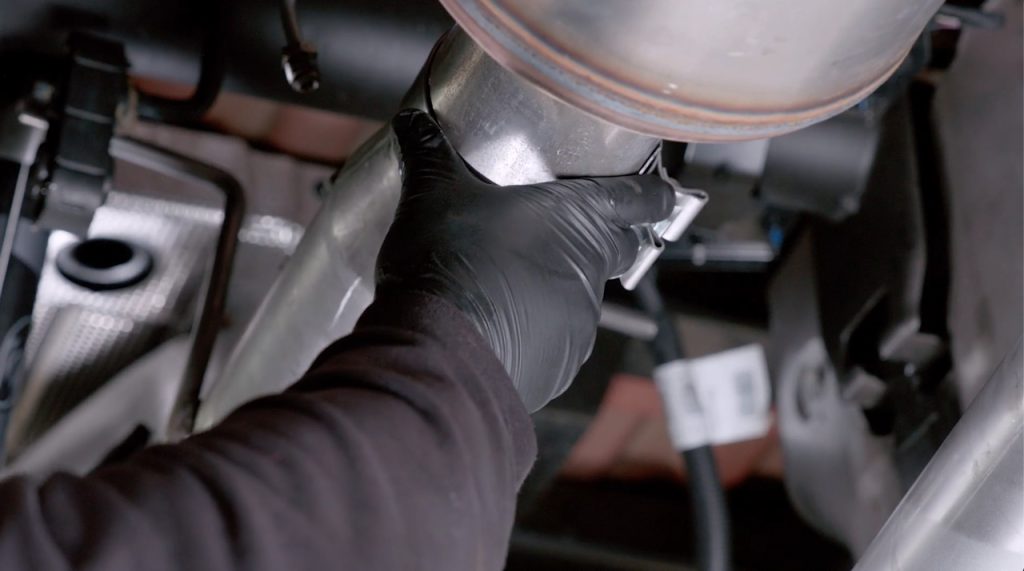
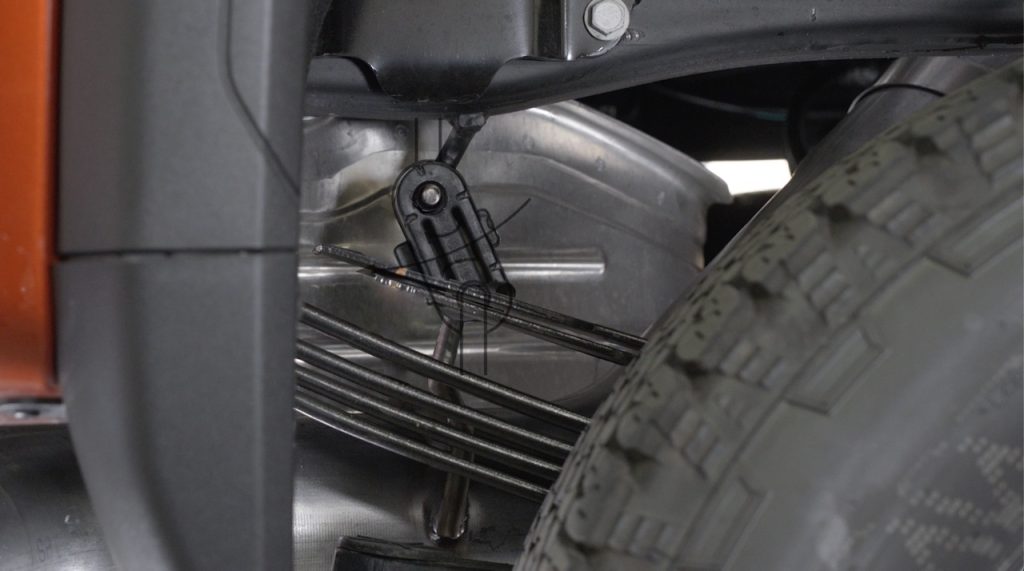
6. Remove the factory tailpipe from the vehicle.
Disengage the exhaust system hanger pins from the rubber hangers using a large screwdriver, pry bar or hanger removal tool sold in any auto parts store.
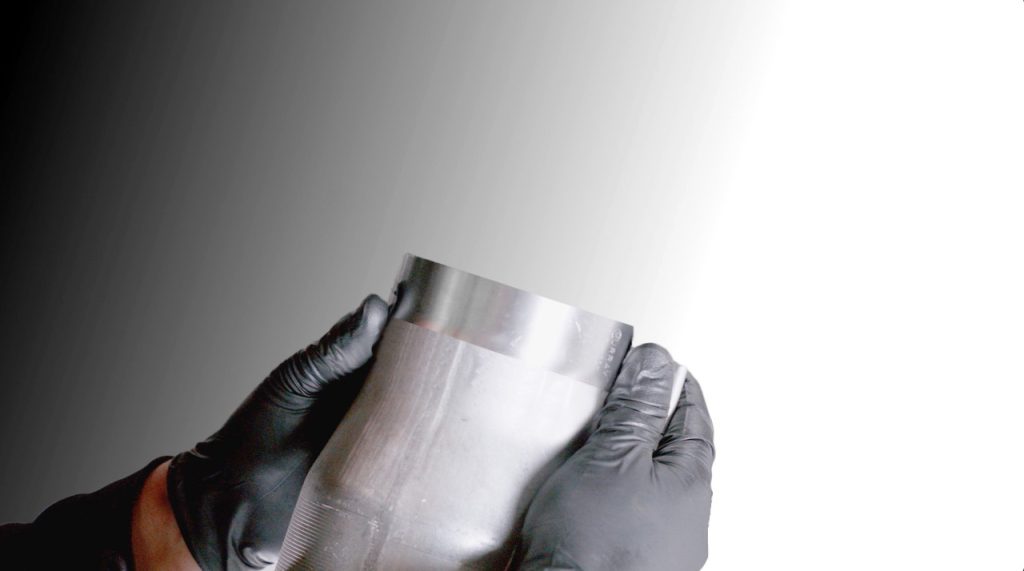
7. Slide a 4” exhaust clamp onto the front of the Banks Monster Exhaust front tailpipe.
Fully engage the clamp so there is none of the notch showing.
8. Install the front tailpipe onto the cut factory pipe.
Loosely snug the 4” clamp, You’ll need to adjust the angle for final fitment.
9. Fully engage the exhaust hangers.
The exhaust hangers should be parallel to the ground and the rubber bushings straight and centered.

If on a Short Bed, reinstall the DPF pressure and temperature sensors.
Start by hand, then tighten with your 17mm wrench.
Reinstall the Diesel Particulate Sensor into the over-axle portion.
10. Install a 5” exhaust clamp onto the inlet of the Rear Tailpipe & Install the Rear Tailpipe onto the outlet of the Front Tailpipe.
11. Insert the Rear Tailpipe hanger pin into the factory rubber hanger.
Rotate the tailpipe until the hanger pin is parallel with the frame mounted pin. Loosely snug the 5” clamp.
12. Engage the factory rubber hangers onto the hanger clamp pins.
Fully seat the Monster Exhaust towards the nose of the truck. The Rubber hangers should now be reclined slightly back, similar to how your seatbacks are.
When hot, the exhaust can grow by over an inch in length, this allows for exhaust pipe expansion.
12a. DRW Vehicles:
With another 5″ clamp, install the last pipe and loosely snug it down in position.
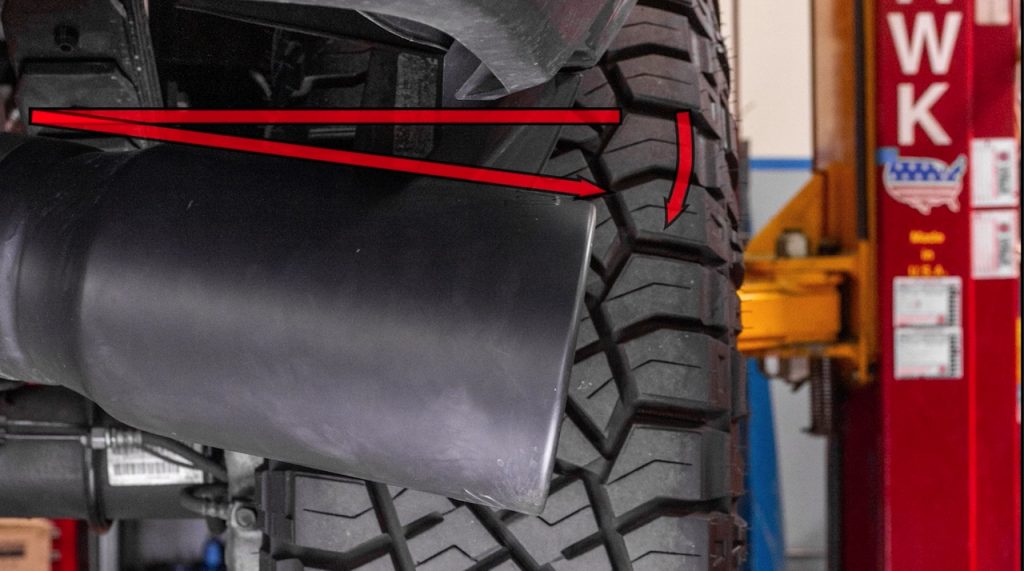
NOTE:
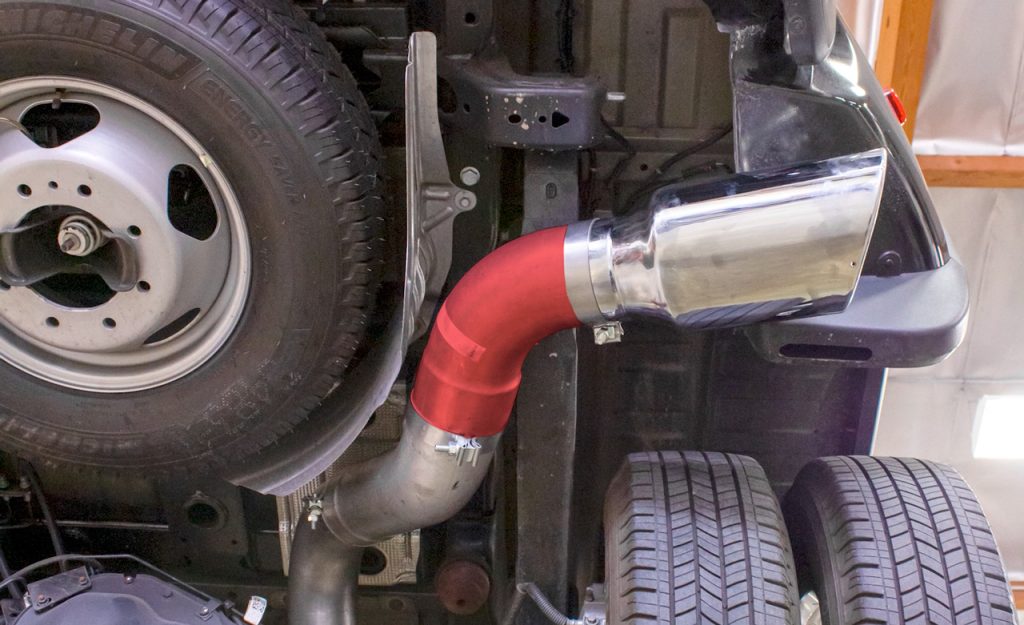
Maintain an adequate air gap clearance of one (1) inch between the exhaust and the shock absorber and between the exhaust and the spare tire.
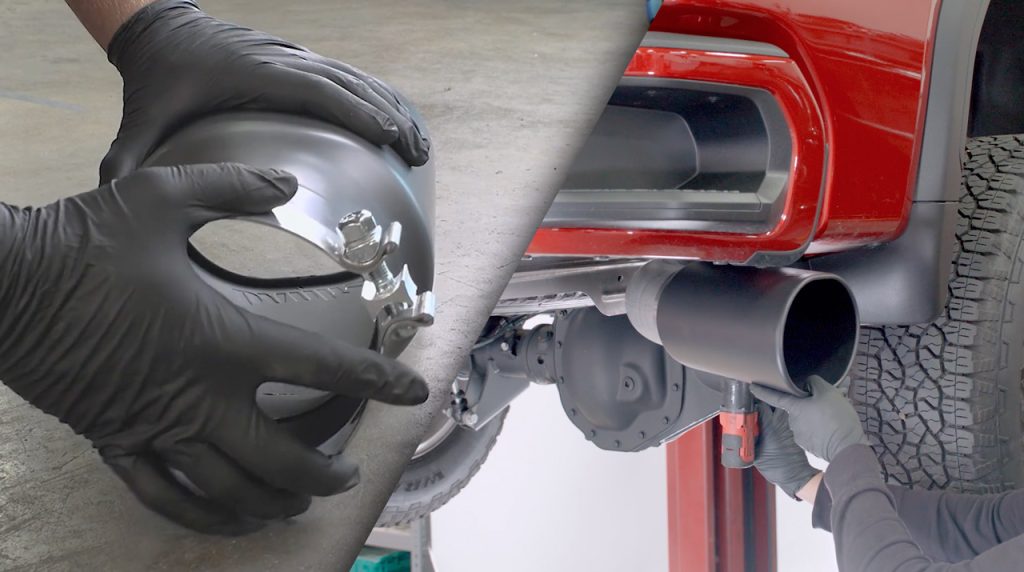
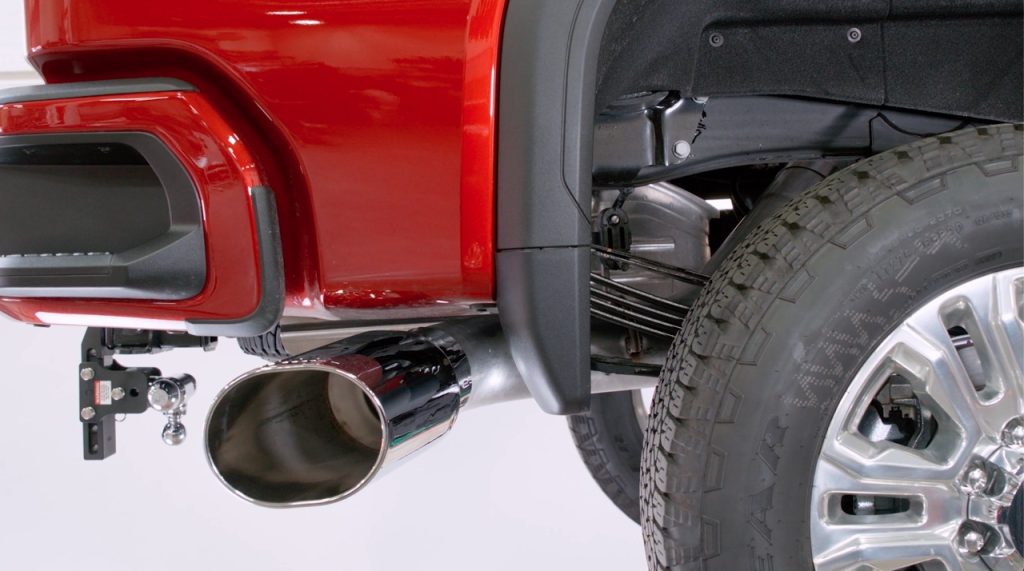
13. Install the SideKick tip with clamp.
The tip has an internal stop to prevent it from sliding on too far. Tighten just snug so you can fine tune the tip alignment.
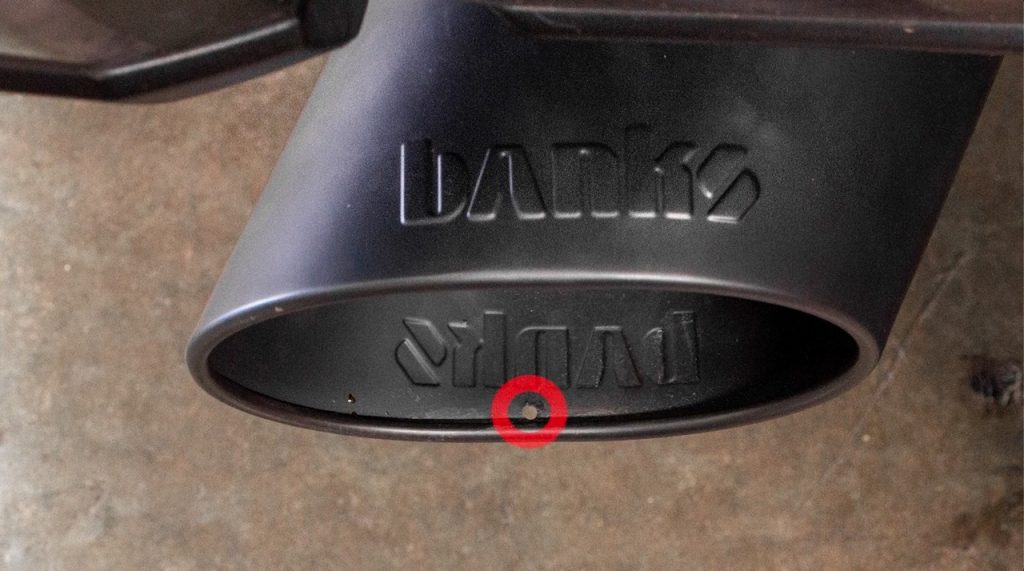
Make sure the drain hole is facing down, and the banks logo, facing up.
The tip should angle slightly down for condensation to drain out.
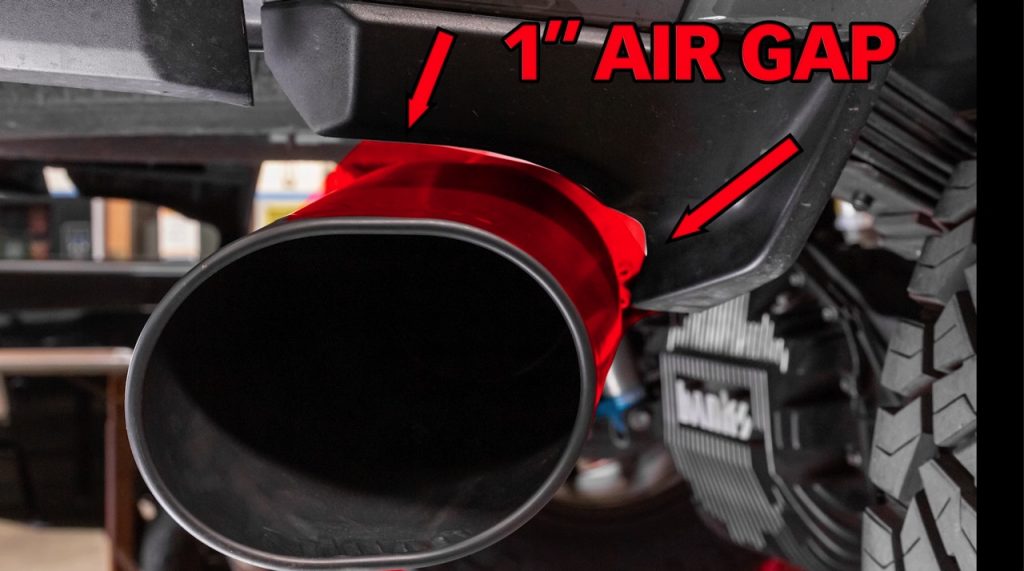
Orient the top so there is a 1″ air gap around the bodywork. Make sure the tip is slightly raked back towards the rear bumper to allow for exhaust gas siphoning.
14. Tip Adjustments:
Rotate the front and rear tail pipes until you are satisfied with the final fitment, and tighten each exhaust clamp to 50ft-lbs starting from the DPF going backwards.

15. Adjust each of the pipes to ensure that all of the hanger pins are parallel with the frame-mounted pins.
Check that the rubber hangers are all positioned slightly forward, leaning at a similar angle as your seatback.
This allows the hangers to be properly positioned once the exhaust system reaches operating temperature.
NOTICE:
The minimum distance between exhaust tip and body is one (1) inch.
CAUTION: The protective covering may ignite and burn if not removed prior to running the engine.
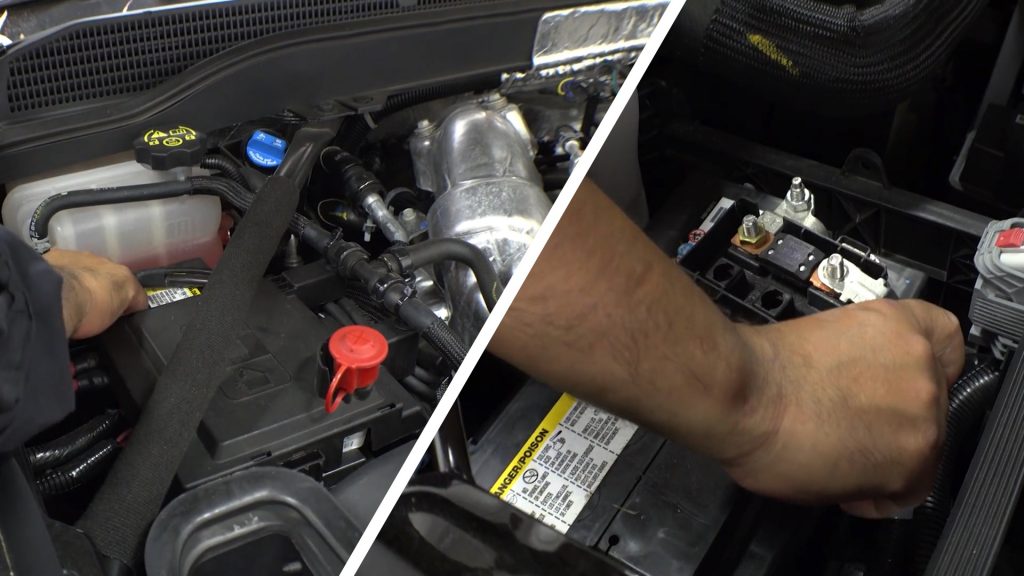
16. Re-connect the negative battery cable(s).
Start the engine and listen for exhaust leaks. Tighten the exhaust clamps as necessary. Whenever possible, tack weld slip connections to prevent disengagement is recommended. The Banks Monster Exhaust installation is now complete.