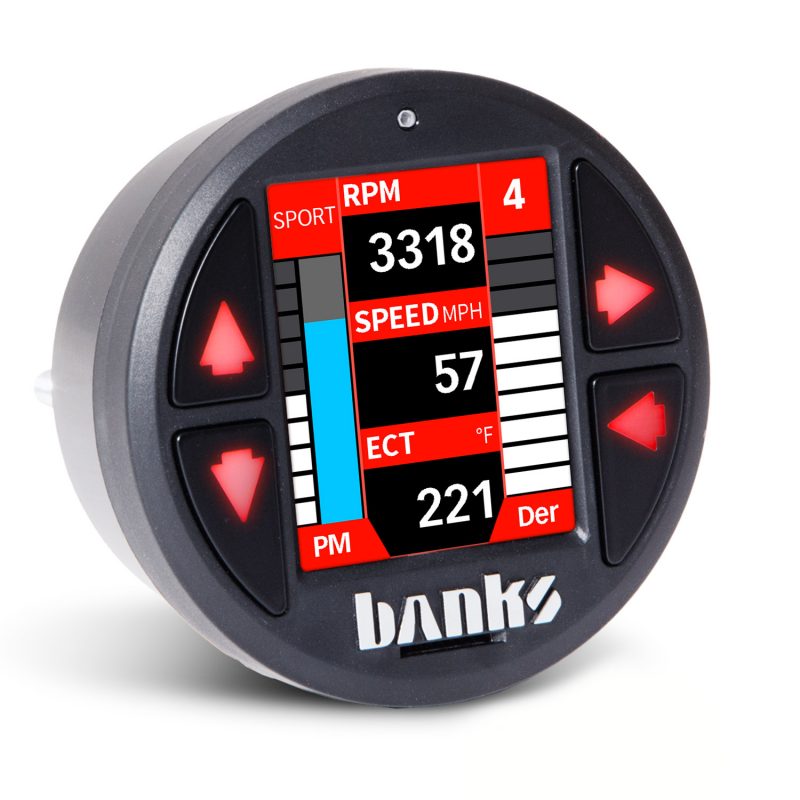
97654 iDash 1.8 DataMonster and Super Gauge: Section 7: Diagnostics
INSTALL INSTRUCTIONS
Part #s
66560, 66561, 66562, 66563, 61410, 66760
iDash 1.8 DataMonster® & Super Gauge Stand alone instrument for ALL 2008+ OBDII CAN bus vehicles
Please read through the following instructions thoroughly before starting your installation. If you have any questions please visit our Support Page.

Section 7: Diagnostics
7.1 Vehicle Diagnostics Trouble Codes (DTC’s)
See the cause of your vehicle’s Check-Engine Light! With the iDash, you can read and clear vehicle manufacturer trouble codes.

1. Select “Diagnostics” from the main “MENU” thn select “Vehicle” for vehicle diagnostics.
NOTE: Vehicle must be stopped to access vehicle diagnostics.
To check for all vehicle DTC’s present:
In the vehicle diagnostics menu, select “Check Vehicle Codes” to read vehicle trouble codes.

If vehicle codes are present, a list will appear. Write down the trouble code number before clearing.
To save codes to SD card:
If you have a micro SD card installed, the codes will also be saved as a CSV. file to your micro SD card.
To view freeze frame data:
If the code has a “*” preceding it, if you click on the code it will pull up the freeze frame data associated with that code.

To clear all vehicle DTC’s present:
In the vehicle diagnostics menu, select “Clear Vehicle Codes” to erase vehicle trouble codes. See Figure 7-2 and Figure 7-3.
Diagnostic trouble codes and/or check engine light may reoccur if the cause of the code is not repaired.
NOTE: Some vehicles require that the engine be turned off to clear codes.
7.2 Vehicle Emissions Readiness
Check your vehicle’s emissions readiness to test and see whether or not your vehicle’s emission system is operating normally.

1. Select “Diagnostics” from the main “MENU.” Then select “Vehicle” for diagnostics.
Figure 7-1

2. Select “Check Emission Readiness” for a list of supported emissions monitors.
“YES” indicates that the monitor has passed its test and the system is operating correctly.
“NO” indicates that the monitor has either failed the test or that the test has not completed.
4. Scroll through the list of monitors and return to the Gauge Screen when finished.
NOTE: The following may reset your monitors:
– Clearing diagnostic trouble codes
– Loss of power to the vehicle by a dead or disconnected battery
7.3 Manual Diesel Particulate Filter (DPF) Regeneration (Only available on some specific diesel vehicles)
This diagnostic feature enables the user to manually clear the DPF.
7.3.1 DPF Regeneration Explained
For a full description of DPF, please see our glossary page.
During Manual Regeneration, the iDash will communicate with the vehicle’s computer to clean the DPF manually by raising EGT to a suitable level and burning the soot.
When this occurs the RPM’s will automatically be raised above 2,000 and the radiator fan will turn, which may be very loud.
NOTE: Only use the manual regen feature if conditions prevent an automatic regen.

7.3.2 Error List/Conditions for Manual Regenerations
The following list of conditions must be met for Manual Regeneration to occur, otherwise an error alert will pop up.
7.3.3 Stationary Regen Warnings
Performing a stationary regen will result in tailpipe exhaust gas temperatures greater than 600 degrees Fahrenheit. It is important to follow safety procedures!
- Park vehicle outdoors and keep people, animals, other vehicles, and combustible materials away from the exhaust tailpipe.
- Do not leave the vehicle unattended.
- Do not connect any shop hoses to the exhaust.
- Open the hood and keep the vehicle in an open environment to allow proper ventilation.
- Check that coolant and oil levels are at proper levels before and after regen.
Liability Disclaimer
Gale Banks Engineering shall in no way be responsible for the product’s proper use and service. THE USER WAIVES ALL LIABILITY CLAIMS.

7.3.4 Manual Stationary DPF Regeneration
To initiate and see the status parameters during DPF regeneration:
- Select “Diagnostics” from the main “MENU.” Then select “Vehicle” for vehicle diagnostics.
- Select “Stationary Regen” to begin the manual stationary regeneration process.
- Read the caution messages by pressing the right arrow button. To accept, press the down button.
- After pressing down to agree to the disclaimer select “Yes” to proceed with manual regen. (Figure 7-5, B) This will initiate and display important parameters. (Figure 7-6)

NOTE: During Stationary Regen, if you have multiple iDash’s, the secondary gauges will display a message box “Stationary Regen Running” until the Regen is complete. Pressing any button on the primary gauge will stop regeneration!

6. A message will appear when manual regeneration has been completed. Press any button to return to the original display.

Warning:
Commanding manual DPF regeneration may pose a safety risk; consult the vehicle’s original equipment manufacturer’s service information for operating conditions, procedures, and safety requirements that need to be met before and after commanding a manual DPF regeneration.

Warning:
Frequent manual DPF regenerations can potentially cause damage to the vehicle’s DPF and an increase in your vehicle’s emissions and fuel consumption. Frequent manual DPF regenerations may also affect your vehicle’s warranty. Consult the vehicle’s original equipment manufacturer’s service information for operating conditions, procedures, and safety requirements that need to be met before and after commanding a manual DPF regeneration.
NOTE: It is recommended to run the engine for at least 10 minutes after the stationary regen to reduce the chance of DEF injector damage. This can be done at idle or while driving.
7.4 Injector Balance Rates
Check your vehicle’s injector operating tolerances. If you’re experiencing a misfire, knocking, excessive smoke, or poor running conditions with no DTCs, this diagnostic feature will help identify the issue.
NOTE: This feature is available only on specific GM/Chevy diesel trucks.
- Select “Diagnostics” from the main “MENU.” Then select “Vehicle” for vehicle diagnostics.
- Select “Injector Balance Rates.”
- This will display individual injector balance rates.
- Select “BACK” to return to the main menu once finished. Injector balance rate.
Note: Balance rates are the fuel adjustments for each individual cylinder based off crankshaft speed. Injectors that read outside a +/- 4.0 in park/neutral or +/- 6.0 in drive may be a faulty injector.

