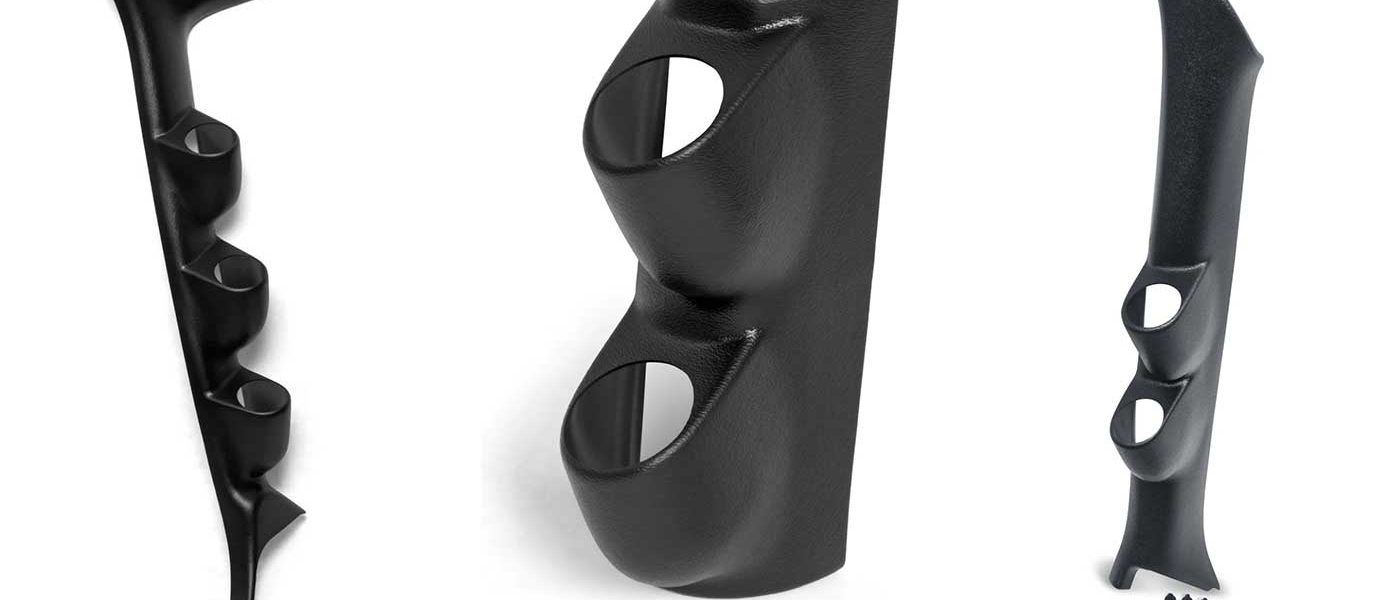
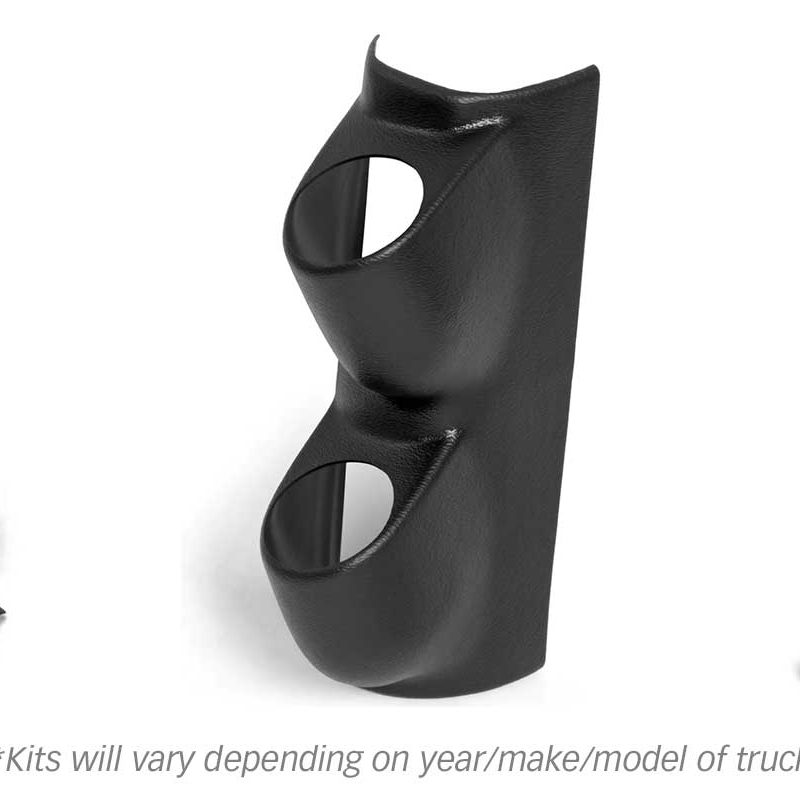
96417 DynaFact Pillar-Style Gauge Mount
INSTALL INSTRUCTIONS
Part #s
63201, 63202, 63203, 63211, 63212, 63301, 63303, 63304, 63305, 63306, 63307, 63308, 63309, 63310, 63311, 63313, 63314, 63316, 63323, 63324, 63325, 63326, 63327, 63328, 63331, 63332
Banks Pillar Gauge Mount
1988-2013 Chevy/GMC
1994-2002 Dodge
1987-2010 Ford
Please read through the following instructions thoroughly before starting your installation. If you have any questions please visit our Support Page.

Do NOT install this Banks DynaFact pillar-style gauge mount onto a vehicle that has side airbags located in the A-pillar. Severe injury will result.
Important: Route and tie wires and hoses a minimum of six inches away from the heat source, moving parts, and sharp edges. Clearance of eight inches or more is recommended where possible.
Tools Required
- 3/8″ socket, extension, and driver
- 5/32″ hex key
- Medium grit sandpaper
- Hacksaw or handsaw
Installation Instructions

Due to normal manufacturing
processes you may have “flashing” (small
fibers of plastic) around the pod holes.
Once the gauge(s) are installed in the pod
you will not be able to see the flashing.
This mount is designed to hold gauges
with a press or friction fit. To allow you
flexibility in the positioning of your
gauges, all of the holes are cut to the
same size. Oil temperature gauges and
boost gauges should fit into this
mount with no modification. However,
pyrometer gauges and tachometers
have slightly larger cases and
therefore require the holes to be
slightly enlarged.
Identify the hole that you wish to use
for the pyrometer or tachometer. Using
a medium grit sandpaper, a round file
, or a deburring tool, SLOWLY enlarge
the hole. BE CAREFUL AND CHECK FIT
OFTEN. The plastic material is easily
removed. We recommend that you
sand slightly and then check the fit,
repeating the process until you have a
desired fit. If you make the hole too
large, the gauge may vibrate out. As a
guide, you want the pyrometer and
tachometer to fit the way the boost
and oil temperature gauges
For Single and Dual Gauge Pods
1. Position Gauge Pod on the A-pillar
in the desired location. Slight trimming
may be required for a perfect fit in
some applications.
2. Mark the location of the Gauge Pod on the A-pillar. Remove the A-pillar from the vehicle.
3. Create an opening in the A-pillar for
gauge lines to pass through. Test fit
the Gauge Pod with the gauge(s)
installed on the A-pillar to ensure
sufficient clearance for gauge lines and
housing.
4. Hold the Gauge Pod in its mounting
position on the A-pillar and drill four
3⁄16″ holes, one at each corner of the
Gauge Pod, drilling through both the
Gauge Pod and the A-pillar. Insert the
ratchet fasteners through the four
holes to secure the Gauge Pod to the
A-pillar.
5. Install the gauge(s) in the Gauge
Pod. No retaining hardware is needed
to hold the gauge(s) in place, they are
a press fit.
For Full-Pillar Gauge Pods
1. Remove the stock A-pillar. Note: For
Dodge Ram with Infinity speaker, remove
the speaker from the A-pillar. Cut or grind
down the raised speaker portion of the
stock A-pillar to allow the mounting of
the new A-pillar and the gauges.
2. For speaker models, reinstall speaker onto Banks Pillar. Prep or Banks Pillar install by partially threading the supplied screw into the supplied well nut. Slide the well nut onto the upper slot, and then remove the screw, leaving the well nut in place.
3. Install the gauge(s) (and speaker, if
equipped) in the Gauge Pod. No
retaining hardware is needed to hold
the gauge(s) in place, they are a press
fit, and the speaker snaps into place.
The Gauge Pod has clearance for the
gauge lines to be run down the back
and exit through the bottom. Secure
the wiring and tubing to the back of
the Gauge Pod, making sure that the
gauge lines do not interfere with the fit
of the two pieces. If interference
occurs, create an opening in the stock
A-pillar for the gauge lines to pass
through. Secure the gauge lines to the
back side of the stock A-pillar.
4. Ensure Banks Pillar is fully installed by making sure it sits below both the dash where the tabs were inserted, and behind he weather stripping along the pillar itself.
For All Installations
1. Run Gauge lines out through the firewall toward the engine.
2. Install the Gauge Pod and A-pillar, ensuring that lines are not pinched.
3. Connect the gauge(s) to the vehicle. Follow the instructions provided with the gauge(s) for proper installation and operation.