
97732 2019-2026 Sprinter Van Stealth Pod Installation Guide
INSTALL INSTRUCTIONS
Part #s
63398
Banks Ram-Air® Intake System 2019-2026 Sprinter Van
Please read through the following instructions thoroughly before starting your installation. If you have any questions please visit our Support Page.


Part Number 63398
Fits the driver’s side dashboard next to the A-pillar found in:
- 2019-2026 Sprinter Vans
Installation Guide
What’s Included
iDash Stealth Pod
Alcohol Prep Wipe
Alignment Template
If anything is missing, please call us at 800-601-8072 immediately!
Tools Required

Plastic pry tool
Socket wrench
T25 Torx Bit
T27 Torx Bit
10mm Socket
Drill
Install Prep and Trim Removal
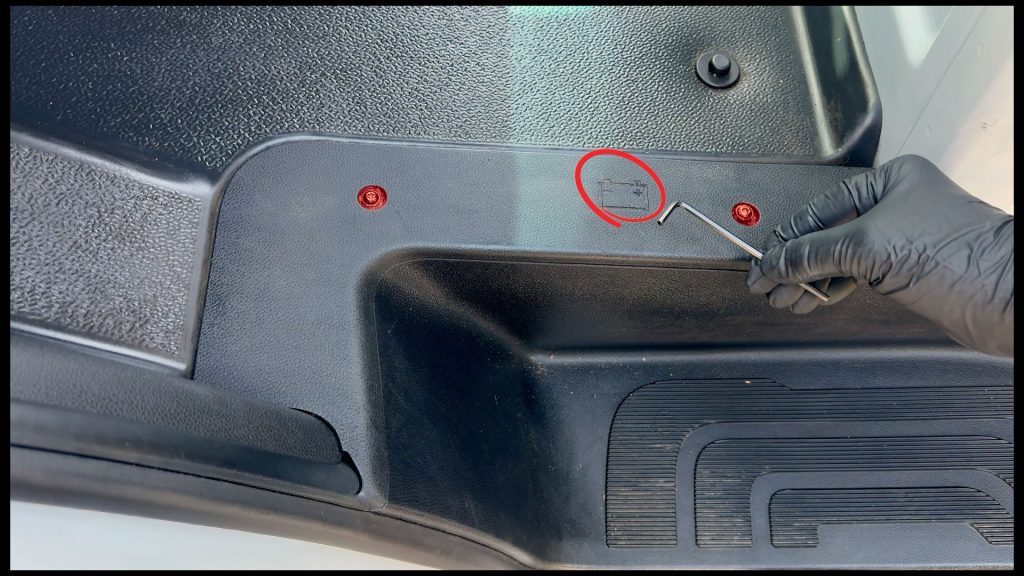
1. Remove the interior battery access cover
Use a T25 torx bit or key to remove the two screws.
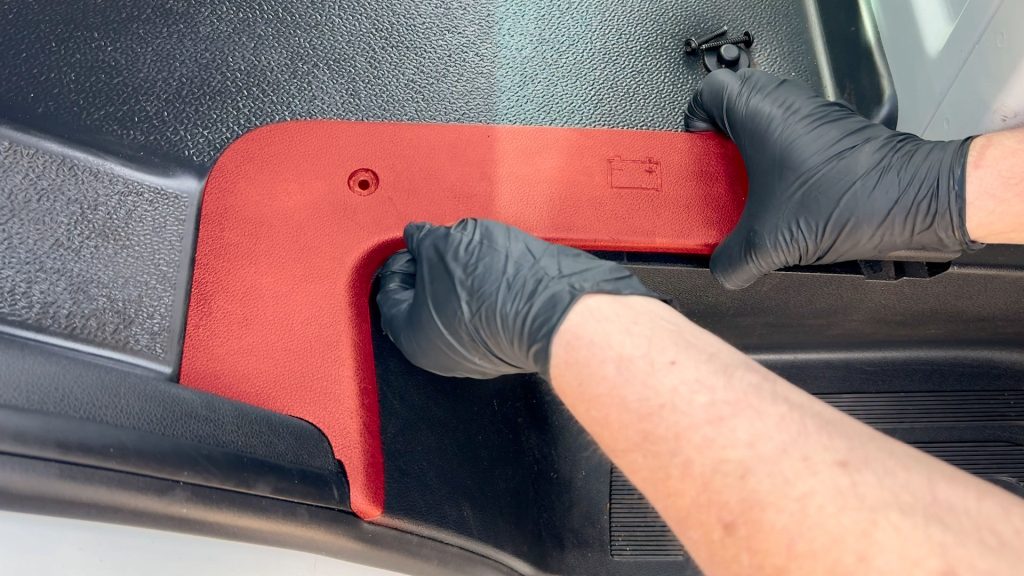
2. Remove the plastic plate.
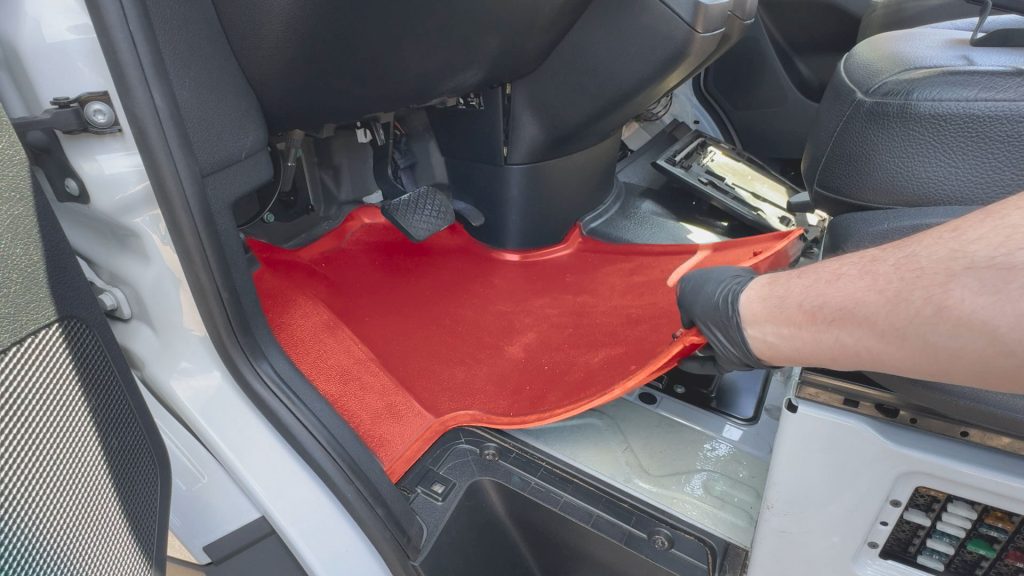
3. Remove the rubber floor mat.
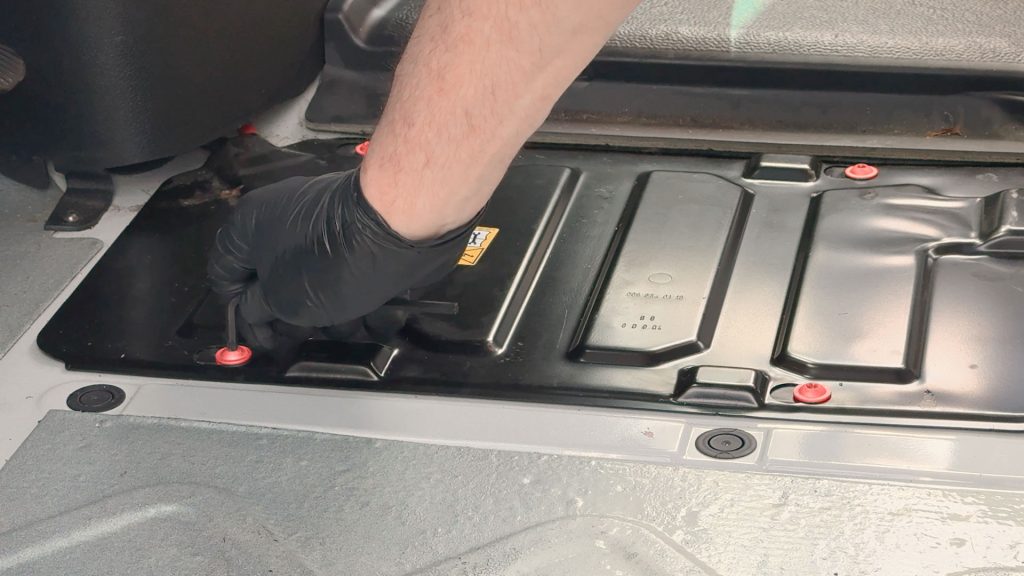
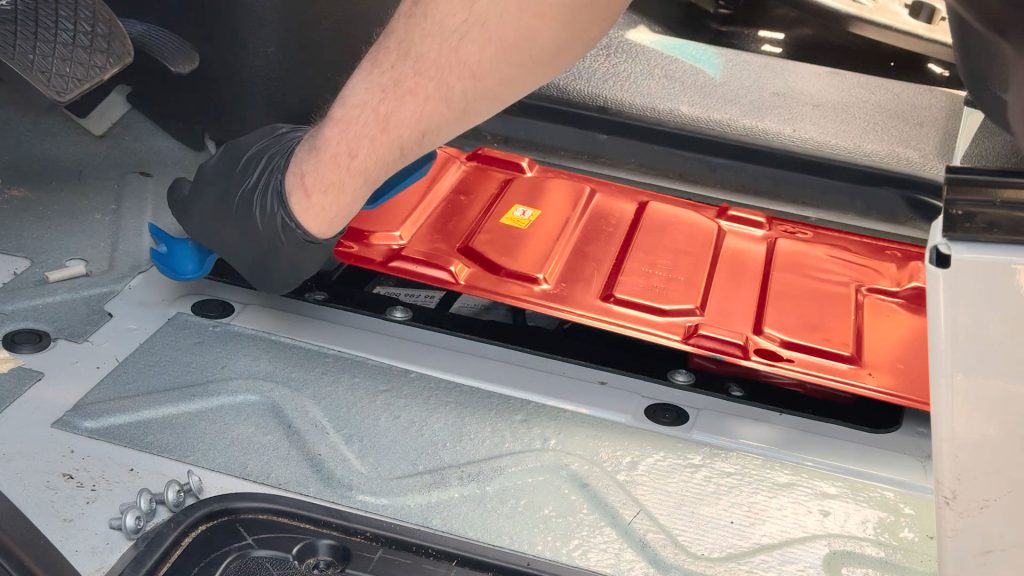
4. Remove 4 T30 Screws
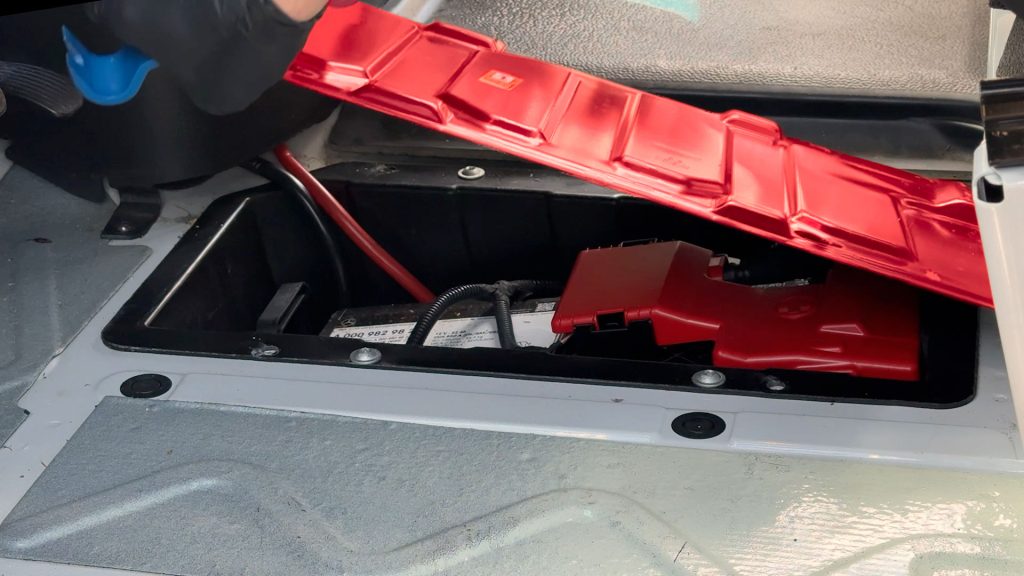
5. Lift battery access door.
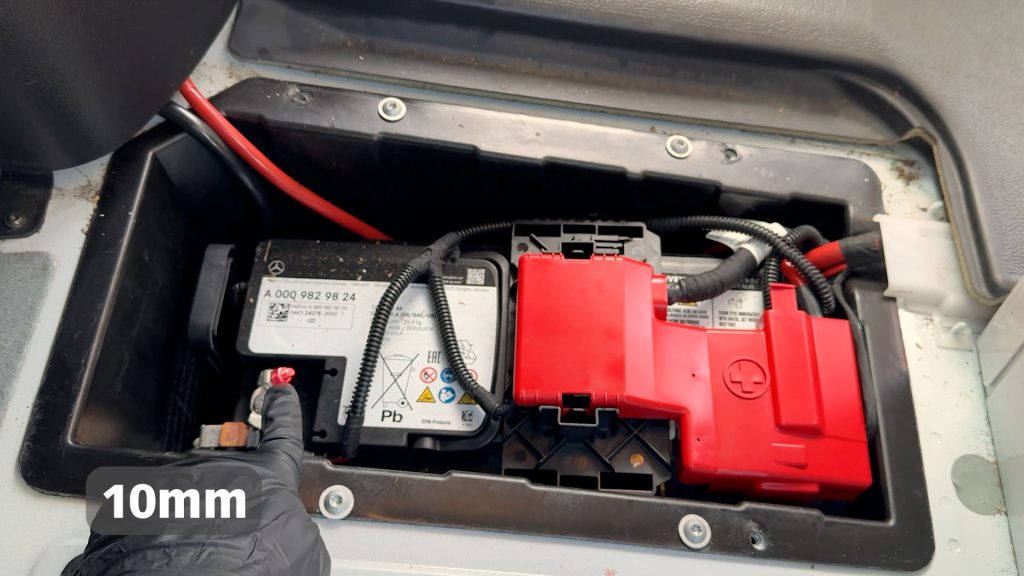
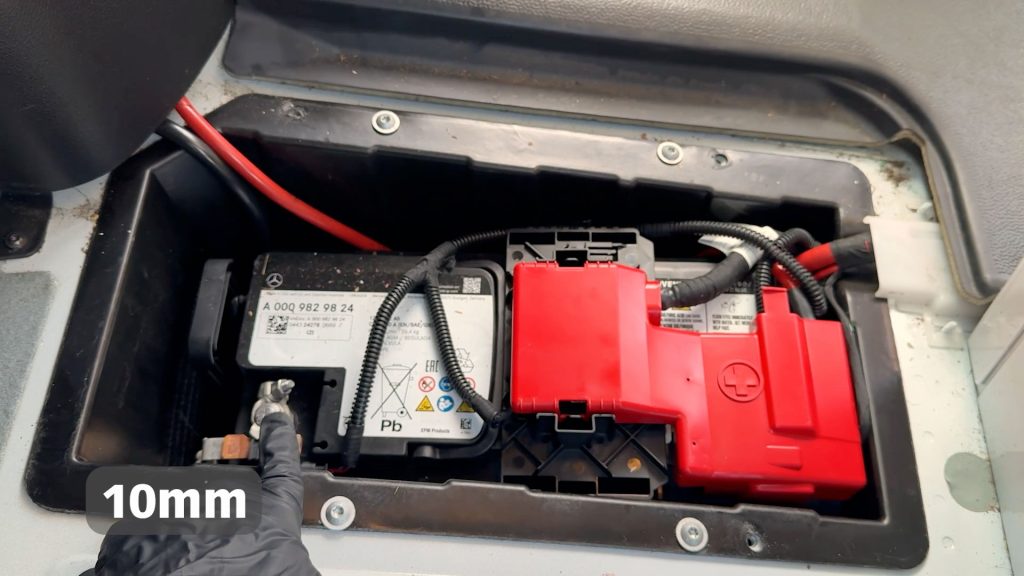
6. With a 10mm socket, disconnect the negative battery terminal.

7. With a plastic pry tool, pop the plastic cover from the top of the A-pillar.

8. With a T27 Torx bit, remove the top screw from the A-pillar.

9. Carefully pop the trim from A-pillar

10. Continue until the trim piece becomes free of the A-pillar.

11. The trim is connected by rear plastic tabs.
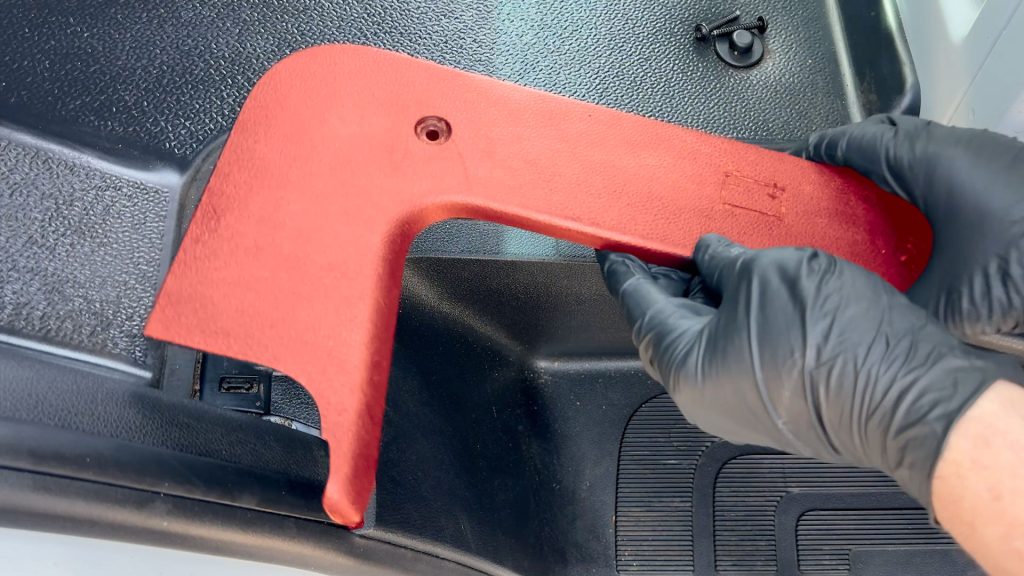
12. With a plastic pry tool, remove the lower trim piece.

13. Do the same for the upper side cover.
Installing the Stealth Pod
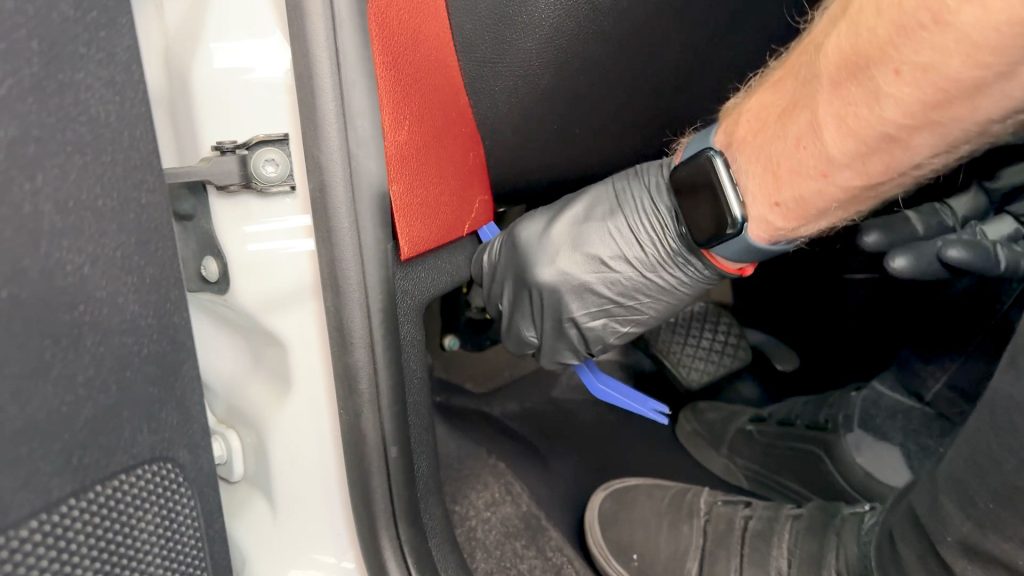
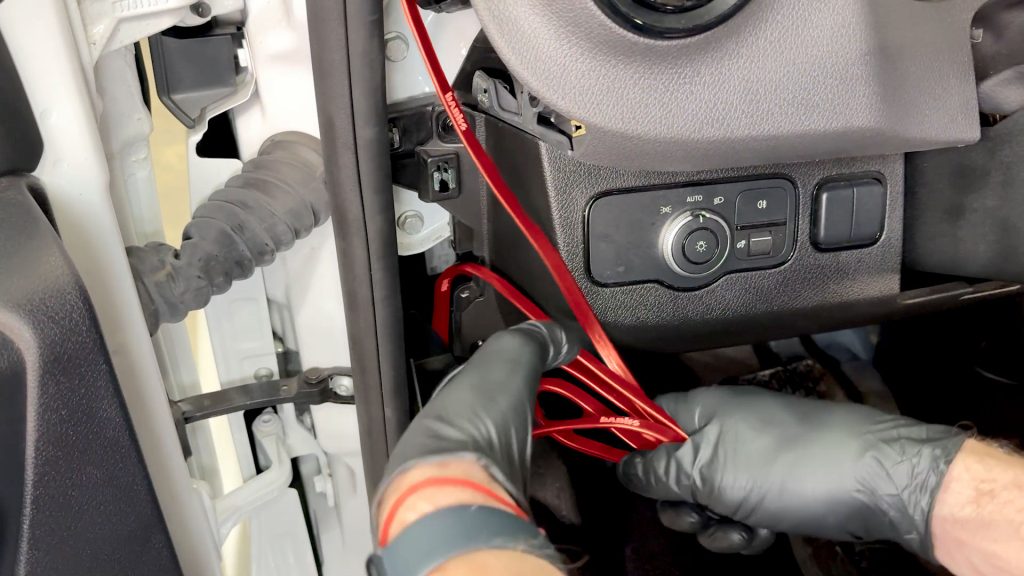
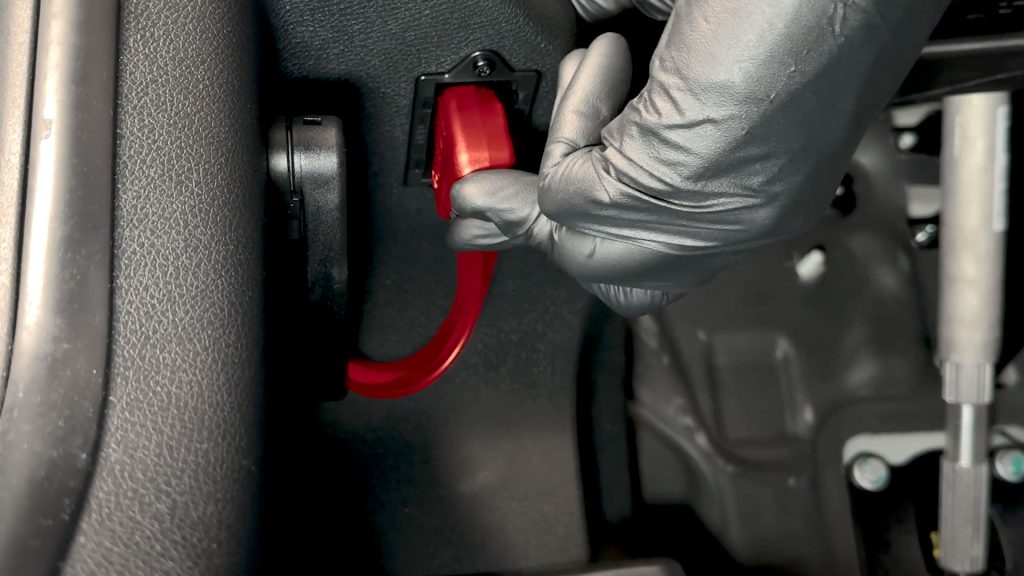
1. Route the Banks OBD-II cable up the left side of the dashboard through the small opening next to the OBD-II port.
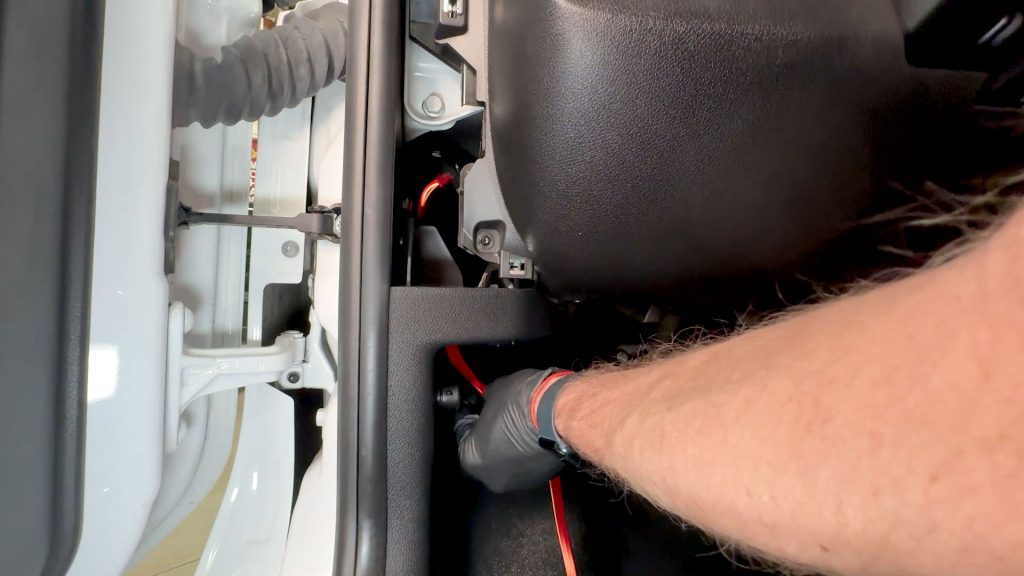
2. Continue to thread the cable up through the side.
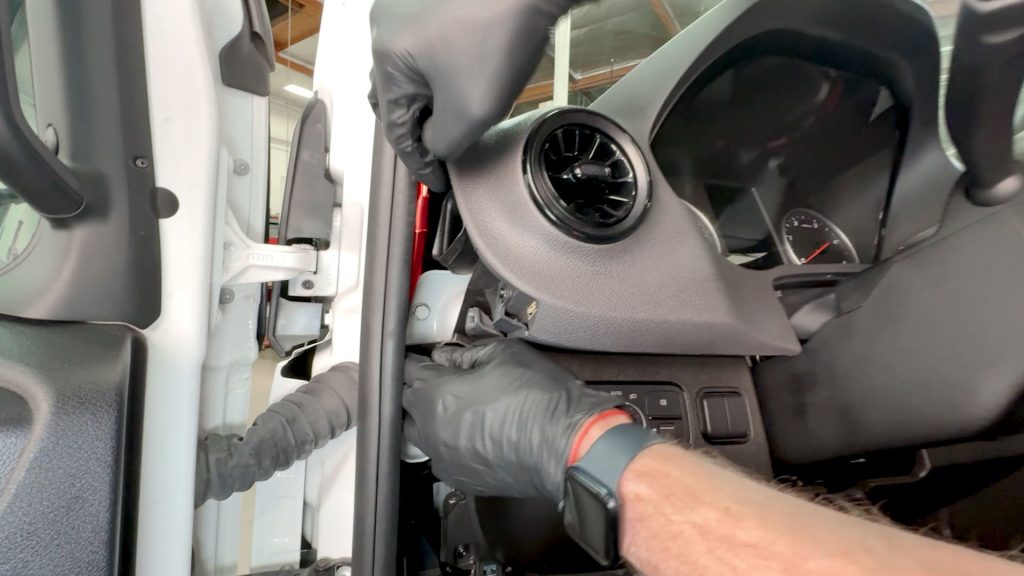
3. Take care to work the cable behind any mounting tabs and brackets.

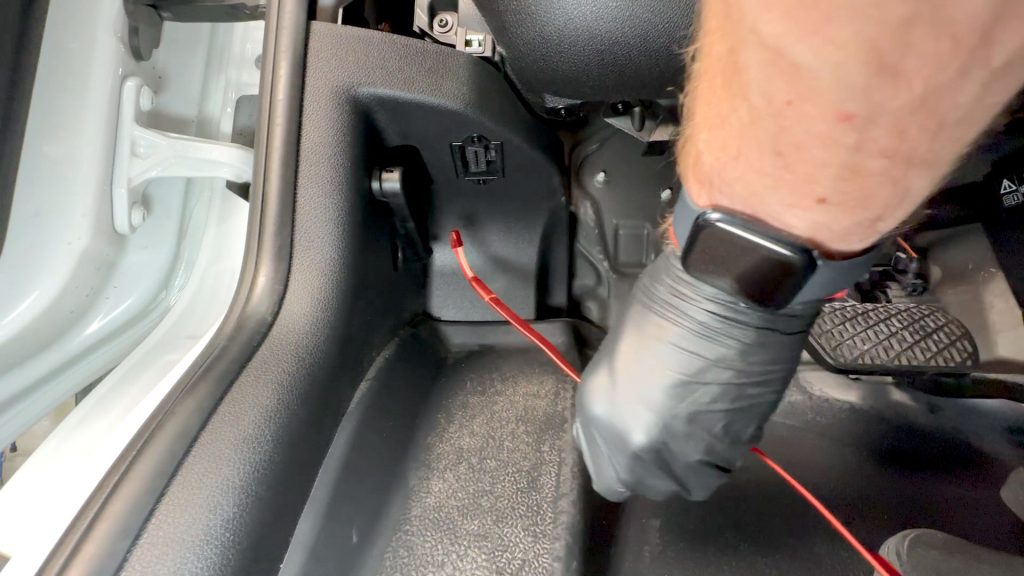
4. Keep going until you have about 3-4 inches poking out above the dash.

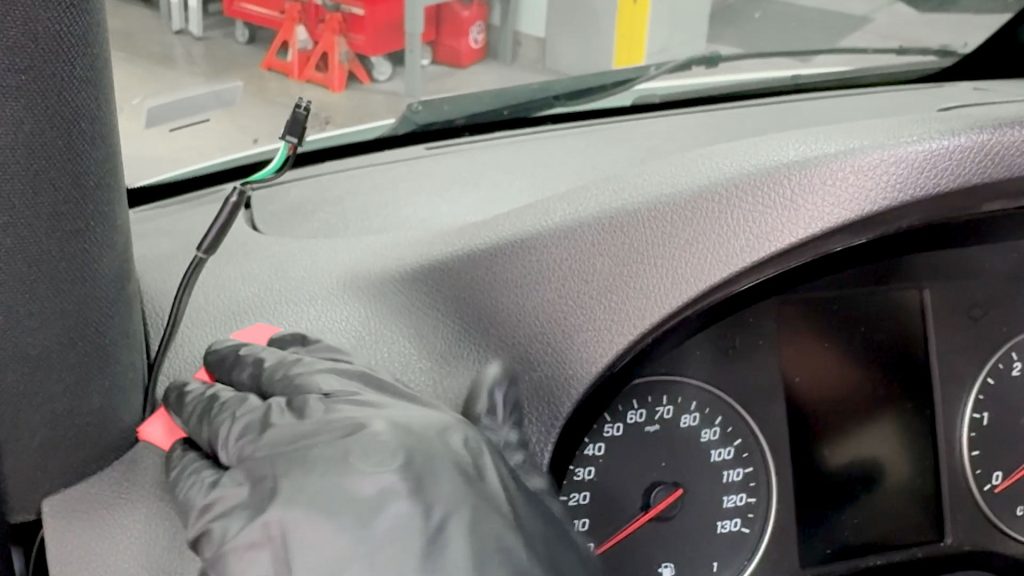
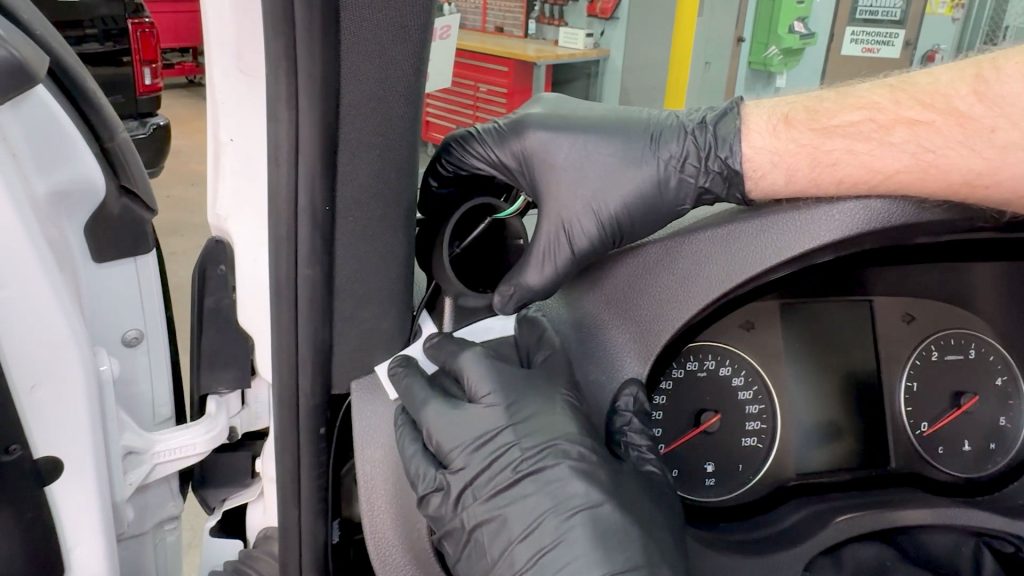
5. Work the end of the cable in between where the dashboard and A-pillar meet .

6. Line the A-pillar trim piece back in place, leave it loose for now to allow for adjustment of the cable(s) length.
7. With the supplied alcohol wipe, prep the mounting surface thoroughly. The surface must be completely clean of dust and oils.
8. Wipe the underside of the Stealth Pod with the alcohol wipe.

Bonding strength will grow over time, similar to a glue. Having a thoroughly cleaned surface and applying firm mounting pressure when installing are essential for proper installation.

9. Install the 3M foam tape securely to the underside of the stealth Pod. Apply firm pressure from the inside toward the outer edge for at least 15 seconds.
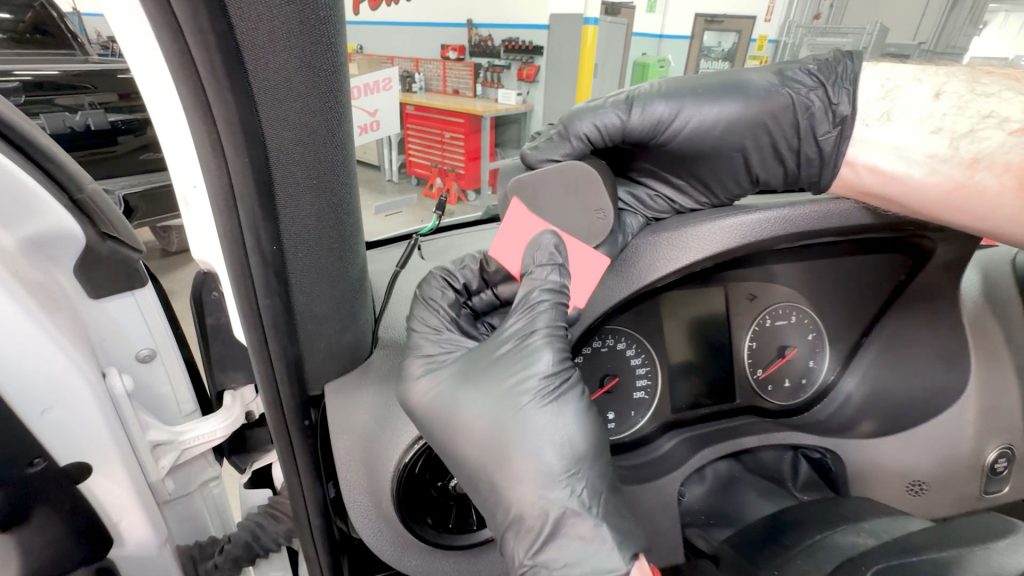
10. Align the Stealth Pod with the provided template. Thread the cable through the Stealth Pod cable access hole and press the Stealth Pod firmly down onto the dashboard.
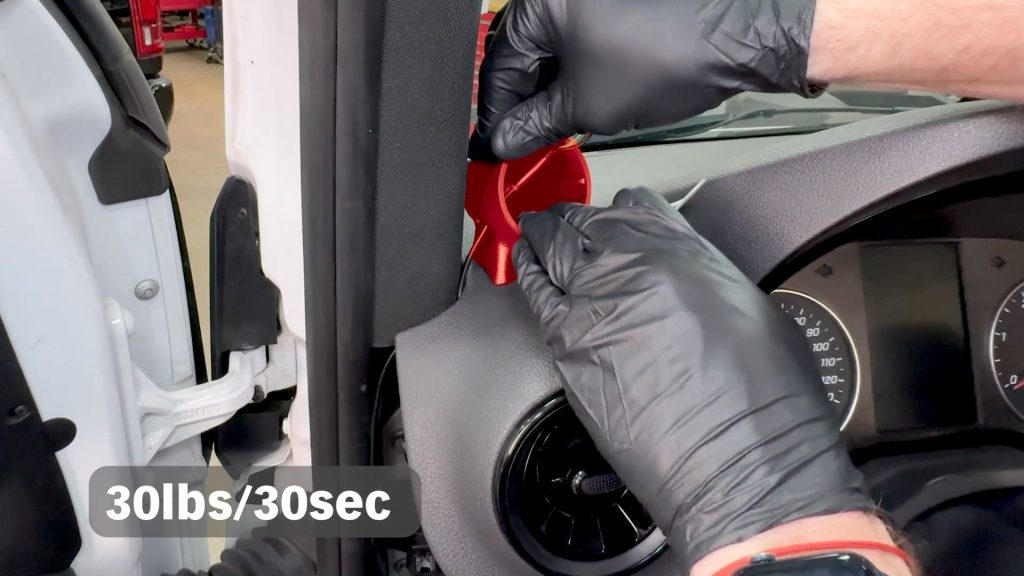
11. Continue to press the Stealth Pod firmly down onto the dashboard with about 30lbs of weight for at least 30 seconds.

12. Connect the iDash with the 4-pin connection.

13. Be sure to have the iDash clocked level when installing into the Stealth Pod. Continue pressing downon the pod when inserting the iDash.

14. Carefully thread any excess cable slack back through the gap in the dashboard.
Trim Install and Cleanup

1.Grab the T27 Torx screw for the A-pillar.

2. Secure the A-pillar with the T27 screw, making sure the tabs on the back side snap securely into place.
3. Coil up any excess cable and secure it with a zip-tie out of the way behind the trim pieces. Leave just enough cable on the bottom to reach the OBD-II port.

4. Snap the upper cover back into place.

5. Snap the lower cover back into place.
6. With a 10mm socket, reconnect the negative battery terminal.
7. With a T30 Torx bit, secure the 4 T30 screws to the floor.

8. Replace the rubber mat in the foot well.
9. Remount the plastic panel for the battery access.
10. Plug in the Banks OBD-II cable.
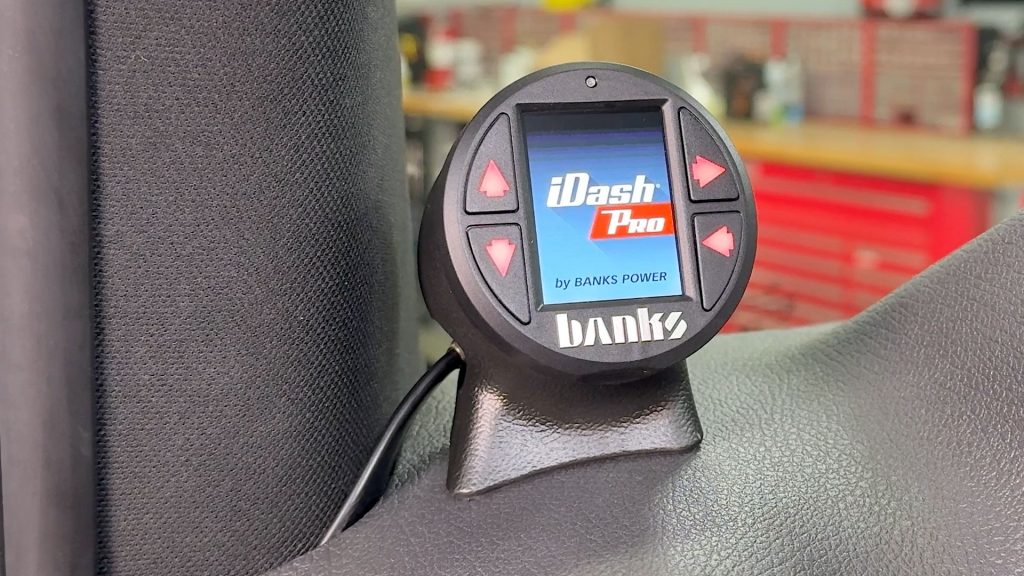
11. Power up your Sprinter and confirm the iDash boots up.
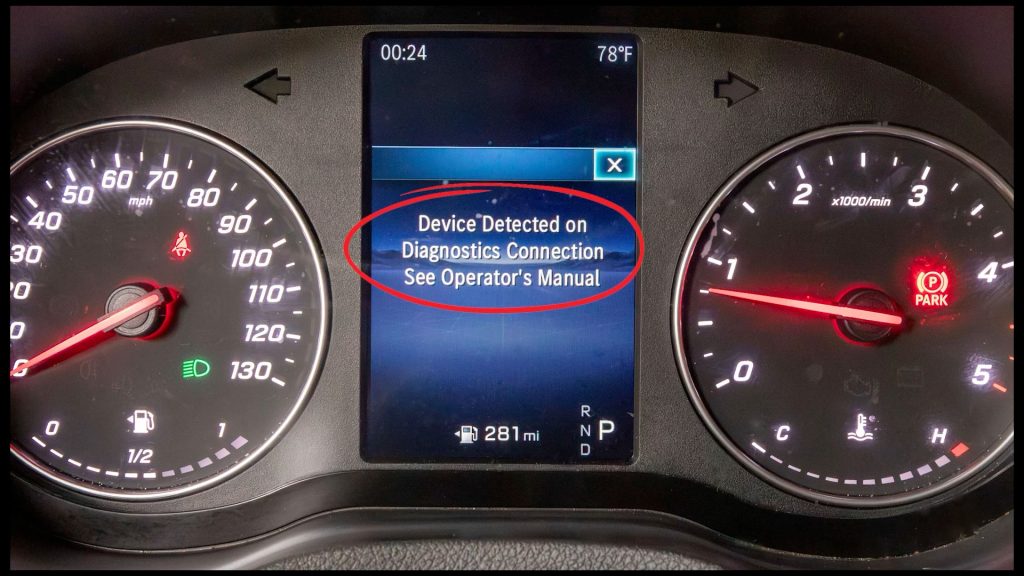
12. You will see this device-detected warning on the dashboard; it can be cleared with the steering wheel controls.
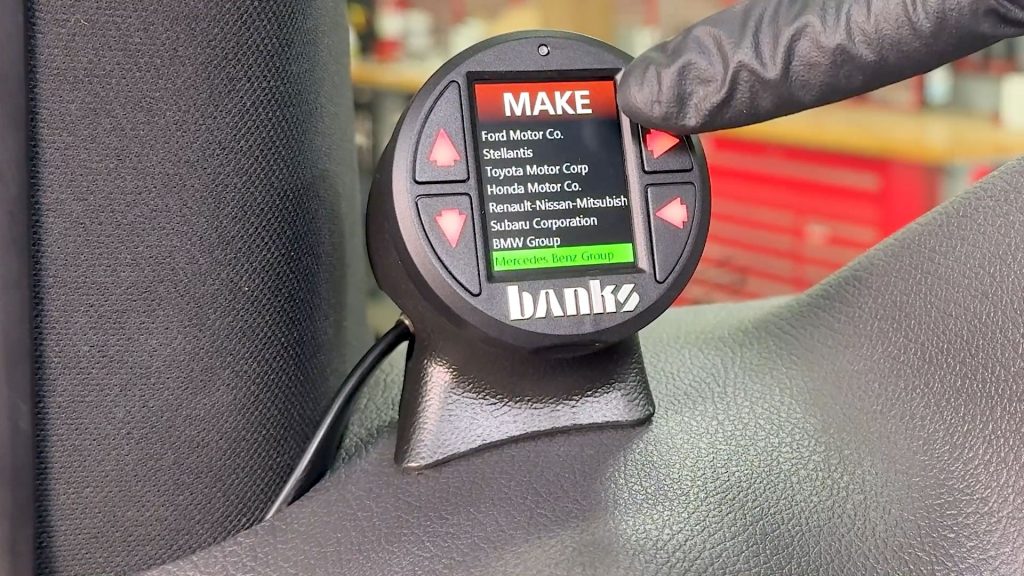
13. Besure to set your iDash to the correct vehicle settings to unlock all the vehicle specific PIDs for your sprinter.