


97732 2025 Toyota 4Runner Stealth Pod Installation Guide

Part Number 63397
Fits the driver side upper A-pillar bolt found in:
• 2025-2026 Toyota 4Runner
Installation Guide
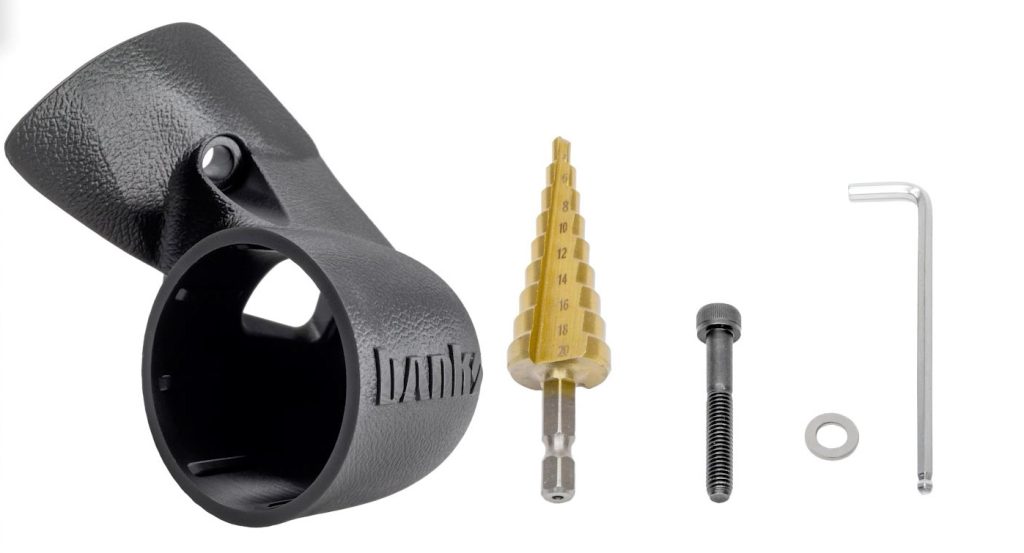
What’s Included
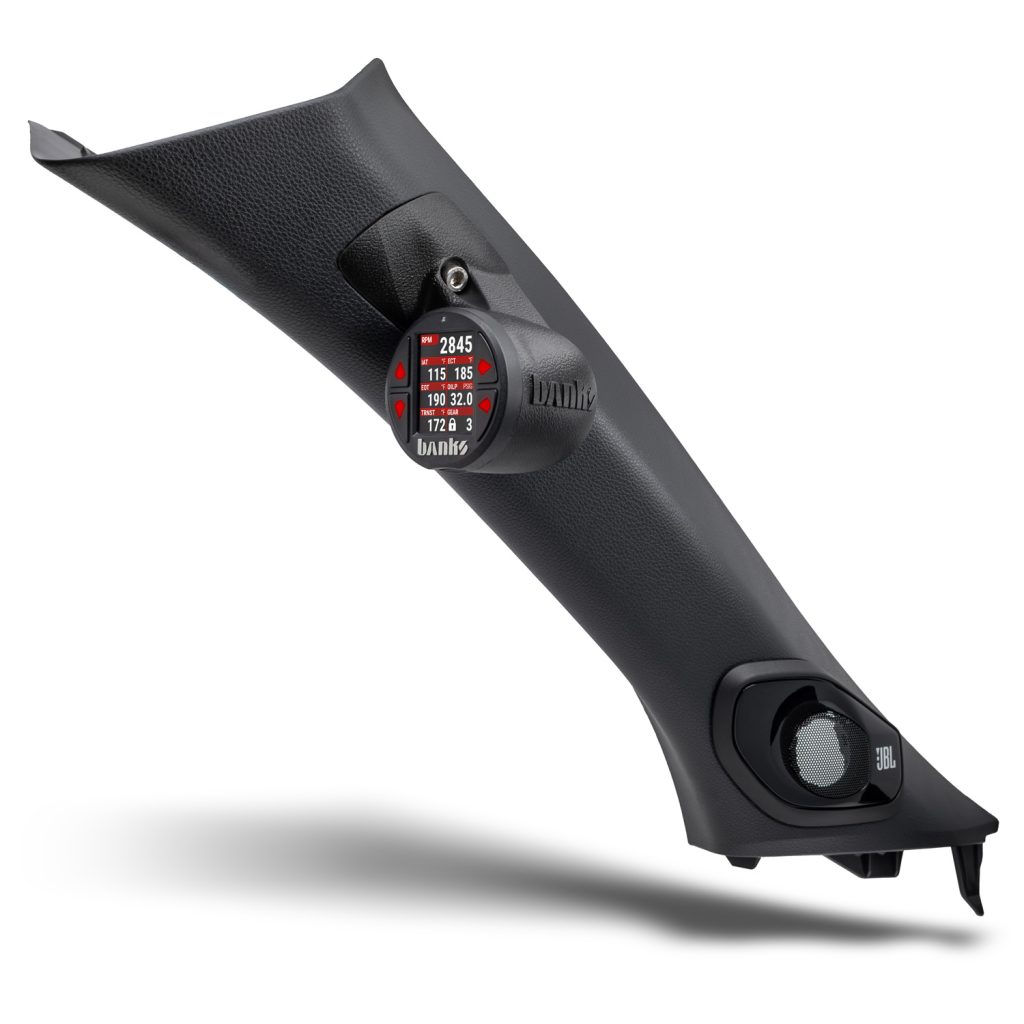
- iDash Stealth Pod
- Step Bit
- Hex Bolt
- Washer
- 5mm Alan Key
If anything is missing, please call us at 800-601-8072 immediately!
A Pillar Removal
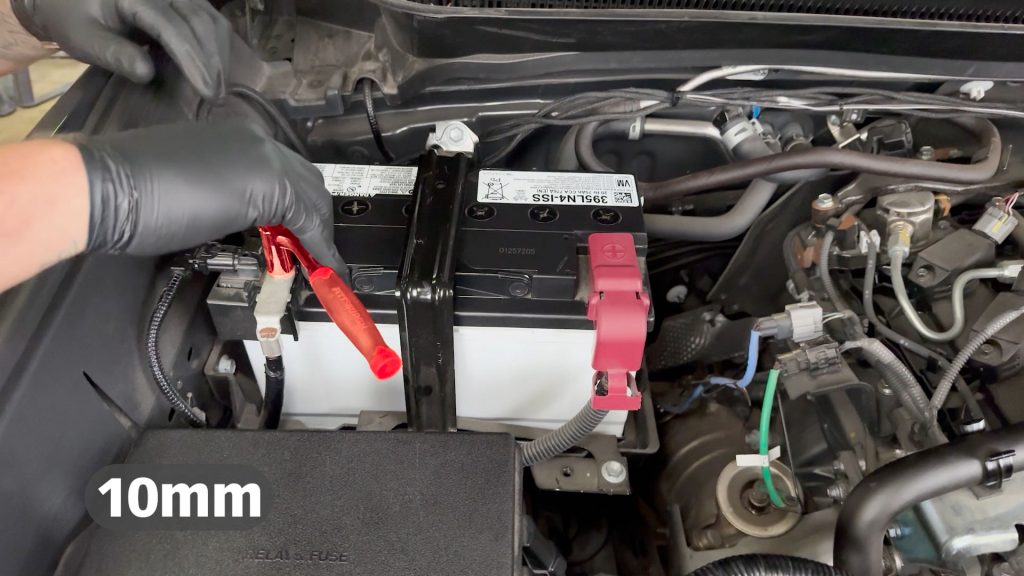
1. For conventional i-FORCE gas models, start by disconnecting the negative battery terminal.
For i-FORCE MAX Hybrids, do not touch the 12V or HV electrical system.

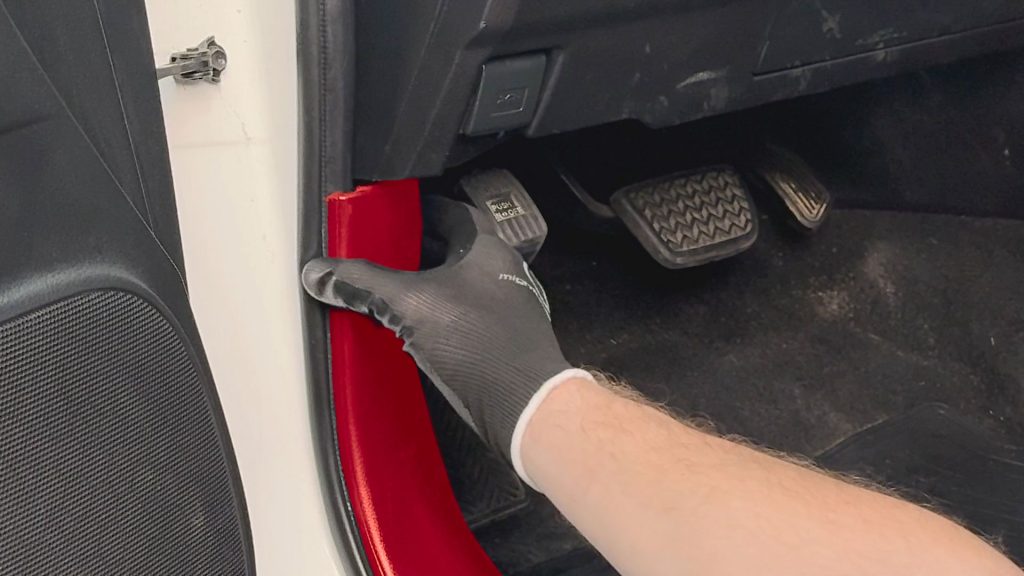
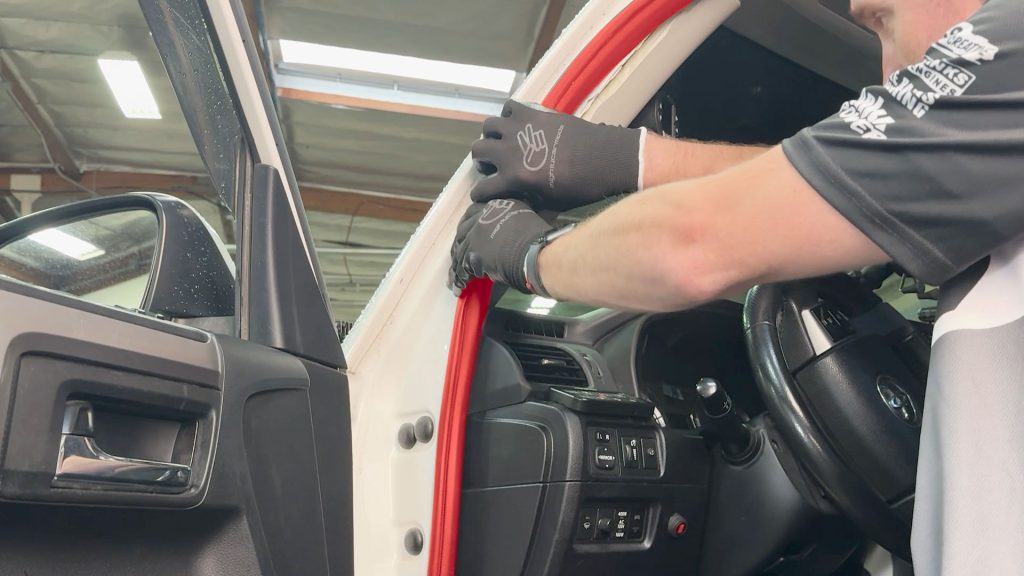
2. Pull back about 2 feet of weather stripping from the door frame.
It is held on by friction and will pop right off.
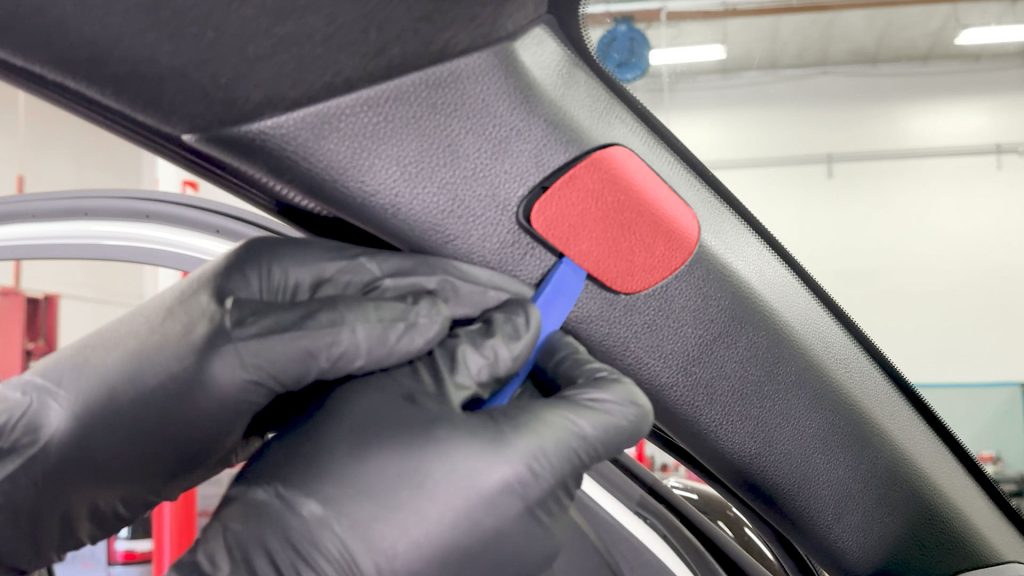
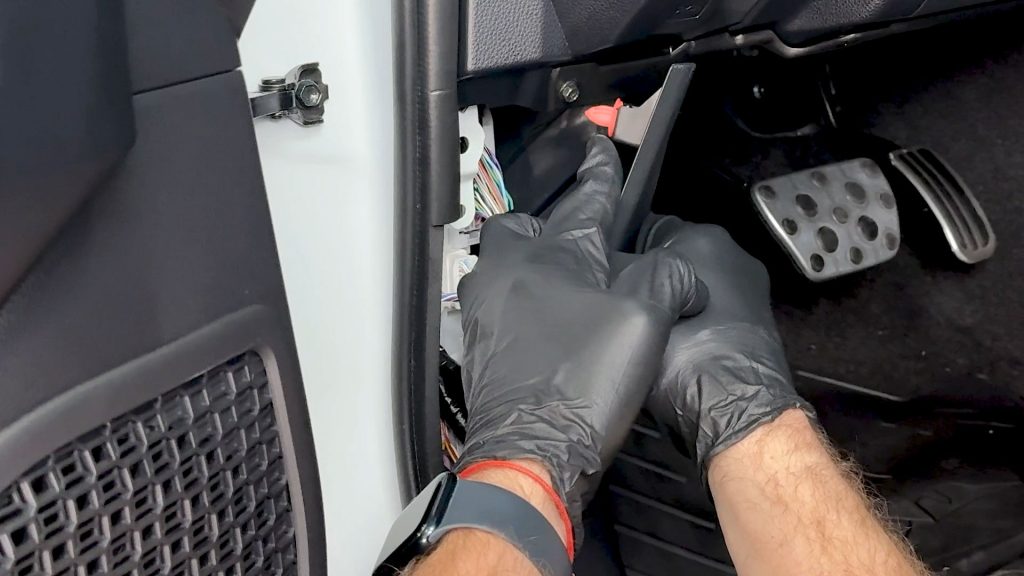
3. With a plastic pry tool, pop off the SRS bolt cover.
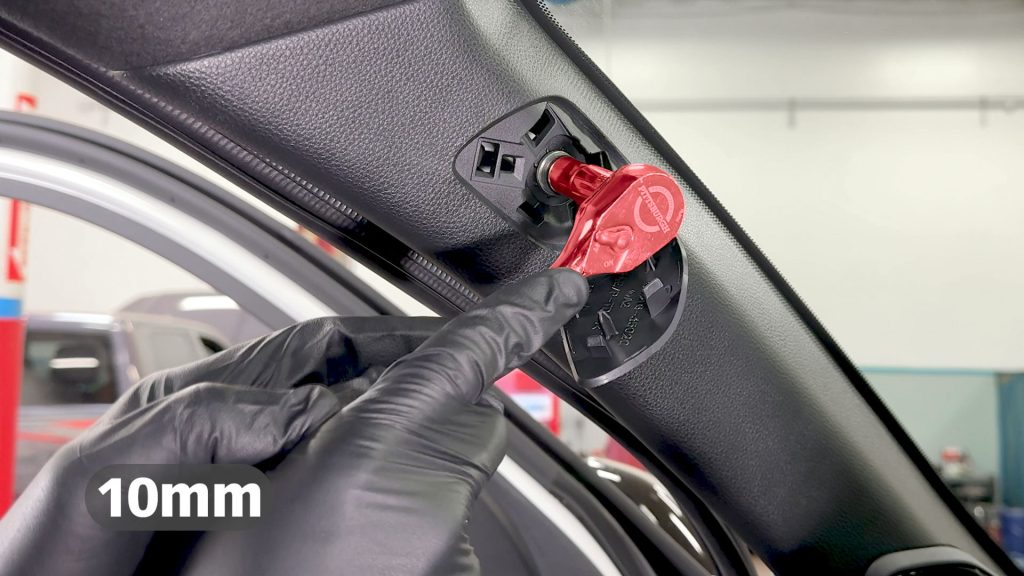
4. With a 10mm socket, remove the single bolt that secures the A-pillar.

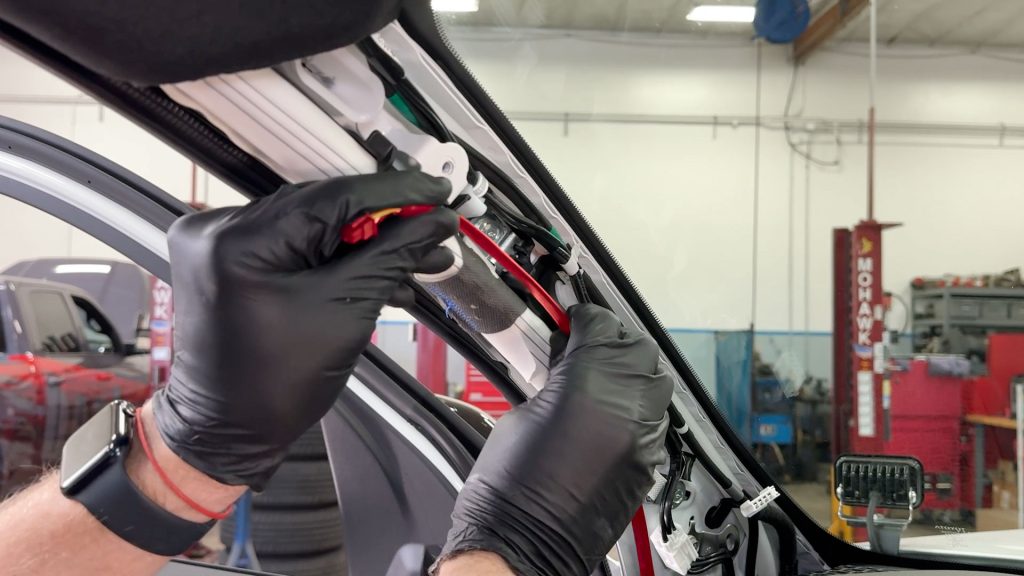
5. Once the bolt is removed, slide your hands around the back side and give the cover a tug.
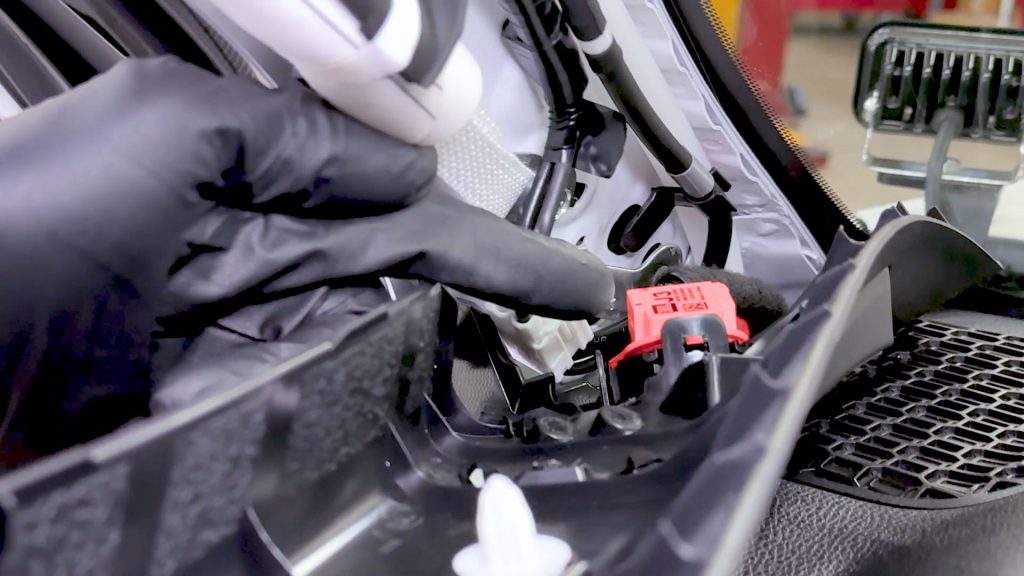
6. Take care, there is a speaker that is still connected at the base of the A-pillar. It will pop free from its single plastic clip.
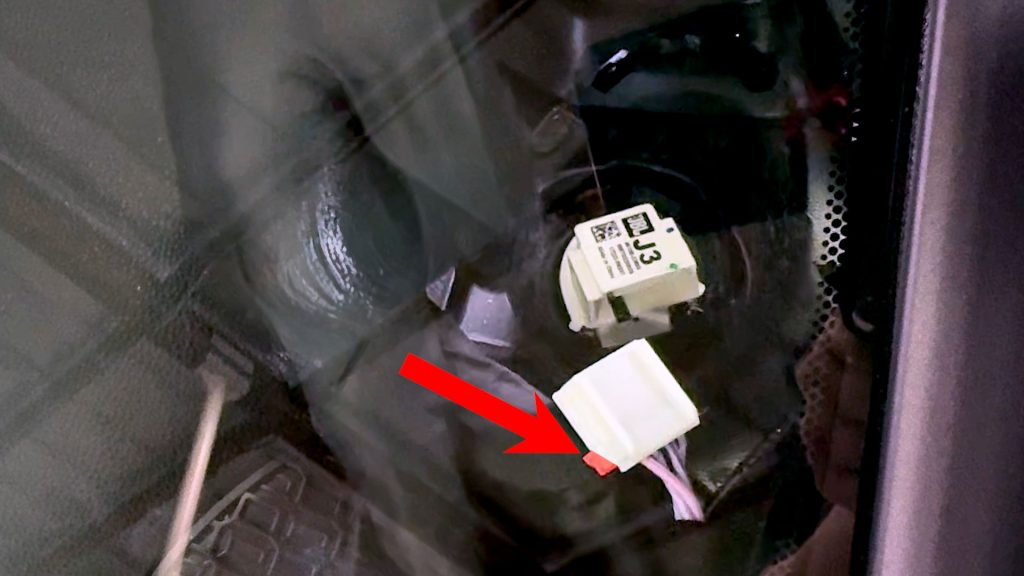
7. Depress the small tab at the plug end to disconnect the tweeter from the harness.
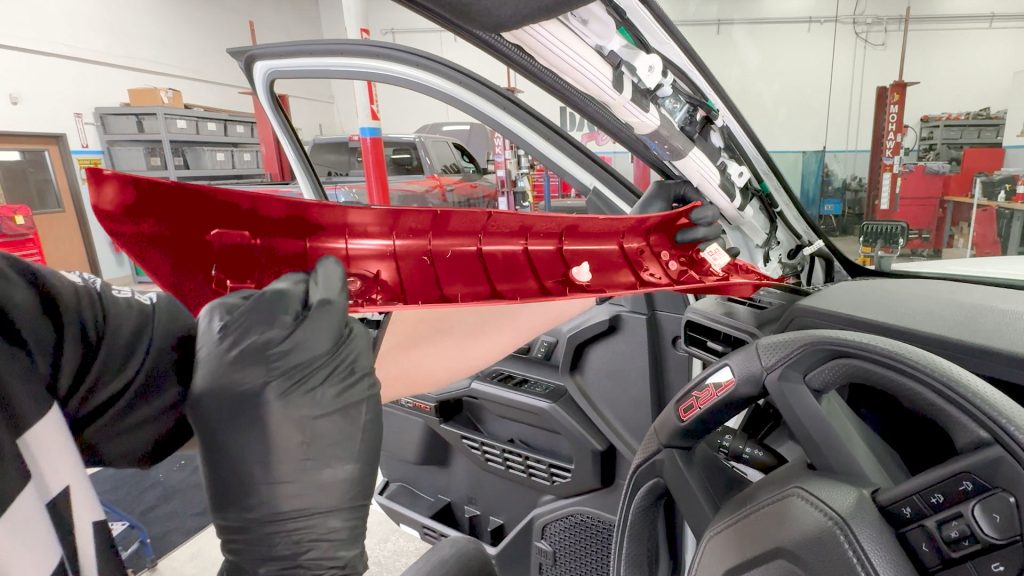
8. Carefully lift it up and out of the truck and bring it to a non-slip workbench.
A Pillar Drilling
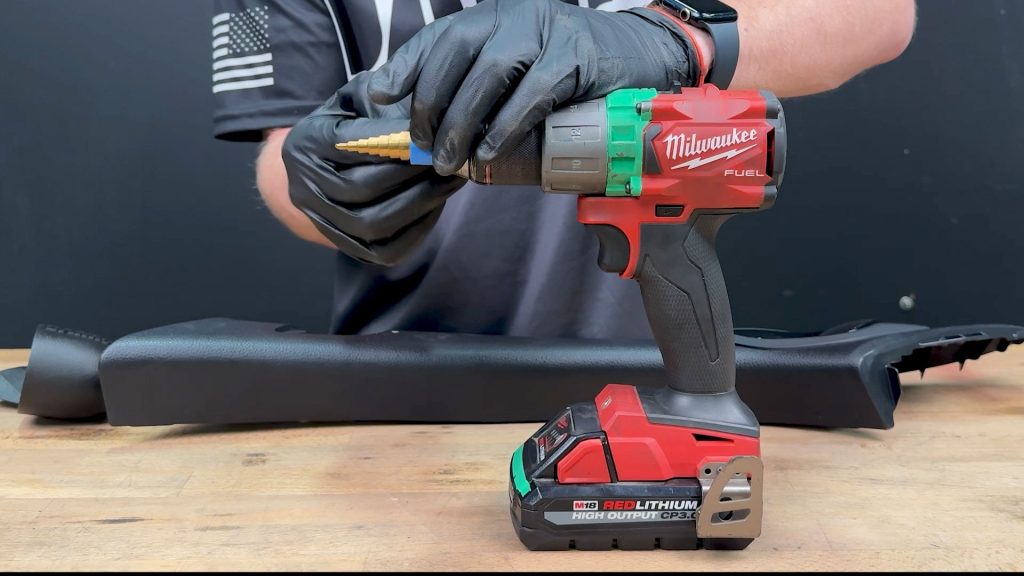
9. As a precaution, place some painter’s tape around the end of the provided step bit so you don’t accidentally plunge the bit deeper than needed.
16mm for running a single cable, or 18mm if running two.
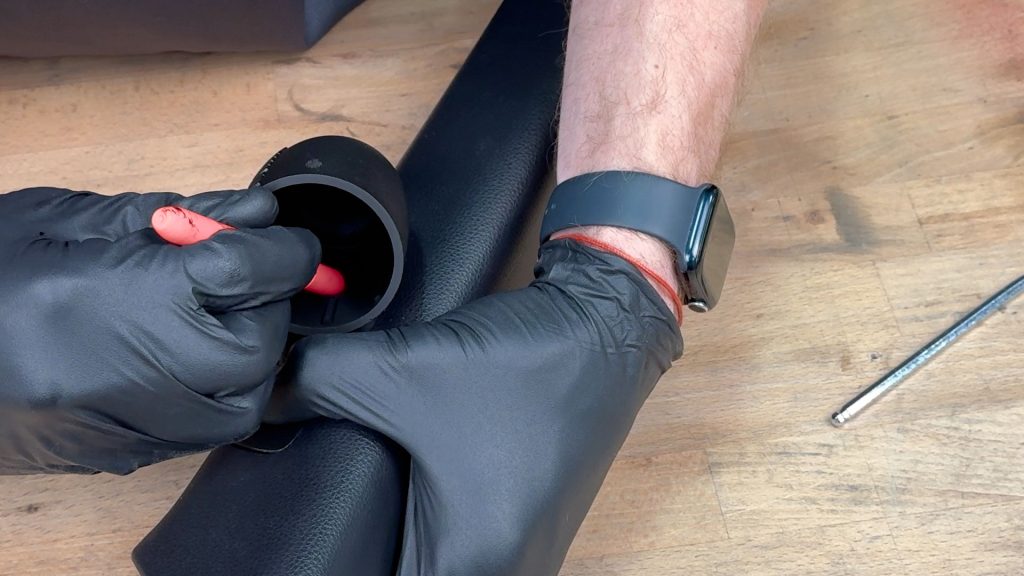
10. Place a dot with a marker in the center of the cable access hole inside the Stealth Pod. This will be where you will drill with the step bit.
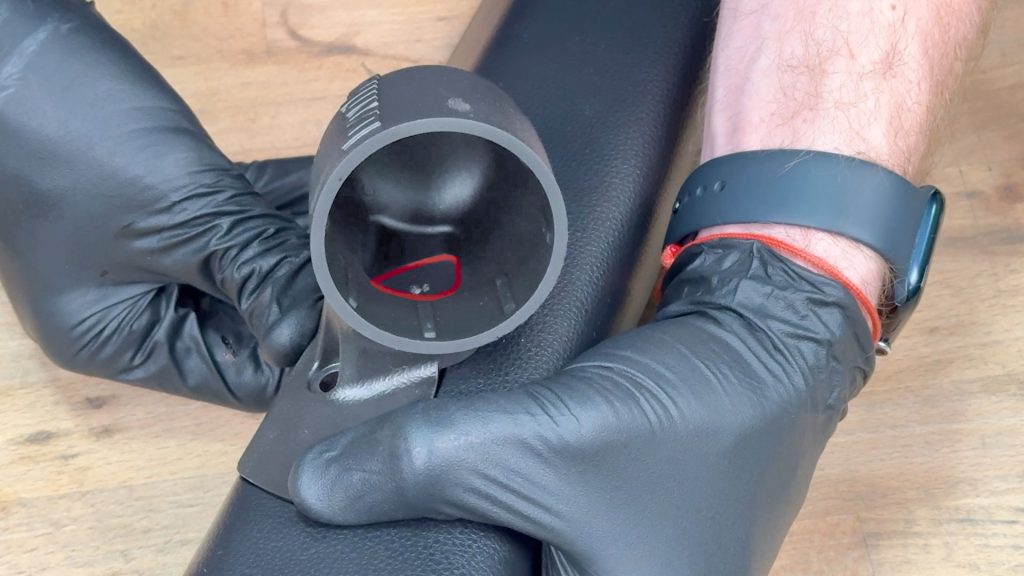
11. Check that your dot is in the center of the Stealth Pods cable access hole. You want there to be enough room to cover the hole you will be drilling.
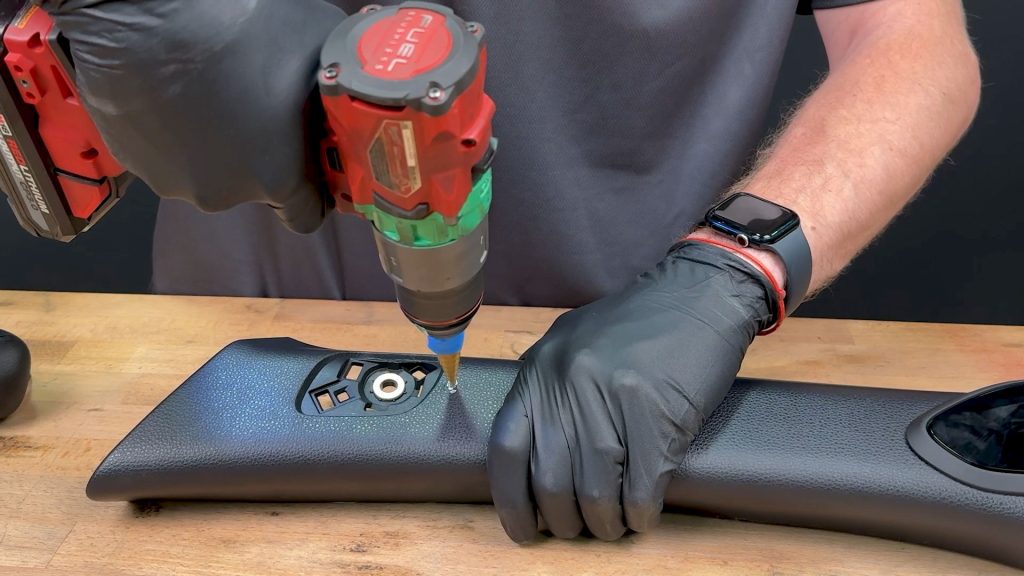
12. Start drilling slowly so the bit has a chance to bite. You don’t want it to walk from the starting point and damage the A-pillar.
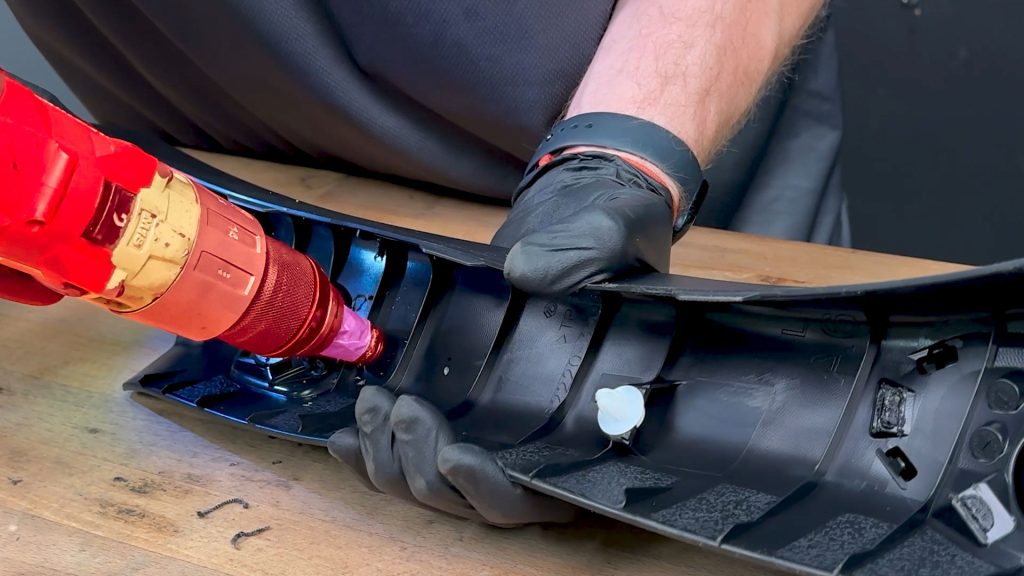
13. Once you reach the 16mm mark from the front, turn the A-pillar over and enlarge the back side as well.
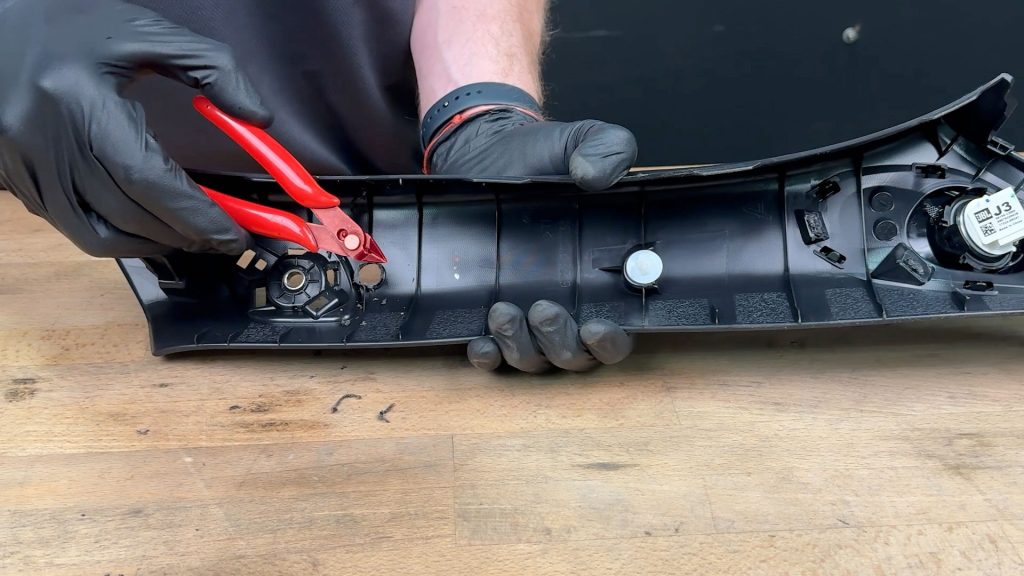
14. Any rough edges and leftover material can be cleaned up with some flush cuts.
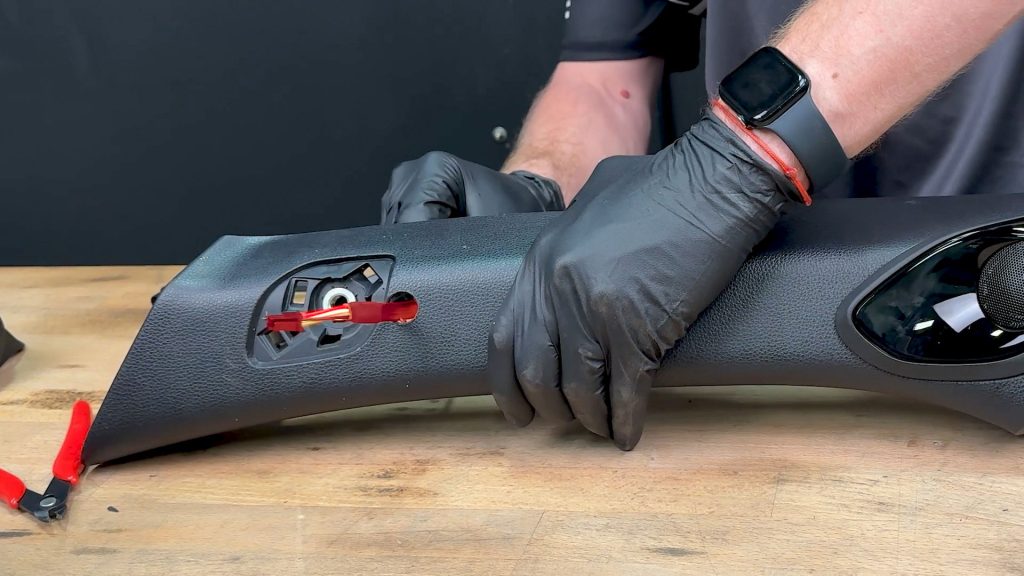
15. Check that your data cable(s) can easily pass through the hole you cut, enlarge if needed, then return to the truck.
Stealth Pod Installation
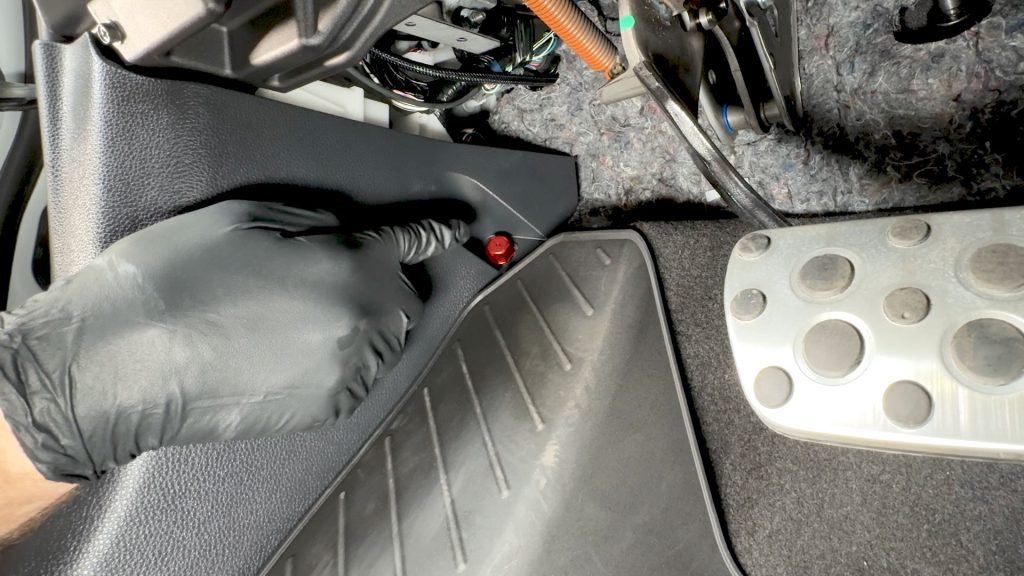
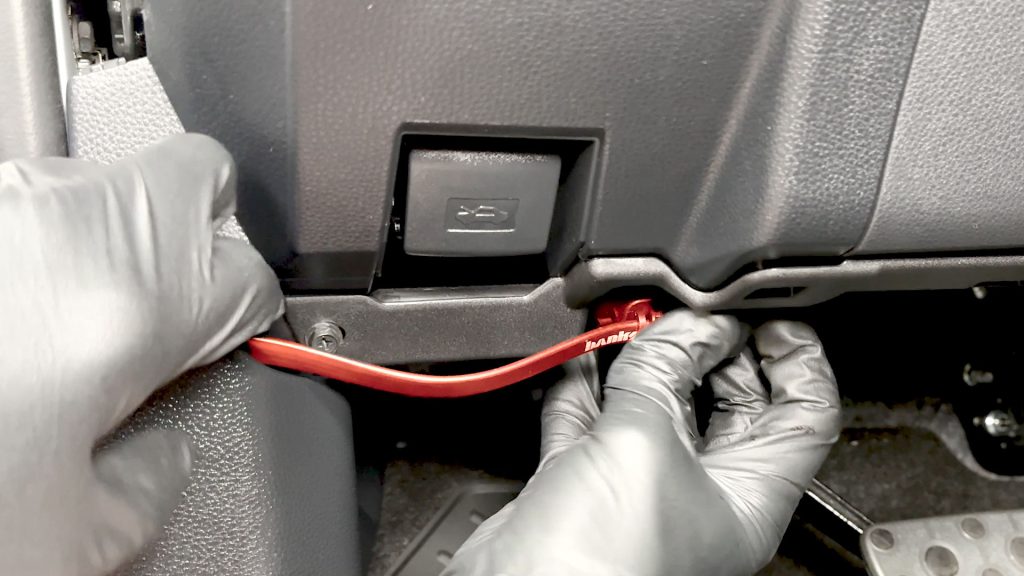
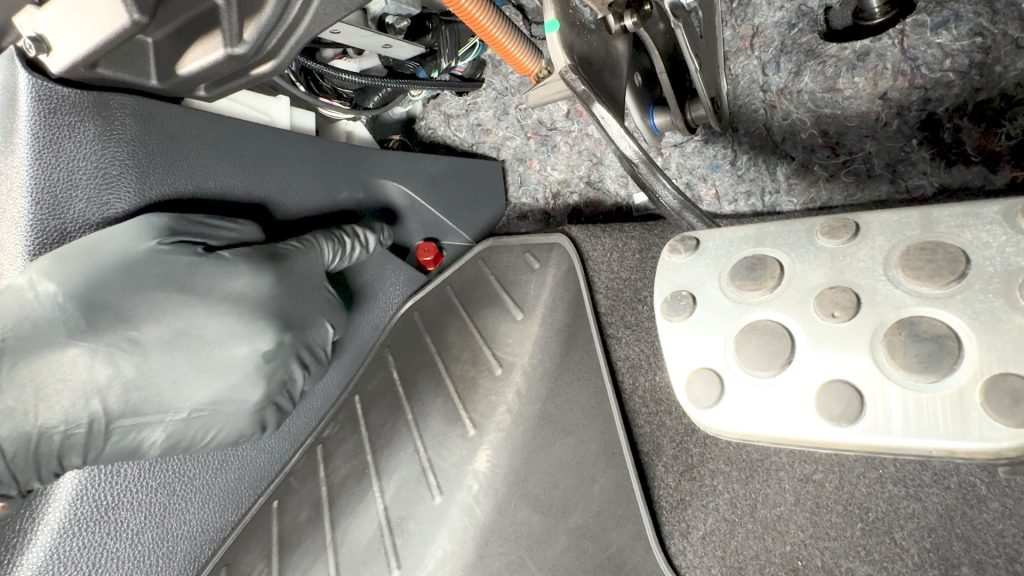
16. Down in the foot well, there is a small finger nut that holds the lower kick panel down. Twist to remove it.
17. Pull back the lower kick panel on the driver’s side. It is held in by a plastic clip.
You don’t need to fully remove this panel; just pry it back slightly so you can run the OBD-II cable through to the other side.
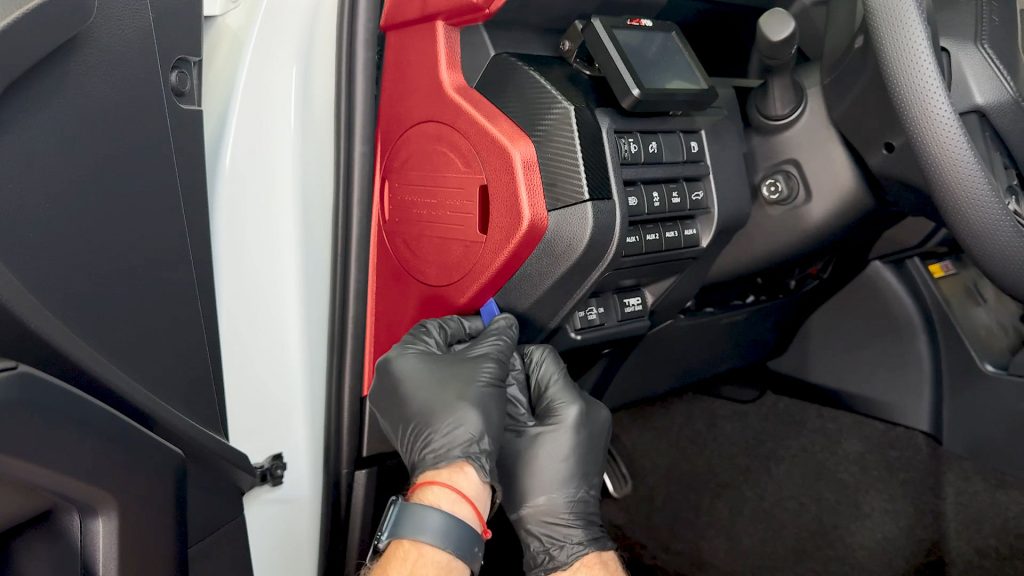
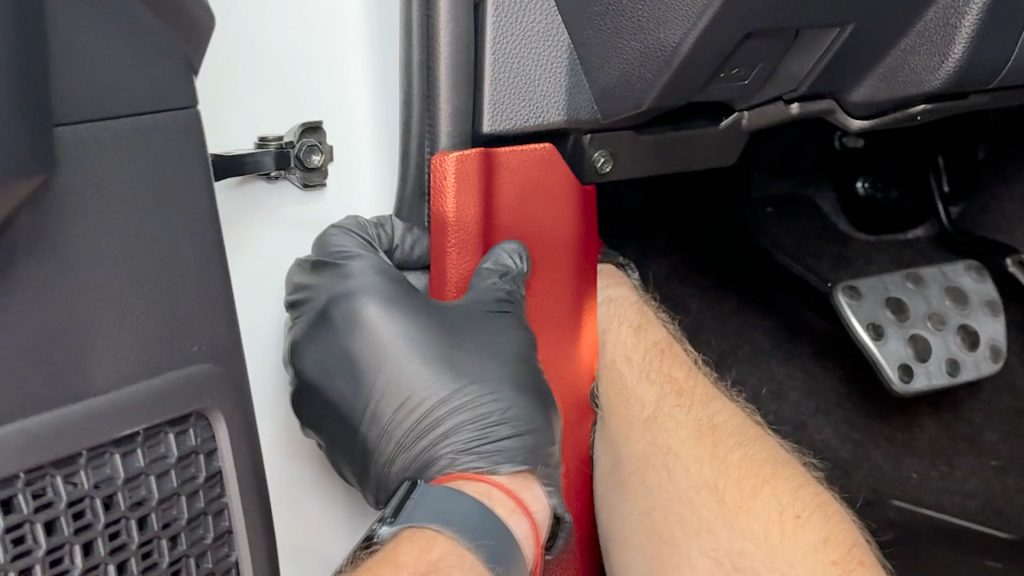
18. With a plastic pro tool, pop the side cover off the end of the dashboard.
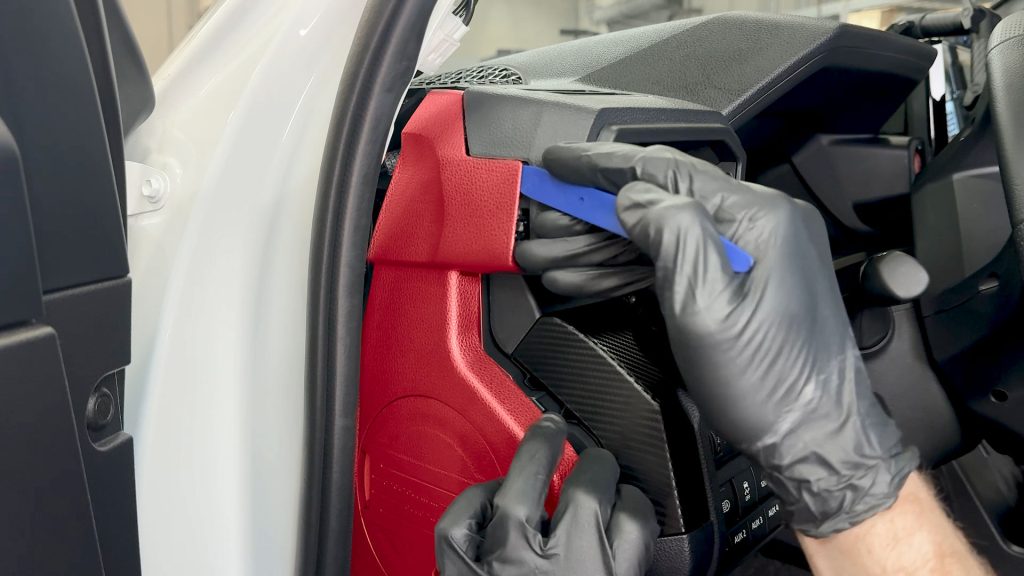
19. Continue to the top of the cover untill it is free.
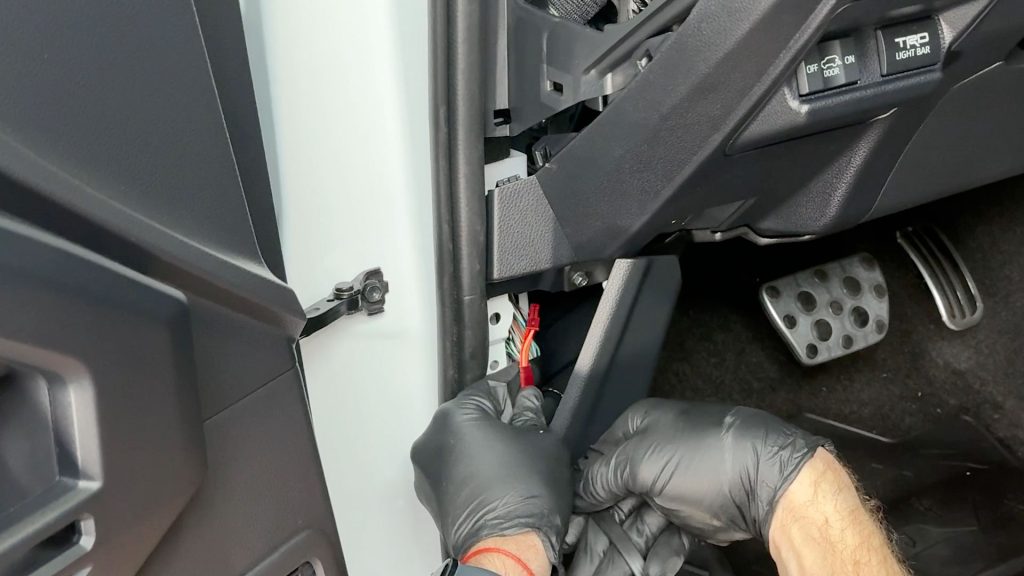
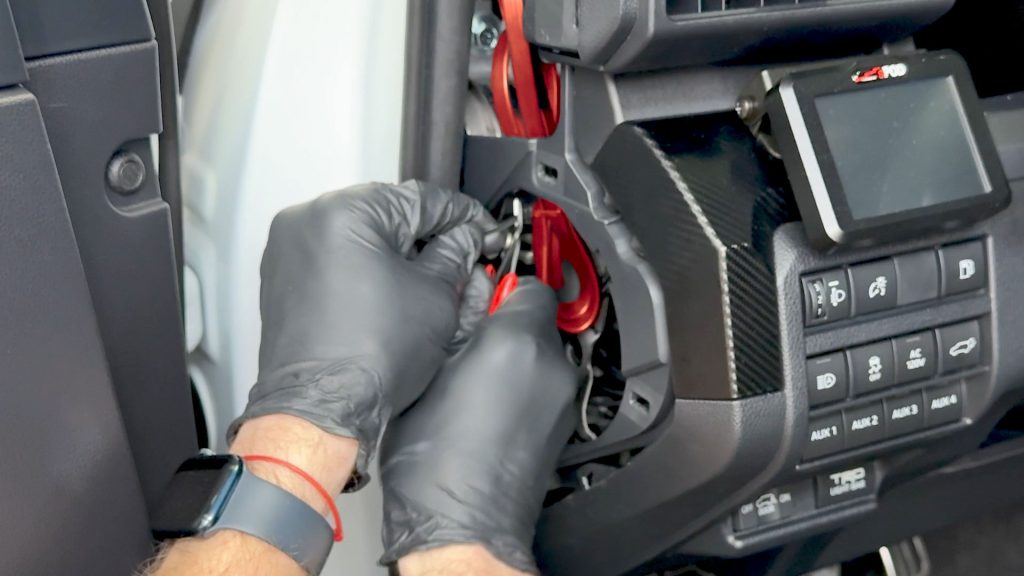
20. Thread the 4-pin side of the Banks OBD-II cable through and up the side of the dashboard.
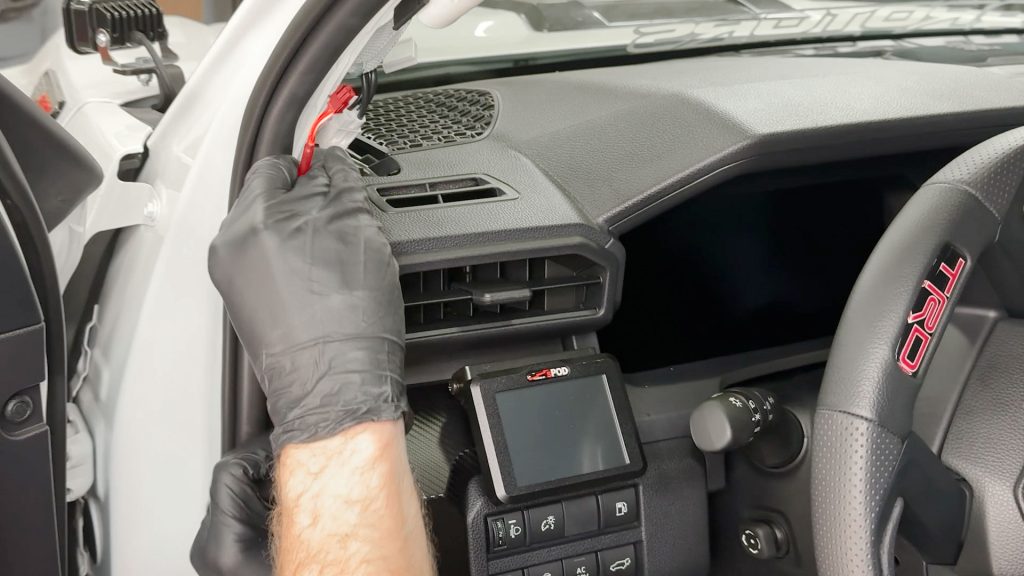
21. You should be able to pass the cable through and run it up to the top of the dash.
22. Keep running the cable untill you have enough cable to reach where the Stealth Pod will mount.
23. Plug the speaker back in taking care not to snag the cable in the process.

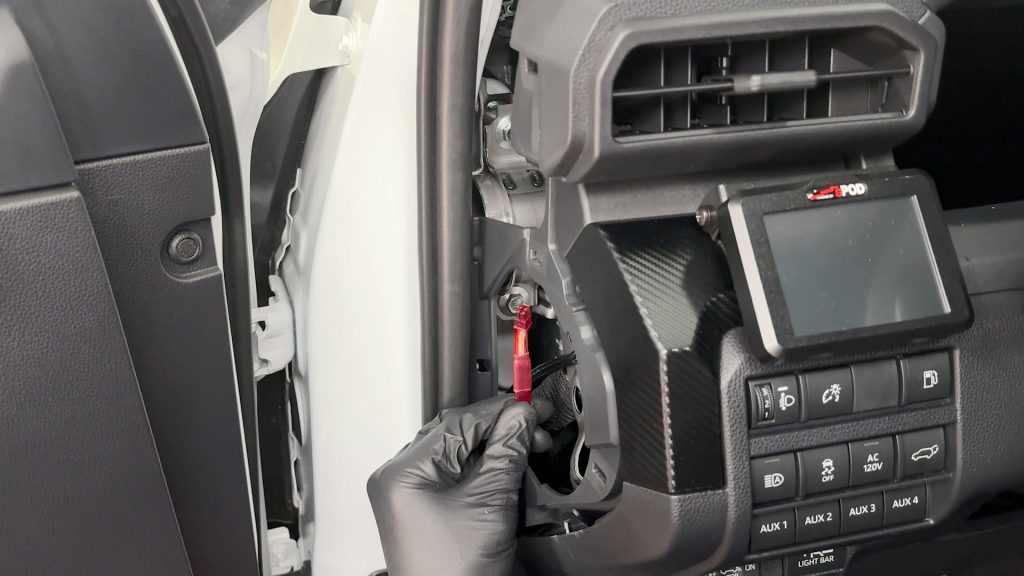
24. Run the Banks cable(s) through the hole you drilled earlier.

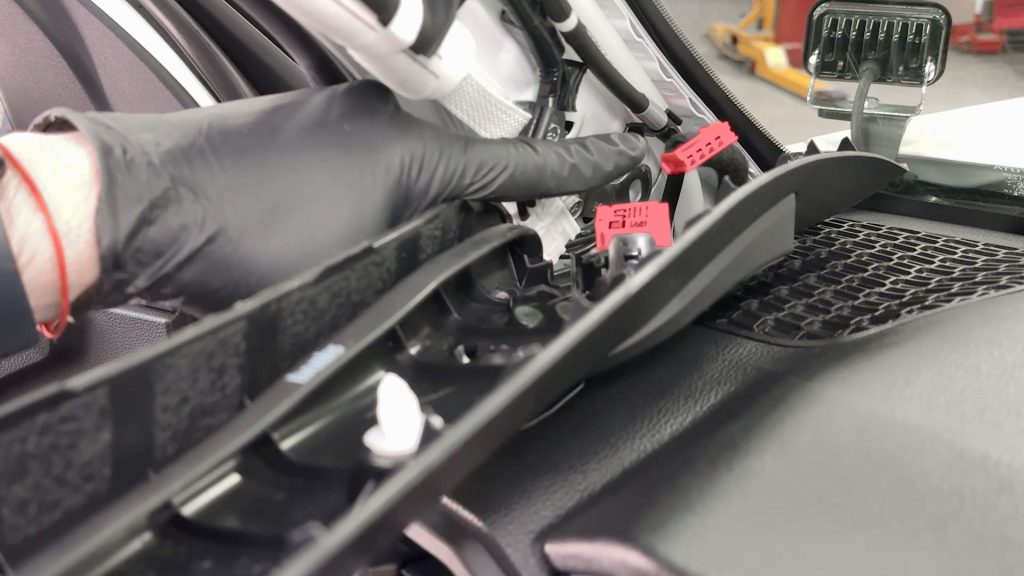
25. Carefully slide the A-pillar back into place, be sure the alignment tabs at the end of the A-pillar trim slide back into their slot on the dashboard.

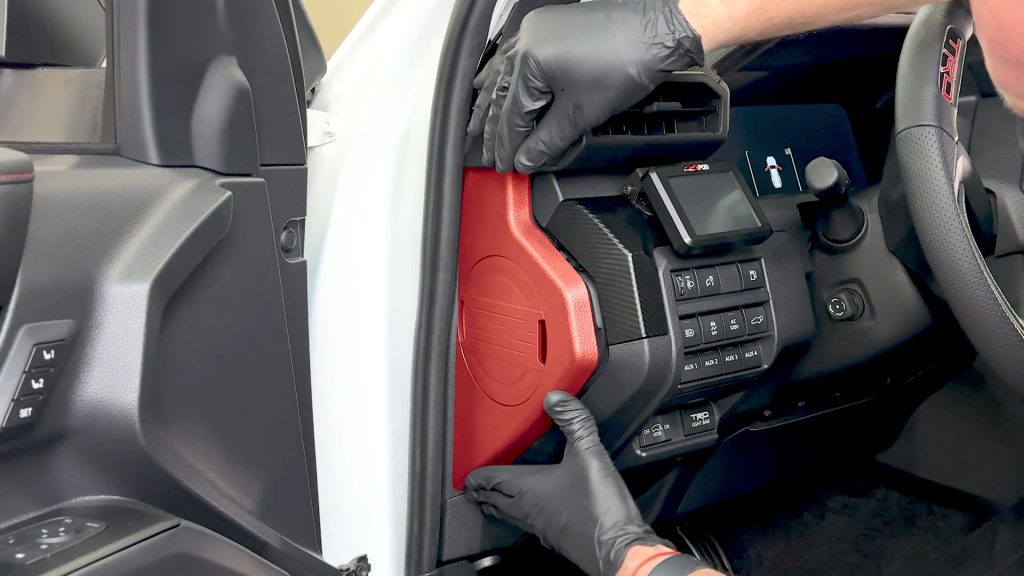
26. With your new Stealth Pod in hand, feed the cable(s) through the Stealth Pod as you line it up with the bolt hole.

27. Take the supplied bolt and washer, and start threading it in by hand first.

28. Snug it down with the provided hex key.

22. Grab your iDash and Banks cable(s).

23. Connect the iDash. Leave about an inch of slack so you can adjust or remove the iDash later.

24. Slide the iDash into place.

25. Be sure the Banks logo on the front is level with the Banks logo on the Stealth Pod.
26. Check that the other end of the Banks OBD-II cable has enough length to plug in without slack or excess tension.
27. Snap the lower cover back into place, taking care to hide the flat cable cleanly.
28. Coil up the excess cable and secure it to a part of the body or dashboard so it will not rattle.
Snip off the ends of the zip-ties.
29. Snap the upper cover back into place.

30. Press the weather strip back into place.
31. Reattach the lower kick panel to its single plastic clip.
32. Press the weather strip back into place around the door frame.
33. Be sure to thread the finger screw back in by the foot well.
34. Reconnect the negative terminal on the battery if you remove it.

35. Don’t forget to re-place the little finger screw
36. Upon first startup, your iDash will be in “Standard” mode.
To set your iDash to the correct mode, press the top right arrow to enter the menu.
37. Scroll down to settings and press the right arrow to enter.
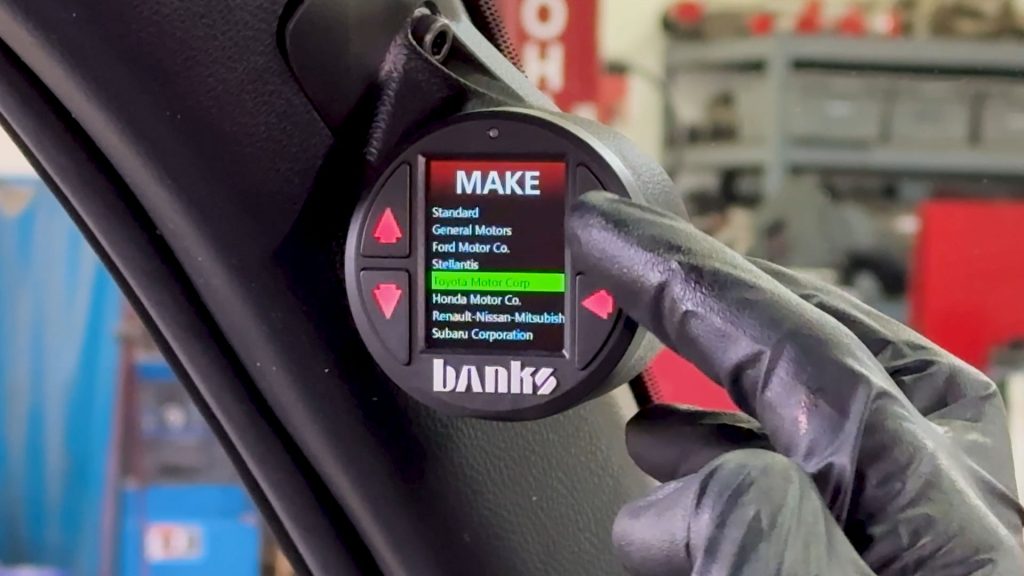
38. Press the right arrow again and select Toyota as your vehicle make. Now your iDash will reboot and unlock extra PIDs specific to Toyota’s ECM.
Now hit the road and enjoy your new iDash Stealth Pod.