


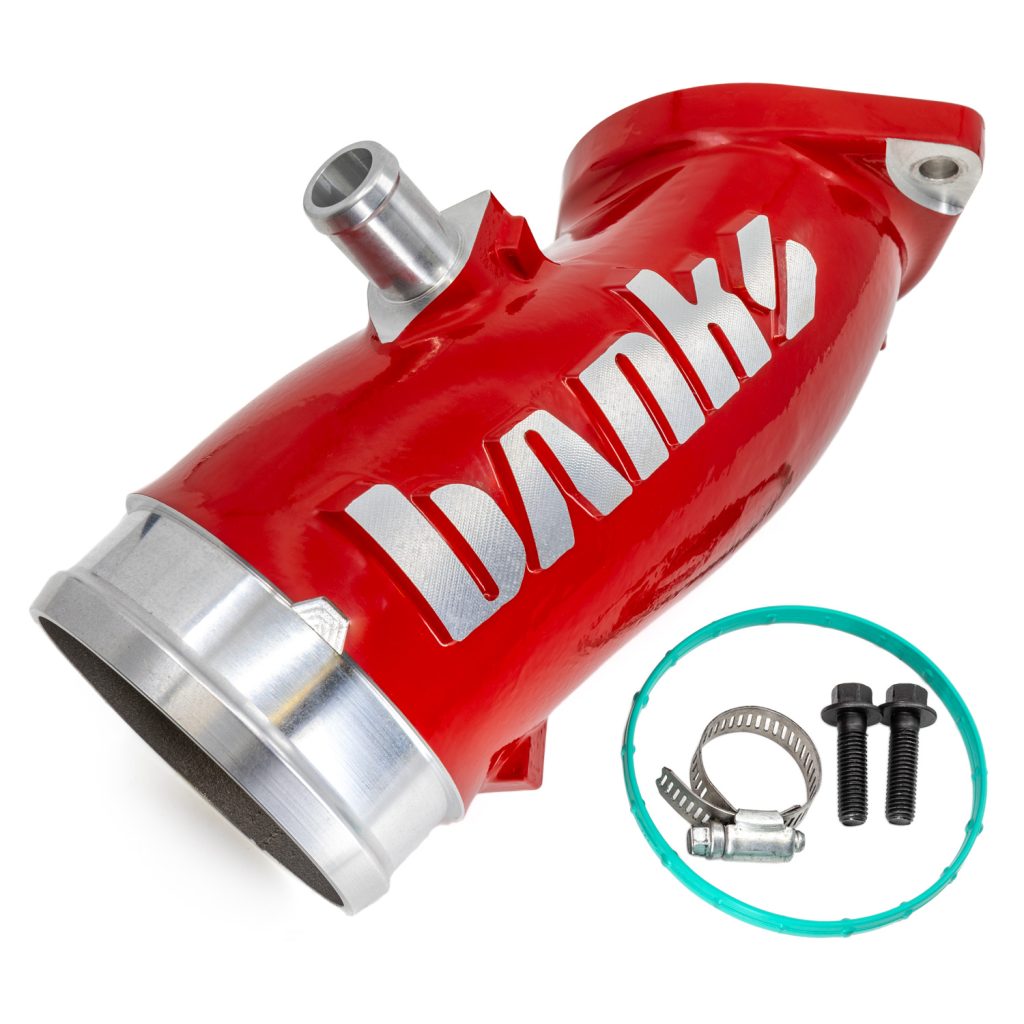
97741 Banks Monster-Ram Turbo Inlet for 2017-2026 L5P
L5P Monster-Ram Turbo Inlet Install Video

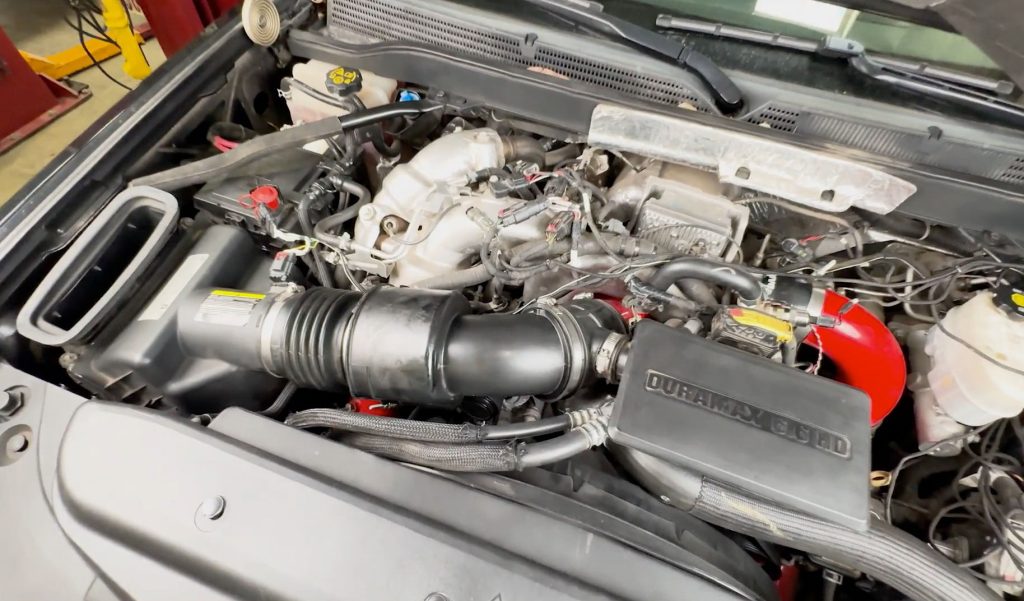
OEM Airbox and Horn Removal
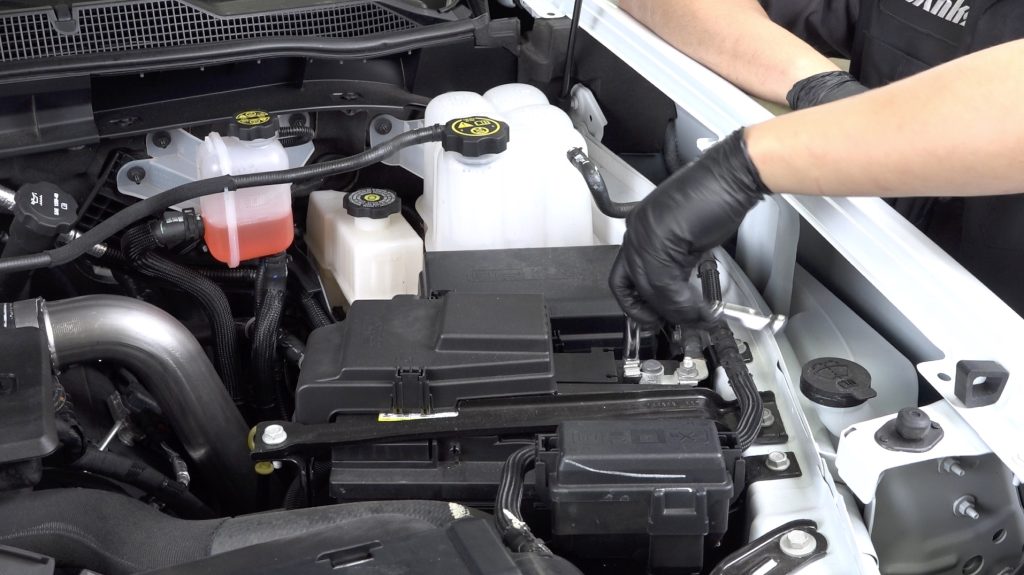
1. Disconnect Batteries
Place a rag around each of the negative battery cable ends; this will prevent them from touching the battery again and arcing during the install as you work.
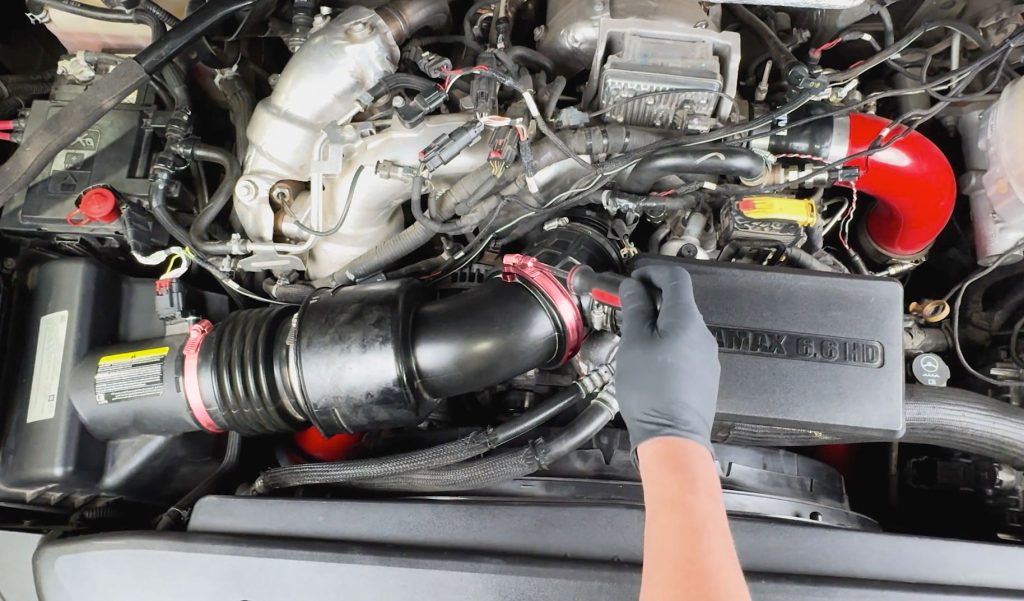
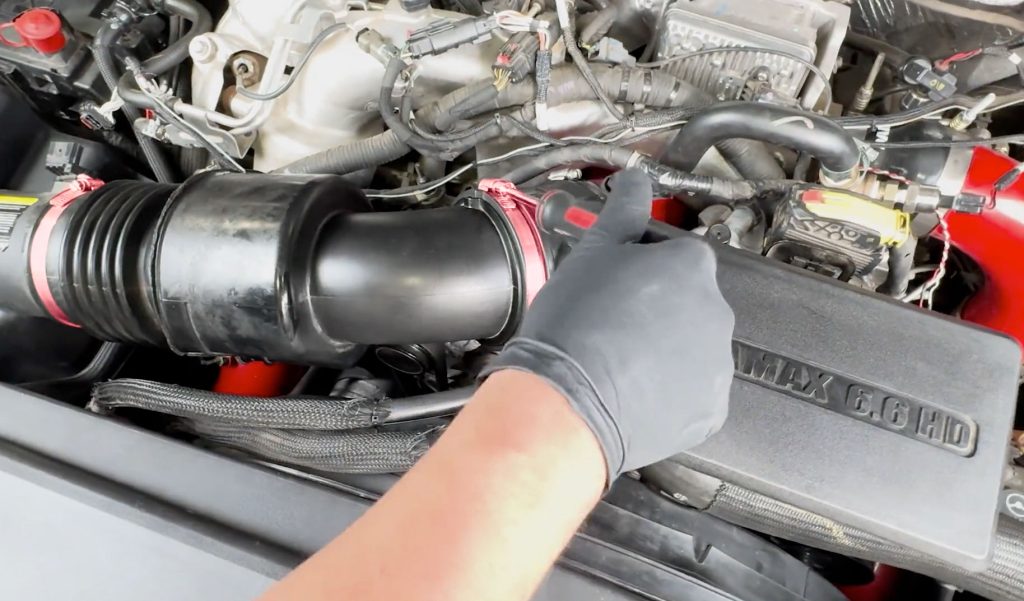
2. Loosen Two Clamps
Lossen both clamps that hold the factor air inlet on.
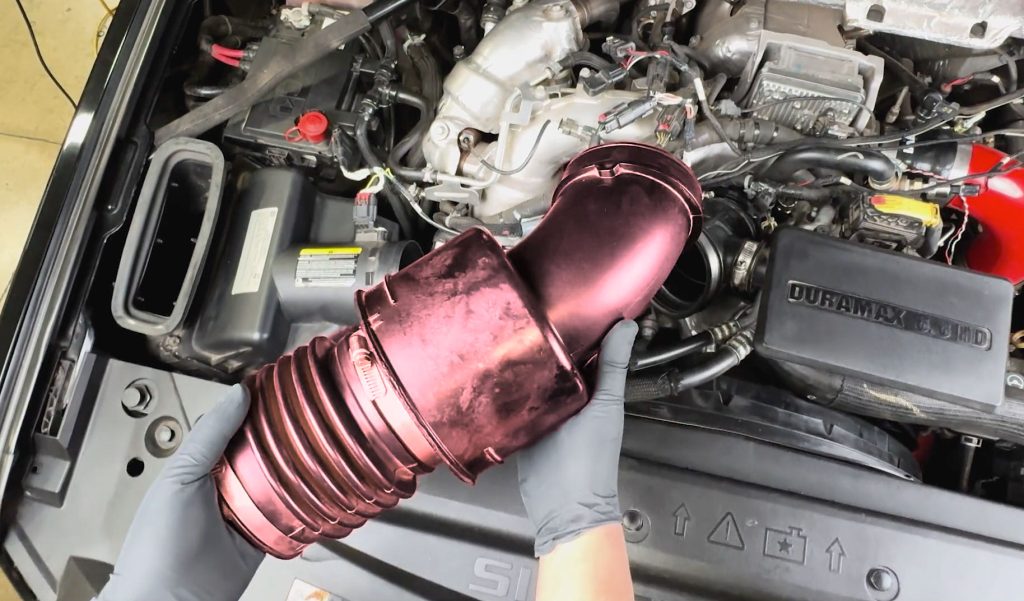
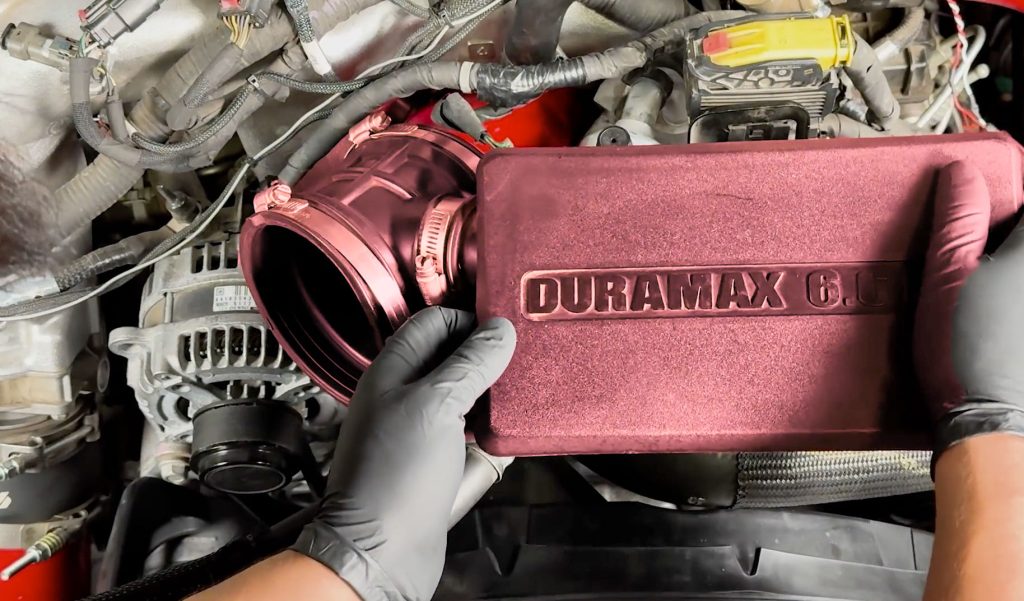
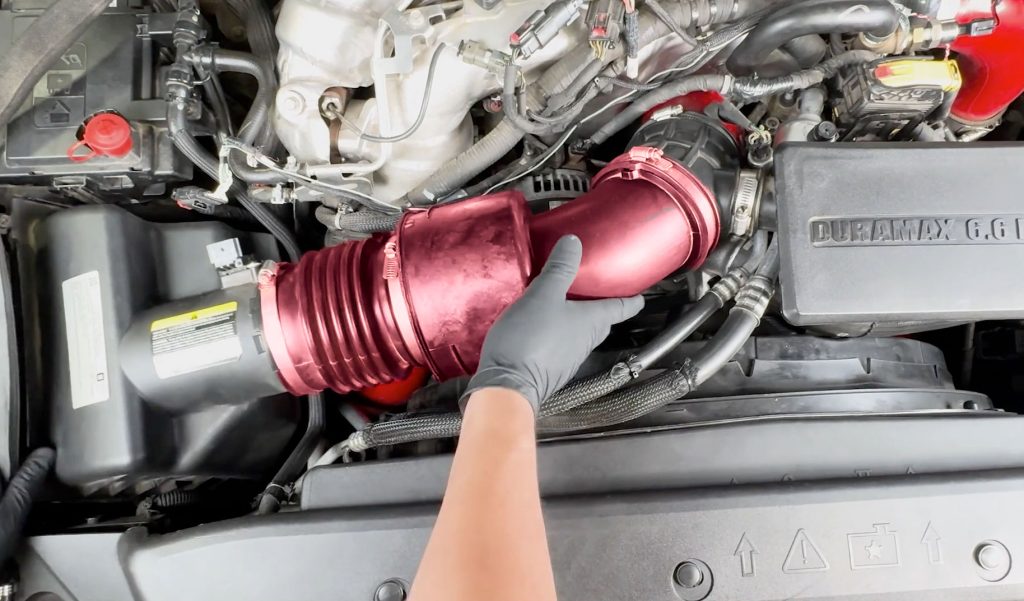
3. Remove Air Intake
Once the clamps are loose, slip and twist it up and out of the engine bay.
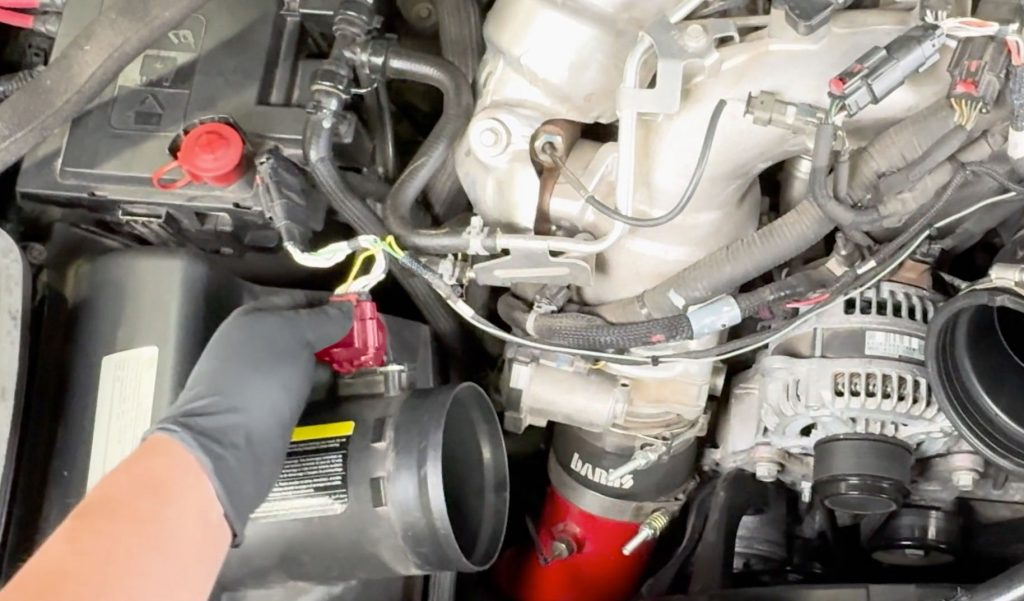
4. Unplug MAF Sensor from Airbox
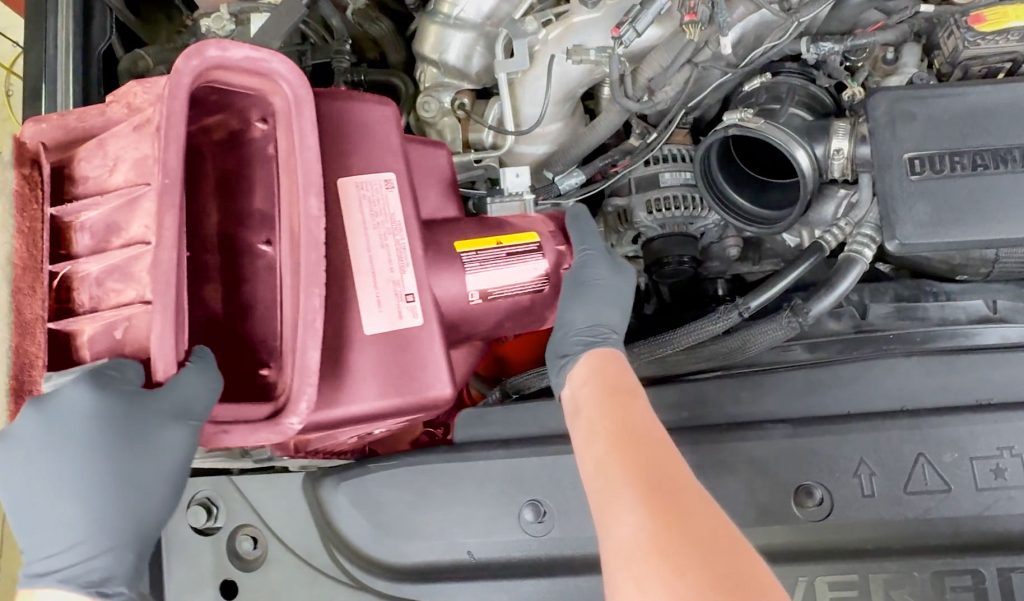
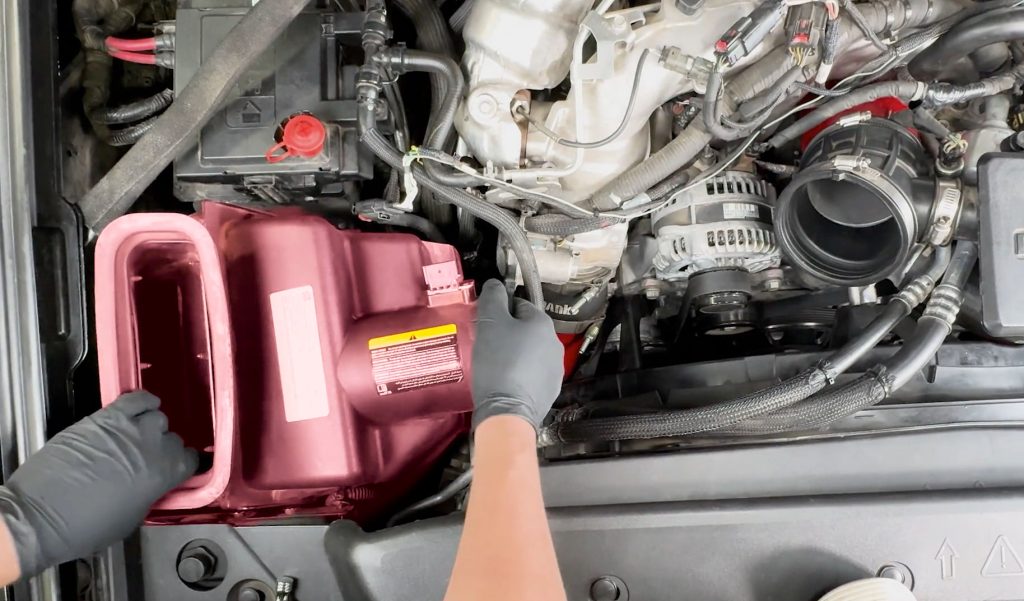
5. Remove Air Box
2017-2019: Lift the air box up and out. The bottom of the stock air box is held in place by rubber grommets. There may be some resistance when removing the stock air box.
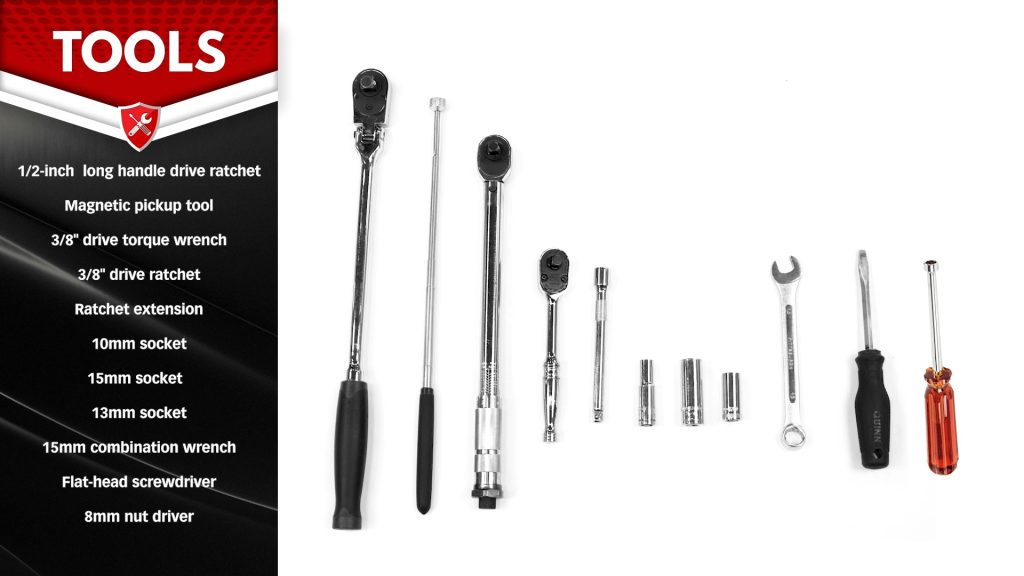
2020-2024: With a 10mm socket, remove the single airbox mounting nut on the passenger side of the engine bay, then lift the airbox up and out of the truck.
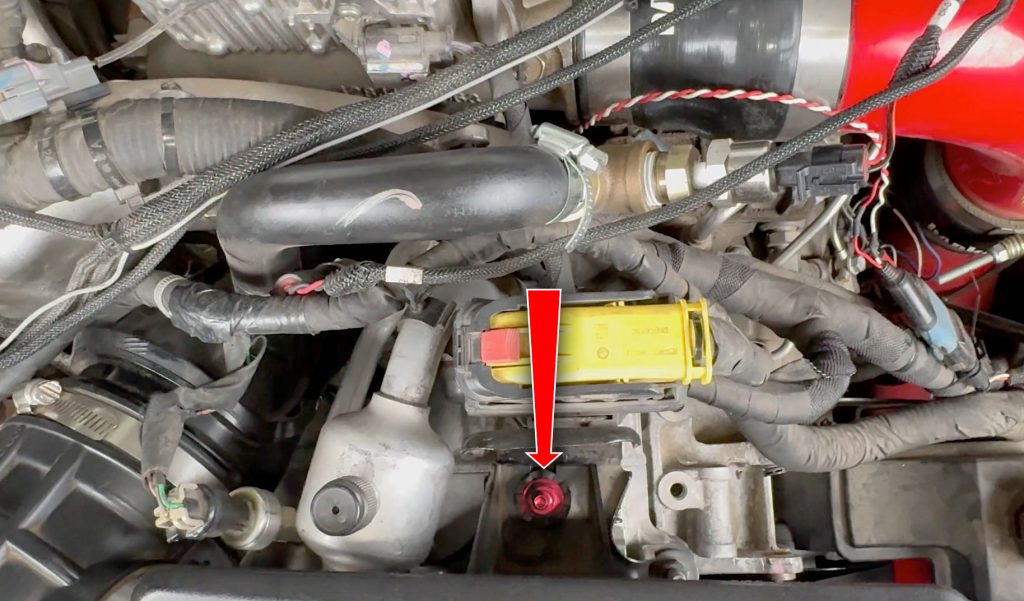
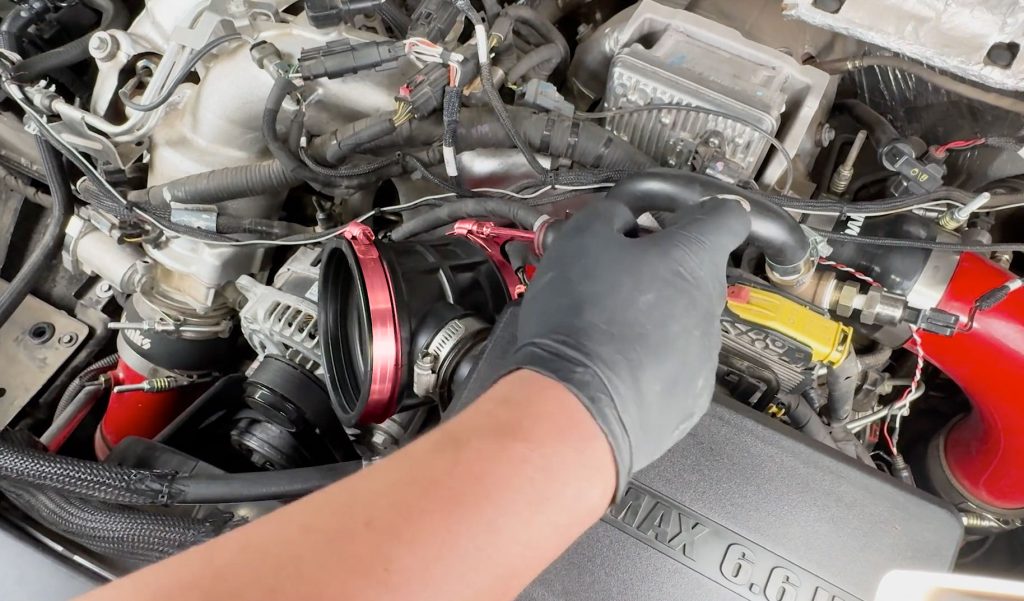
6. Remove Resonator Bracket Nut
Use a 13mm deep socket with an extension to reach down to the nut.

7. Remove Resonator Elbow Clamps
Use either a 8mm nut driver or flat head screwdriver.

8. Remove Resonator
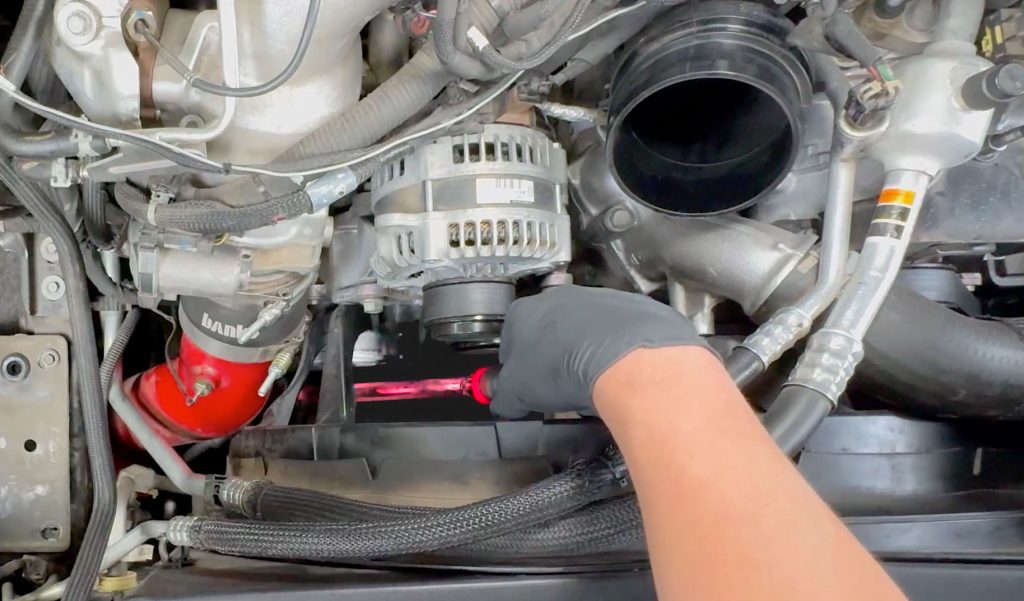
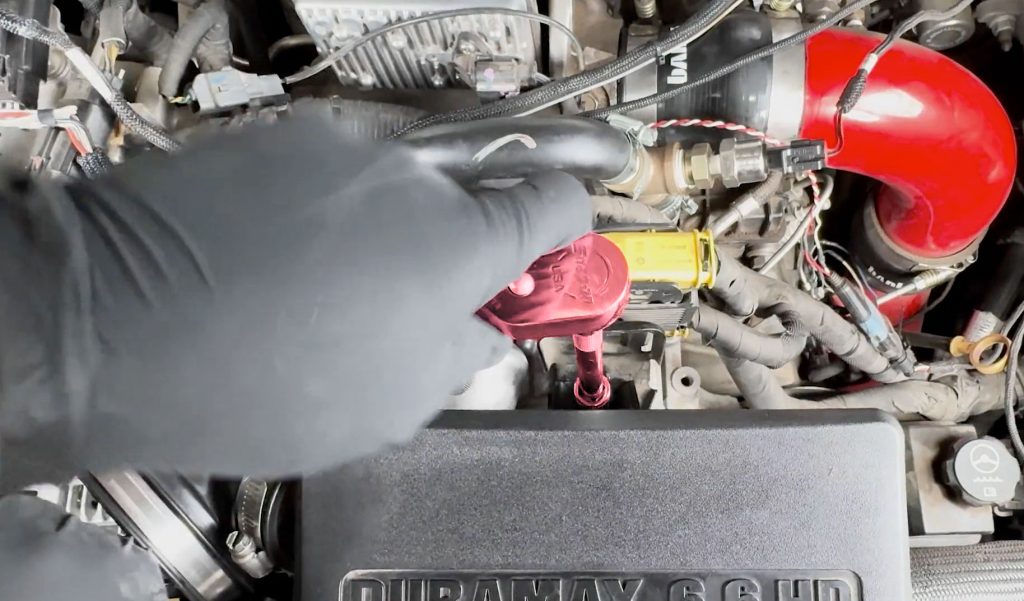
9. Release Tension On Accessory Belt
Use a 1/2in breaker bar directly on the tensioner pulley.
Rotate the ratchet bar counter clockwise towards the passenger side to release tension.
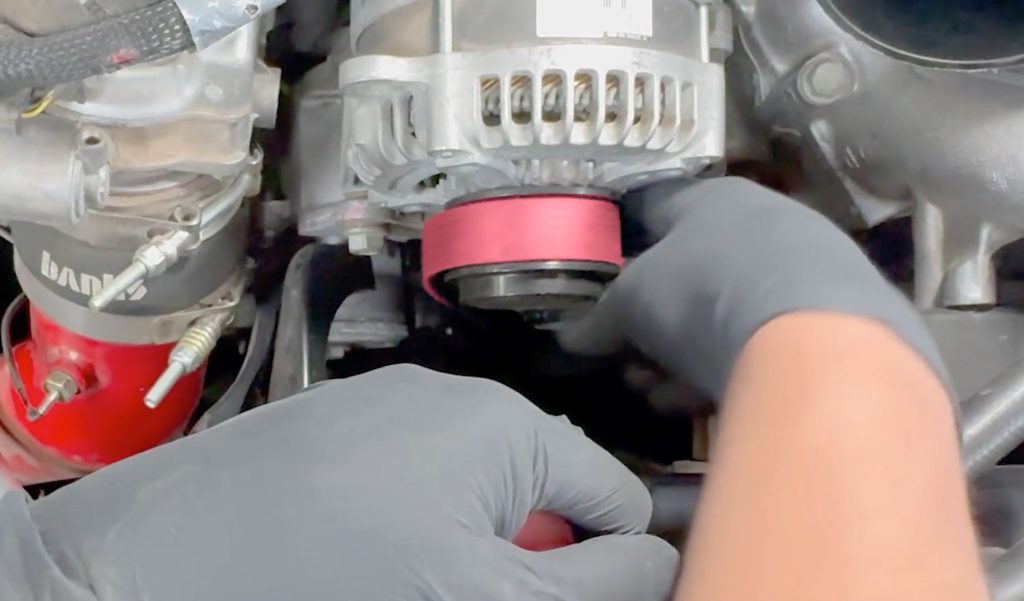
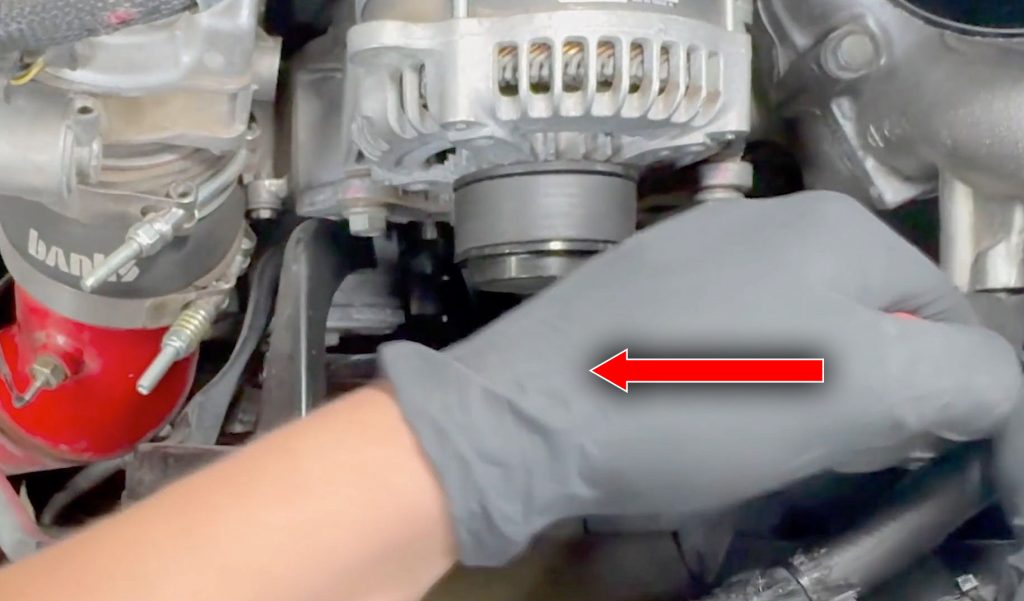
10. Slip the belt off the alternator

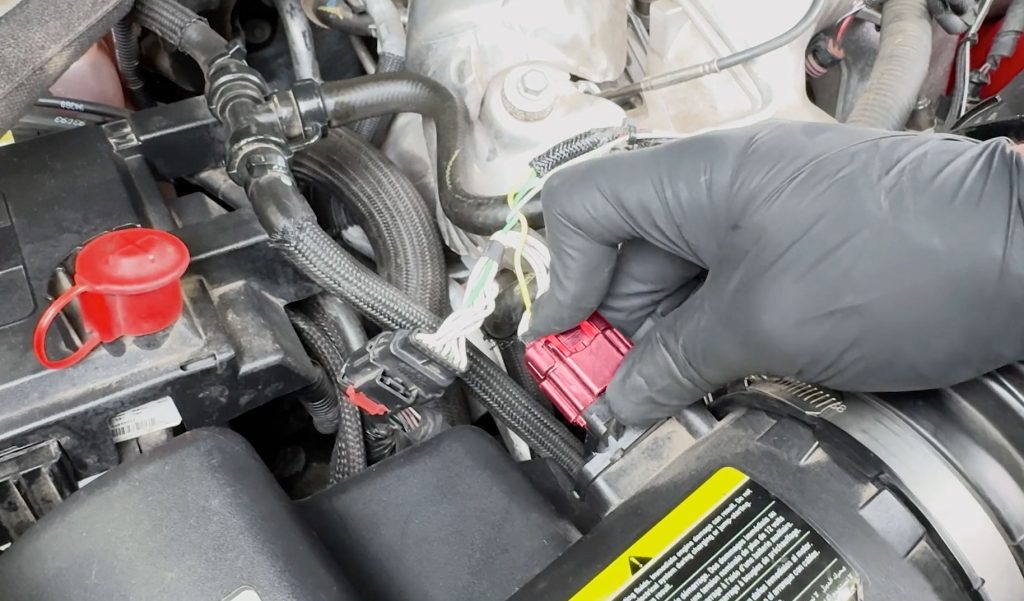
11. Unlock the harness from its clip.
Press in the locking tab with a flat head screwdriver.
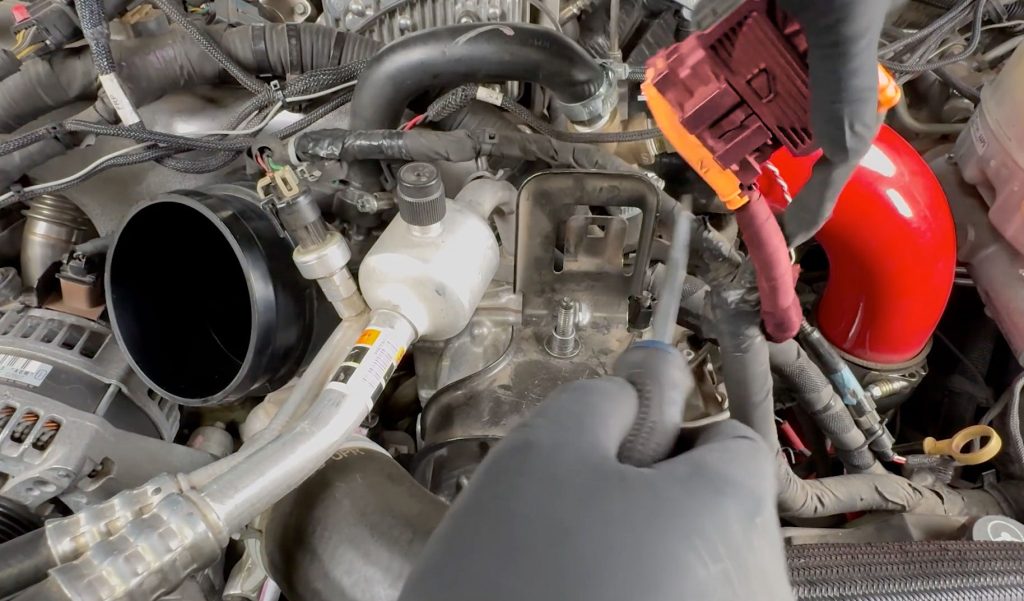
Set the harness aside behind the bracket for now.
12. Remove two 13mm bolts
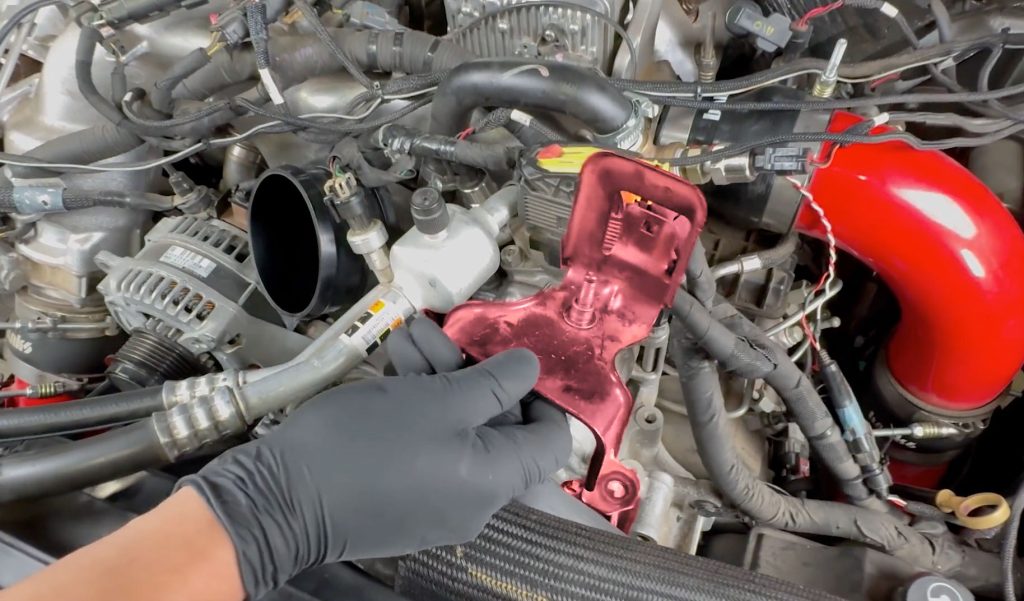
13. Remove resonator bracket
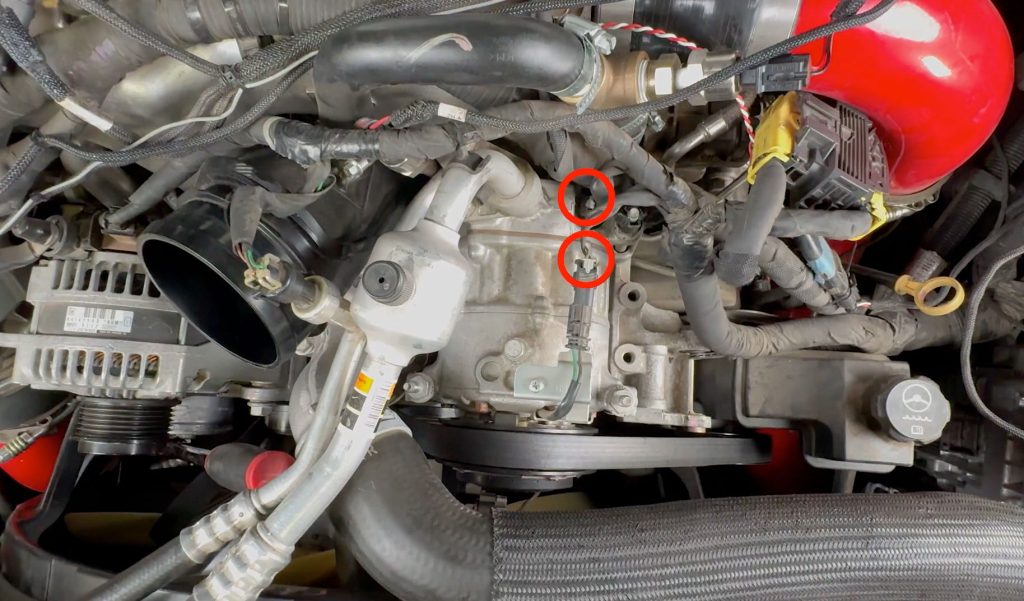
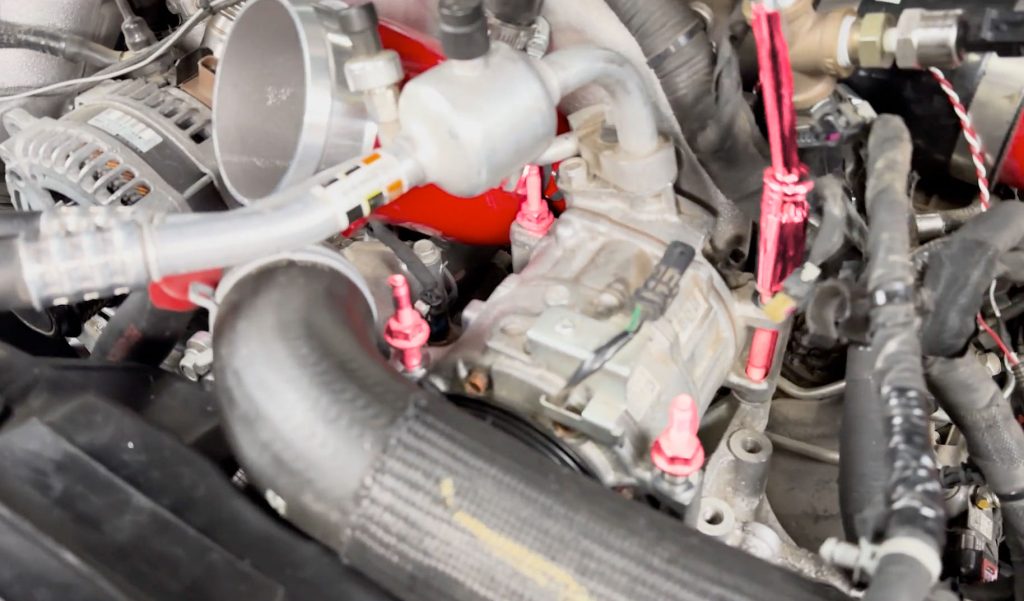
14. Remove two A/C compressor connections
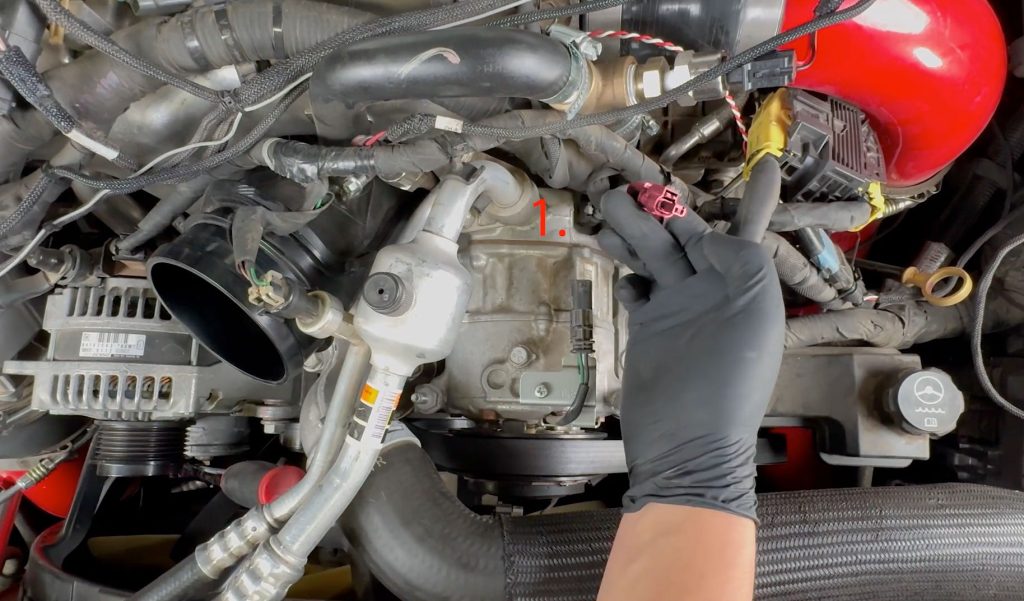
Unplug the forward A/C connector first.
Next, unplug the rear A/C connection and free the harness plastic nuts from the post mount.
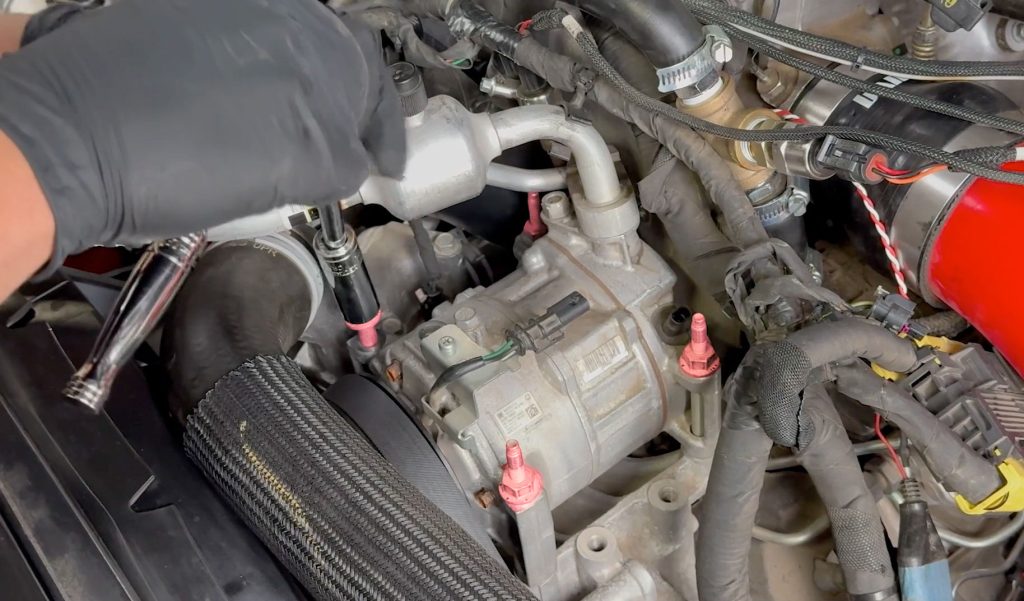
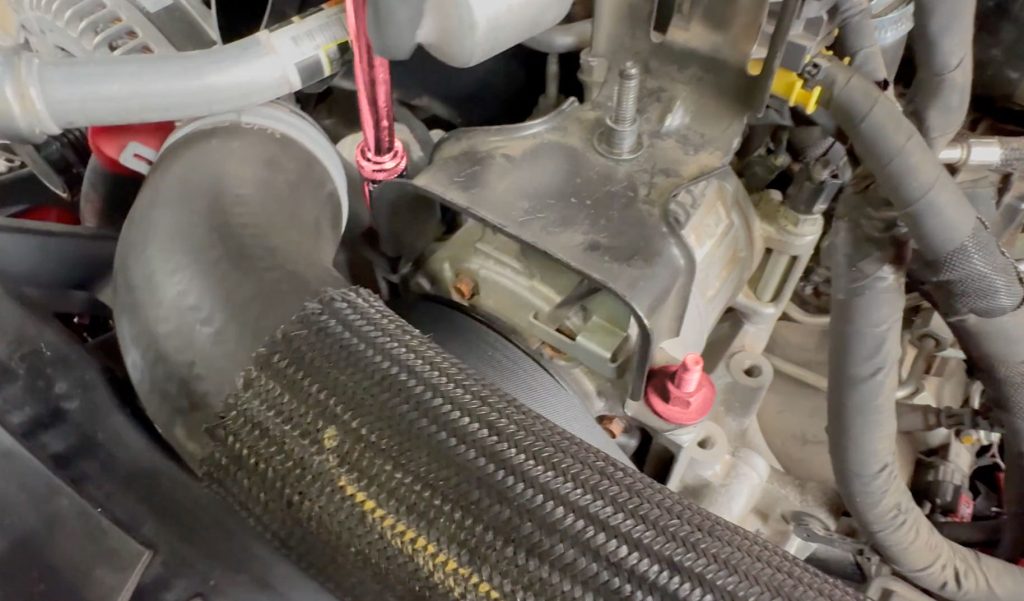
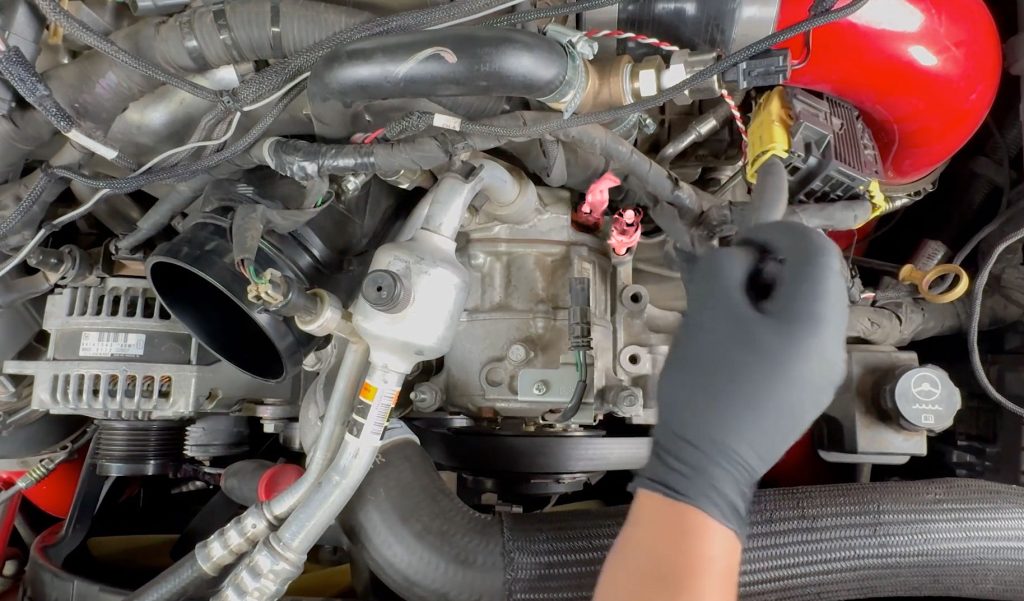
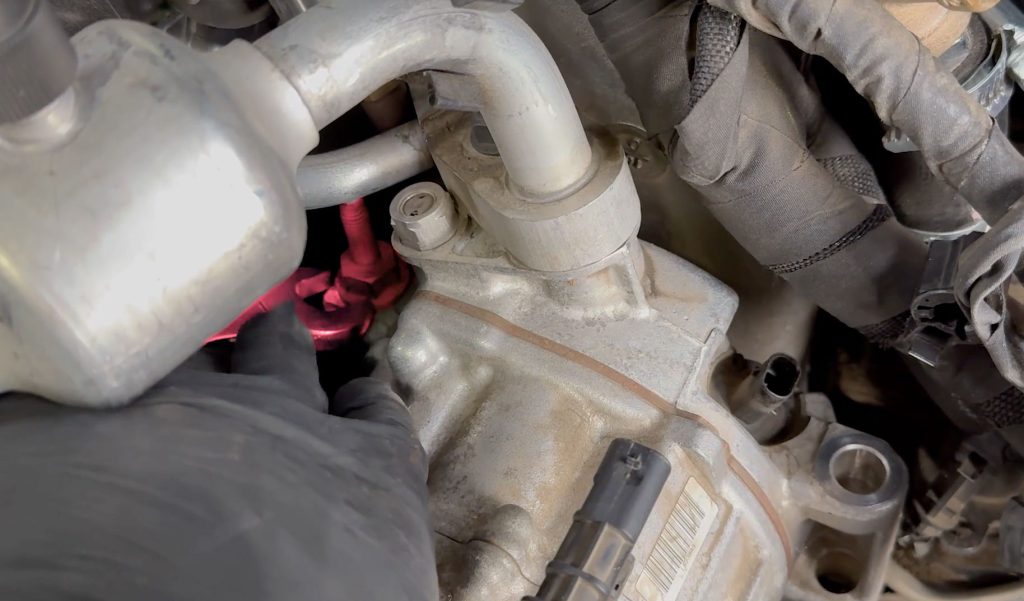
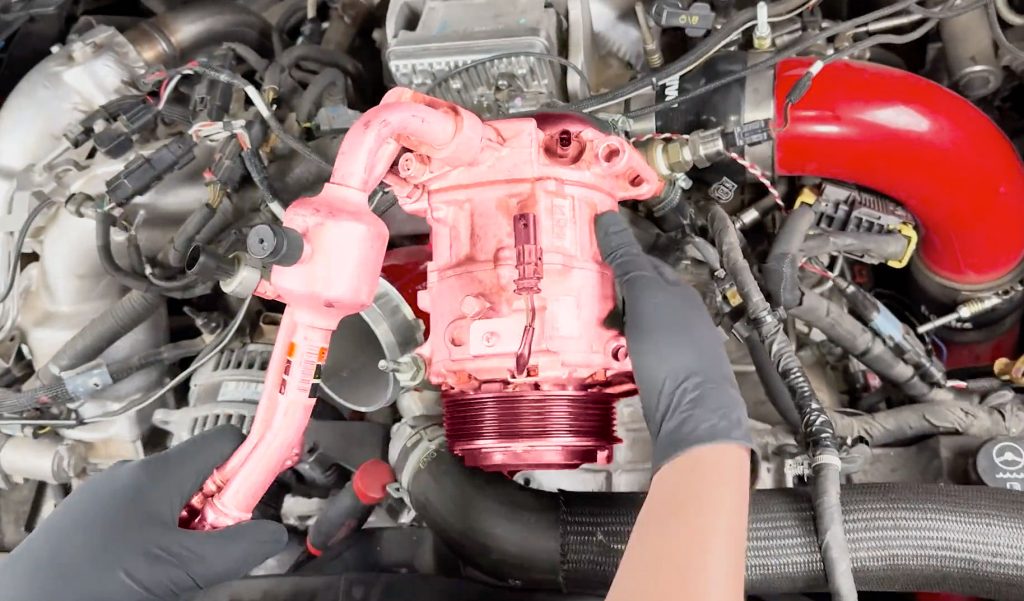
15. Remove A/C Compressor
There are four 15mm bolts that hold it down.
The rear passenger side bolt is. Tricky to get to. It does not have to be fully removed, just back it out enough until the A/C compressor is free.
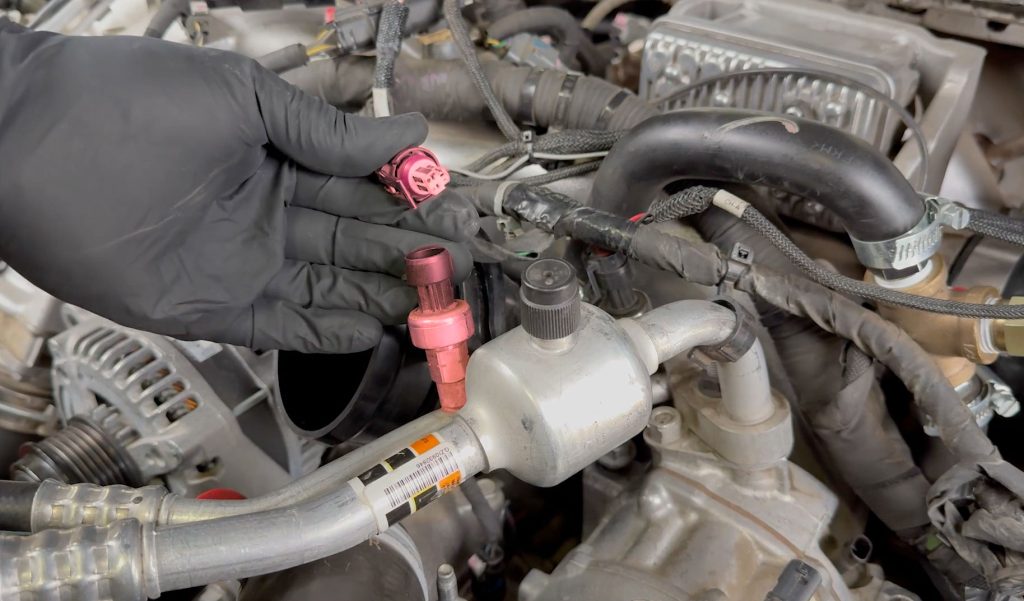
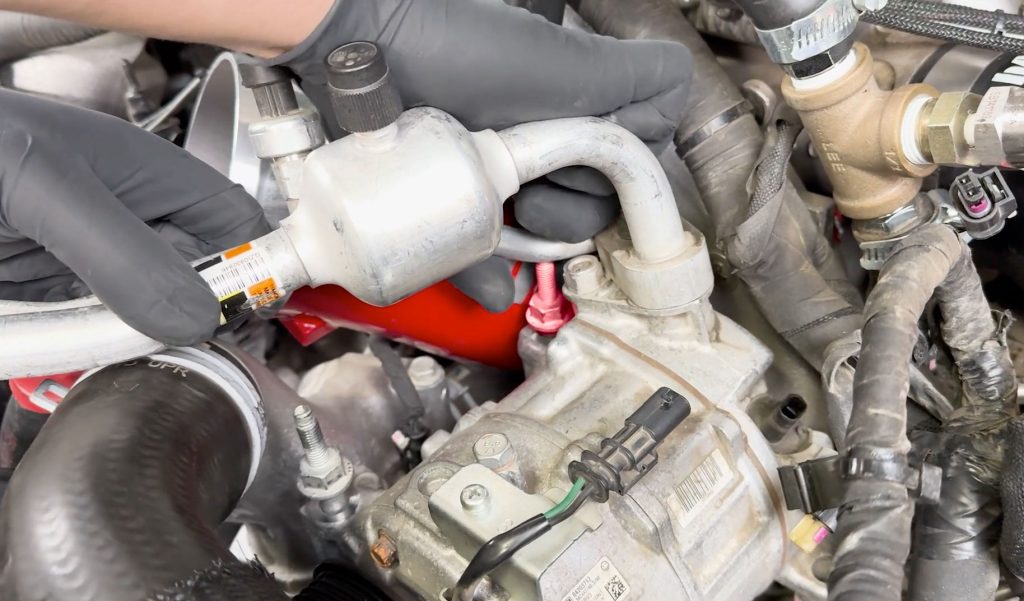
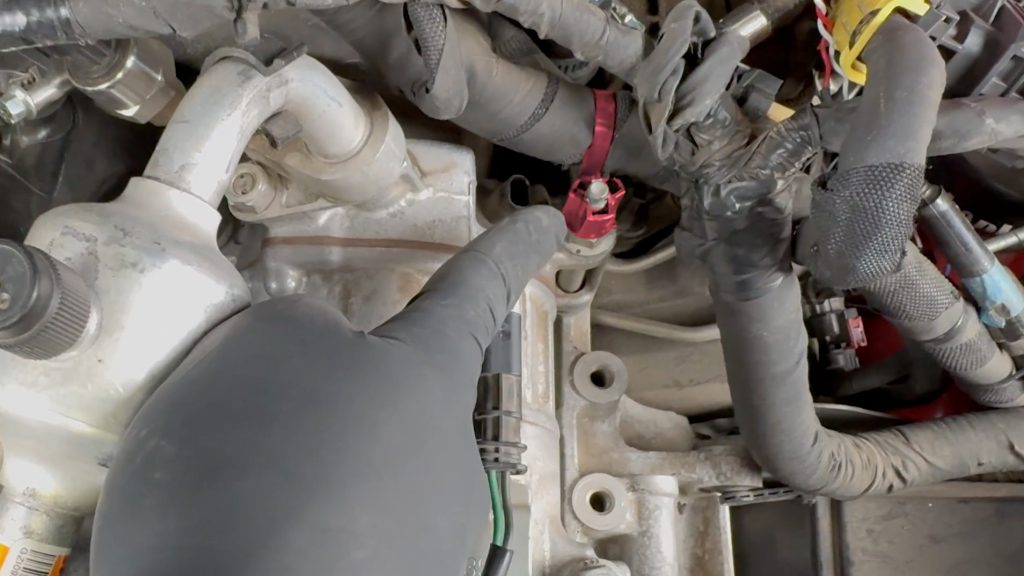
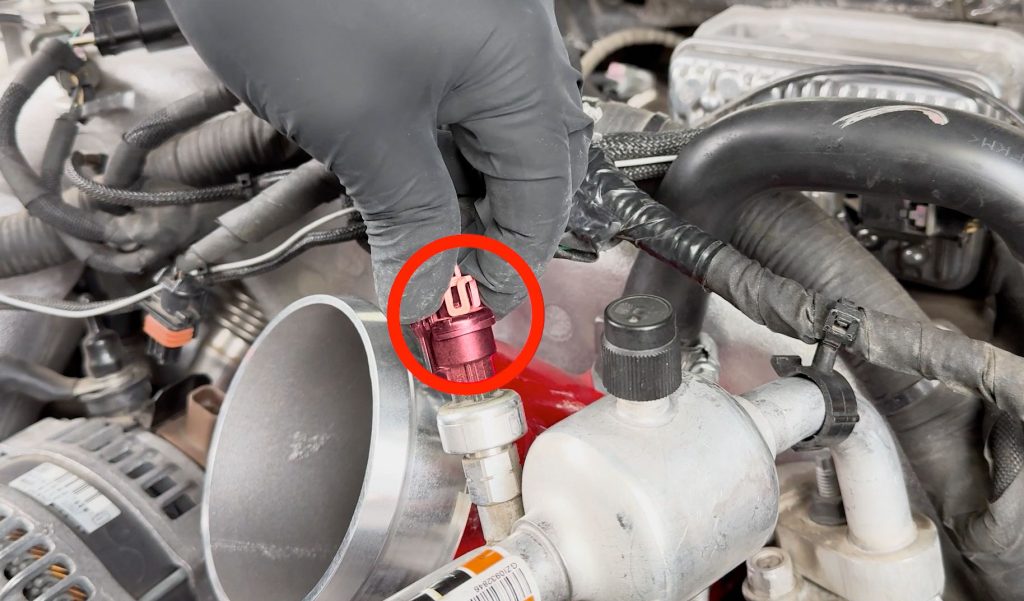
Disconnect A/C pressure sensor.
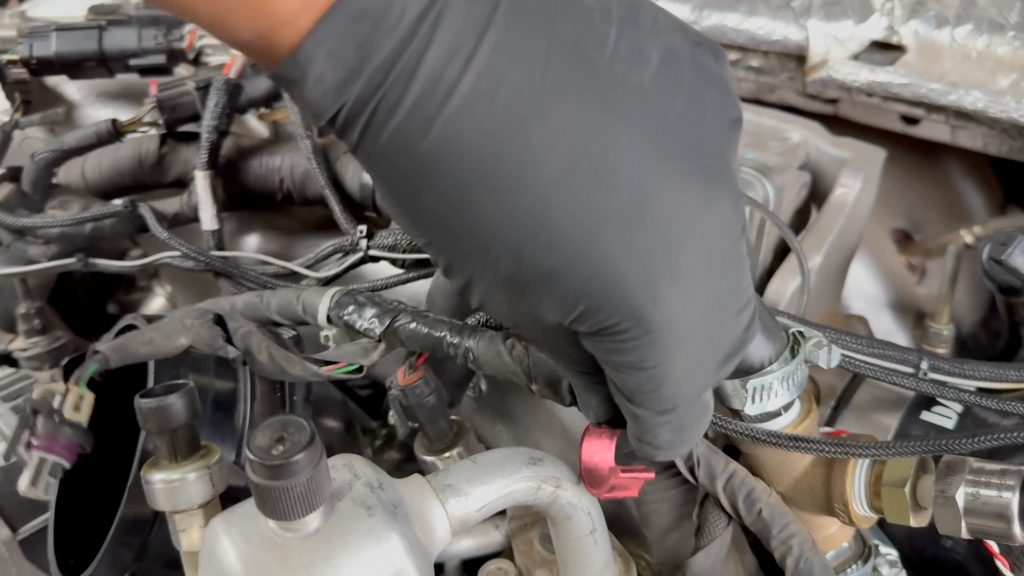
Disconnect A/C pressure sensor harness from the hardline.
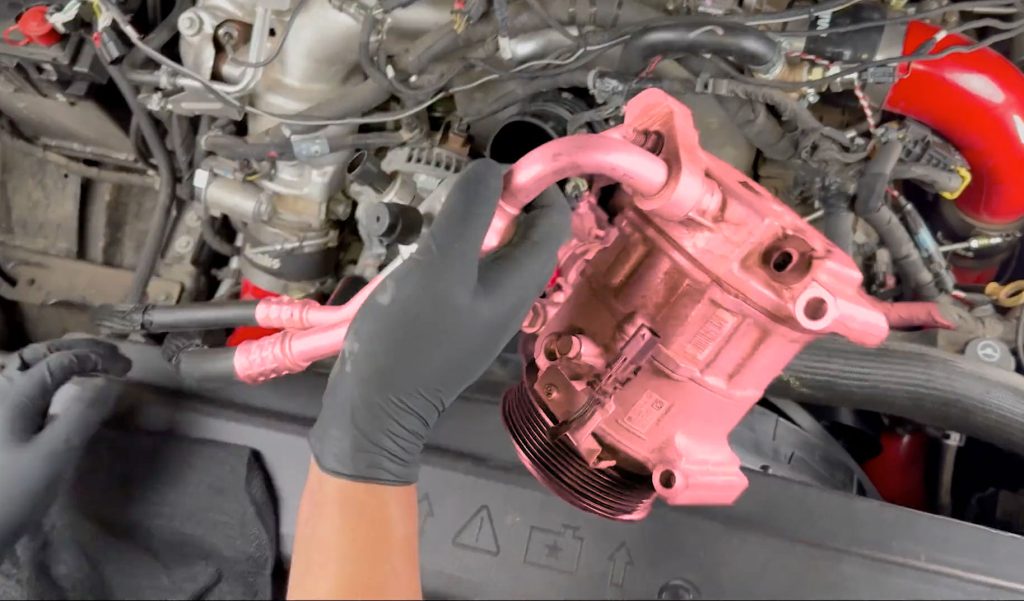
Lift and remove A/C compressor, place it out of the way for now.
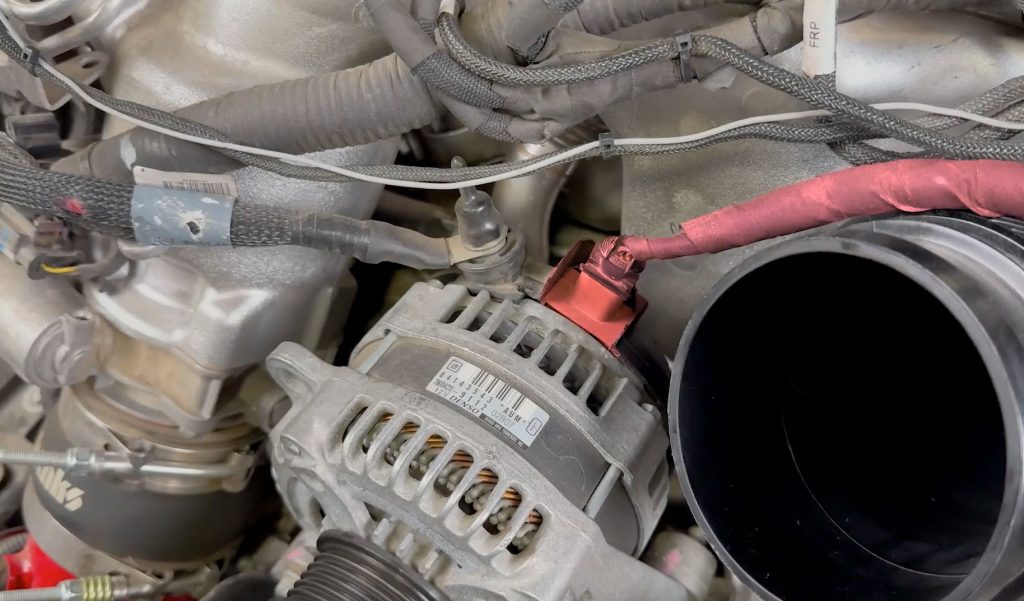
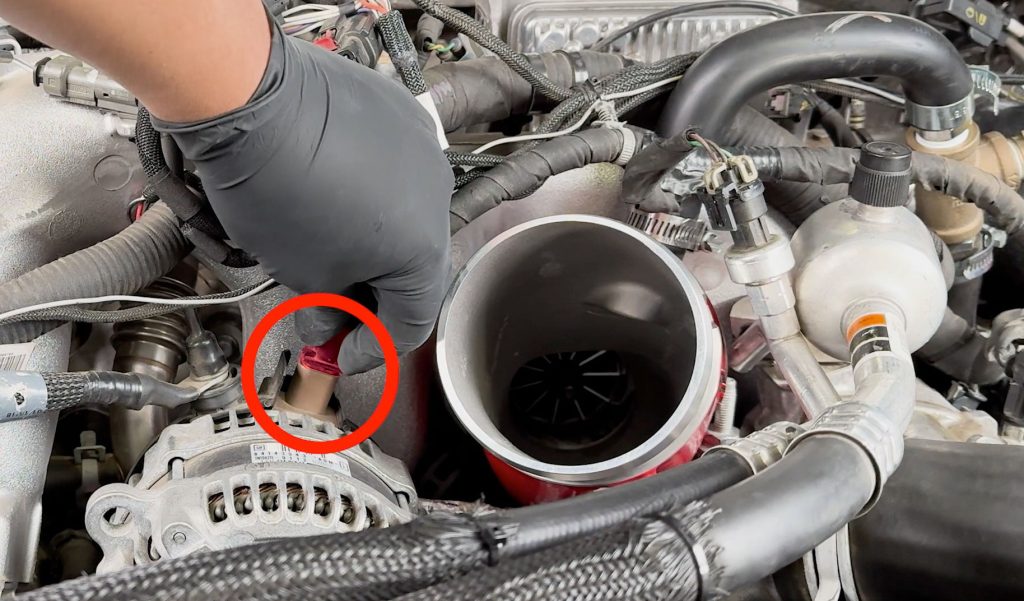
16. Disconnect Alternator Harness

17. Disconnect PCV Hose
Use an 8mm nut-driver or flathead screwdriver.
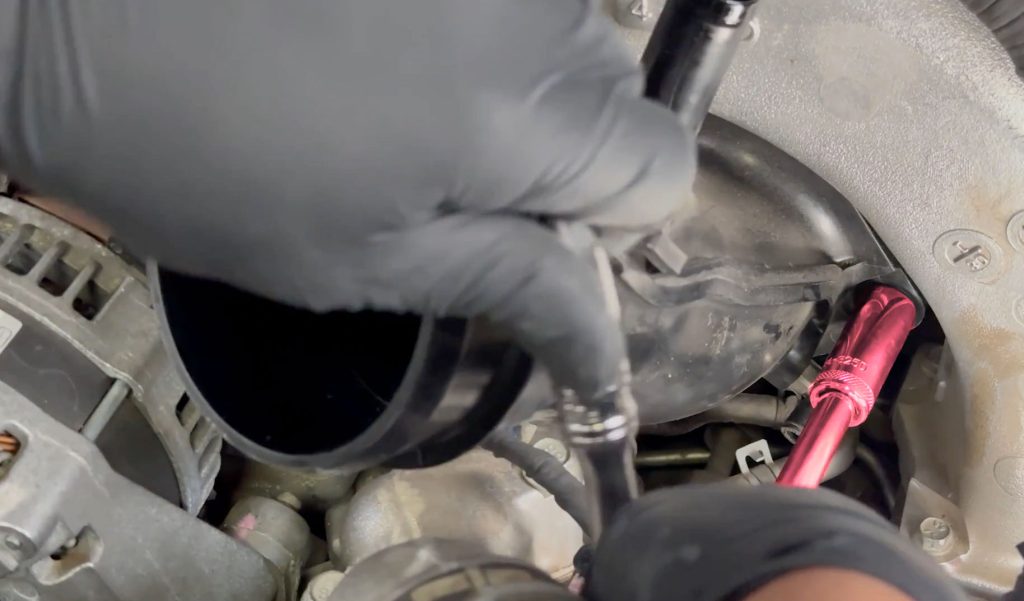
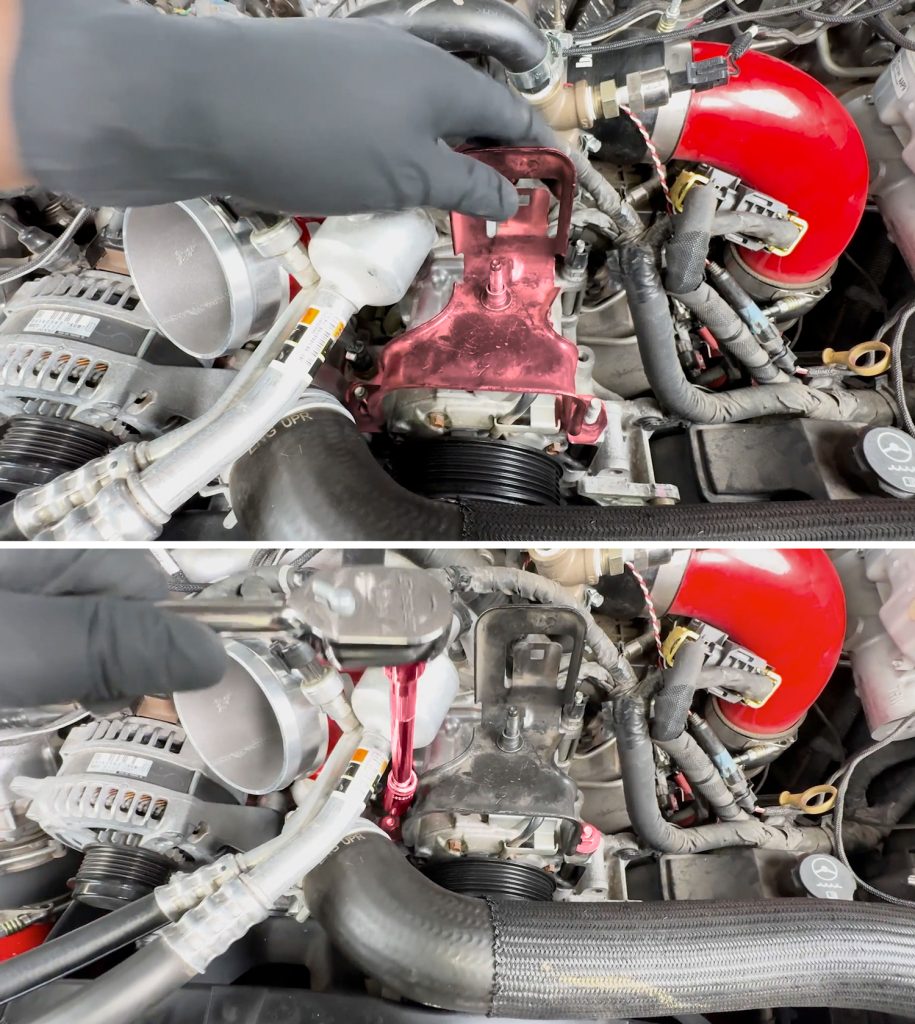
18. Remove Factory Intake Horn
There are two 13mm bolts to be removed, one on each side.
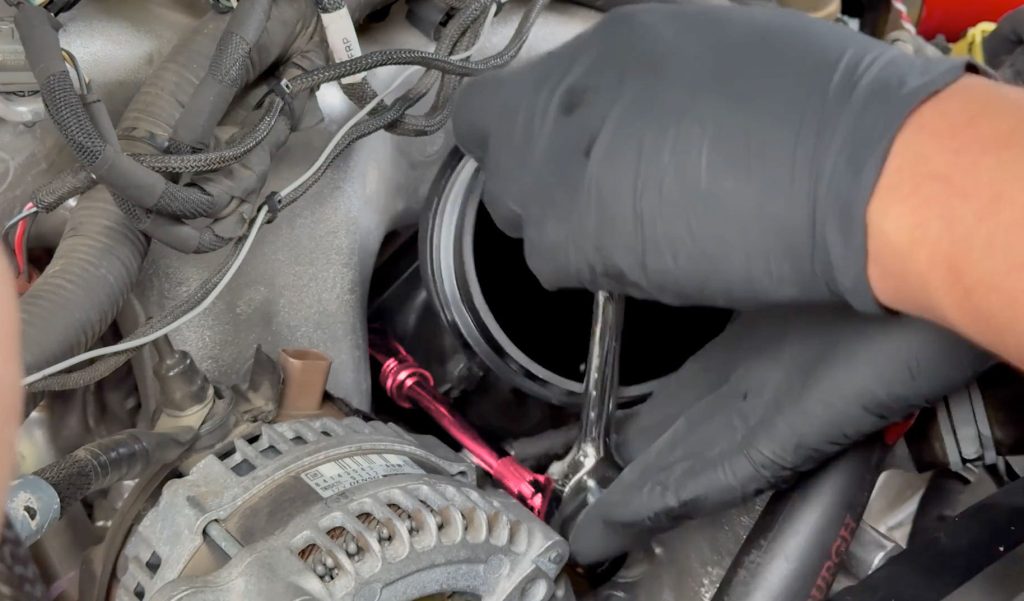
Use an 8mm nut-driver or flathead screwdriver.
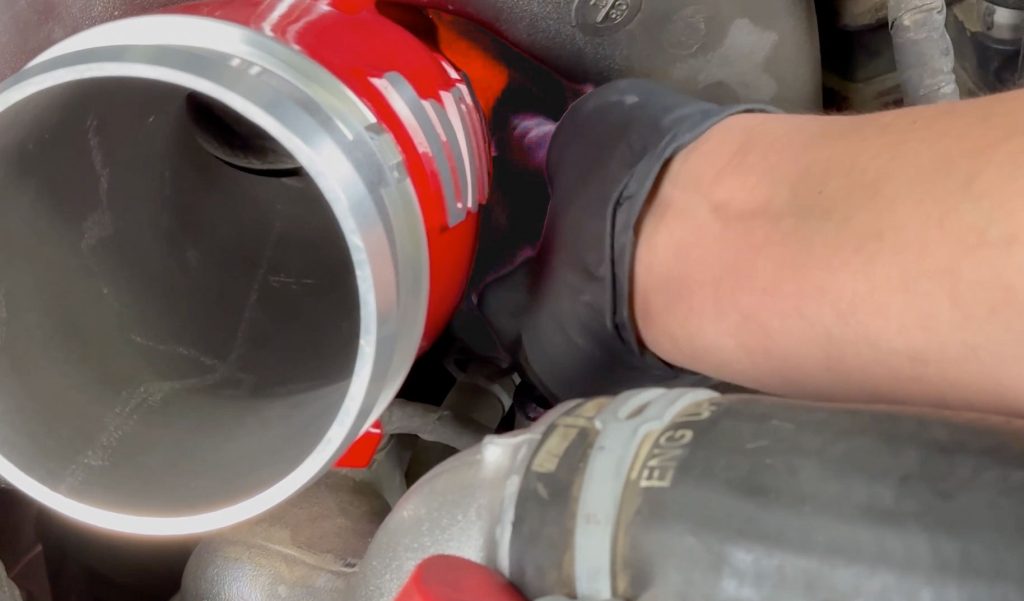
Monster-Ram Installation
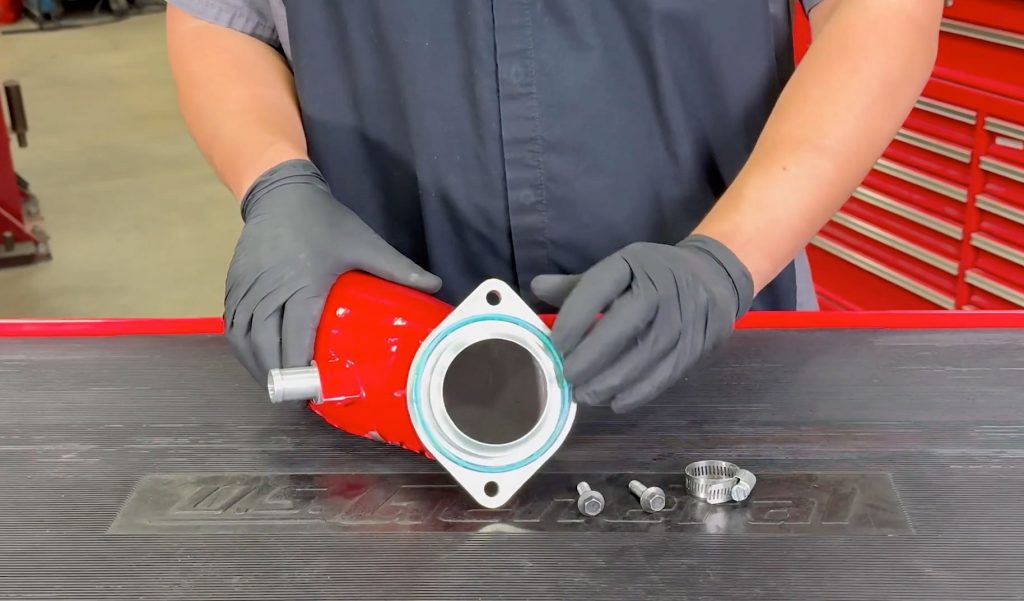
1. Install New O-Ring
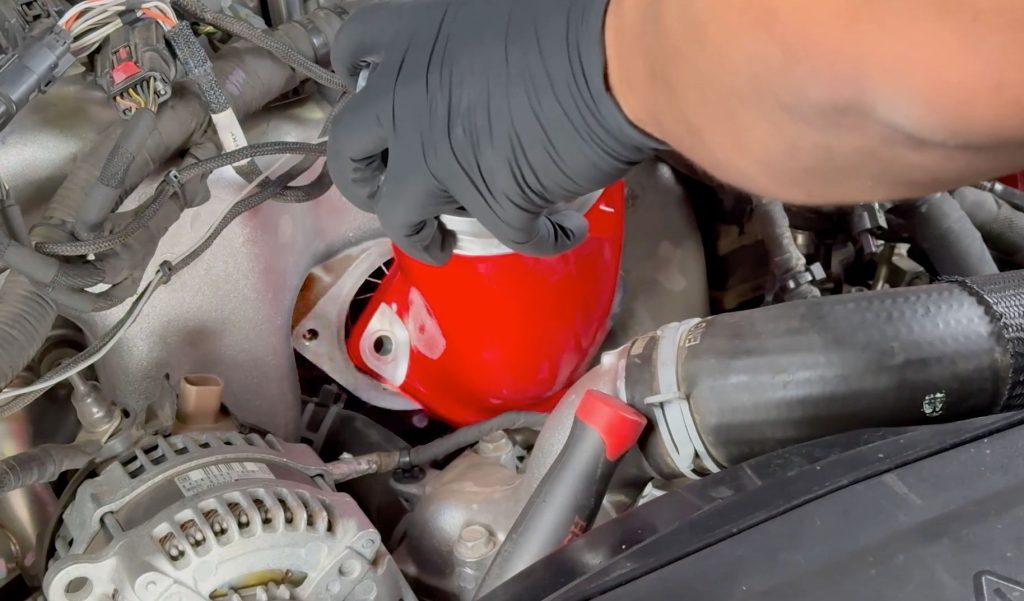
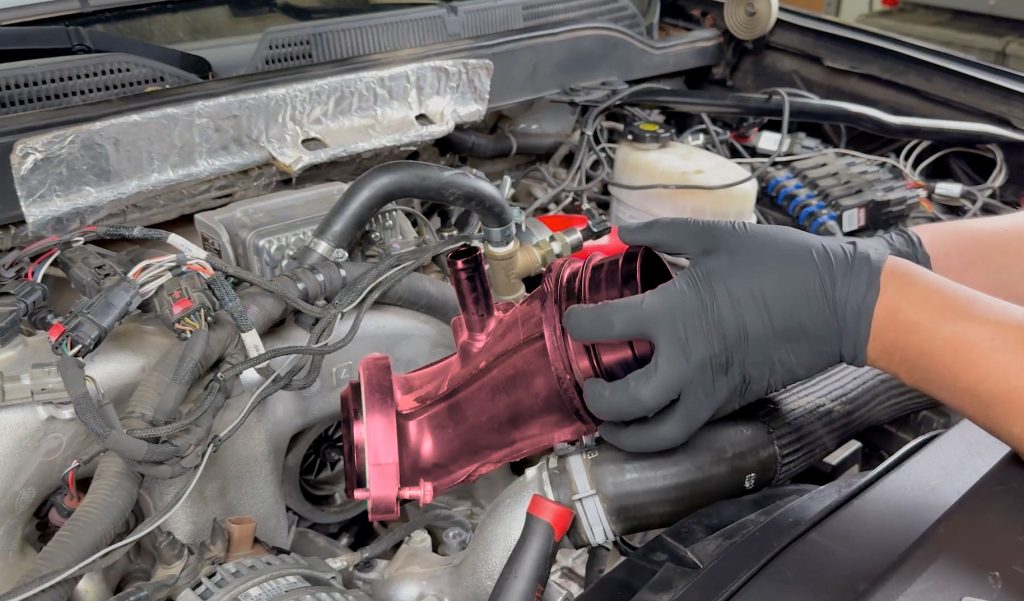
2. Install Monster-Ram
Use the new supplied 10mm bolts.
The driver side bolt can be started by hand.
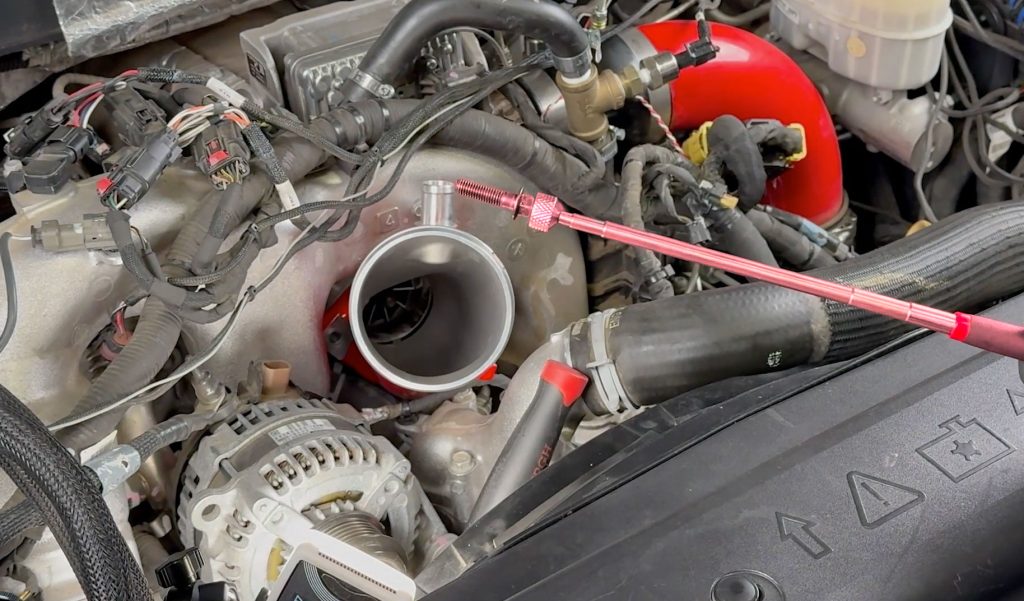
The passenger side can be hard to reach. Using a magnetic tool can help.
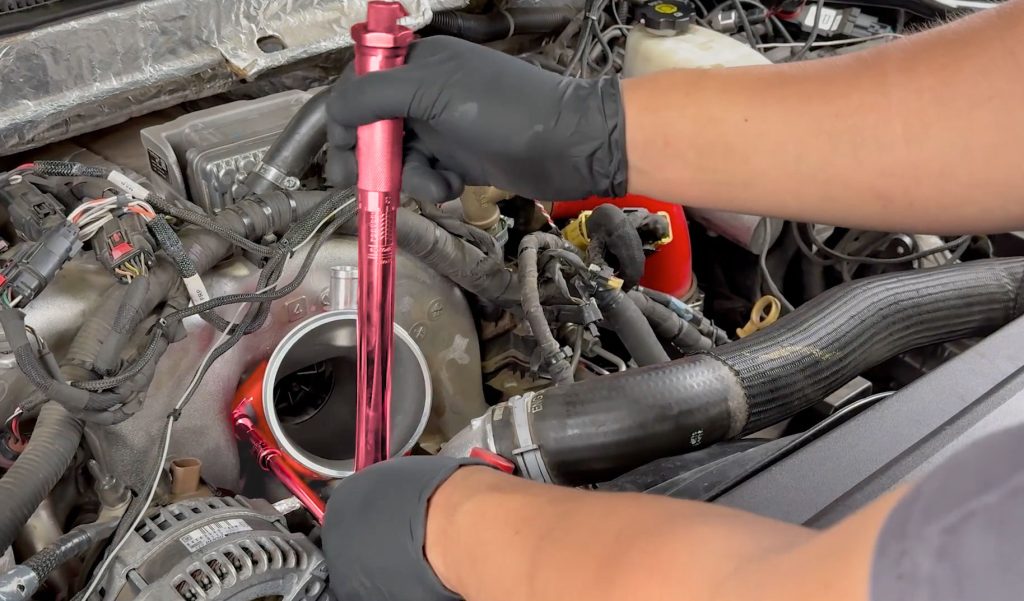
3. Tighten 10mm Bolts to 18 ft/lbs
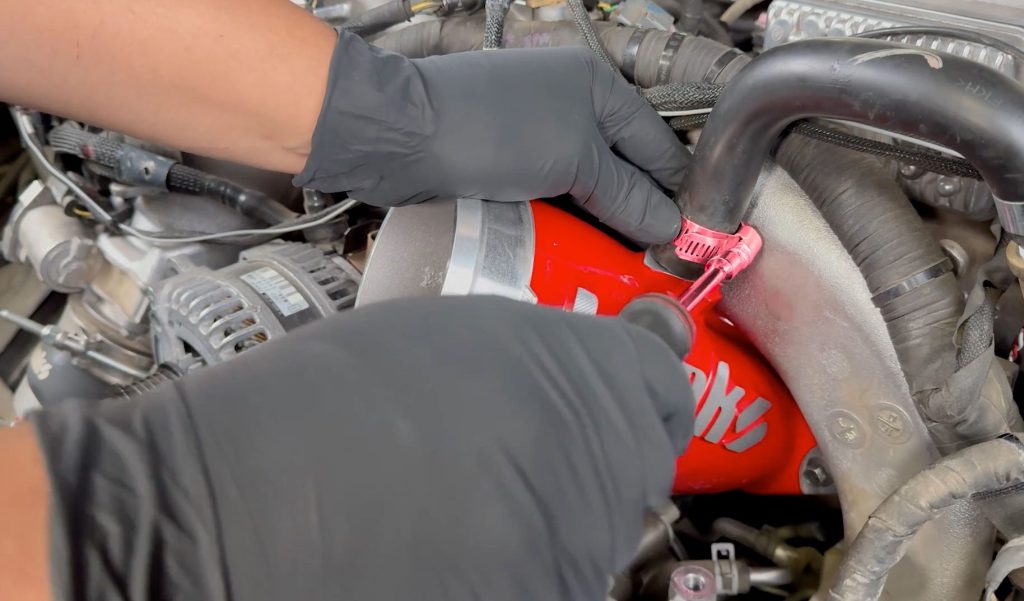
4. Connect PCV Hose
A new hose clamp is provided.
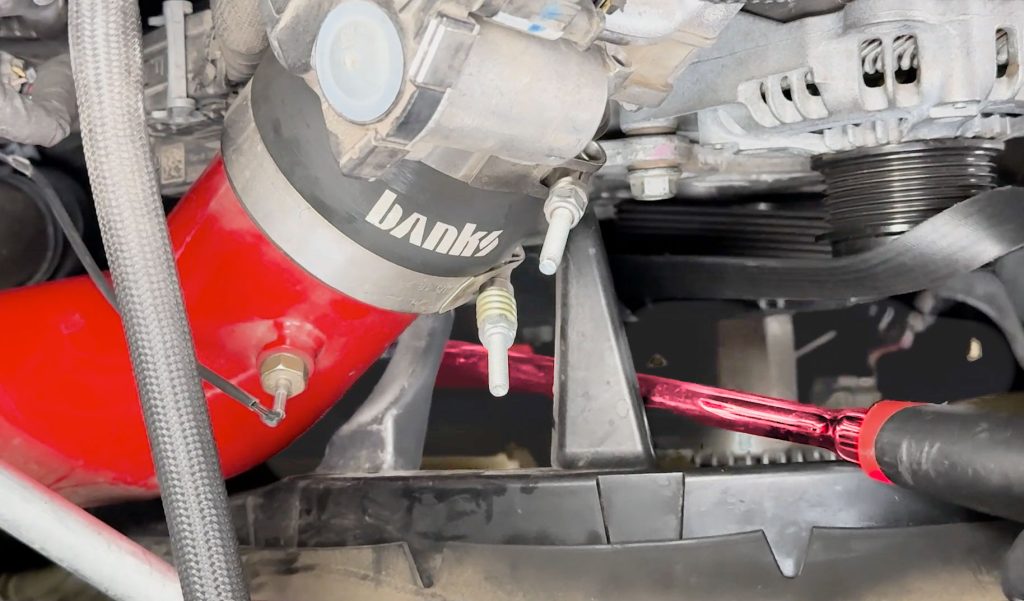
5. Reinstall A/C Compressor
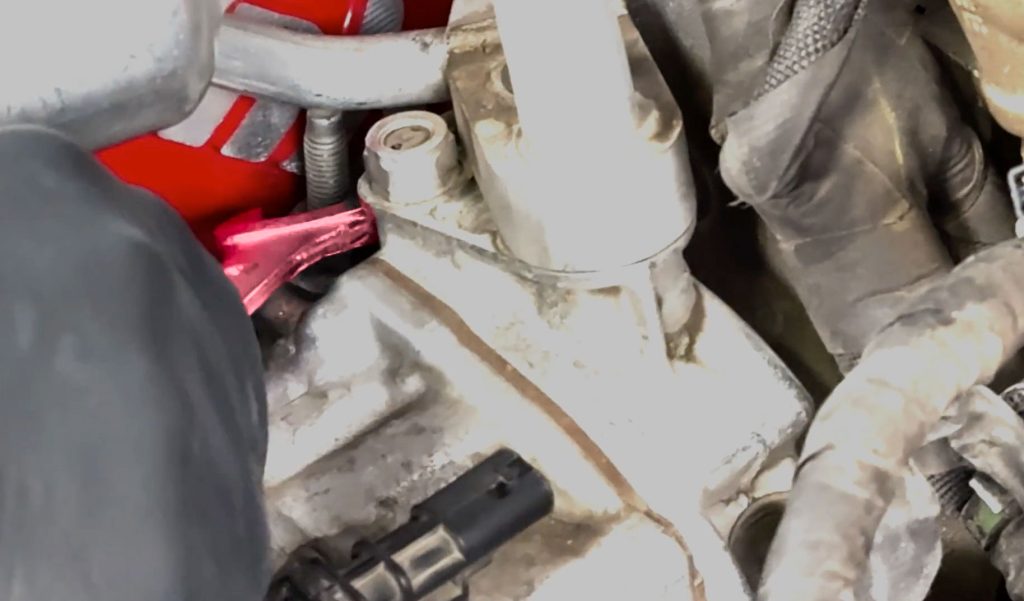
Start with the hard to reach rear passenger side bolt.
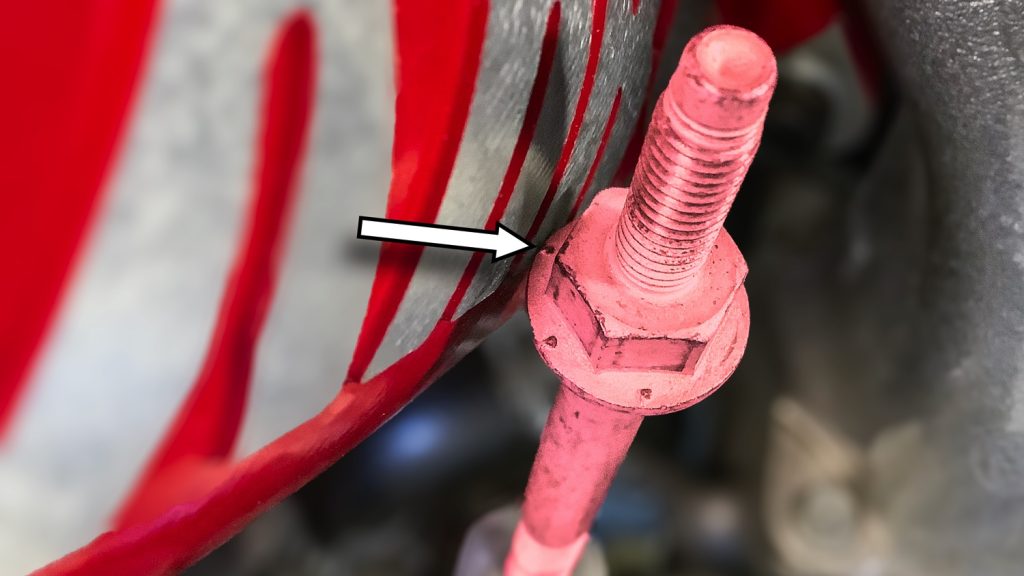
Clearance between this bolt’s flange and the Monster-Ram can be tight depending on variations during engine assembly.
Starting with this rear bolt first will help provide additional wiggle room to thread the bolt through
Once this bolt is mostly threaded down, but not fully tight yet, move on to the remaining 3 bolts.
6. Tighten all A/C Compressor Bolts
Return to the first hard to reach bolt after the other 3 are snug-tight.
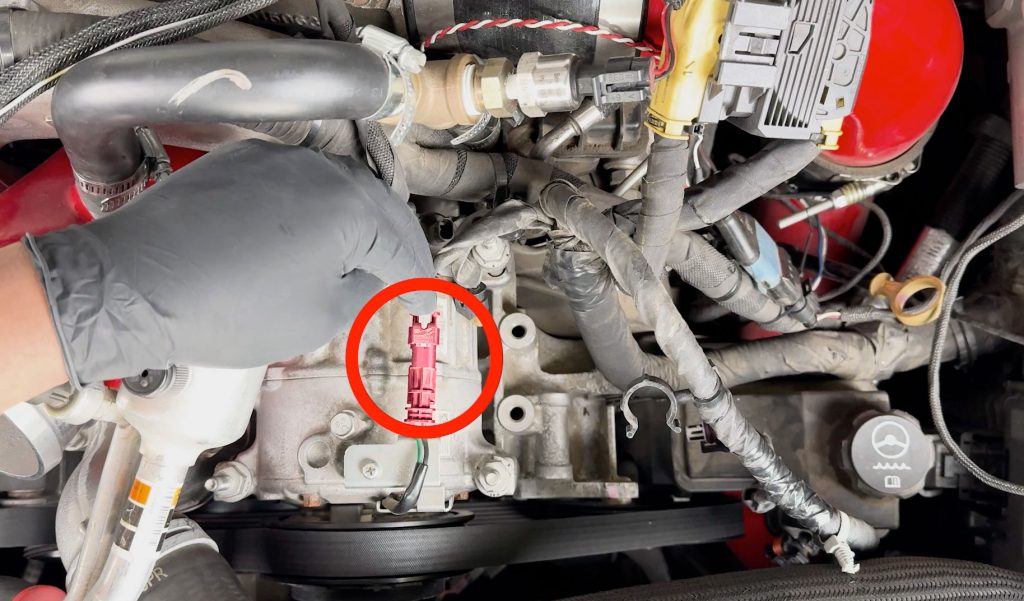
7. Reconnect A/C Harness & Sensors
One connector is on the front of the compressor.
Re connect the plastic harness clip to the rear post.
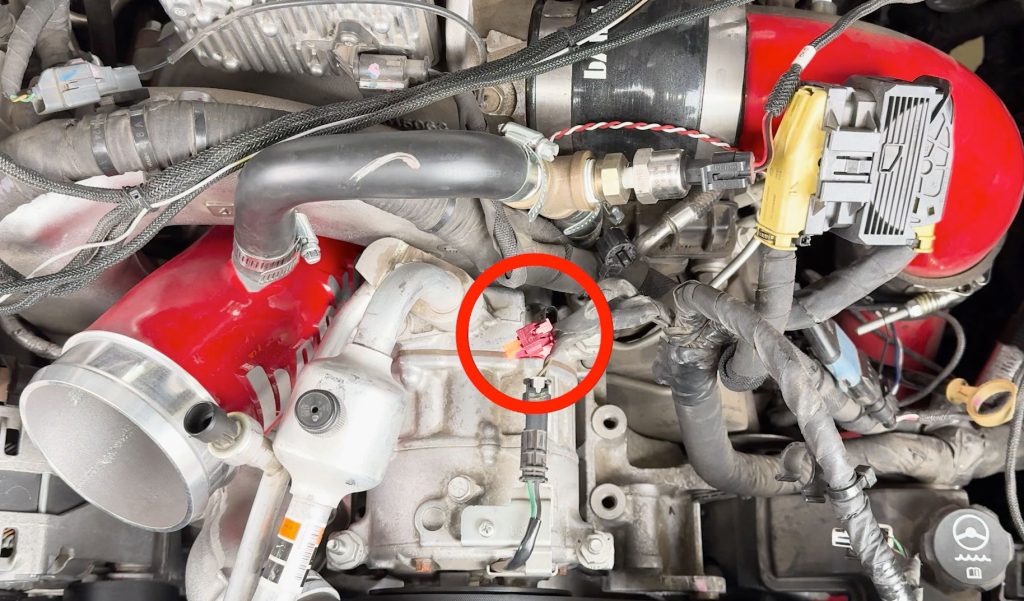
Don’t forget the second connection at the rear of the compressor.
Re-connect the A/C Pressure Sensor
8. Reconnect Alternator Harness
9. Reinstall engine harness bracket.

10. Reinstall the engine harness
11. Reinstall Accessory Belt
12. Reinstall Airbox Resonator
Reinstall the 13mm nut for the resonator.
13. Reinstall Aribox
Re-connect the Airbox intake duct.
14. Tighten hose clamps
15. Reinstall MAF sensor.
16. Clean up the area, stand back, and enjoy your new Banks Monster-Ram