97730 5inch Monster Exhaust 2019-24 RAM 6.7L
INSTALL INSTRUCTIONS
Part #s
SRW: (49798, 49798-B, 49799, 49799-B, 49807, 49807-B) | DRW: (49808, 49808-B, 49832, 49832-B)
Banks Monster Exhaust® 5-inch System 2019-2024 RAM 6.7L Cummins
Please read through the following instructions thoroughly before starting your installation. If you have any questions please visit our Support Page.
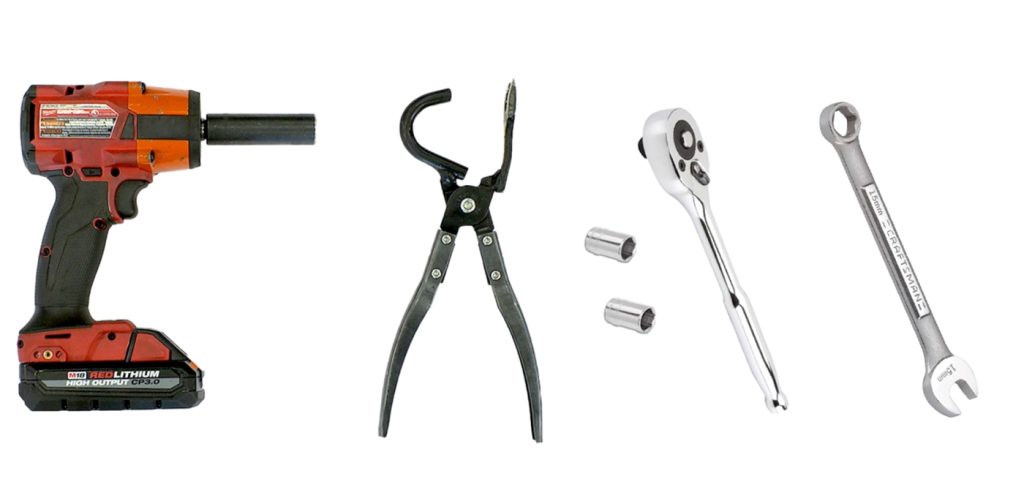
Required Tools:
- Impact Driver
- 15mm socket
- Socket wrench
- 10mm socket
- Exhaust hanger removal tool
(available on Amazon)
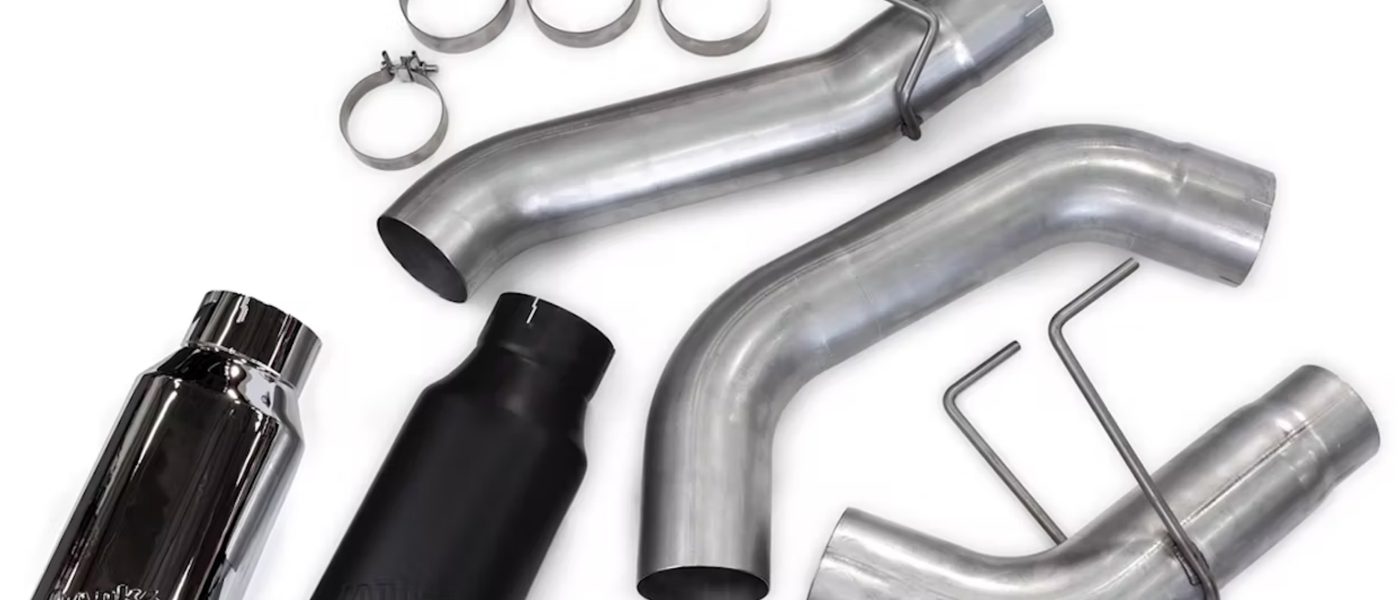
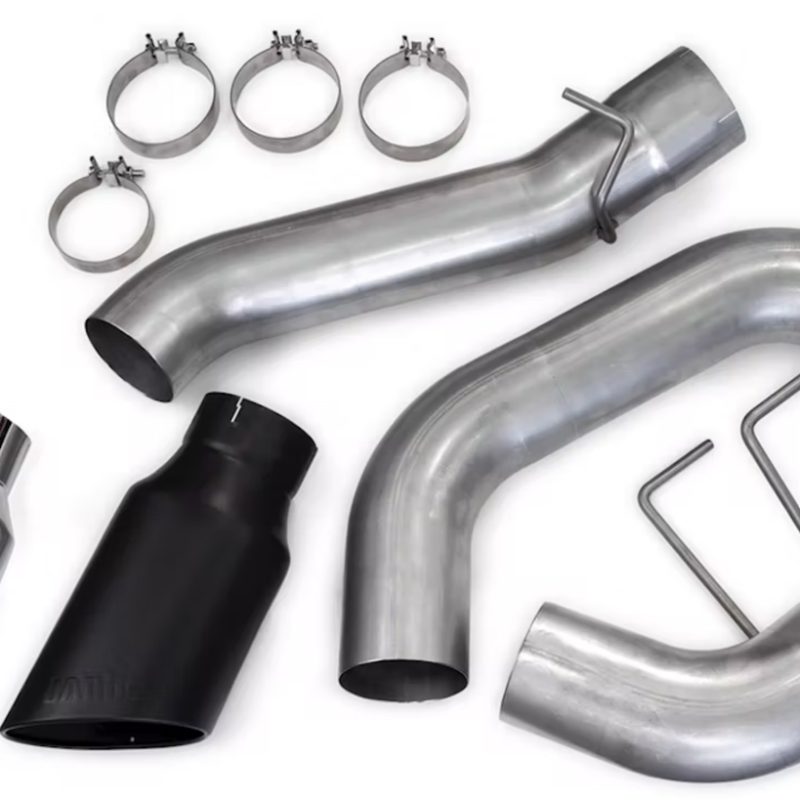
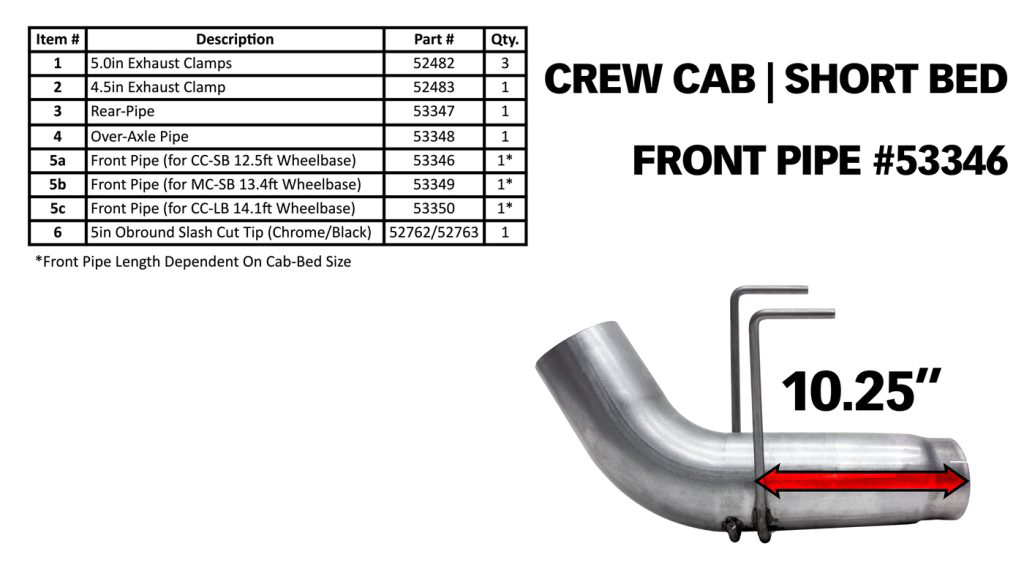
Bill of Materials – Kit 49798 (B) – CCSB 12.5 FT Wheel Base
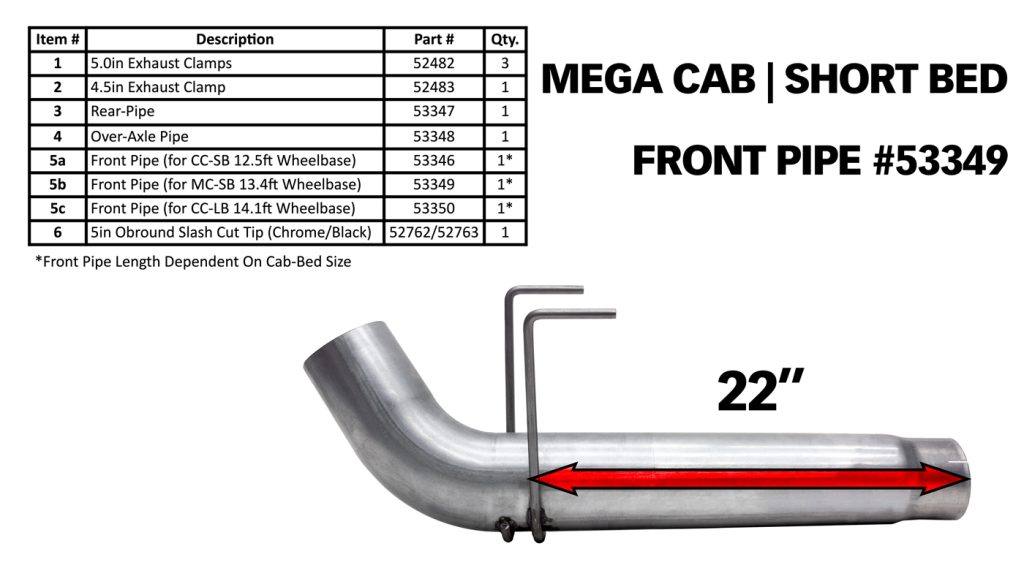
Bill of Materials – Kit 49799 (B) – MCSB 13.4 FT Wheel Base
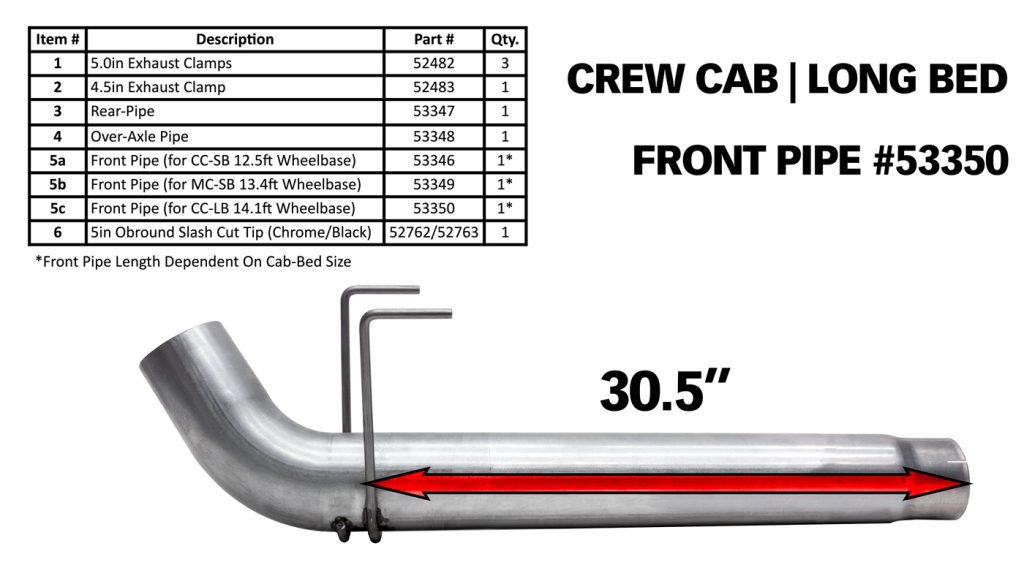
Bill of Materials – Kit 49807 (B) – CCLB 14.1 FT Wheel Base
NOTE: Before proceeding, please measure your system to make sure you have the correct kit!
If any parts are missing, call us at 800-601-8072
Removing Stock Exhaust
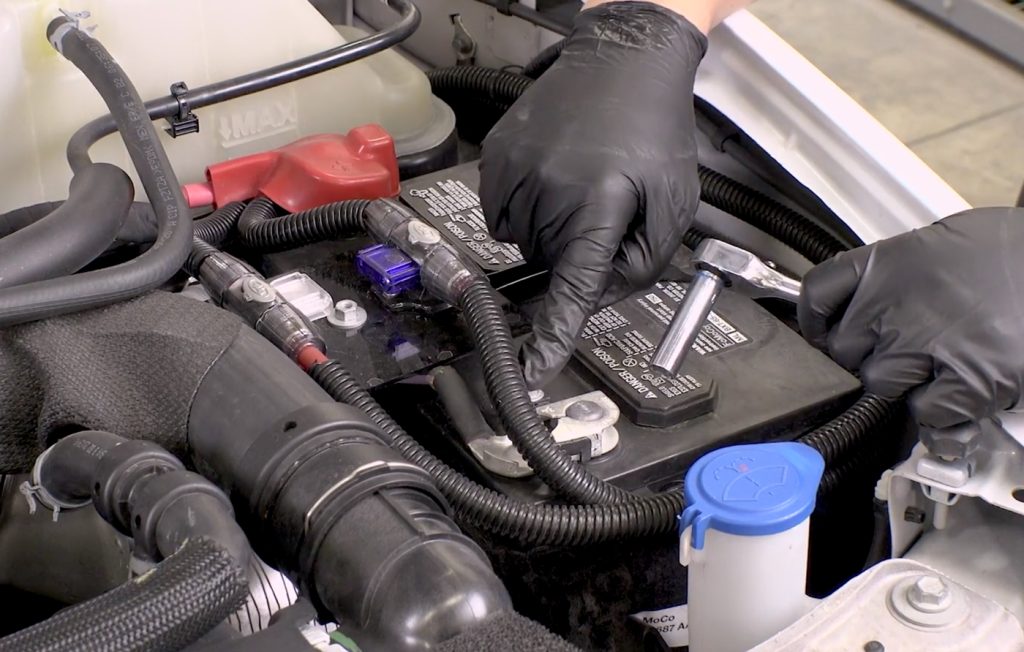
1. Use a 10mm socket to loosen and remove the negative terminal on both of your truck’s batteries.
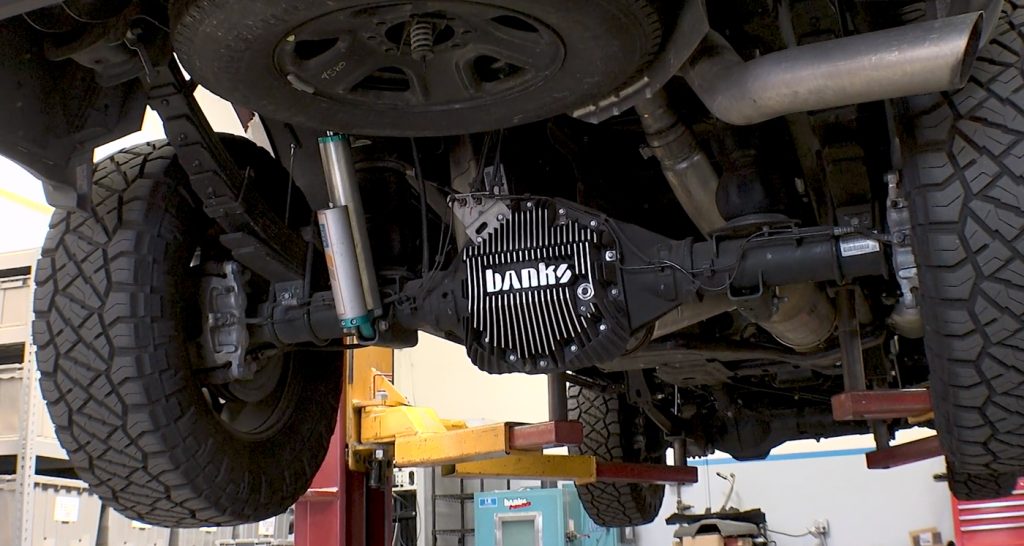
2. Secure your RAM on a lift or with jack stands. Please note: If you’re using a hydraulic lift, please supplement with jack stands for added security.
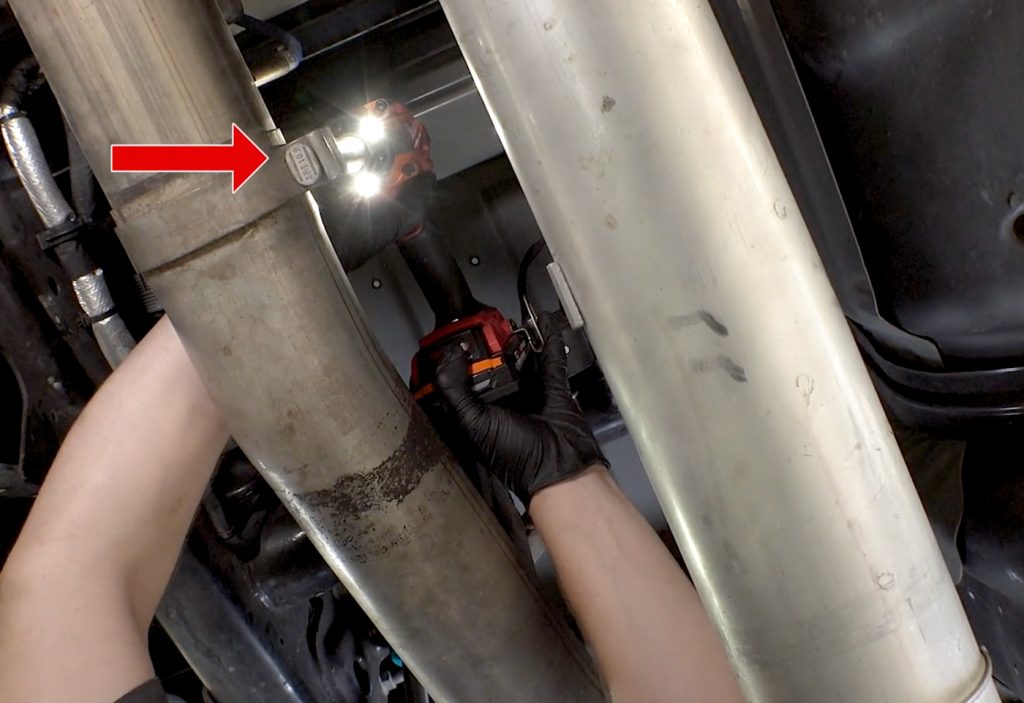
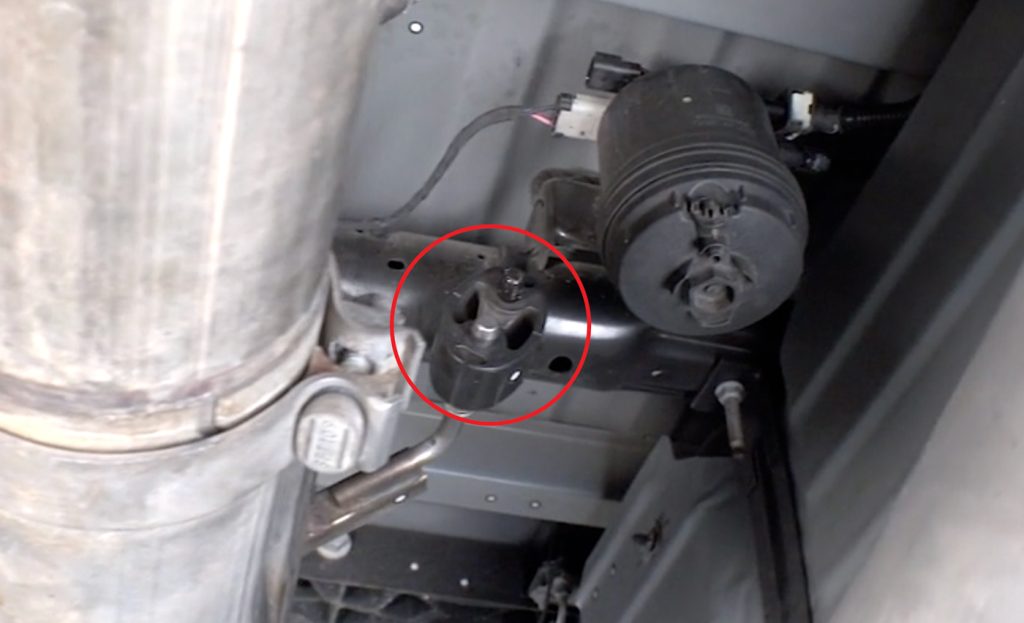
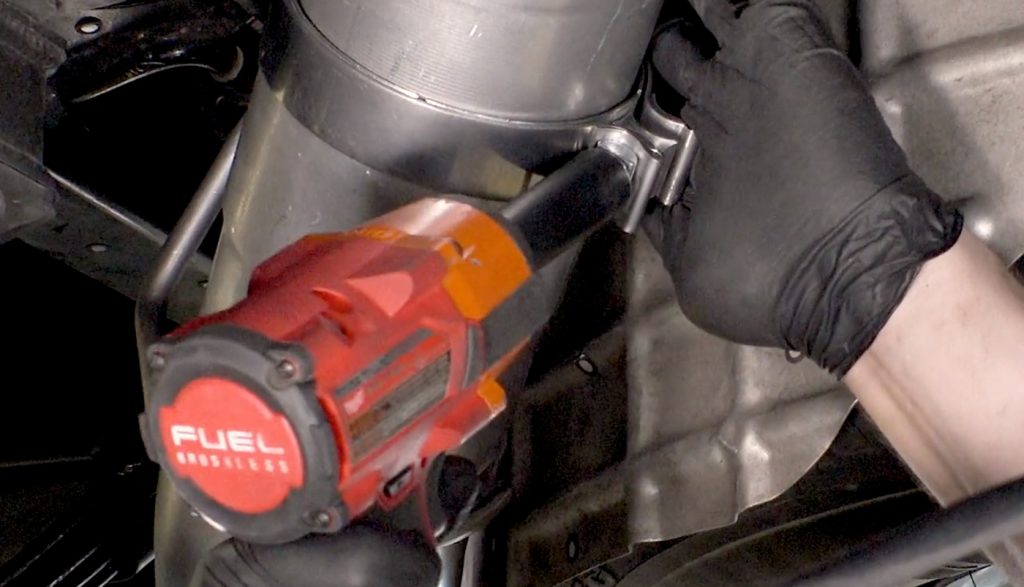
3. With a 15mm socket, loosen the two exhaust clamps.
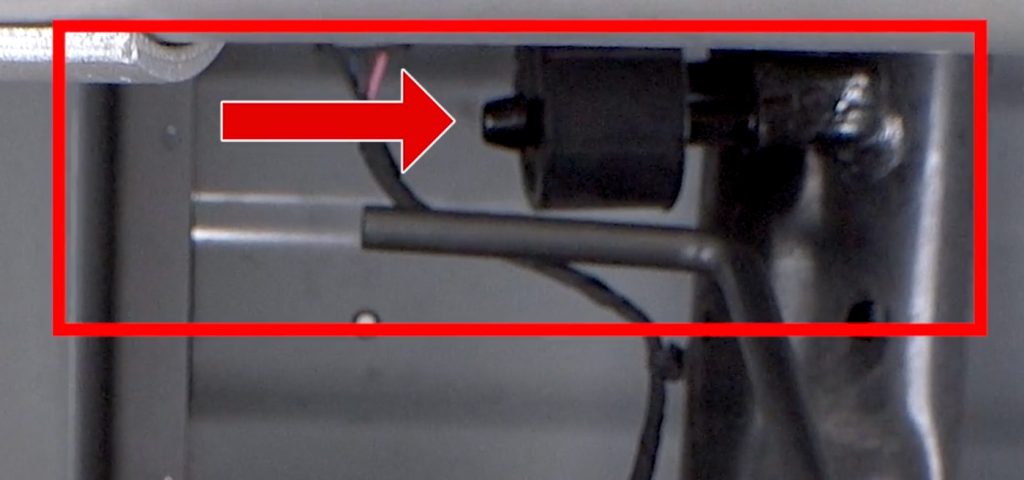
4. With a pair of exhaust hanger pliers, remove the rear rubber hanger.
(It’s the hanger closest to the spare tire.)
CAUTION: The pipe may drop down, so head’s up!
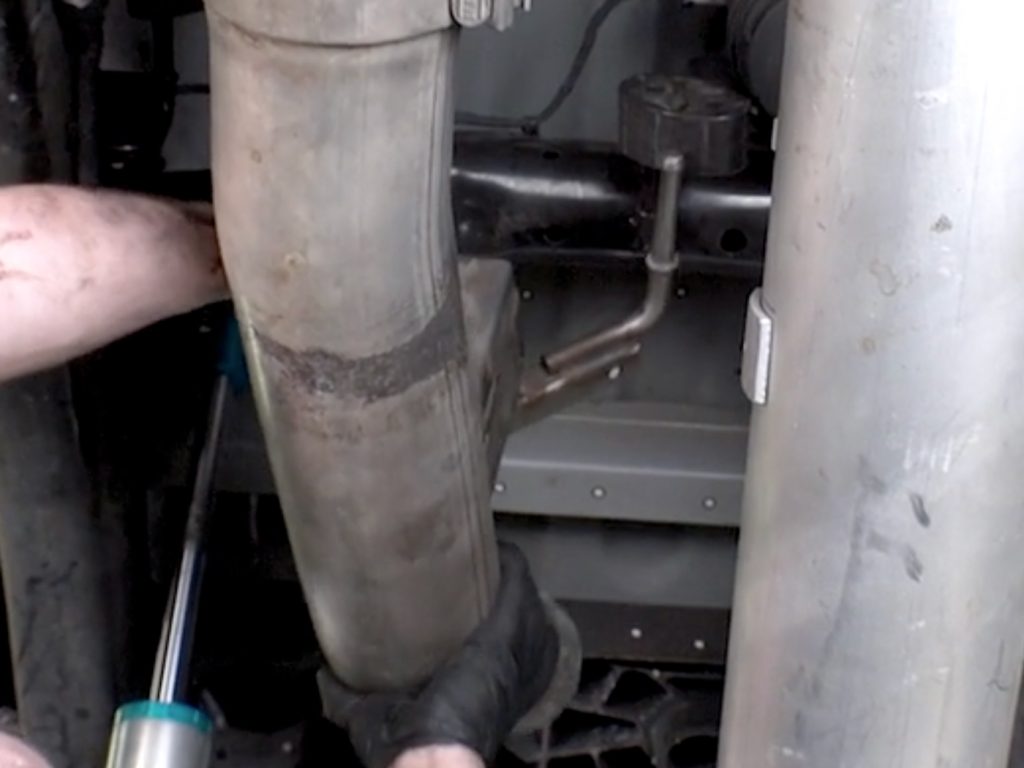
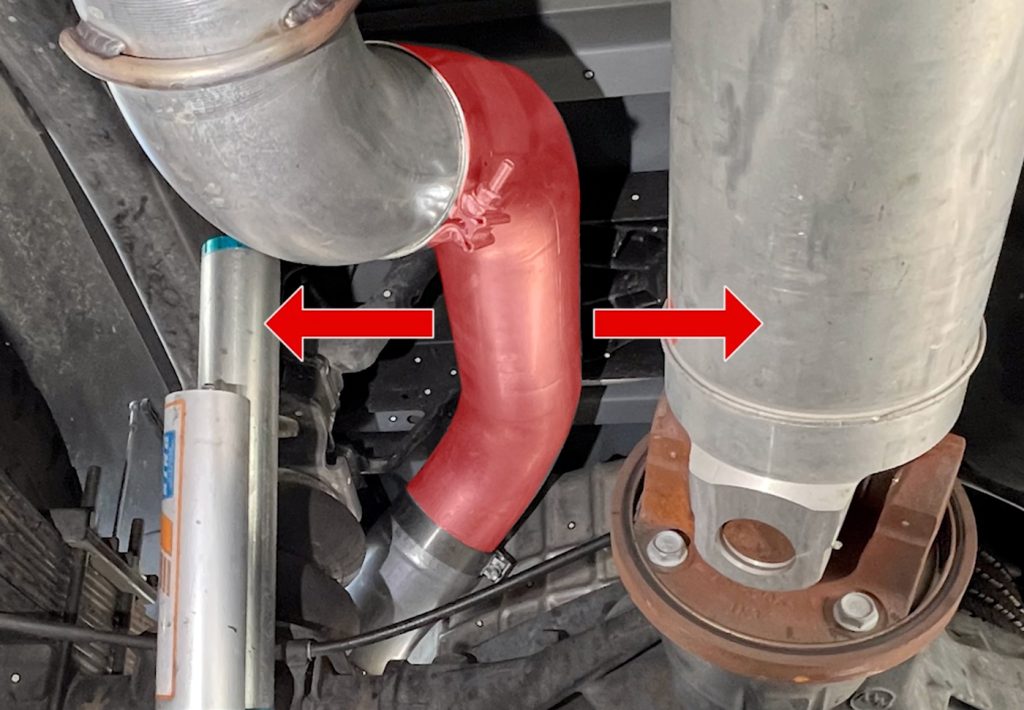
5. Remove the rear section of the exhaust pipe.
6. Now remove the front section of the pipe which connects to the DPF.
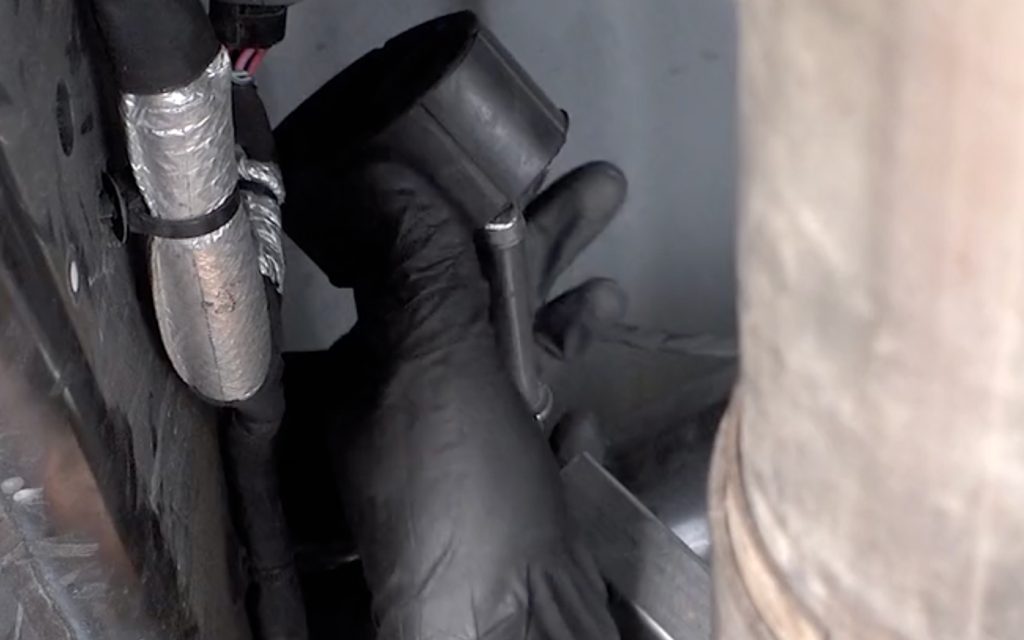
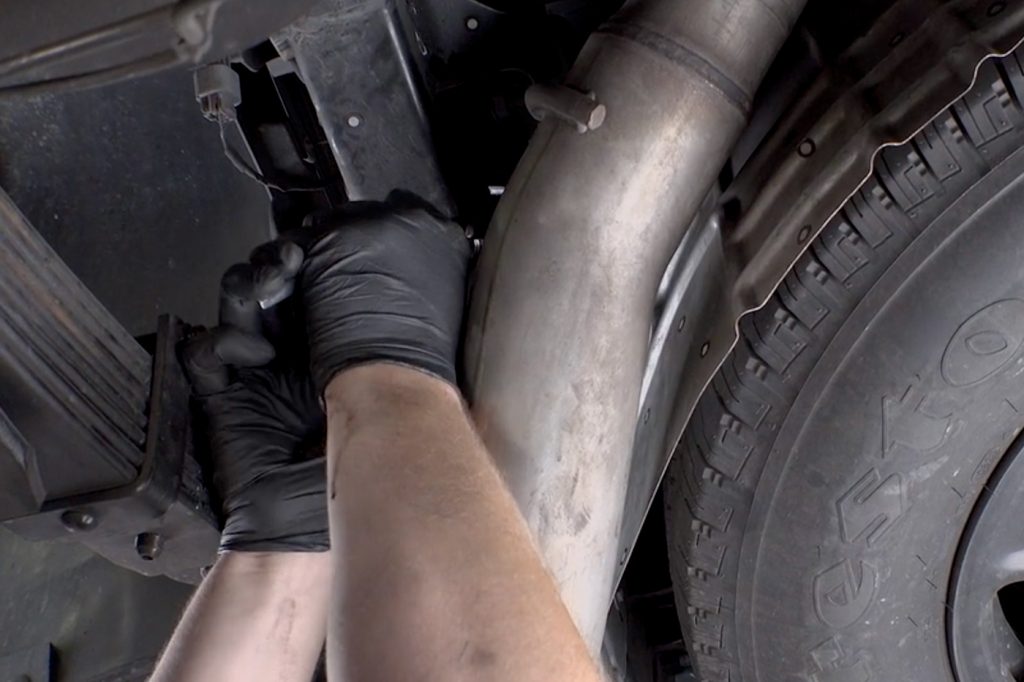
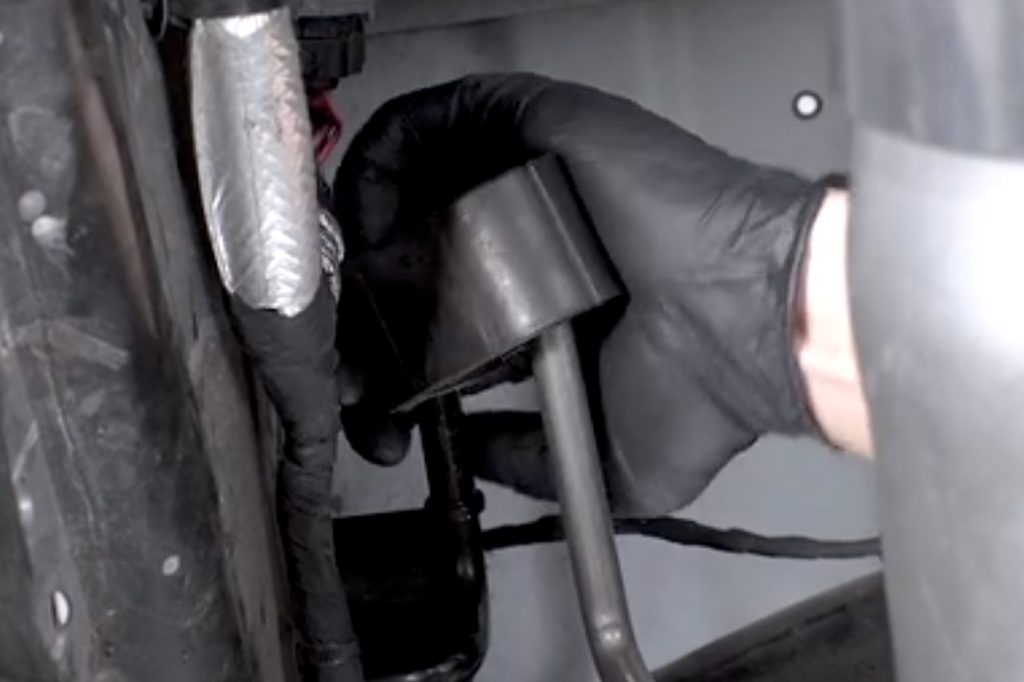
7. With the hanger pliers, free up the passenger side rubber hanger and leave it connected to the truck.
Move to the driver’s side and repeat the process.
8. When the hanger is free, use a back-and-forth rocking motion to gently remove the entire front section of the stock exhaust pipe.
Installing the Banks Monster Exhaust
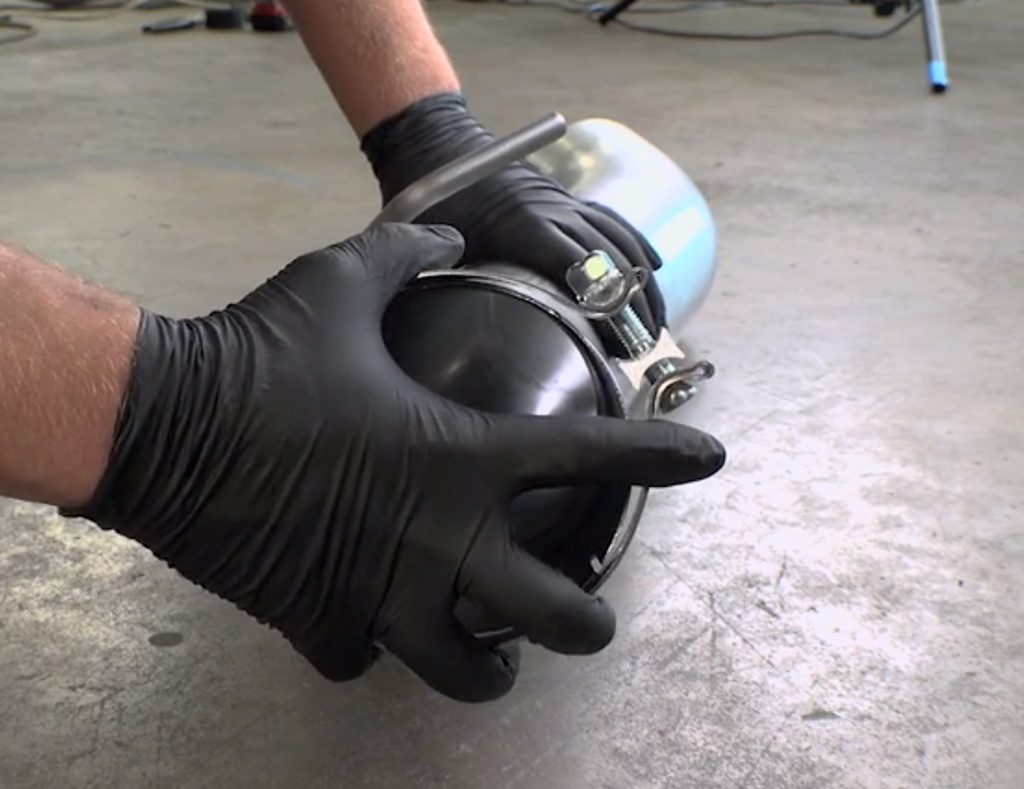
1. Place the 4.5” exhaust clamp over the front section of your new exhaust pipe.
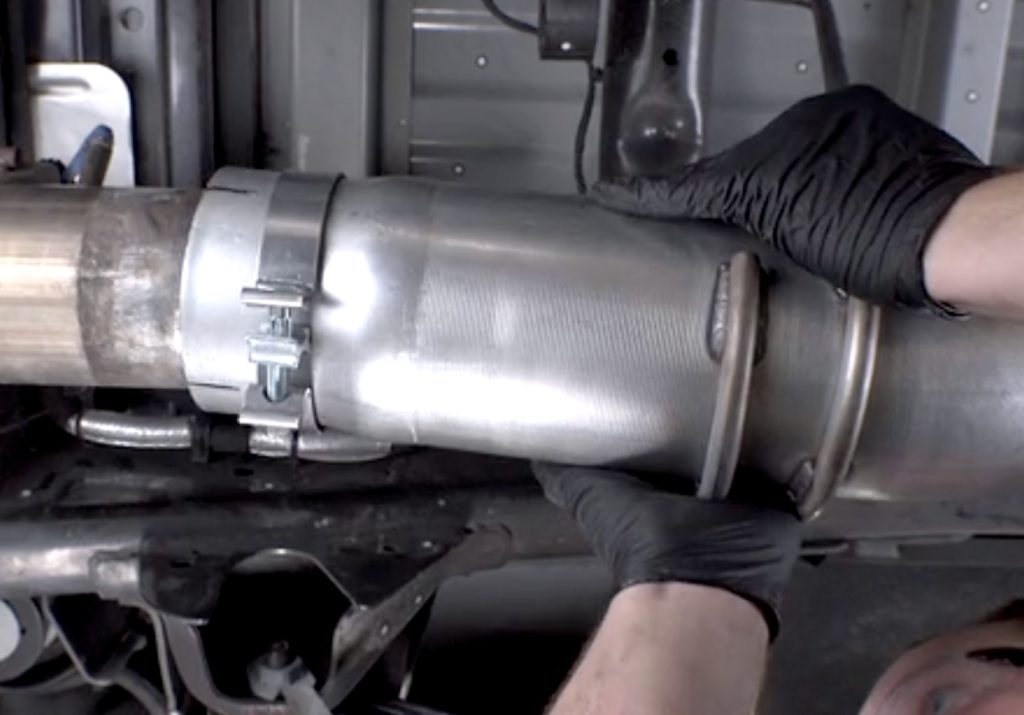
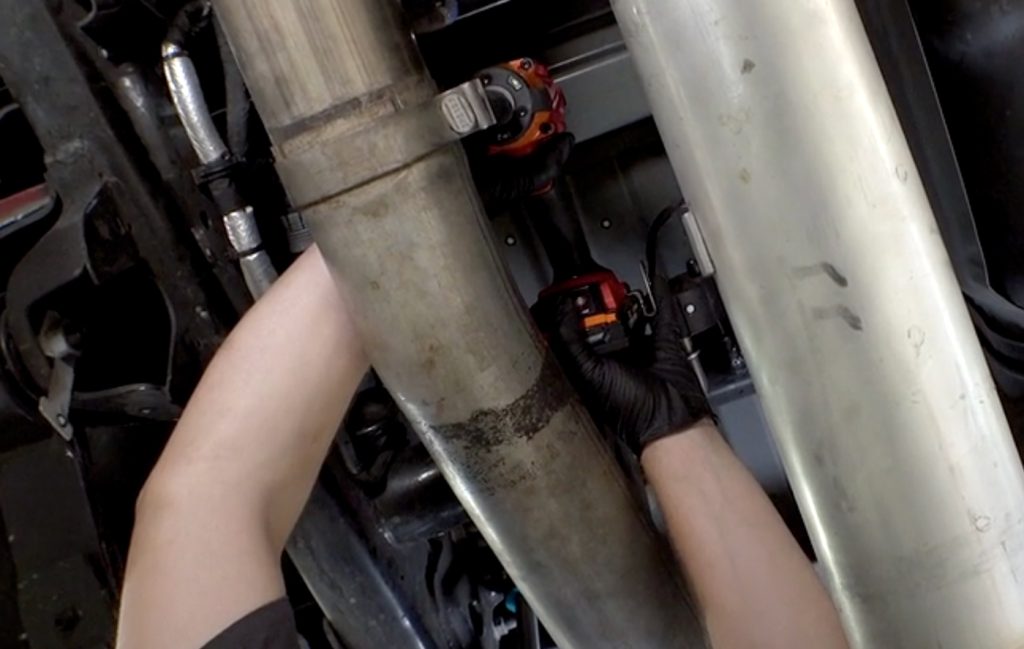
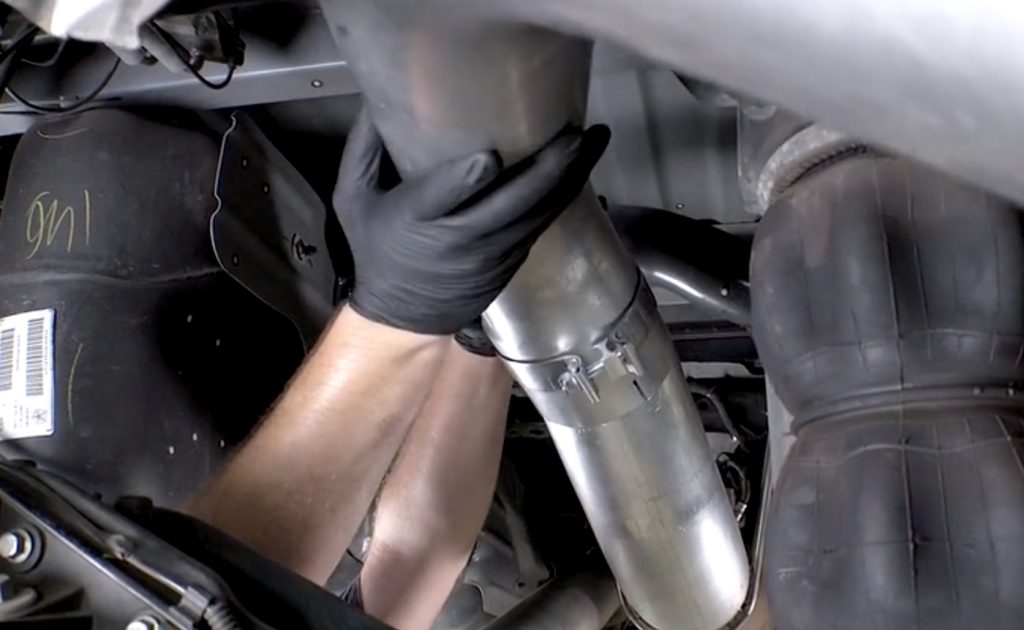
2. Slide the Monster Exhaust onto the stock pipe.
This may require some elbow grease. Rock back and forth as you push it over the stock pipe.
3. When it’s fully seated, slide the rubber hangers over the Monster Exhaust hangers.
4. Repeat the same step on the other side.
Please note: do NOT tighten the band clamp yet! You will want to adjust the fit later.
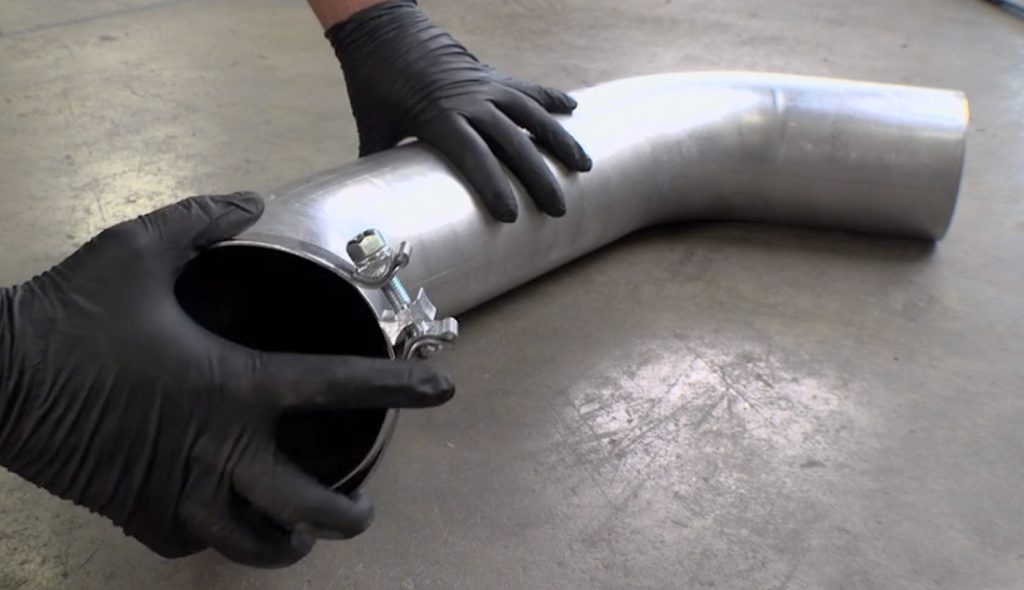
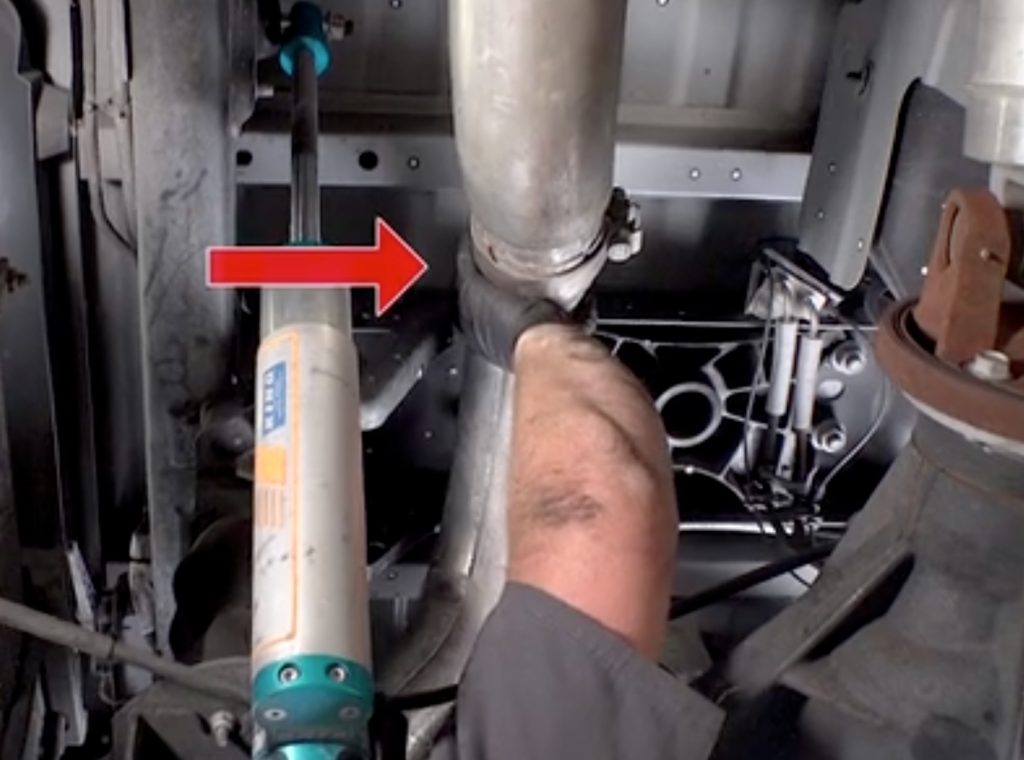
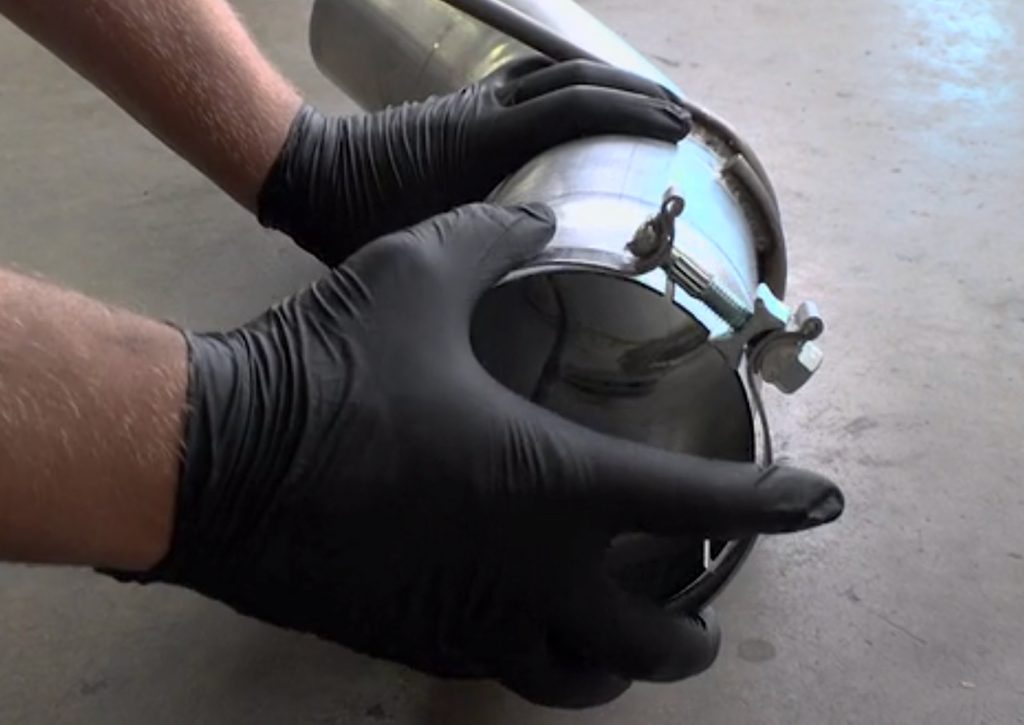
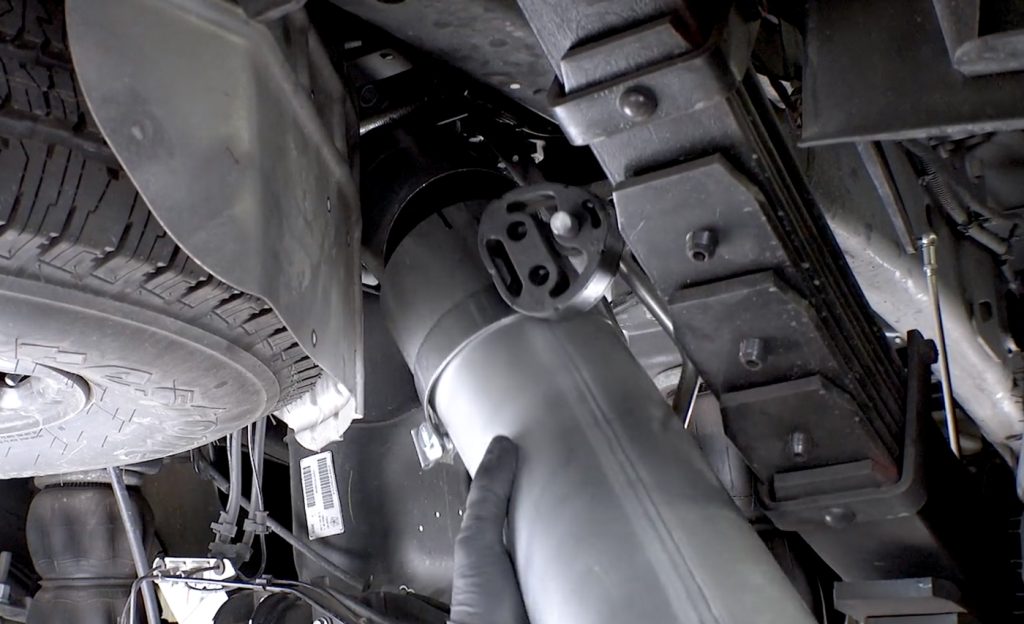
5. Place the 5” band clamp on the over-axle pipe.
6. Maneuver the Monster Exhaust over axle pipe up and over and connect it to the front section.
7. Place a 5” clamp over the rear section.
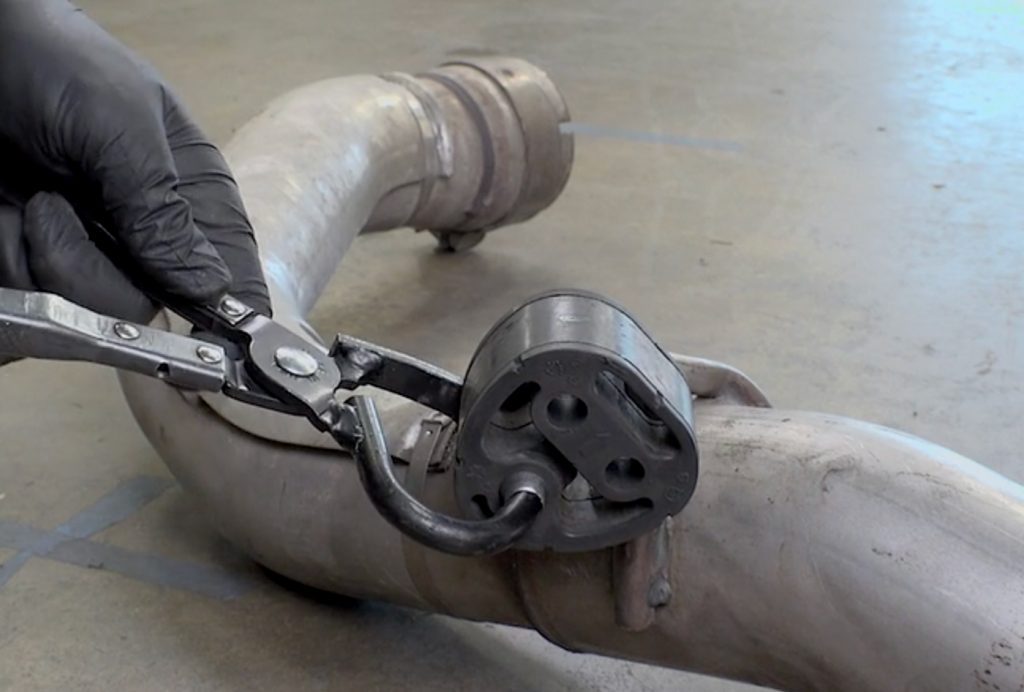
8. With your hanger removal tool or pry bar, remove the third rubber hanger from the stock pipe.
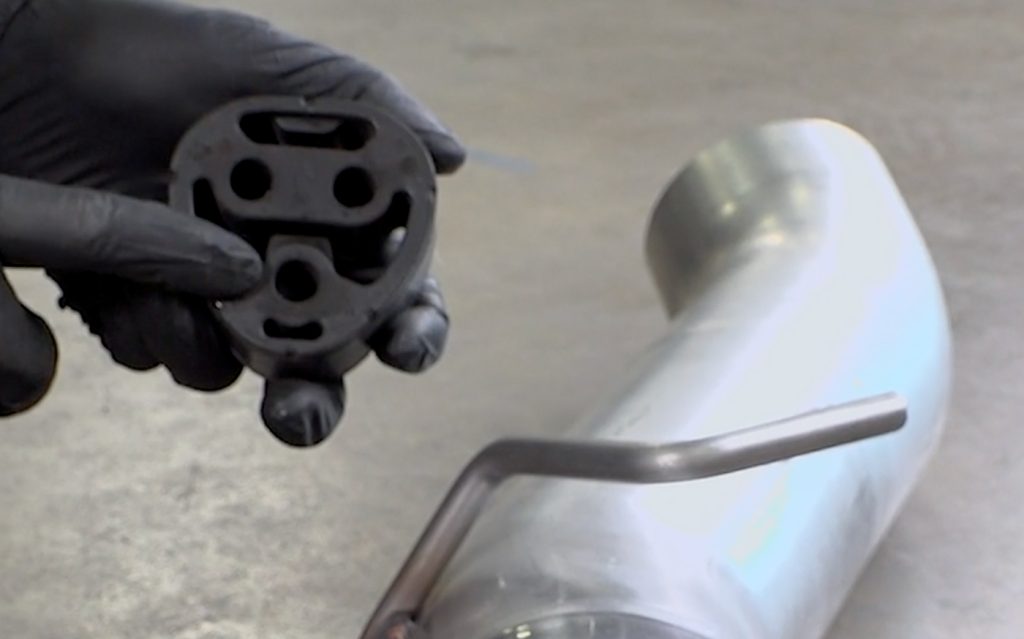
9. Install it on the Monster Exhaust rear hanger. Then push the rubber hanger onto the truck’s chassis hanger.
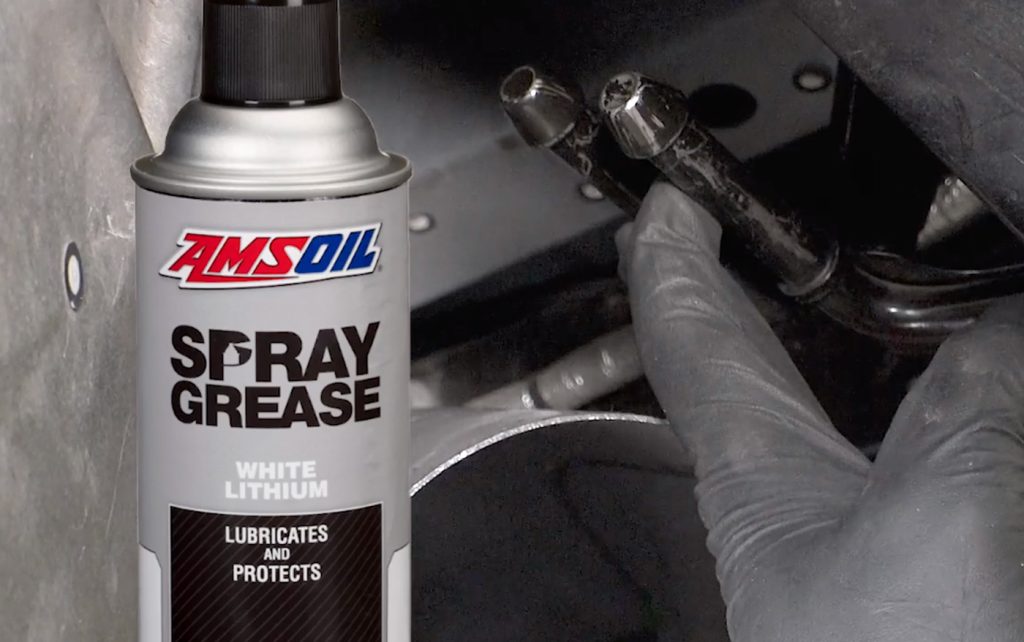
You may want to use some Amsoil Spray Grease for this part.
10. Insert the rear pipe onto the over axel pipe and push the rubber hanger in until its snug and fully seated on the metal hanger.
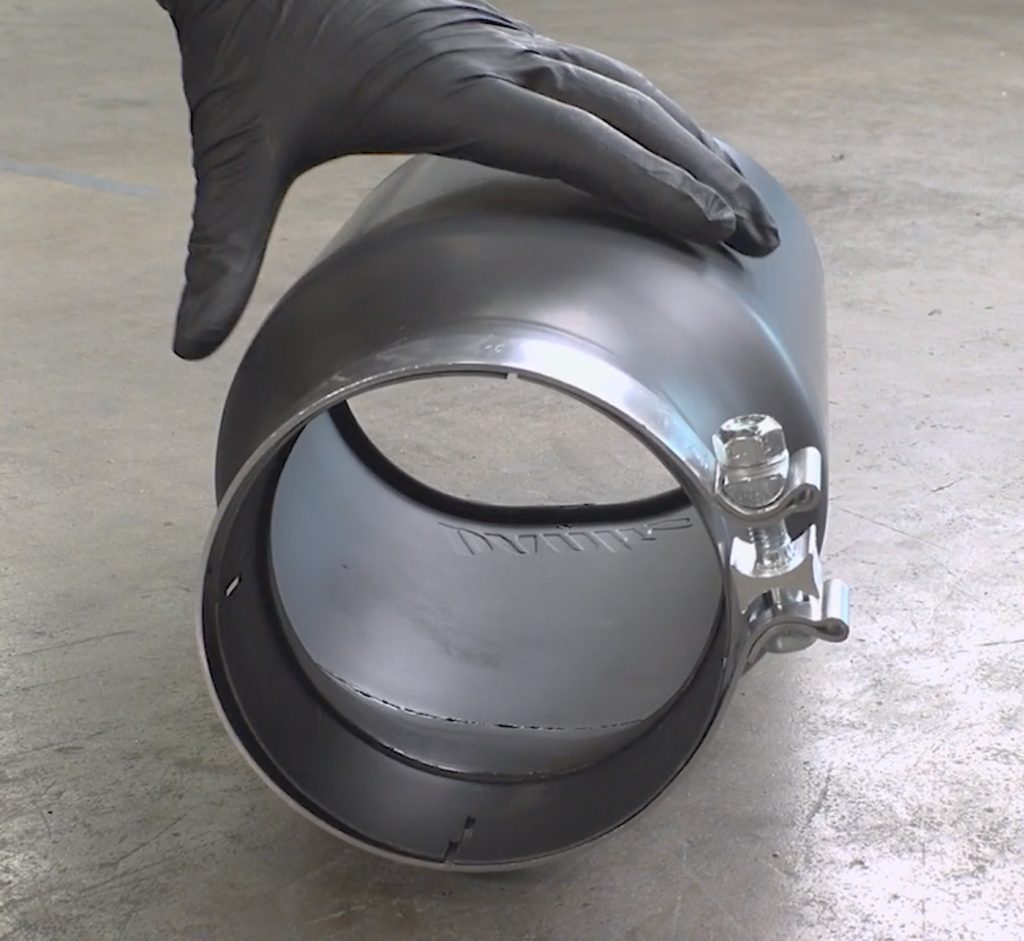
11. Slide the remaining 5” band clamp onto the patented sidekick tip.
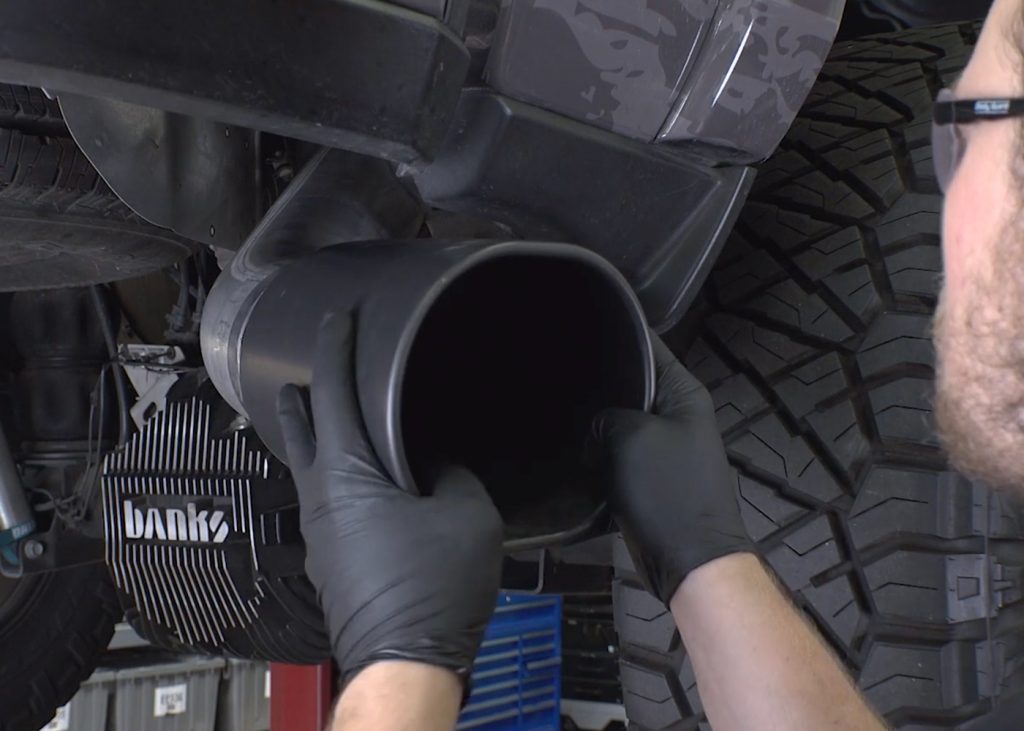
12. Slide the tip onto the exhaust pipe.
Aligning the Tip
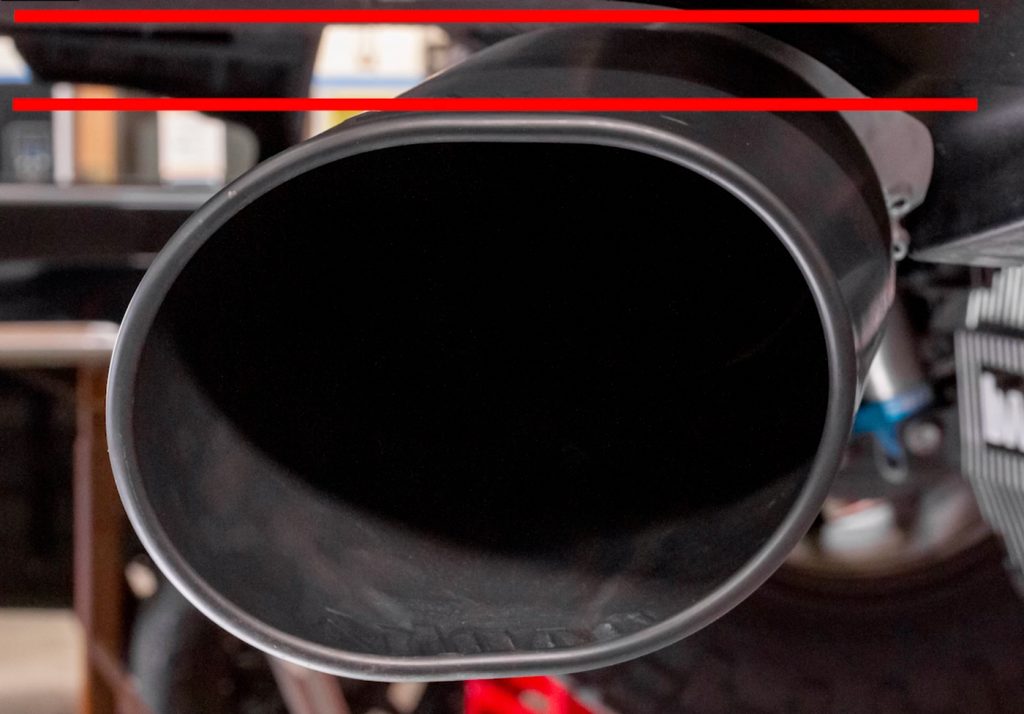
Once the tip is on and parallel to the bottom of the truck, tighten the clamp enough to hold it in place while you fine-tune the alignment.
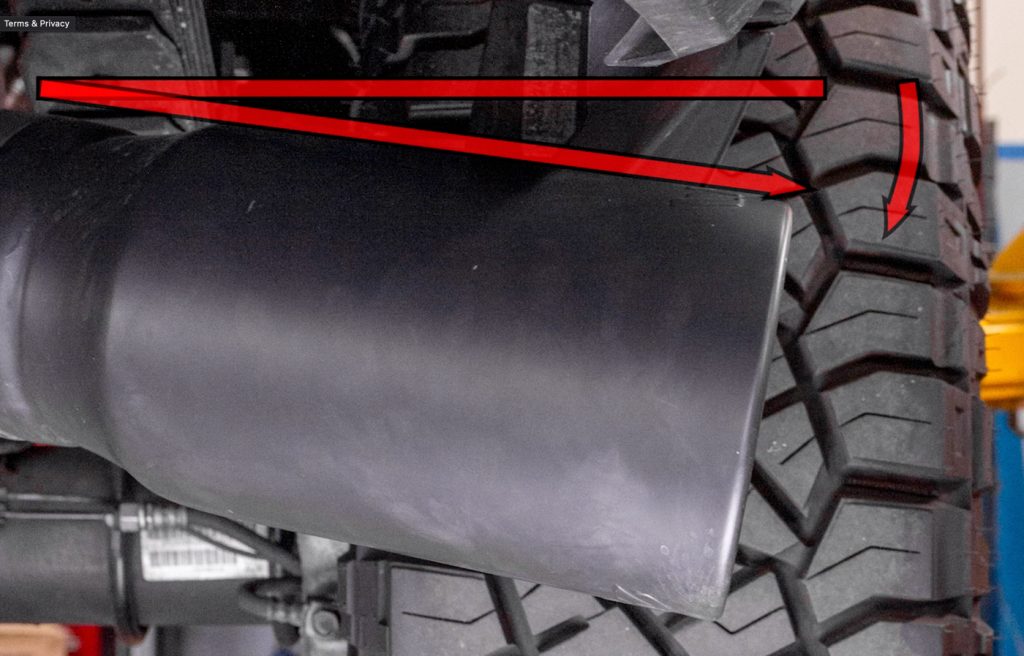
We recommend angling it a few degrees downward to allow condensation to run off.
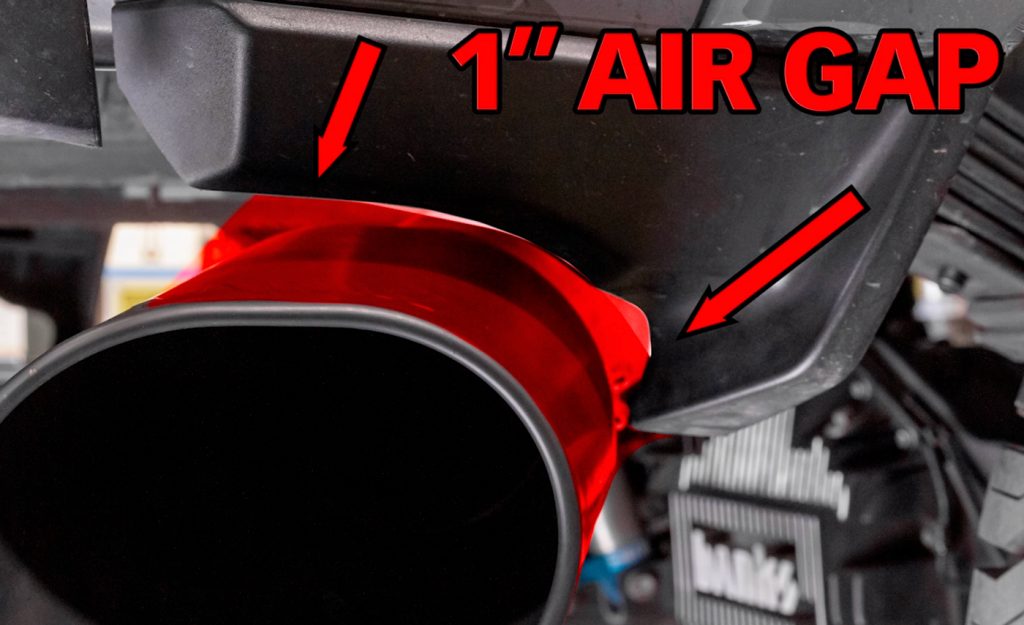
The exhaust is designed to have a 1″ air gap around the tip.
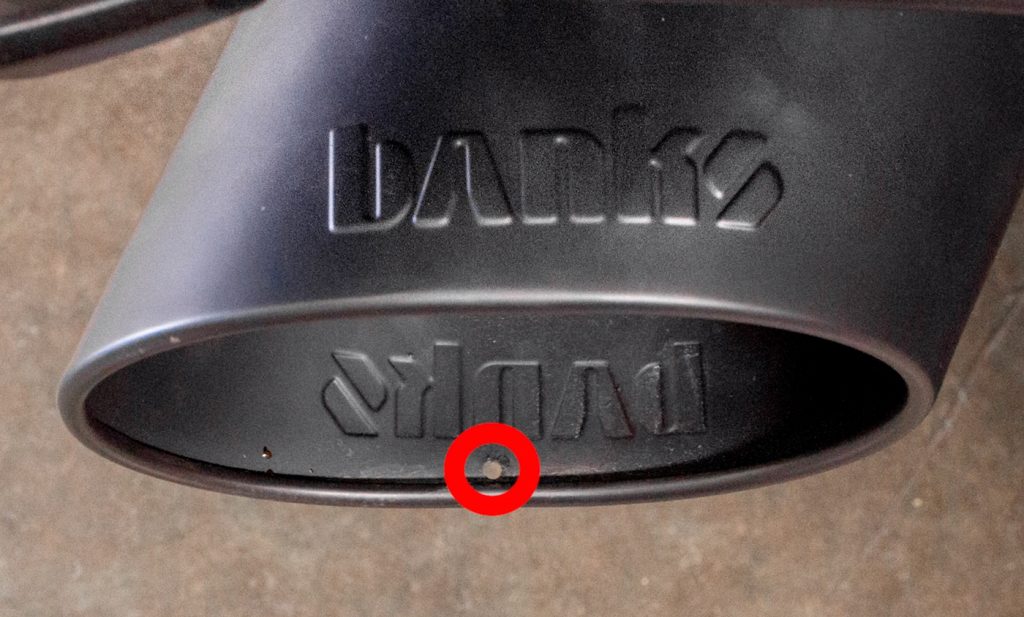
Remember, the Banks logo faces the sky and the drain hole faces the ground.
If you have difficulty aligning the tip, try adjusting the over-axle section.
When you’re happy with the alignment of the tip, go back and tighten all the clamps to approximately 50-foot lbs.
Reattach both negative terminals on your batteries and enjoy your new exhaust!