




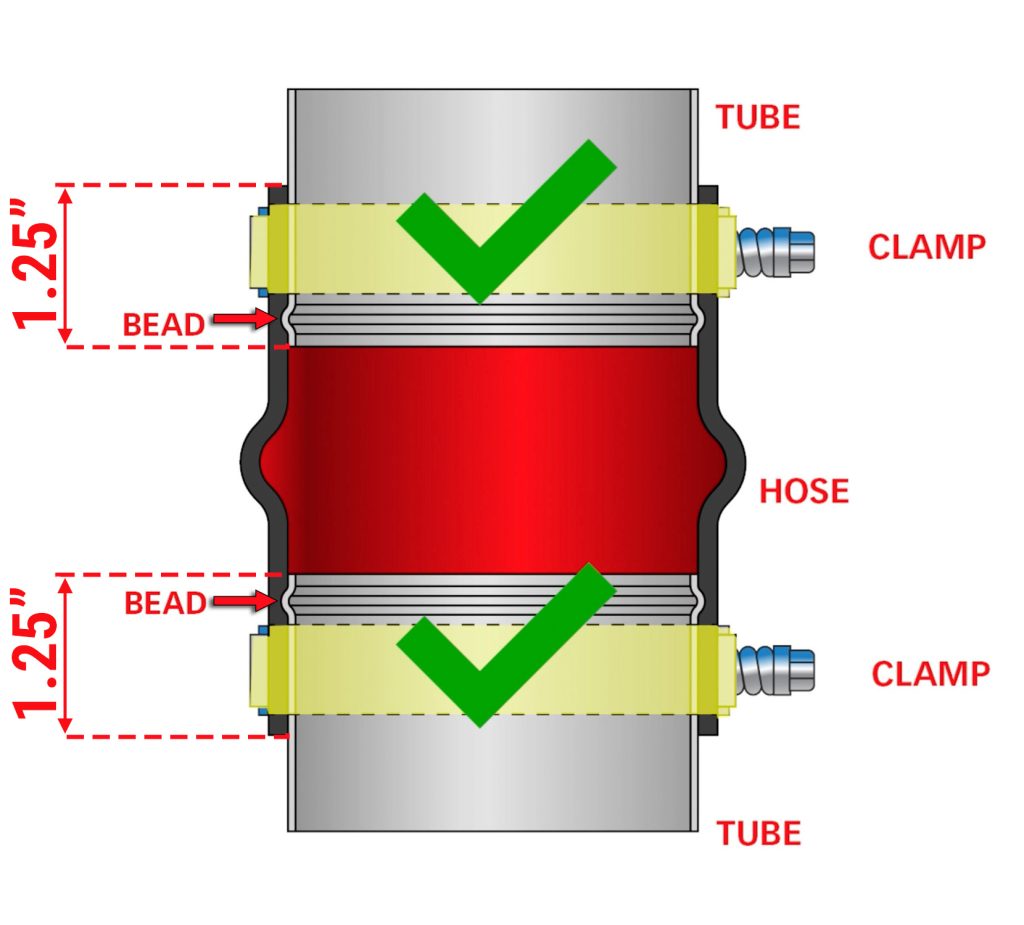
When installing the clamps, be sure the hose and clamps go on far enough to clear the bead on each end, about 1.25 inches.
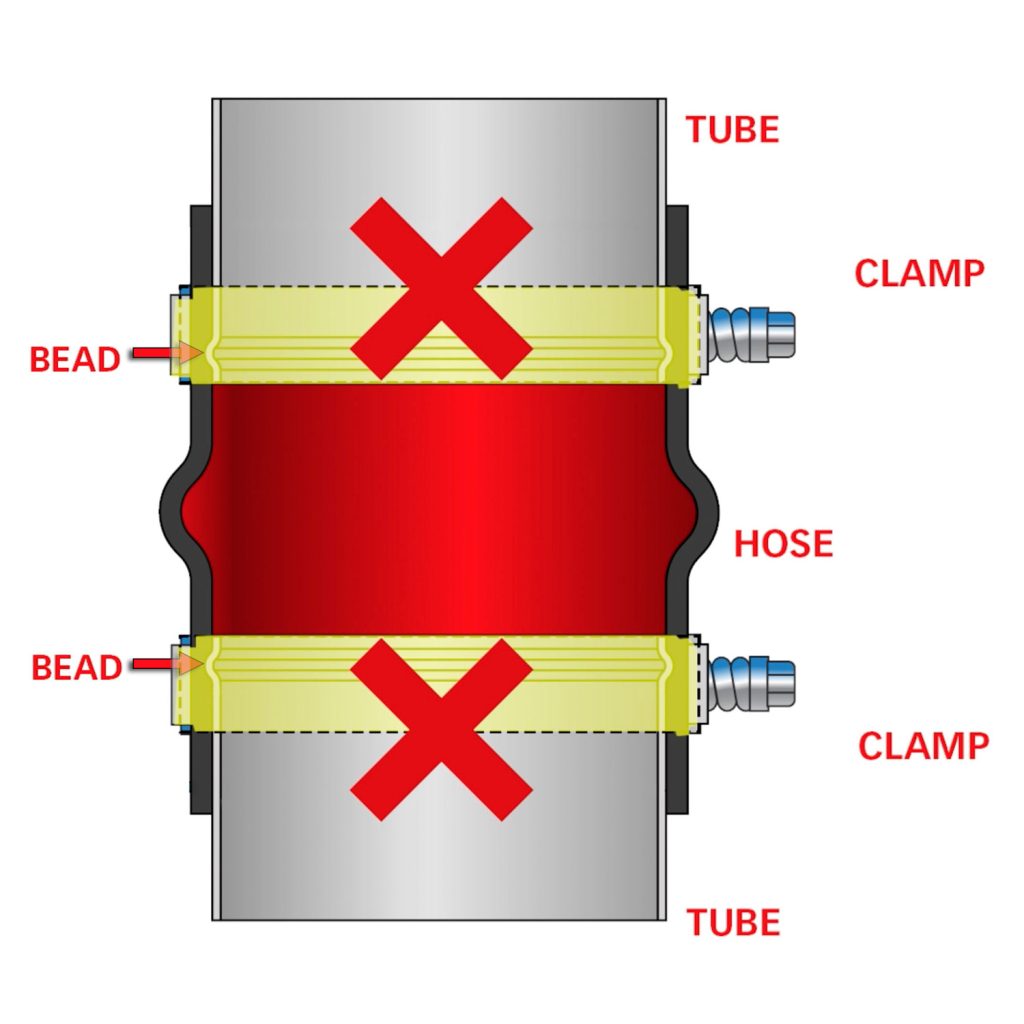
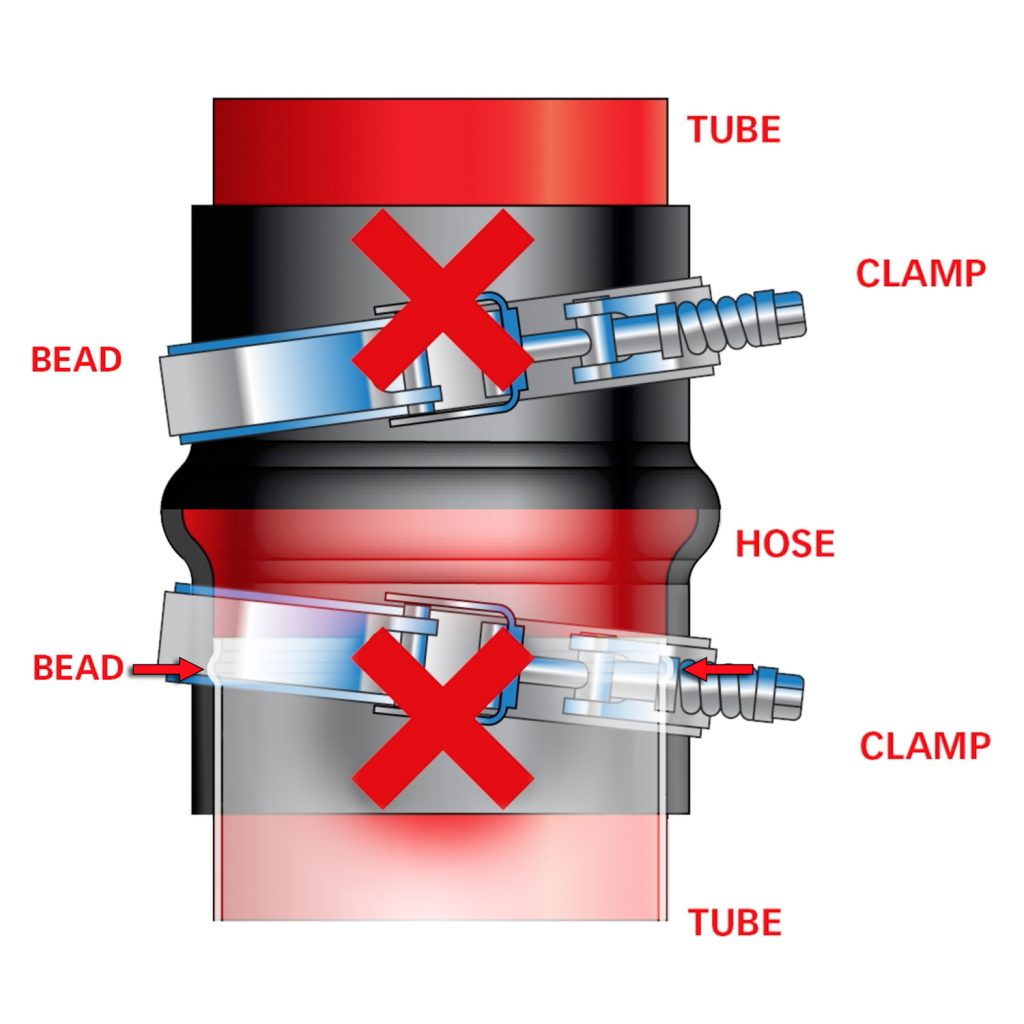
An improper installation, such as a clamp sitting directly on a bead or crossed diagonally, will result in a boost leak.

Required Tools
1. For ease of installation of your Banks Monster-Ram Intake, Please familiarize yourself with the procedure by reading the entire manual before starting work.
2. Throughout this manual, the left side of the vehicle refers to the driver’s side, and the right side to the passenger’s side.
3. Disconnect the negative (ground) cable from the battery (or batteries, if there are two) before beginning work.
4. Route and tie wires and hoses a minimum of 6” away from exhaust heat, moving parts and sharp edges. Clearance of 8” or more is recommended where possible.
5. The installation should be performed at time when the vehicle has been allowed to completely cool. This installation requires the installer to work near surfaces that may remain hot after the vehicle has been run. Failure to allow the vehicle to cool may result in personal injury.
6. When raising the vehicle, support it on properly weight-rated safety stands, ramps or a commercial hoist. Follow the manufacturer’s safety precautions. Take care to balance the vehicle to prevent it from slipping or falling. When using ramps, be sure the front wheels are centered squarely on the topsides. When raising the front of the vehicle, put the transmission in park (automatic) or reverse (manual), set the parking brake, and block the rear wheels. When raising the back of the vehicle, be sure the vehicle is on level ground and the front wheels are blocked securely.
Caution! Do not use floor jacks to support the vehicle while working under it. Do not raise the vehicle onto concrete blocks, masonry, or any other item not intended specifically for this use.
7. During installation, keep the work area clean. Do not allow anything to be dropped into intake, exhaust, or lubrication system components while performing the installation, as foreign objects will cause immediate engine damage upon start-up.

1. Secure the truck on a lift and remove both front tires. Using a 3/8 socket and extension, remove both front fender liners.

2. With a 10MM socket loosen and disconnect the driver’s side battery terminal.

3. Move to the passenger’s side and disconnect the other battery.

4. With a flathead screwdriver, remove all of the plastic pins holding the fresh air scoop in place.
Be sure to move to the backside and remove the last two clips.

5. Remove the fresh air scoop lid.
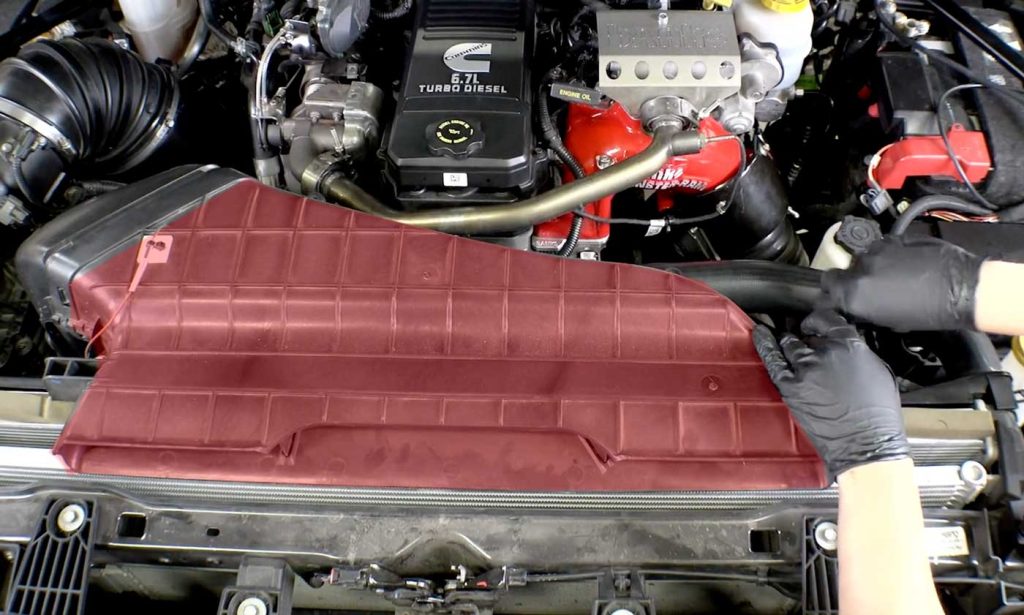
6. With the 3/8 ratchet extension, remove the air scoop.
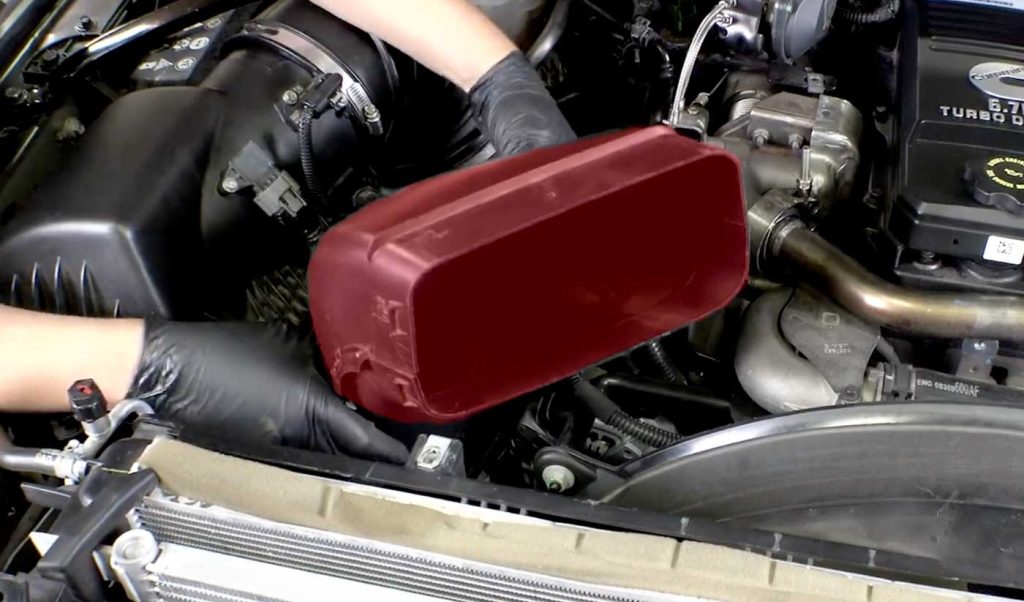
7. Remove the fresh air duct.
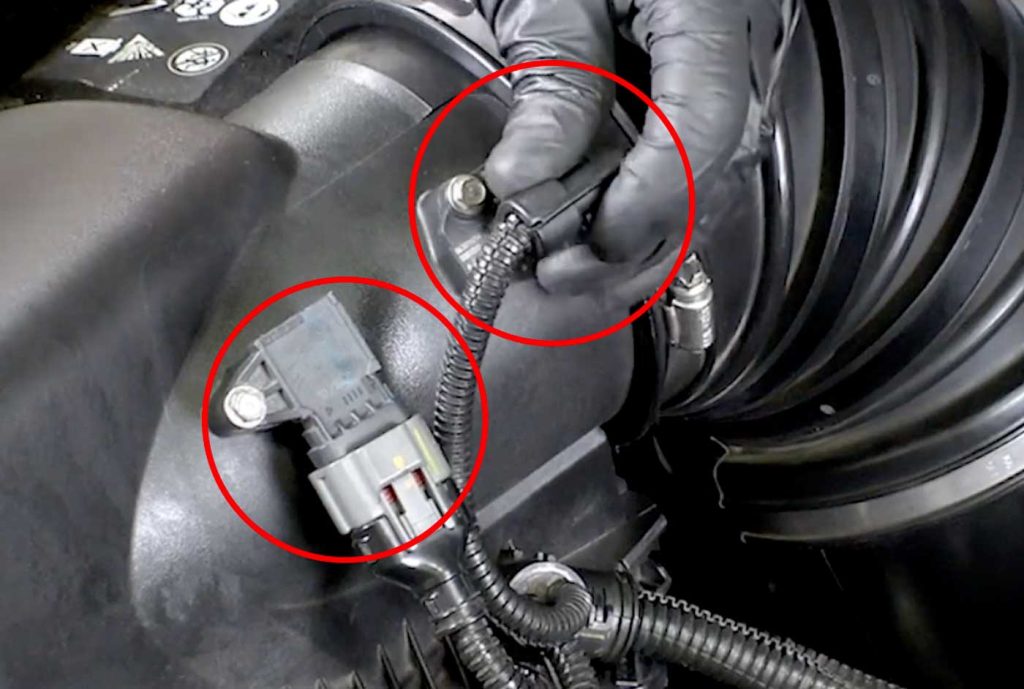
8. Disconnect the MAF and pressure sensor and move to the side.
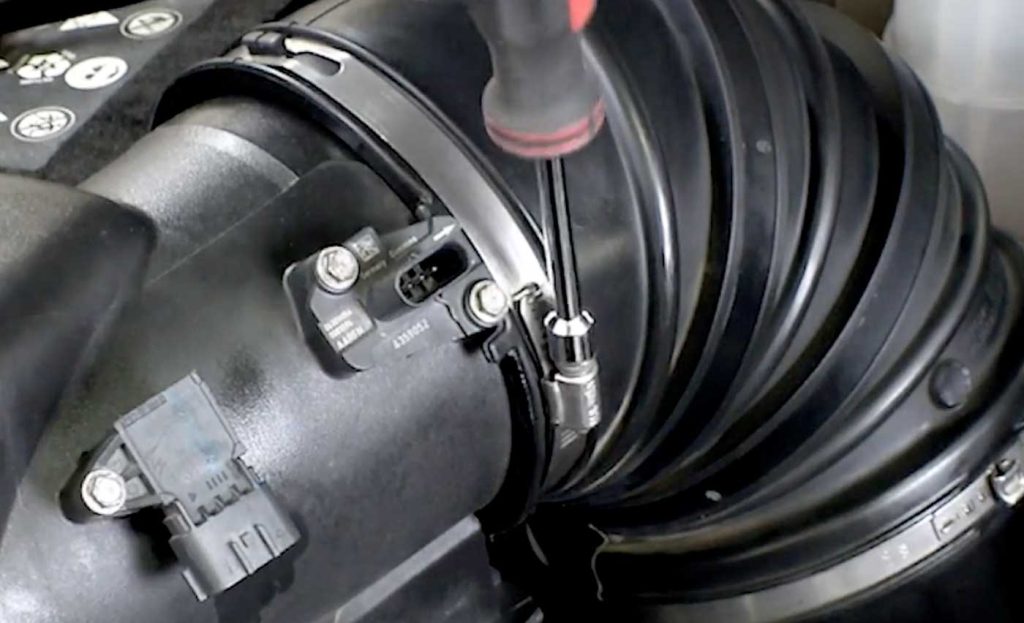
9. Loosen the clamps on the intake tube and remove the intake tube.
Please note: It may take some elbow grease to remove. Use a side-to-side motion to free the tube.
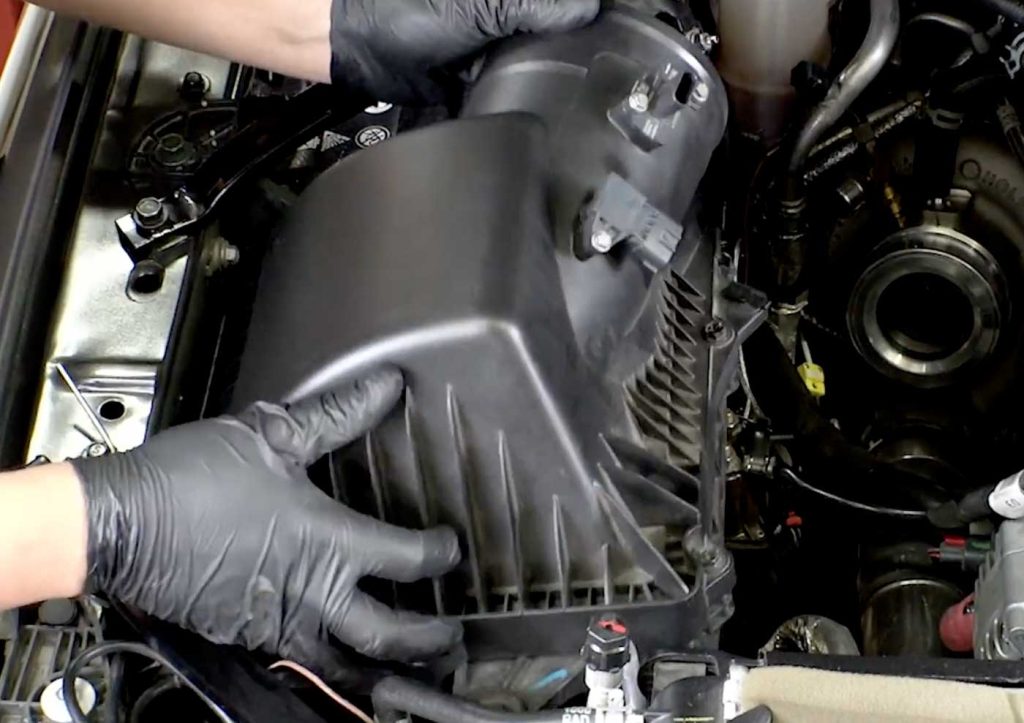
10. Pull up and remove the airbox.
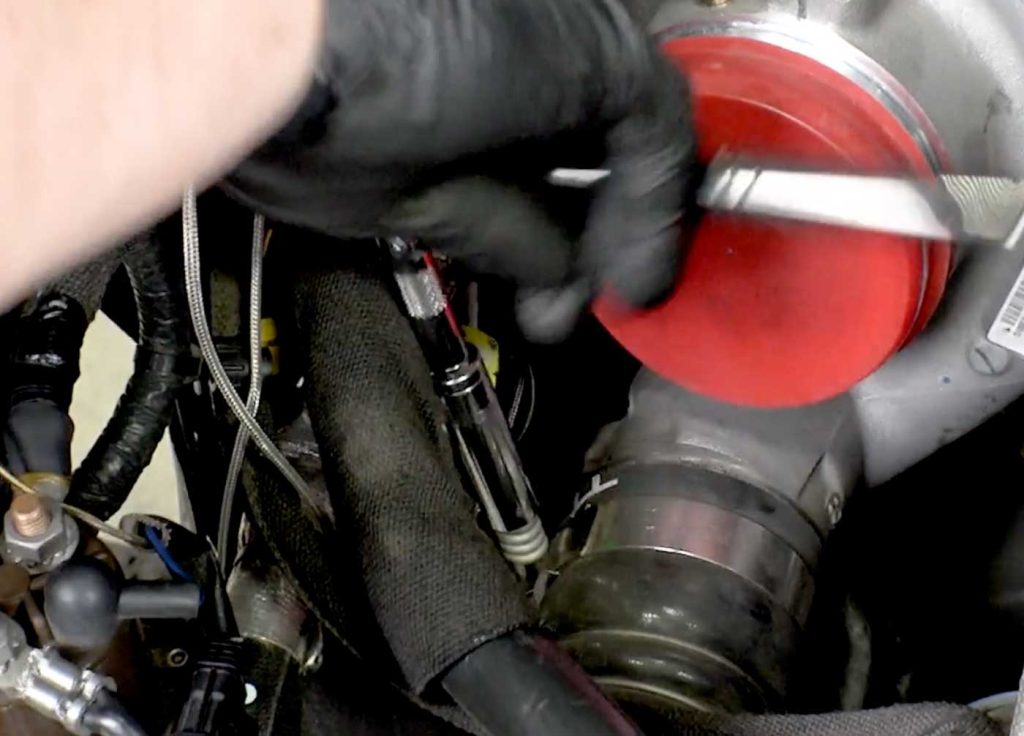
11. With the 11MM socket, loosen up the passenger hot side boost tube clamp.
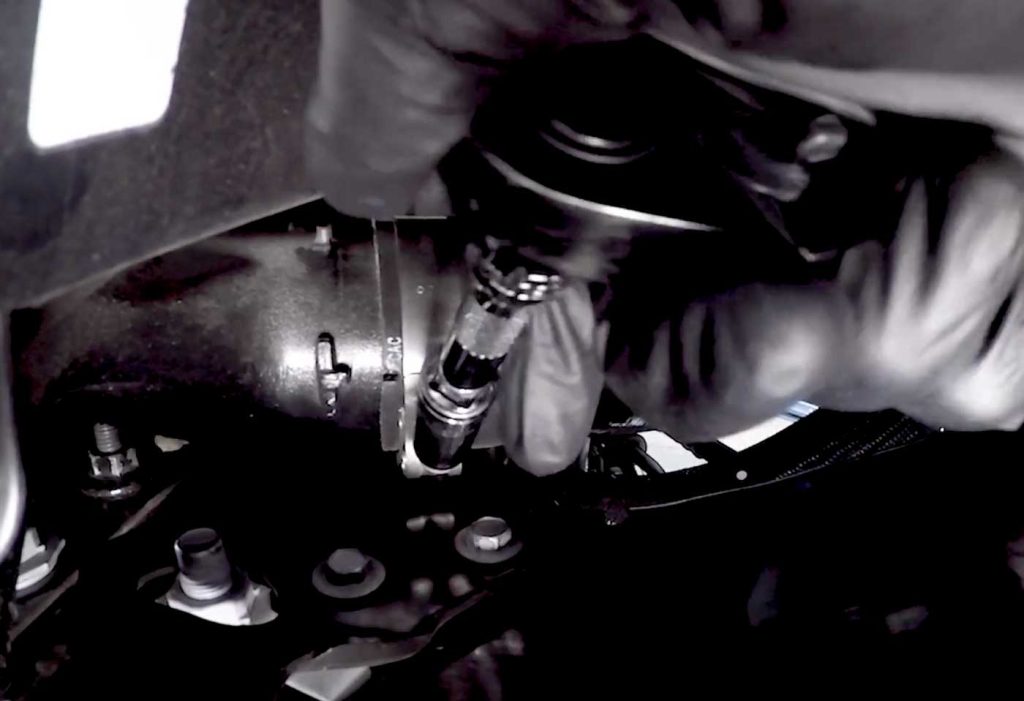
12. Next loosen the lower passenger side boost tube clamp.
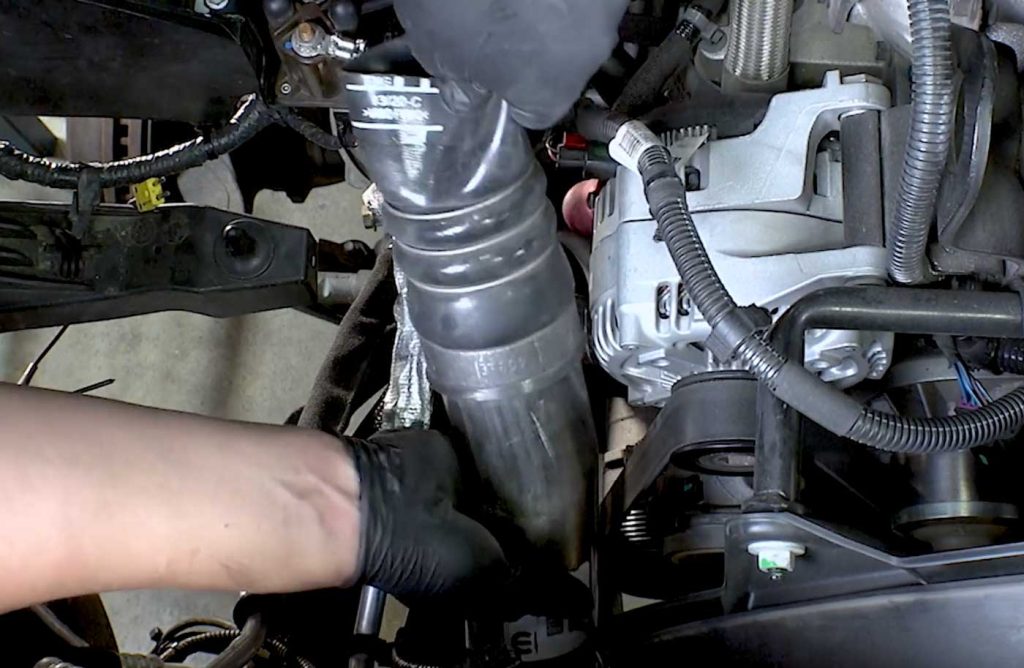
13. Remove the passenger side boost tube from the vehicle.
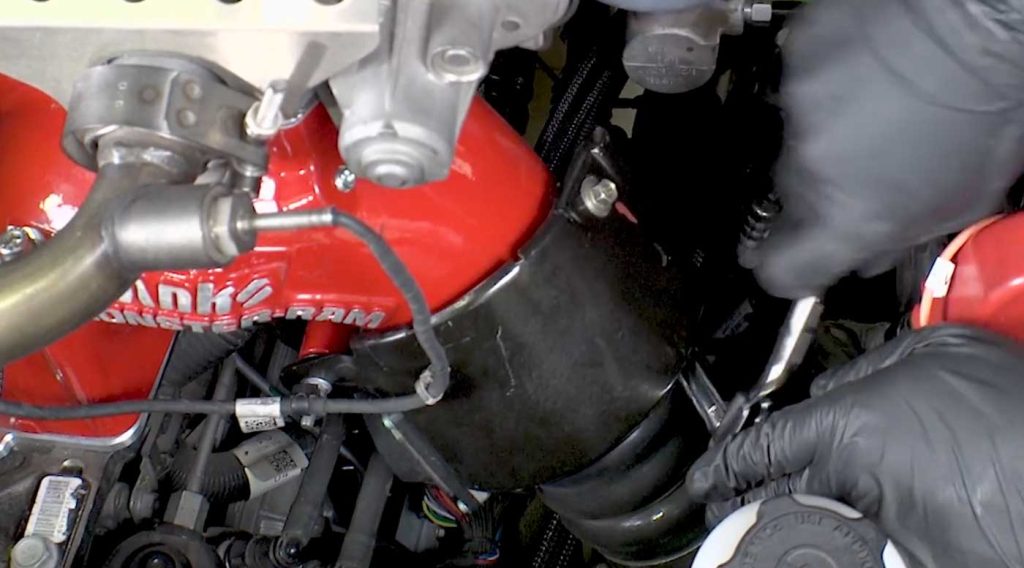
14. Using the 11MM socket, loosen the driver side upper boost tube clamp.
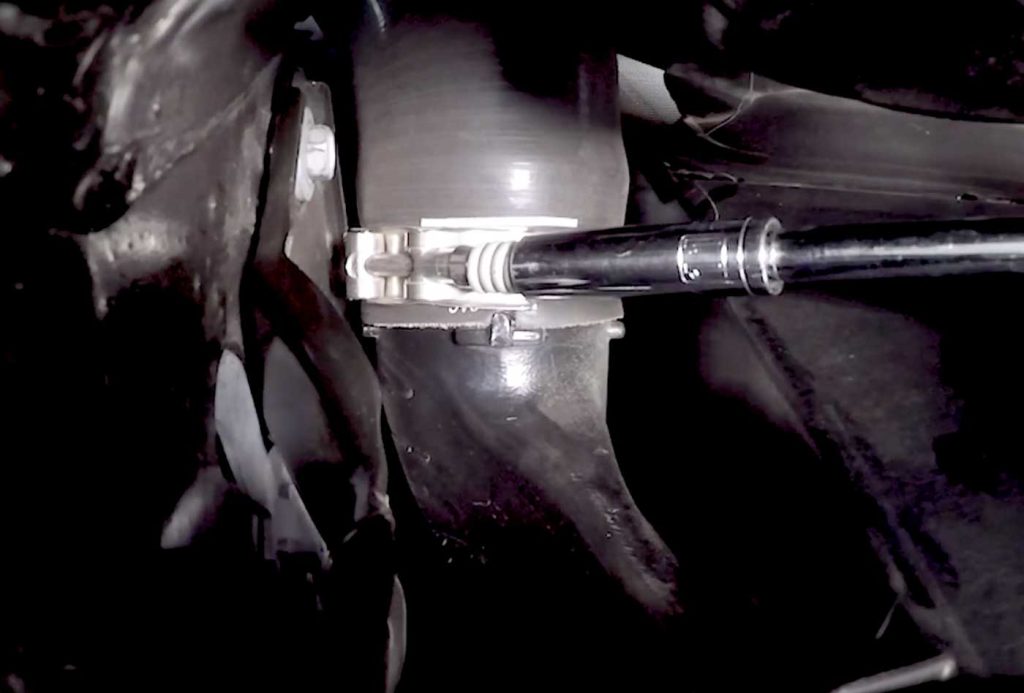
15. Loosen the lower side clamp and remove the stock boost hot side tube from the vehicle.
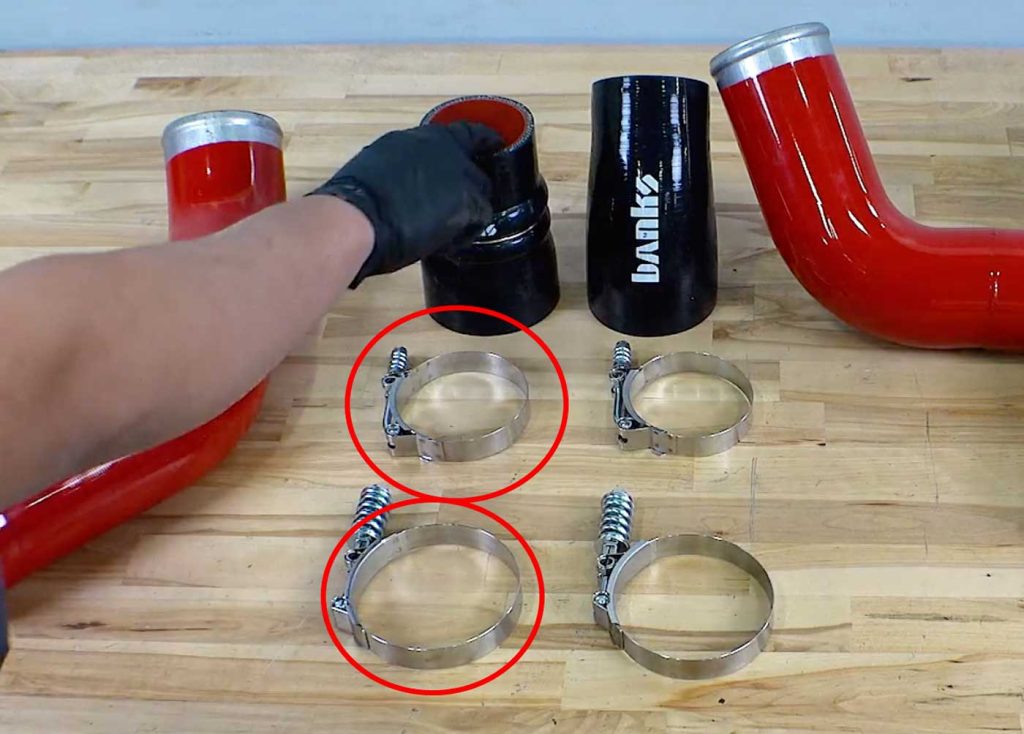
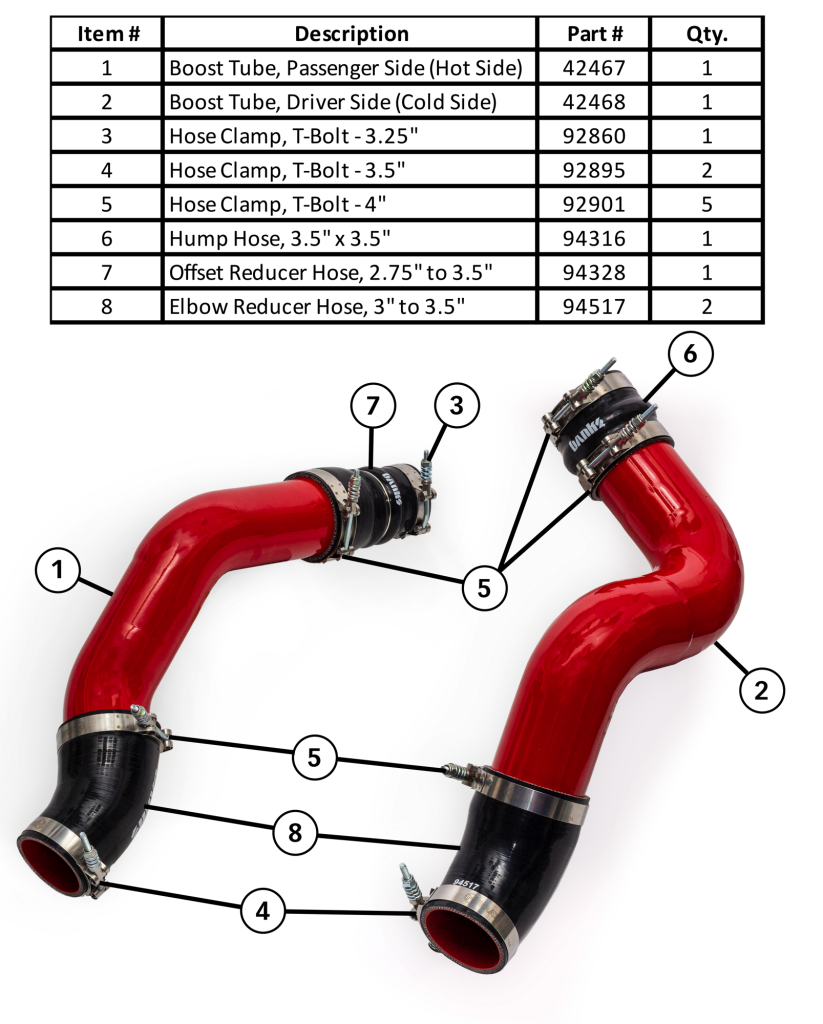
1. Install the upper offset hose and two clamps.
The 3.25″ Small Clamp Goes On The Turbo End
The 4.0″ Large Clamp Goes Around The Boost-Tube
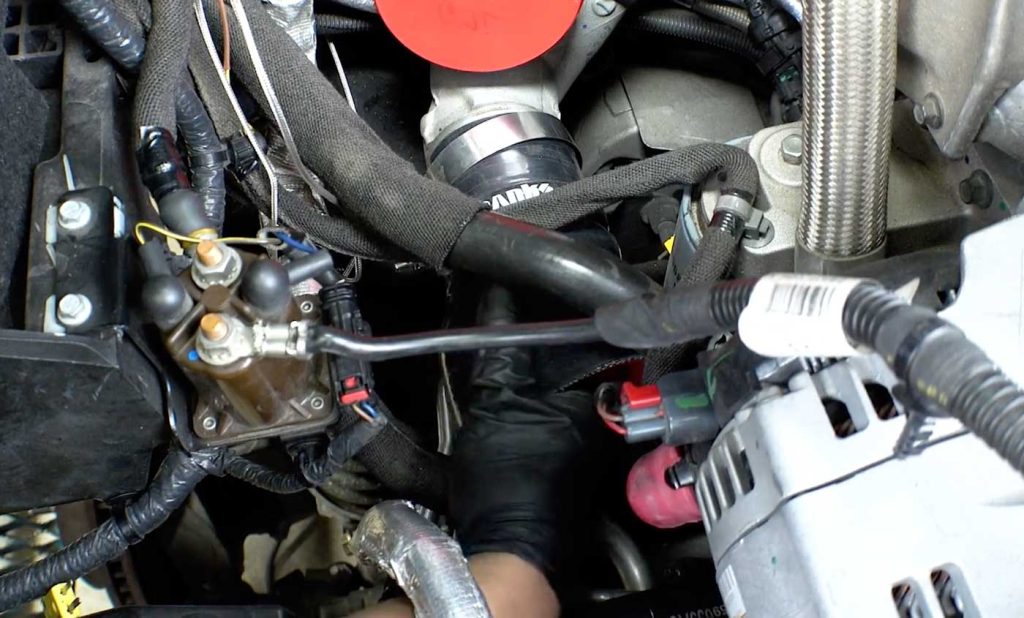
Note: The bulge for the offset hose should face the passenger side fender, away from the engine.
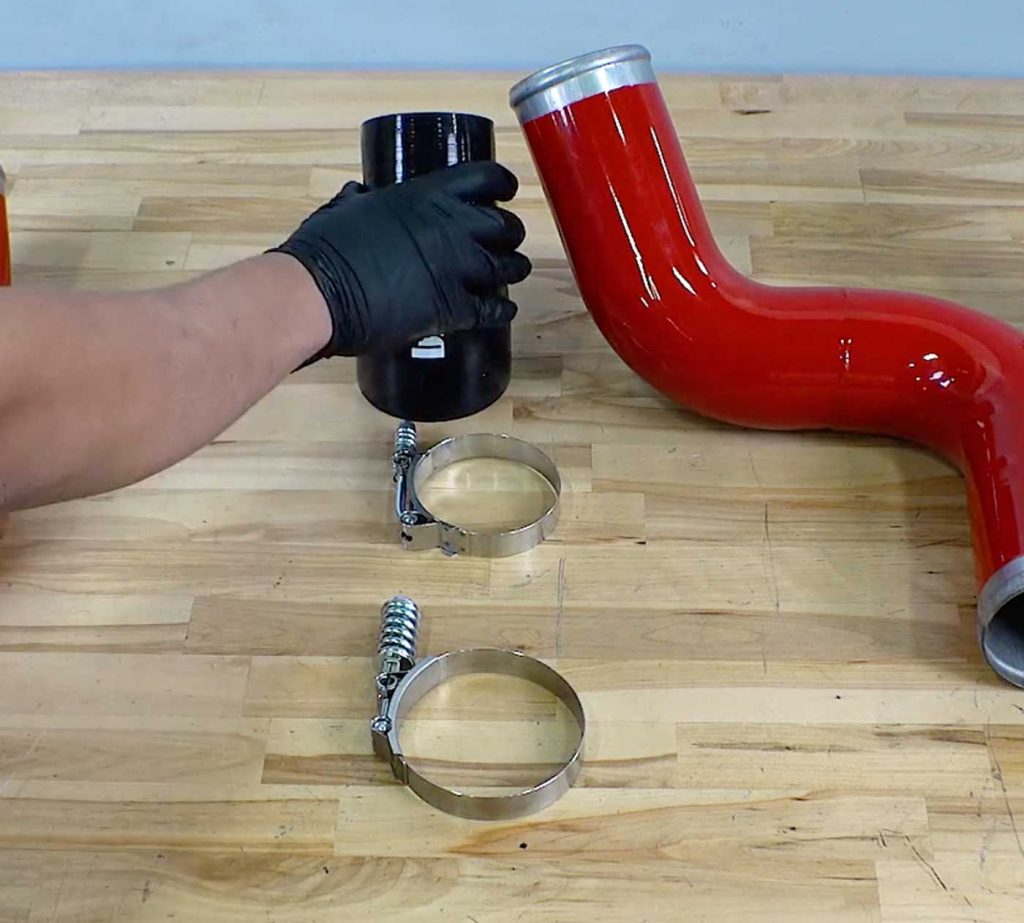
2. Install the elbow reducer and tube and clamps.
The 3.5″ Clamp Goes On The Intercooler End
The 4.0″ Large Clamp Goes Around The Boost-Tube
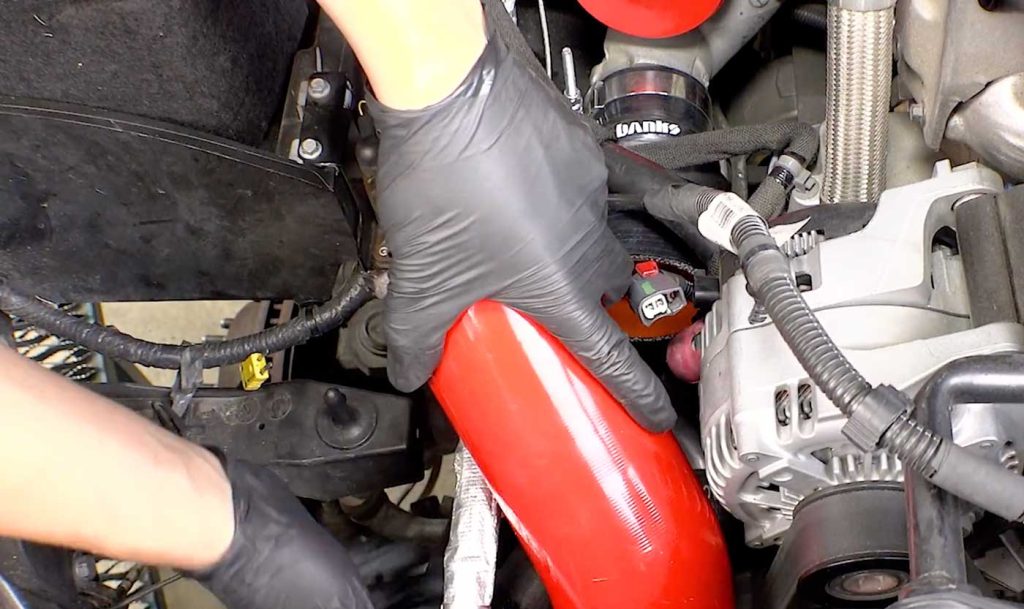
3. Retrieve and install the passenger hot side boost tube.
Note: Lubricate with silicone and use a side-to-side motion to install.
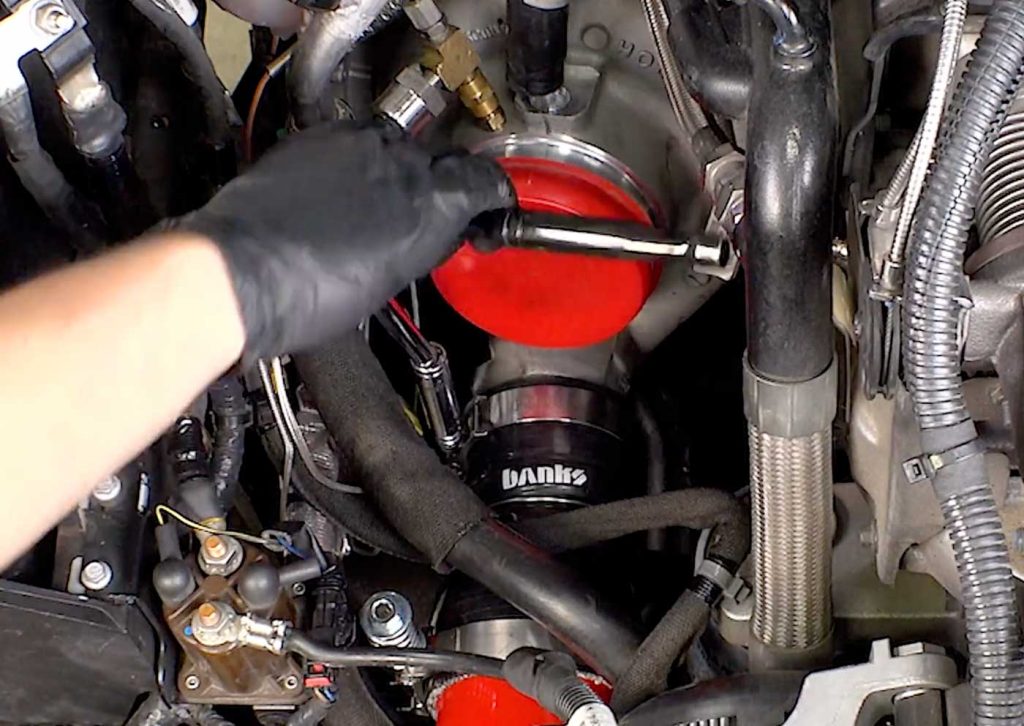
4. Tighten up the passenger side boost tube clamps.
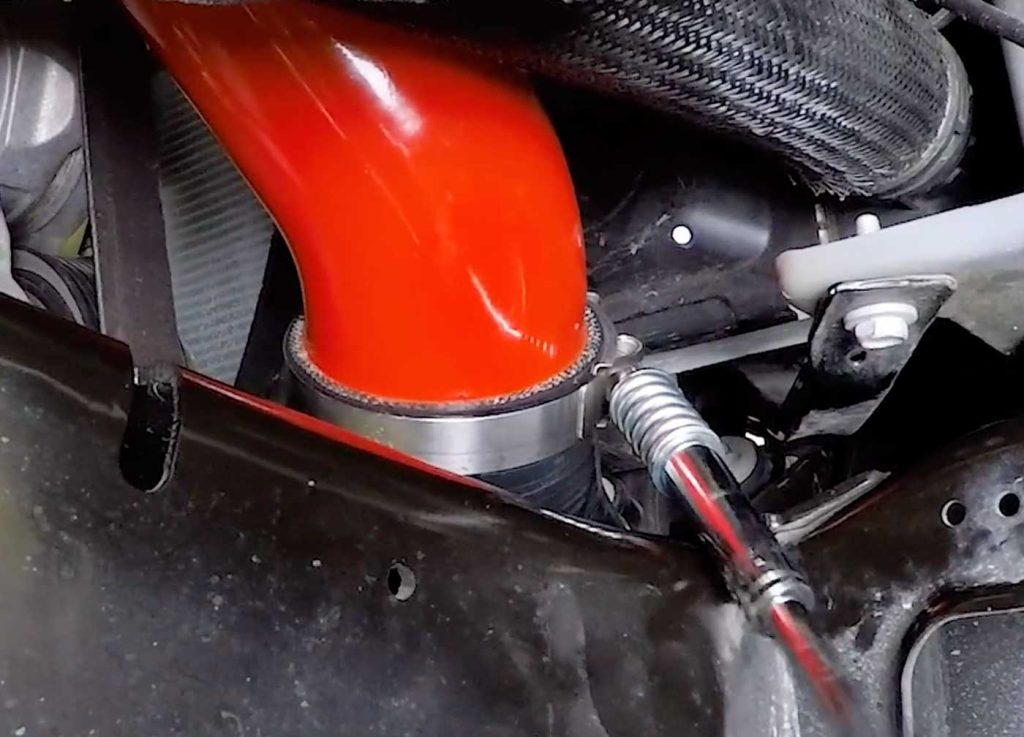
5. Tighten the lower clamps.
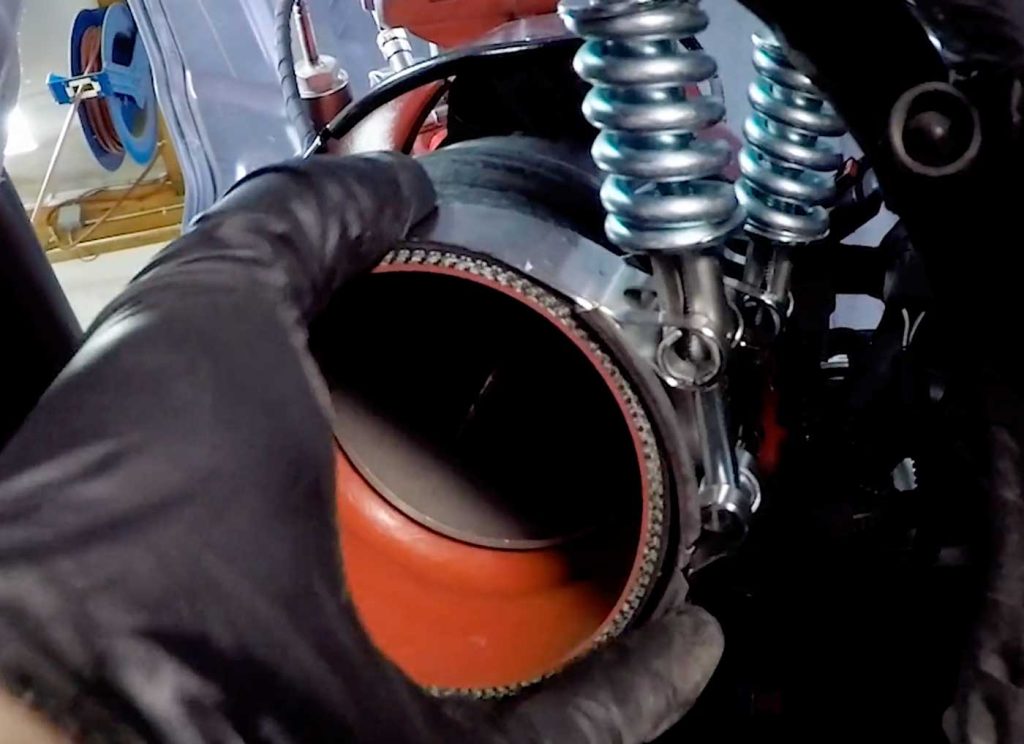
6. Install upper driver side hump hose and two 4.0″ clamps.
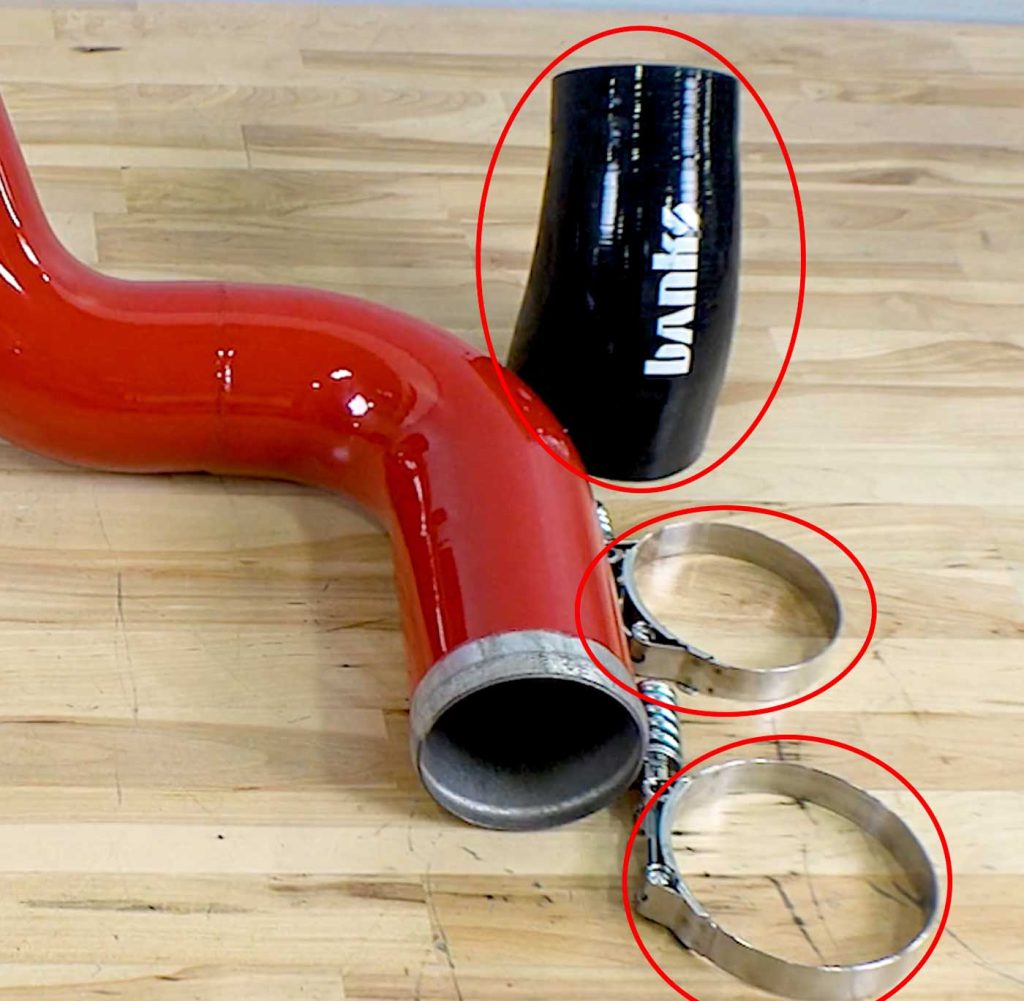
7. Retrieve the elbow reducer hose and clamps and install them on the lower driver’s side hot side.
The 3.5″ Clamp Goes On The Intercooler End
The 4.0″ Large Clamp Goes Around The Boost-Tube
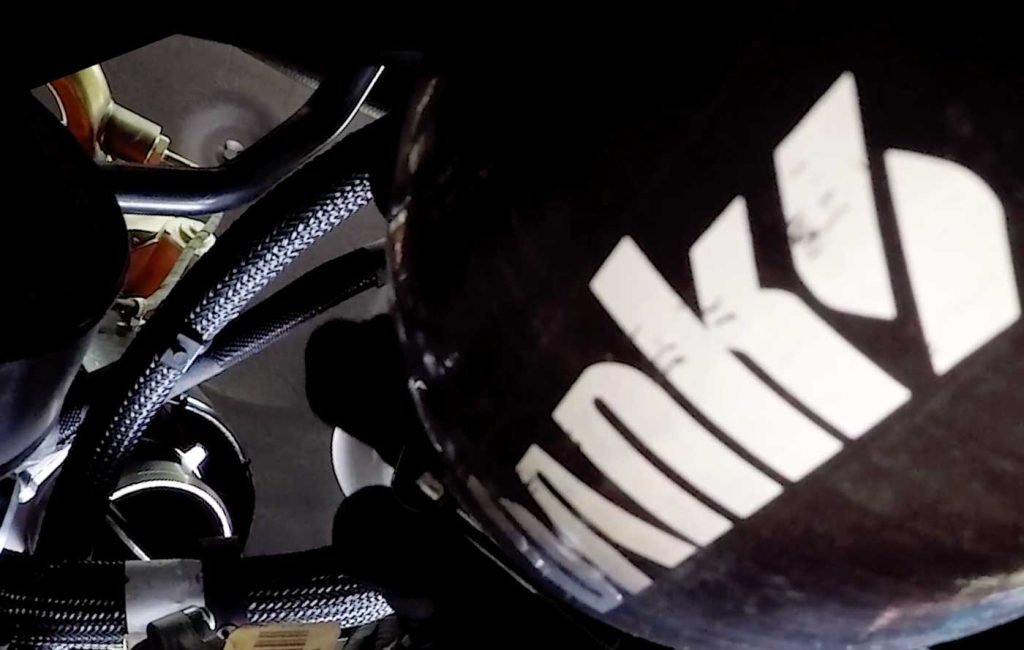
8. Install the silicone elbow hose reducer.
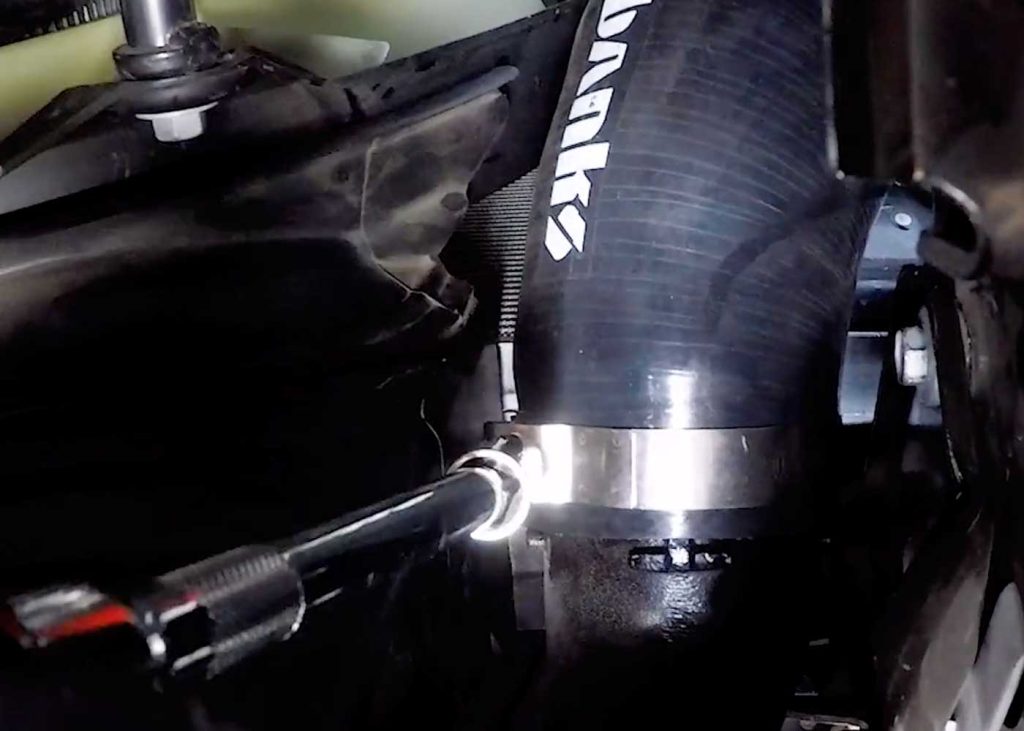
9. Tighten the clamps.
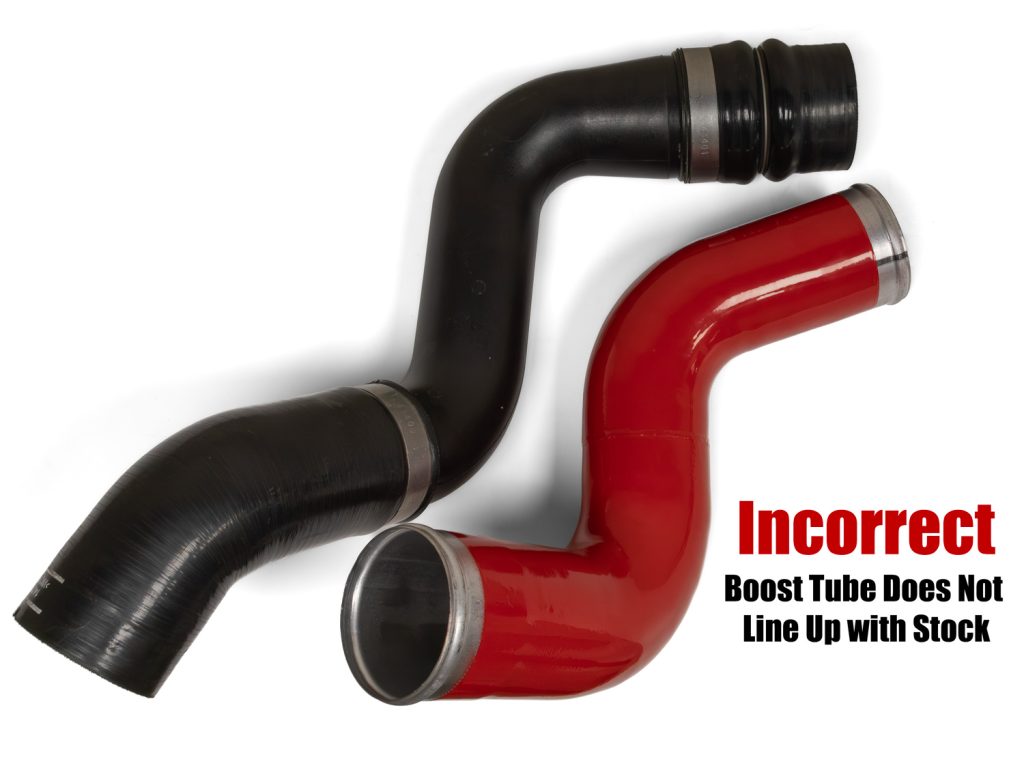
To easily orient the cold-side boost tube correctly, lay it flat on a table next to the stock plastic boost tube.
The stock and Banks Boost Tubes should line up and follow the same path as shown below.
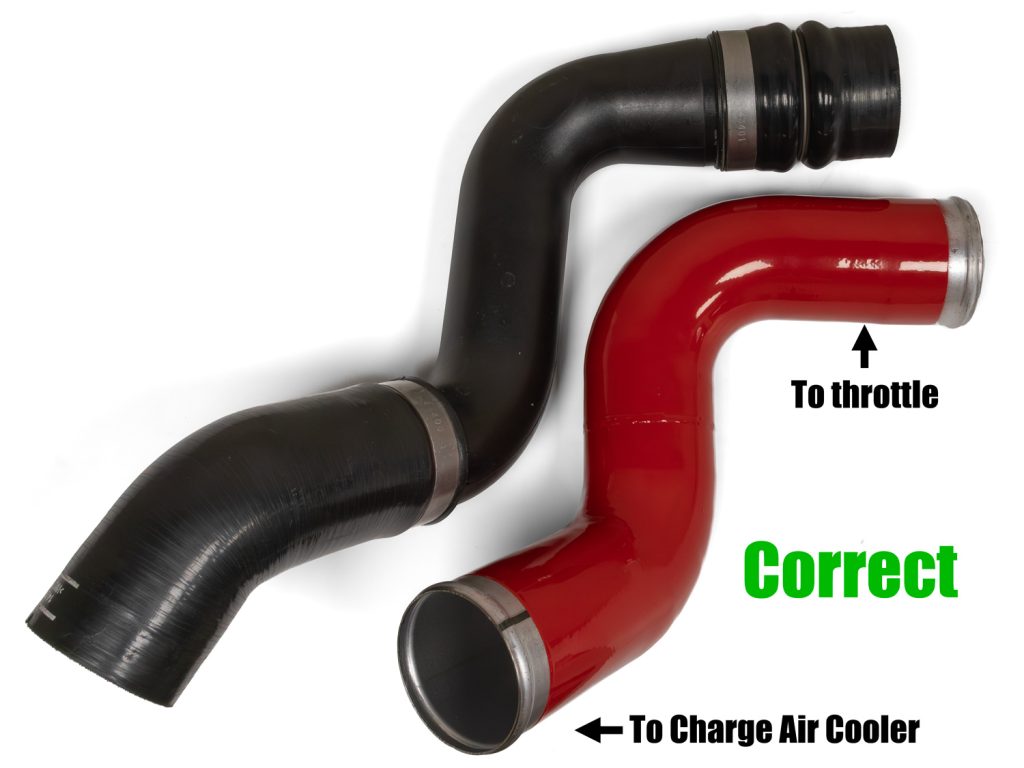
If the two pipes do not line up correctly, as shown below, you have the top and bottom sides backward. Rotate the Banks Boost Tube 180°. This will ensure you have the correct angle to install the tube and prevent the clamps or hoses from coming loose.
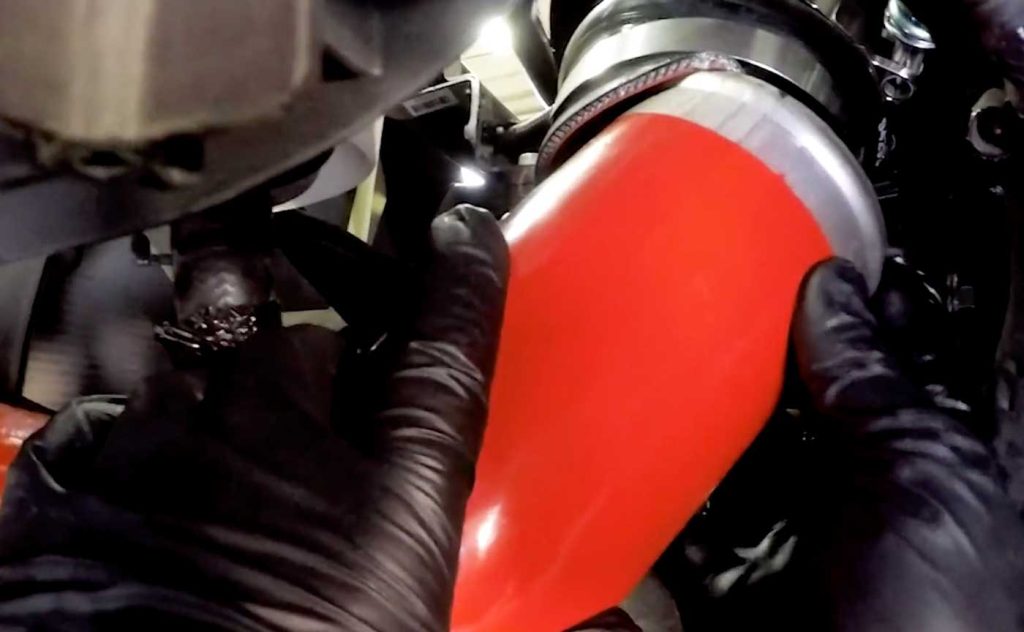
10. Install the driver’s side boost tube.
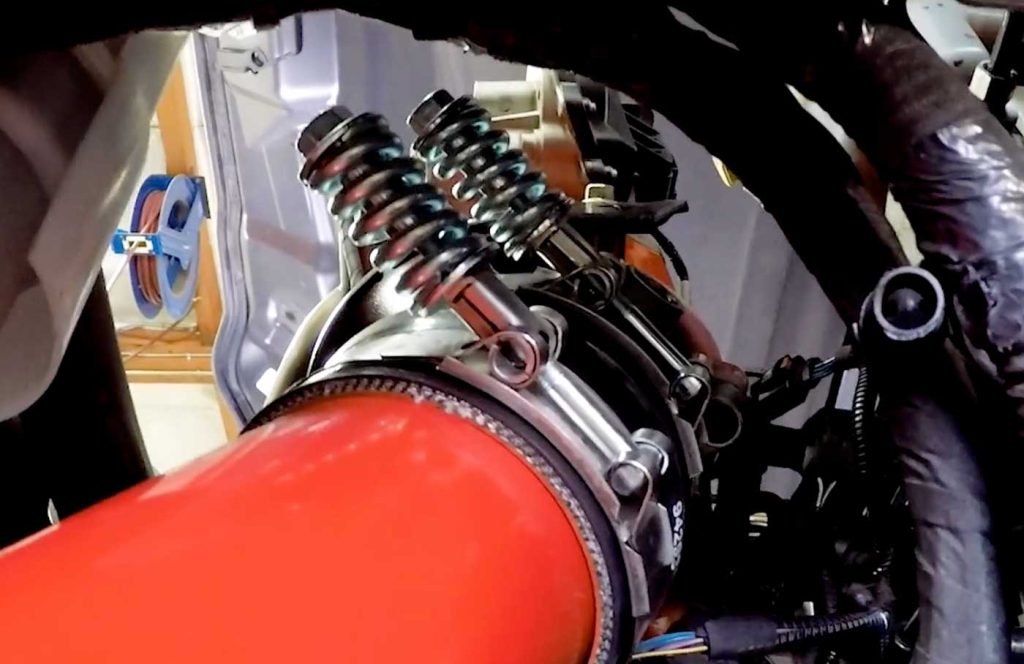
11. Tighten the two upper and lower hose clamps.
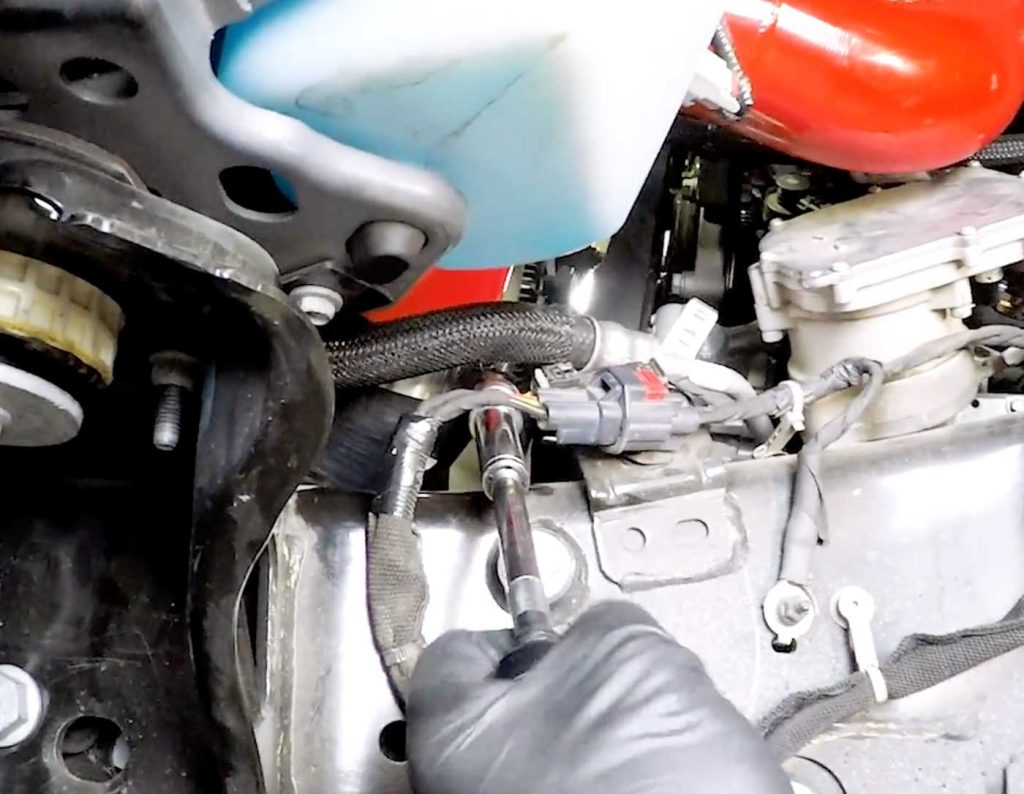
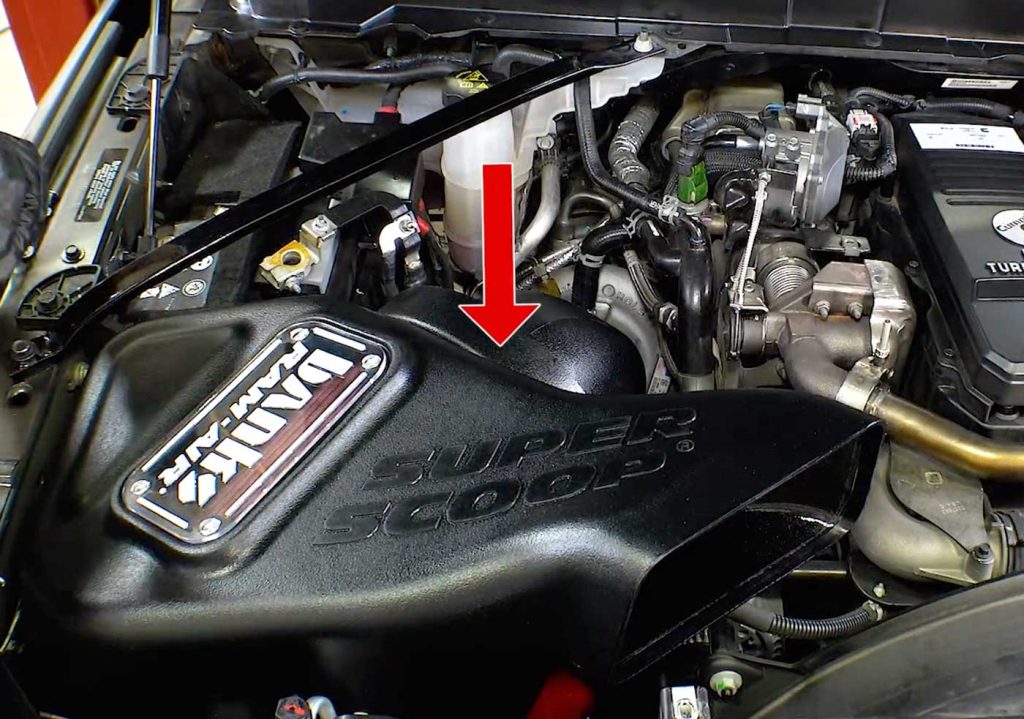
12. For the purpose of this video, we are installing the Banks Ram-Air Dry Filter, Cold Intake System.
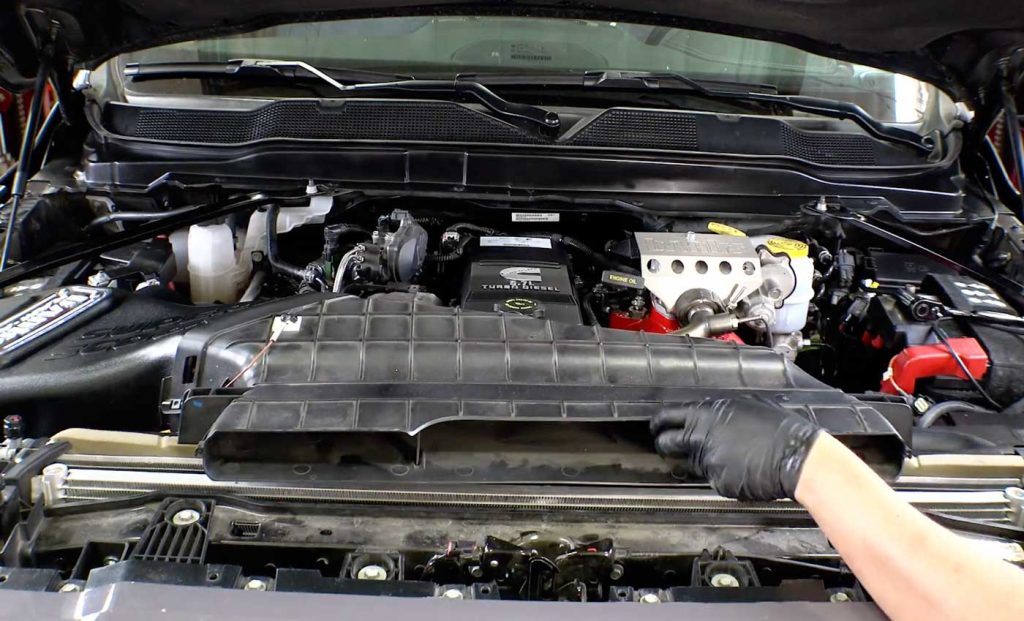
13. With the 3/8 ratchet extension, secure the air scoop.
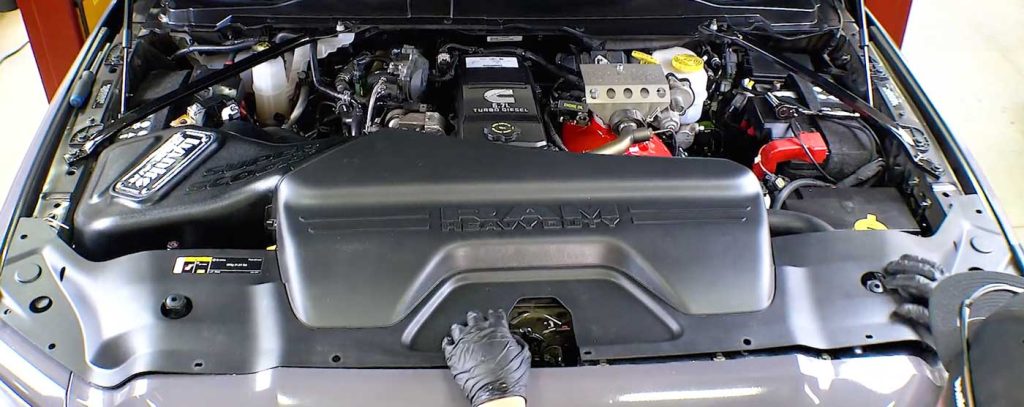
14. Reinstall the fresh air scoop lid.
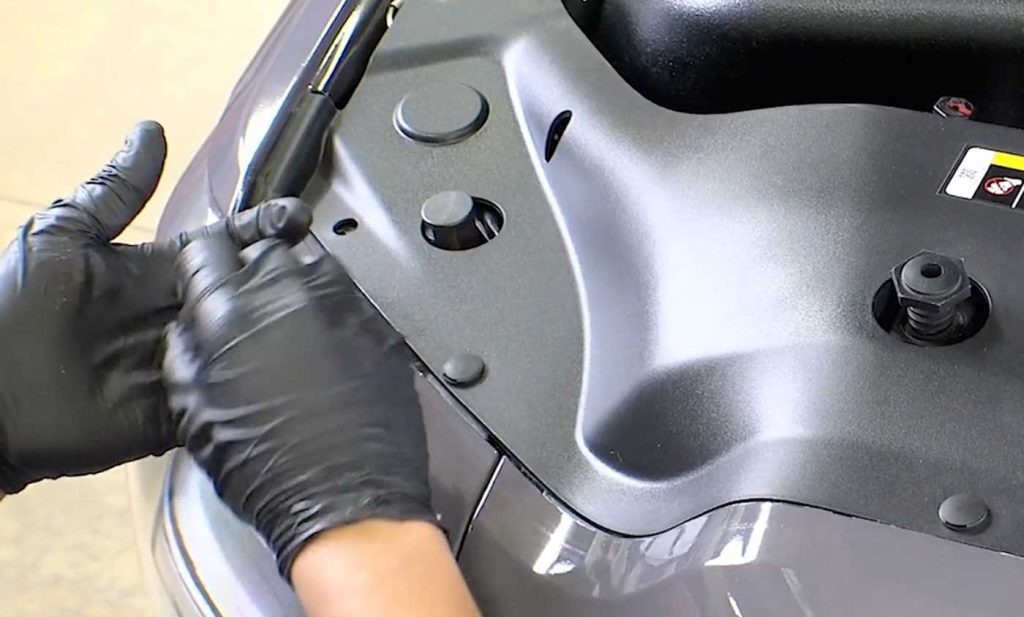
15. Push in all of the plastic push pins to hold the scoop lid in place.
Be sure to remember the last two on the back of the scoop.
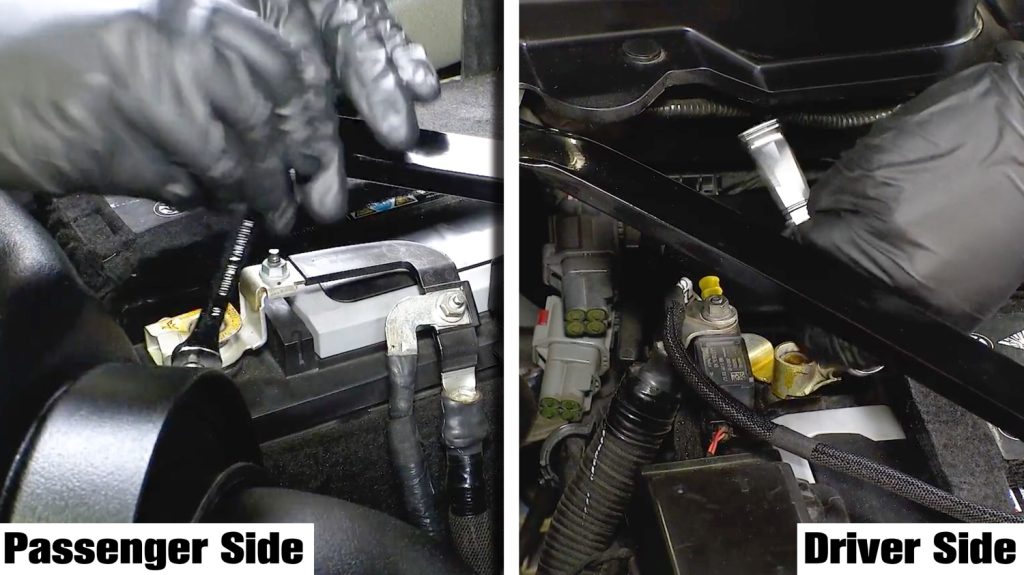
16. Reconnect the terminal on the driver and passenger side batteries.
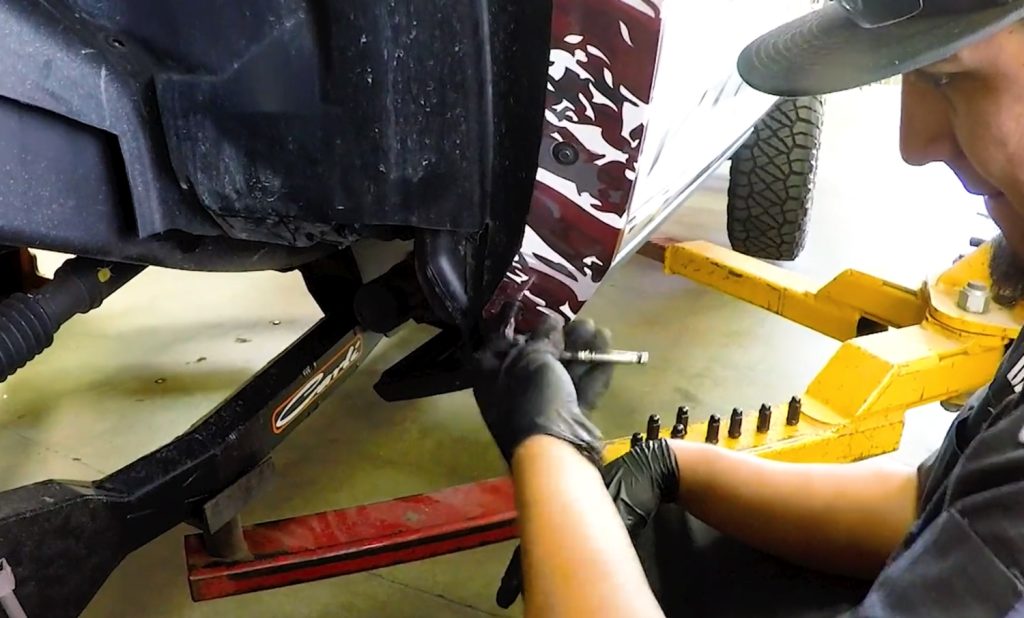
17. Reinstall both fender liners and tighten all the screws with the 3/8 ratchet.
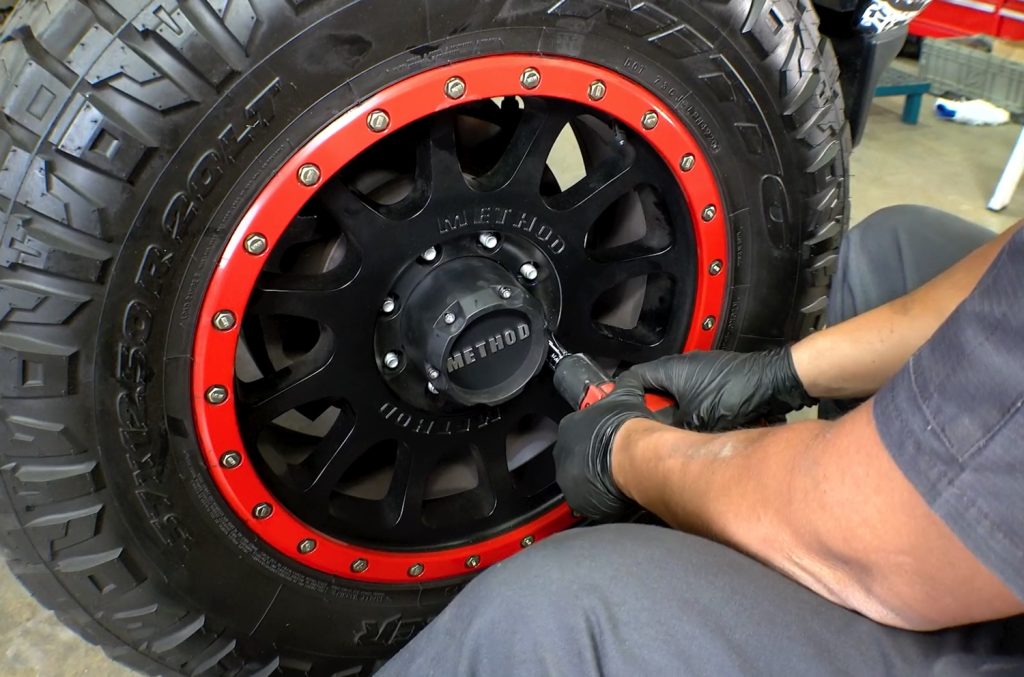
18. Put both wheels back on, remove the truck from the lift.
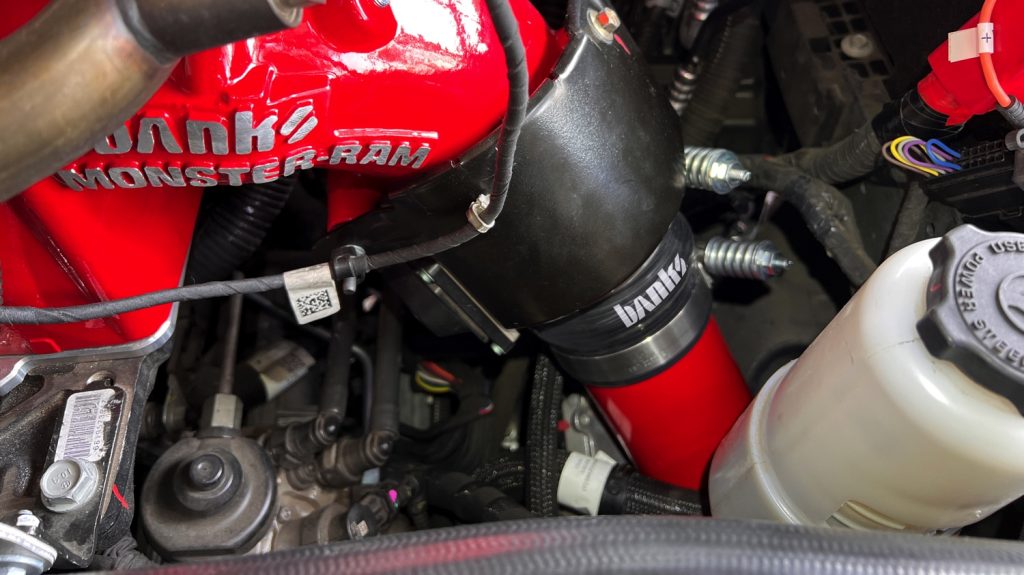
Now enjoy your Banks Boost Tube Kit!
NOTE: Due to the massive diameter of the boost tubes, the oil filter replacement process will change. You will now remove your filter up through the engine bay.