




1. Before starting work, familiarize yourself with the installation procedure by reading all of the instructions.
2. Disconnect the negative (ground) cable from the battery (or batteries, if there are two) before beginning work.
3. When raising the vehicle, support it on properly weight-rated safety stands, ramps, or a commercial hoist. Follow the manufacturer’s safety precautions. Take care to balance the vehicle to prevent it from slipping or falling. When using ramps, be sure the front wheels are centered squarely on the topsides; put the transmission in park; set the hand brake; and place blocks behind the rear wheels.
Do not use floor jacks to support the vehicle while working under it. Do not raise the vehicle onto concrete blocks, masonry, or any other item not intended specifically for this use.
4. During installation, keep the work area clean. Do not allow anything to
be dropped into the rear differential while performing the installation, as foreign objects will cause immediate damage upon start-up.
| Item # | Description | Part # | Qty |
|---|---|---|---|
| 1 | Differential Cover | 19288 (Black), 19287 (Raw), 19286 (Black Machined) | 1 |
| 2 | Sight Glass | 13242 | 1 |
| 3 | Magnetic Drain Plug 12mm | 13249 | 1 |
| 4 | 1/8 NPT Plug | 13251 | 1 |
| 5 | Viton O-Ring | 13271 | 1 |
| 6 | Stainless Steel Fill Plug | 13277 | 1 |
| 7 | Loop Clamp | 62074 | 1 |
| 8 | Blue Threadlocker | 90001 | 1 |
| 9 | Hex Head Bolt M8 | 91825 | 14 |
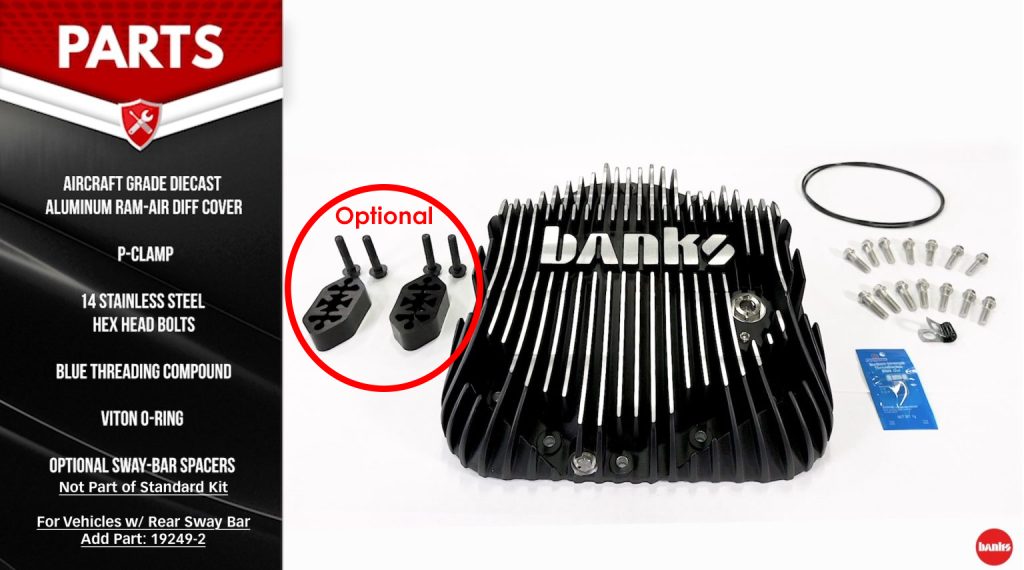
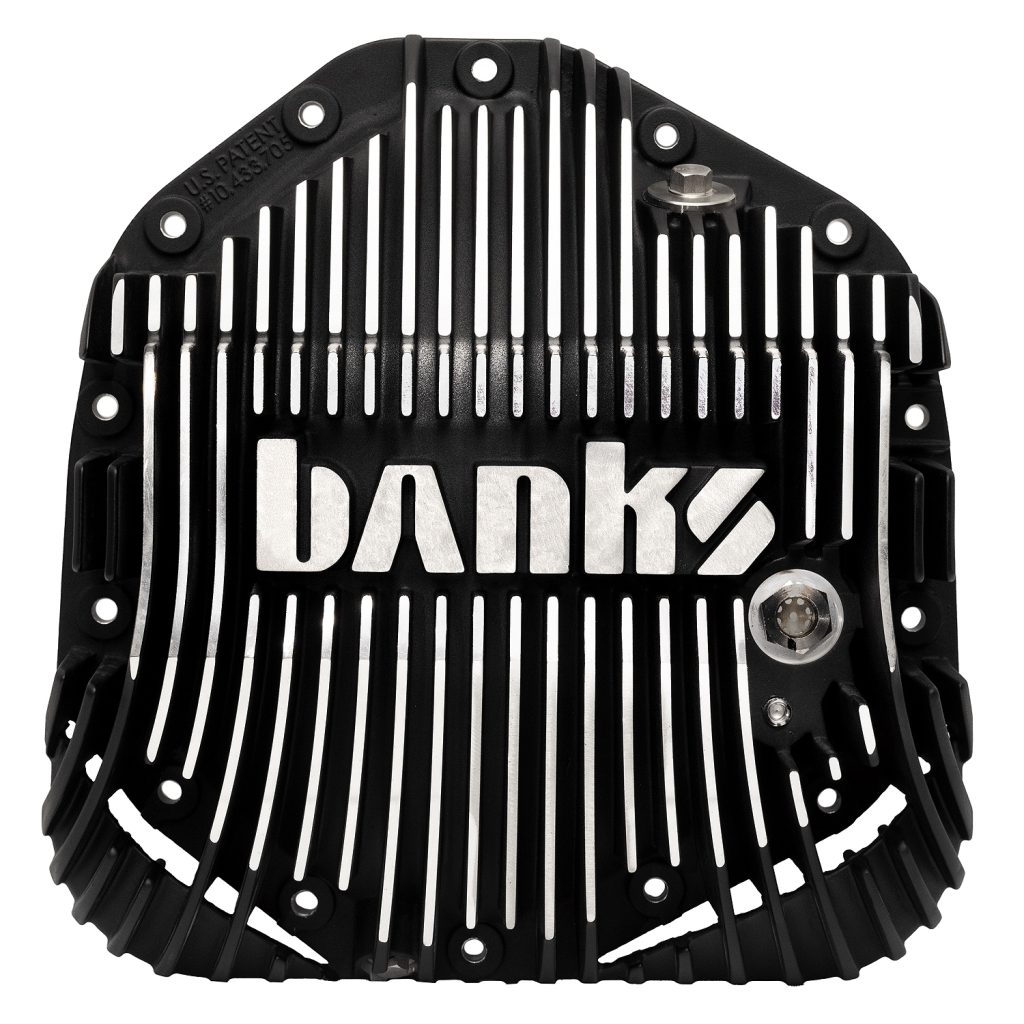
1. Your Banks Ram-Air Differential Cover should come with the sight glass and sensor port plug pre-installed. If it is not, install it now.
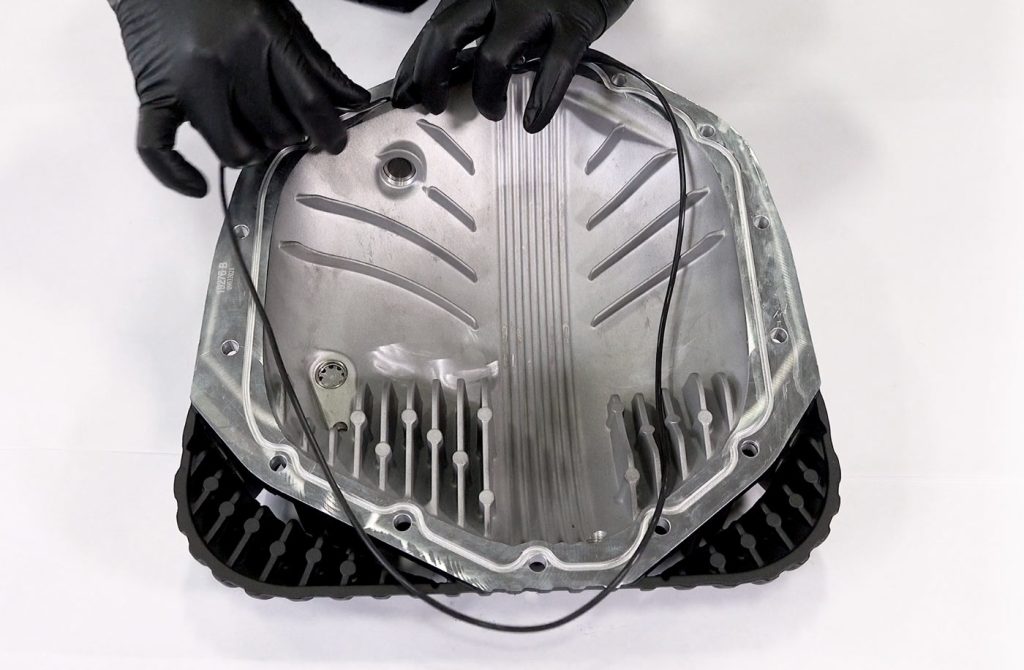
2. With your differential cover turned over, install the o-ring seal.
Spray a small amount of Amsoil Silicone Spray to help push the o-ring into the groove.
NOTE: The next step is for RAM trucks with sway bars only with the optional Sway Bar Spacer Kit PN: 19249-2.
If you do not have a sway bar, please continue to step five.
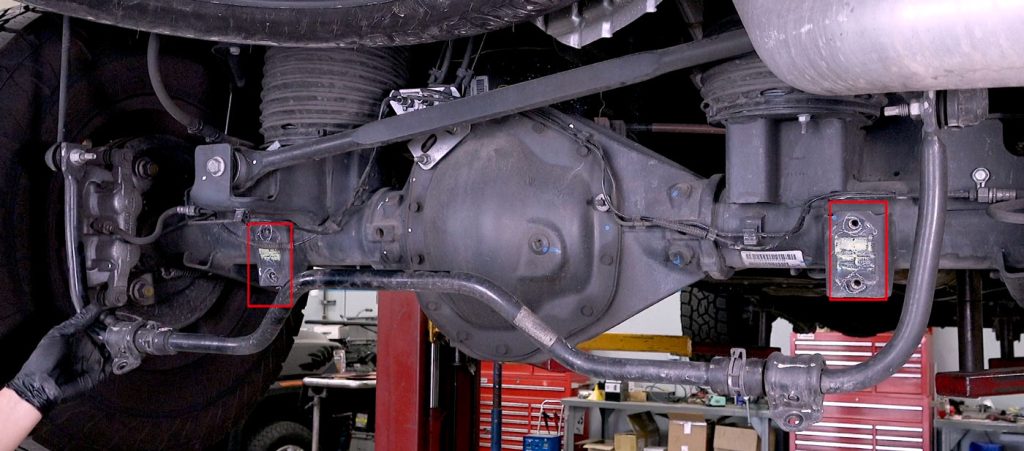
3. Remove the stock sway bar bolts highlighted in red.
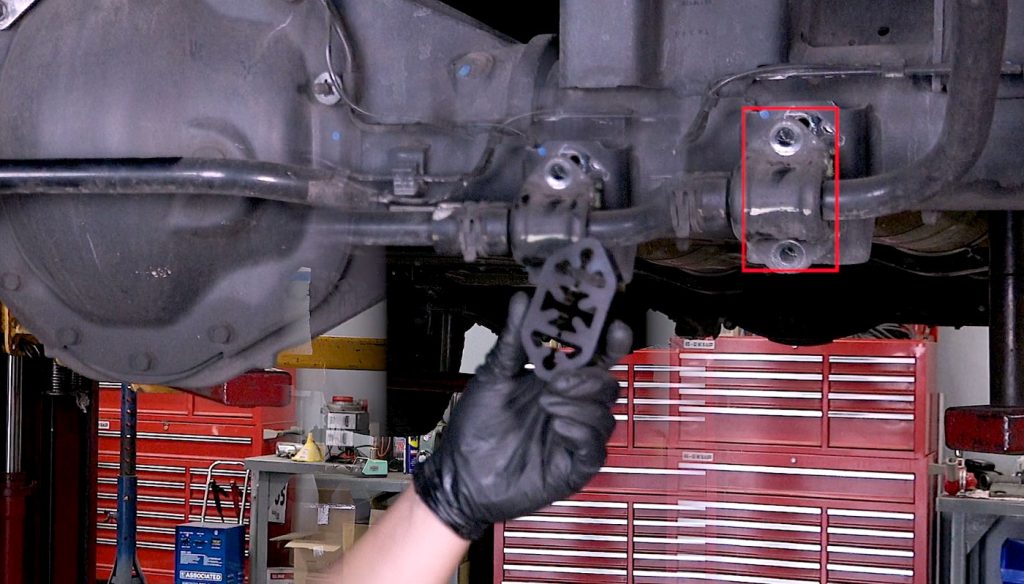
4. Move the sway bar back and attach the new spacers (optional Sway Bar Spacer Kit PN: 19249-2) with the longer bolts, and hand-tighten them for now.
Repeat on the other side.
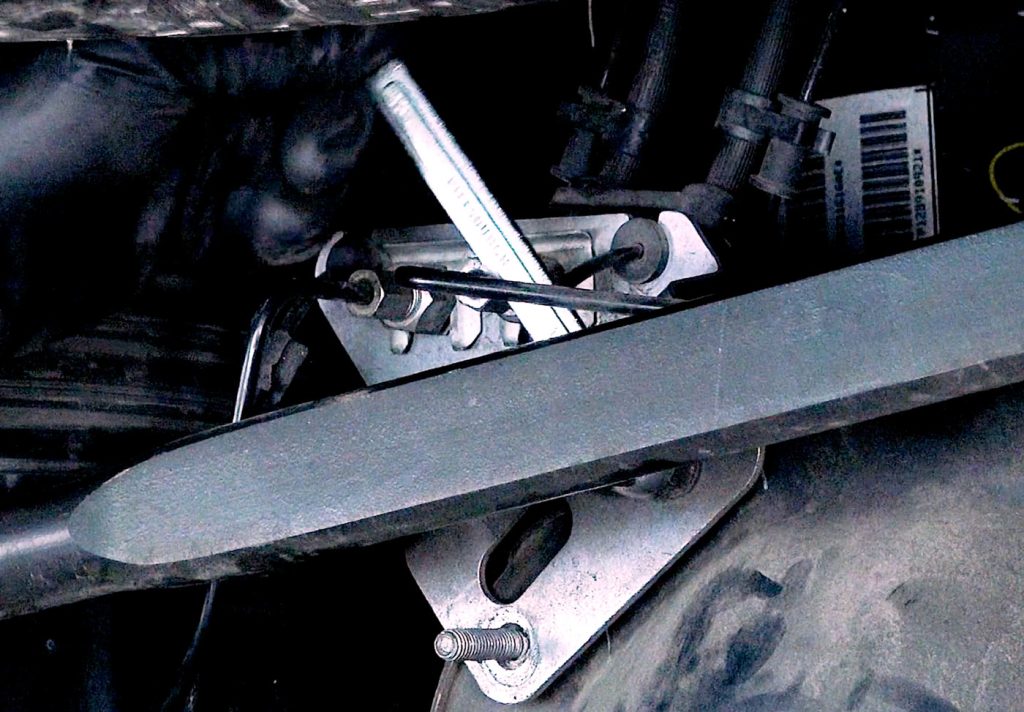
5. Remove the brake line bracket bolt and move it up and back, out of the way.
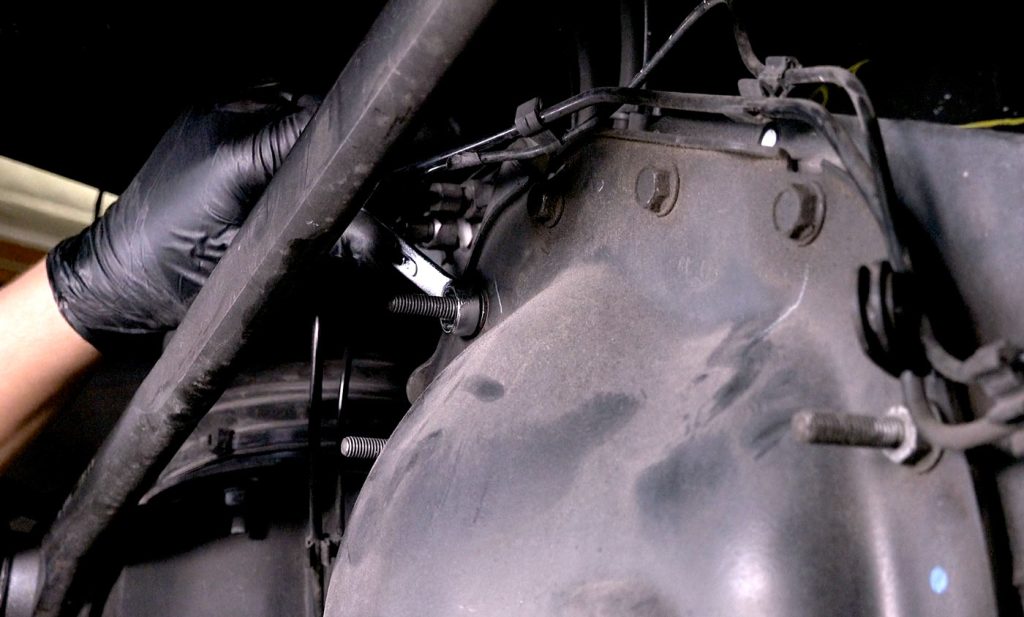
6. Remove the 14 bolts from your stock differential cover.
WARNING: Put an oil pan underneath because the oil will pour out!
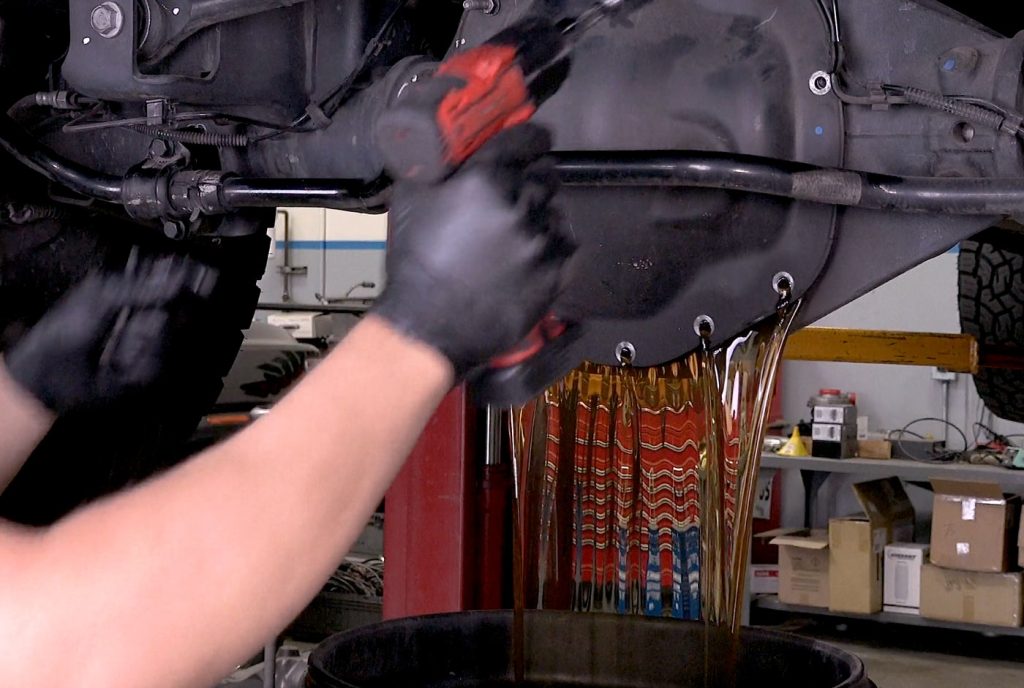
NOTE: If your vehicle does NOT have a drain plug, remove the diff cover partially from the bottom to drain.
Allow the fluid to drain before removing the cover.
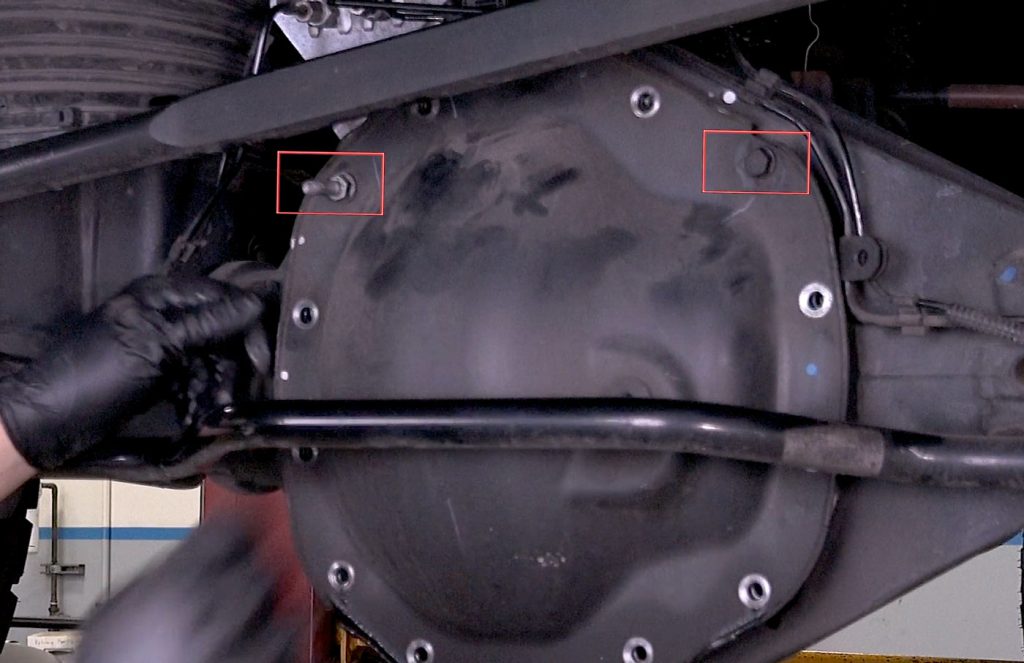
7. Use a 1/2″ socket to remove all bolts with the exception of these two marked in red.
Loosen them, but don’t remove them to allow for complete drainage.
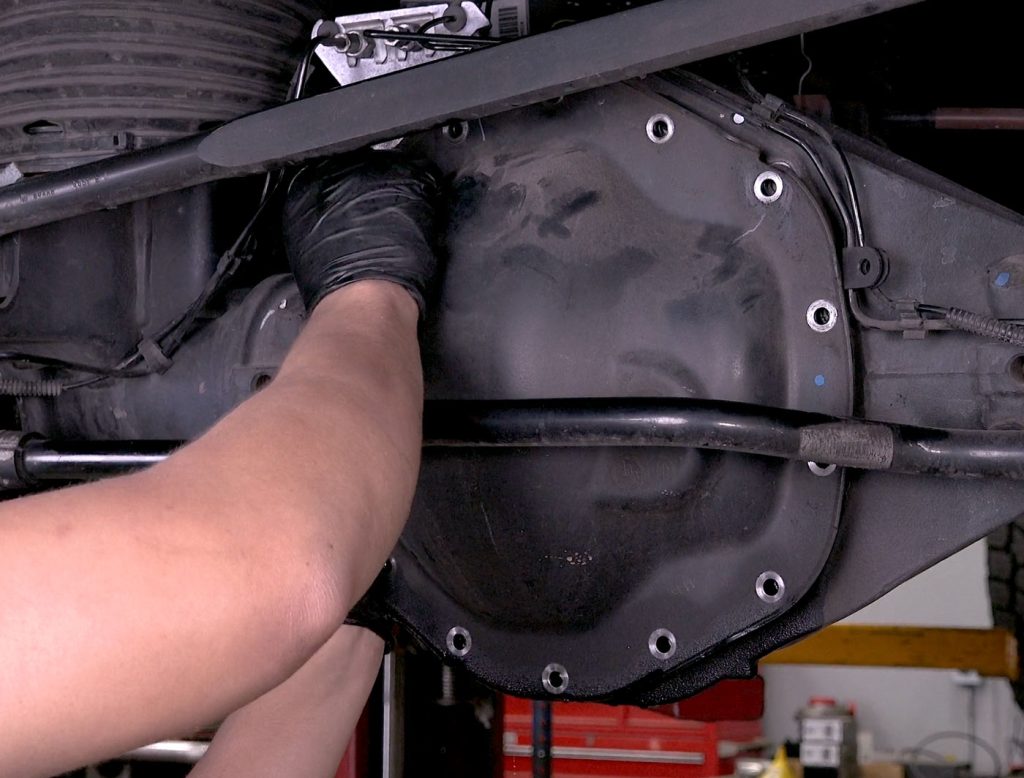
8. Once drained, remove the last two bolts.
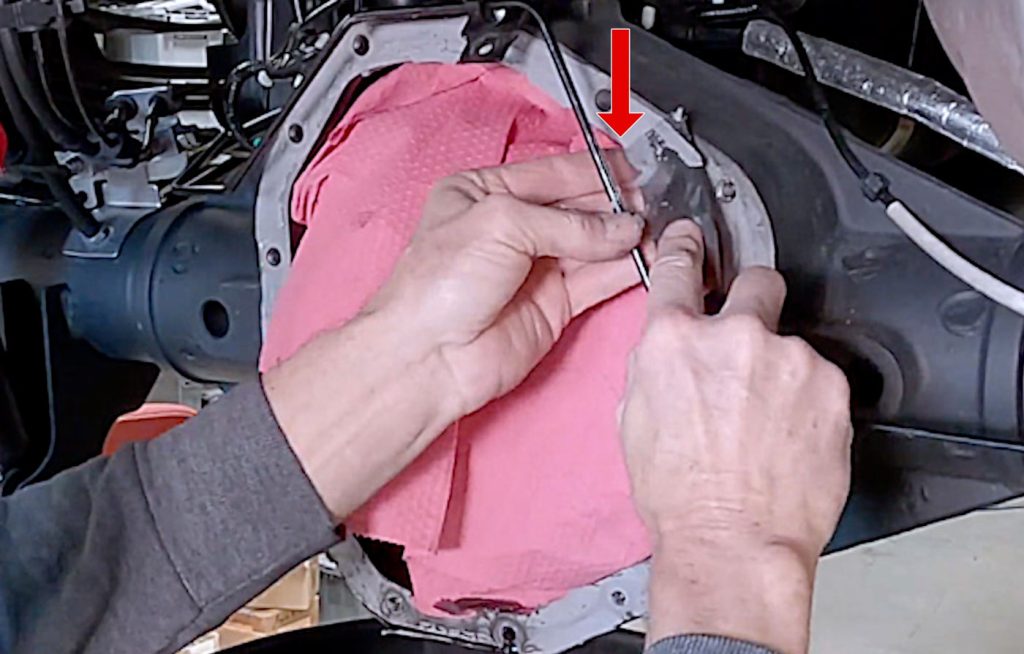
9. The surface must be completely clean and smooth before installing your new Banks Differential Cover.
If there is any silicone, scrape it off with a blade. Take care not to gouge the surface.
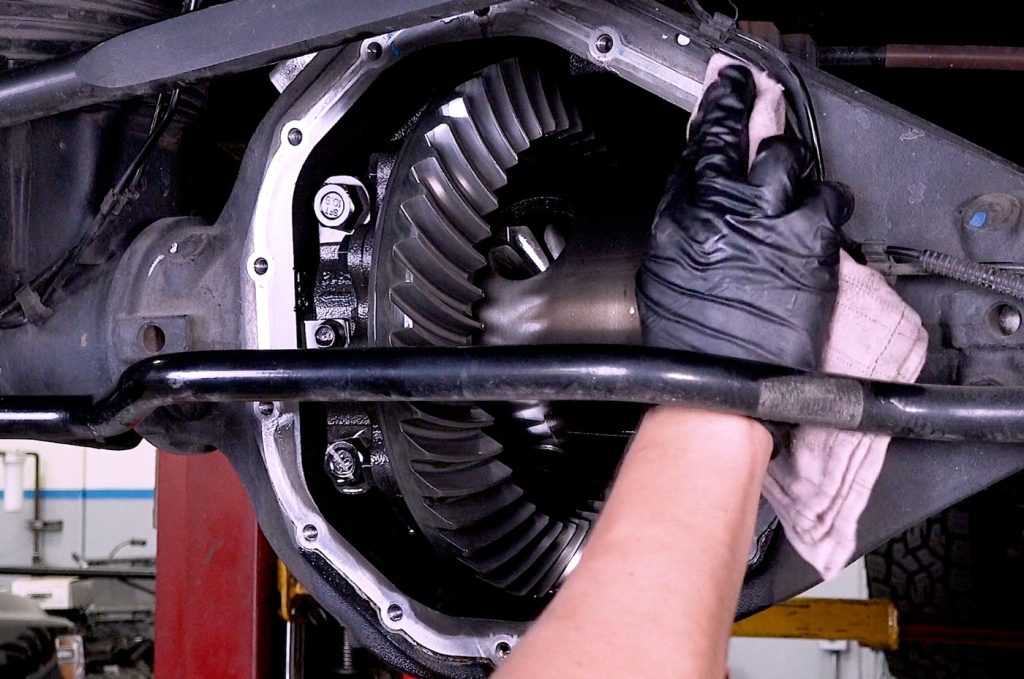
10. Use a clean shop rag to clean off any residue.
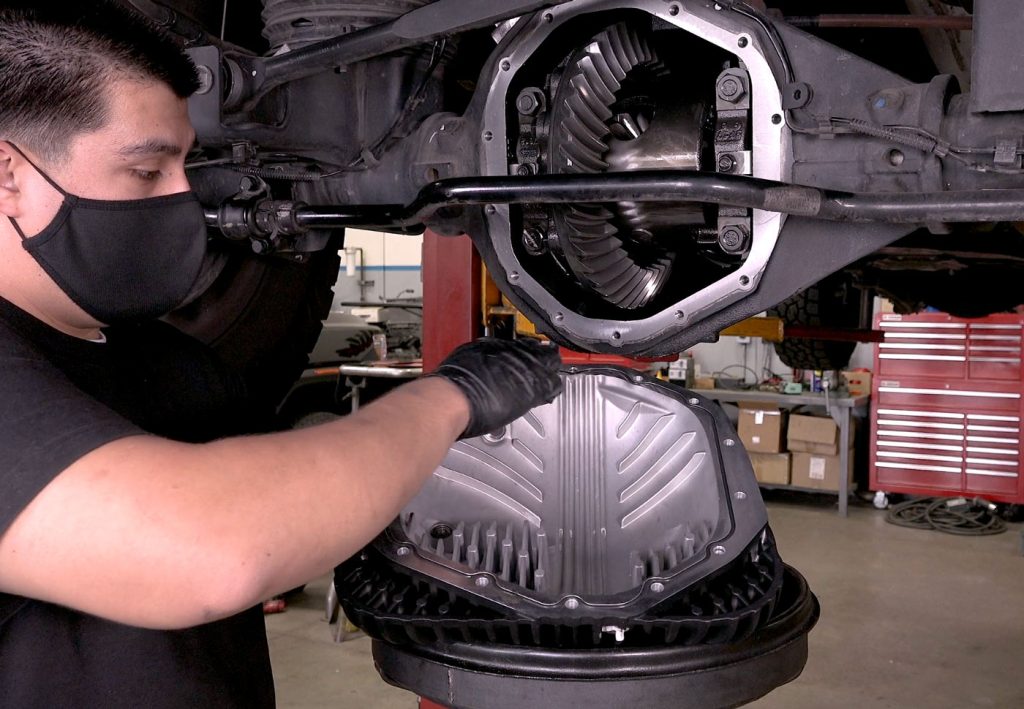
11. Add a little bit of gear oil to the o-ring.
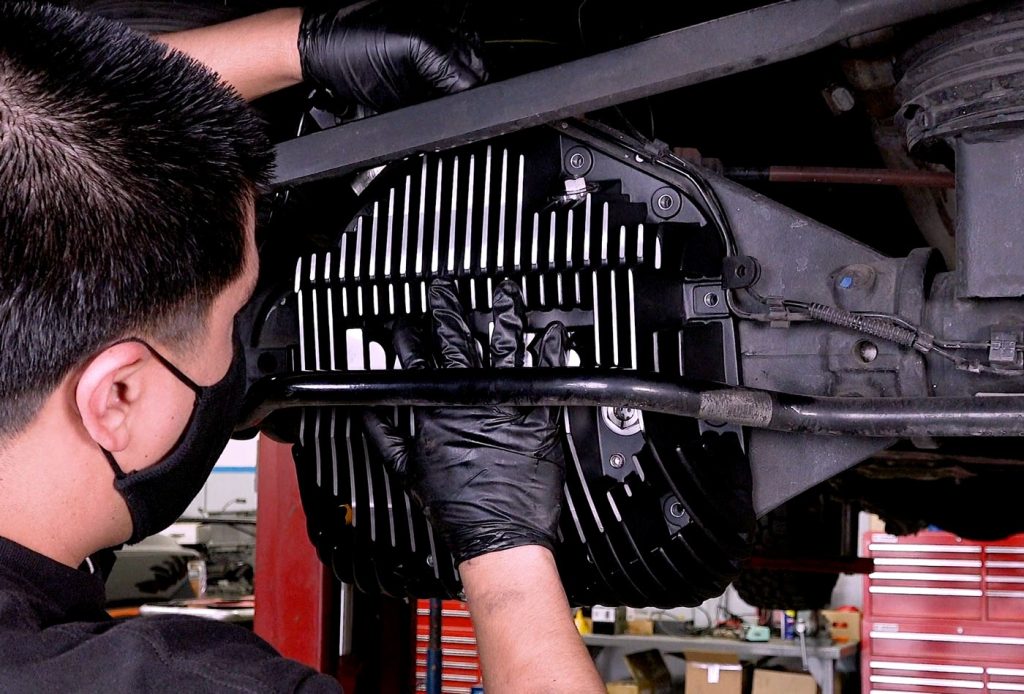
12. By hand, install two or three bolts at the top of the Banks Differential Cover to hold it in place.
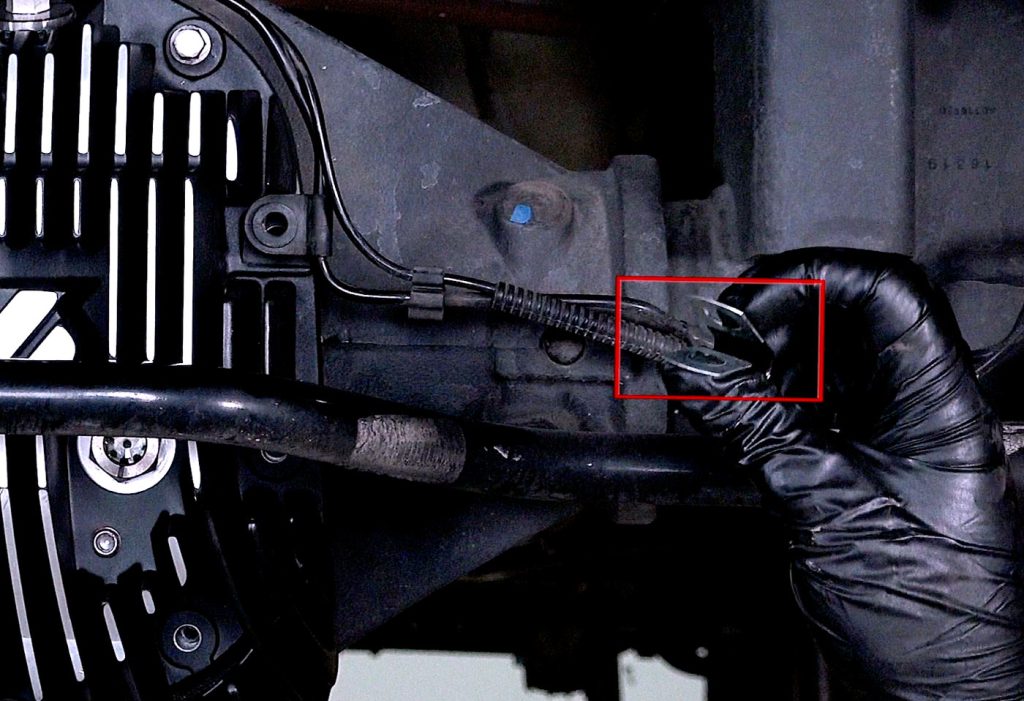
13. Swap out the old P-clamp that holds down the brake line for the new P-clamp.
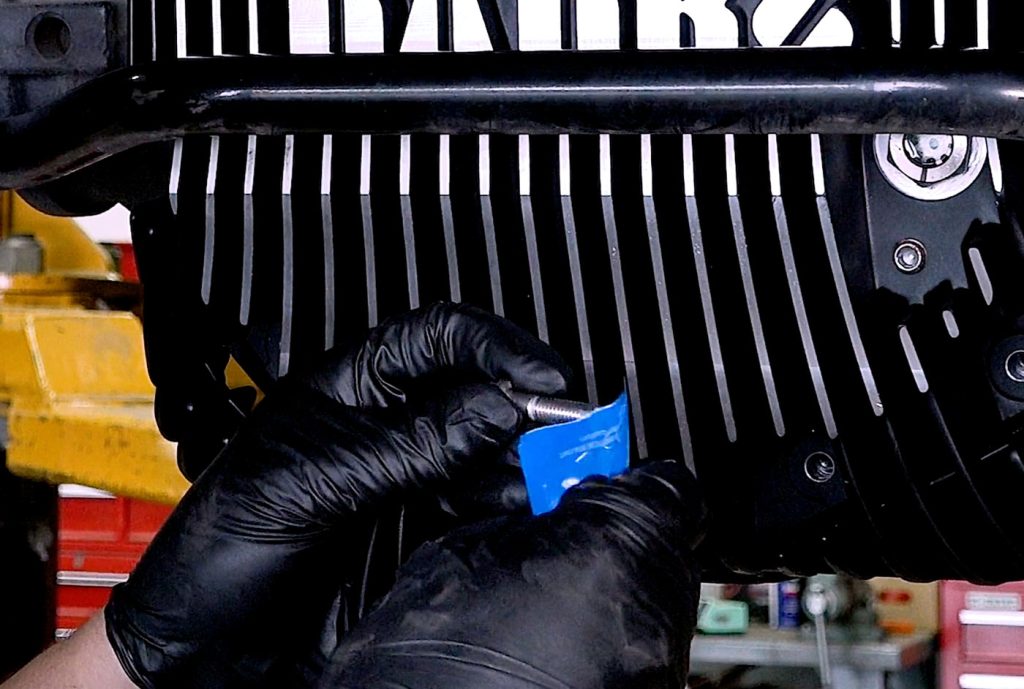
14. Place a small amount of blue thread locker and hand thread them.
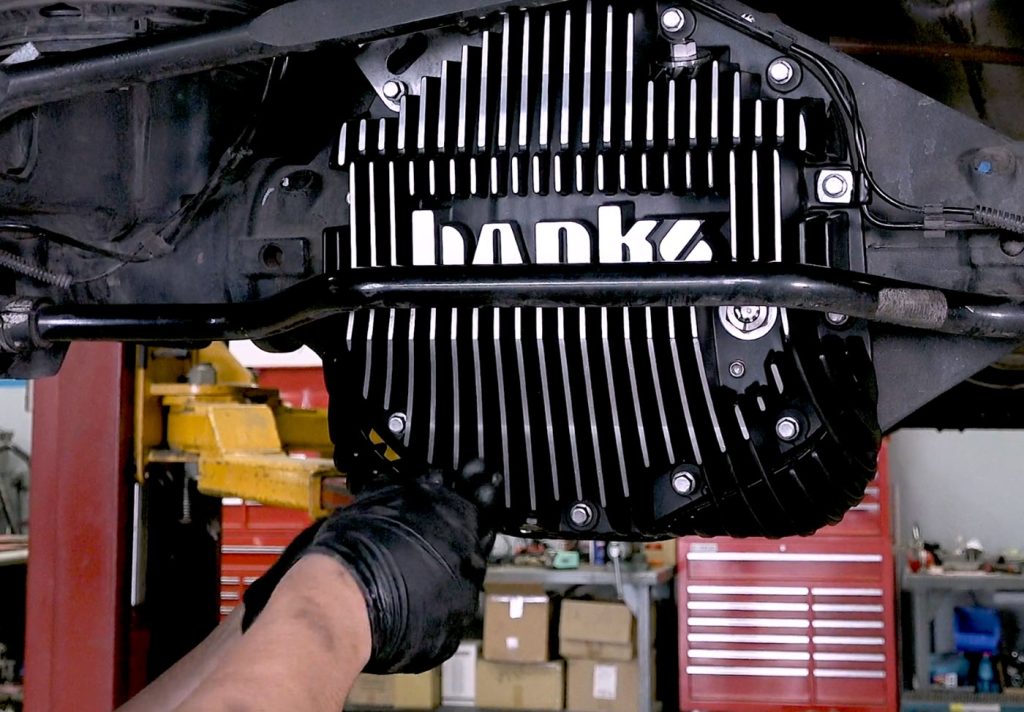
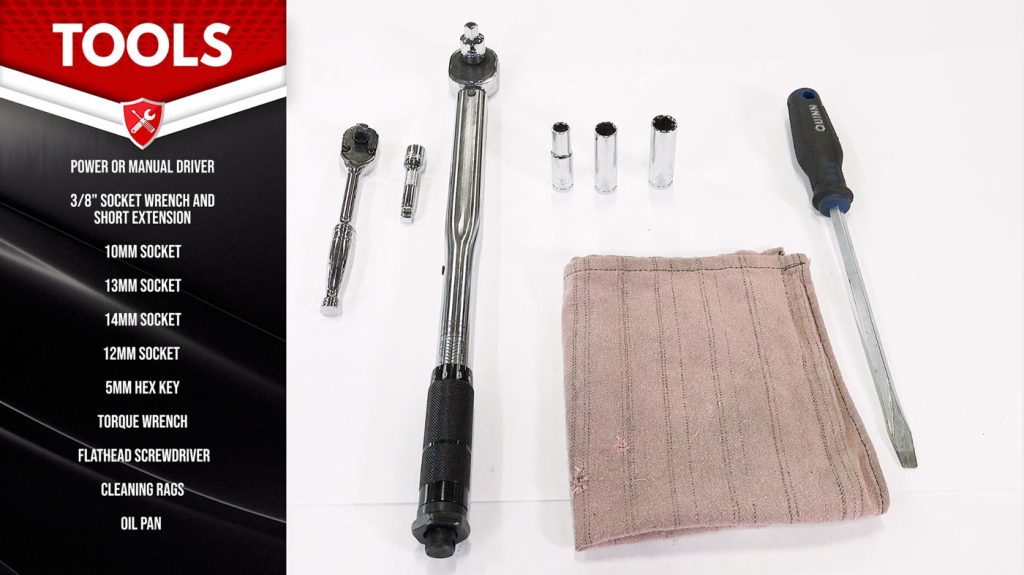
15. With a 10mm socket, tighten all the bolts around your differential cover.
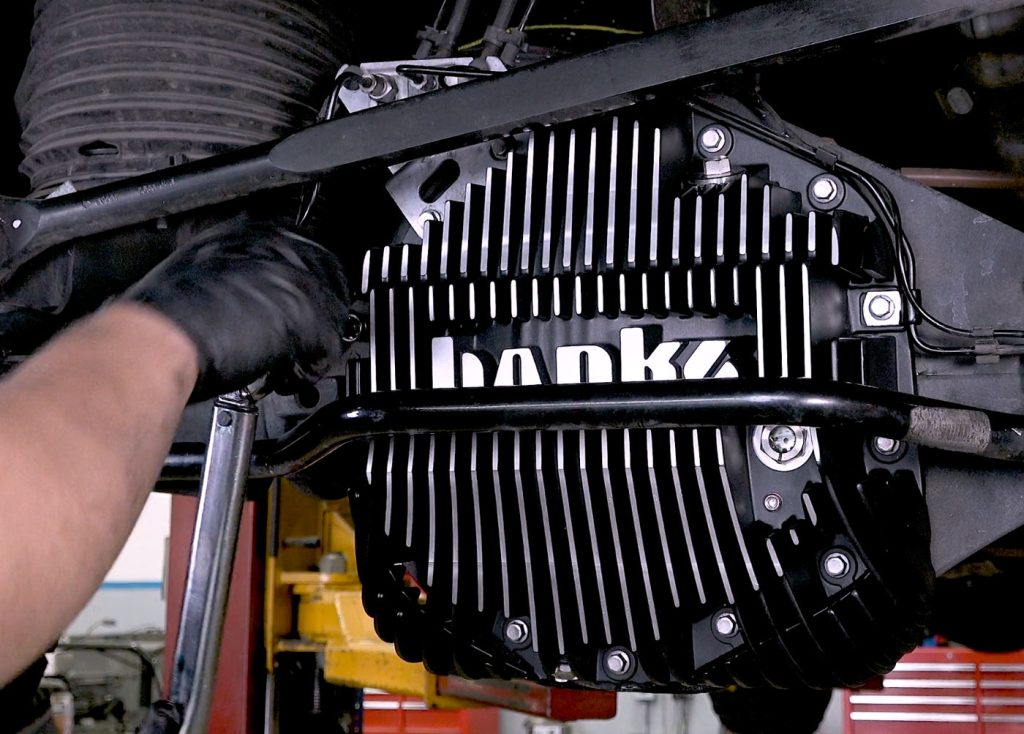
16. Using the torque wrench, in a cross pattern like on a wheel, tighten the bolts down to 12ft-lbs.
Then tighten the sway bar bolts to 12ft-lbs.
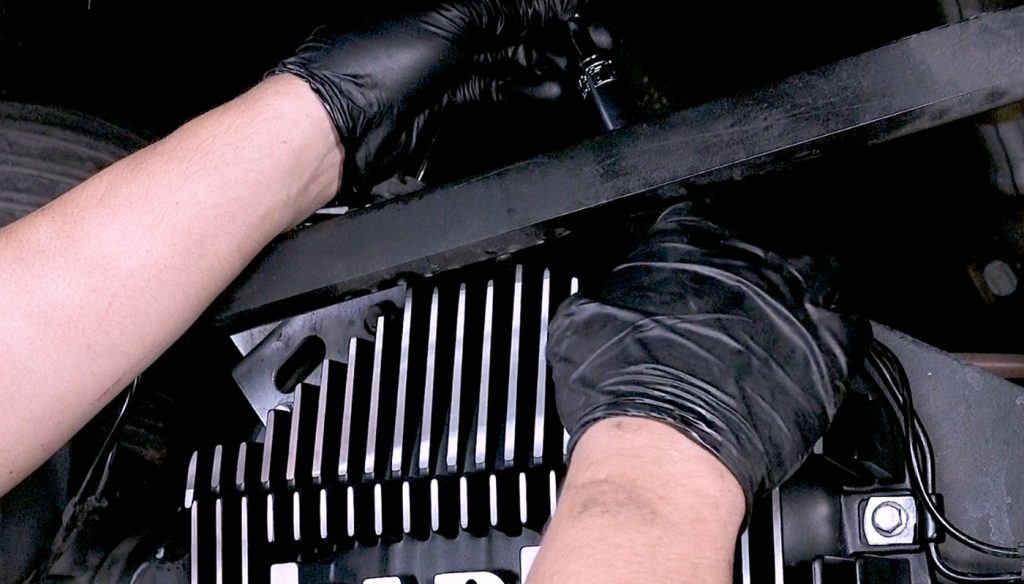
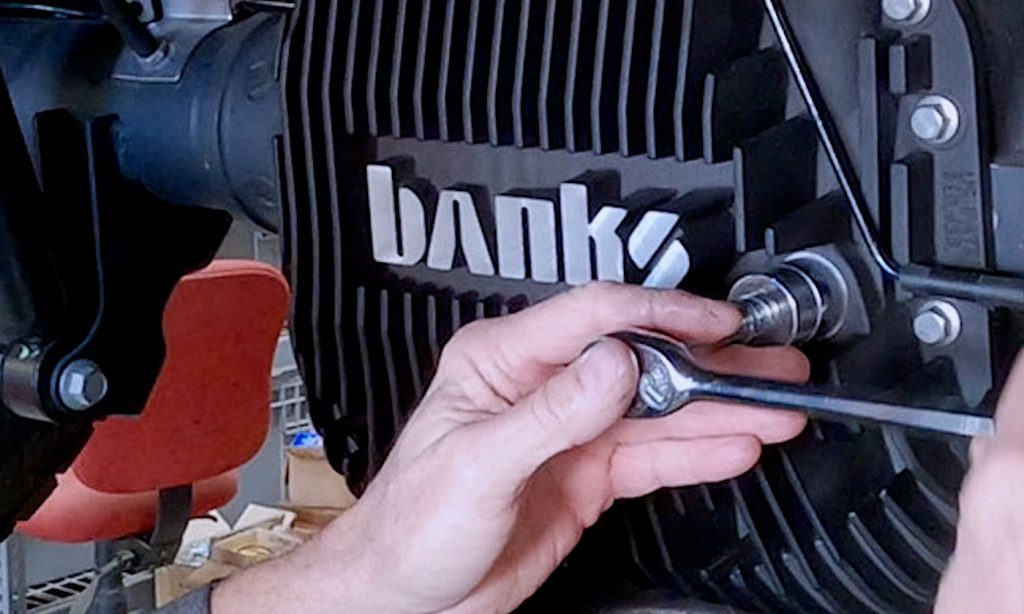
17. Remove the fill plug with a 14mm socket.
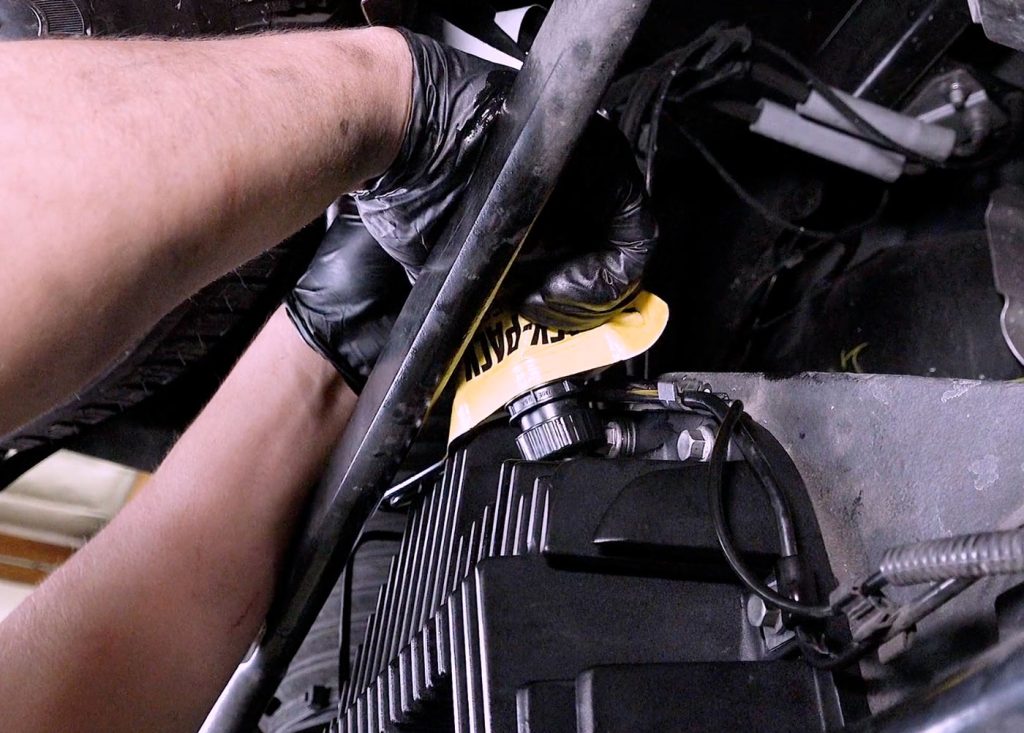
18. Fill the differential cover with the manufacturer’s recommended fluid to the middle of the sight glass.
Please note: If the truck is not on level ground, or has been lifted, the fluid may go above the middle of the sight glass.
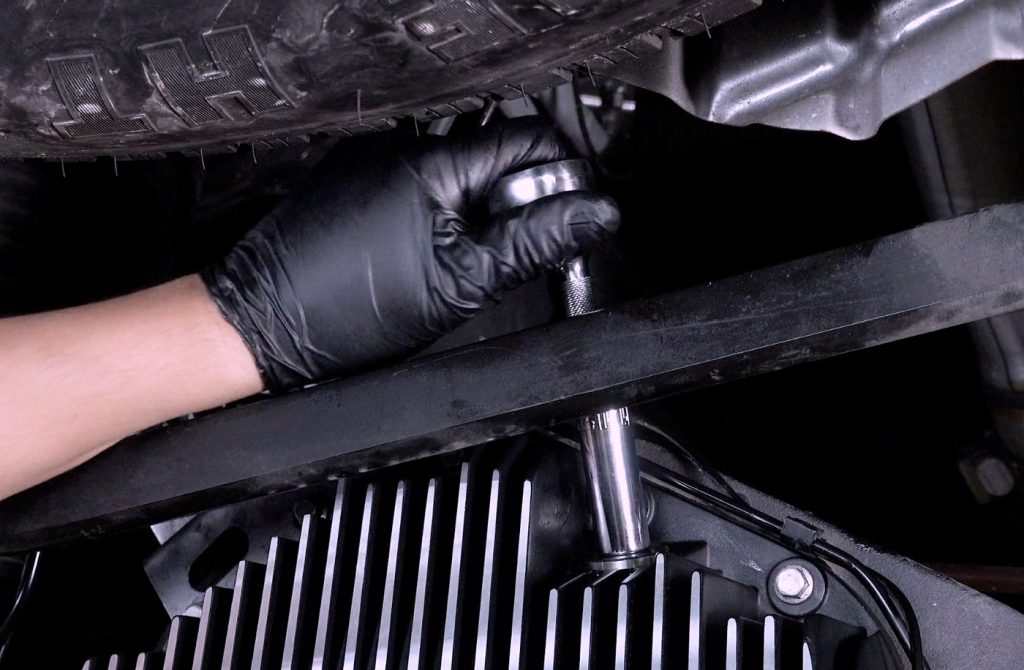
19. Install the stainless steel fill plug and tighten it with your socket wrench.
DO NOT over tighten it or you could damage the o-ring seal.
20. Enjoy your new Banks Ram-Air Rear Differential Cover!