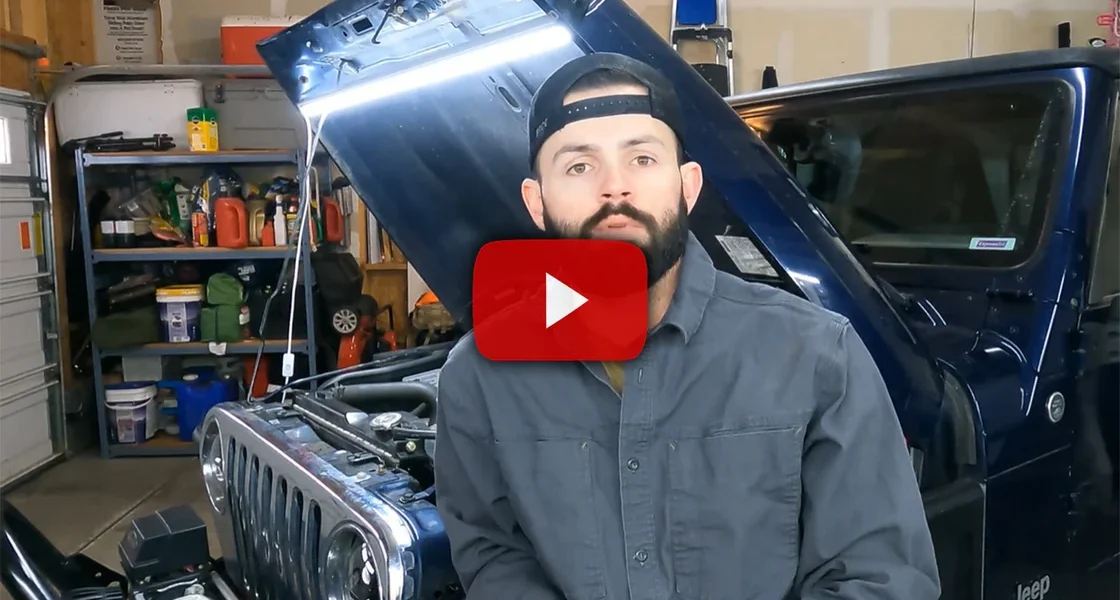
Jeep LJ Torque Tube Headers & Monster Exhaust Review
“Banks Torque Tube headers and the Monster Exhaust transformed my Jeep LJ.” One Stop Schop called the full stainless system (painted black in this case) “very, very nice” and praised the fit: “Everything bolted up clean, and that chrome Banks tip looks sweet.” After firing it up, the verdict was simple: “She is mean… mean.”
Why They’re Better:
- Heavy duty stainless tubing
- 1/2-inch thick flange
- Maximum extraction
Full Video Transcript
00:01 Welcome back—today I’m putting in the exhaust system: new Banks TorqueTube headers, Flowmaster cats (dual), and the Banks Monster exhaust. I’m going front to back all the way through. We’ll do before/after sound so you can hear the difference, and I’ll show tidbits along the way—what bolts to remove, which piece next—following the Banks instructions. Gloves on (I usually take them off once they get in the way). Without further ado, let’s get weird.
00:47 I’ll do another video pass over all the pieces, but note: the kit comes in stainless steel. Yesterday I hit the steel parts with high-temp header paint (VHT “flameproof” 2000°F) to slow surface rust on the non-stainless bits (rings, bolts). I left the Banks exhaust tip chrome. These are the TorqueTubes, Monster exhaust tailpipe, and the bolts that join TorqueTubes to the Flowmasters. Time to pull the old system and take you along.
01:57 Belt loosening: see the tensioner—about halfway is where my ½-inch drive ratchet clicks in. Pull up on the ratchet to unload the belt; use both hands (one to pull, one to slip the belt off). With the belt off, you can spin the power steering pump pulley to access its bolts through the holes—align, insert socket, remove. Do this to expose hardware before the rest. I did belt and power steering drive first.
03:00 First step: remove the air intake. Take pictures of every connection—you’ll be removing the air intake, throttle body side, actual intake, fuel rails, power steering pump, the belt, throttle cables—everything in this area; the exhaust sits right below. Label O2 sensors. Under the fender: pop the rubber splash shield push-pins for easier access to flange bolts. Photos/videos keep you from missing a plug and causing a no-start.
03:57 PB Blaster time: soak all the old exhaust fasteners—the manifold/header bolts, flange nuts (these two, these four), O2 sensors, everything that’s being replaced. The old cast-iron manifold bolts get the treatment all the way around to help break free.
06:01 Fuel injector rails and electrical: I removed them and laid the harness back to expose the nuts/bolts. The lower front stud has a nut that doubles as a guide for the new headers. Intake bolts across the top are out. Underneath access is tight—might not be able to film. Cutting out the old exhaust: stock flange bolts and O2s fight you; PB Blaster helps. Note: rear O2 has black plug, front is gray—connectors differ; bring the old sensors to the parts store to match. I’ll likely replace while I’m in here.
07:41 Small update: there’s a thin heat shield atop the motor mount. Mine had poor paint/tack welds and surface rust. I removed it and cleaned the area since it’s easy to access now. Driver’s side bay is open—wires/connectors out of the way. I’ll transfer the two O2 sensors to the new kit. I mocked the headers in place to ease installing the lower cat section first, then I’ll bolt the uppers. Time-lapse coming for reassembly.
09:06 First header section in. I cut the front intermediate pipe with a Sawzall instead of fighting bolts I’m tossing anyway. Skid plates (t-case and belly) made removal tight; I cut again behind the muffler to snake it all out without dropping plates.
10:03 I messed up—assumed same headers as my old XJ, forgot the double-downpipe/cat setup. I reinstalled intake too soon and couldn’t reach behind it. Had to pull it back off—learn from me. Pro tip: a snake camera helps. I aimed it at the hidden bolt head, guided the socket on by watching the screen, then ran a 3/8″ extension under the intake. Also great for finding dropped hardware. Plan: once buttoned up topside, I’ll start it to check for leaks at the manifold; if good, I’ll finish the cats/muffler/tailpipe underneath and test drive. Straight-header sound check incoming…
13:52 Mean. Let it cool and get back to the exhaust.
15:23 Everything’s installed. One note for LJ vs TJ: the cat-to-muffler section was ~1 ft short on my LJ (longer tub than TJ). Underneath: header/cats cross under the oil pan, merge, then connect under the t-case skid via slip joint and clamp. At the rear I had to add an 18″ extension between muffler and tailpipe (measured to the muffler’s internal stop dimple), cut to length, added an extra clamp, then continued to the tailpipe over axle.
17:26 Tail exit: I’m not thrilled with how close the pipe is to the rear shock—heat may be an issue. Chime in if you’ve seen this; I have spare shocks/upgrades if needed. My stock hanger was broken, so I used a universal strap hanger. Chrome tip looks sweet. That’s front-to-back done—before/after sounds next.
19:56 That’s all for today. You saw the real process (camera hiccups and all). Questions/concerns/tips—drop them below. I’ll link the snake camera, PB Blaster, and tools I used. If you’ve solved the tailpipe-near-shock spacing, share how. Like, subscribe, hit the bell—see you next time.


