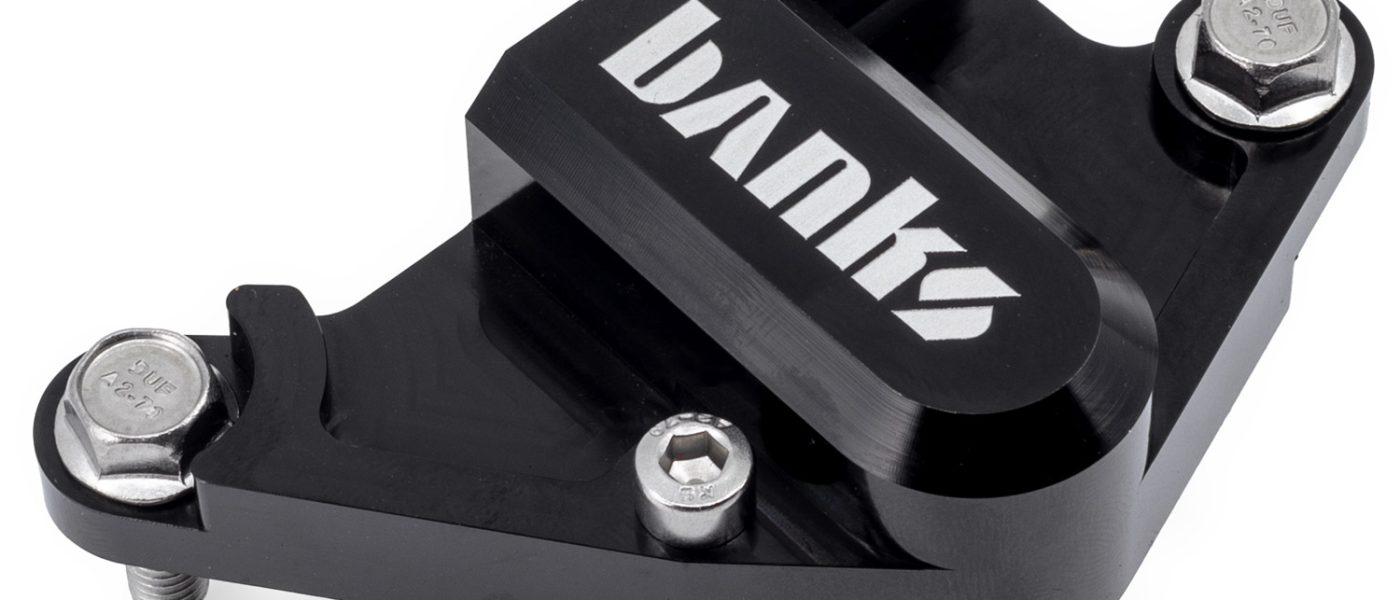
97758 MAP Sensor Relocation Kit for 2020-2026 Ford F250-450 Super Duty 6.7L Diesel
INSTALL INSTRUCTIONS
Part #s
64412
----------------
2020-2026 Ford
F-250 - F-450 Super Duty 6.7L Diesel
Please read through the following instructions thoroughly before starting your installation. If you have any questions please visit our Support Page.
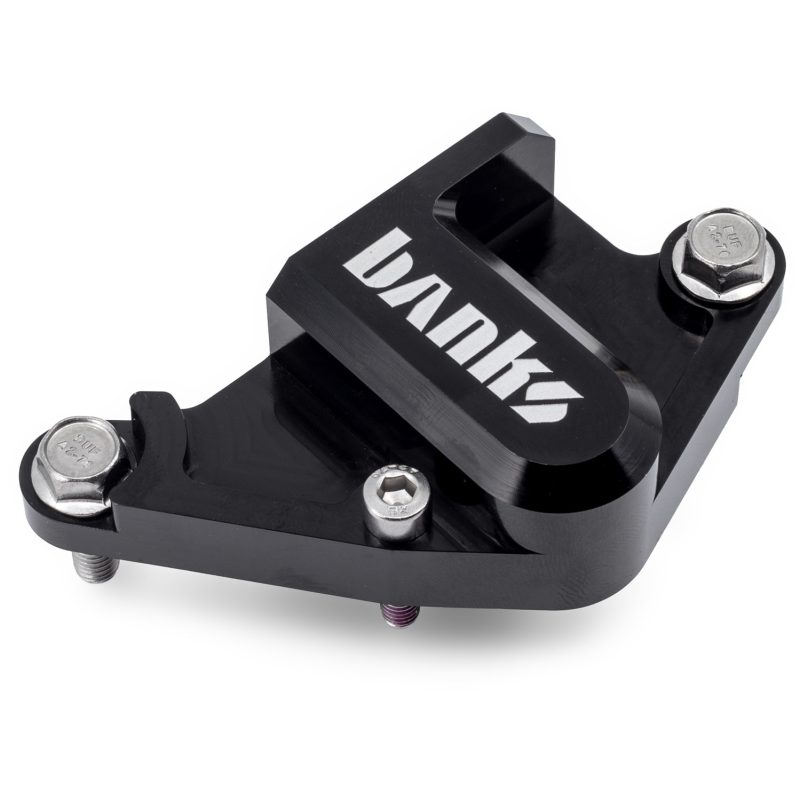
Bill of Materials
| Part Number | Description | QTY |
| 43636 | MAP Spacer | 1 |
| 91766 | Stainless Hex Head Bolt 20mm Long | 2 |
| 91778 | Stainless Button Head Hex Bolt w/ Thread Locker 22mm Long | 1 |
| 93866 | Viton O-Ring | 1 |
| 93009 | 4mm Hex Key | 1 |
General Installation Practices

NOTE: Disconnect Battery
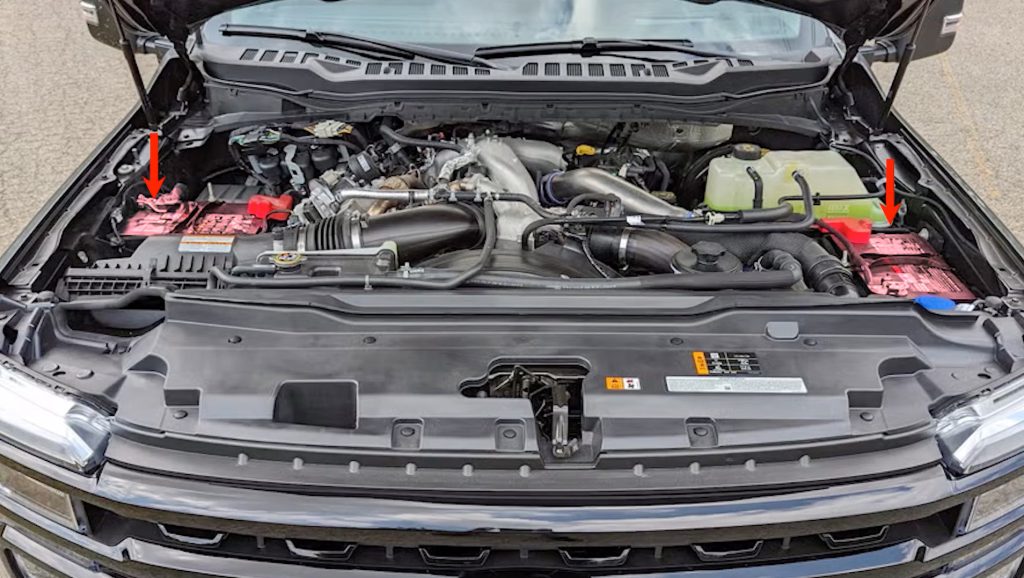
Before unplugging your MAP sensor, it is important to disconnect both batteries and let the ECM discharge for at least 15min.
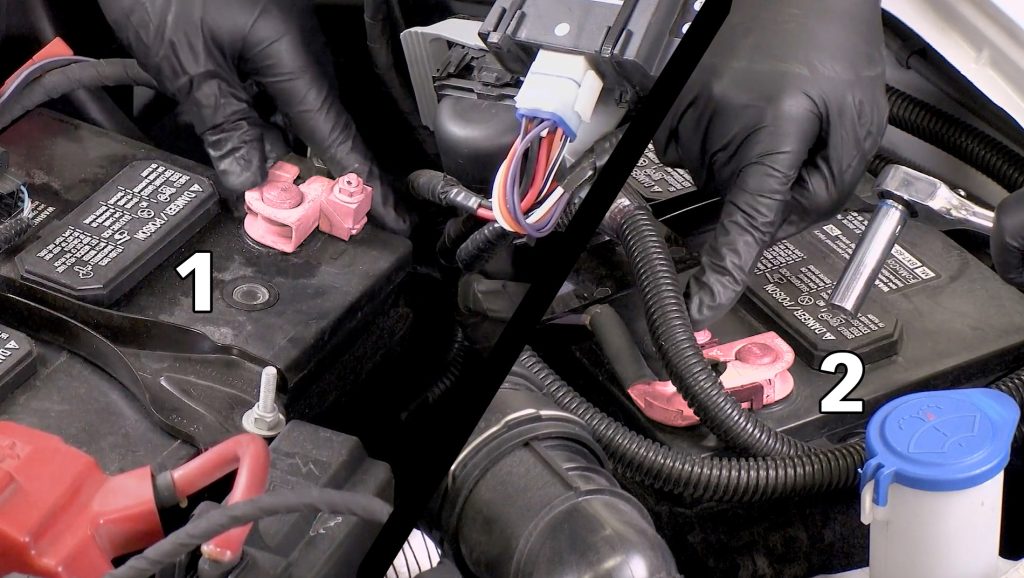
If you rush this step and unplug the MAP sensor, it can flag a Check Engine Light in the ECM on startup.
OE MAP Sensor Cover Plate Removal
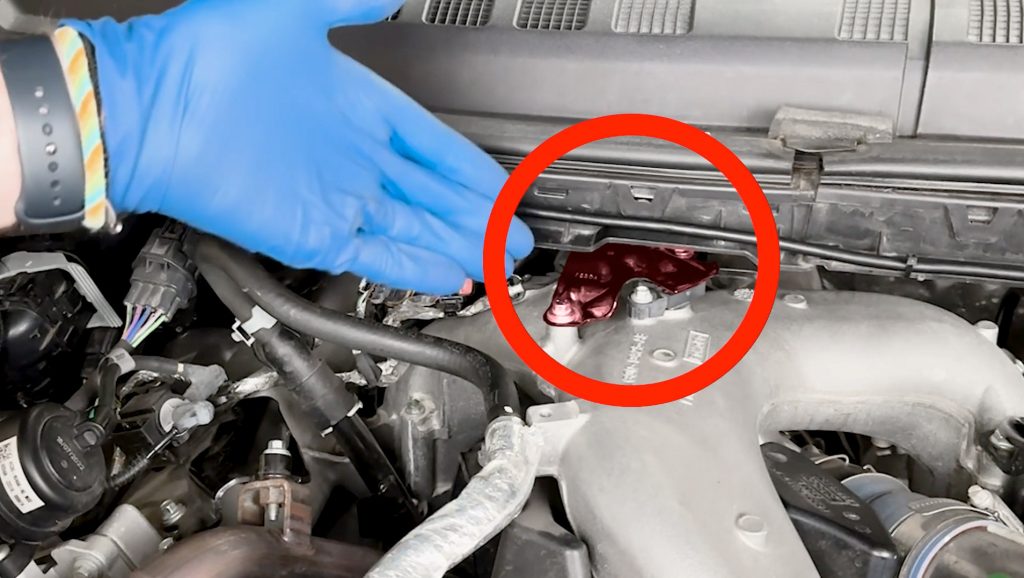
1. Locate MAP sensor
It is found on top of your intake manifold.
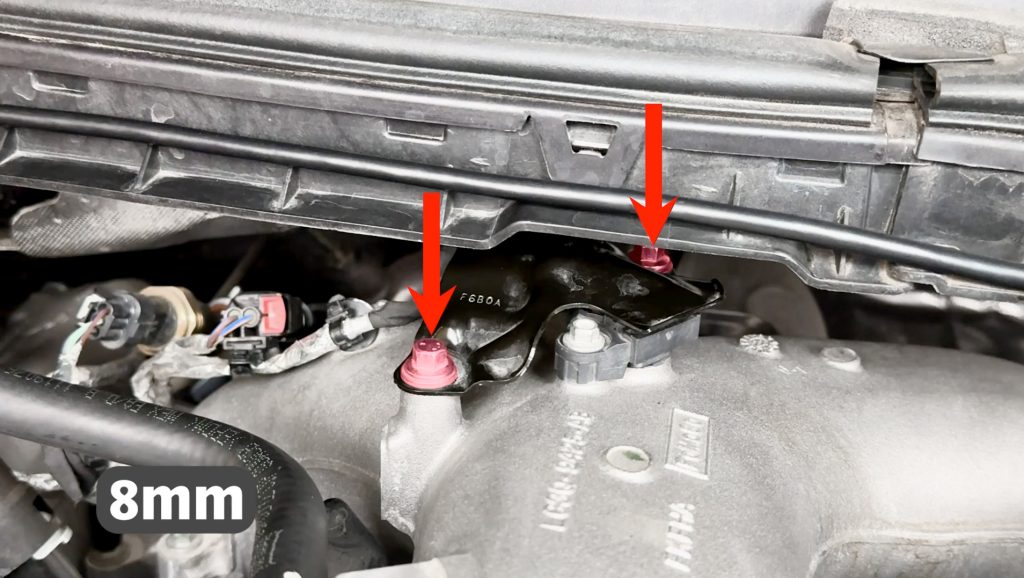
2. Remove 8mm bolts
Use an 8mm wrench to remove the bolts that hold the metal cover on.
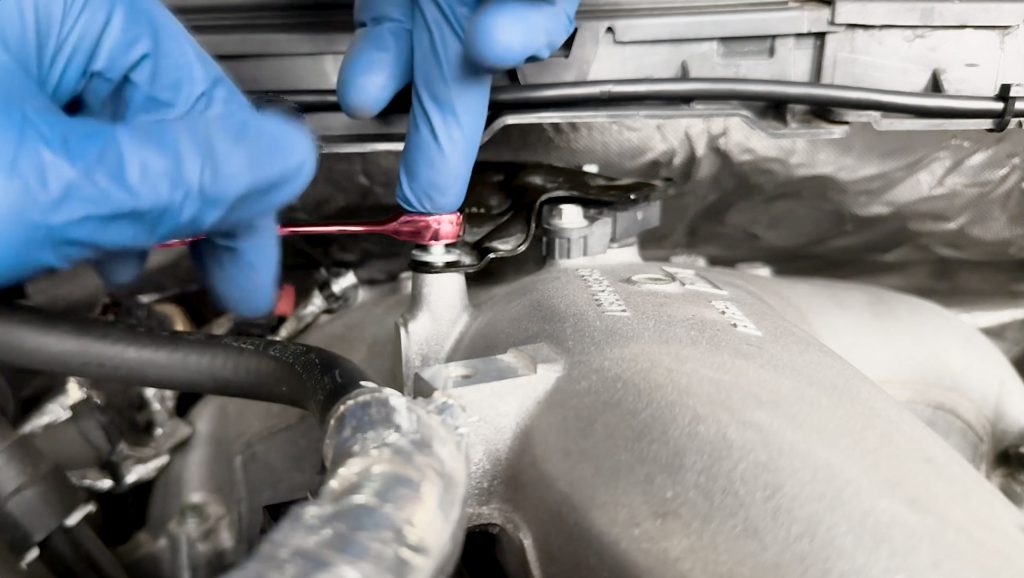
Using a gear wrench will speed up this process.
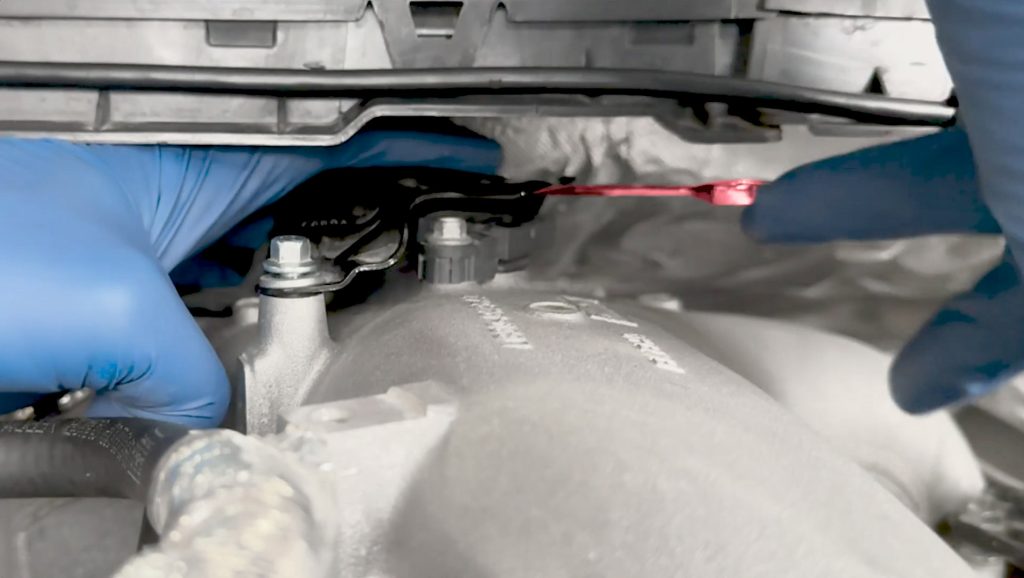
Clearance is a little tight for the rear bolt, but it is doable. Take care not to rush this step or else you may lose your wrench or bolt in the engine bay.
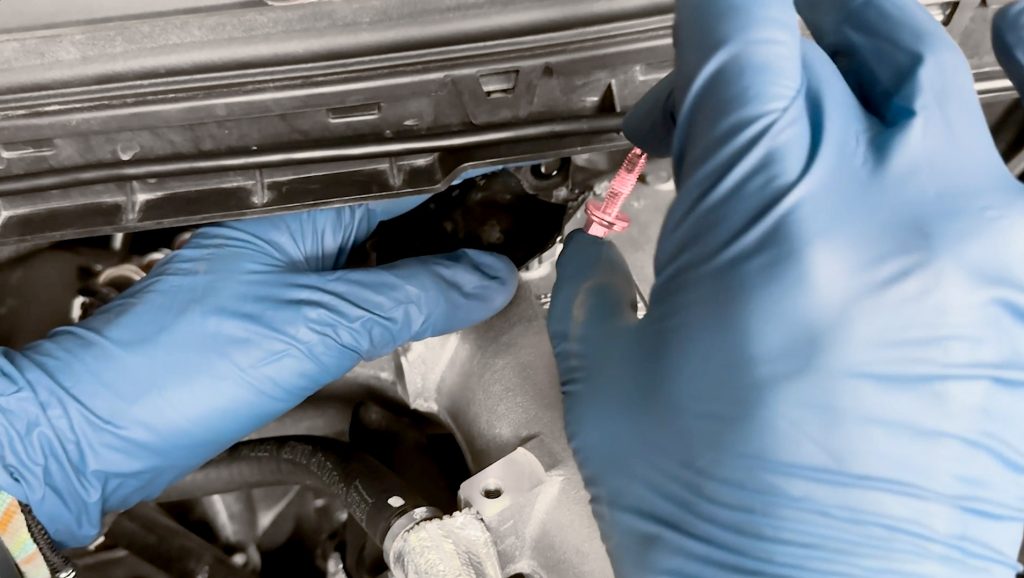
Once both bolts are out, the metal cover can be removed and set aside. These will not be reused.
OE MAP Sensor Removal
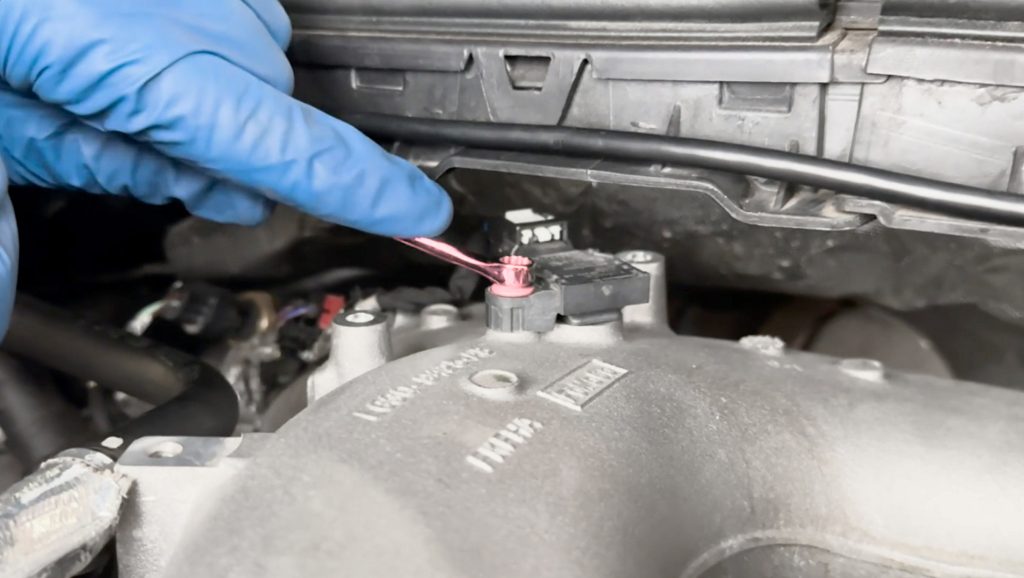
3. Remove 7mm bolt
Remove the 7mm bolt from the MAP sensor.
Most sockets are too tall to seat on this bolt. A slim 7mm wrench is recommended.
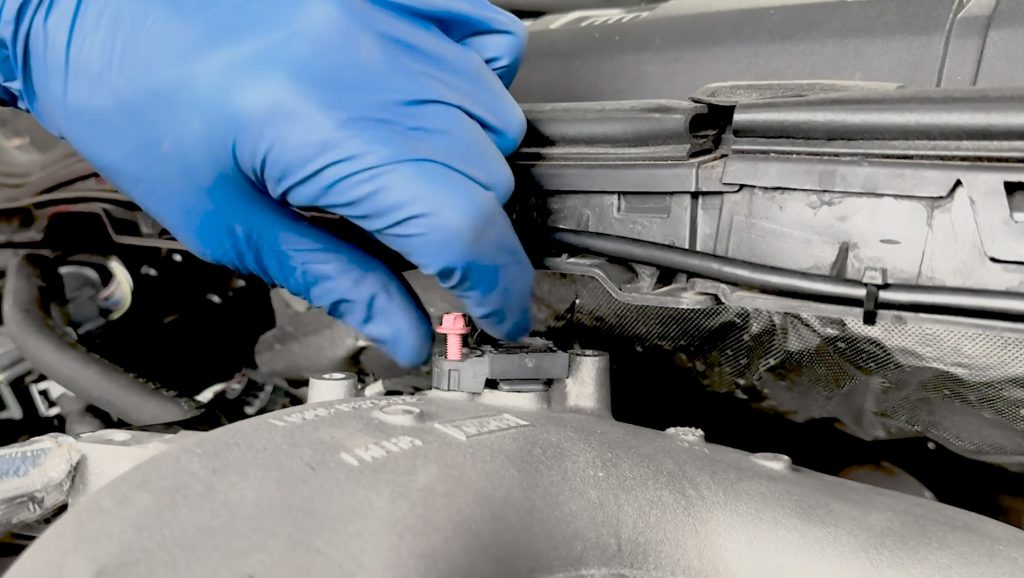
Once the bolt is broken free twist it off with your fingers.
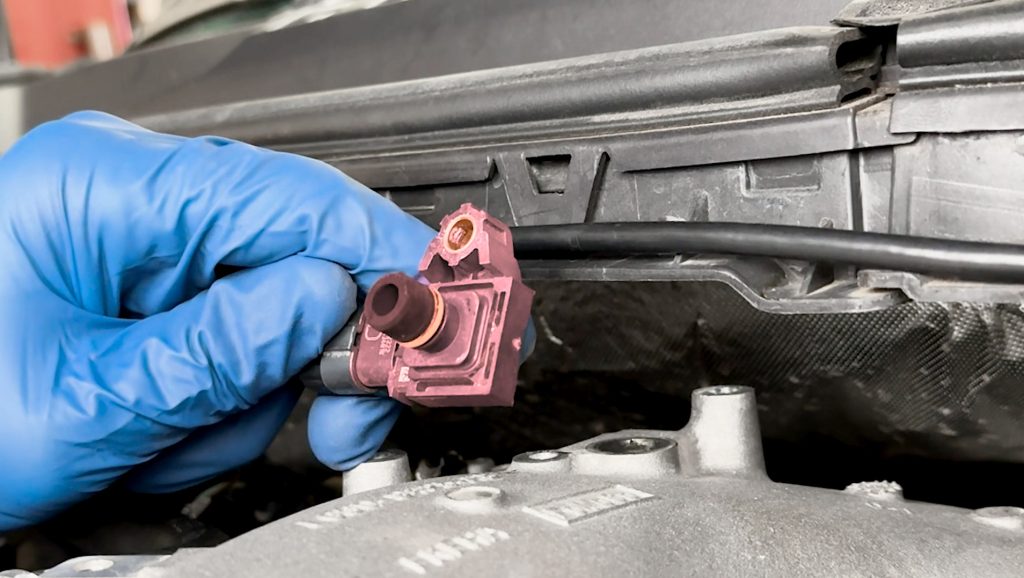
Twist the MAP sensor as you lift it up off the manifold.
Banks MAP Spacer Install
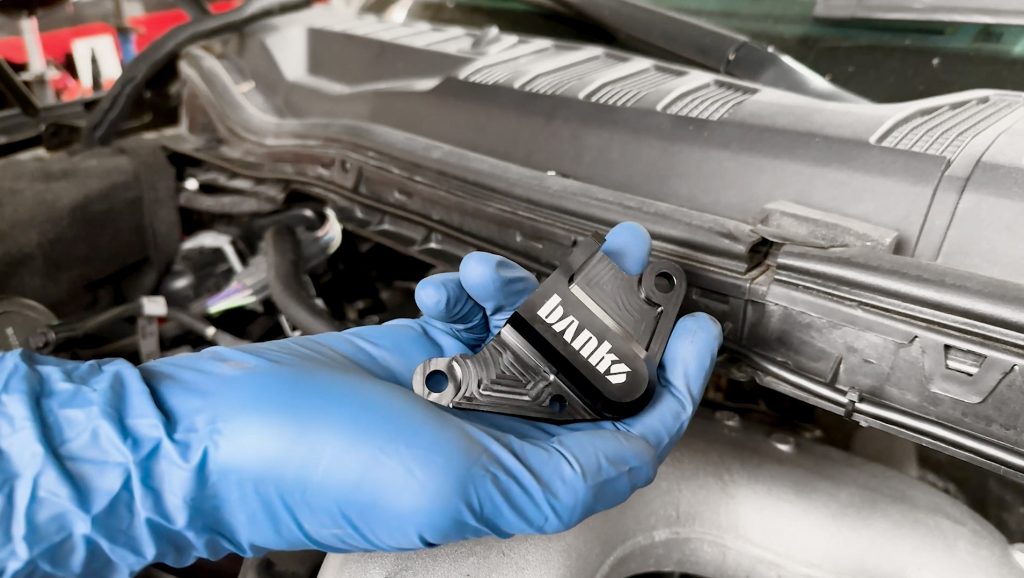
4. Prep your Banks MAP spacer
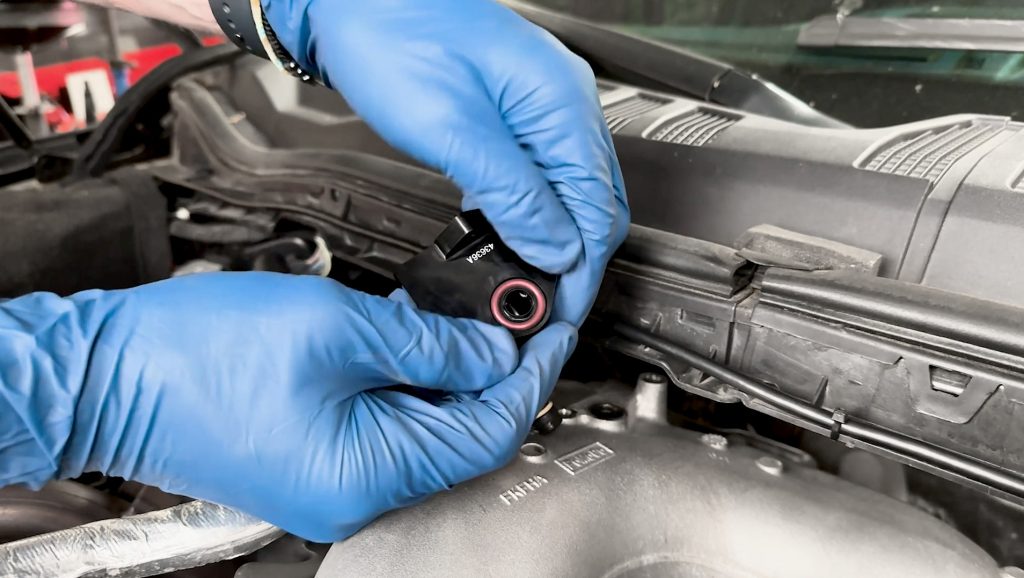
Install the newly supplied Viton o-ring into the Banks MAP spacer.
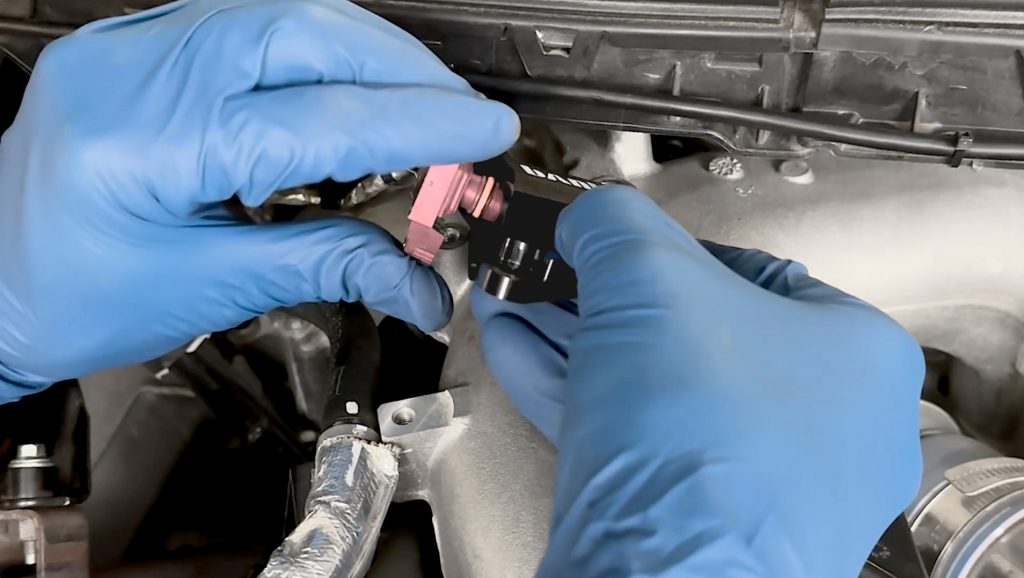
5. MAP Sensor install
Twist while reinstalling the MAP sensor into the Banks MAP spacer until the sensor fully seats.
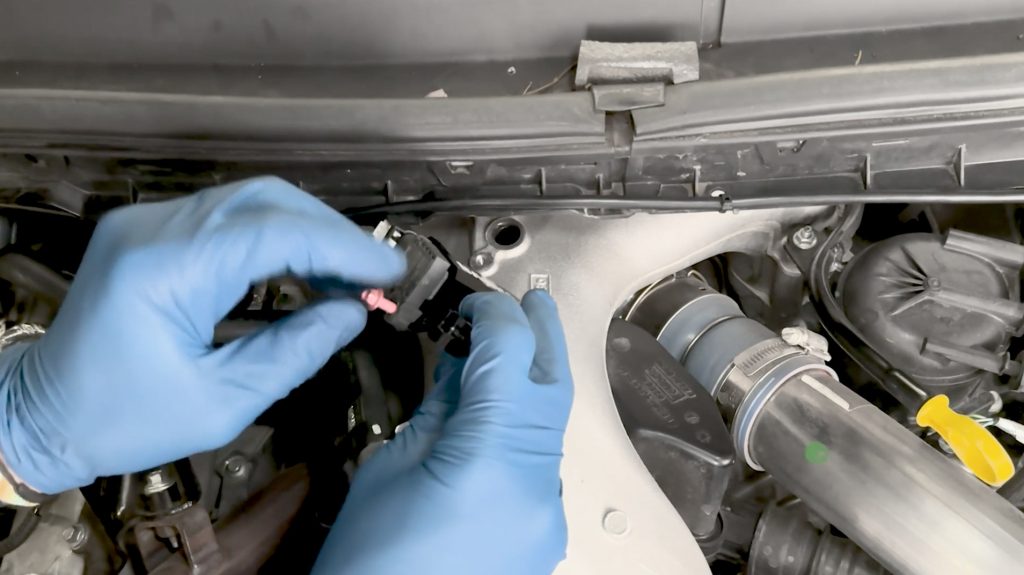
Using the 7mm bolt removed earlier, secure the MAP sensor to the Banks MAP Spacer.
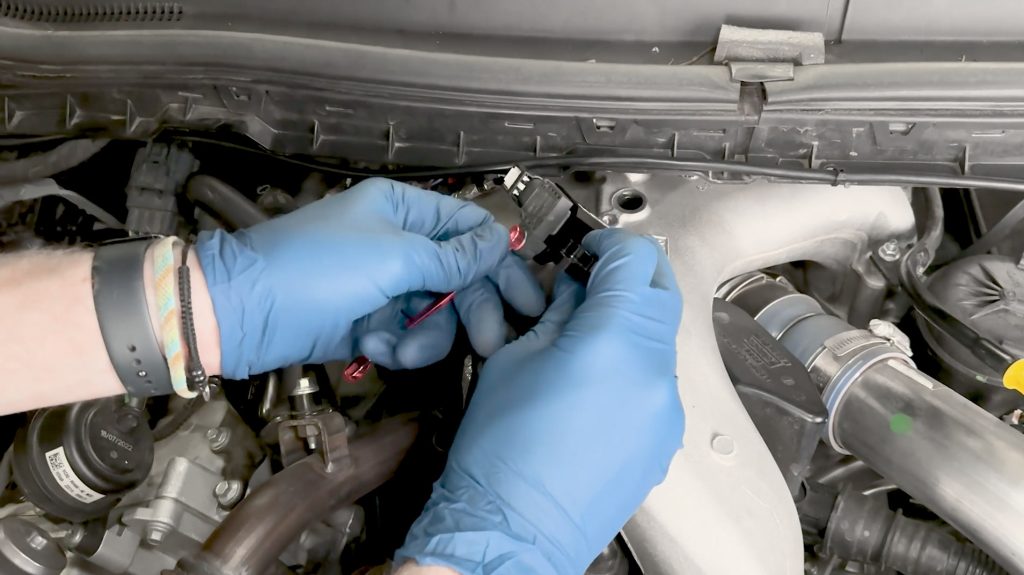
Snug the bolt with a 7mm wrench.
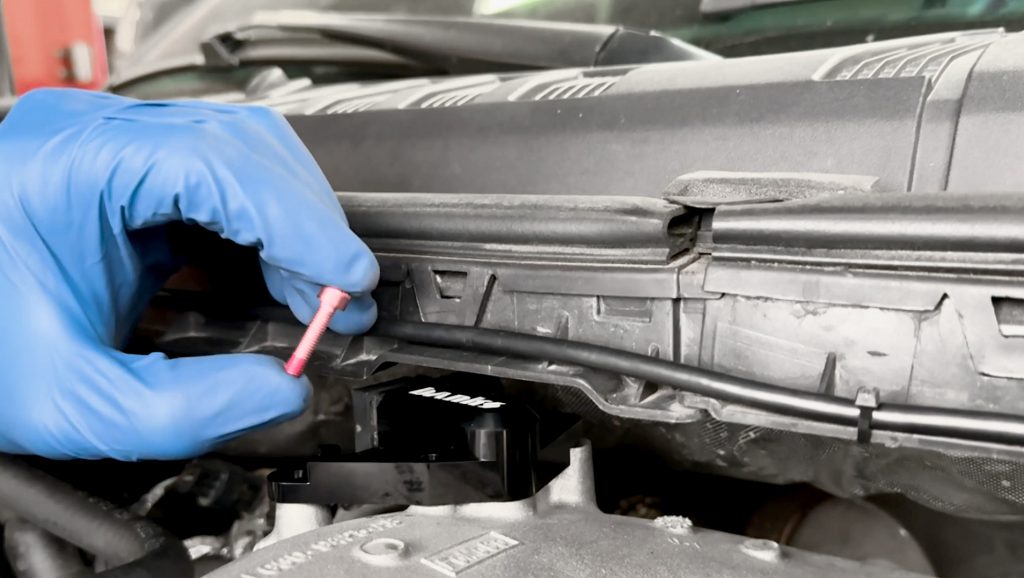
6. Secure MAP Spacer
Using the supplied button head hex bolt, secure the MAP Spacer to the factory bolt location.
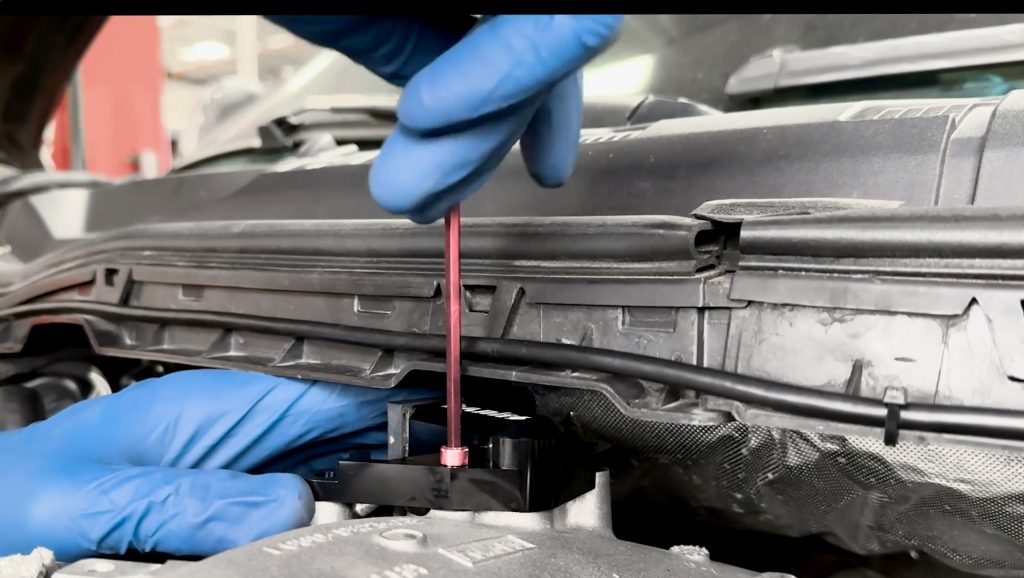
Leave this bolt a few turns loose until the end to ease the installation of the following two bolts larger bolts.
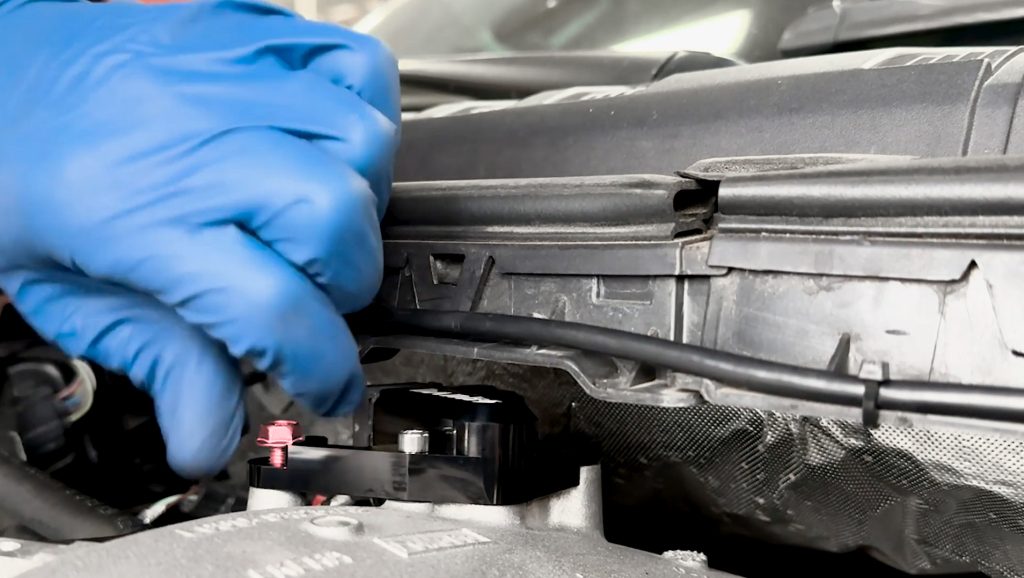
Install the provided 10mm bolts onto the MAP spacer.
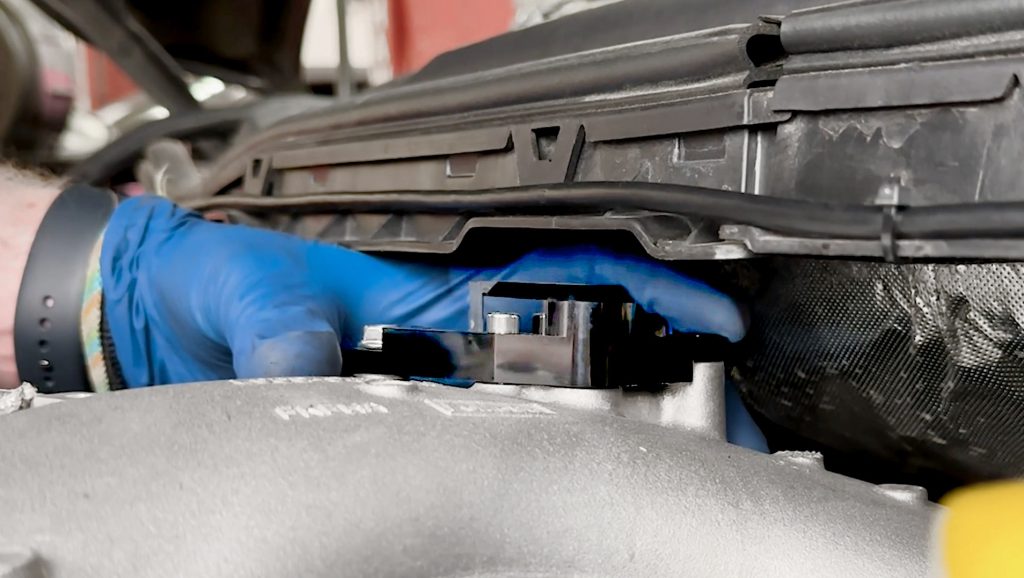
Again, the rear bolt is a little tight to get to.
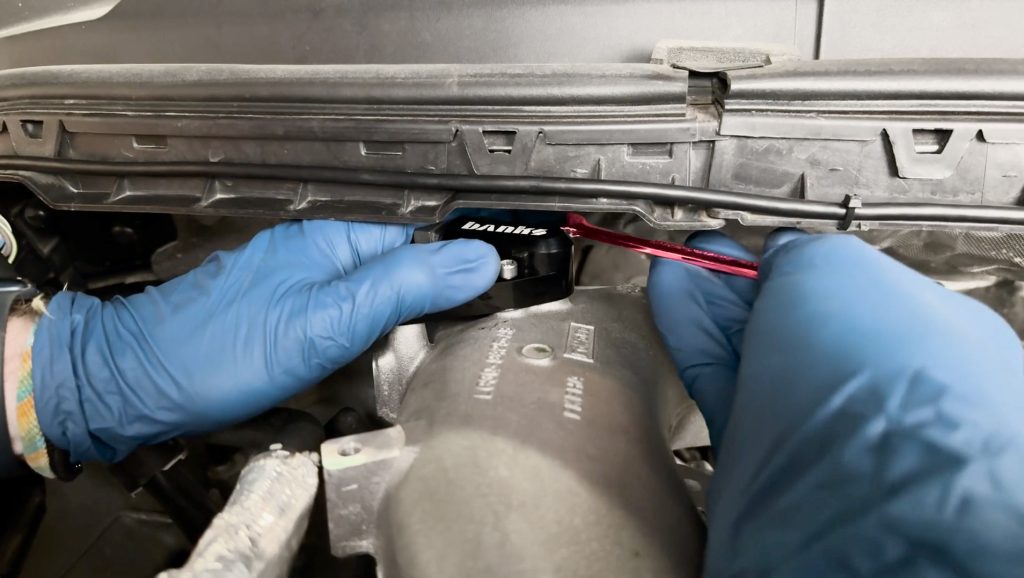
Take your time as to not drop any bolts or tools.
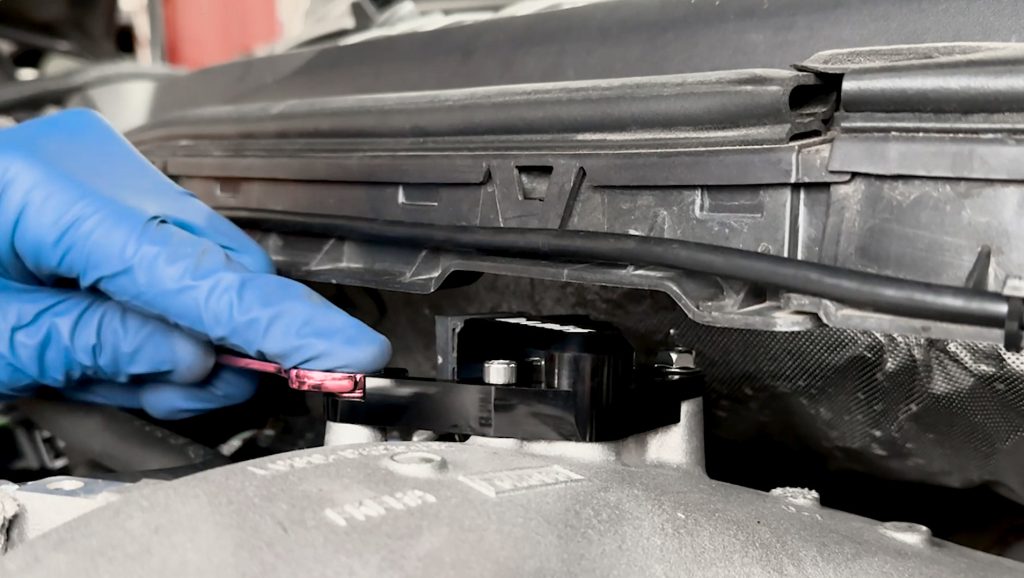
Once threaded in by hand, use a 10mm wrench to snug the bolts down. Recheck your button hex bolt and 7mm bolts as well.
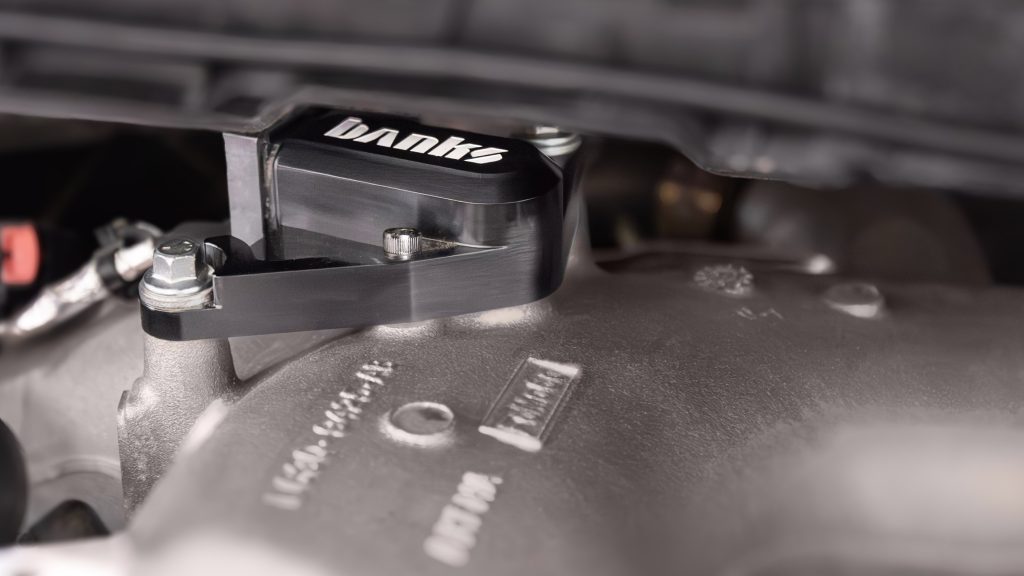
All Done
Once every bolt and connection is snug and tight, step back and enjoy your newly installed Banks Map Spacer.

