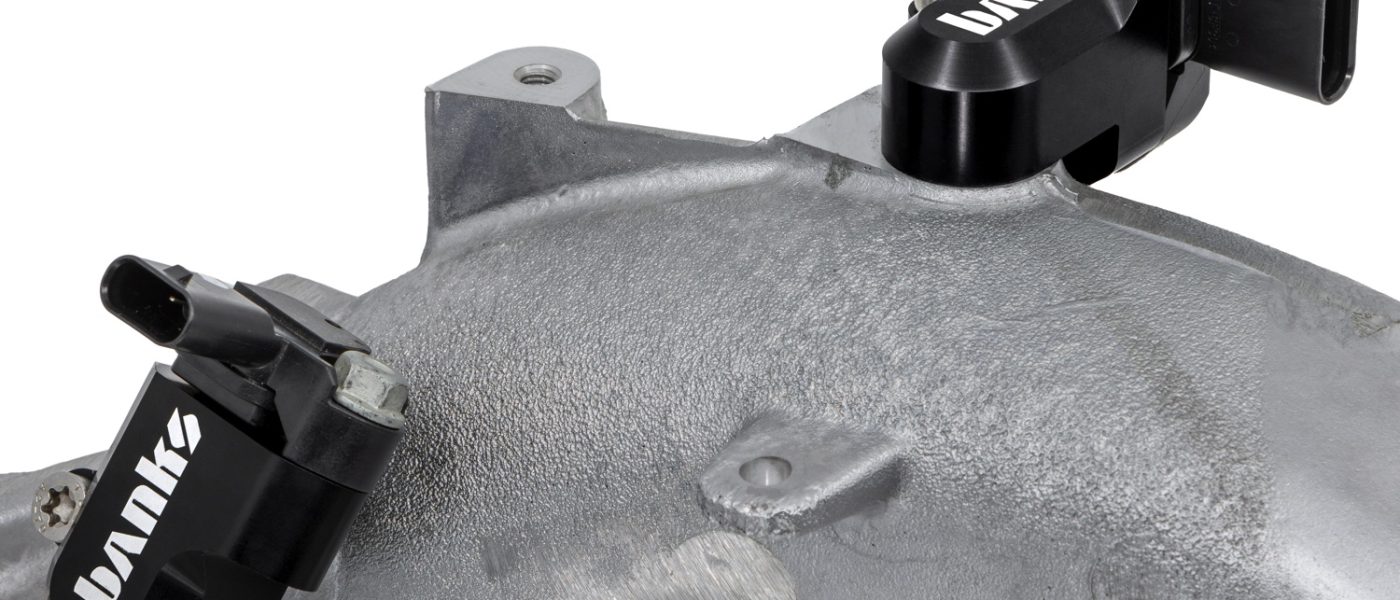
97752 MAP Sensor Relocation Kit for 2017-2024 Chevy/GMC 2500/3500 Duramax L5P 6.6L Diesel
INSTALL INSTRUCTIONS
Part #s
64410 & 64415
----------------
L5P MAP Sensor Relocation Kit for
2017-2024 Chevy/GMC 2500/3500 Duramax L5P 6.6L Diesel
Please read through the following instructions thoroughly before starting your installation. If you have any questions please visit our Support Page.
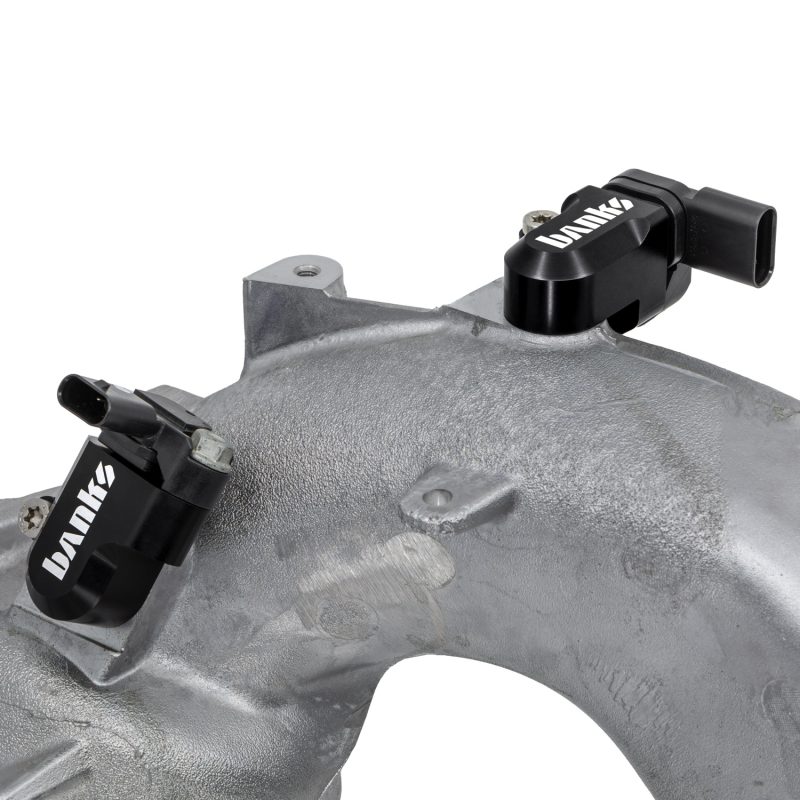
Bill of Materials
2017-2024 MAP Relocation Kit (Upper Sensor)
| Part Number | Description | QTY |
| 43629 | L5P MAP Spacer (Upper Sensor) | 1 |
| 91777 | Stainless Torx Button Head Bolt w/ Thread Locker 20mm Long | 2 |
| 93866 | Viton O-Ring | 1 |
| 93011 | T30 Torx Key | 1 |
2023+ Dual MAP Relocation Kit also has the following parts
| Part Number | Description | QTY |
| 43638 | L5P MAP Spacer (Lower Sensor) | 1 |
| 91777 | Stainless Torx Button Head Bolt w/ Thread Locker 20mm Long | 2 |
| 93866 | Viton O-Ring | 1 |
General Installation Practices

NOTE: Disconnect Battery
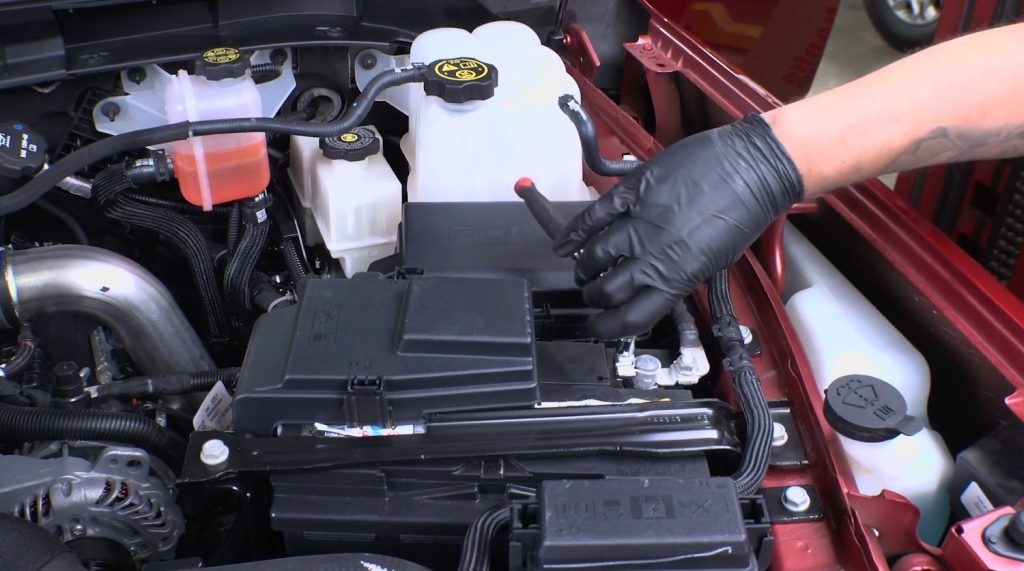
Before unplugging your MAP sensor, it is important to disconnect both batteries and let the ECM discharge for at least 15min.
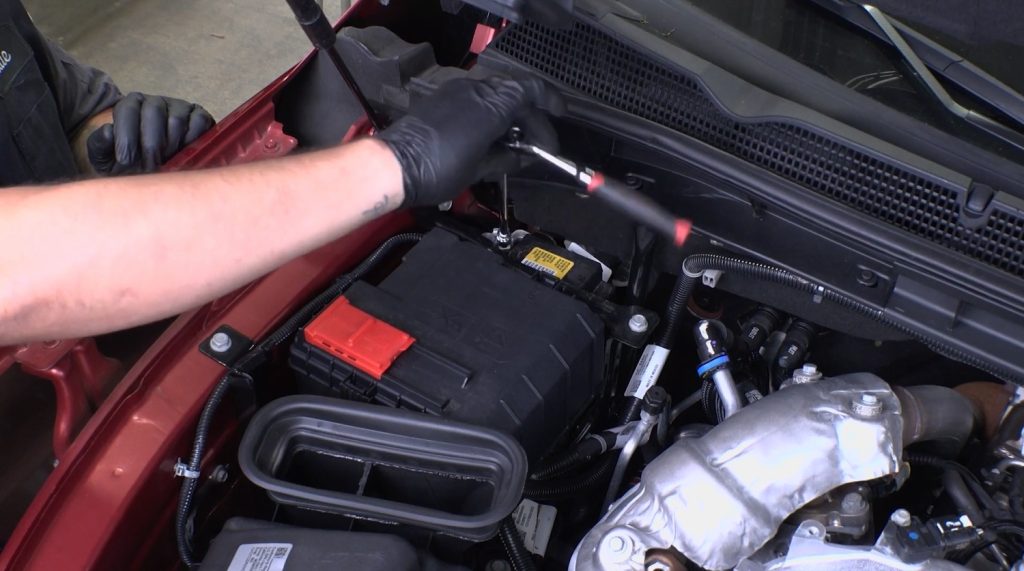
If you rush this step and unplug the MAP sensor, it can flag a Check Engine Light in the ECM on startup.
MAP Sensor Relocation Kit Installation
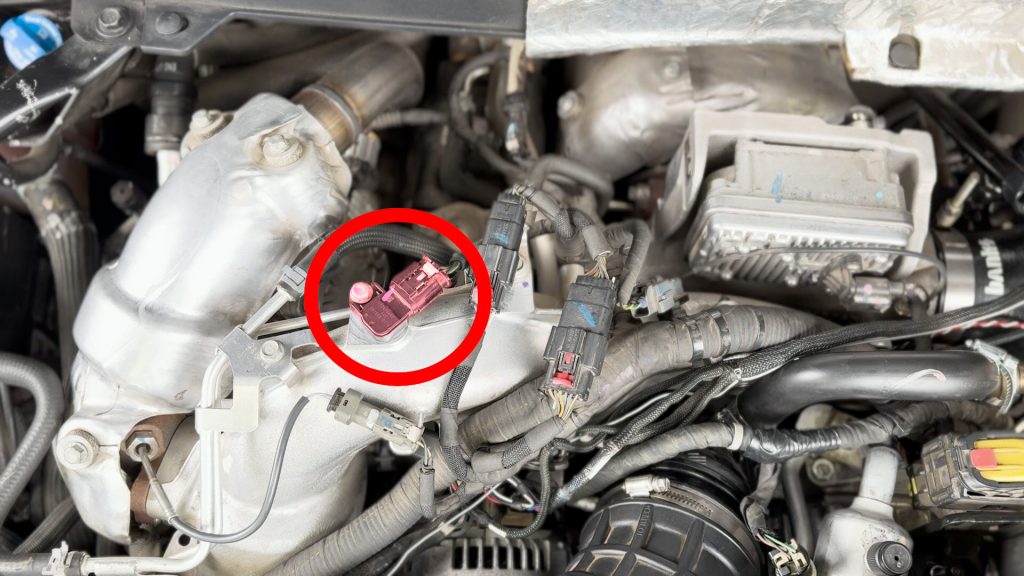
1. Locate MAP sensor.
It is found on top of your intake manifold.
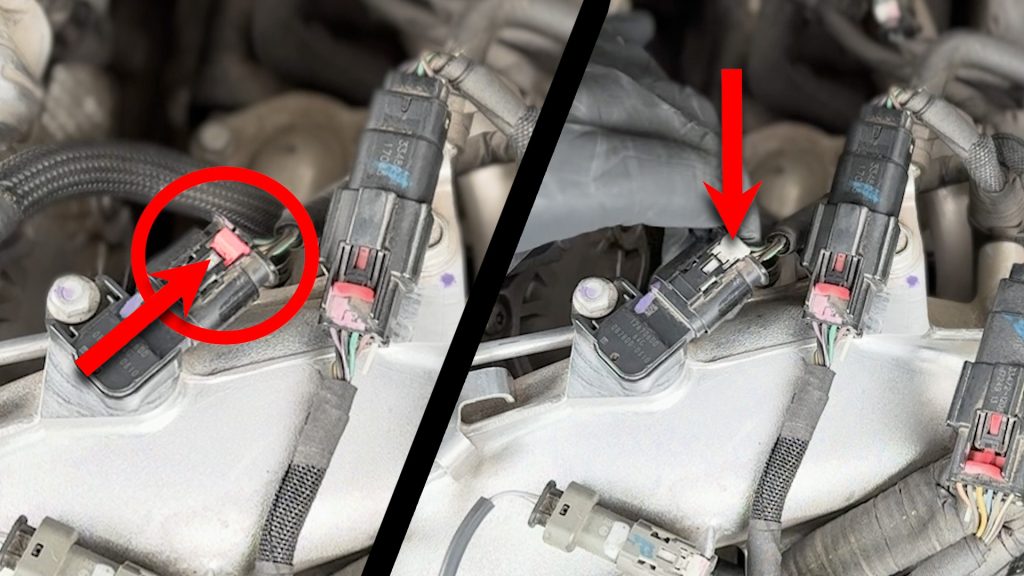
2. Unplug MAP sensor.
Slide the locking tab back, then depress it to unlock the plug from the sensor.
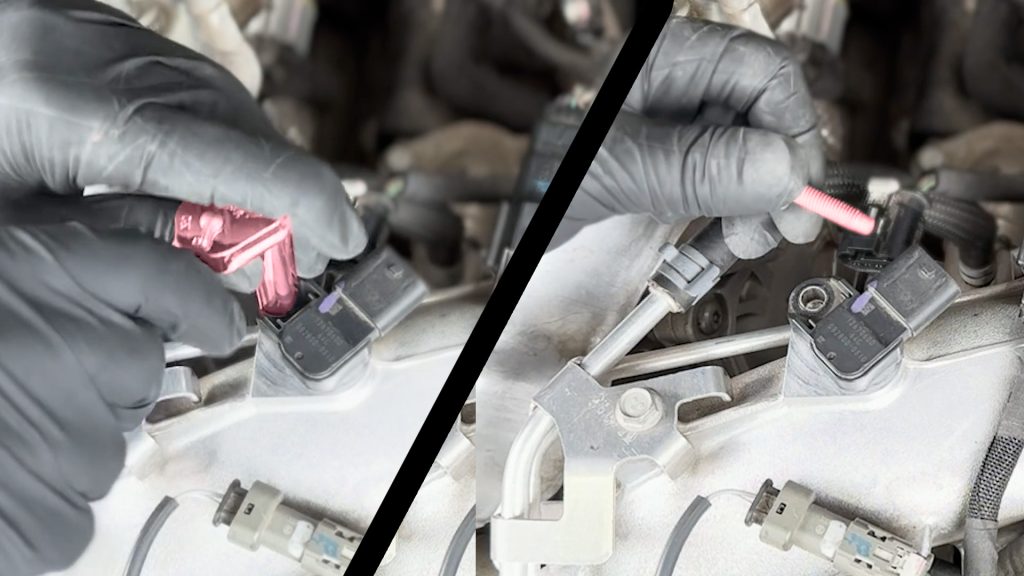
3. Remove 10mm Bolt
Use a 10mm socket to remove the bolt; it will not be reused on the Banks MAP Relocation Bracket.
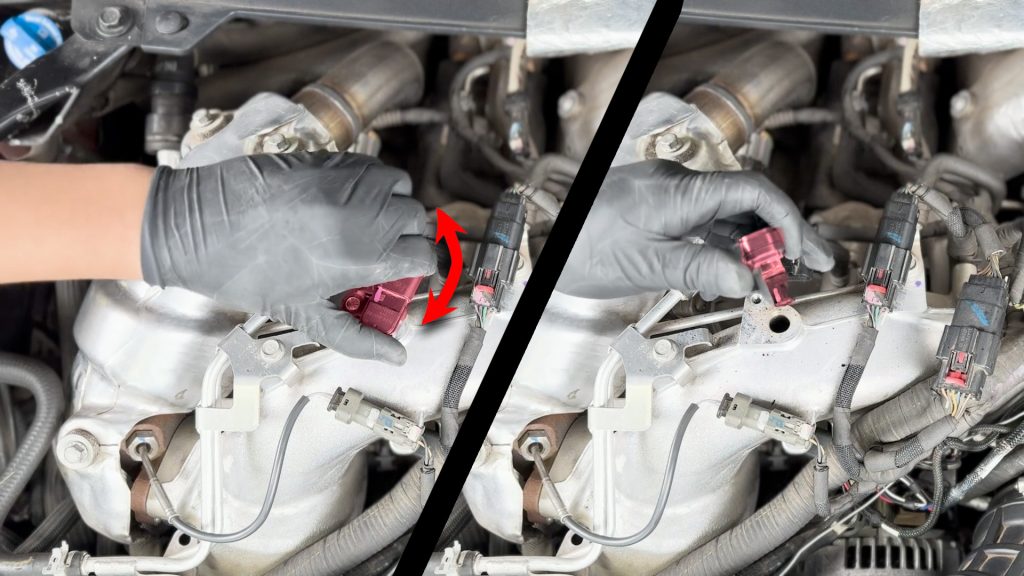
4. Remove MAP sensor
Twist and lift to free it from the intake manifold.
Due to the sensitivity of the sensor, GM advises not to use any chemical cleaners, including water, and not to use compressed air to remove contaminates. Proceed with cleaning the sensor at your own risk.
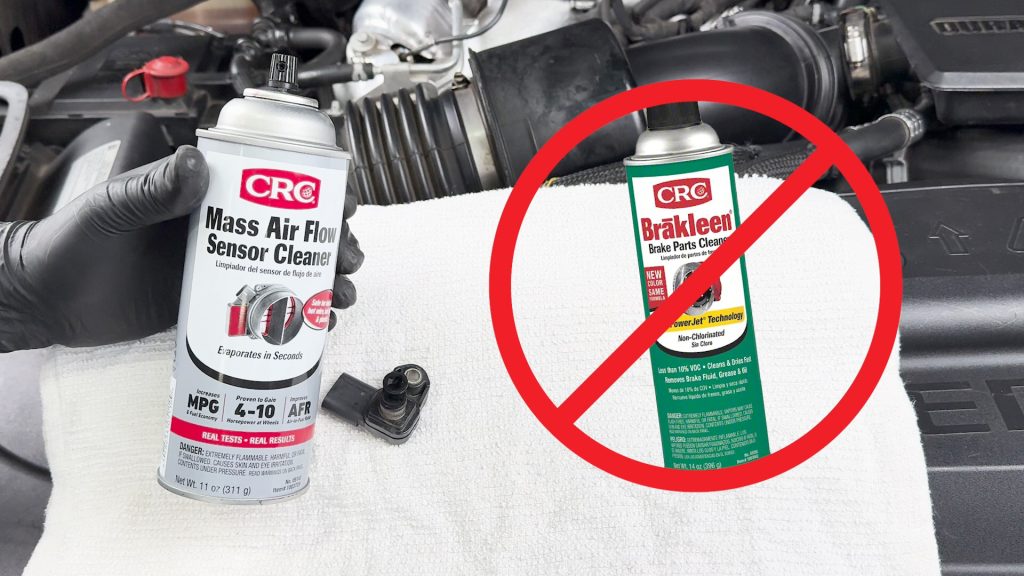
Important: Use Mass Air Flow Cleaner Only.
Solvents such as brake cleaner will damage the sensor.
While GM does not recommend cleaning, we have seen favorable results using Mass Air Flow (MAF) Sensor Cleaner, available at most auto parts stores.
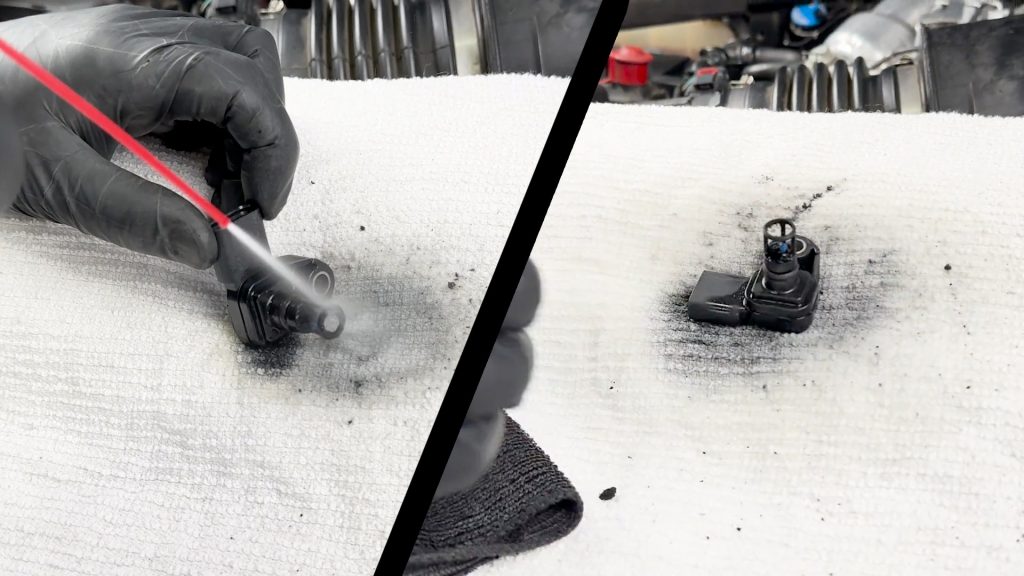
5. Clean MAP sensor
Try not to overly spray the sensing wire; a rag or brush can be used for stuck-on debris.
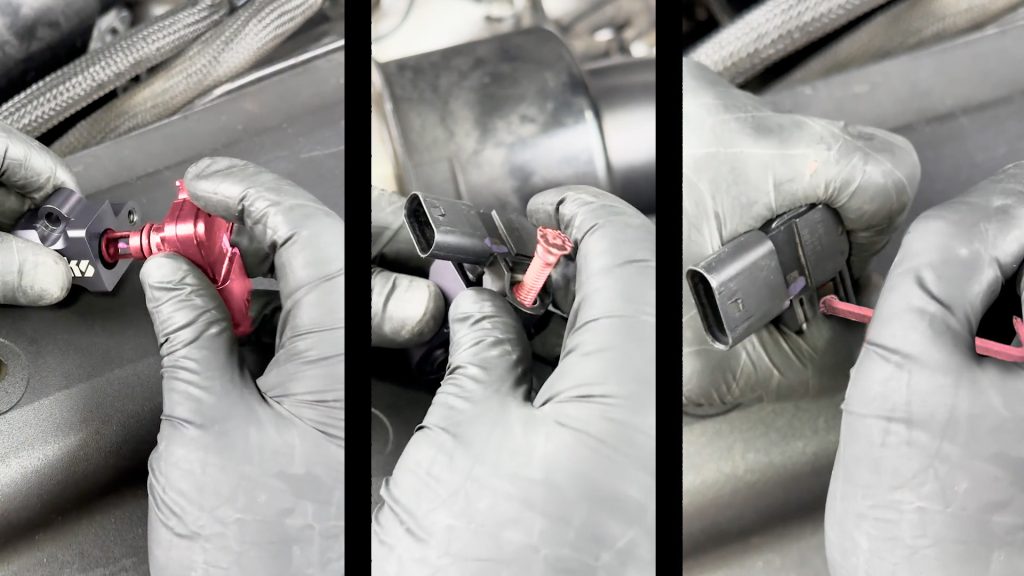
6. Install MAP sensor into Banks Spacer
Twist while inserting the MAP sensor to prevent O-ring damage. Thread the 20mm long T-30 Torx screw by hand, then tighten snugly with the supplied Torx Key
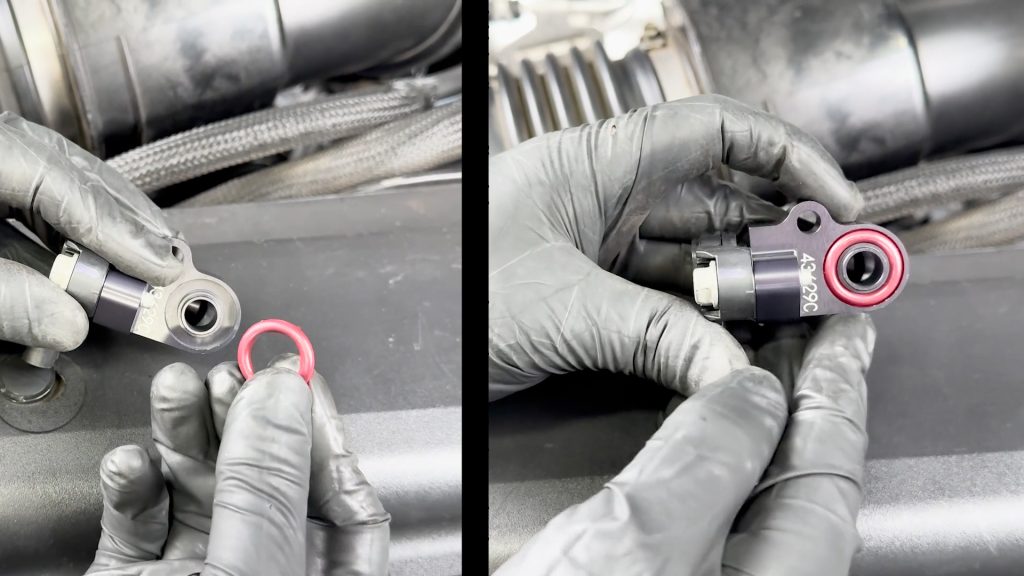
7. Install O-Ring
Don’t forget to install the newly supplied Viton o-ring into the Banks MAP Spacer.
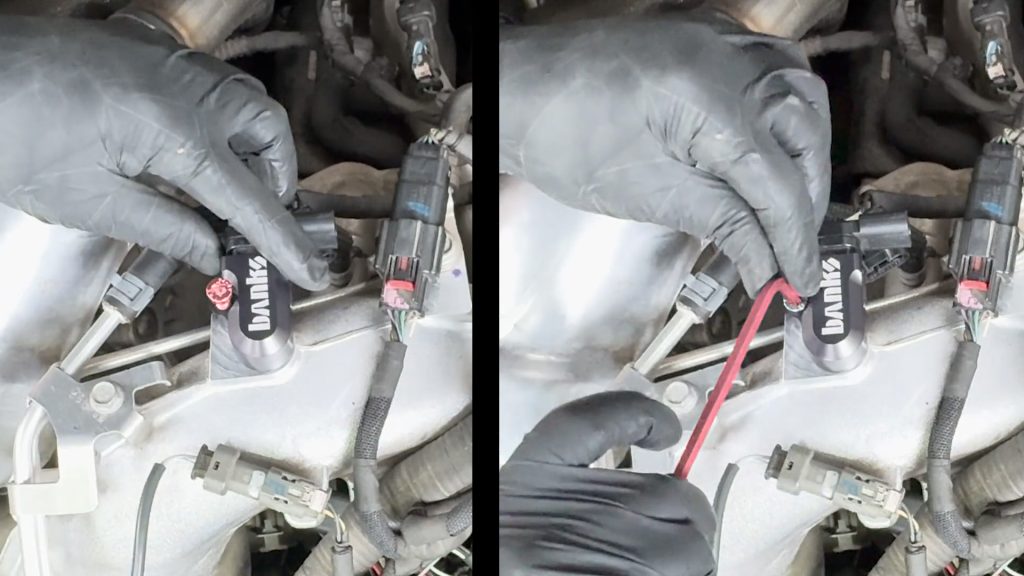
8. Install 20mm Torx Bolt
Tighten snugly by hand, a T30 Torx key is supplied.
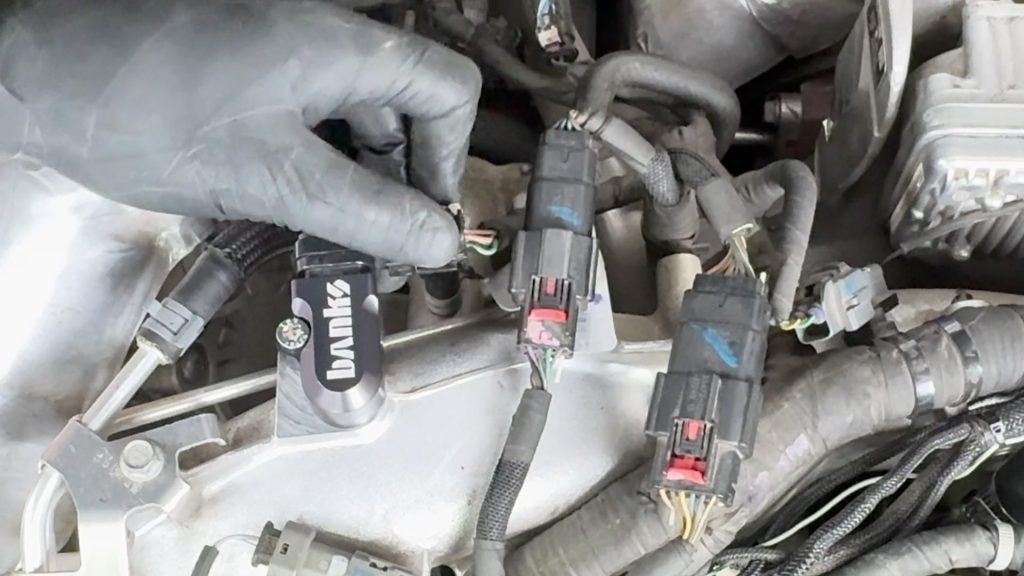
9. Reconnect MAP sensor
Be sure to slide the locking tab forward into place. Double-check that all bolts are snug, and enjoy your new Banks MAP Spacer.

