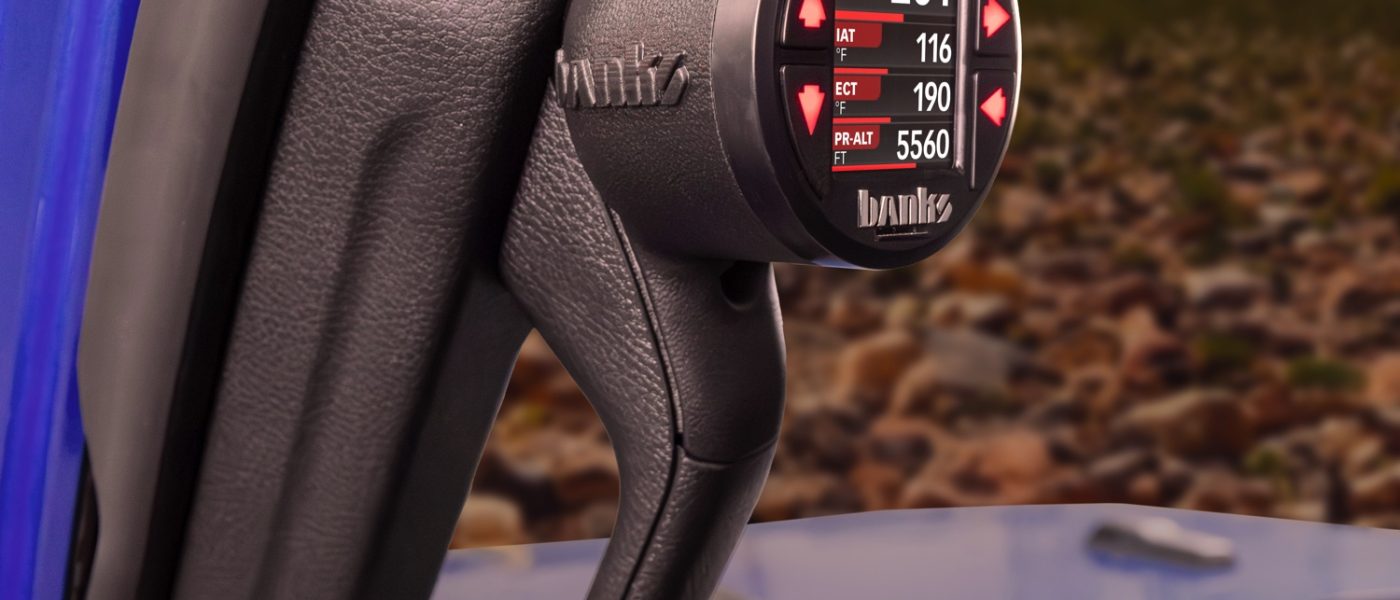
97732 2024 Jeep Wrangler JL & Gladiator JT Stealth Pod Installation Guide
INSTALL INSTRUCTIONS
Part #s
63378
Gauge Pod
2024-2025 Jeep Wrangler JL
2024-2025 Jeep Gladiator JT
Please read through the following instructions thoroughly before starting your installation. If you have any questions please visit our Support Page.
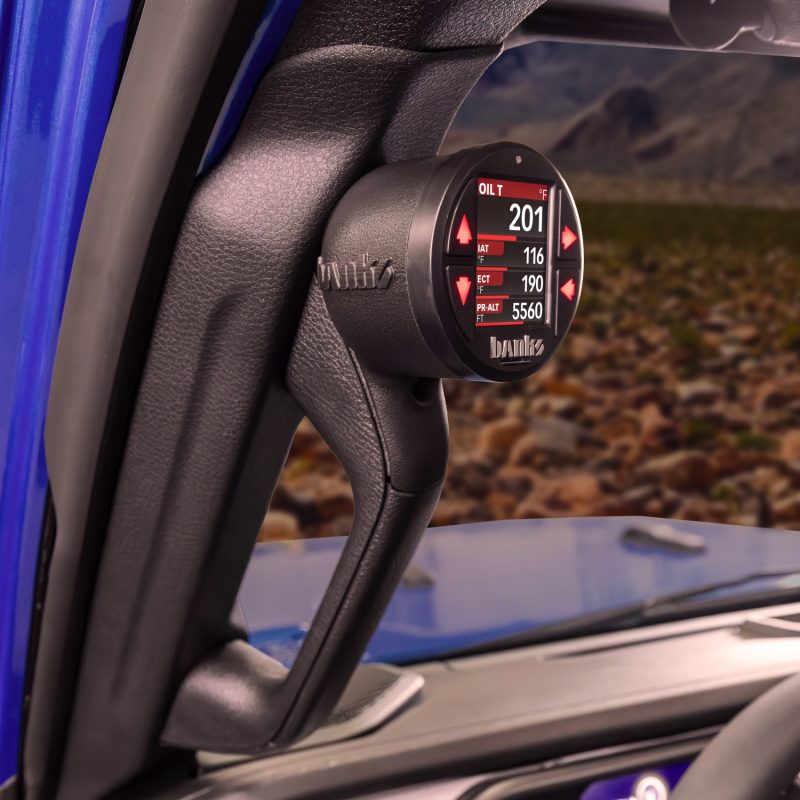

Part Number 63378
Fits the A-Pillar below found in the:
• 2024-2025 Jeep Wrangler JL
• 2024-2025 Jeep Gladiator JT

Installation Guide
Note: If you’ve chosen to paint the pods yourself, please visit bankspower.com/paint to get perfectly matched spray paint. No primer is needed just three to four light coats.
What’s Included
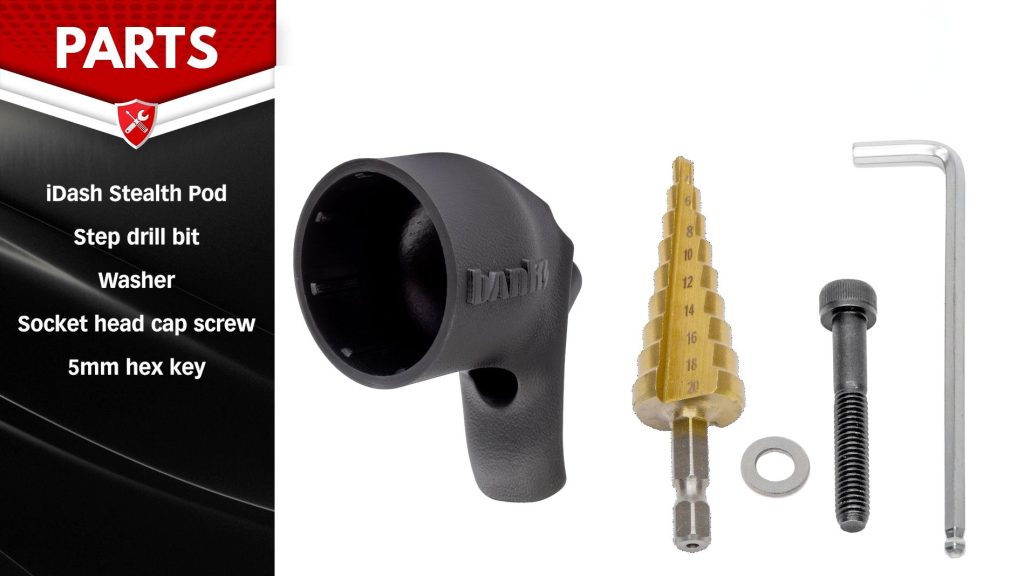
If anything is missing, please call us at 800-601-8072 immediately!
Tools Required

Step-by-step Installation

1. Before starting the installation, use your 10mm socket to remove the negative terminal on the battery.

Be sure both power leads are separated and dont touch each other.
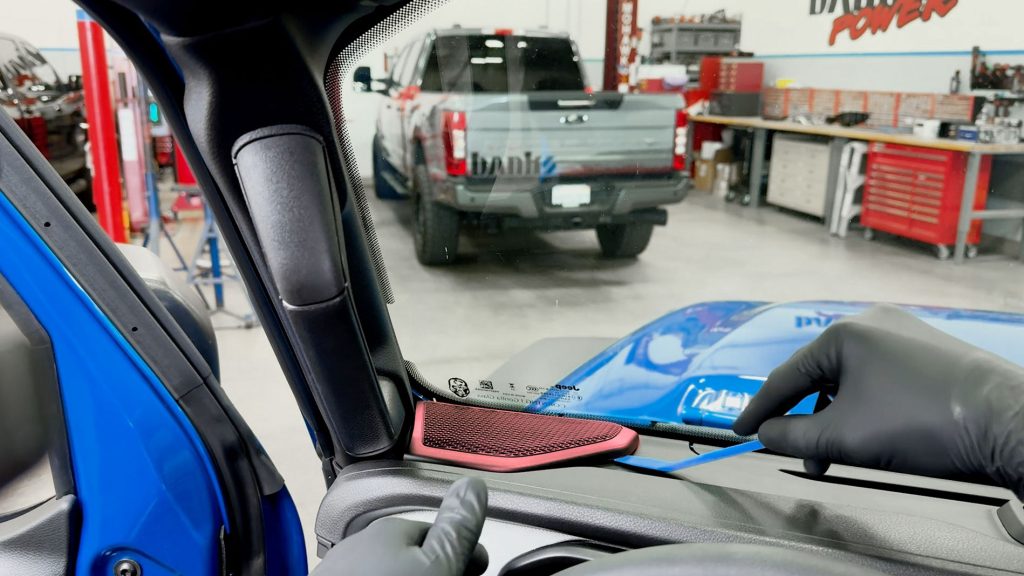
2. With a plastic pry tool, pop off the driver-side speaker cover.
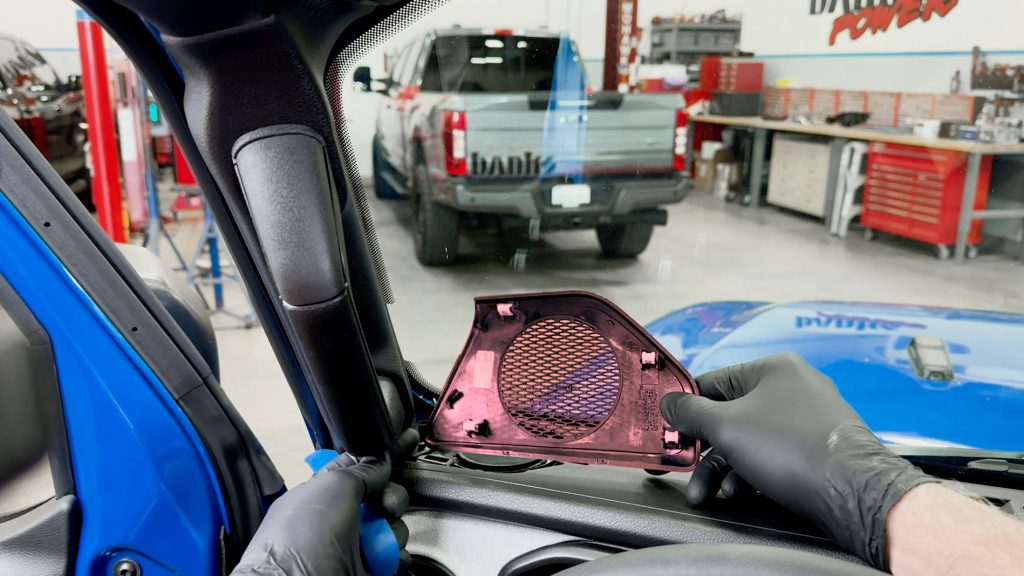
It has 4 plastic tabs that hold it in.
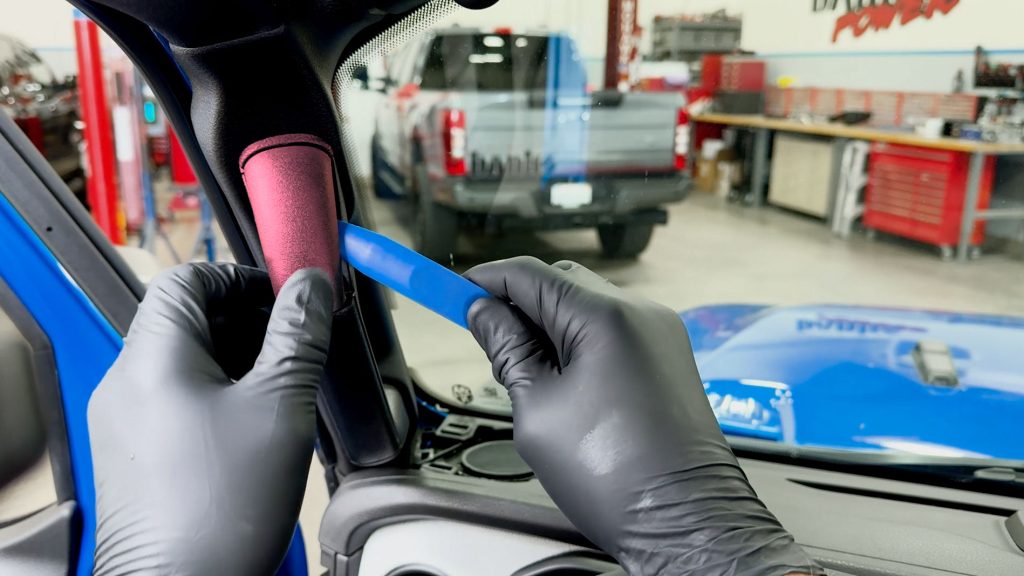
3. With a plastic pry tool, pop off the plastic plugs that cover the A Pillar bolts.
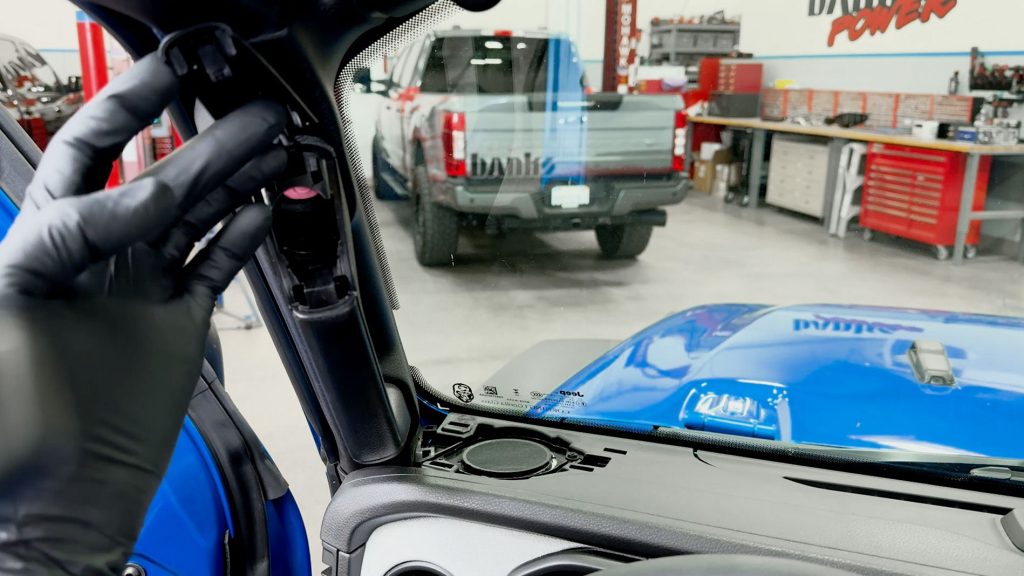
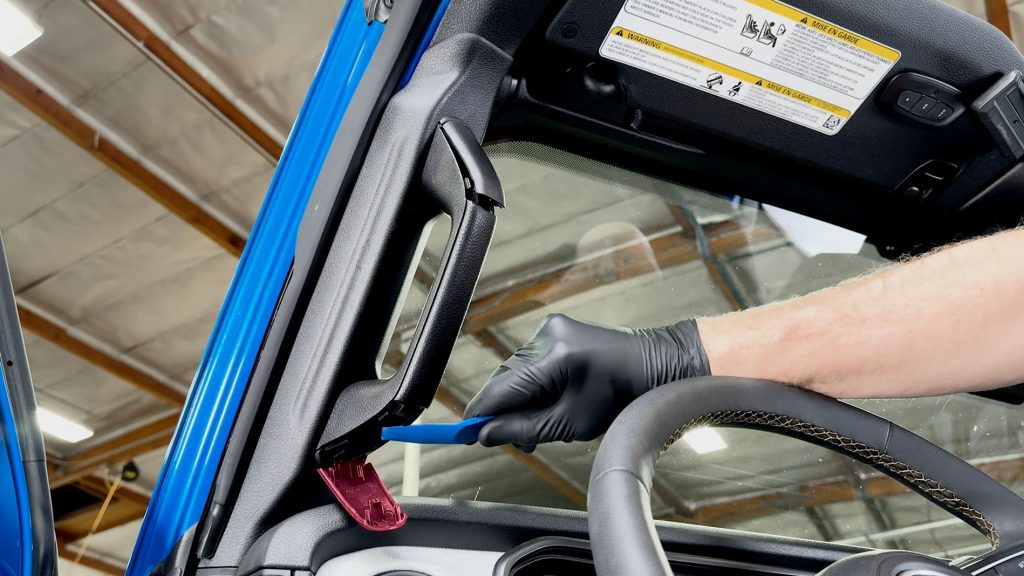
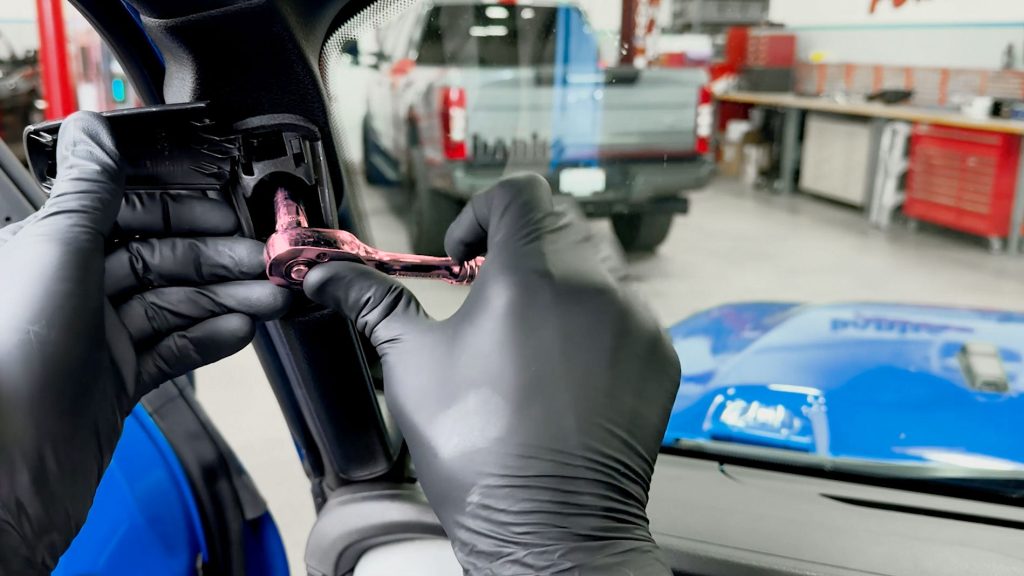
4. With a 10mm socket, remove both bolts.
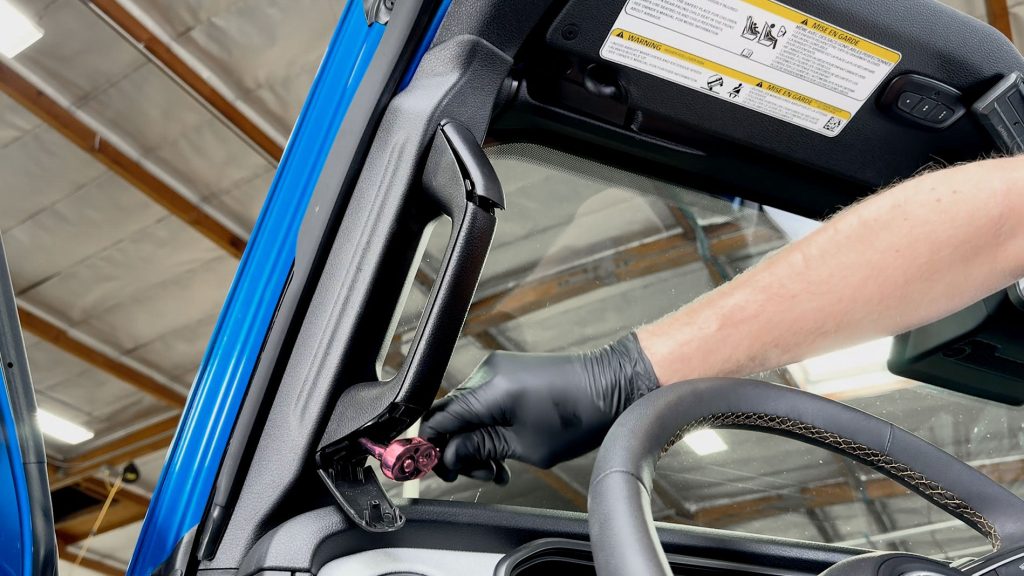
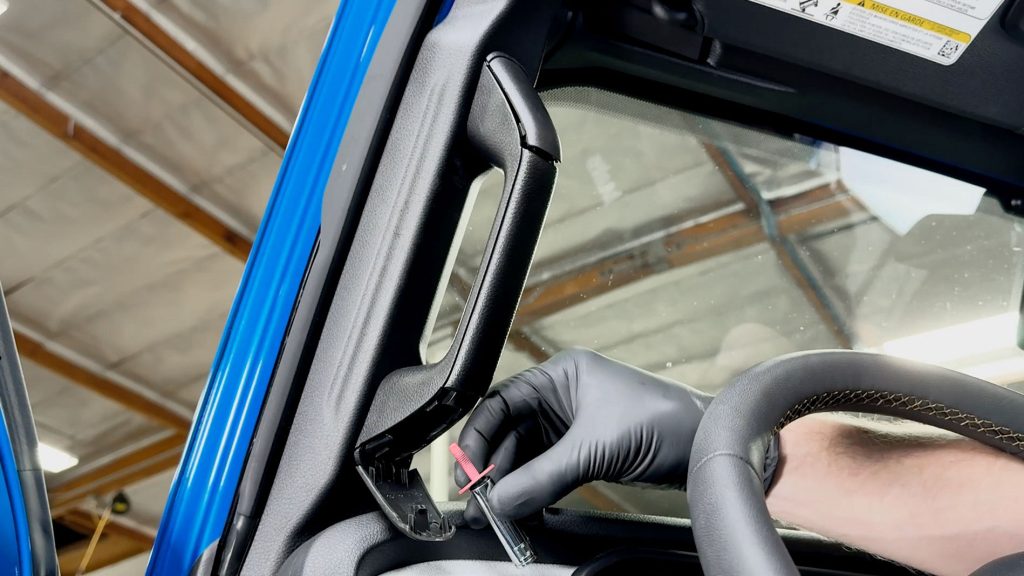

5. Pop the A-Pillar free from the truck.
It is held on by a small plastic tab on the top. A firm tug will free it from the vehicle.
Cable Access Hole Prep & Drilling
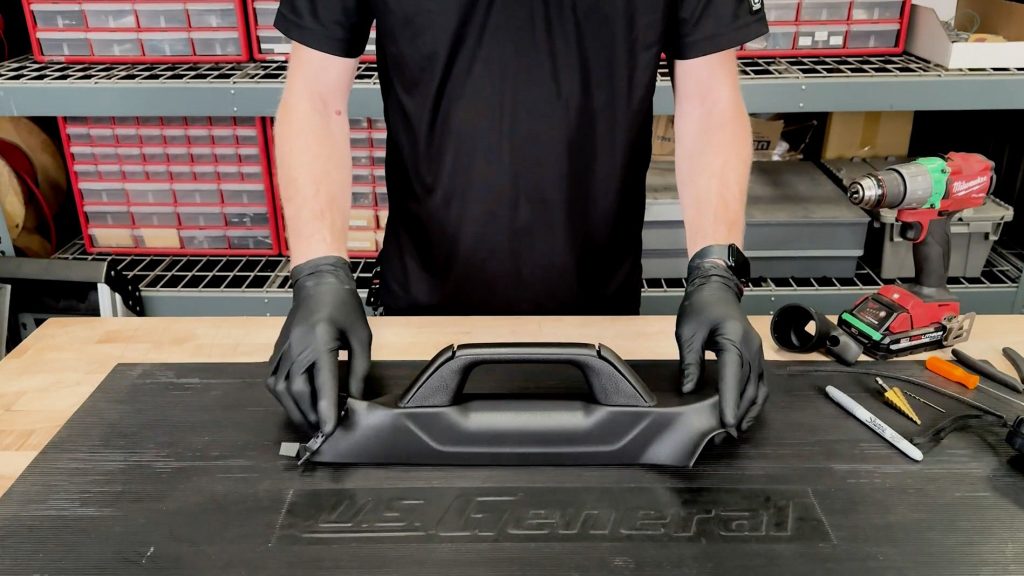
7. Bring the a-pillar and stealth pod to a non-slip surface.
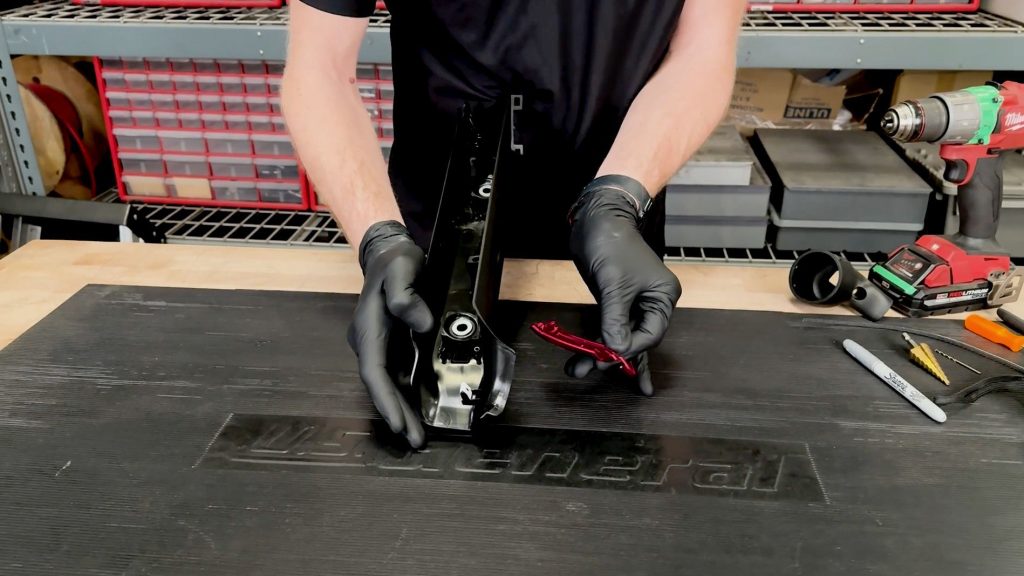
8. Remove the plastic cover for the bolt.

9. With a pick, make a mark where the data cable access hole will go.
Place the indent right in the middle of the access hole in the Stealth Pod. This will help with aligning the step bit.
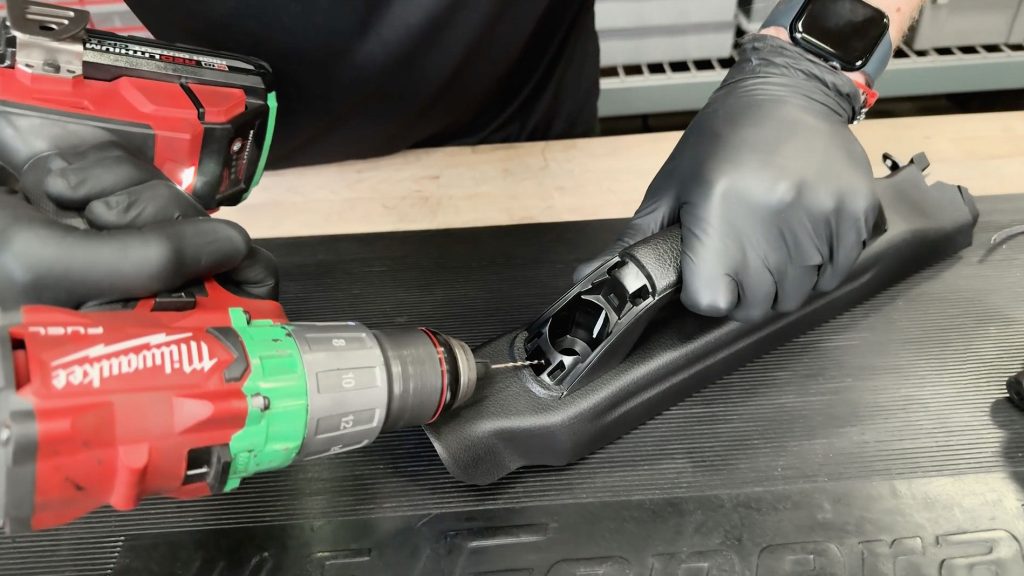
10. Drill a pilot hole for the step bit.
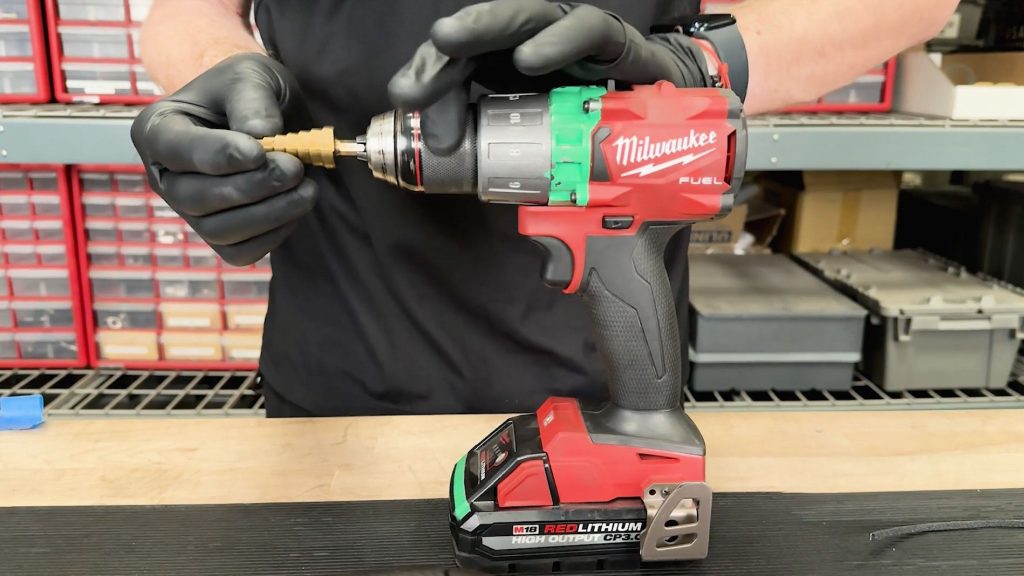
11. Install the step bit.
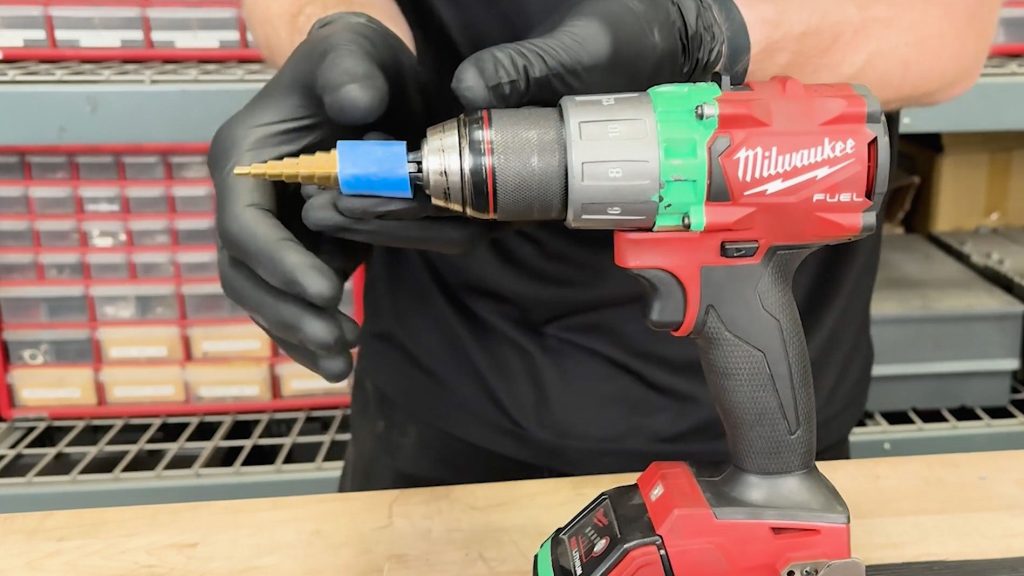
Use a piece of masking tape and mark the appropriate diameter.
16mm for a single iDash cable
18mm for dual iDash cables.
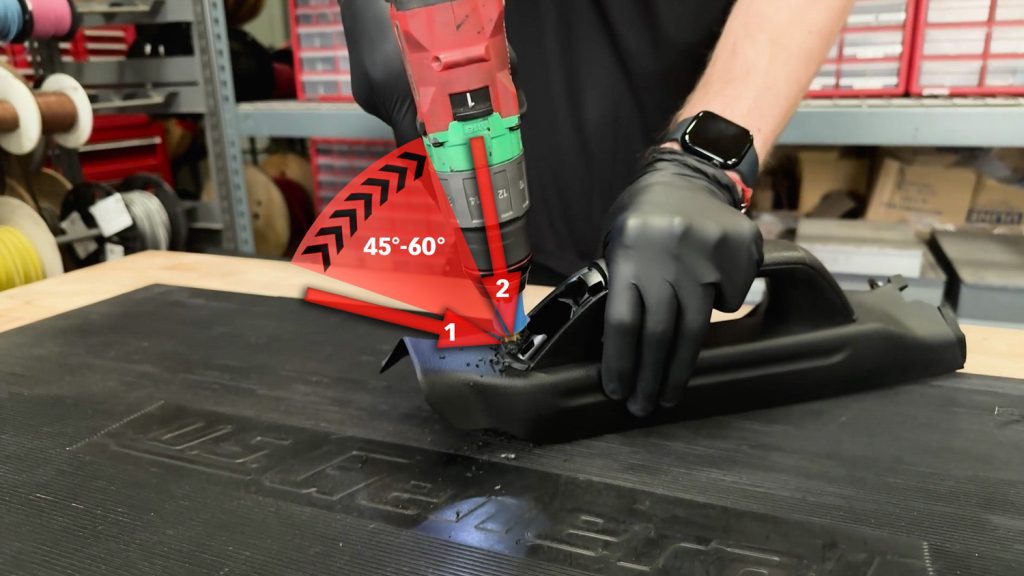
11. Drill cable access hole.
Start drilling your hole horizontal into the pillar, once the bit starts to bite, slowly rotate the drill into a vertical position.
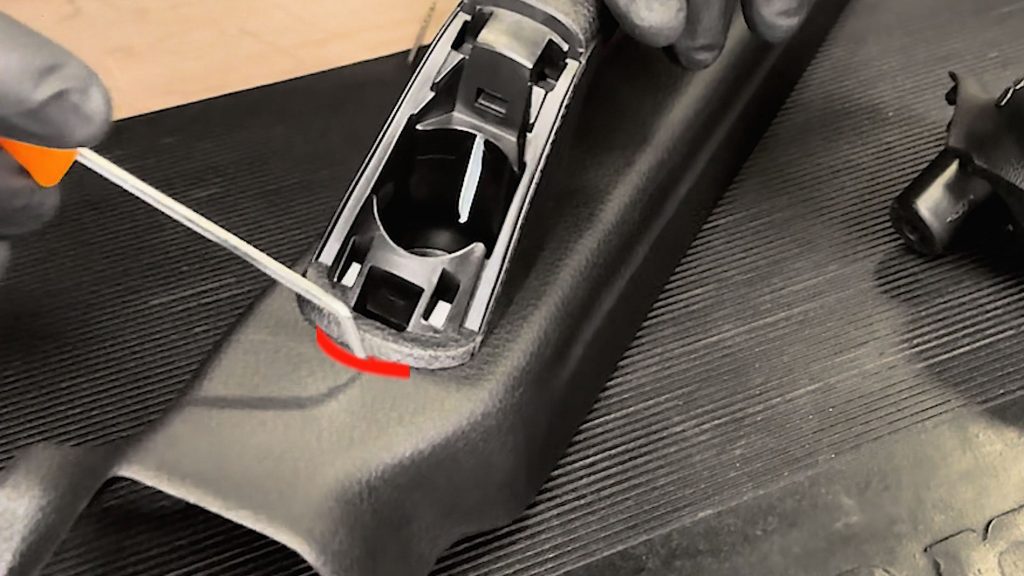
This is to help keep the step bit from walking when drilling.
The goal is to avoid damaging the textured portion of the A-Pillar.
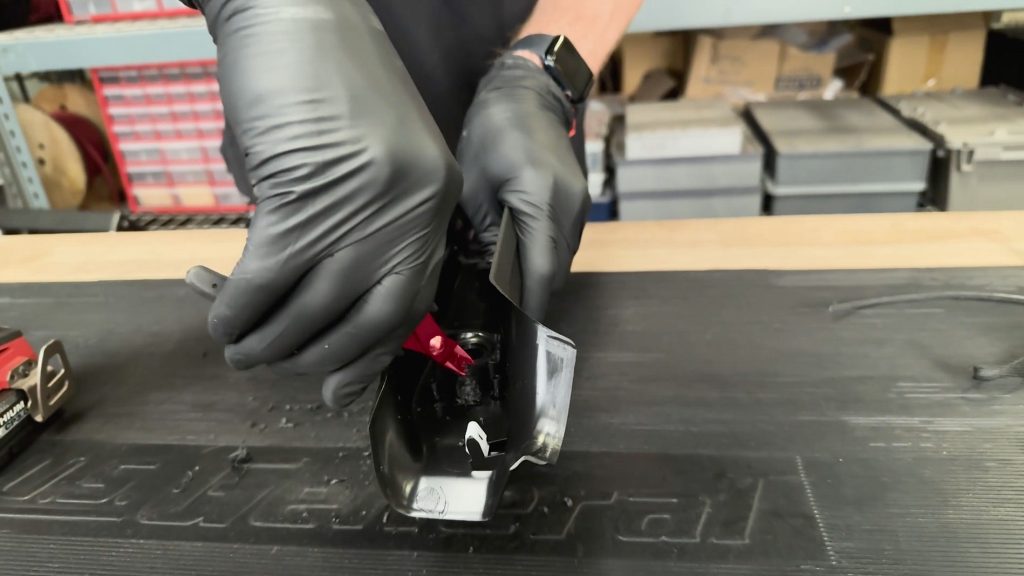
Clean up and plastic burs on the back side with a pair of flush cuts.
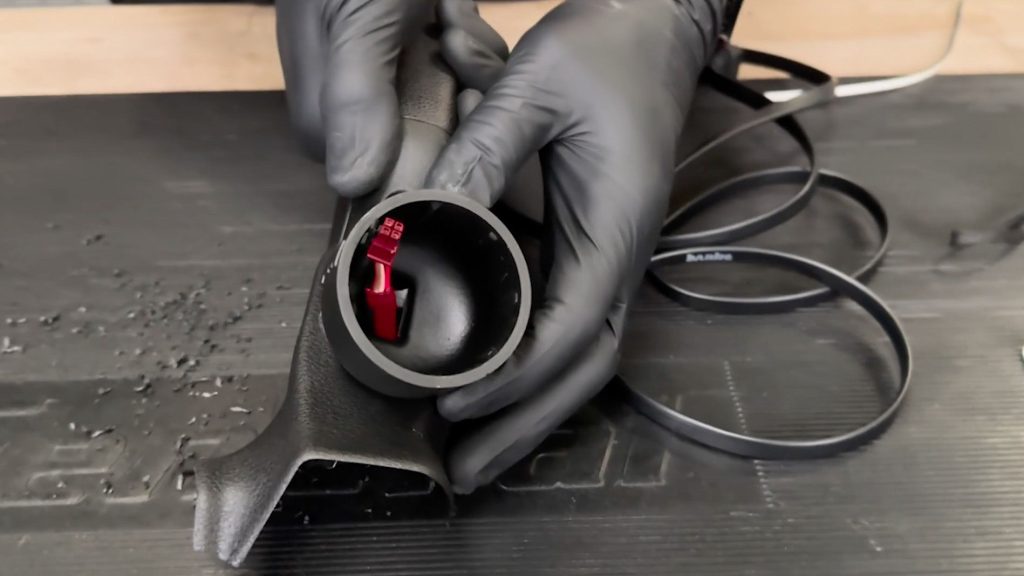
Check that your cable(s) pass through your Stealth Pod.
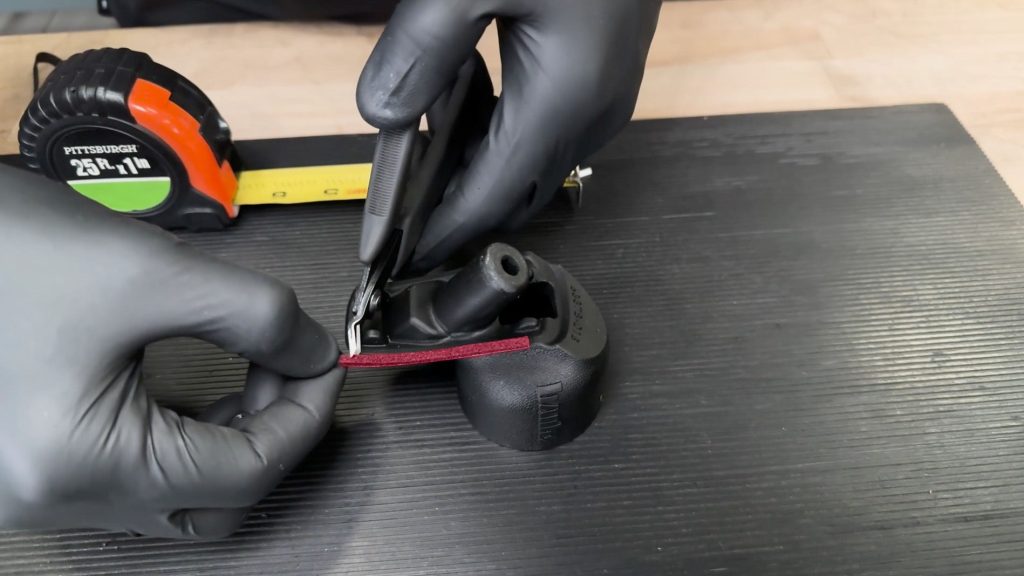
11. Cut and apply foam insulation.
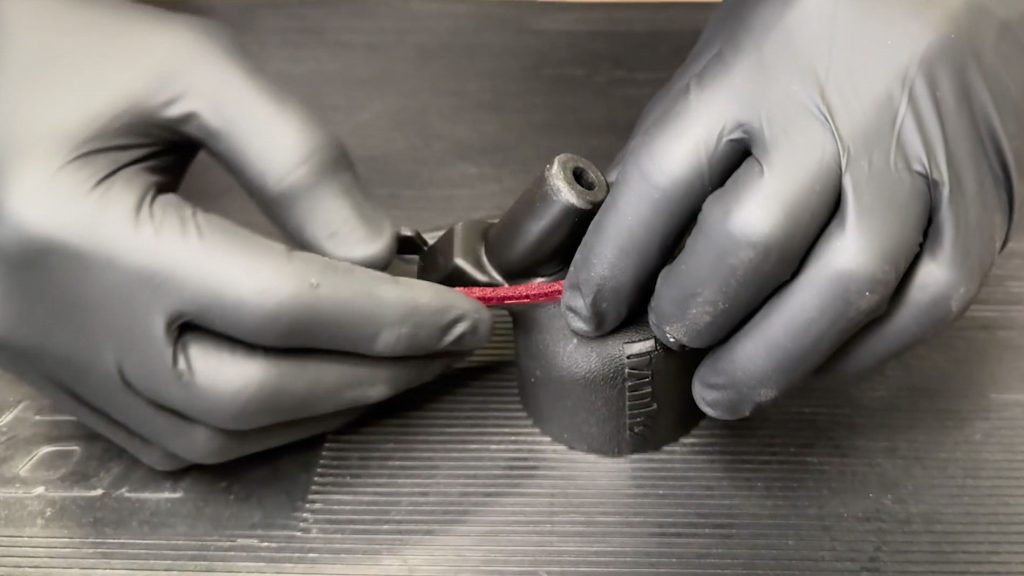
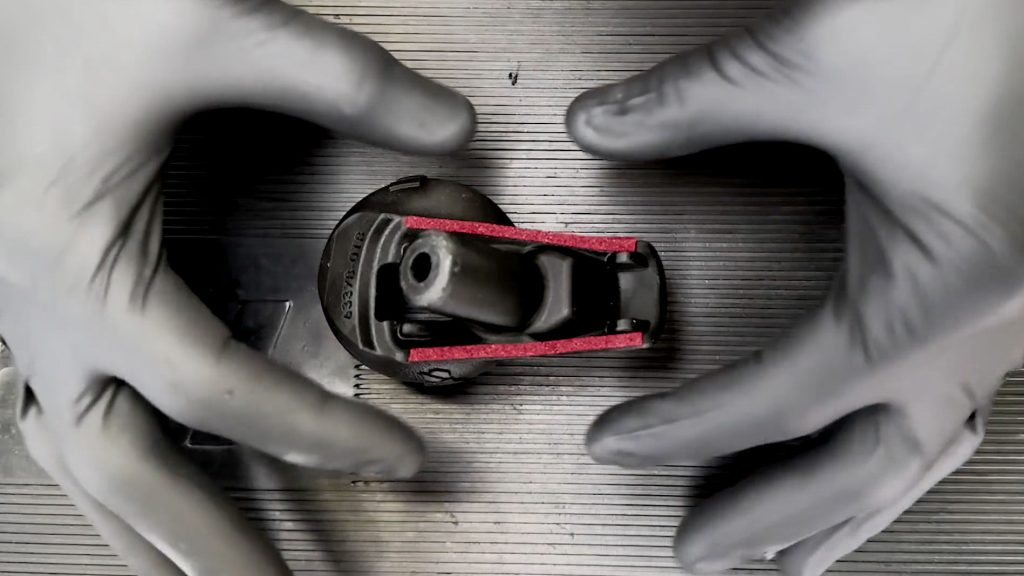
Measure and cut two foam insulation strips for the mounting surface on the Stealth Pod. Simply line up the stip over the back side, and cut to length.
OBD-II Cable Routing
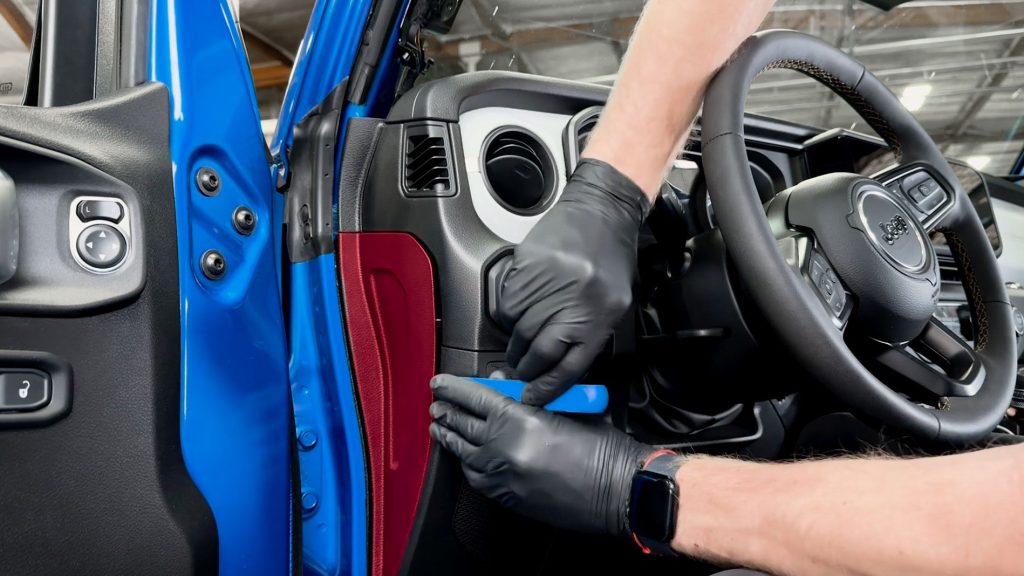
12. Locate and open the access panel to the left of the steering wheel with a plastic pry tool.
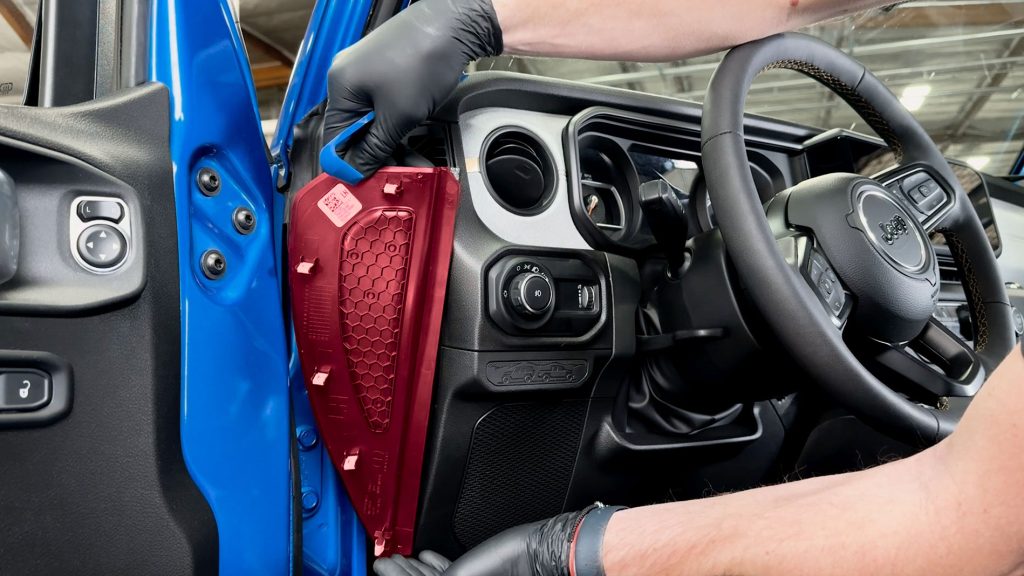
This will provide extra access to route your OBD-II and data cables. It is held on by 5 plastic tabs.
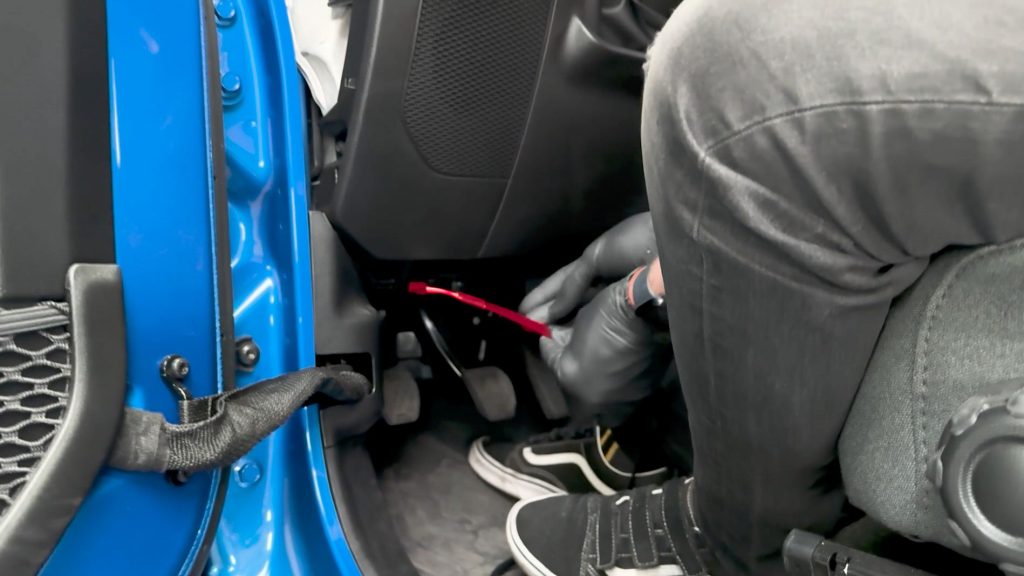
13. Run the Banks OBD-II cable from the bottom and up through to the top of the dashboard.
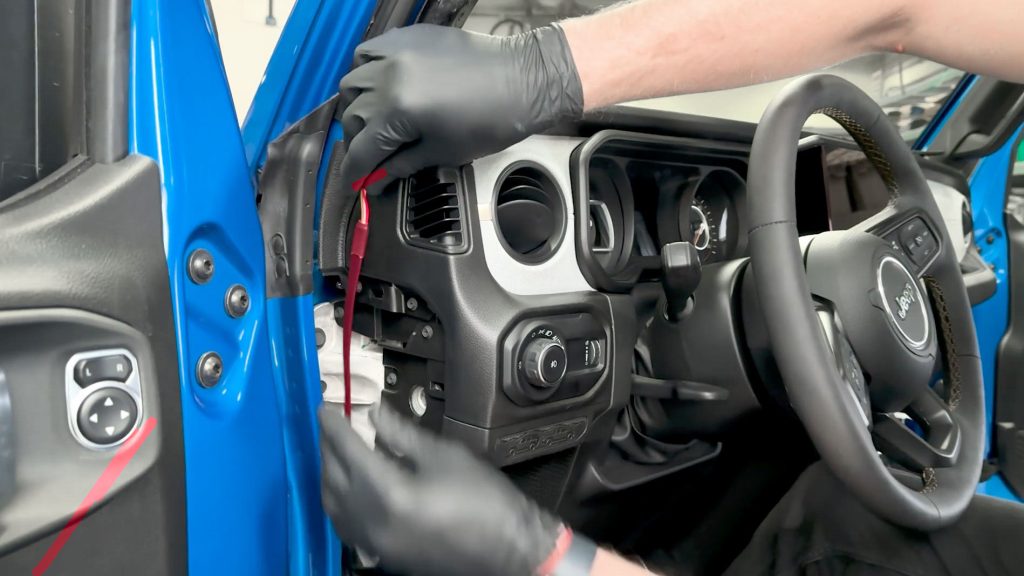

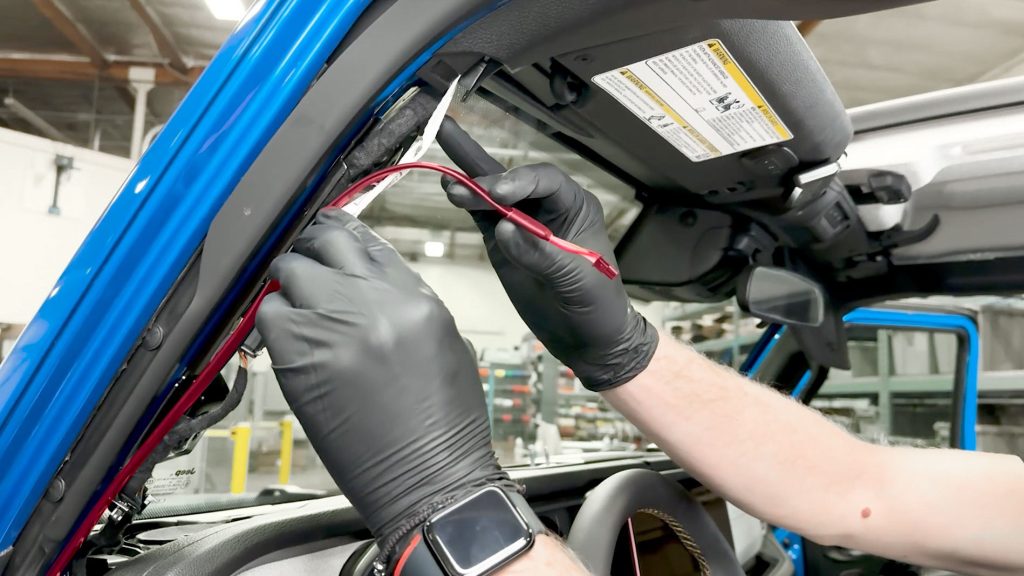
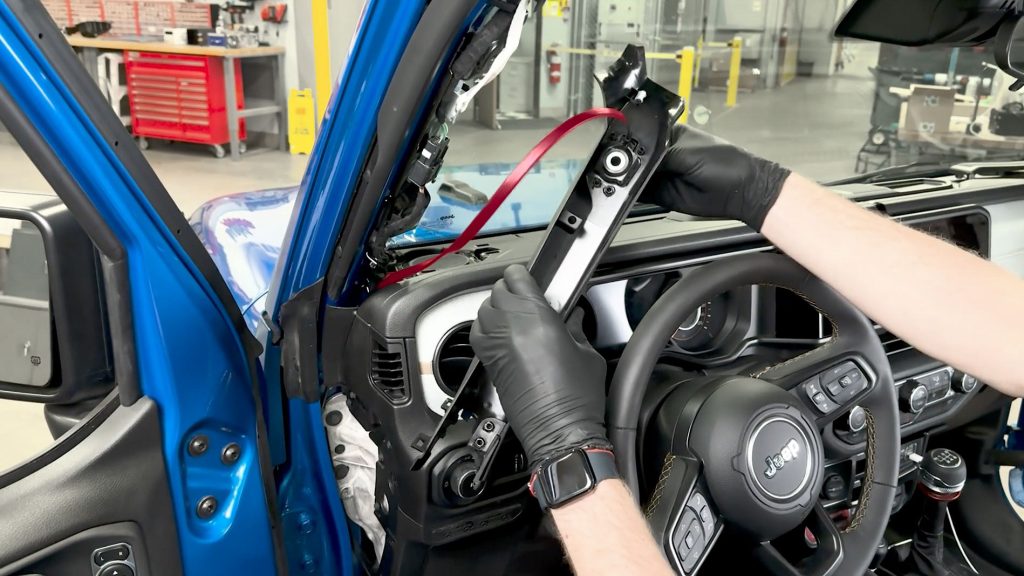
14. Thread cables through the grab handle.
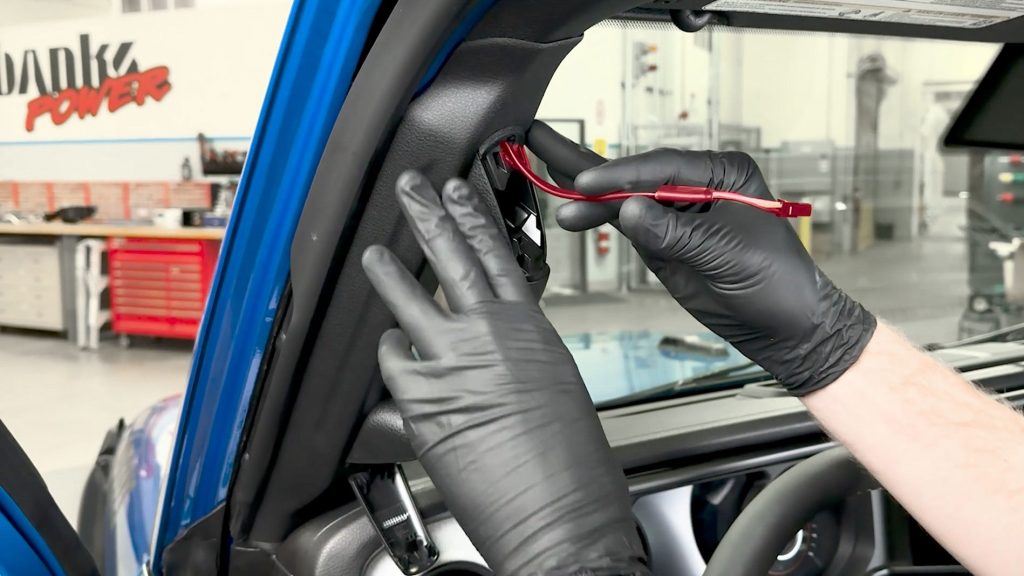
Be sure there is extra slack to be able to reach through the Stealth Pod and connect to the iDash.
Stealth Pod Installation
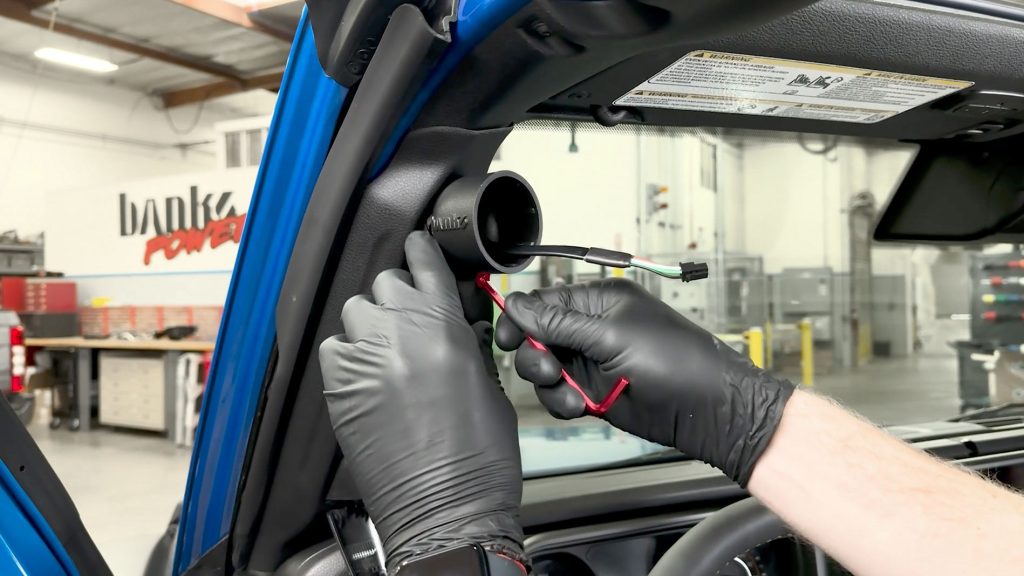
15. Grab your stealth pod and run the data cable through the back.
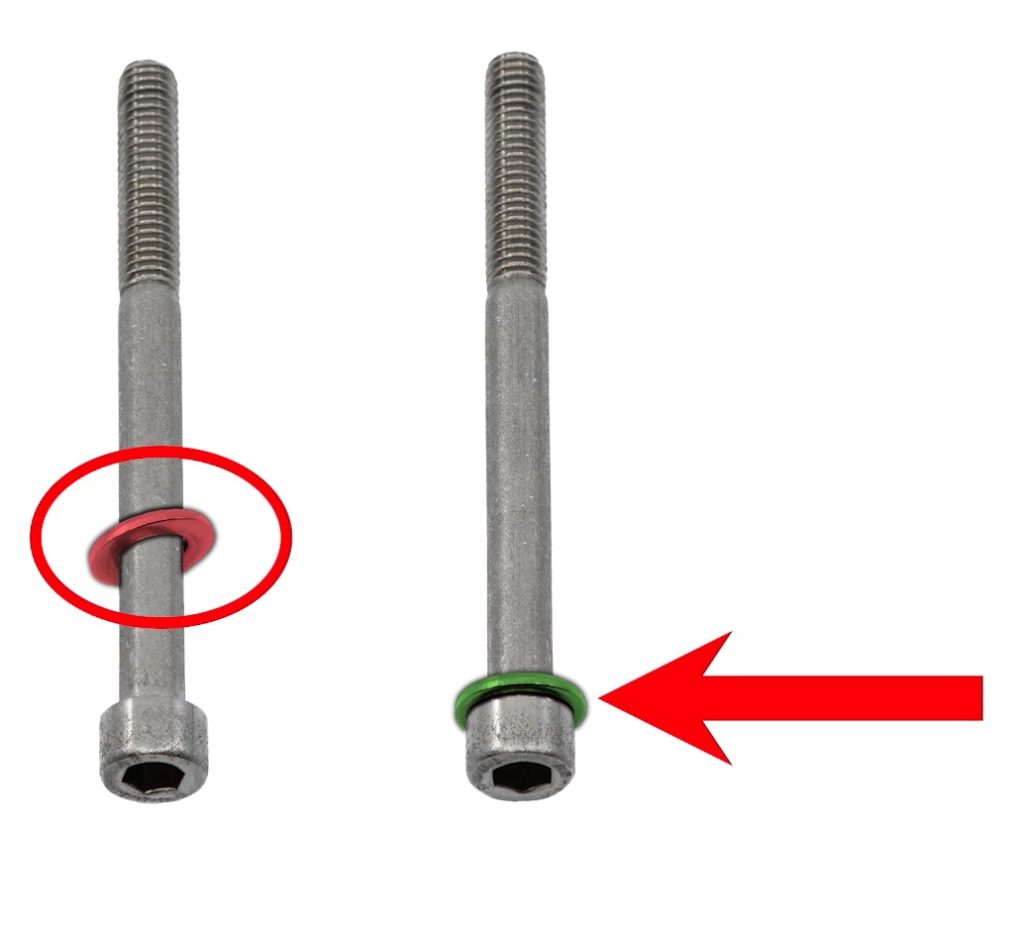
Take care when threading the hex bolt and washer into the Stealth Pod. The washer needs to be flat against the head of the bolt as you thread the bolt in. Otherwise, it will bind and not fully seat.
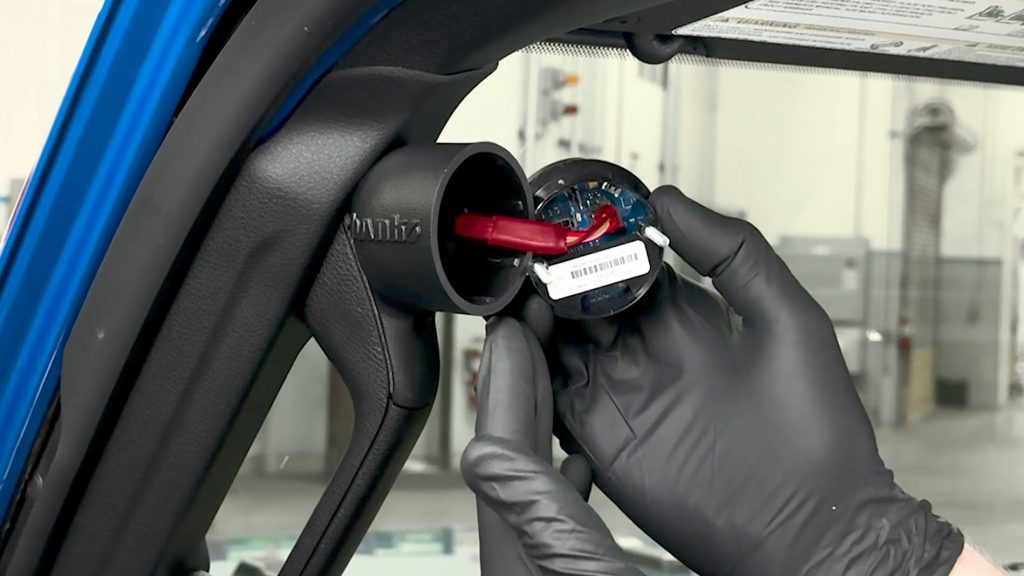
16. Install your iDash.
If you have a PedalMonster, connect it to the 6-Pin connector as well.
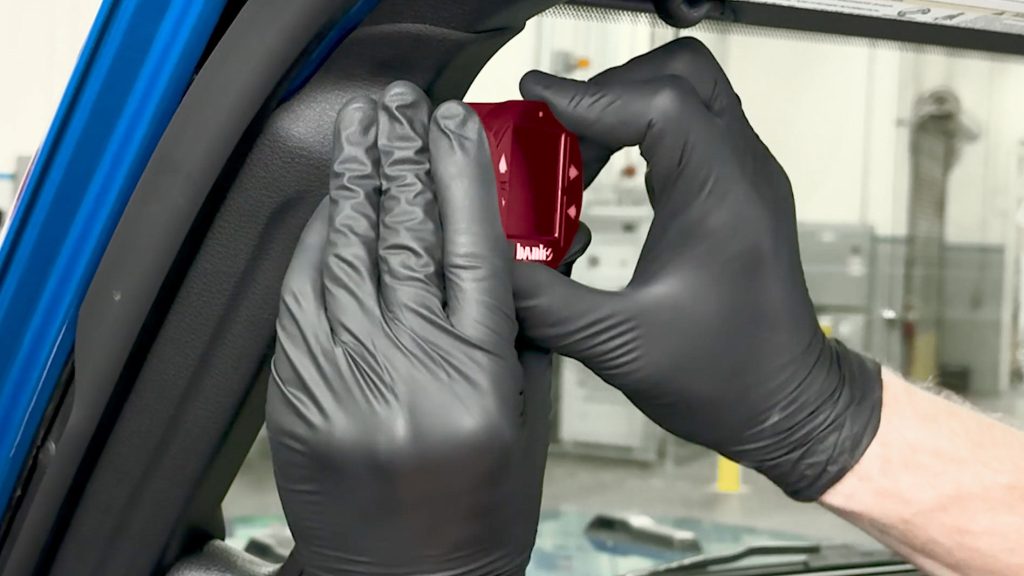
17. Clock the iDash
Be sure Banks logo is level.
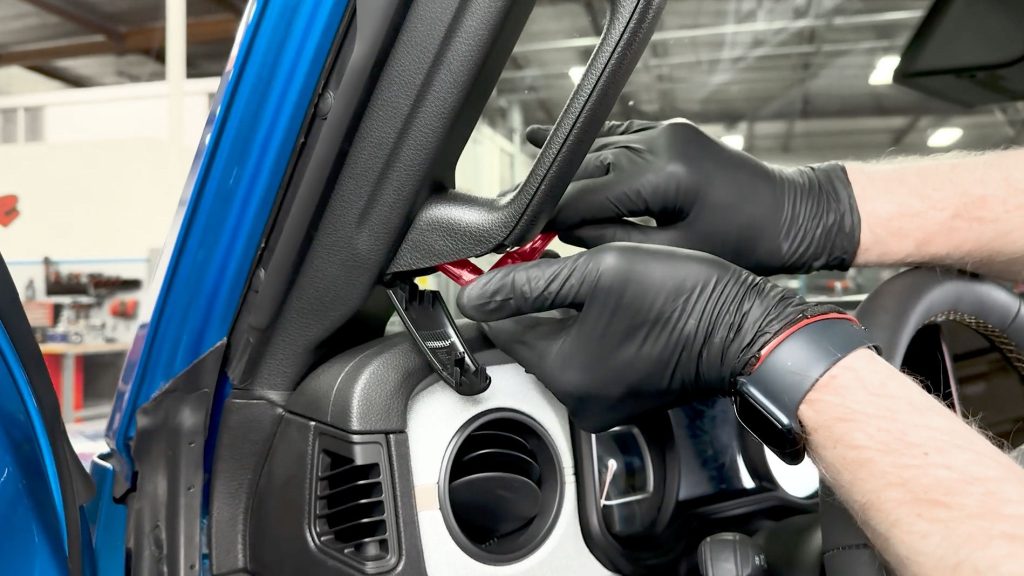
18. Mount lower bolt.
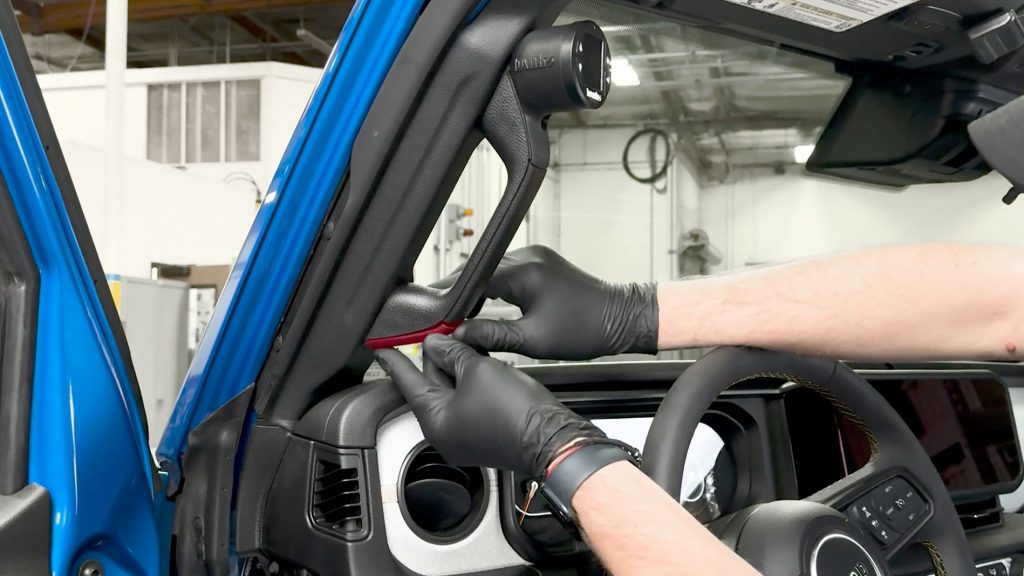
Snap the lower bolt cover back on.
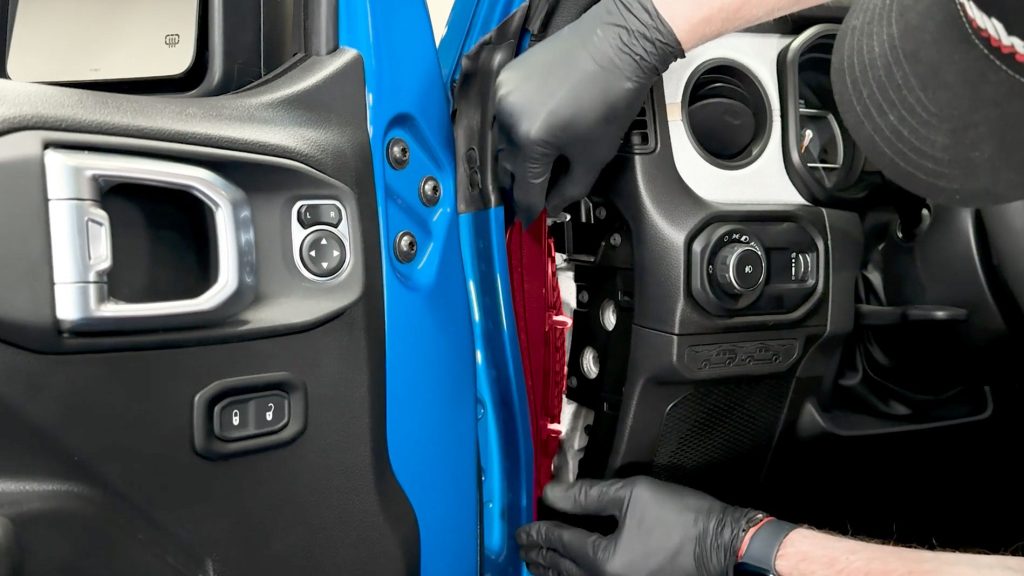
19. Tidy up any extra with the included zip ties and close the access door.
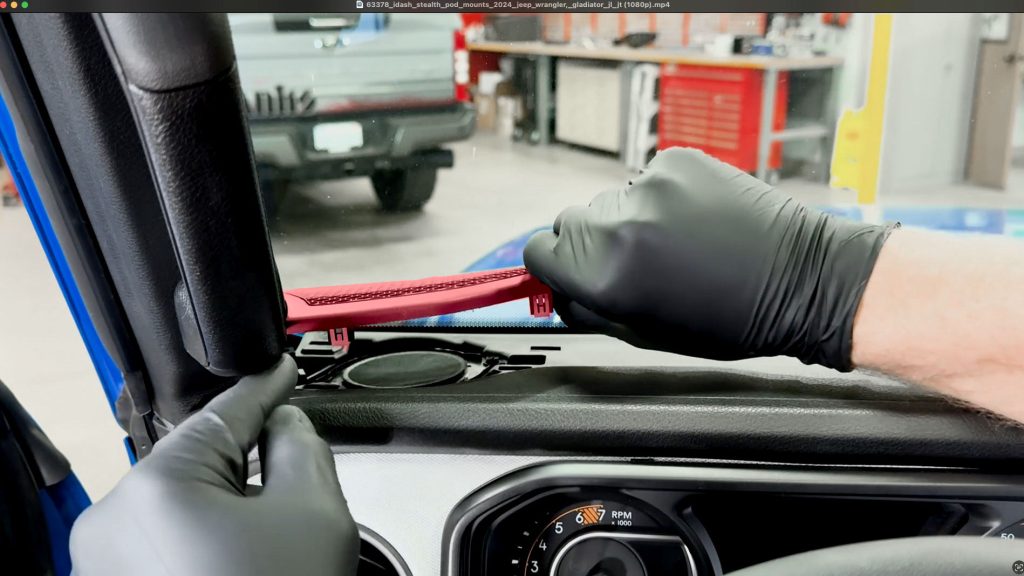
20. Snap the speaker grille back on.
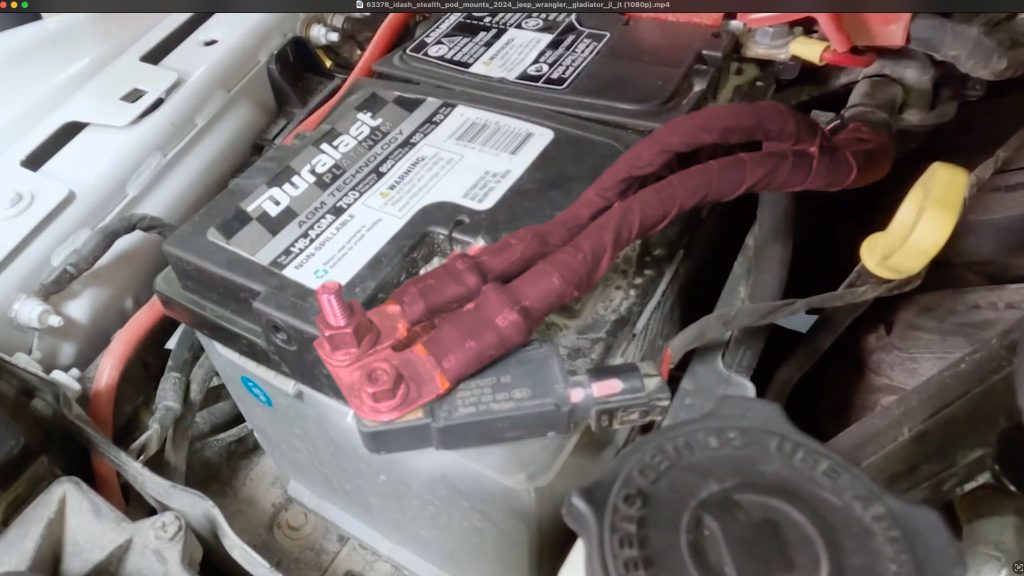
21. Reconnect the battery.
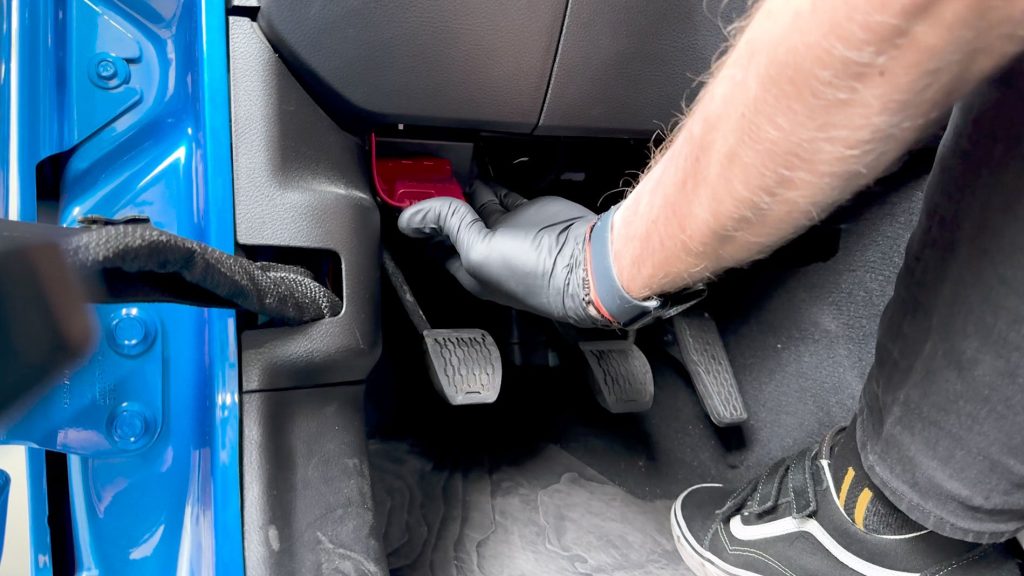
22. Connect the iDash to the vehicles OBD-II port. Check that it boots up with the vehicle, and enjoy your new Banks iDash Stealth Pod

