97732 2021-2025 Ford Bronco Stealth Pod Installation Guide
INSTALL INSTRUCTIONS
Part #s
63392
Gauge Pod 2021-2025 Ford Bronco
Please read through the following instructions thoroughly before starting your installation. If you have any questions please visit our Support Page.

Part Number 63390
Fits the driver side a-pillar vent found in:
• 2021-2025 Ford Bronco
Installation Guide
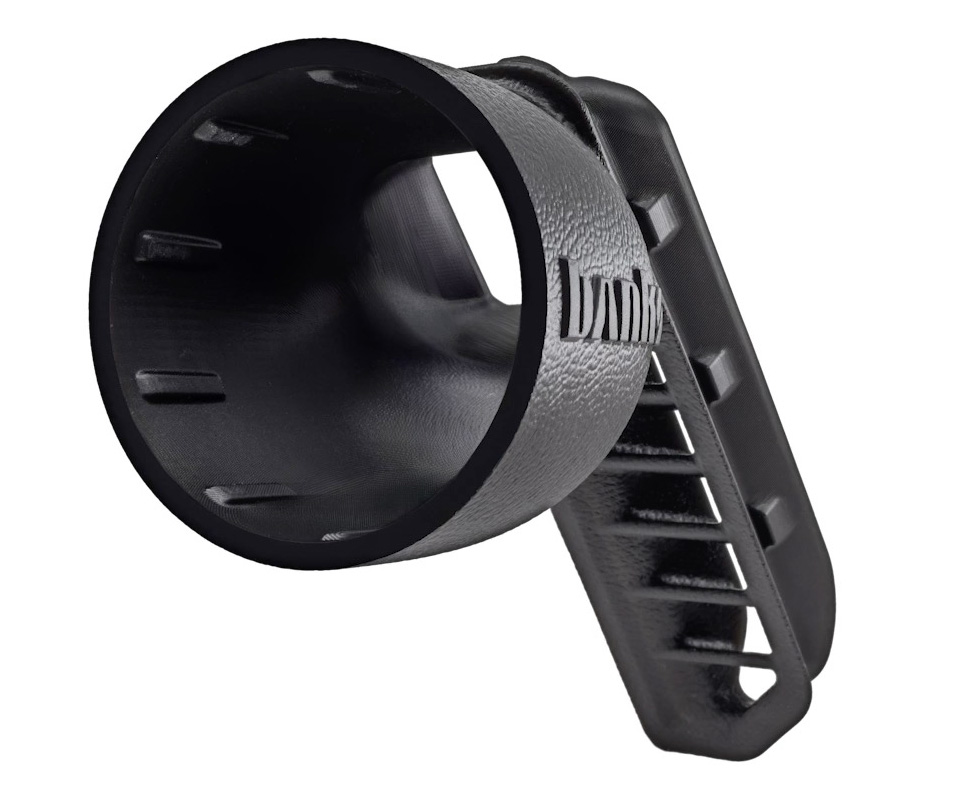
What’s Included
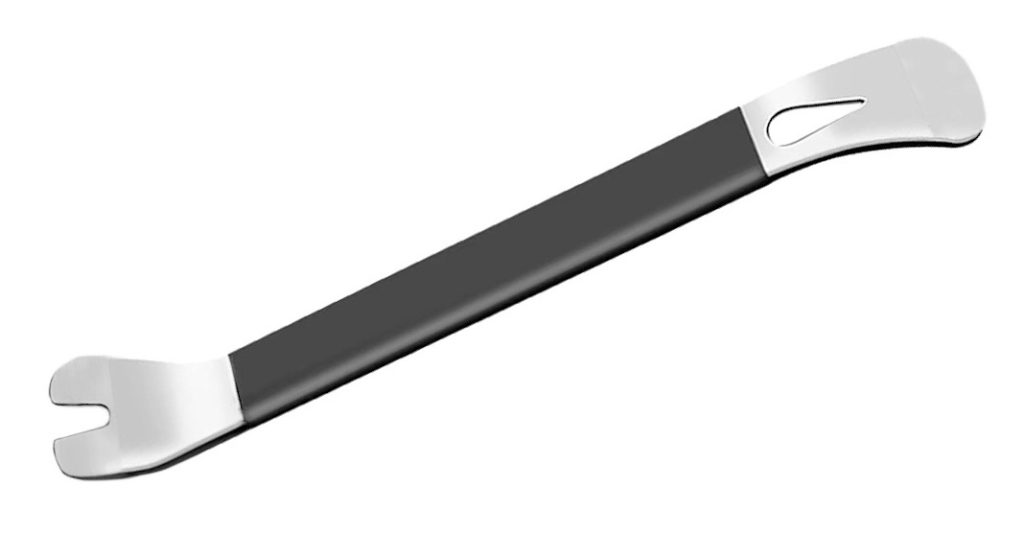
- Metal Pro Tool
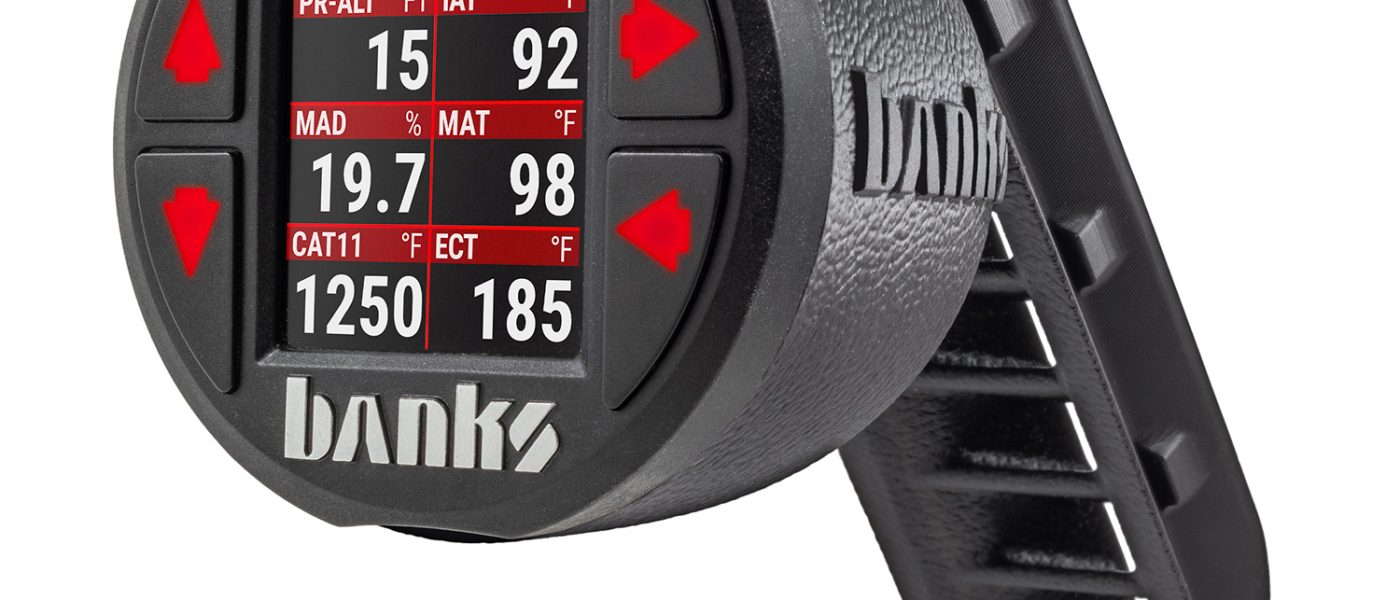
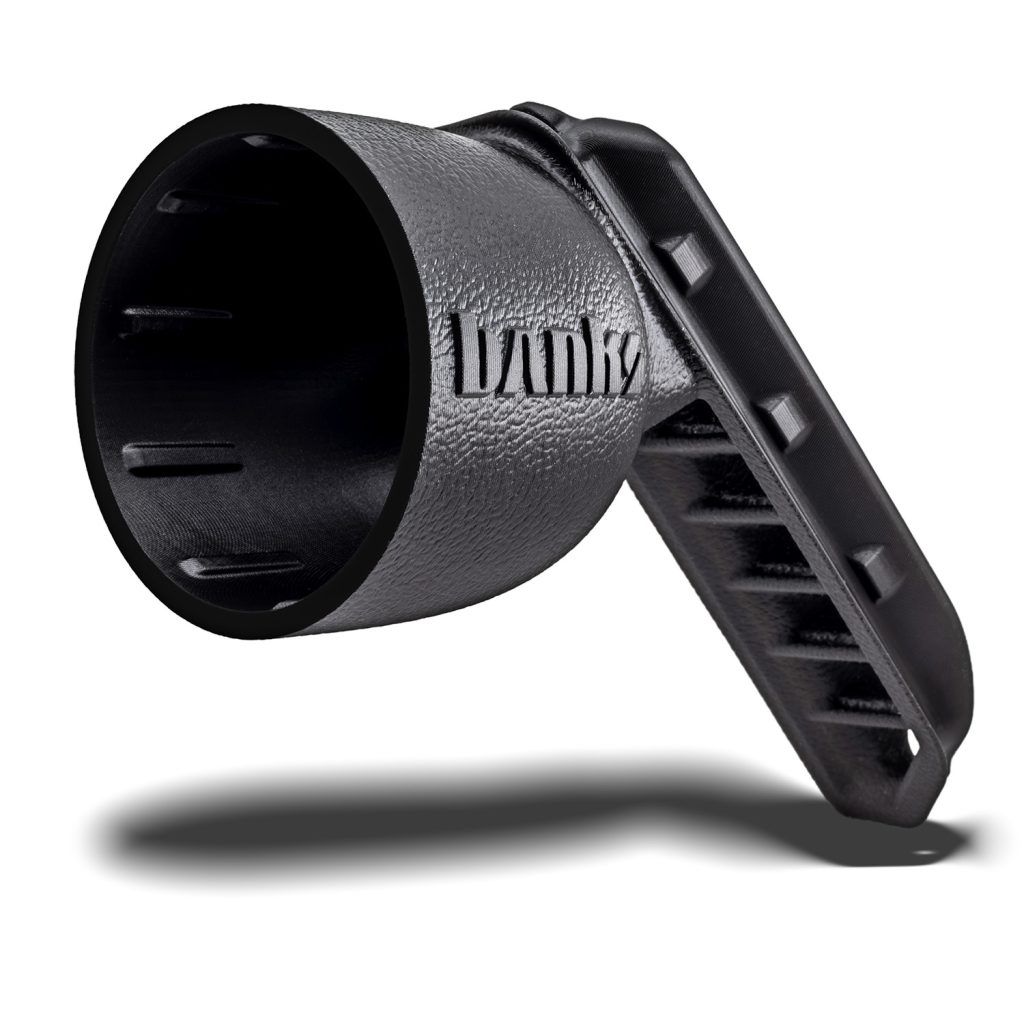
- iDash Stealth Pod
If anything is missing, please call us at 800-601-8072 immediately!
Step-by-step Installation
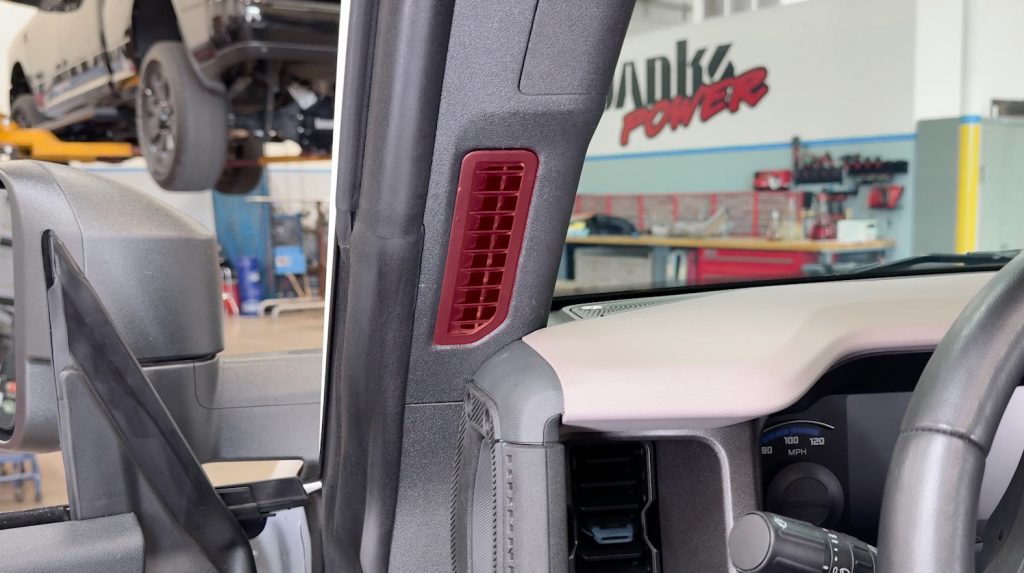
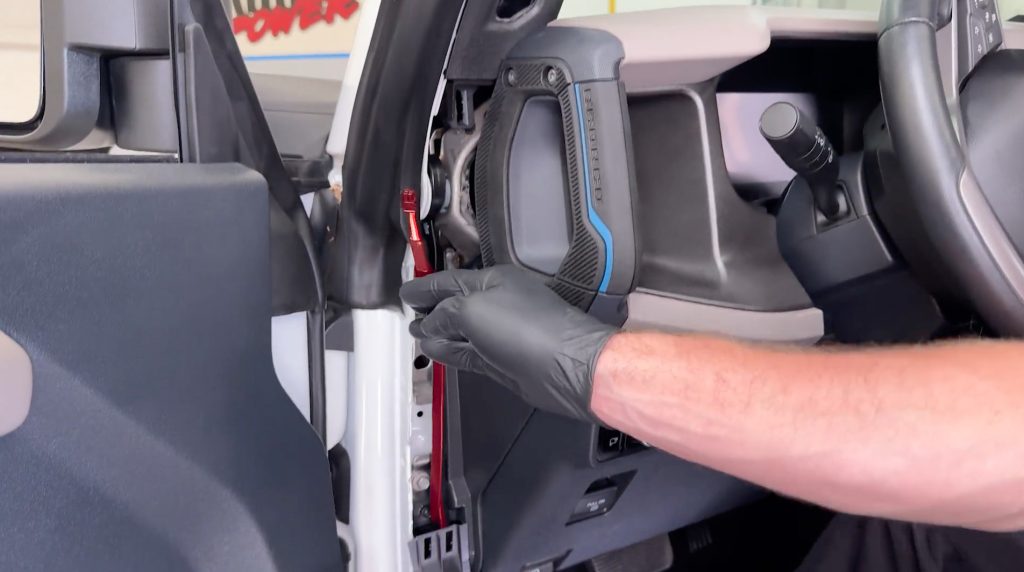
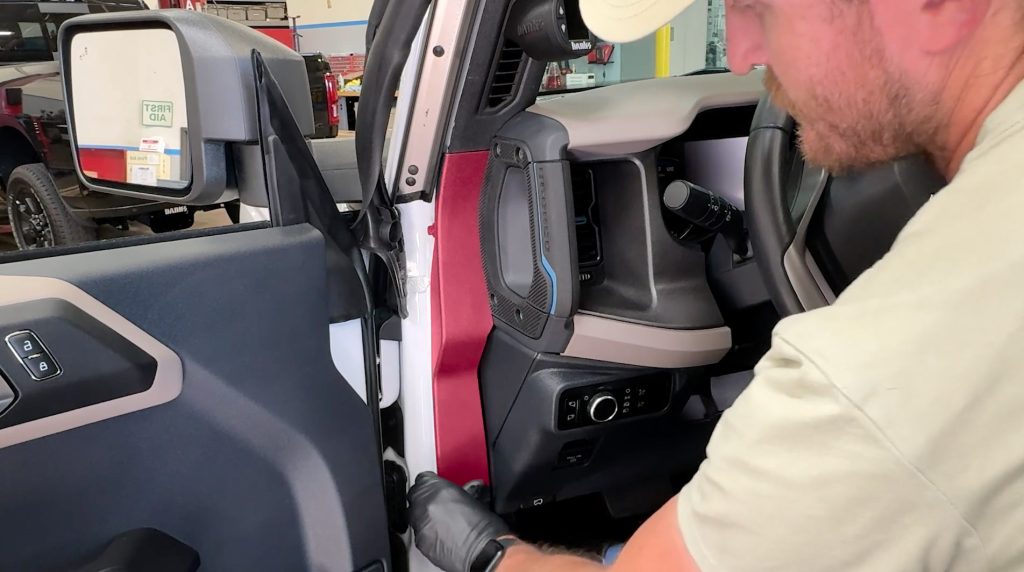
1. Open the driver’s side door and locate the vent that is on the A-pillar.
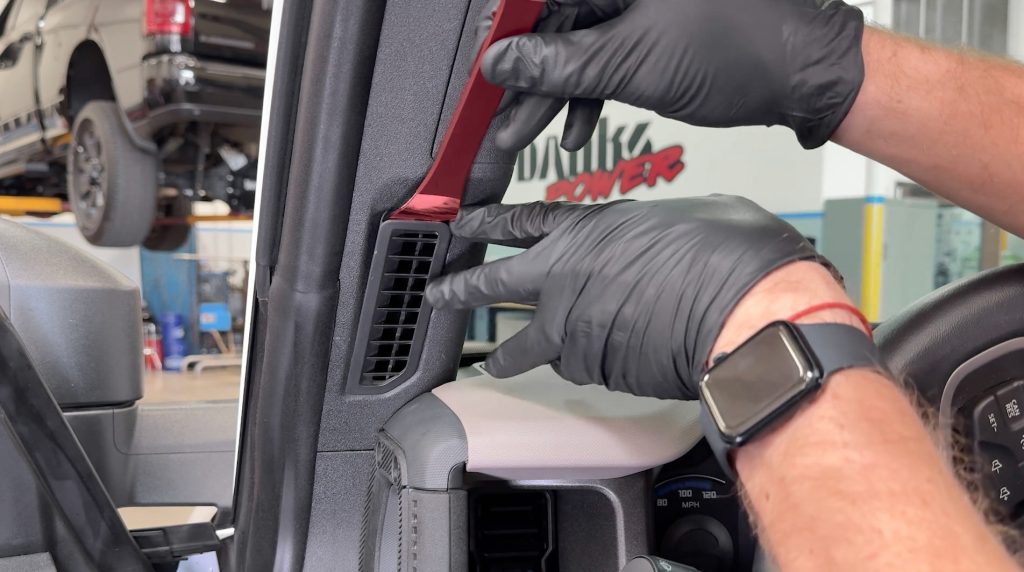
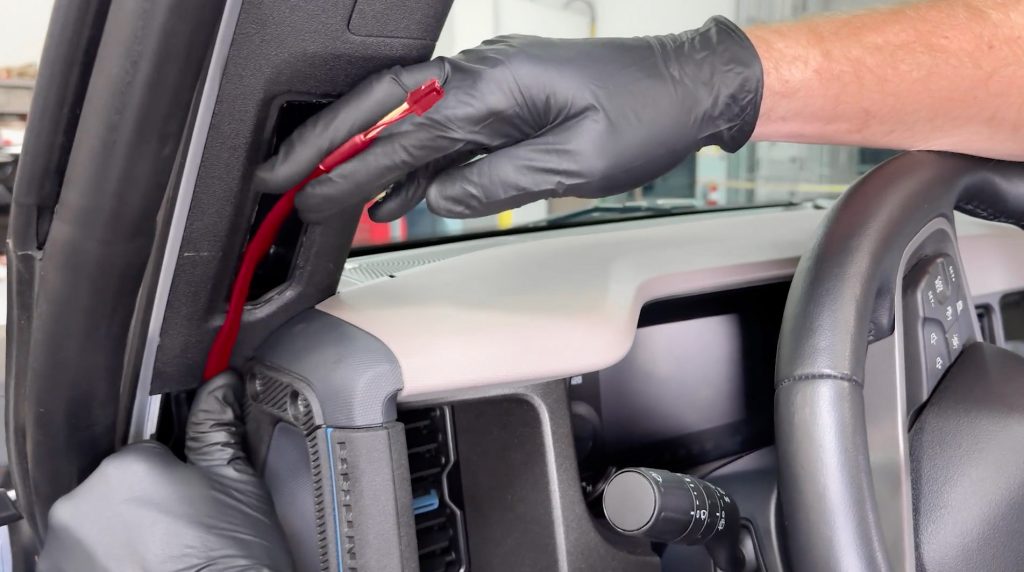
2. With the supplied pry tool, carefully slip one end under the vent near the top, and pop the vent out.
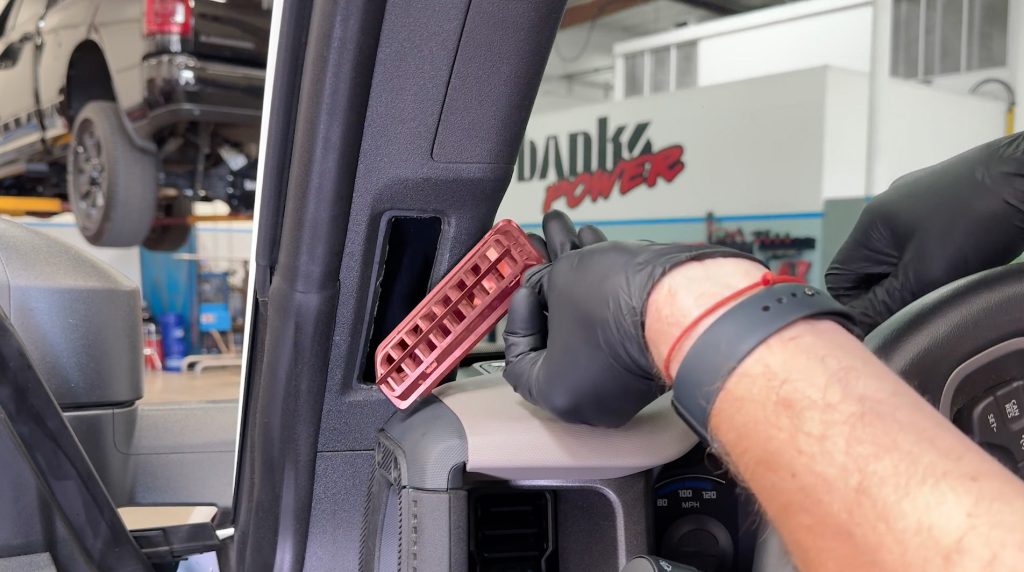
3. The factory vent is held in place with a series of small plastic tabs.
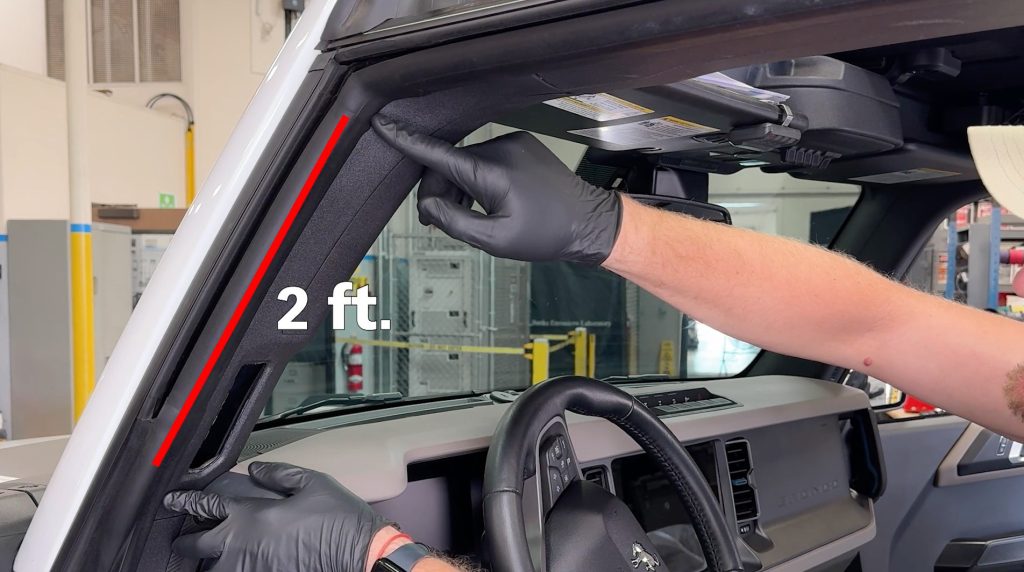
4. Next, you will need to pull back about 2 ft of weather stripping.

5. Grab the corner with your hand and pull back, then the weather strip will pop right out.
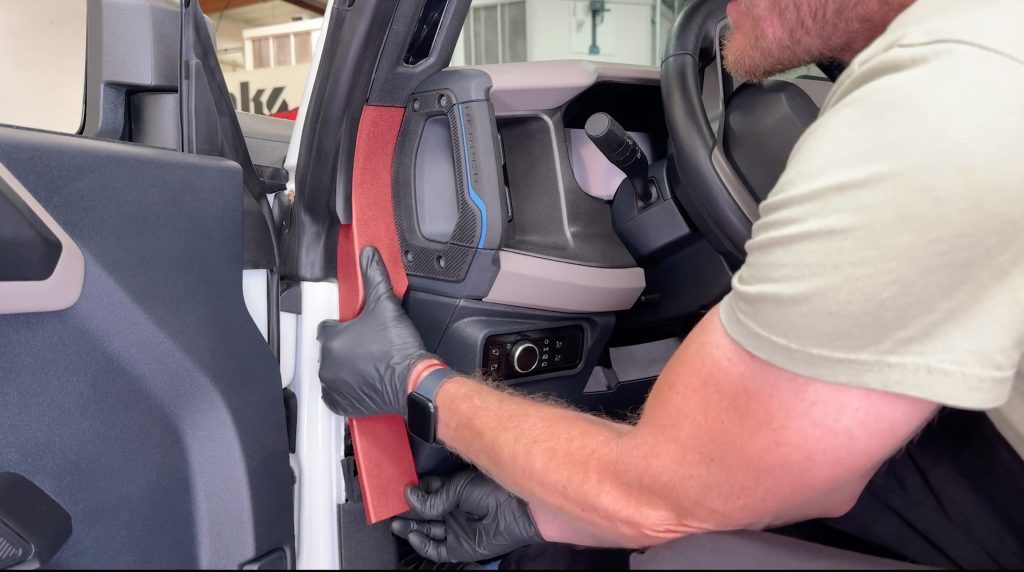
6. With a firm tug, remove the plastic trim piece just below the A-pillar.
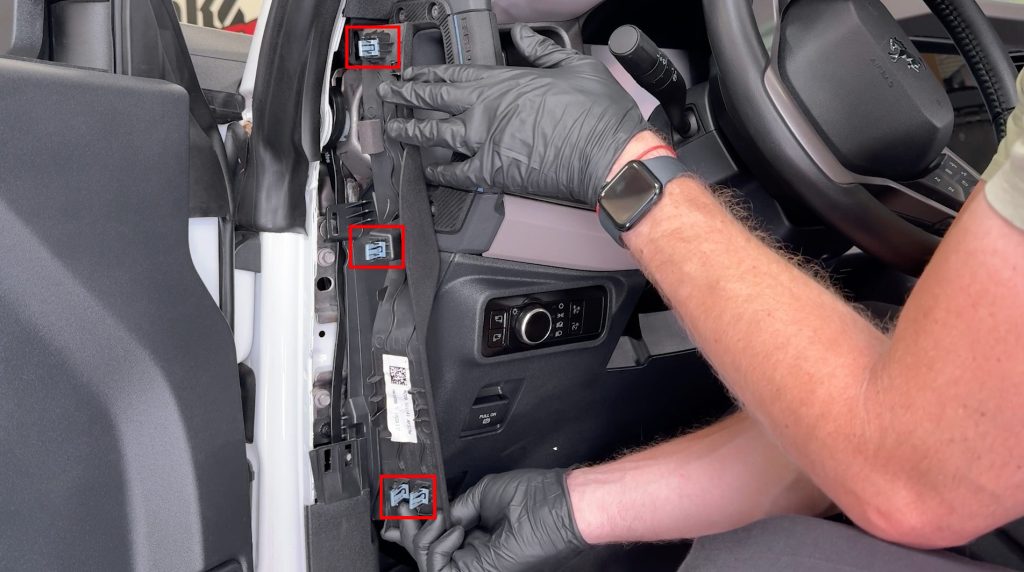
7. It is held in place by 4 clips. Two on the bottom, one center, and one on the top.
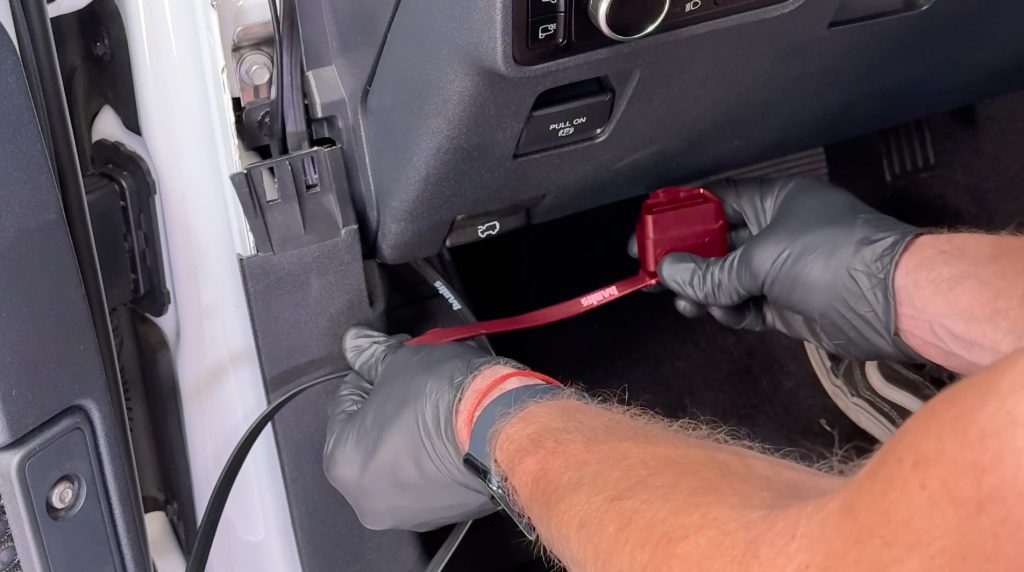
Stealth Pod Installation
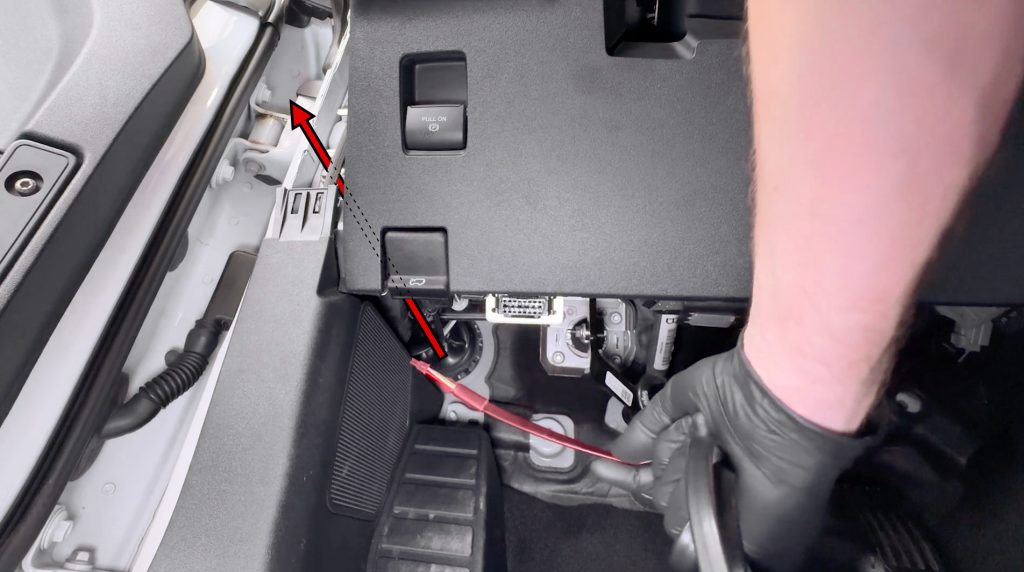
8. Run the 4-pin OBD-II cable up from under the dashboard.
There is ample space for the wire to pass right through.
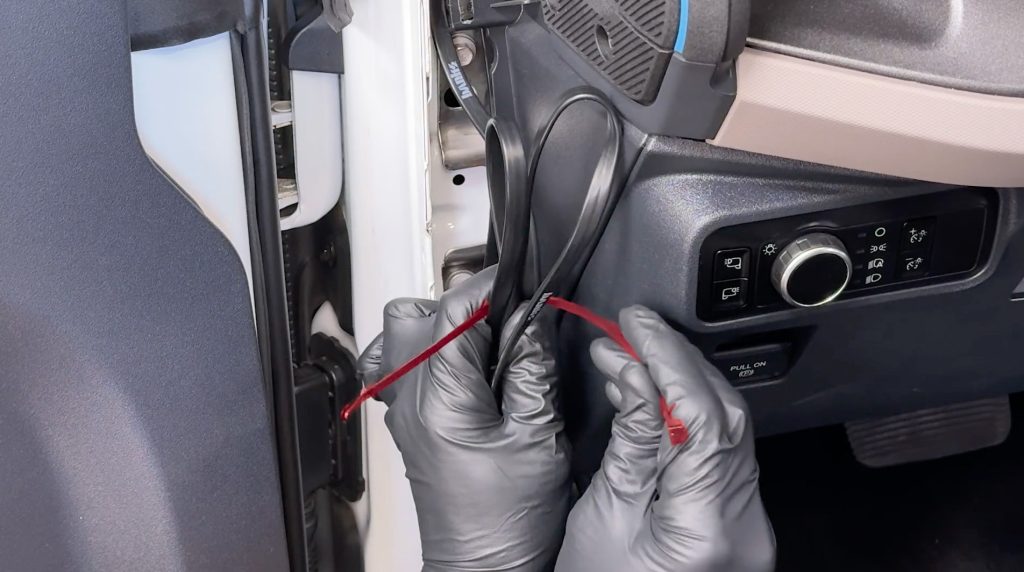
9. Continue to feed the cable through and up the side of the A-pillar.
10. You should have about 4″ extra near the top of the vent.
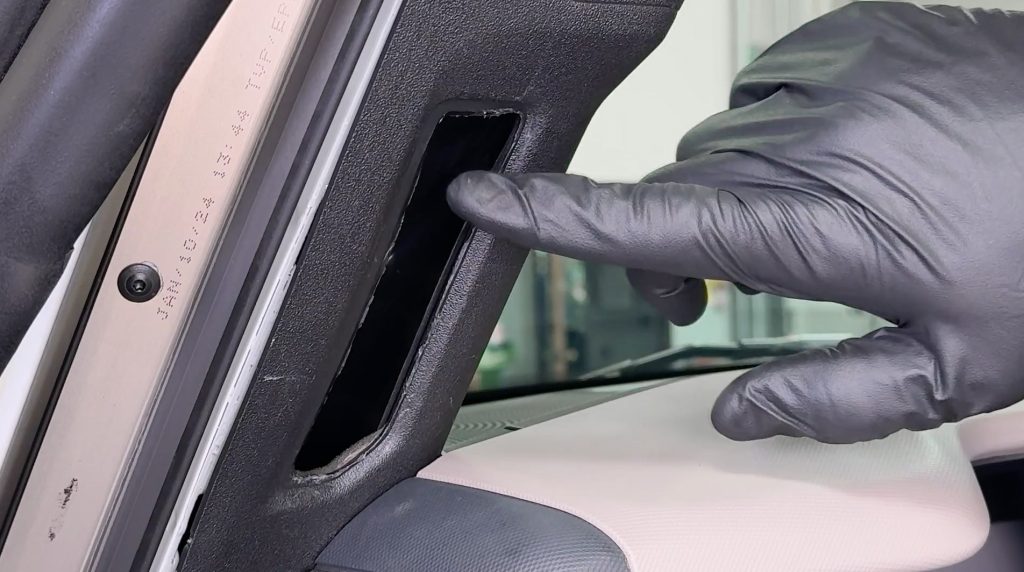
11. Take a look inside the air vent. You’ll notice there is a flexible plastic duct behind that is separate from the A-pillar trim.
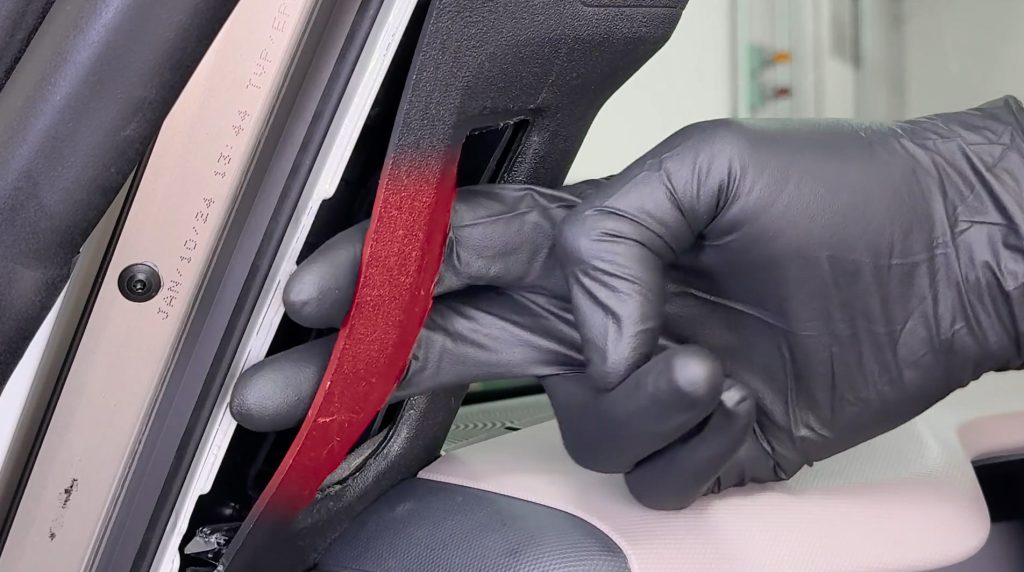
12. With two fingers, gently make a gap between the A-pillar and the vent’s duct,
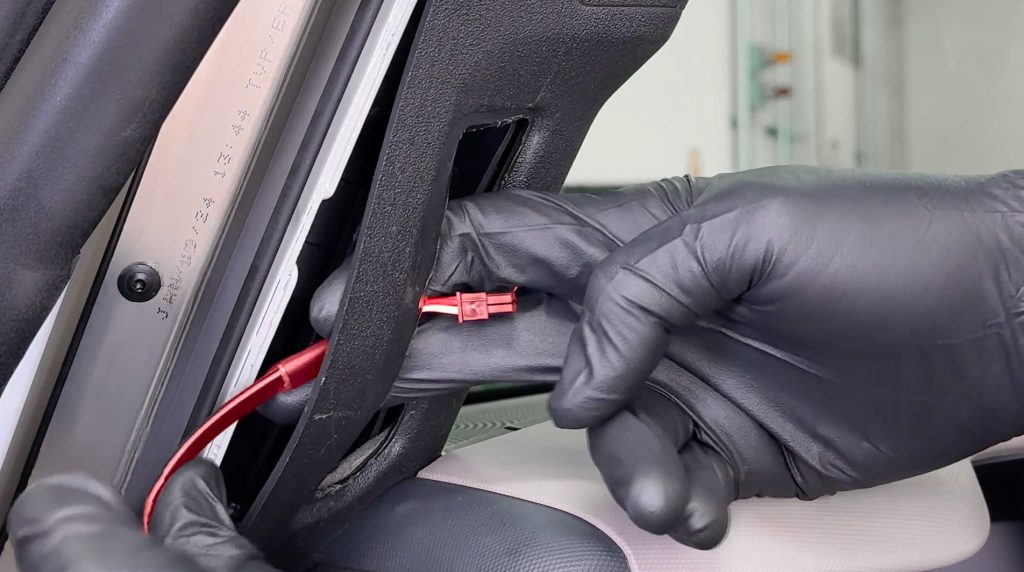
13. Slide your 4-pin OBD-II cable (and your 6-pin data cable if you have one) through the gap.
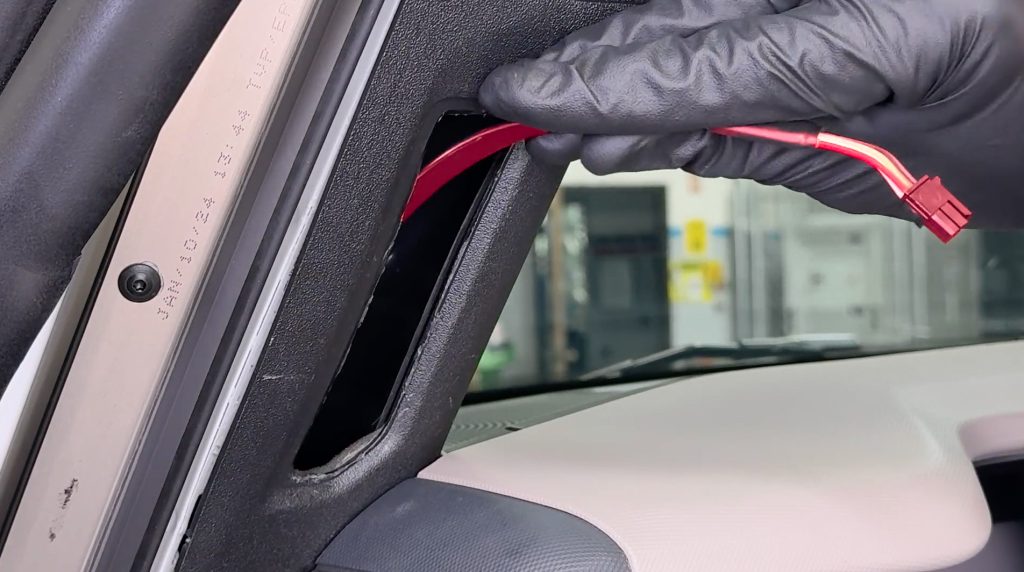
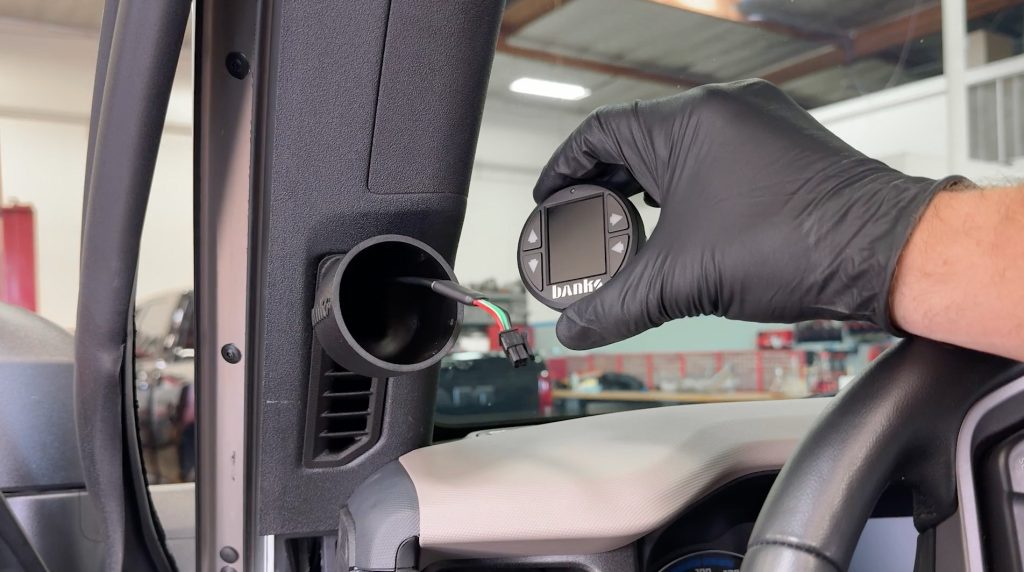
14. Position the wires to come through the top left corner of the vent.
15. Run your cable(s) from the top left of the vent, through the cable access hole in your iDash Stealth Pod

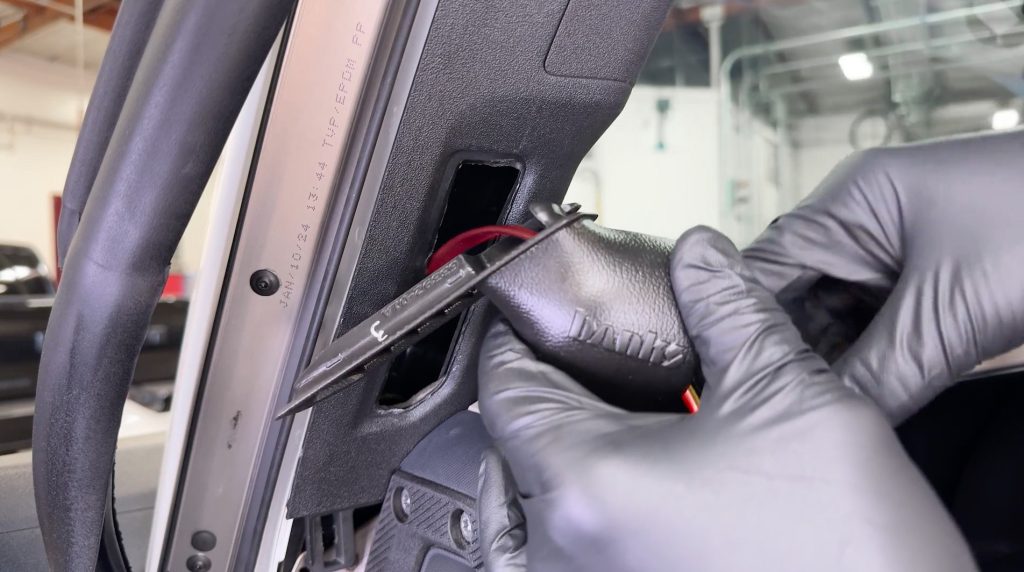
16. Notice the large top tab on the Stealth Pod. When installing the stealth pod, the top tab will go in first.

17. Slide the top tab into the A-pillar first.
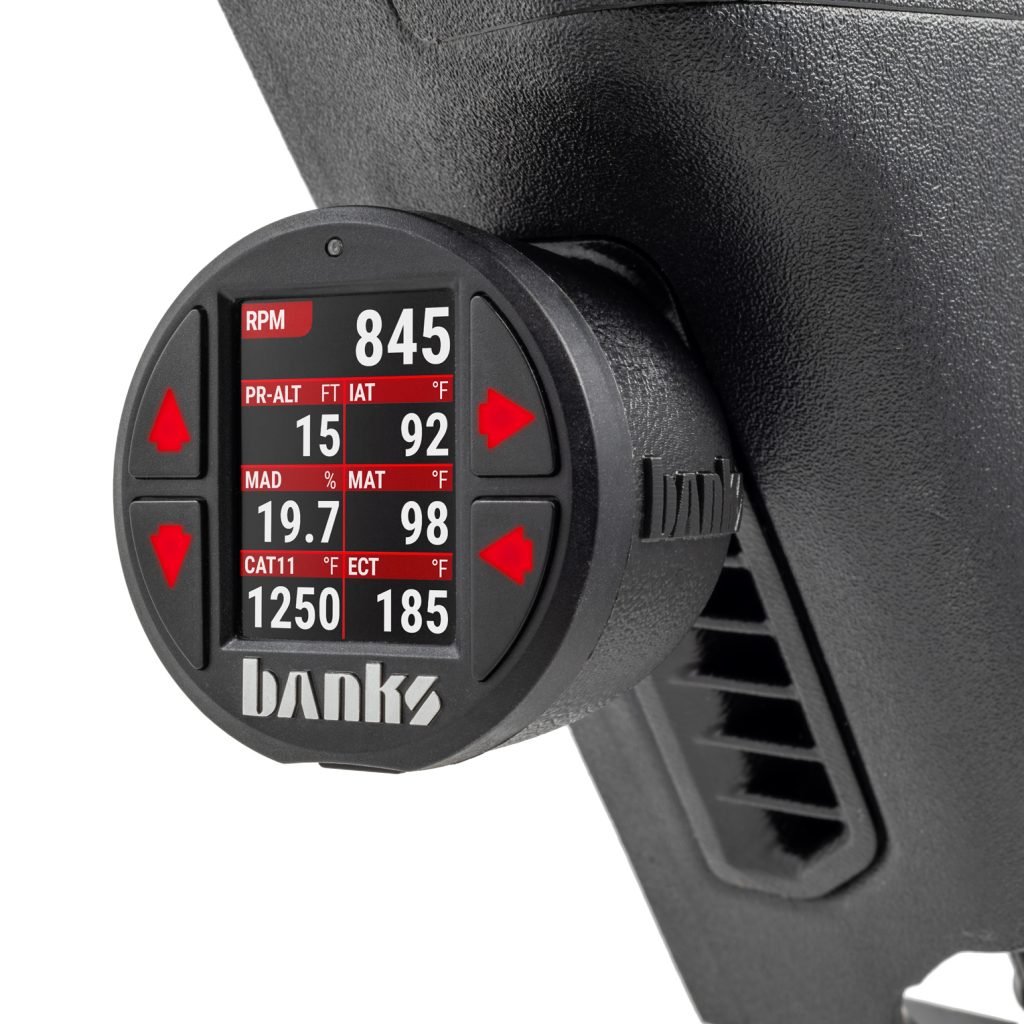
18. Then snap the stealth pod into place by pressing on the bottom.
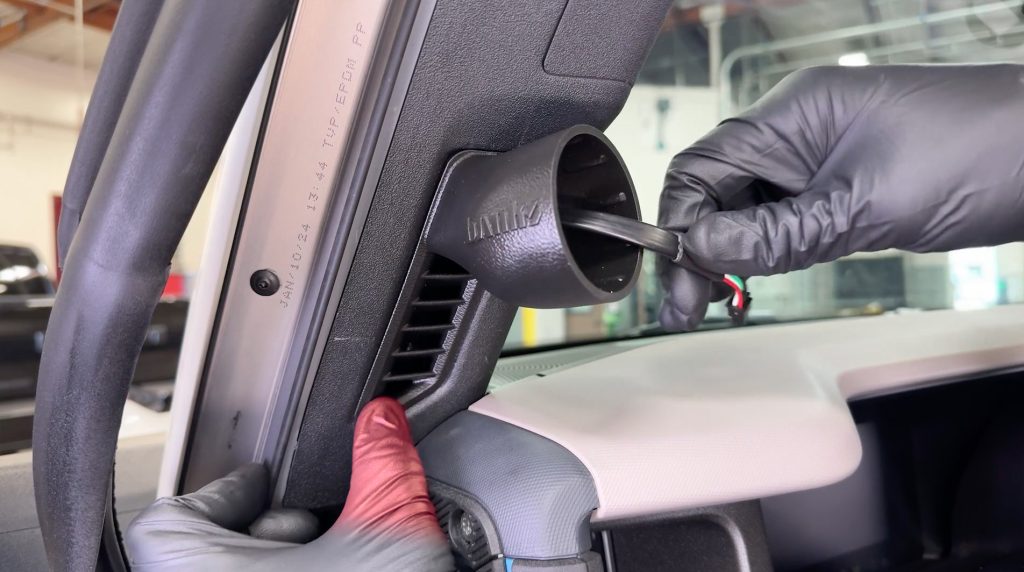
19. Next, grab your iDash.
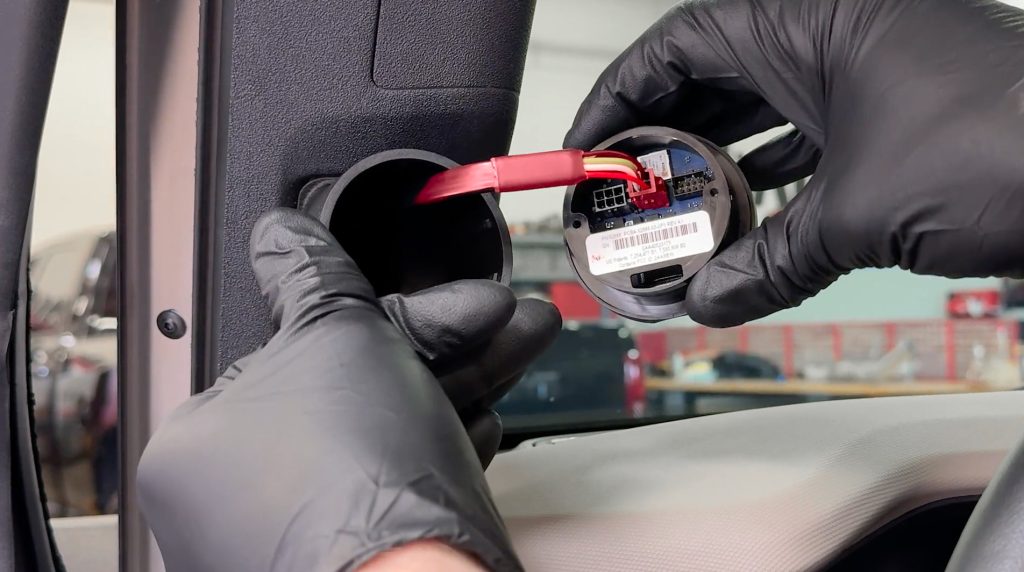
20. Plug in your 4 and 6-pin cables if you have one.

21. Slide the iDash into the Stealth Pod. Clock it so the Banks logo is level.
22. Looking back at the bottom of your OBD-II Cable, measure about 5″ from the plug end. This is how much slack you should have so you can reach the OBD-II port that’s under your dashboard.
23. The excess cable can be looped together, held in place with a zip tie, and tucked back behind the plastic trim piece.
24. Snap the 4 clips on the trim piece back into place.

25. Press the weather strip back into place.

26. Plug in the OBD-II cable.

27. Check that it boots up with the vehicle, and that it is set to the correct Ford Vehicle settings and engine size. And enjoy your new iDash Stealth Pod.