
97732 2005-2015 Toyota Tacoma Stealth Pod Installation Guide
INSTALL INSTRUCTIONS
Part #s
63389
Gauge Pod 2005-2015 Toyota Tacoma
Please read through the following instructions thoroughly before starting your installation. If you have any questions please visit our Support Page.


Part Number 63389
Fits the A-Pillar below found in the:
• 2005-2015 Toyota Tacoma

Installation Guide
Note: If you’ve chosen to paint the pods yourself, please visit bankspower.com/paint to get perfectly matched spray paint. No primer is needed just three to four light coats.
What’s Included
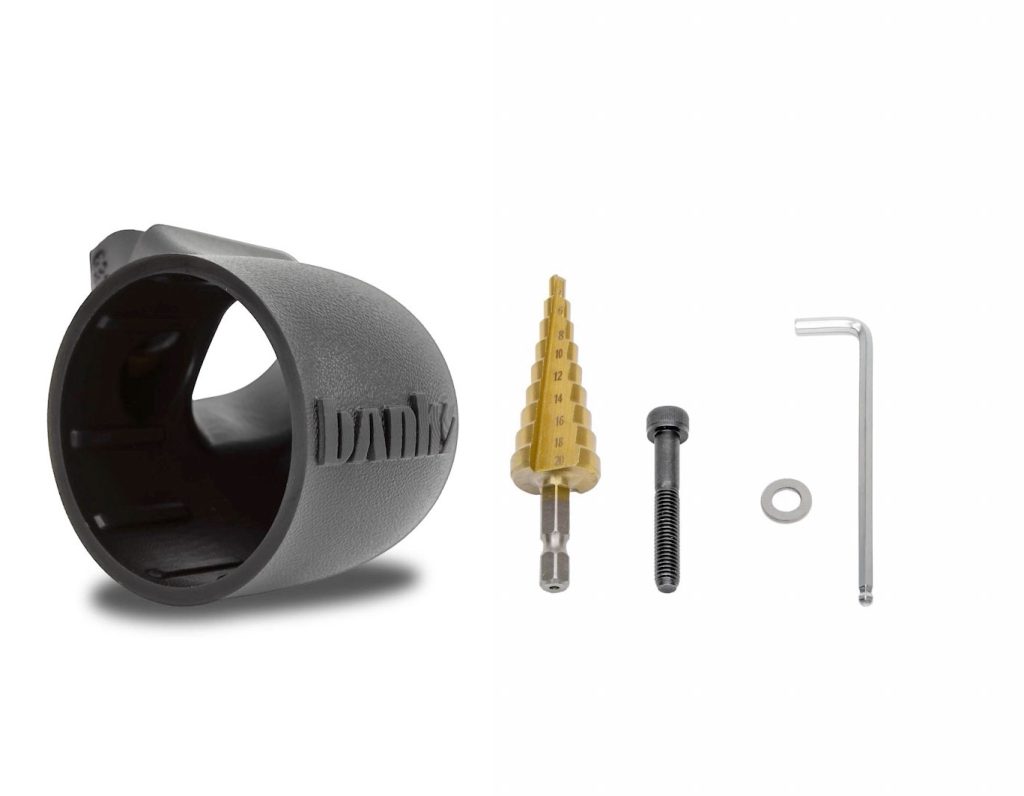
• iDash Stealth Pod
• A Step Bit
• A Hex Screw
• Washer
• 5mm Hex Key
If anything is missing, please call us at 800-601-8072 immediately!
Tools Required

• Socket Wrench
• Socket Extension
• 10mm Socket
• Plastic Pry Tool
• Permanent Marker
• Drill Motor
Step-by-step Installation

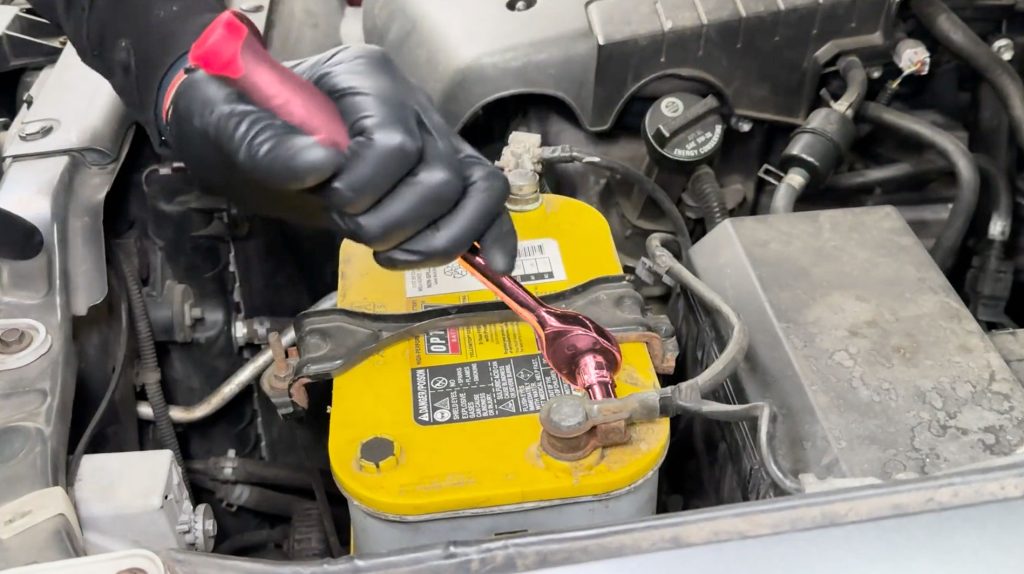
1. Before starting the installation, use your 10mm socket to remove the negative terminal on the battery.

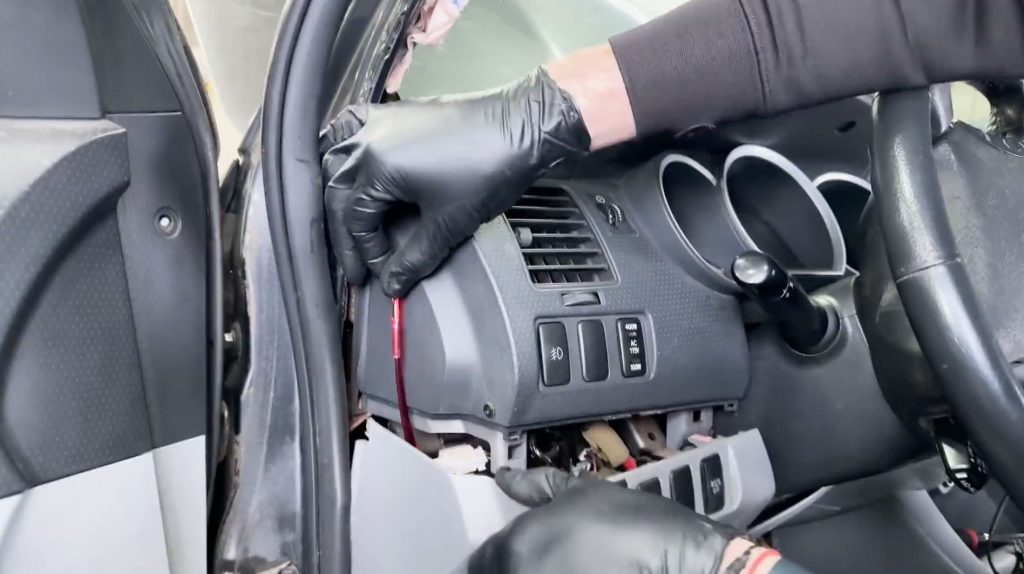
2. Pull off about three feet of the weather stripping from just below the dashboard to the top of the A-pillar.

The weather seal is held in with pressure and will pop right out with your finger tips.

3. Remove the plastic plugs that cover the A Pillar bolts.

4. With a 10mm socket, remove both bolts.


5. Pop the A-Pillar free from the truck.

It is held on by a small plastic tab on the top. A firm tug will free it from the vehicle.
Cable Access Hole Prep & Drilling

7. Place the step drill bit in your drill.
Use a piece of masking tape and mark the appropriate diameter.
16mm for a single iDash cable
18mm for dual iDash Cables.
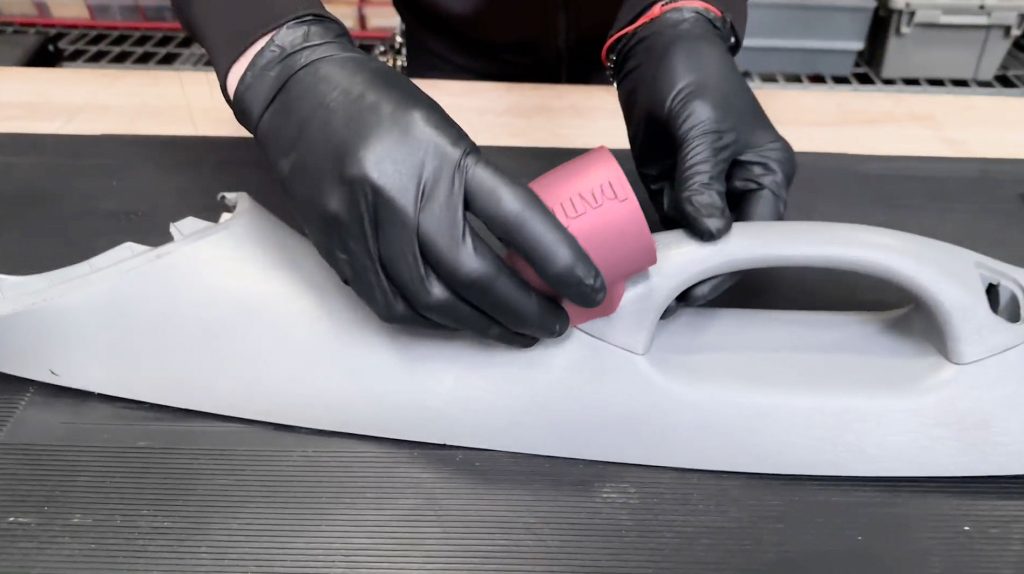
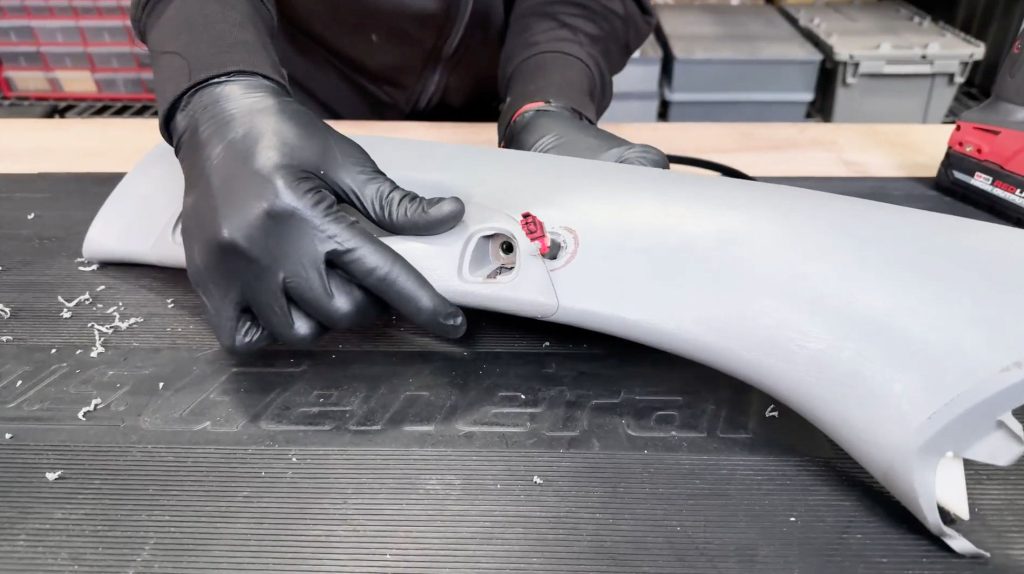
8. Bring The A-Pillar and Stealth Pod to a Non-Slip Surface.
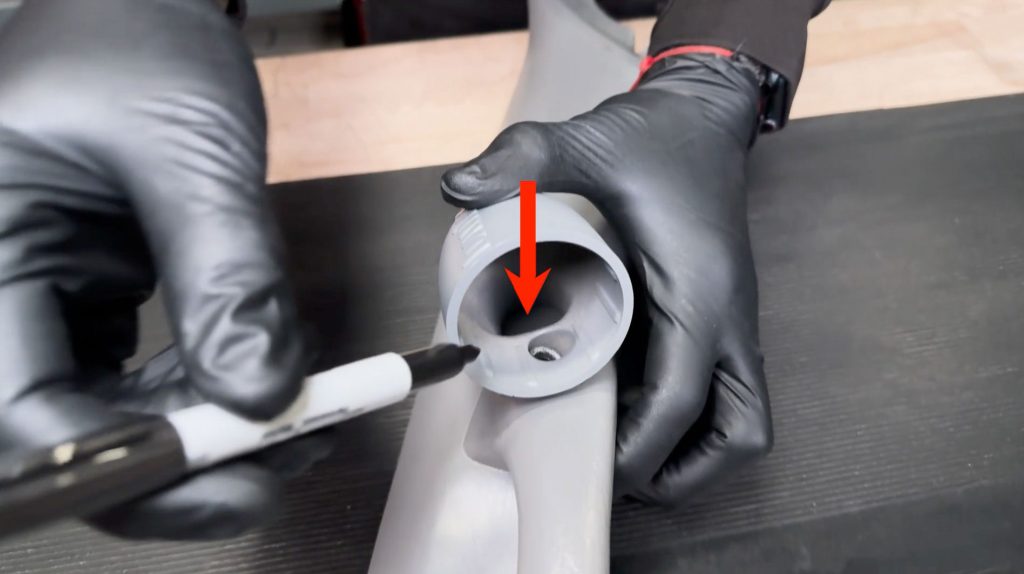
9. With a marker, trace where the data cable access hole will go.
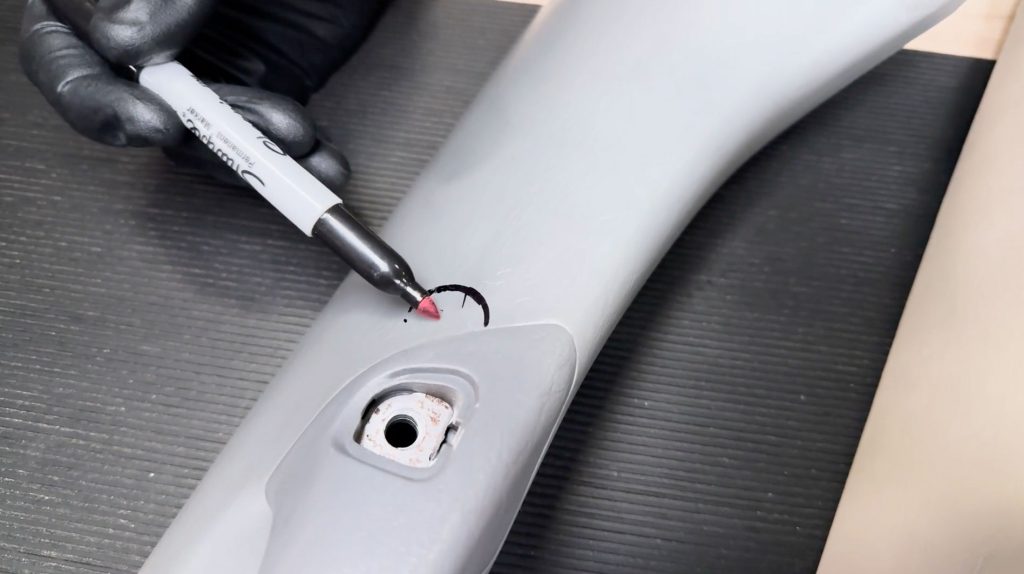
The center of your drill will be in the middle of this circle. You do not want to drill past where you marked.

9. Drill cable access hole.
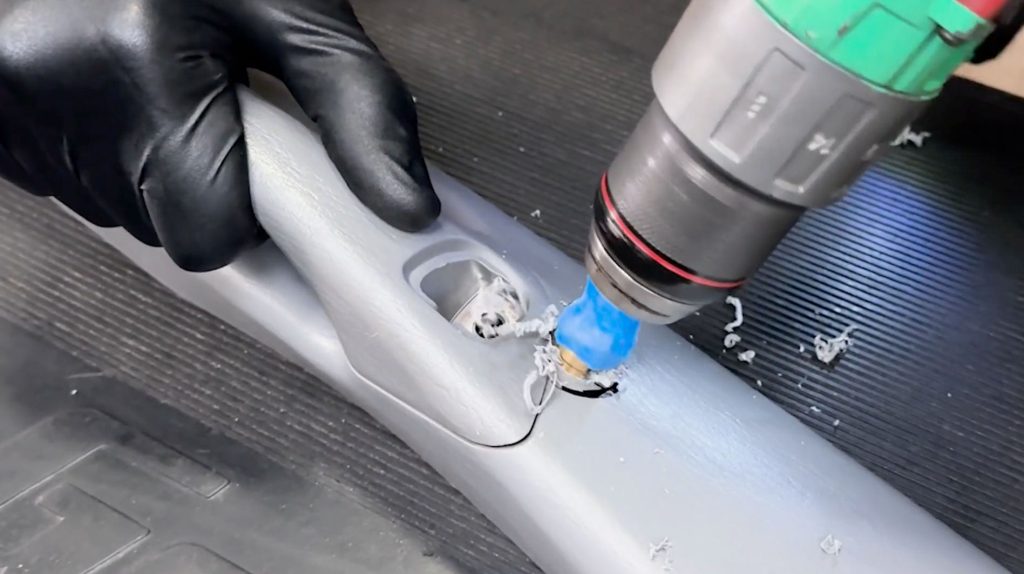
Drill until the 16mm or 18mm step.
16mm for a single cable or 18mm for two.
Check the hole you drilled is large enough for your cables. Then return to your truck.
OBD-II Cable Routing
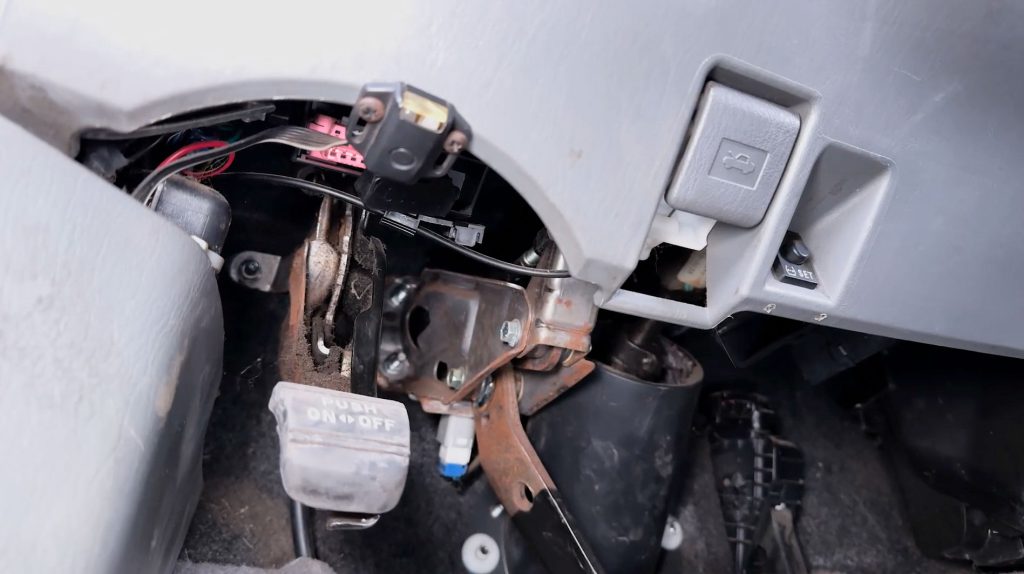
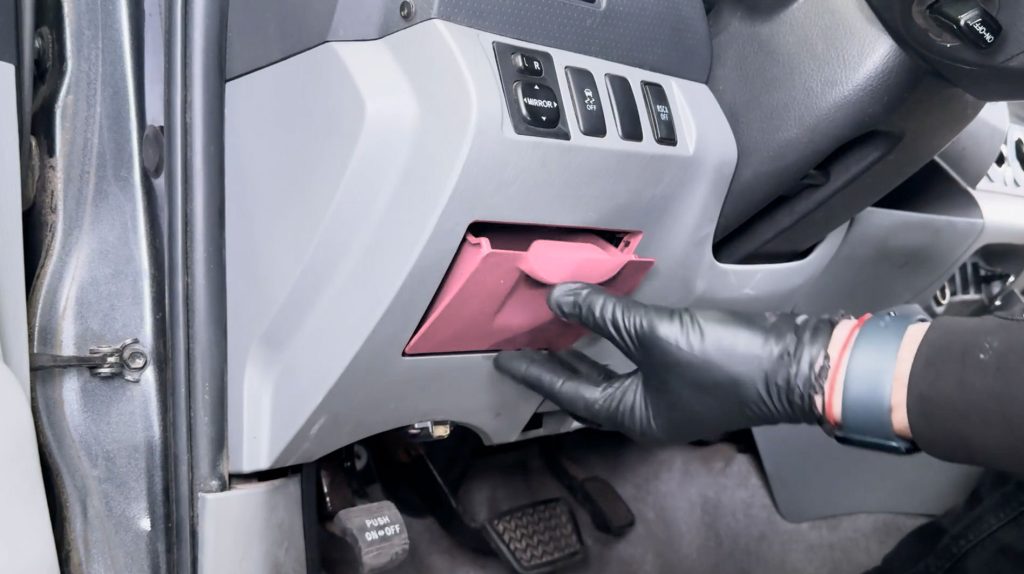
10. Return to the truck and locate the OBD-II port.

You can pop out this lower door for additional visibility.

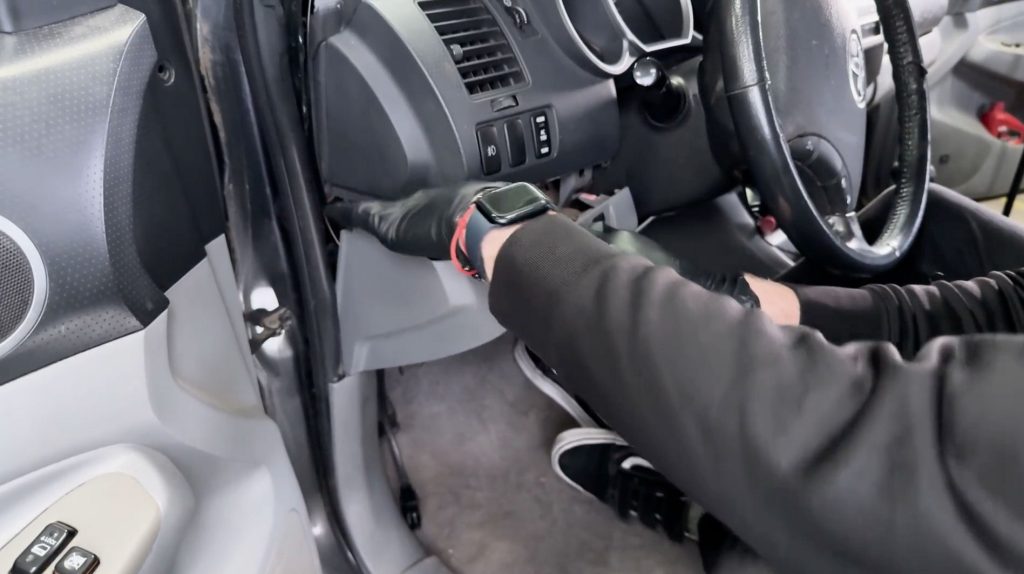
11. With a plastic pry tool, pop the top snaps free of the lower kick panel to gain access to run your OBD-II cable.
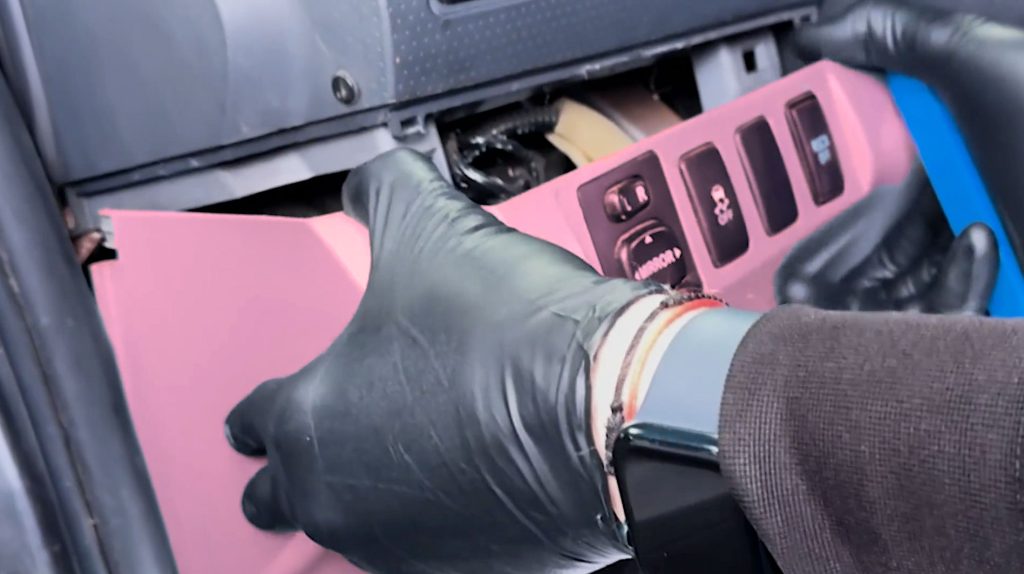
It does not need to be fully removed, just enough so you can pull it away from the top a few inches.
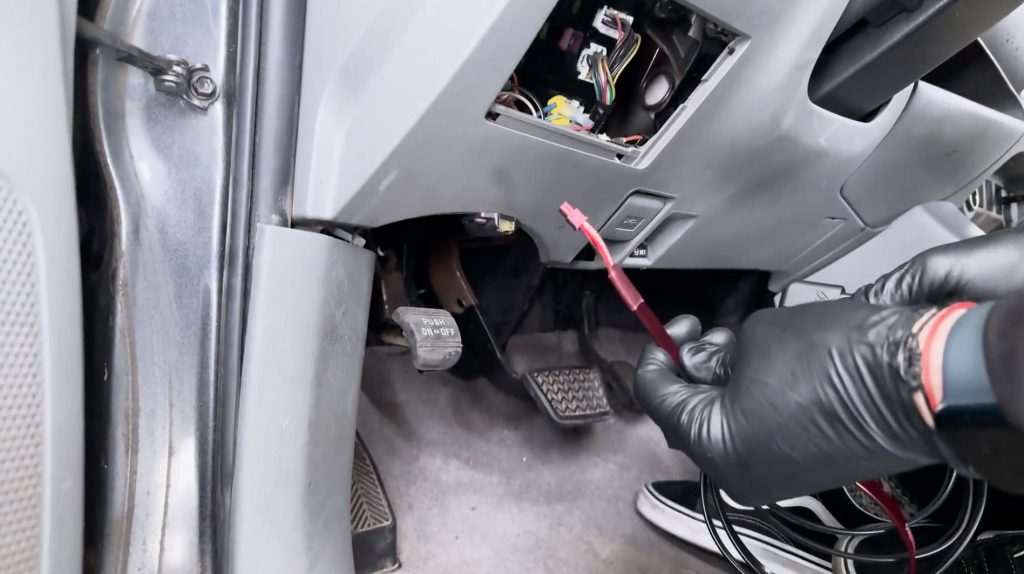
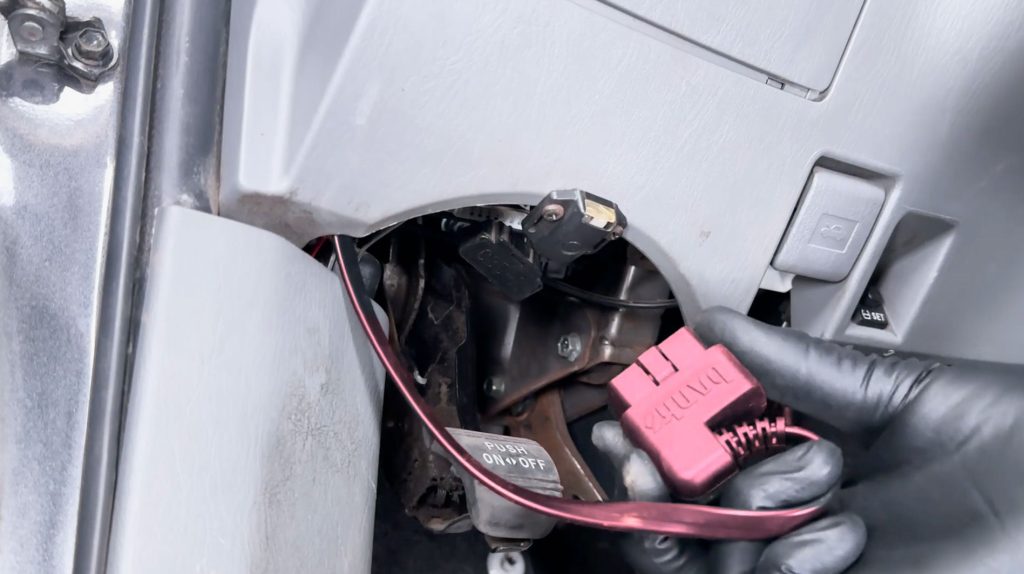
12. Run the OBD-II cable up through teh bottom.

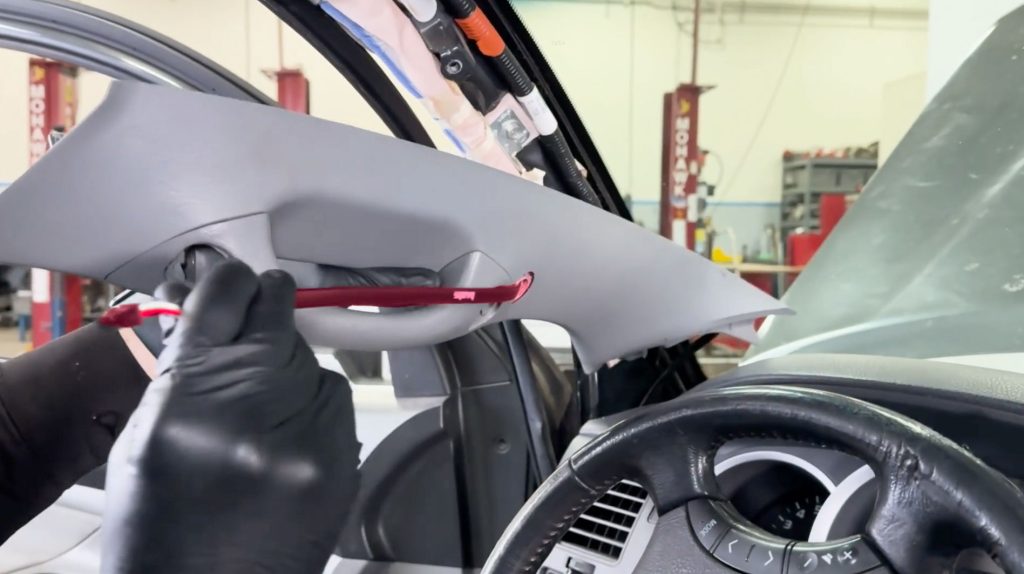
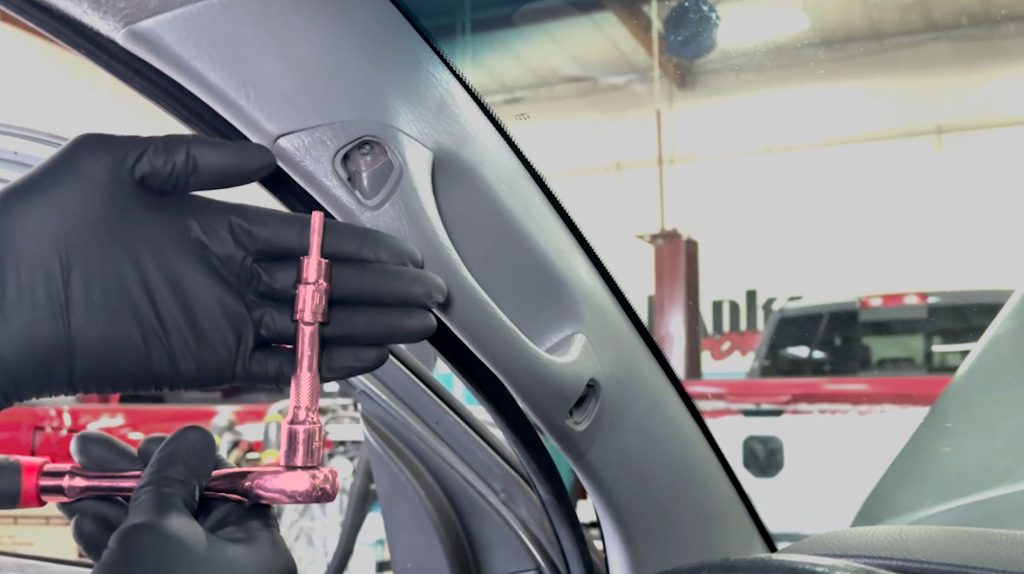
13. Install A Pillar.
Run the iDash data cable through the back of the A-pillar first.

Then snap the A-Pillar back in, making sure not to snag the cable behind it.
Stealth Pod Installation
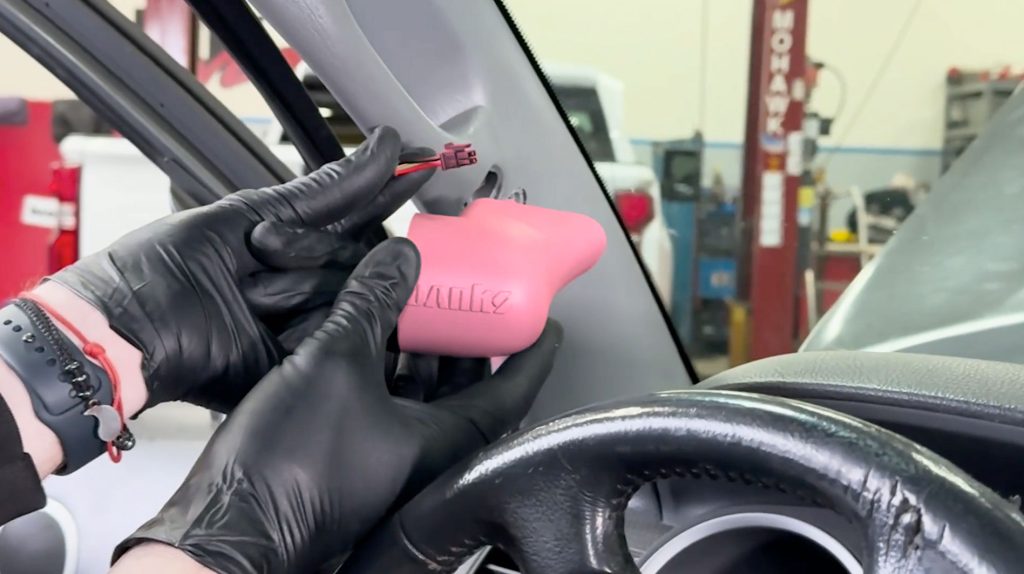
14. Grab your stealth pod and run the data cable through the back.


Install the supplied Hex bolt with the included key.
Secure the Stealth Pod with the supplied Hex key

Adjust the data cable so that there is just enough slack to remove the iDash if needed.

15. Install your iDash.
Connect the data cable to the 4 pin and/or 6 pin connections on the back of the iDash.

16. Tidy up any extra with the included zip ties.
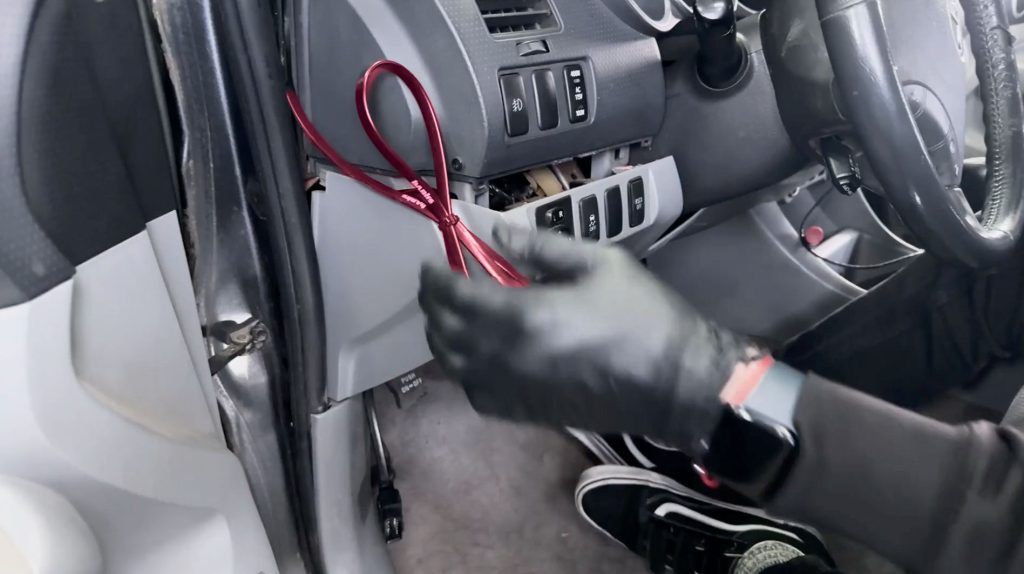
Clip any excess off the zip ties.
Secure the extra cable behind the dash so it won’t rattle.

And snap the lower dash panel back into place.

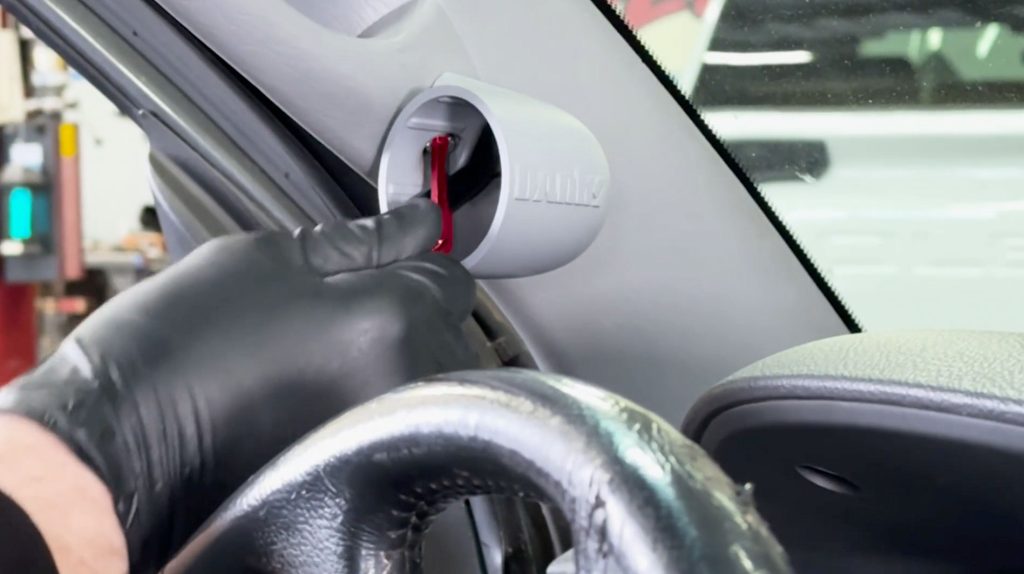
17. Secure the top bolt of the A-pillar.

18. Snap back in the top plastic bolt cover.

19. Be sure to clock the iDash so the Banks logo is level.

20. Press back in the weather seal arround the door.
21. Dont forget to reinstall the door if you removed it.
22. Plug in the OBD-II cable, take care so that there is just enough slack so the cable does not sag or get caught on your feet.
23 Reconnect the battery..
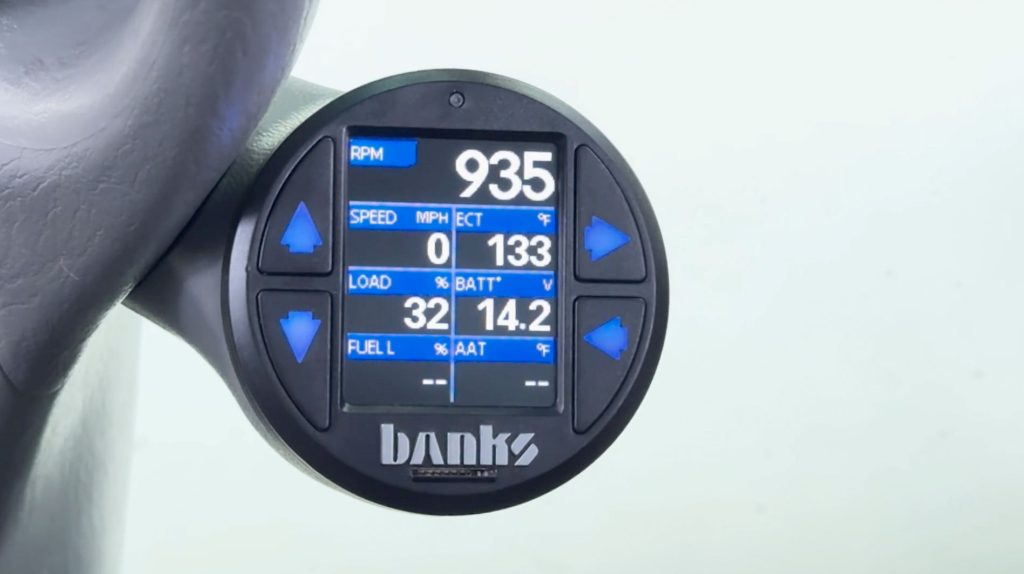
24. Check that the iDash powers up, is in the correct mode for your vehicle, and enjoy your new Banks iDash Stealth Pod.