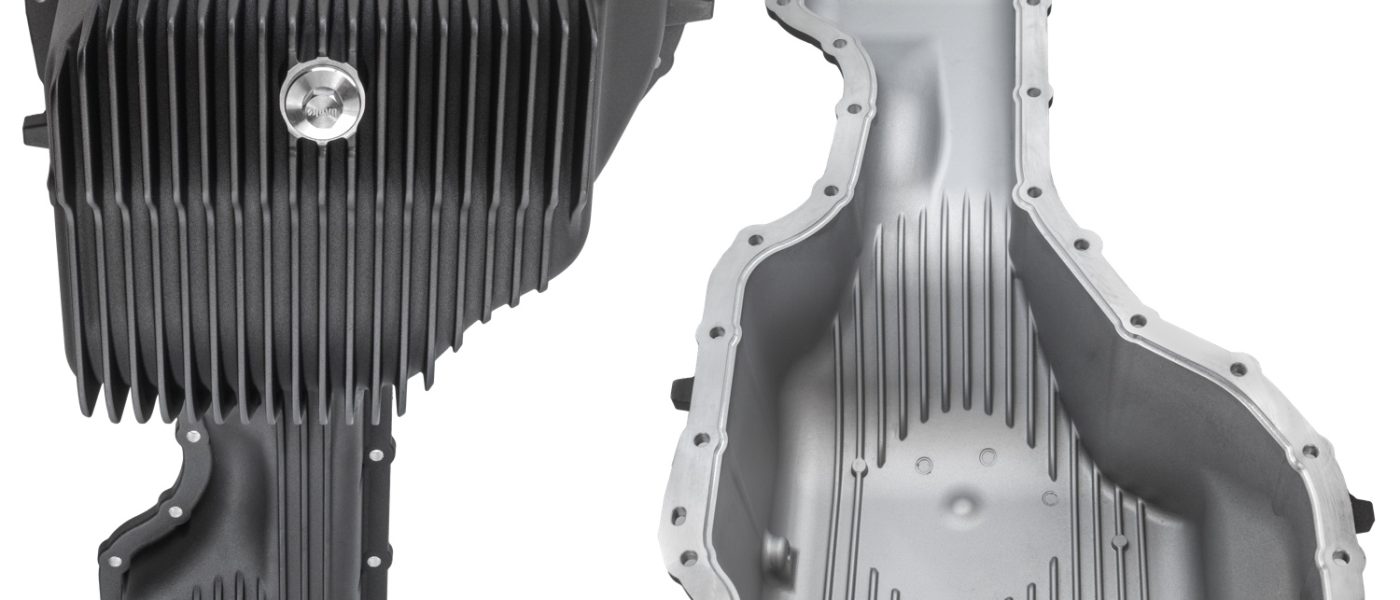
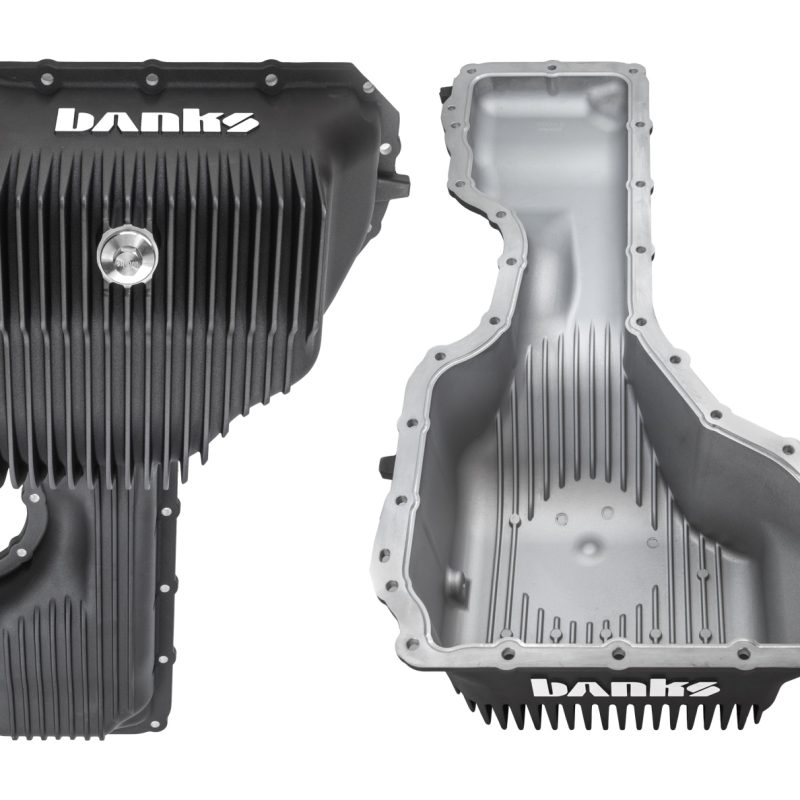
97740/42 | Banks CoolRunner Oil Pan for 2017-2024 Chevy/GMC 2500/3500 6.6L Diesel L5P
INSTALL INSTRUCTIONS
Part #s
35135-B | 35137-B
----------------
2020-2024 Chevy/GMC 2500/3500 6.6L Diesel
2017-2019 Chevy/GMC 2500/3500 6.6L Diesel
Please read through the following instructions thoroughly before starting your installation. If you have any questions please visit our Support Page.
Note: While this online guide and steps are based on the 2020-2024 L5P install video, the 2017-2019 will follow a similar procedure.
For added clarity, the 2017-2019 Installation Video is listed just below the 2020-2024 version.
Fitment Alert
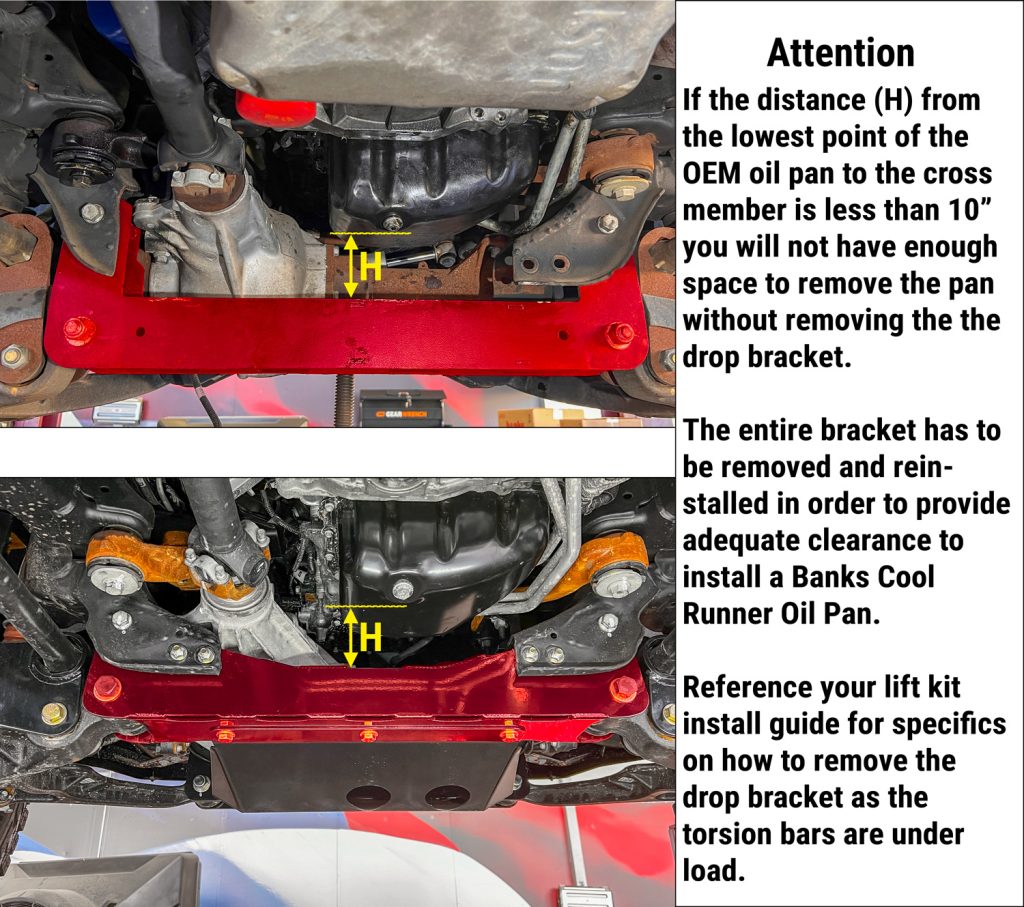
Trucks with front lift kits and drop brackets must remove the drop bracket in order to remove the stock oil pan and install the new Banks Cool Runner Oil Pan. See photo.
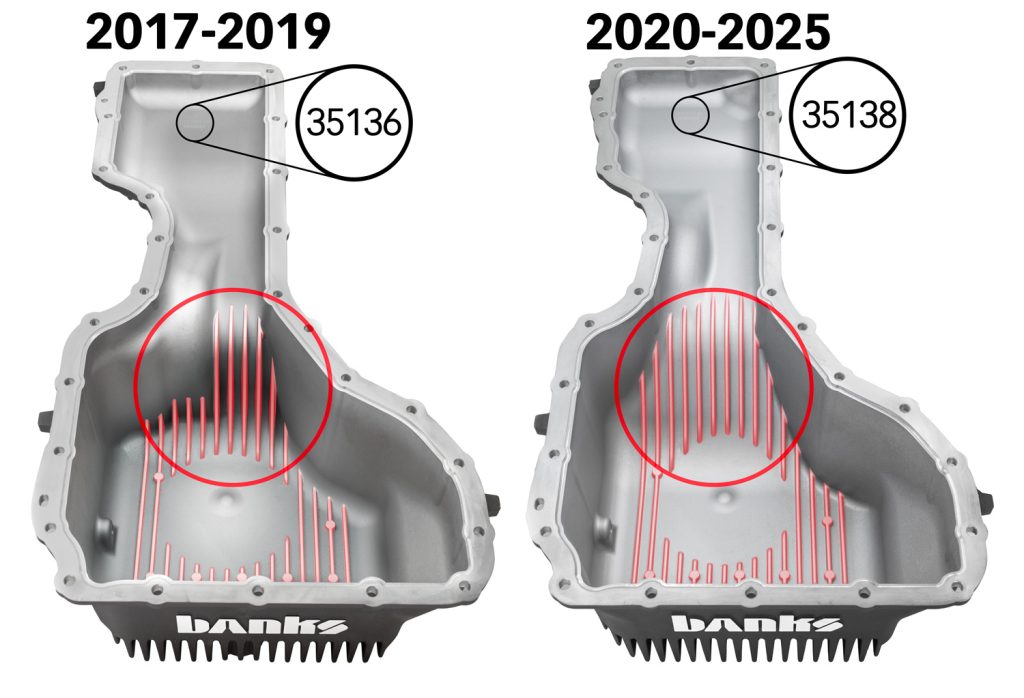
Before starting your install, verify you have the correct Cool Runner Oil Pan for your year range.
2017-2019 L5P Cool Runner Oil Pans have a sharp drop from the rear of the oil right before the sump. They are stamped 35136 at the end.
Where as 2020-Current L5P Cool Runner Oil Pans have a much more gradual fall from the rear of the oil pan down to the sump. They are stamped 35138 at the end.
Install Video for 2020-2024 Duramax L5P
Install Video for 2017-2019 Duramax L5P
Bill of Materials
| Part Number | Description | QTY |
| 35136-B | 35138-B | CoolRunner L5P Oil Pan (2017+ | 2020+) | 1 |
| 13251 | 1/8 NPT Hex Plug | 1 |
| 13278 | Magnetic Oil Plug | 1 |
| 91752 | Hex Flange Screw (M6 x 25mm) | 26 |
| 91965 | Flange Hex Bolt (M10 x 35mm) | 1 |
| 13279 | RTV Sealant (5oz) | 1 |
| 95046 | Caulk Gun | 1 |
| 97002 | Oil Pan Separator Tool | 1 |
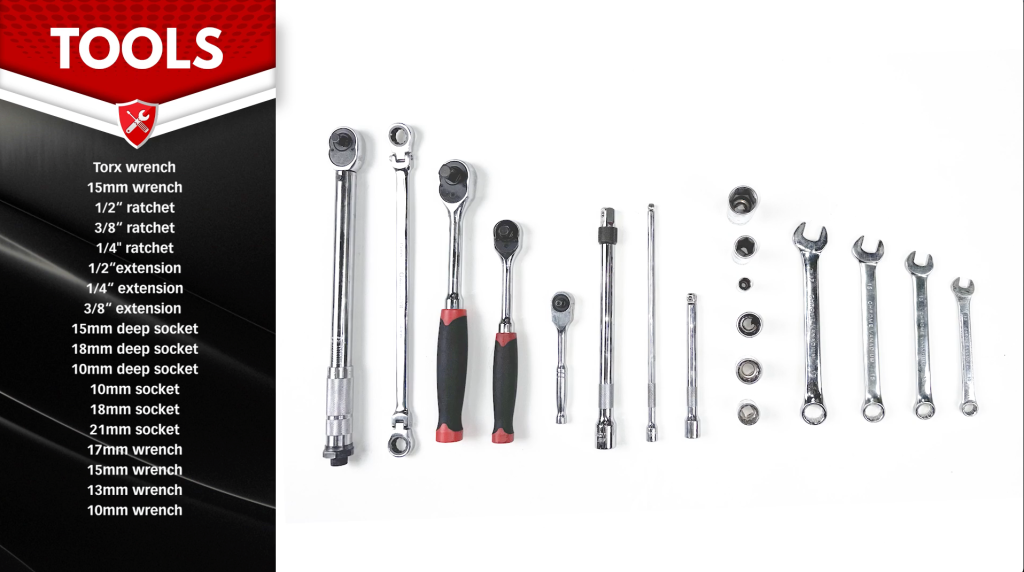
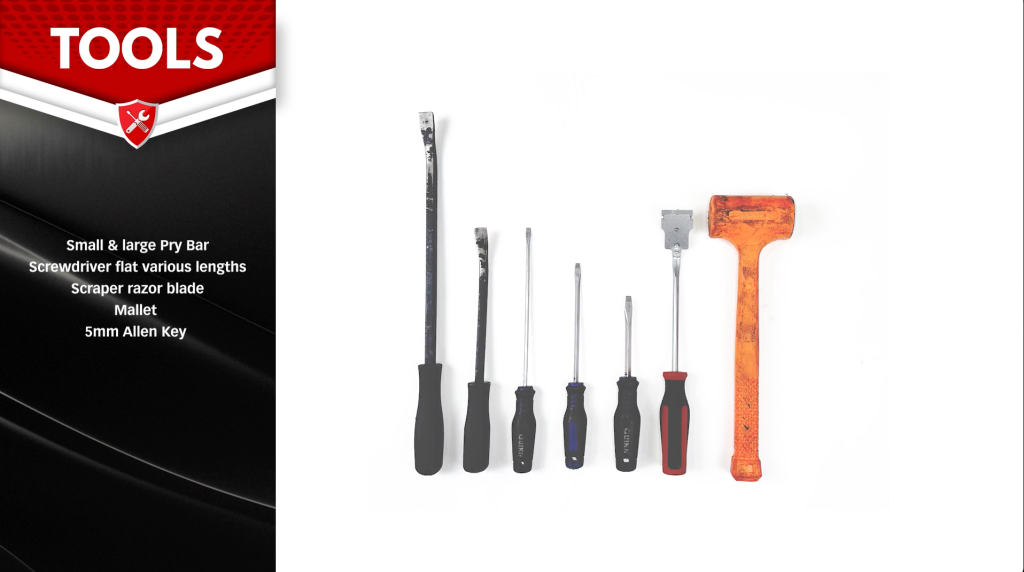
General Installation Practices
1) Initial Preparation
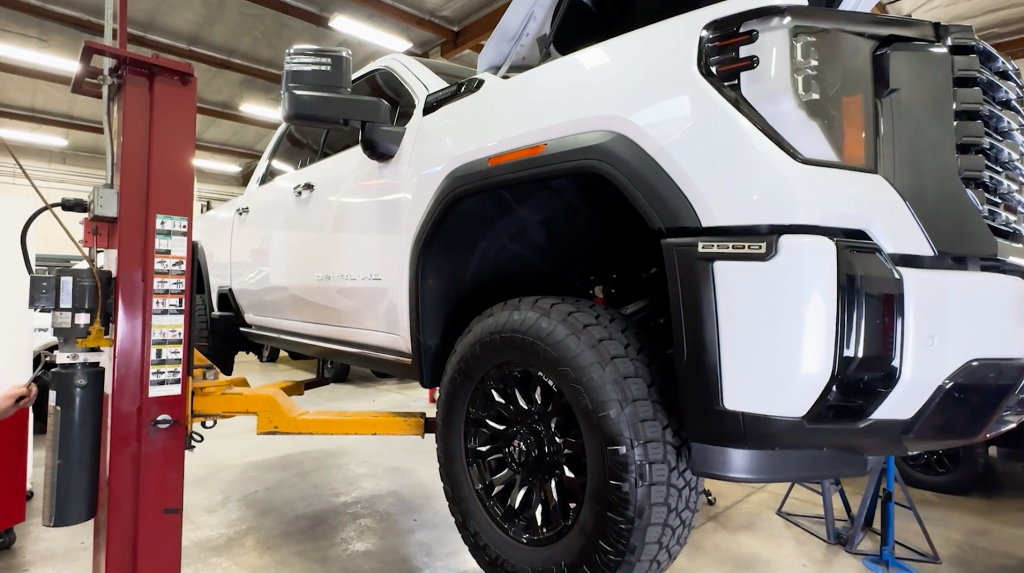
Raise the truck on a lift to provide ample access to the oil pan and the area you will be working with.
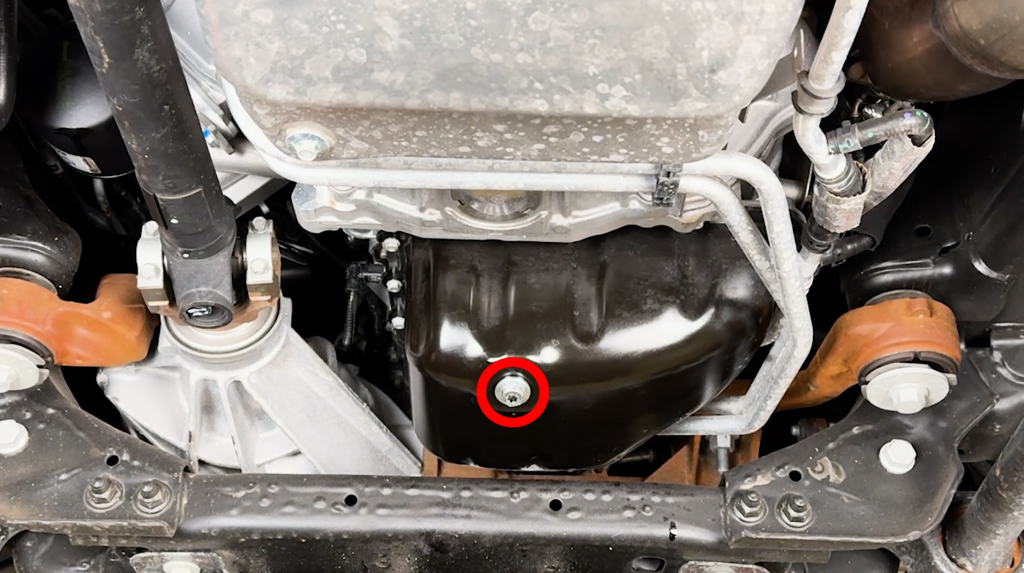
With a 15mm wrench, remove the stock drain bolt.
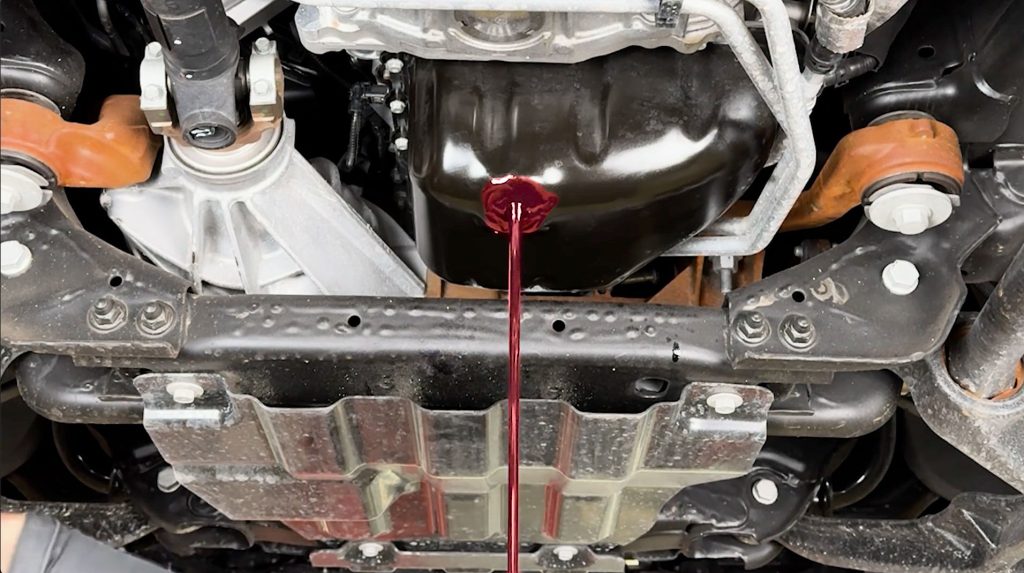
With a pan under the truck, drain the old engine oil.
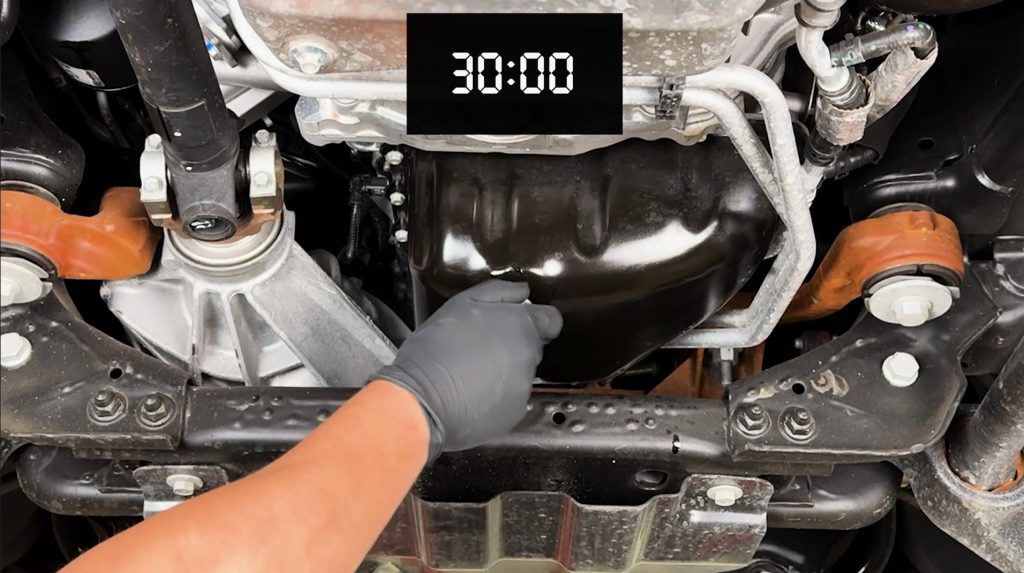
Allow for all the oil to drain from the pan and engine passages. (about 30 min)
2) Splash Shields
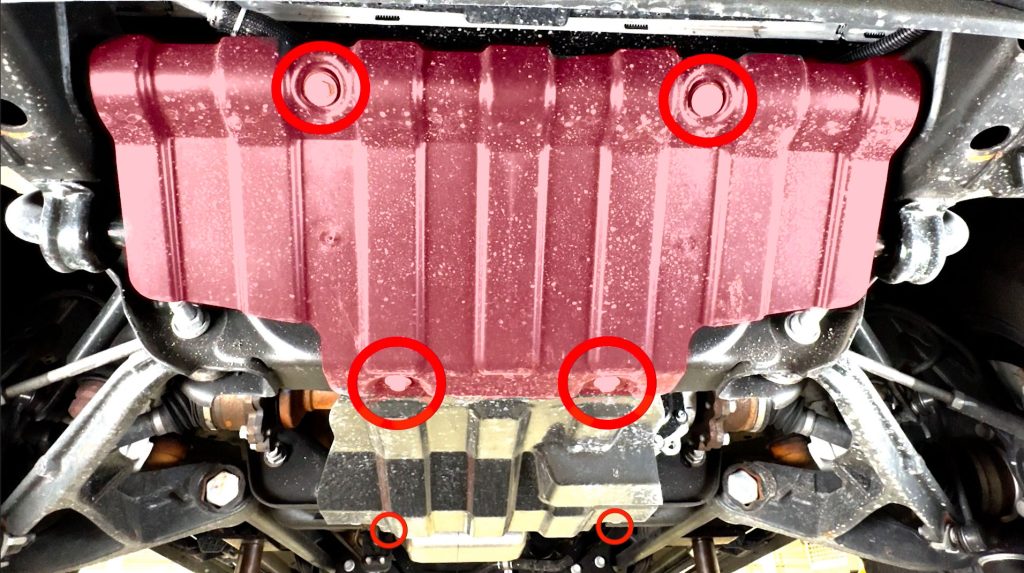
Remove the first four 15mm bolts on the forward splash pan.
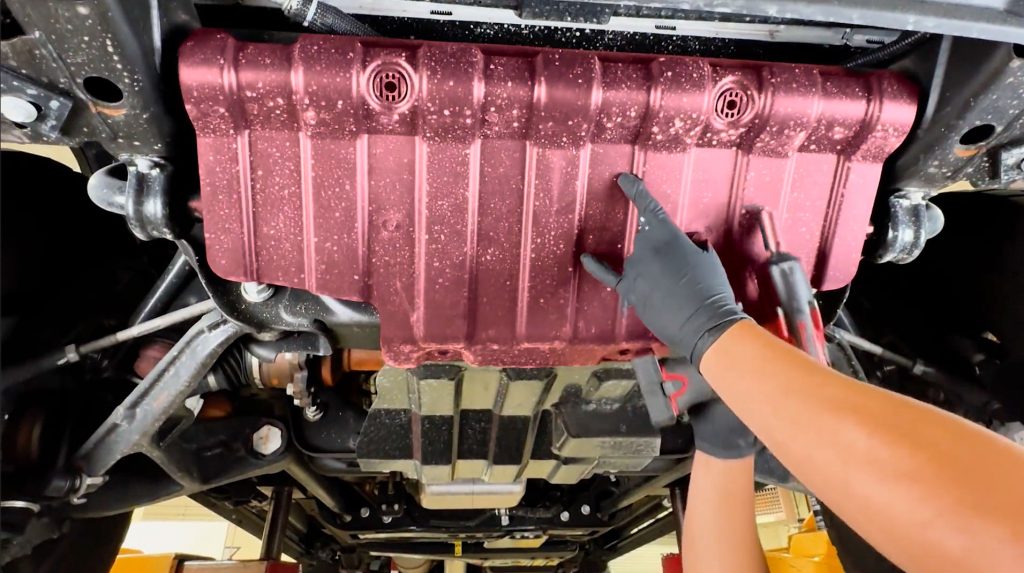
Carefully lower the forward shield, and place it to the side for now. Take care as there may be dirt or debris that falls.
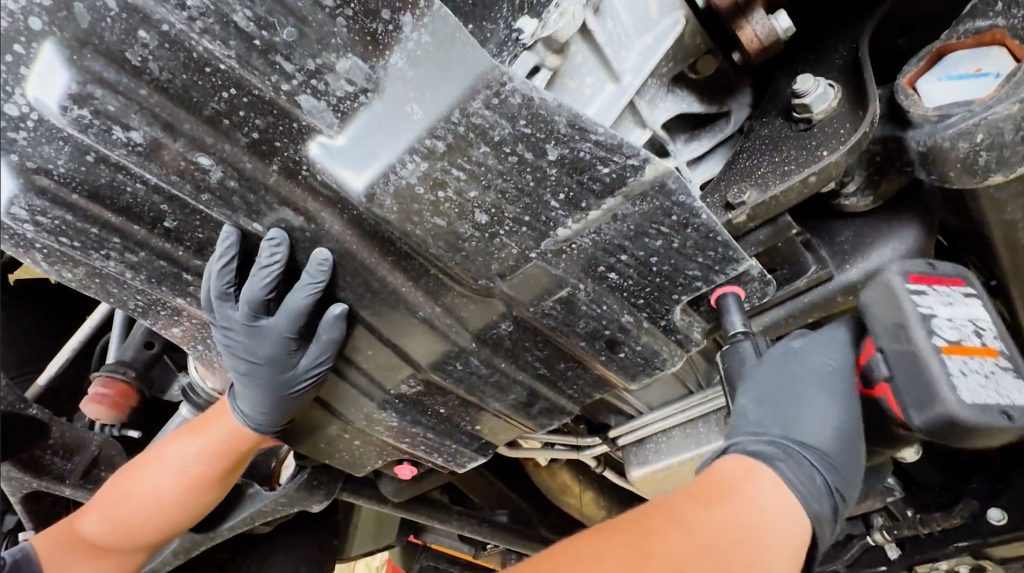
Continue to the remaining 2 bolts for the rear splash shield.
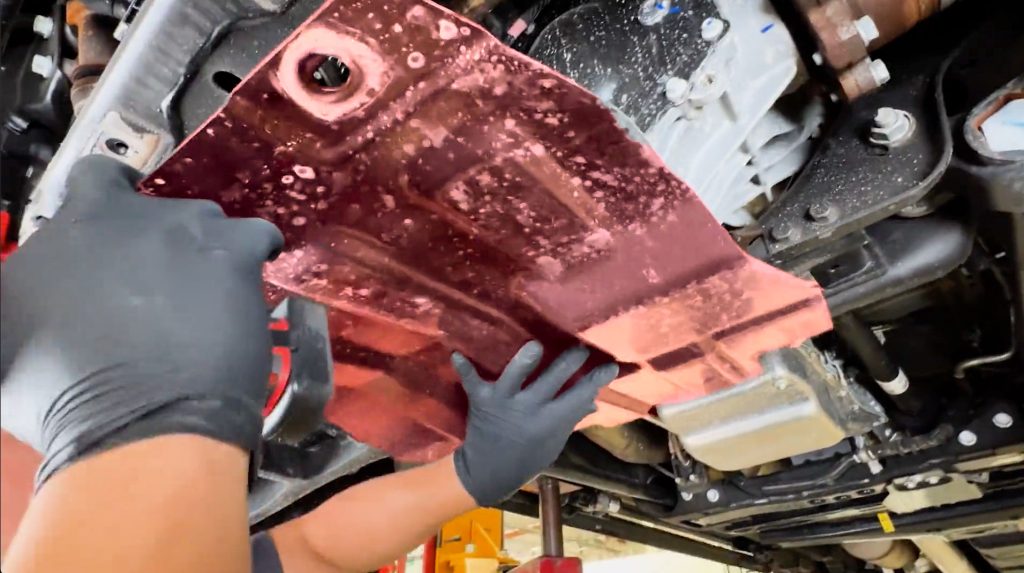
Carefully lower the rear shield, and place it to the side for now. Take care as there may be dirt or debris that falls.
3) Hardlines
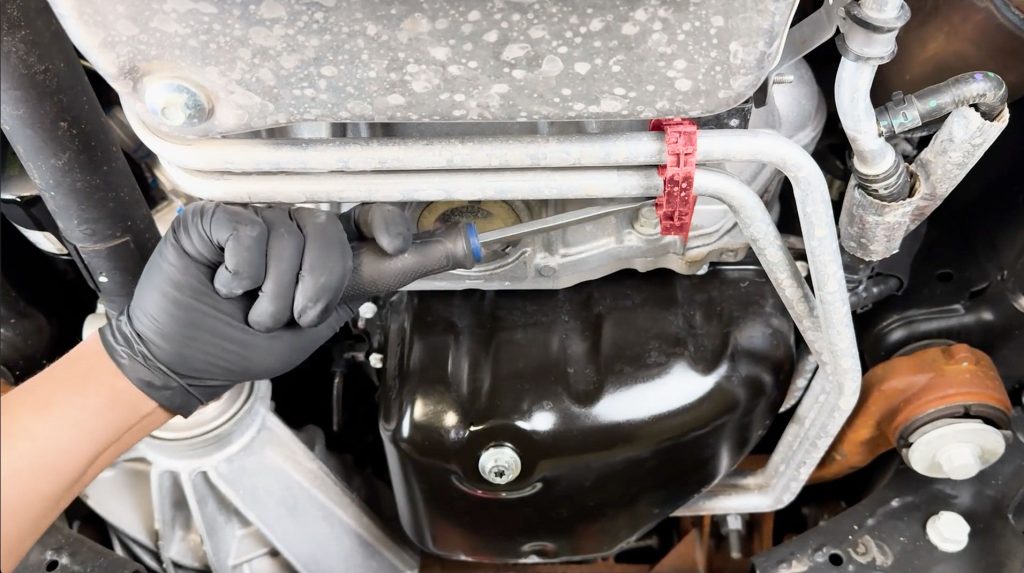
The transmission cooler brackets and hard lines will need to be temporarily disconnected and moved to the side to provide extra clearance during the install.
With a flathead screwdriver, disconnect the plastic transmission line support clip that holds the hard lines together.
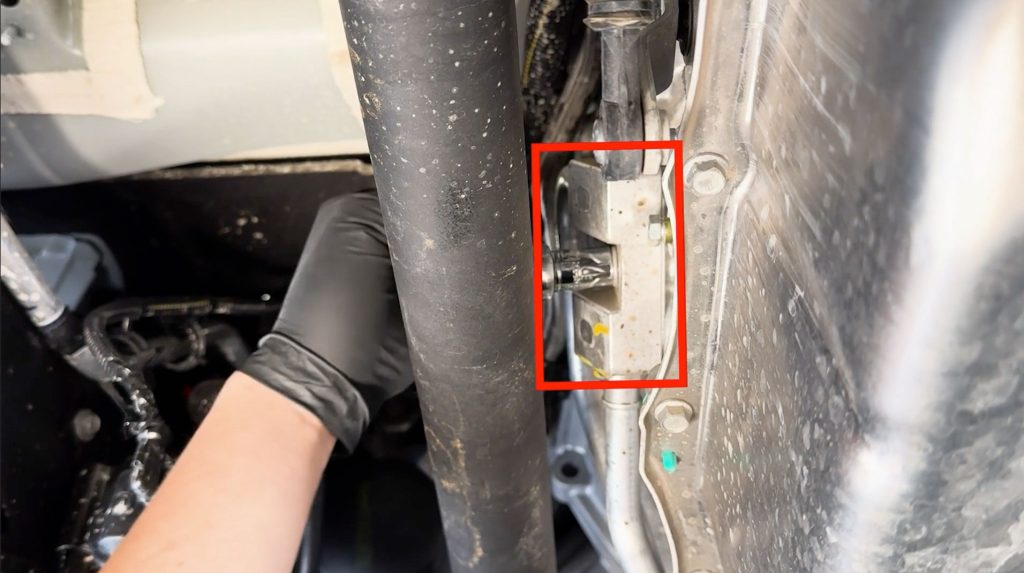
Move to the driver’s side. With a 13mm socket, disconnect the transmission cooler lines.
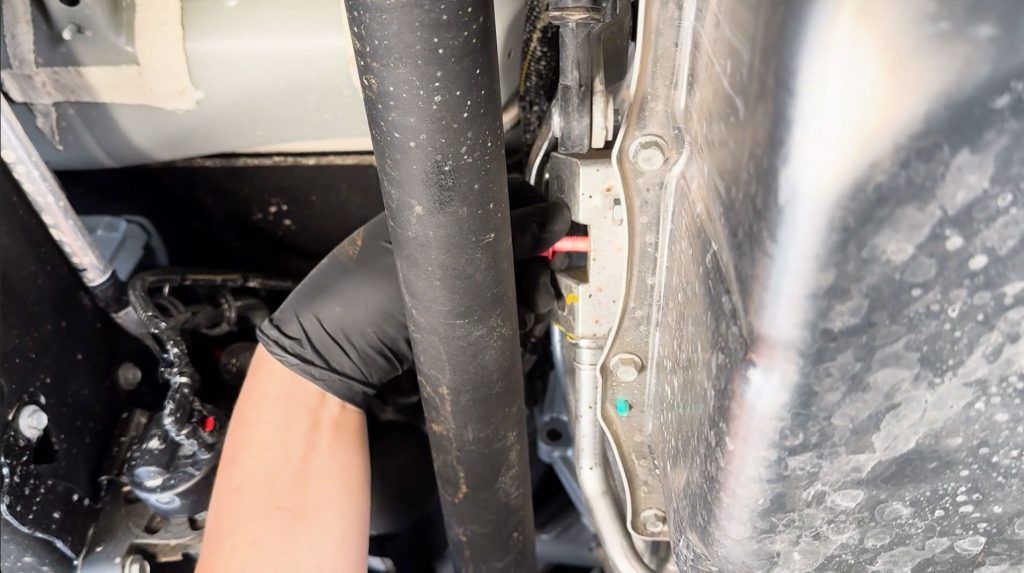
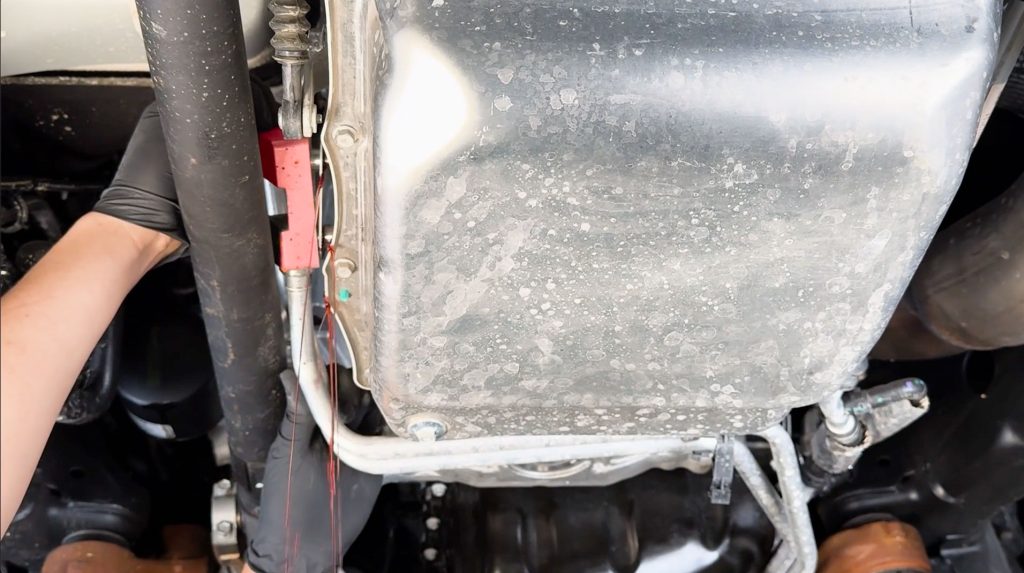
A small amount of transmission fluid in the lines will leak out. Be sure to have a rag ready or a pan to catch extra transmission fluid that will leak from the fitting. It is a small amount and won’t need to be topped off.
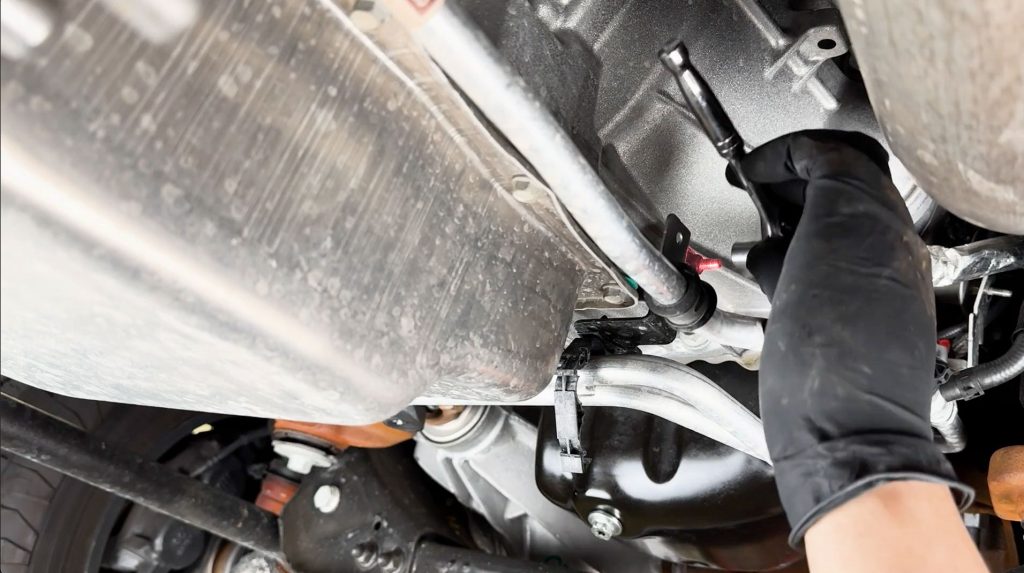
Move to the passenger side. Remove the 10mm nuts that holds the transmission lines. There are three in total.
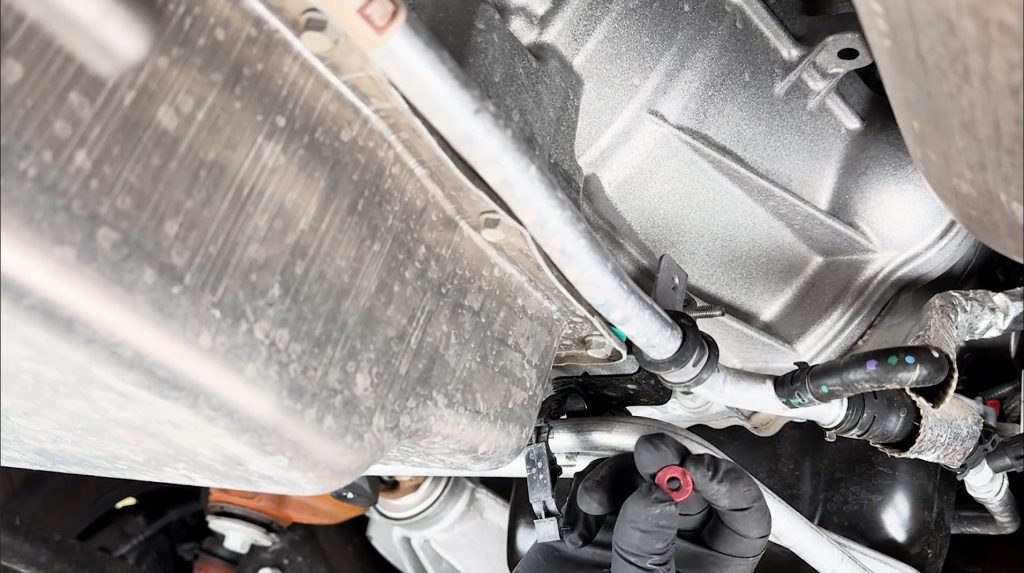
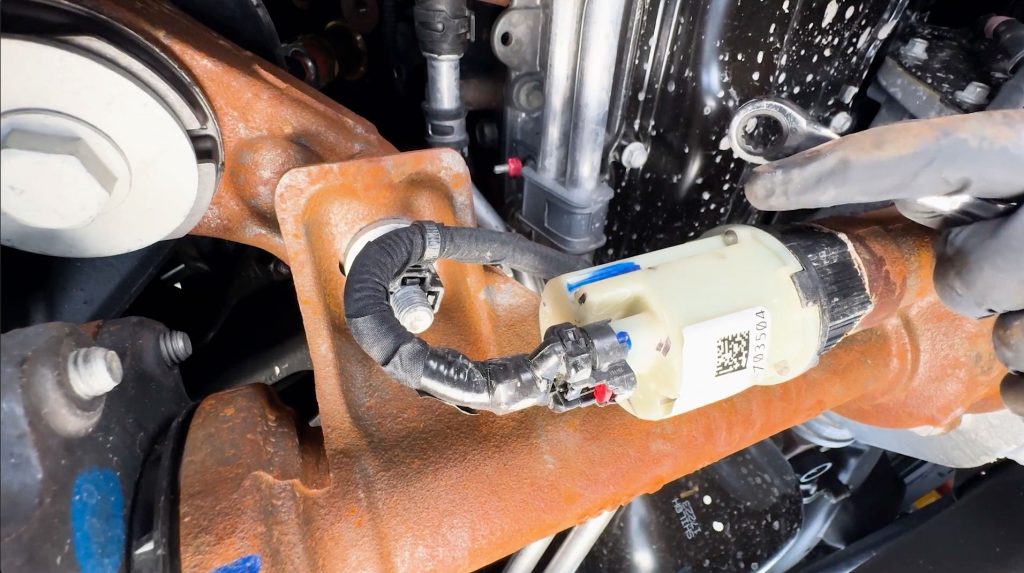
Near the engine oil pan, remove the last 10mm nut which holds the transmission line bracket.
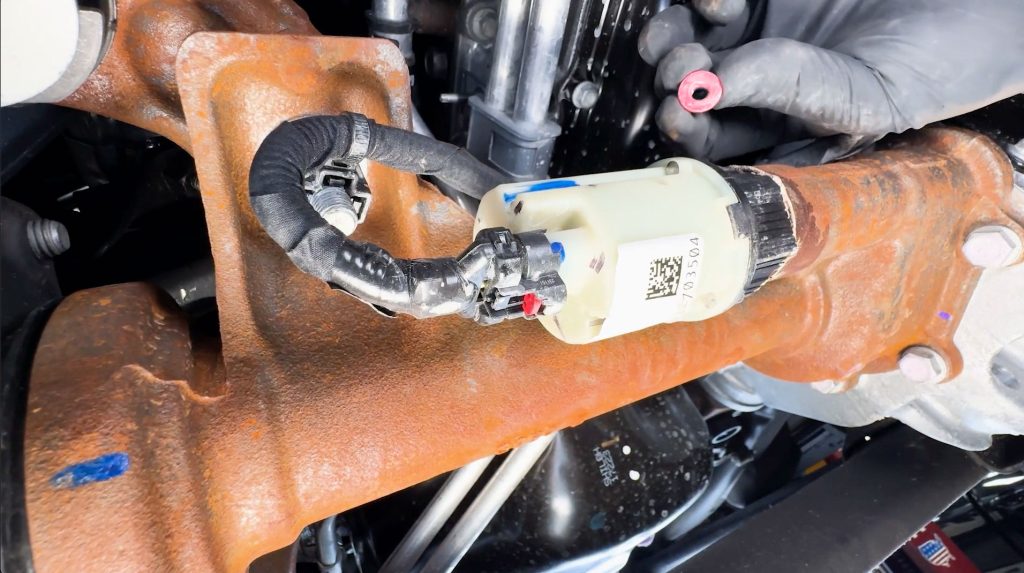
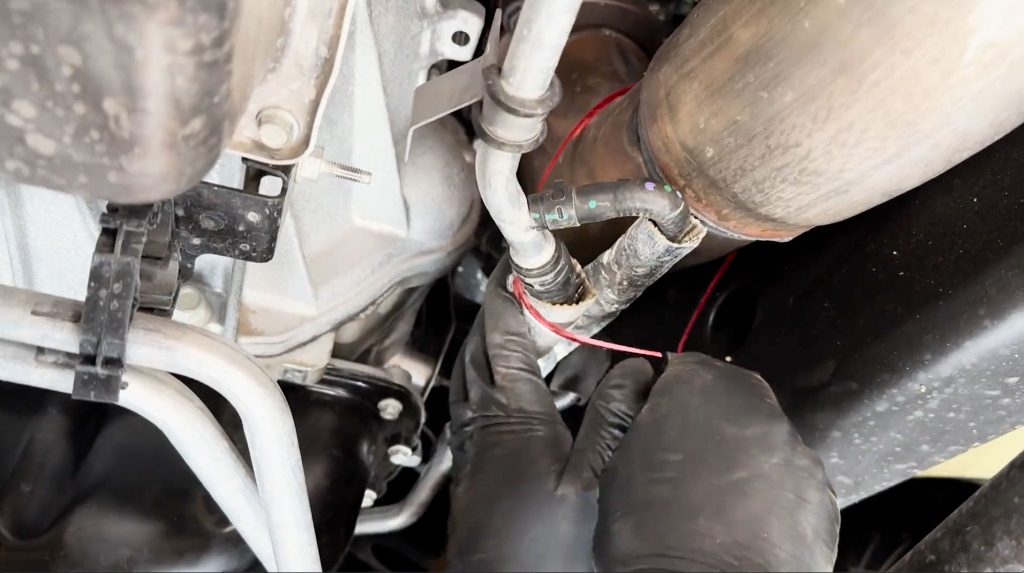
With a zip-tie or bungee cord, hold the transmission lines together and to the passenger side so they do not interfere with the removal and reinstallation of the oil pan.
4) Front Axle
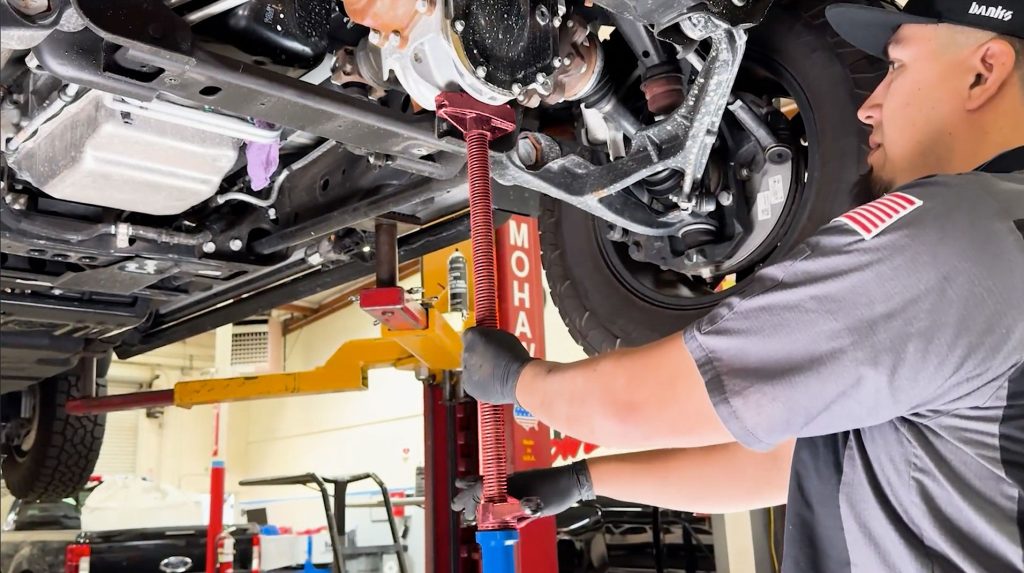
The front axle will need to be lowered slightly and supported by a jack stand to provide clearance to install the new oil pan.
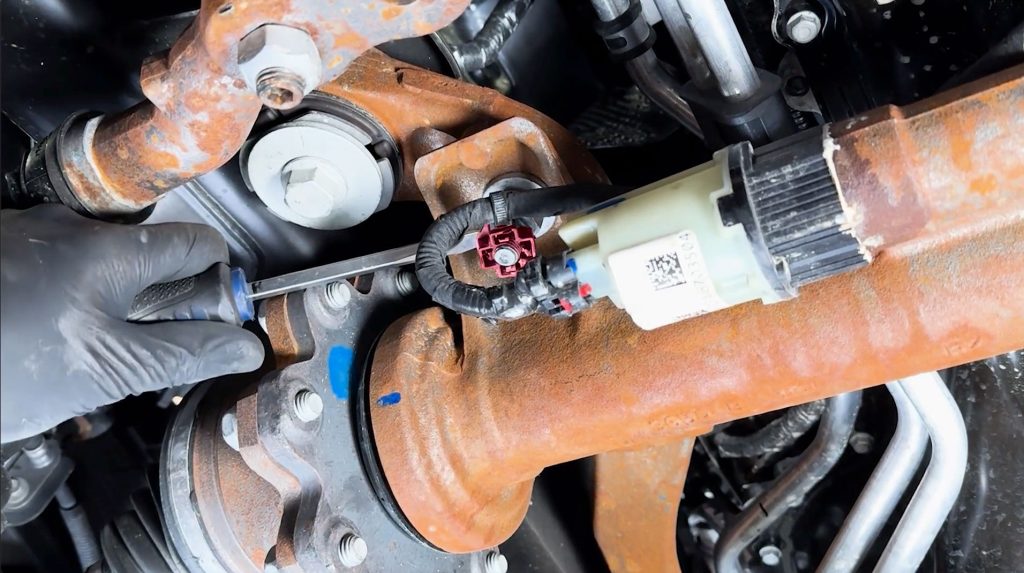
Once supported, start by removing the clip for the electrical connection.
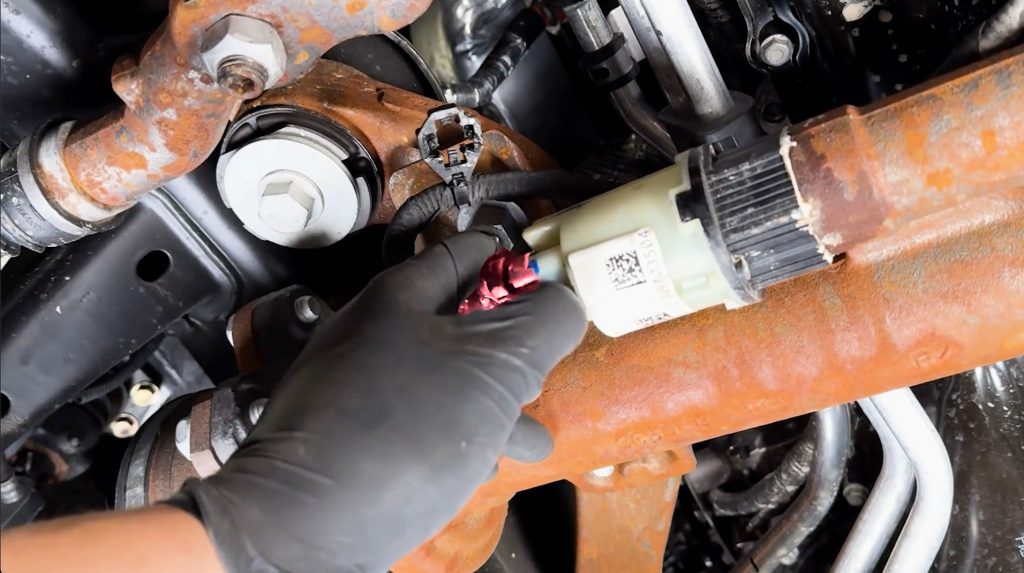
Disconnect the harness from the front differential actuator.
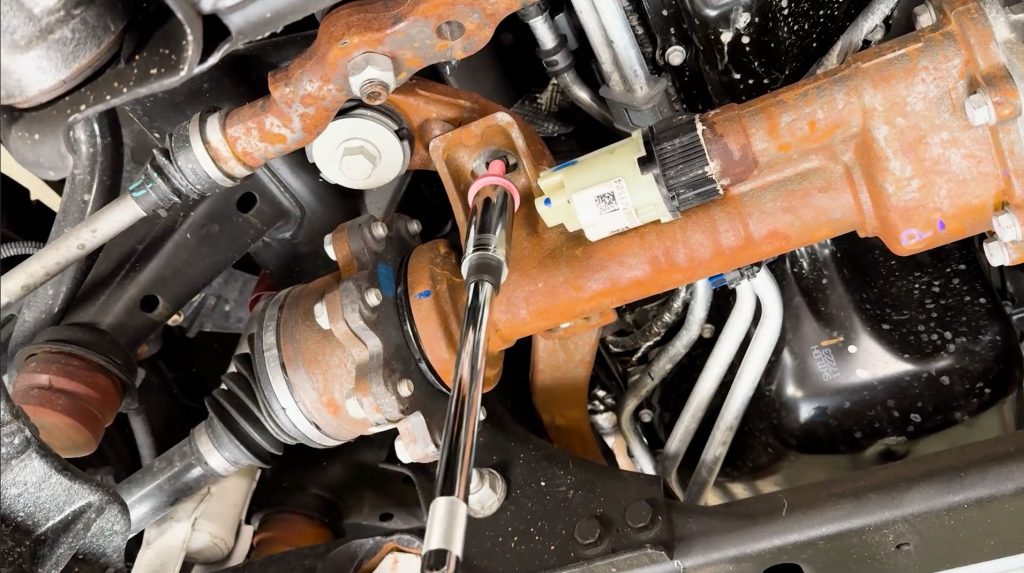
With a 15mm socket, remove the two bolts. on the passenger side.
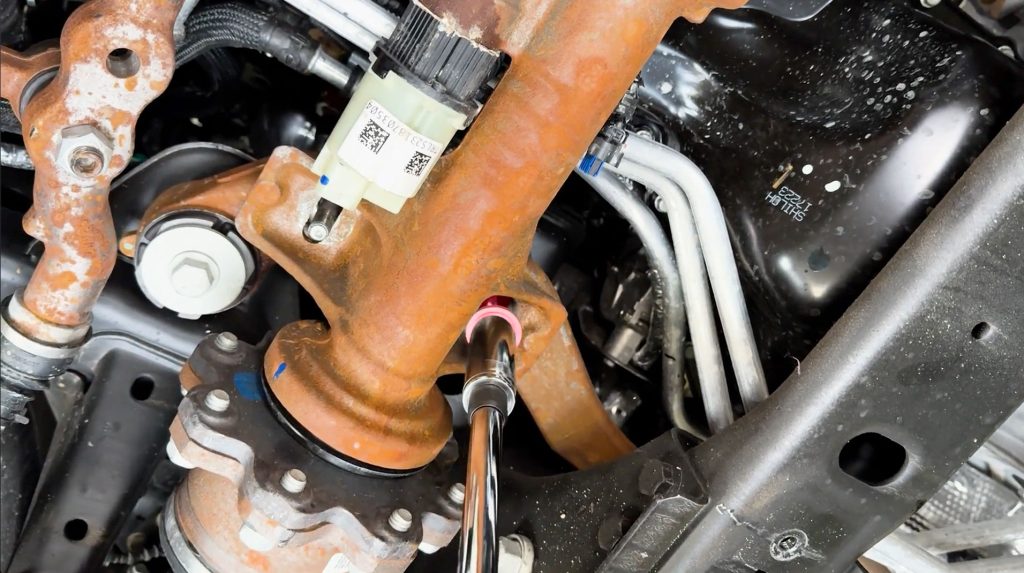
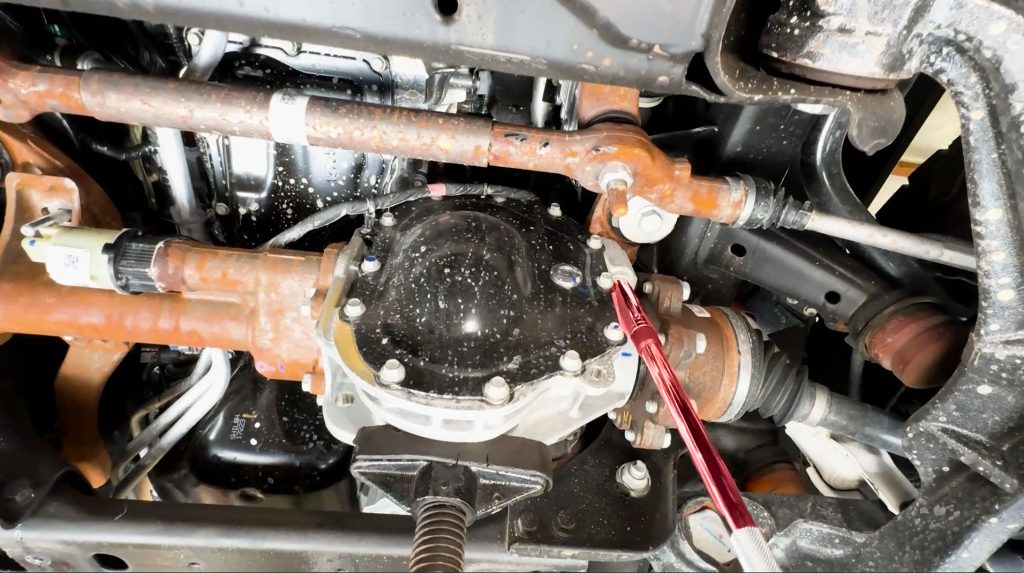
Located on the front differential casting, remove the two 15mm bolts on the driver’s side.
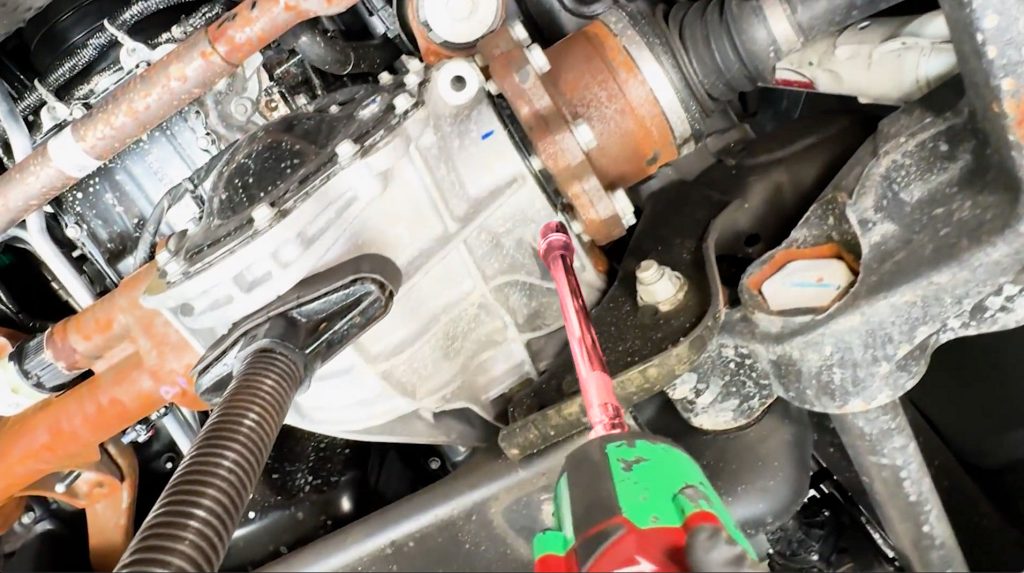
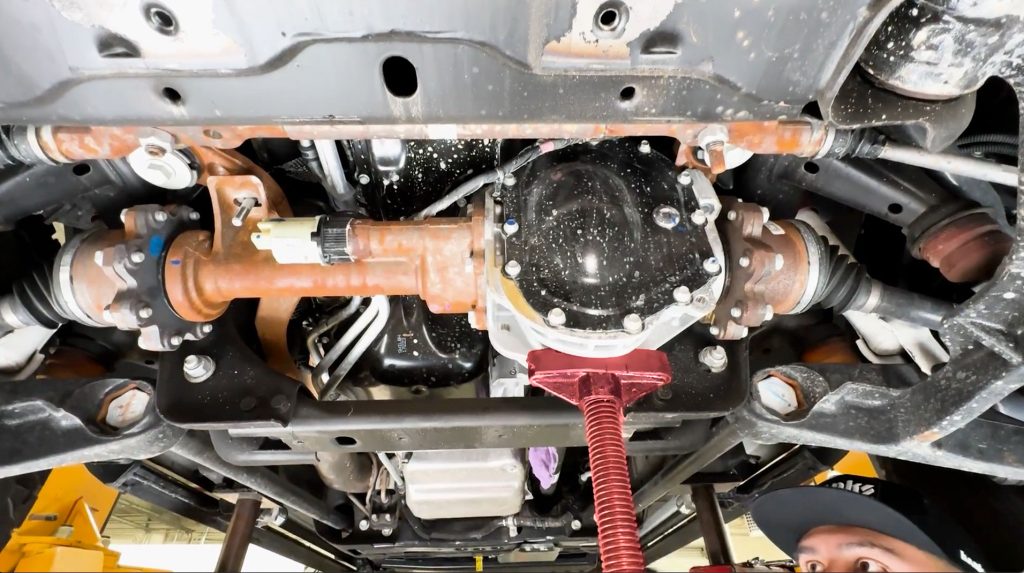
Carefully lower the front axel to provide additional clearance to reach the oil pan.
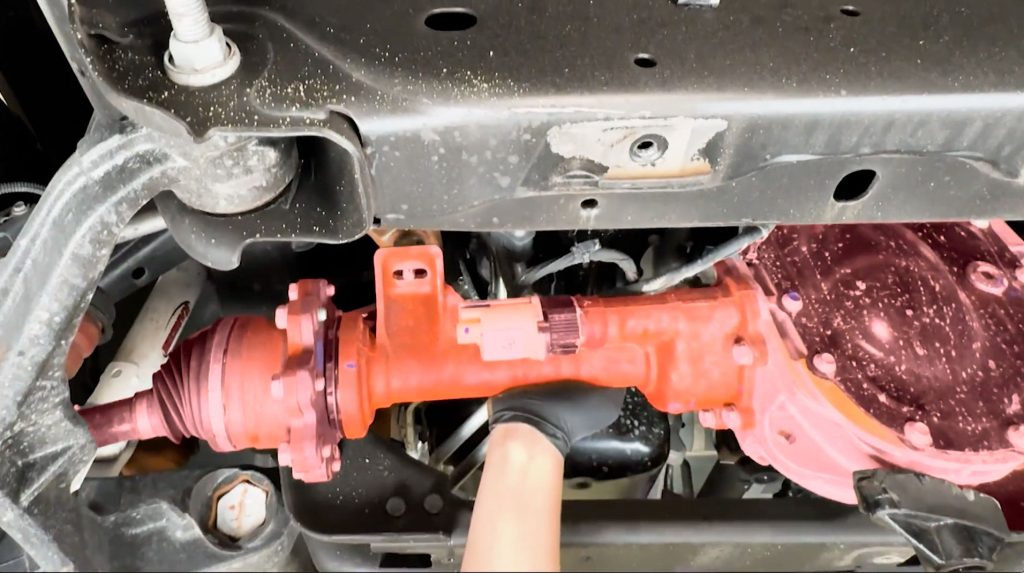
The front axle does not need to be fully removed; just lower it enough to access the bolts around the oil pan.
5) OEM Oil Pan Removal
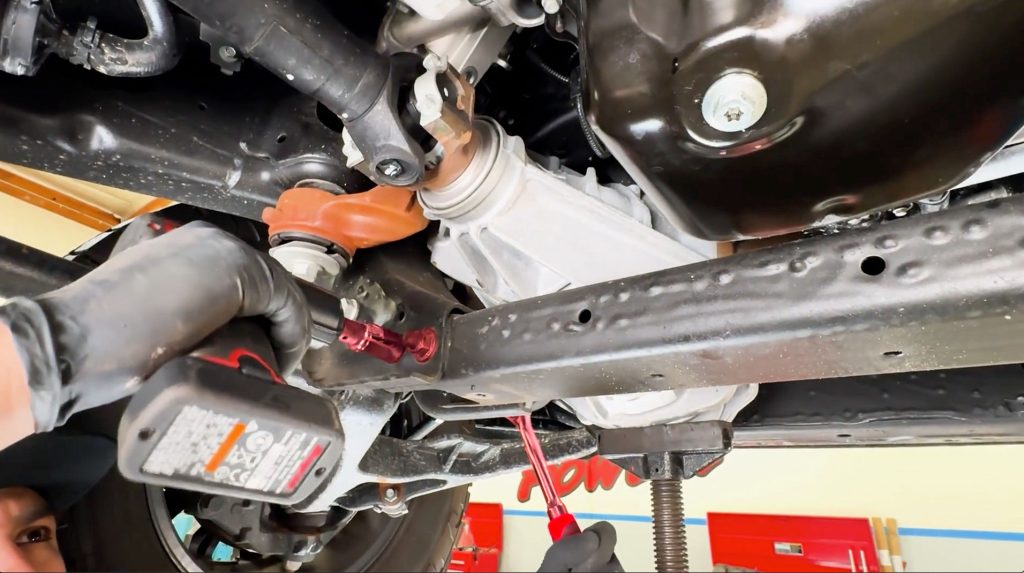
1. Remove the front cross brace
With an 18mm socket and ratchet on both ends, Remove the four bolts and nuts which mount the traction cross member.
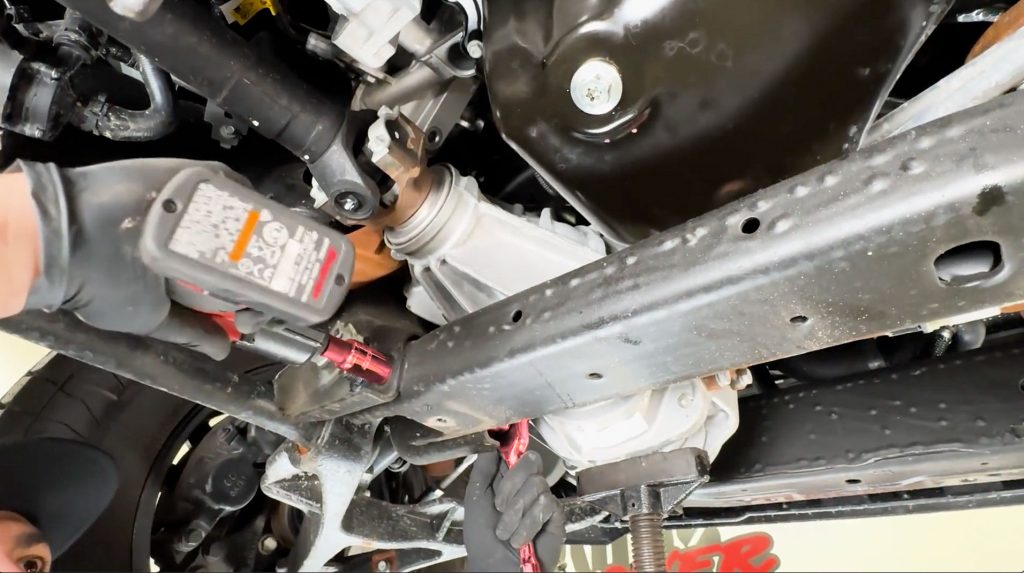
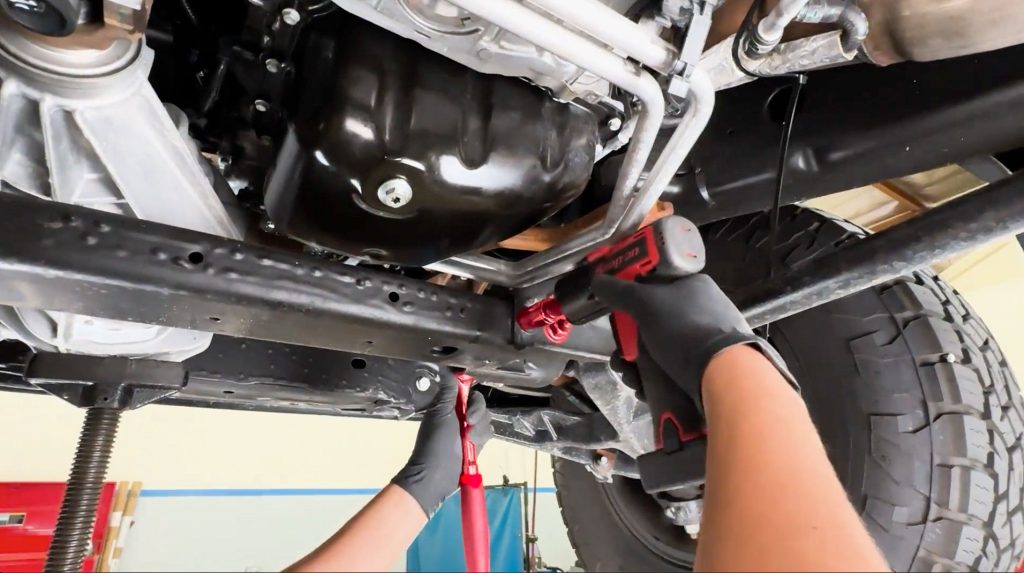
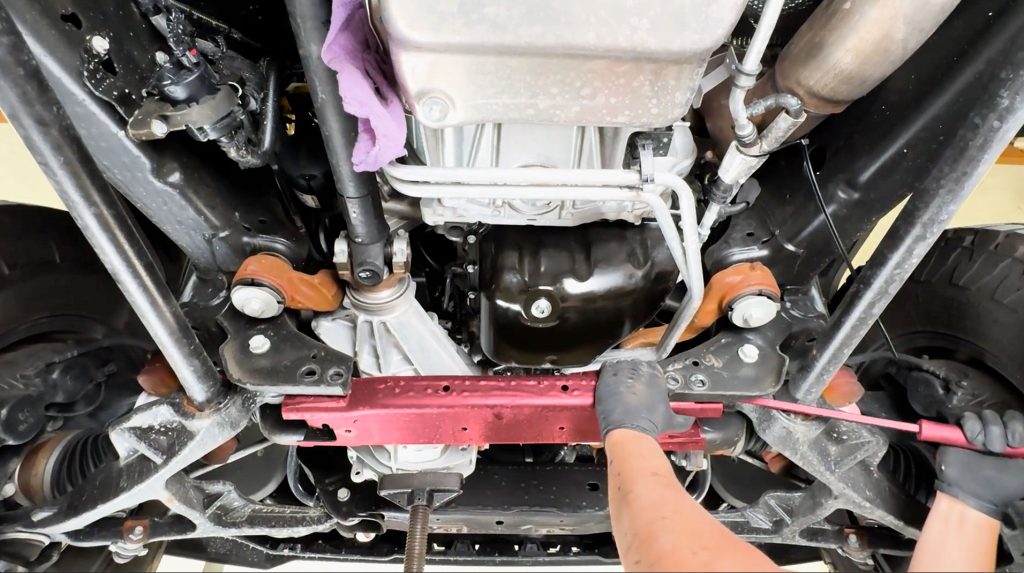
With all 4 bolts and nuts removed, use a pry bar or similar tool and remove the cross member. You may need to use the pry bar on both sides.
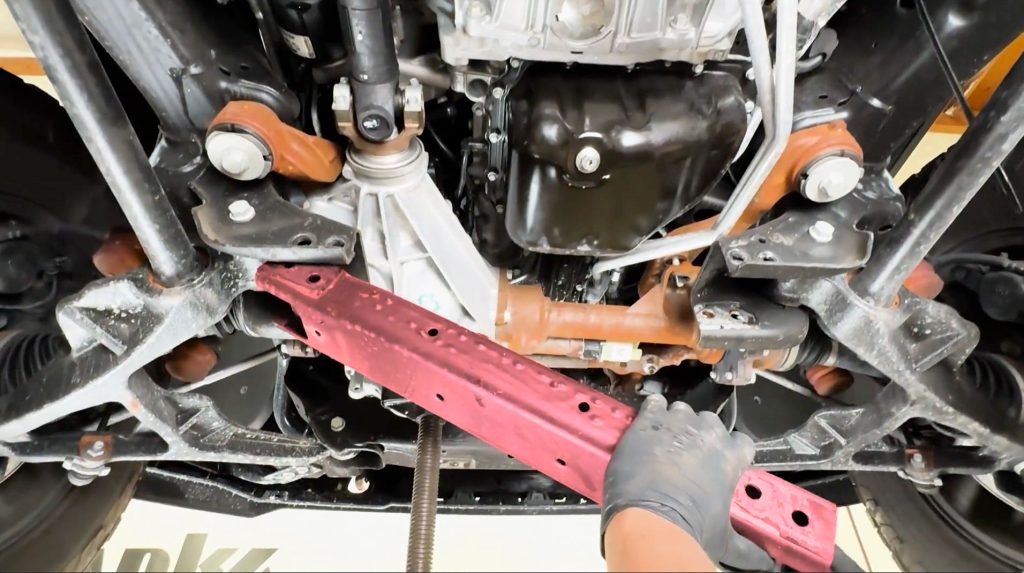
The cross member will swing down and can be moved out of the way for now.
Take note of the orientation of the cross member so you can keep it the same when you re-install it later.
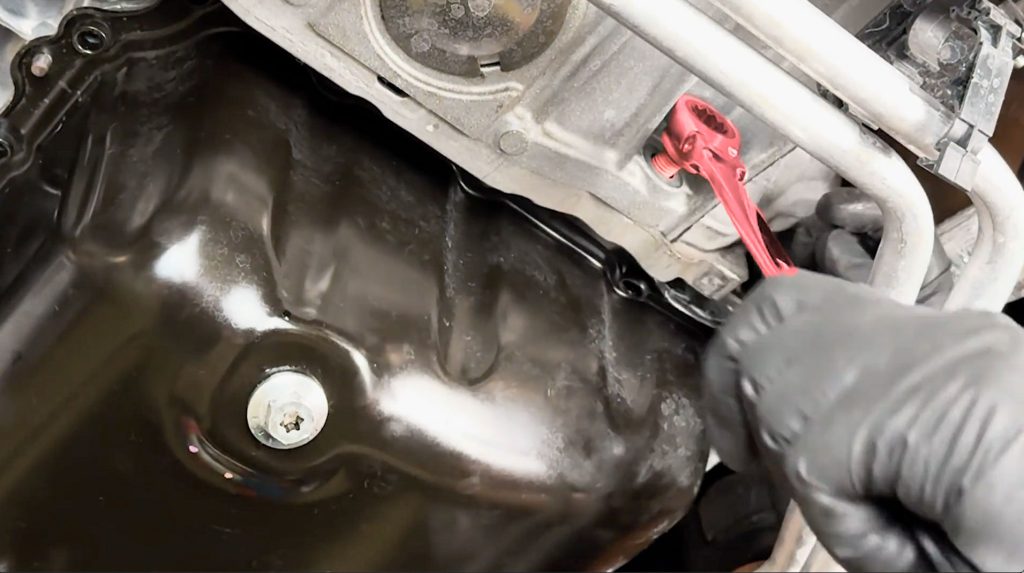
Remove the 15mm bolt from the transmission bell housing.
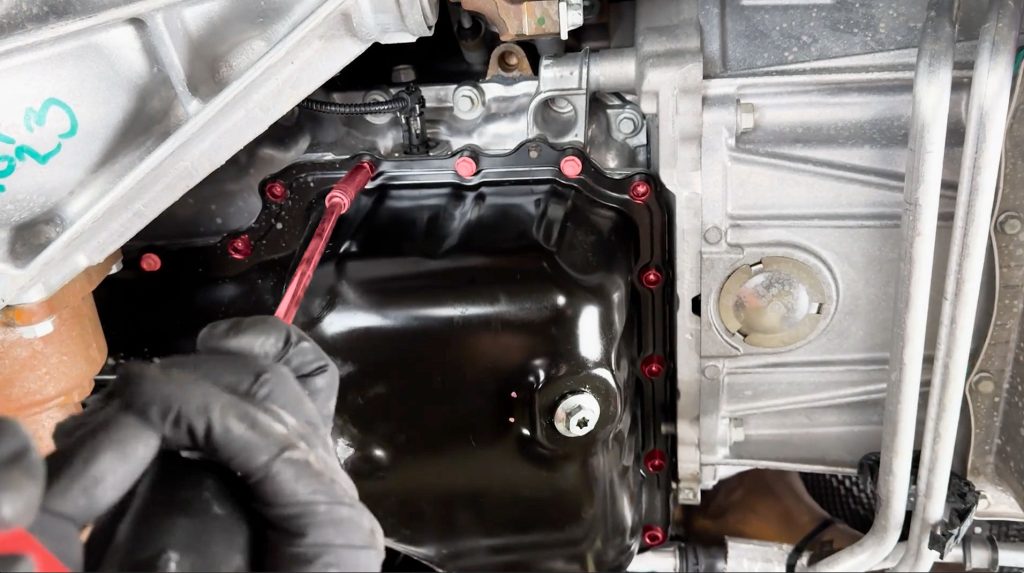
With everything now clear and out of the way, begin removing the 26 10mm oil pan bolts.
The lower pan is sealed with RTV, and will not fall down once unbolted from the upper pan.
The oil pan bolts do not have to be removed in any specific order.

The RTV used on the factory pan will need some encouragement to free itself from the engine. Use the supplied oil pan separator tool with your mallet.

Start on the rear right corner of the pan and take extra care. The cast upper oil pan can crack and fracture if too much stress is applied.
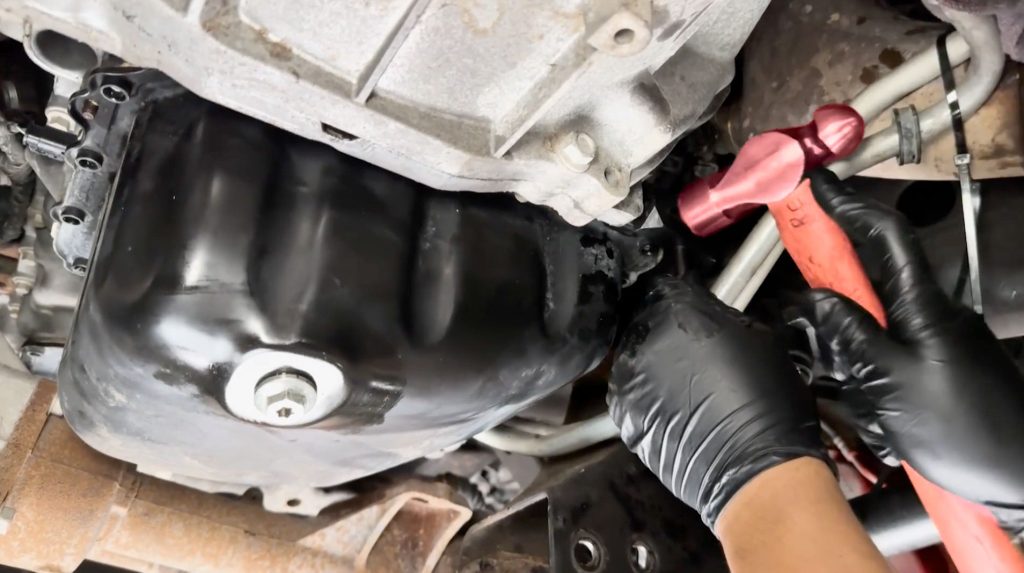
Hit the back of the separator tool to break the RTV seal.
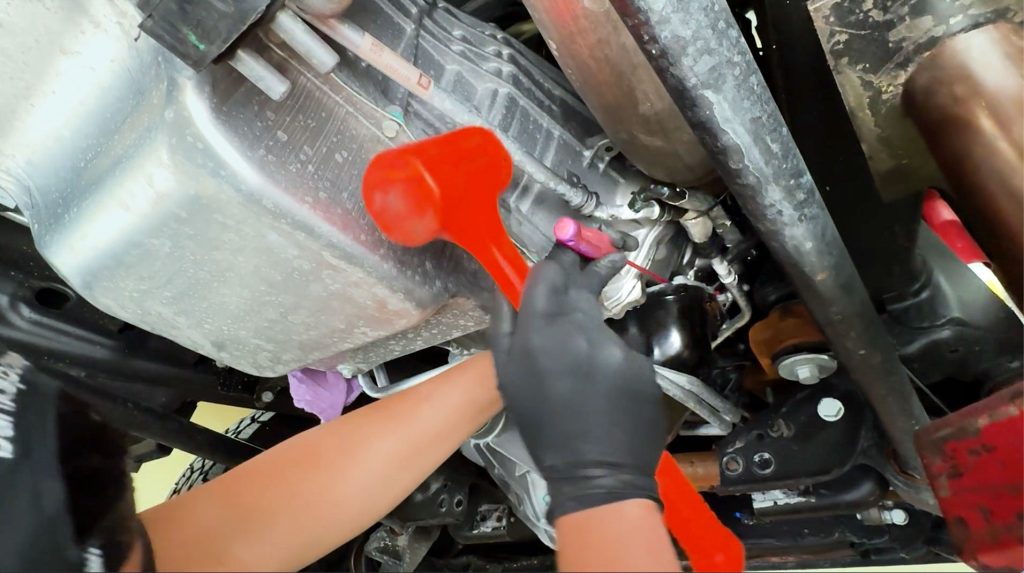
With care, use a small pry tool to start freeing the lower pan from the upper pan.
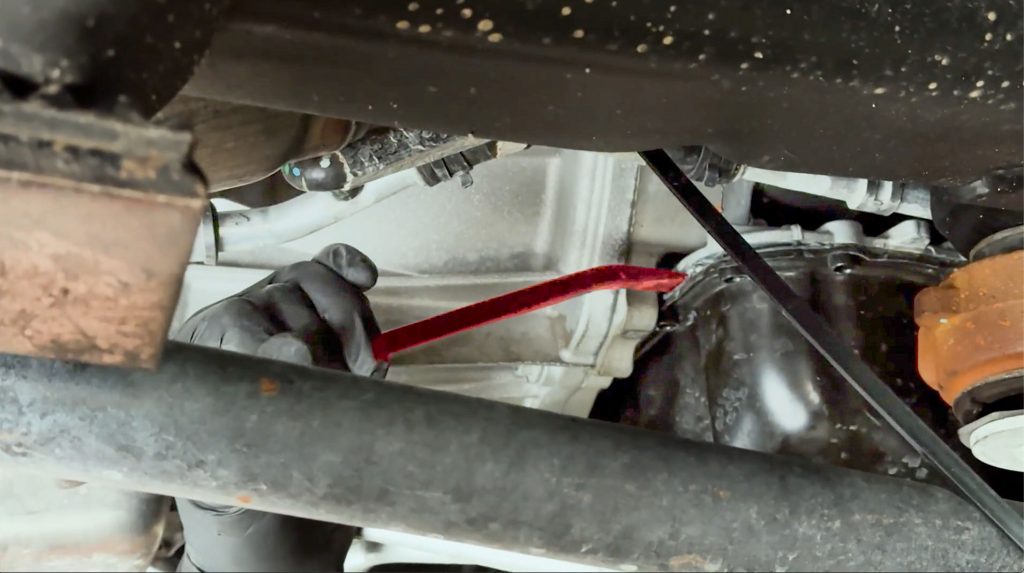
The lower factory pan is an expendable piece and will be bent by the time it is removed. Just be sure not to gouge or damage the upper cast pan during removal.
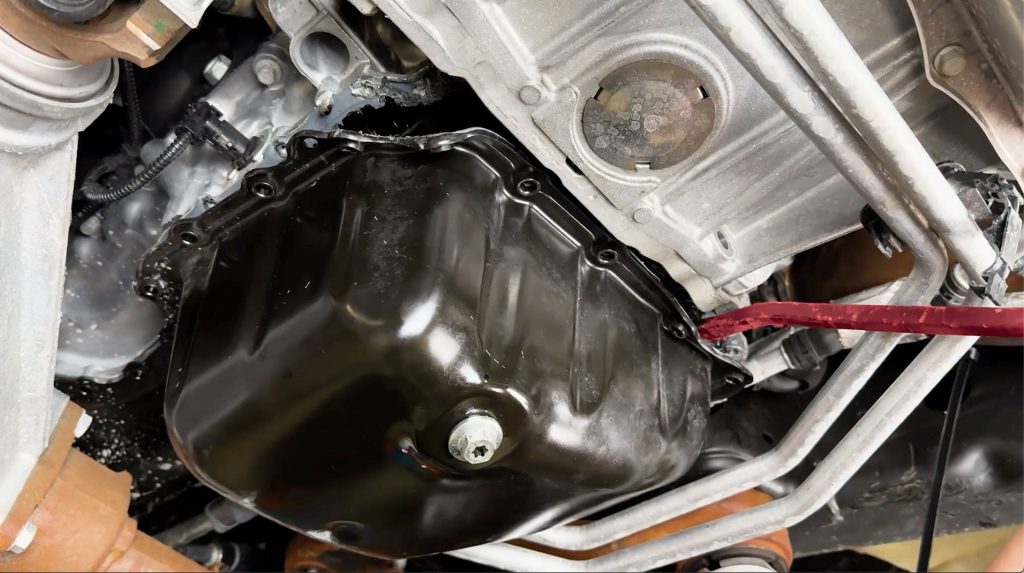
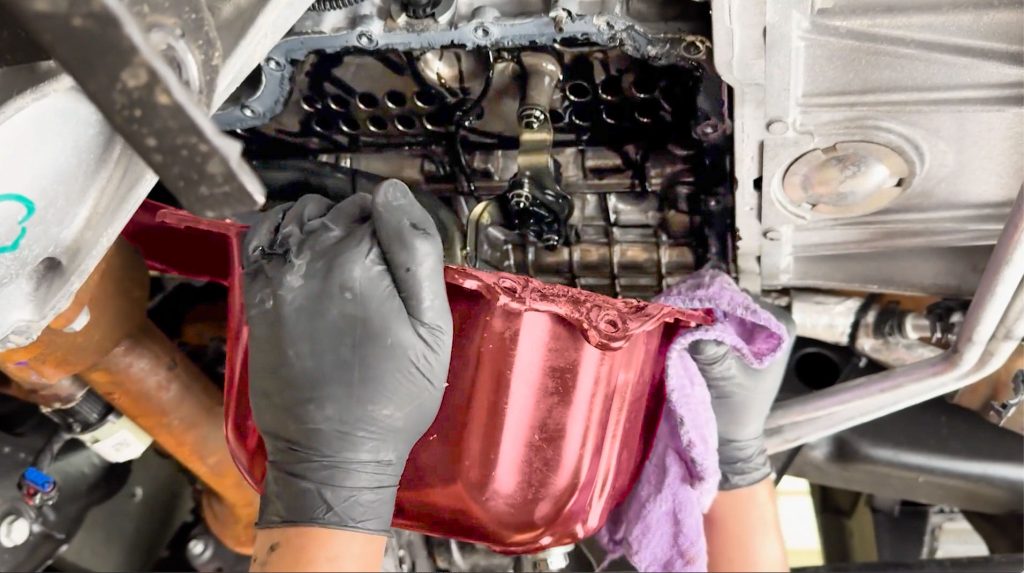
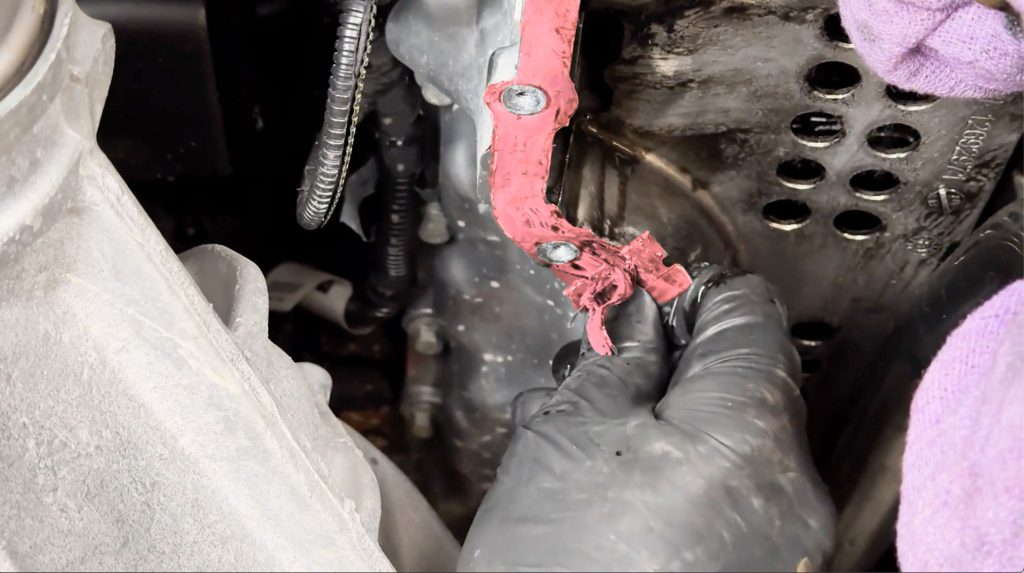
Once the factory pan has been removed, carefully remove any remaining RTV from the underside of the upper oil pan.
You want the mounting surface to be completely clean of any oil, dirt, and old gasket material.
Take care to not scratch the surface of the upper pan, as gauges can cause leaks. Take your time on this step.
6) CoolRunner Pan Preparation
To avoid tearing and fraying, apply a small amount of oil to the o-ring prior to installation of the drain plug. Snug down the drain bolt by hand, and do not exceed 23 lb-ft
O-Ring Size: 25mm I.D. x 2.5mm C.S. FKM (Viton)
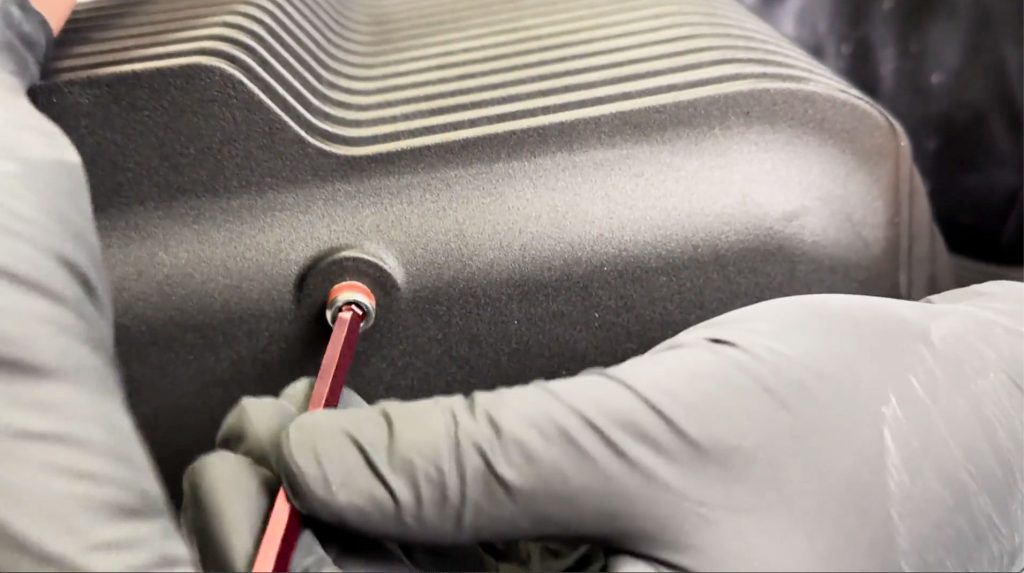
Thread in the 1/8NPT plug with a 5mm Alan hex key and ferrite drain plug into the CoolRunner Oil Pan.
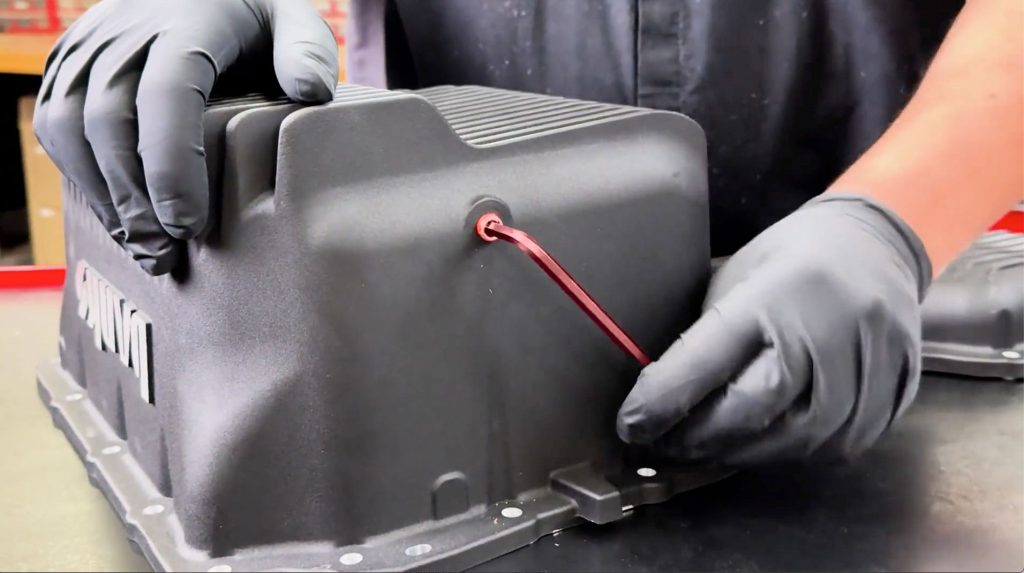
The plug should be snug, don’t over tighten it.
Prepare the supplied RTV tube with a box cutter and place the RTV into the calking gun.
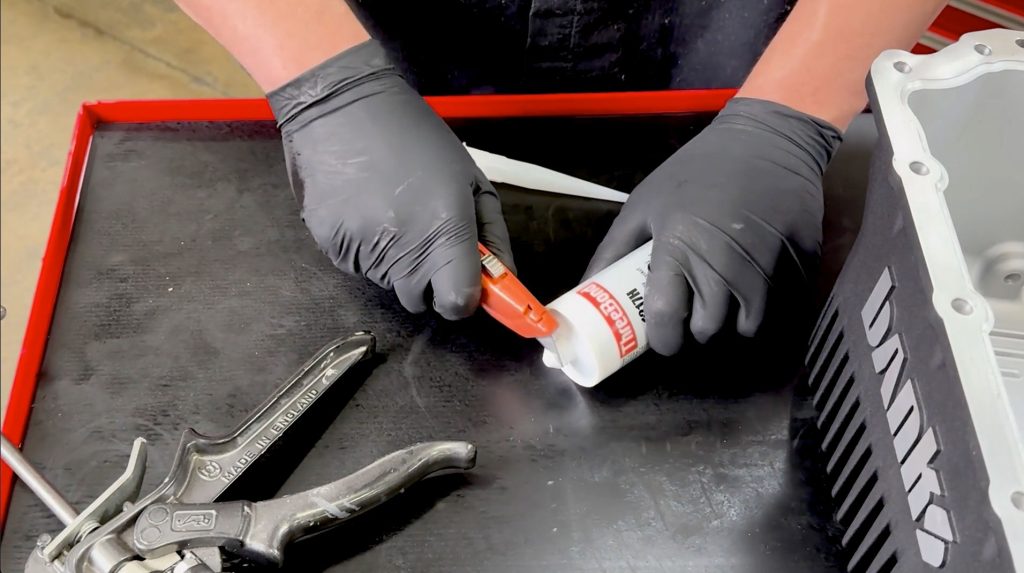
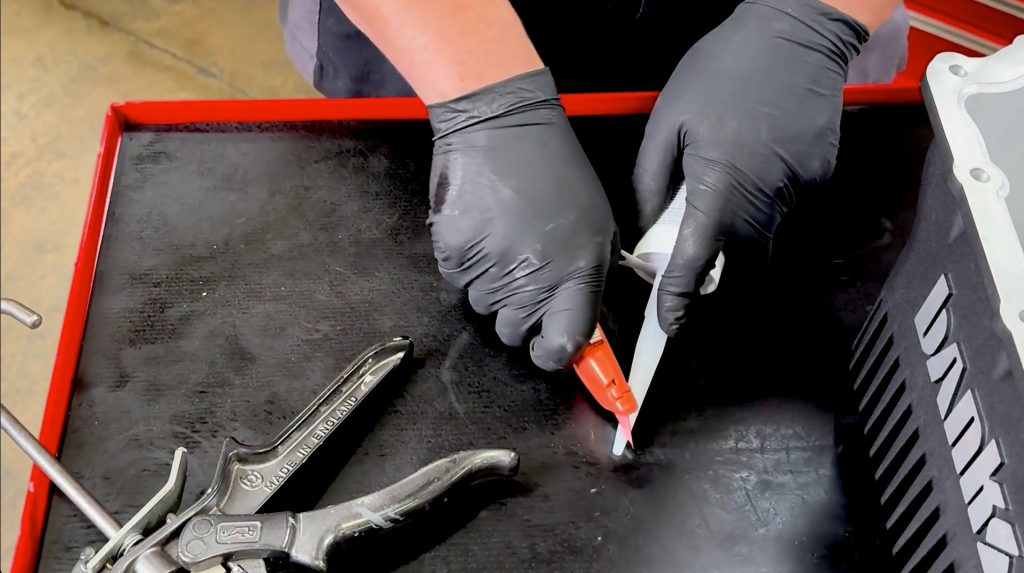
This next step is easier with a second pair of hands. Have someone keep the oil pan level as you start your bead. The RTV will begin to cure so try to keep moving and rotate the pan as you lay the bead down.
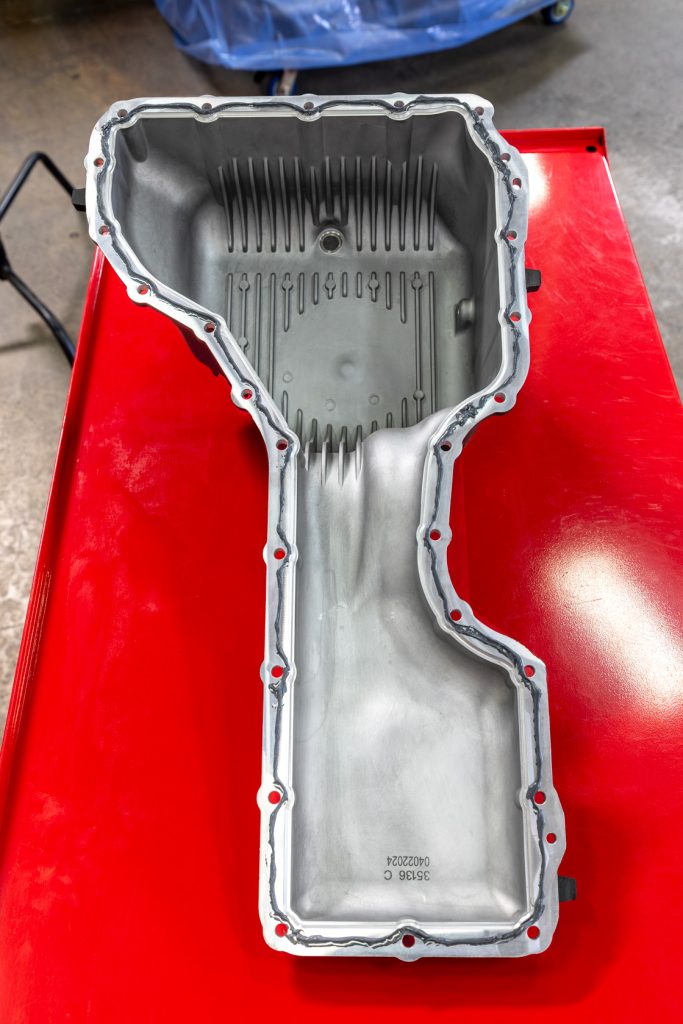
Carefully run a 1/4″ bead of RTV along the inboard side of the pan mating surface, highlighted in red. There is a squeeze gap to help catch and ball up the excess.
Once installed, allow RTV to cure for 24 hours before adding oil.
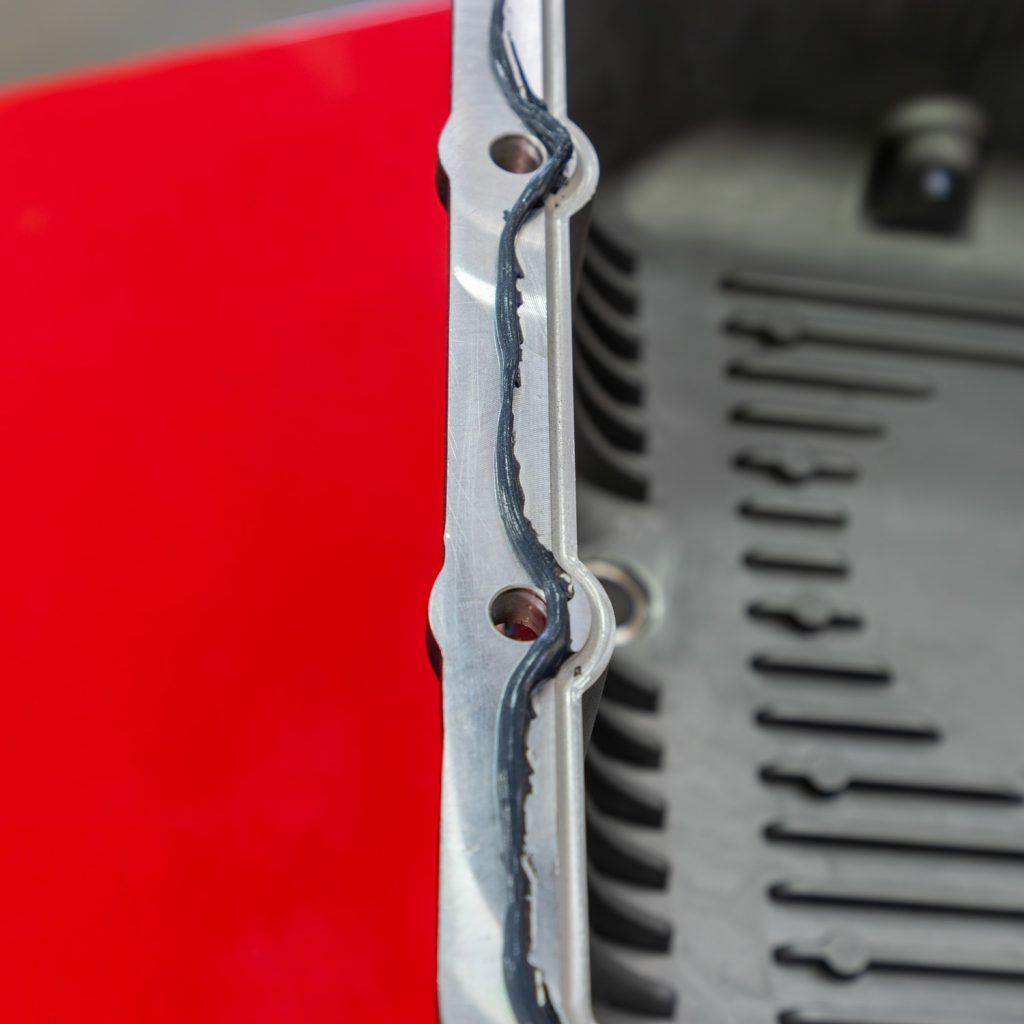
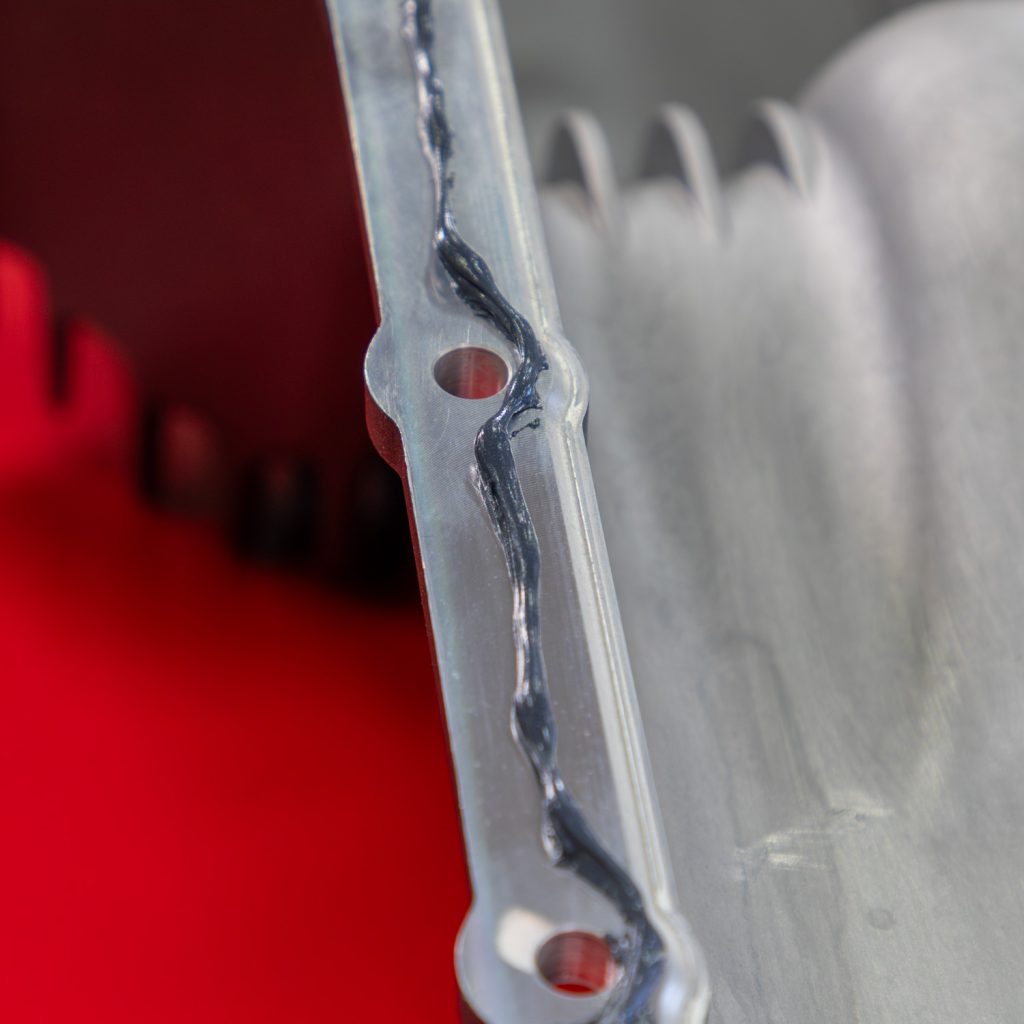
7) CoolRunner Pan Installation
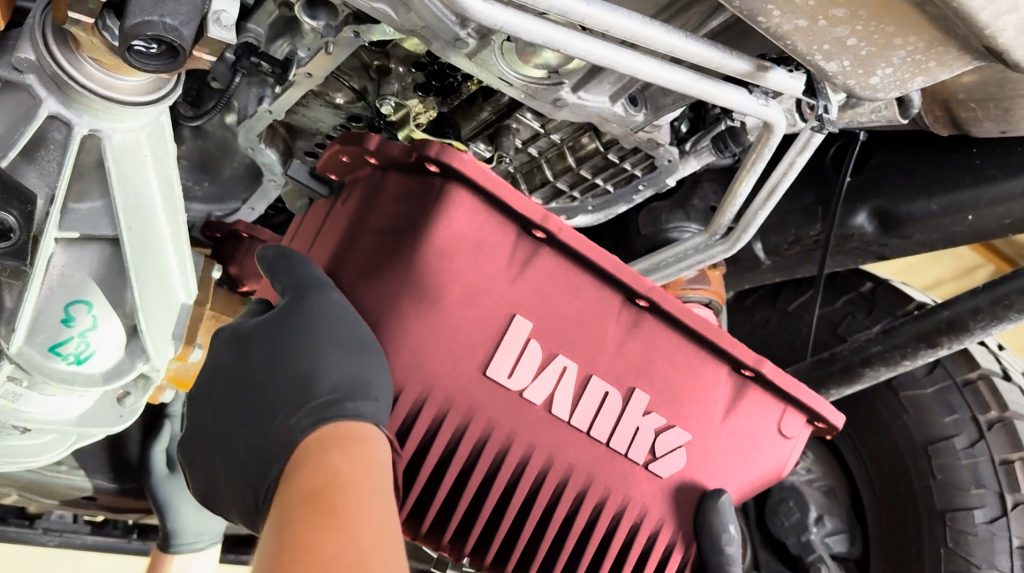
Carefully maneuver the CoolRunner up under the truck and into position. Take care not to disturb the RTV bead.
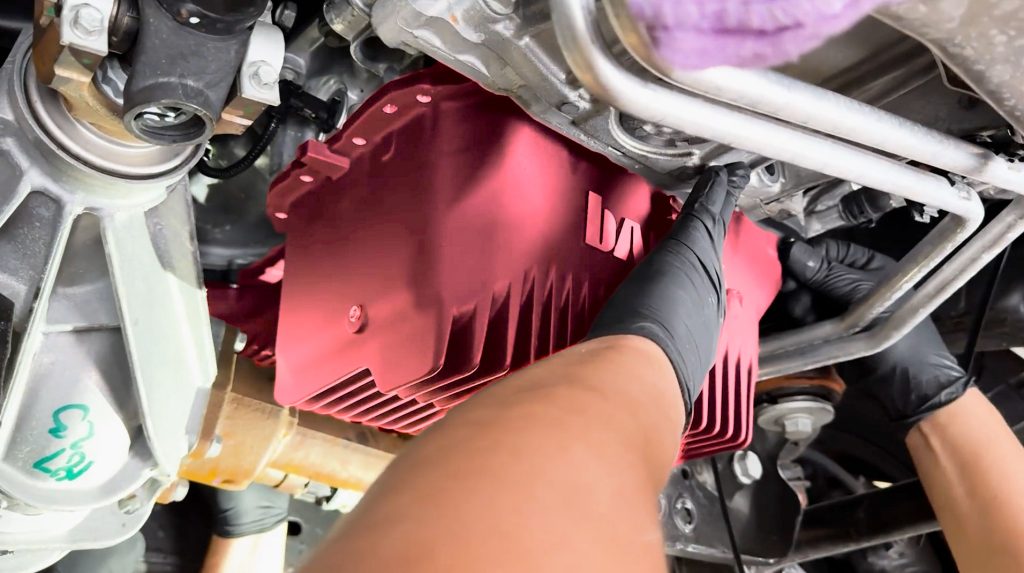
Thread a few of the perimeter bolts in by hand to align and level the pan. But don’t fully tighten yet.
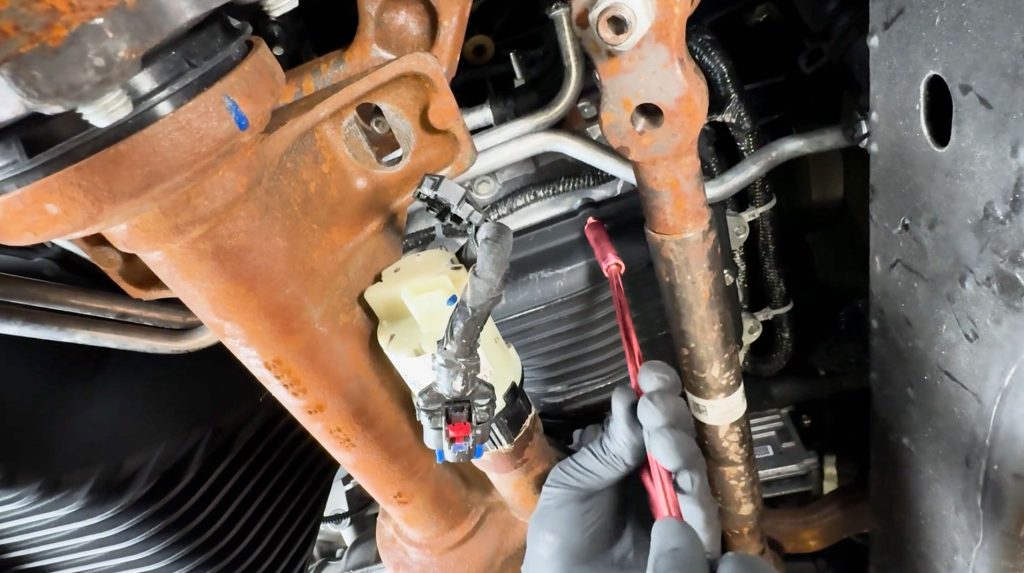
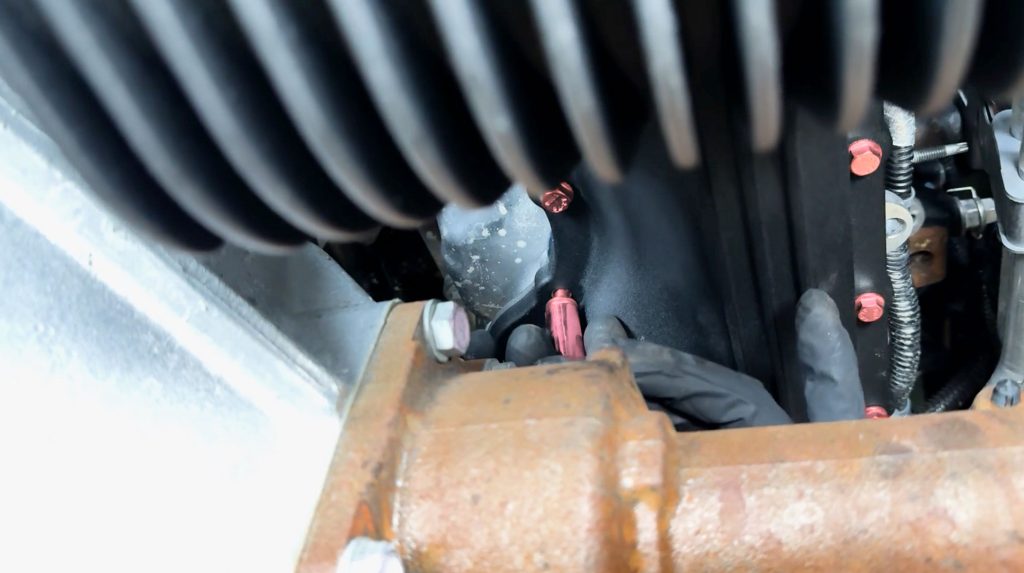
Once all the bolts are in, tighten in the sequence shown to ensure the pan is full sealed.
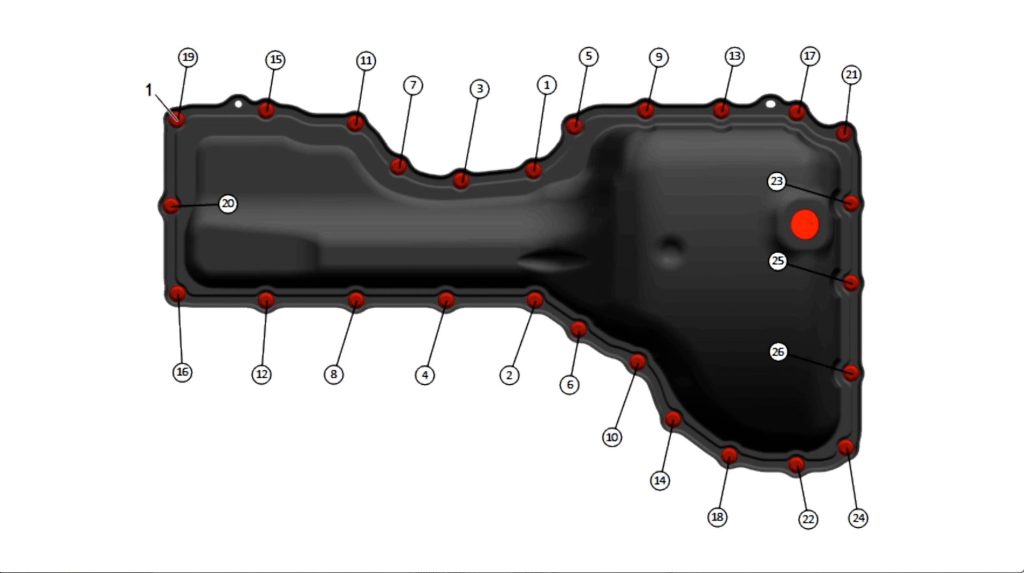
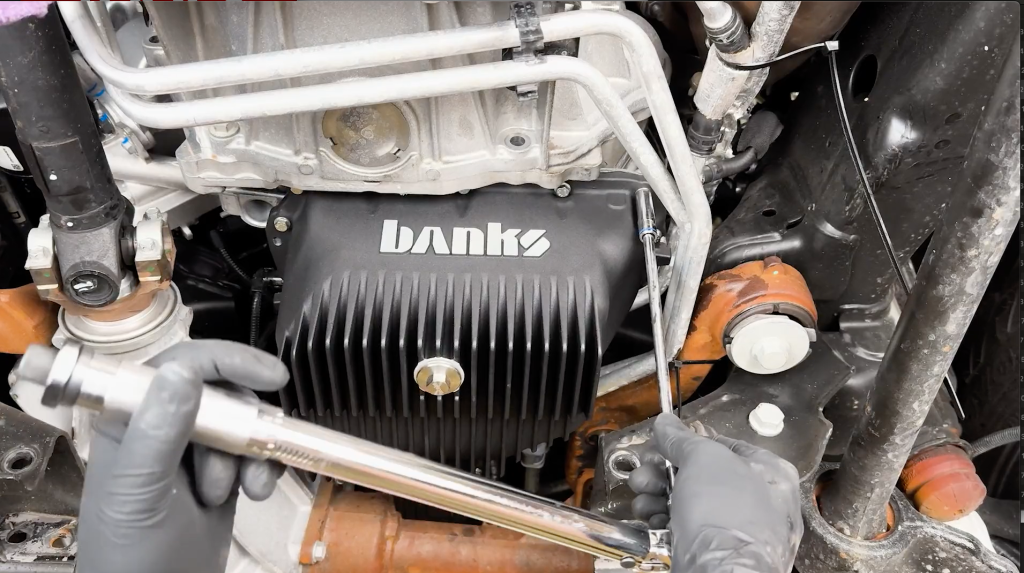
Once all the bolts have been threaded, torque them to 89 in-lbs
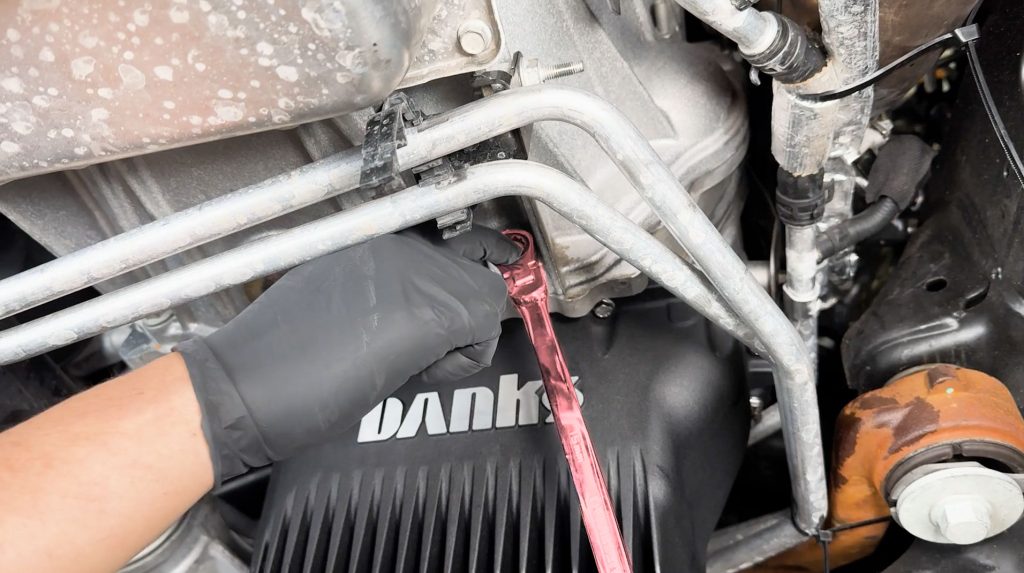
Install the new supplied 15mm bolt into the transmission.
8) Reconnect Transmission Lines
With a pair of snips, free up the transmission lines you zip-tied out of the way earlier.
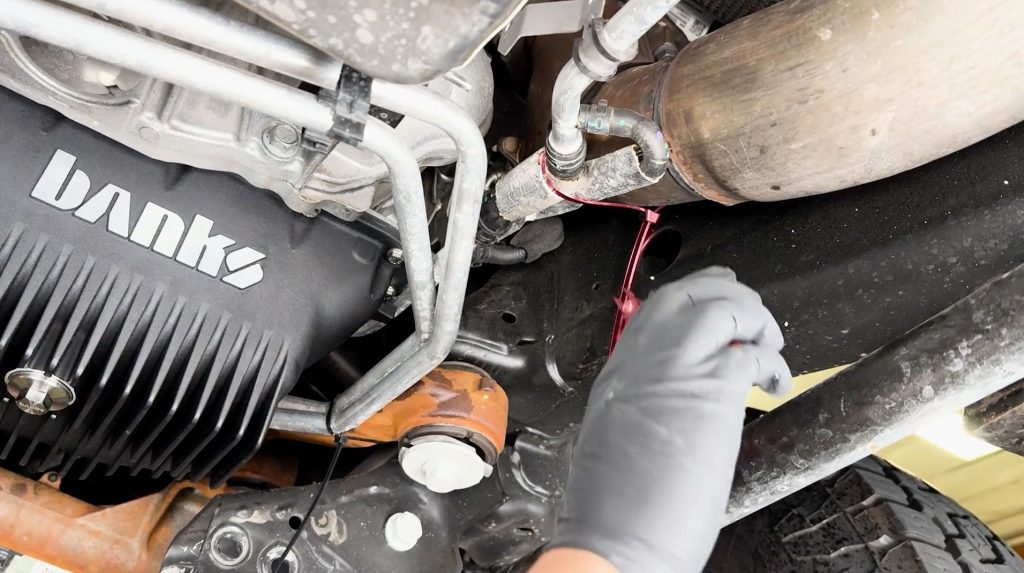
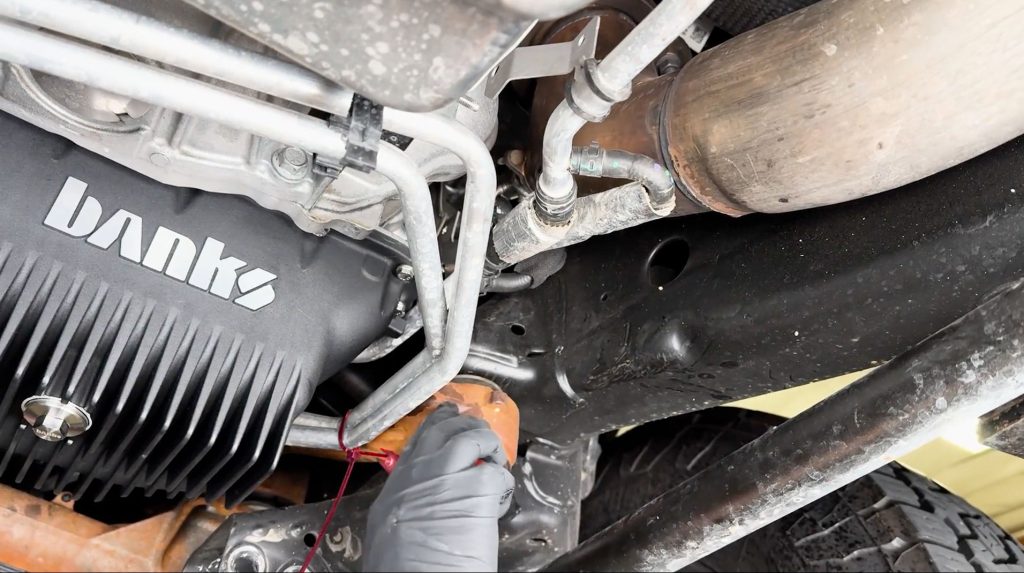
Re-connect the transmission cooler lines to the transmission with the 13mm bolt.
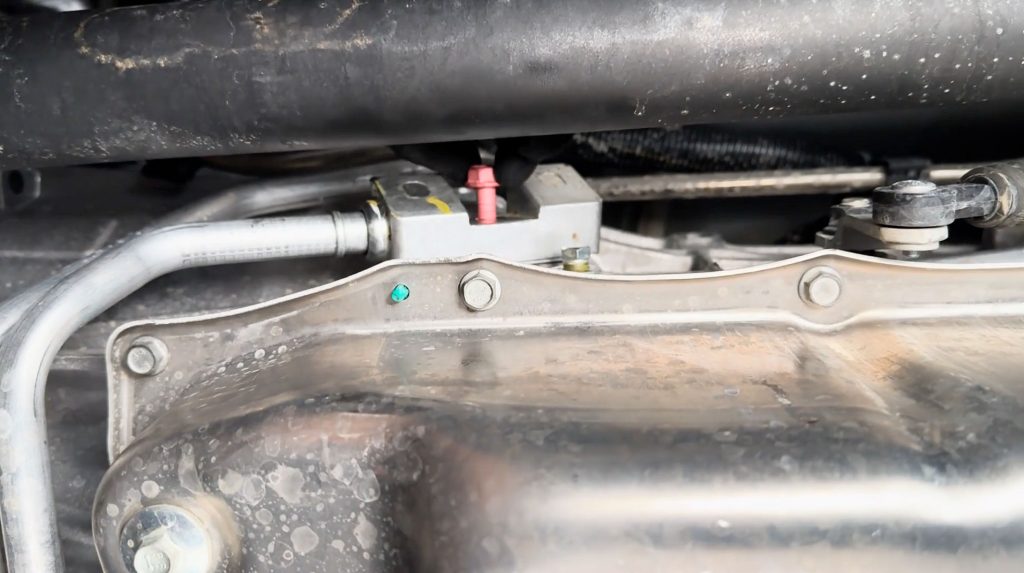
Re install the transmission line bracket.
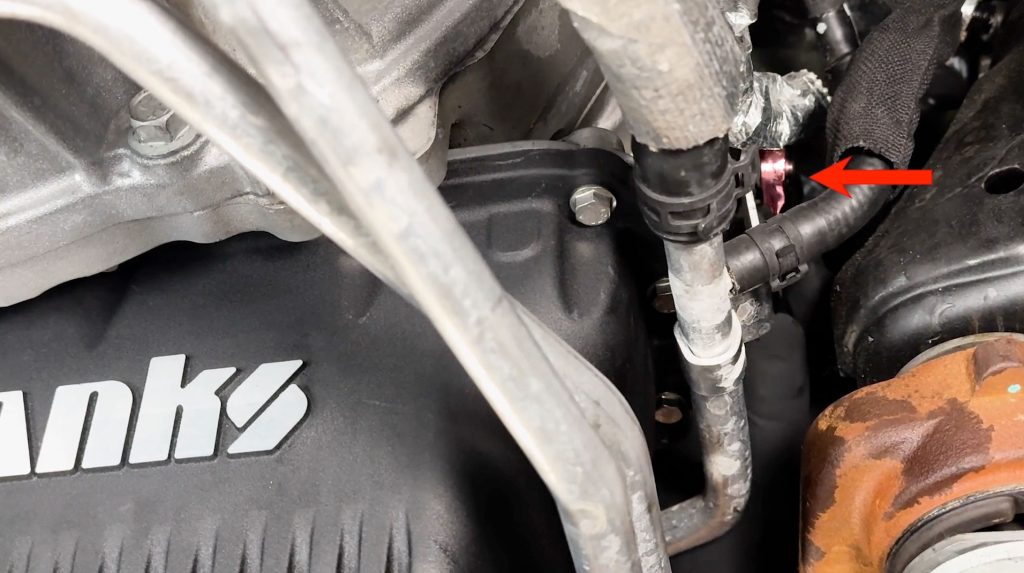
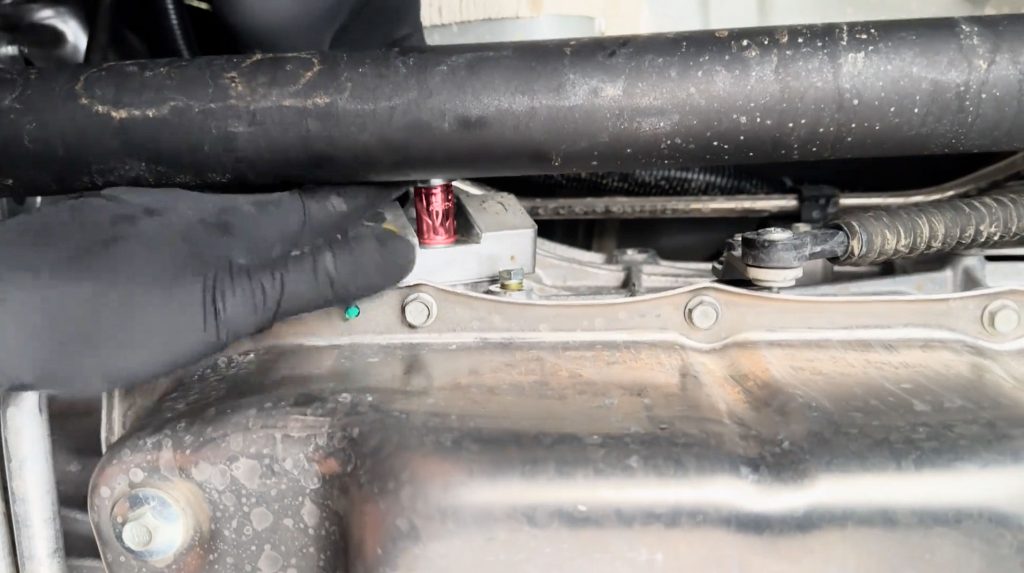
Re install the transmission line bracket.
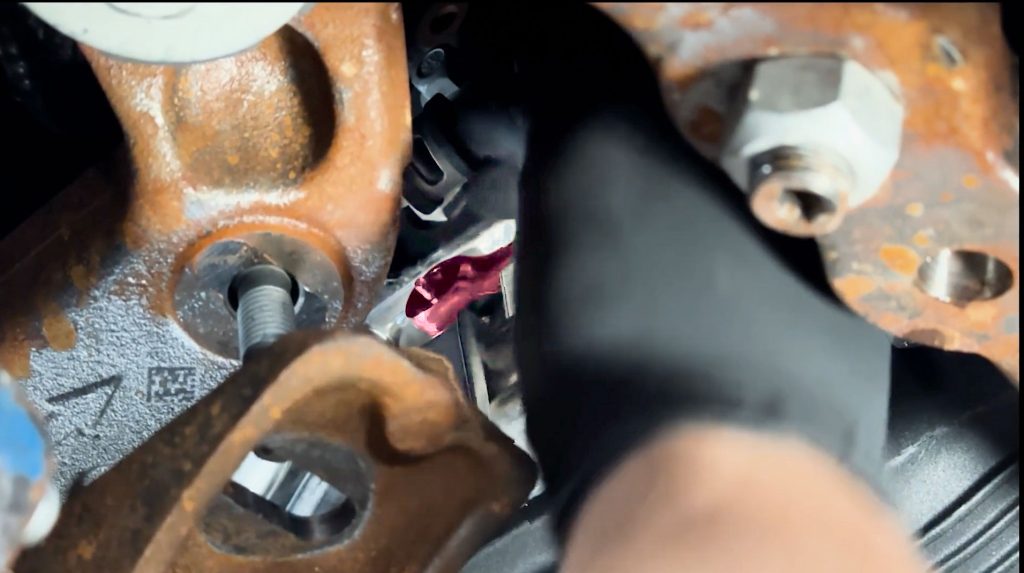
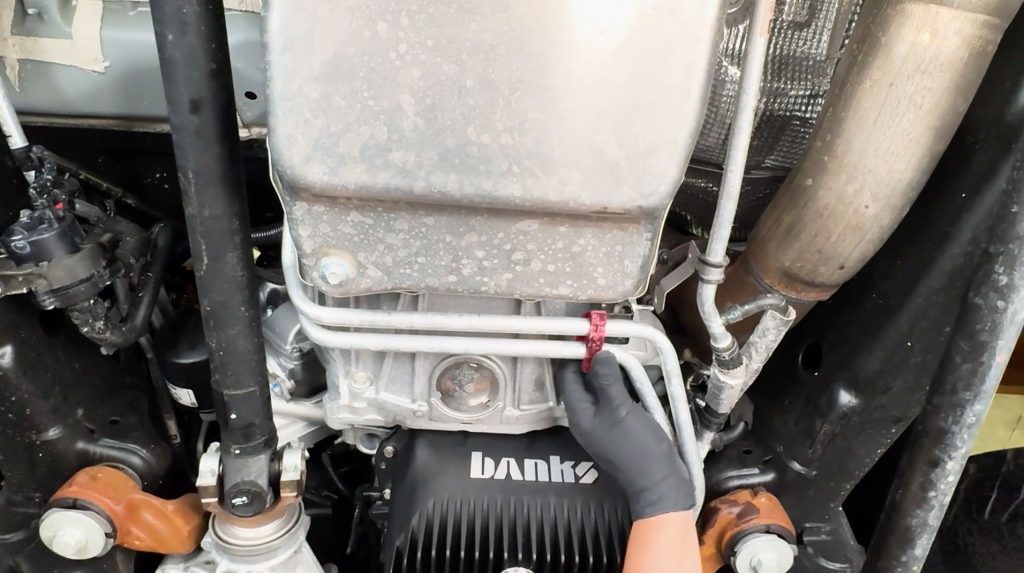
Re install the transmission line bracket.
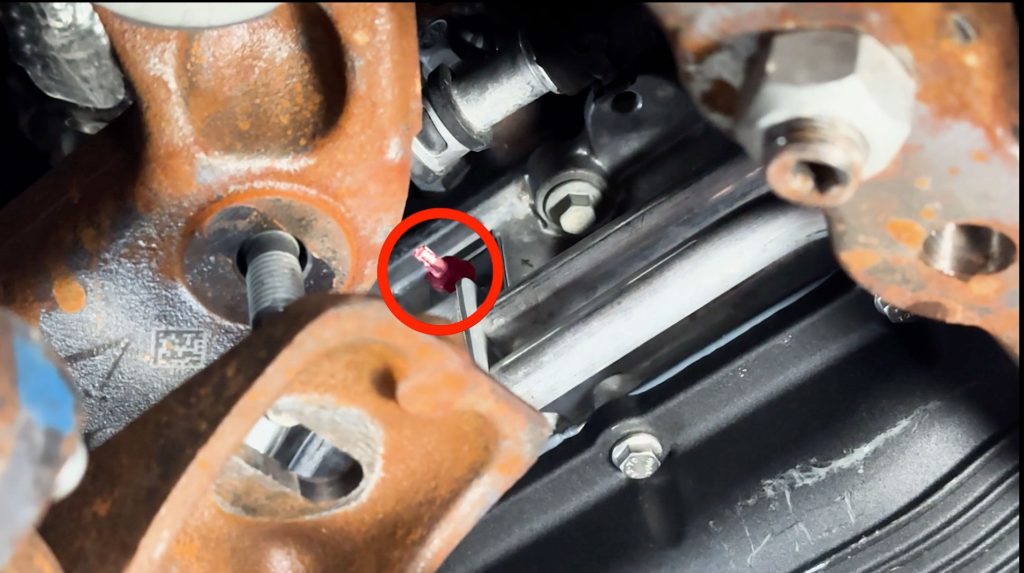
Re install the transmission line bracket.
8) Front Axle
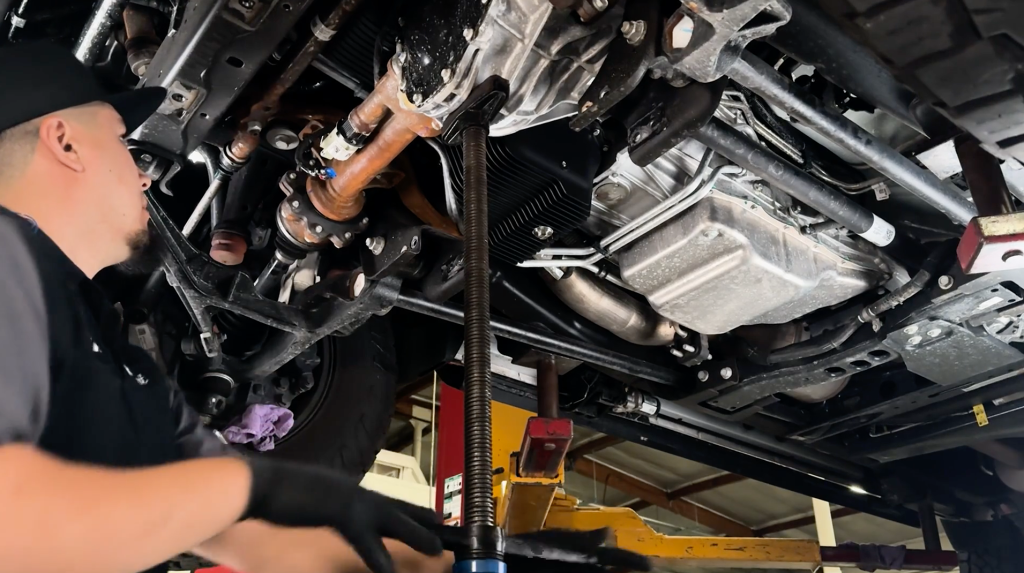
Raise the axle back up with your floor jack, and align the bolts.
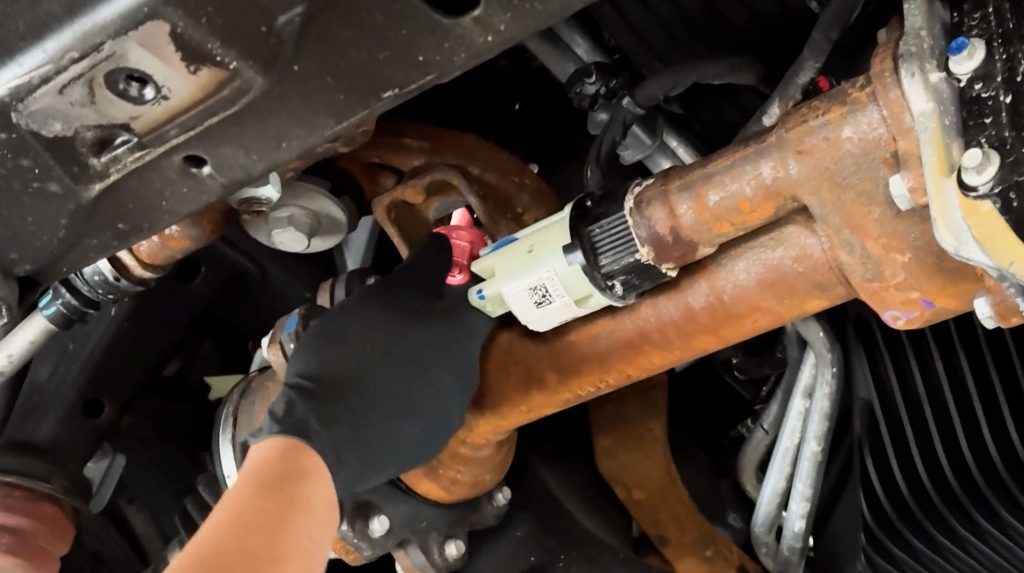
Start threading the bolts back in for the front axle.
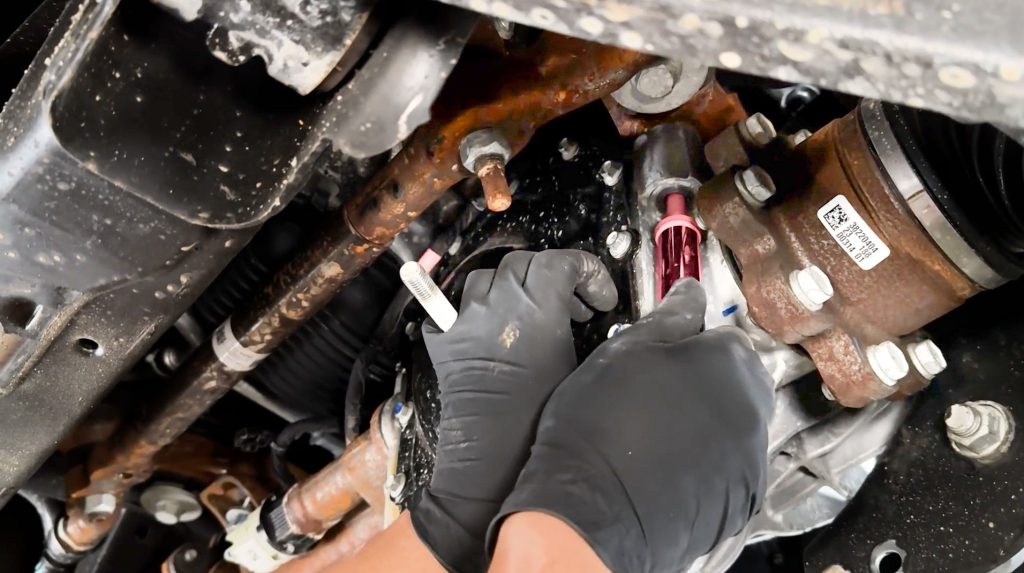
Continue on the other side.
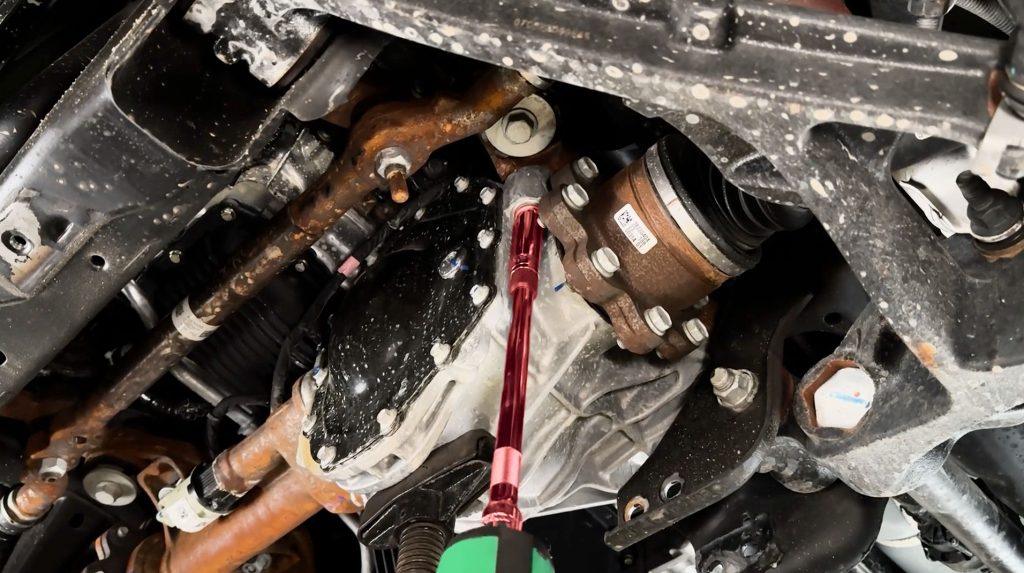
Use an impact gun to tighten.
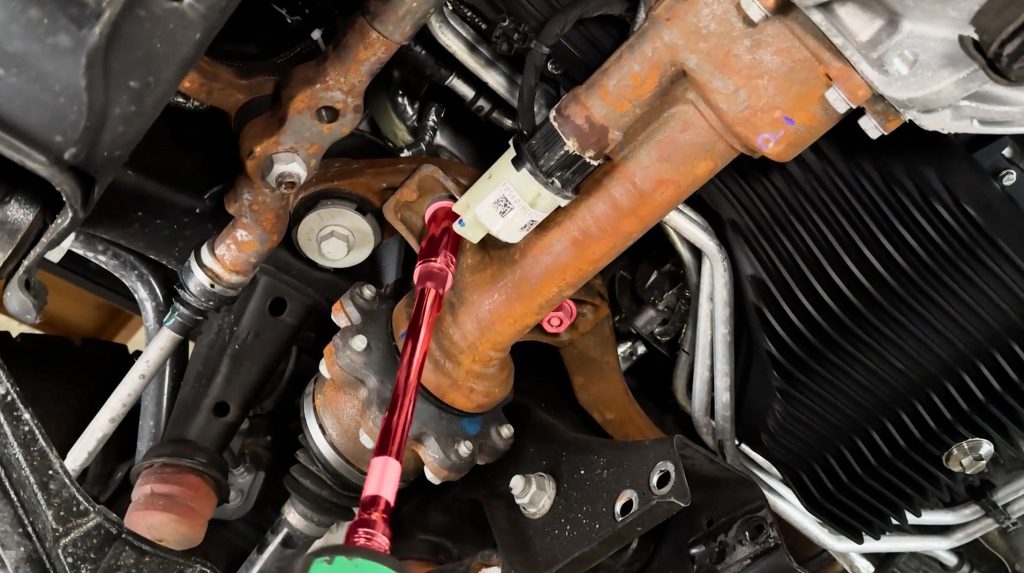
Continue with the other side.
8) Cross Member and Splash Shield
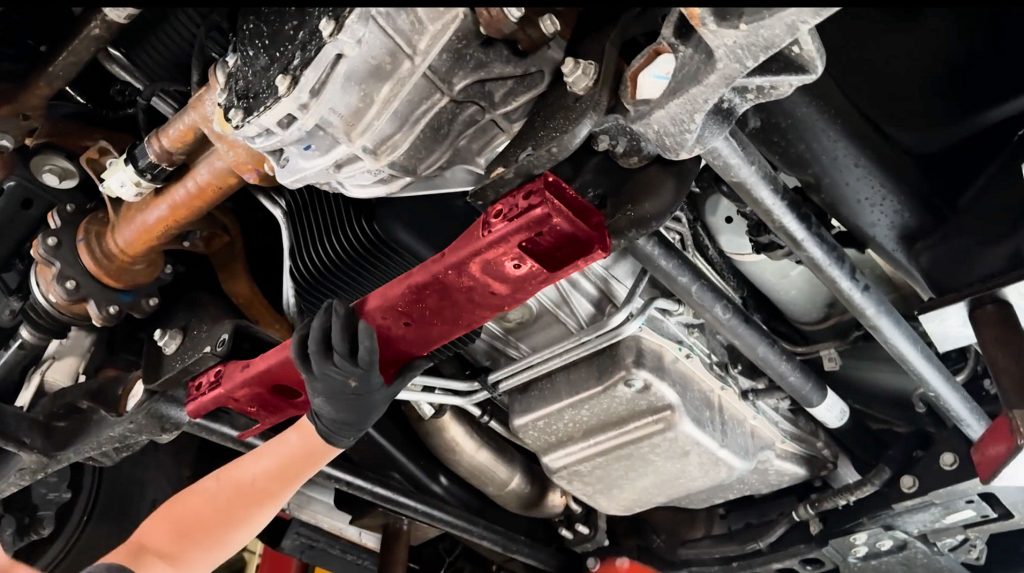
Line up the front cross member and thread the OE Bolts and Nuts back in place. A mallet may be used.
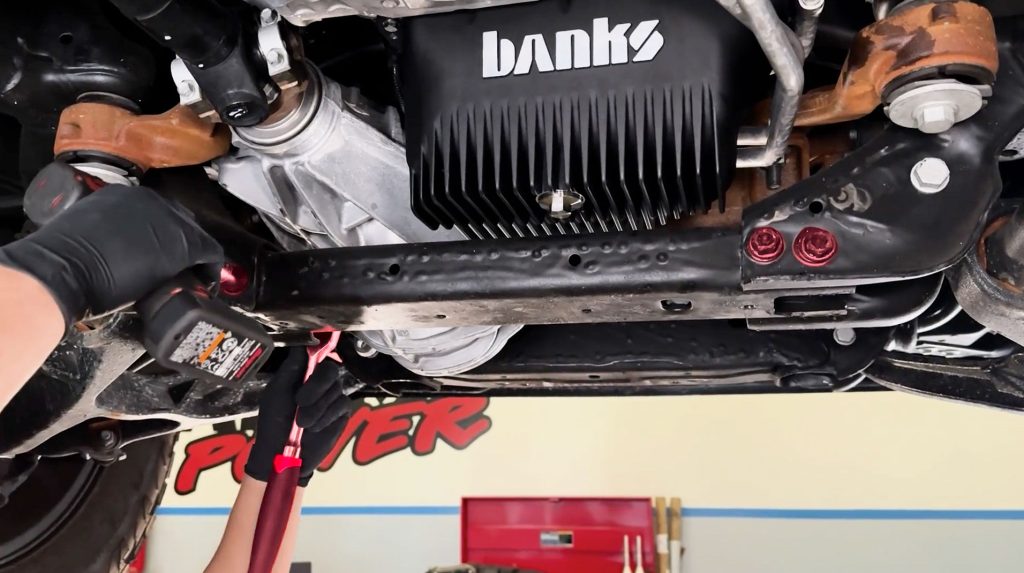
Start the nuts and bolts by hand.
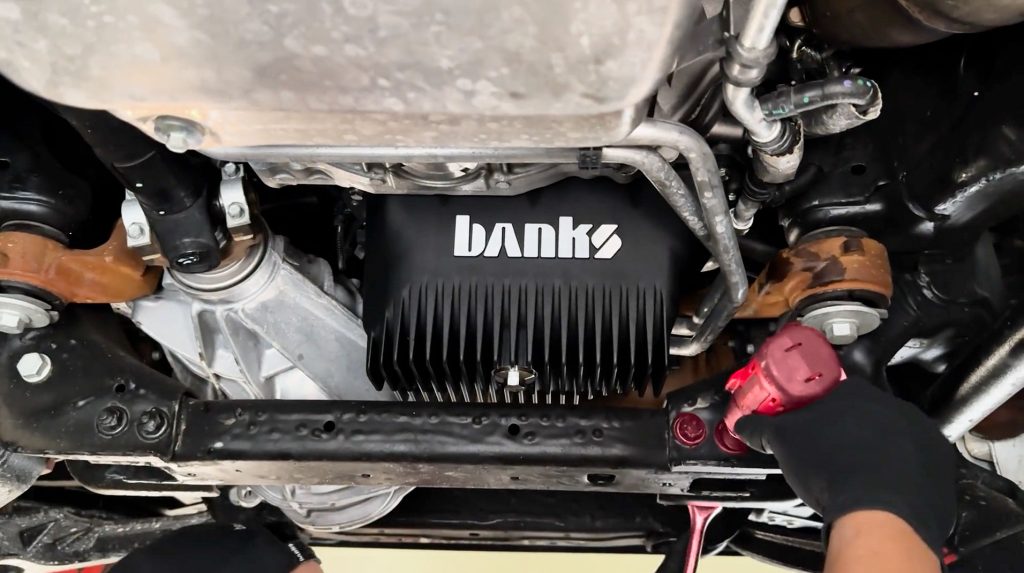
Use your impact 18mm impact and socket to clamp the cross member back into place.
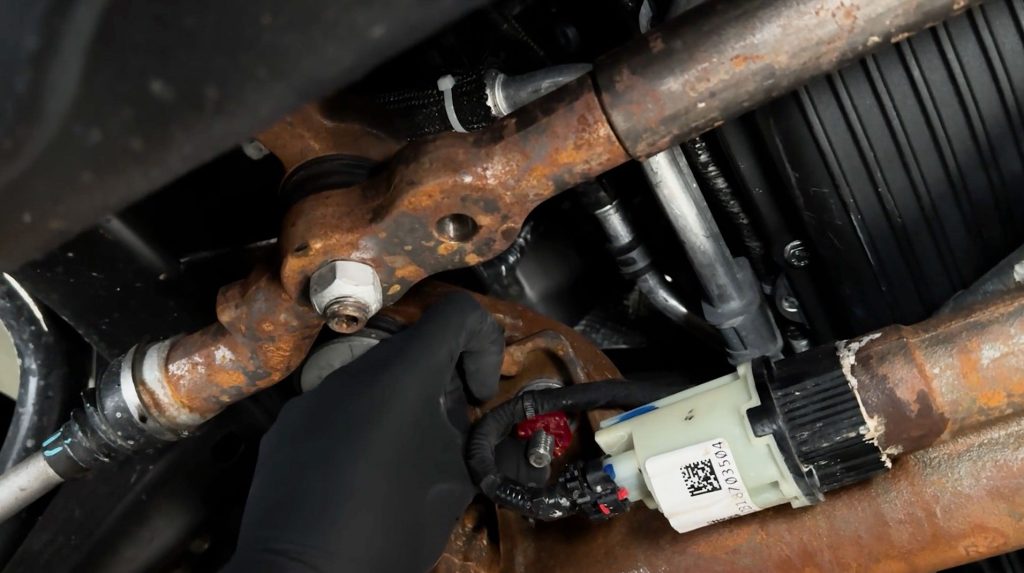
Reconnect the electronic power steering harness and clip it back in place.
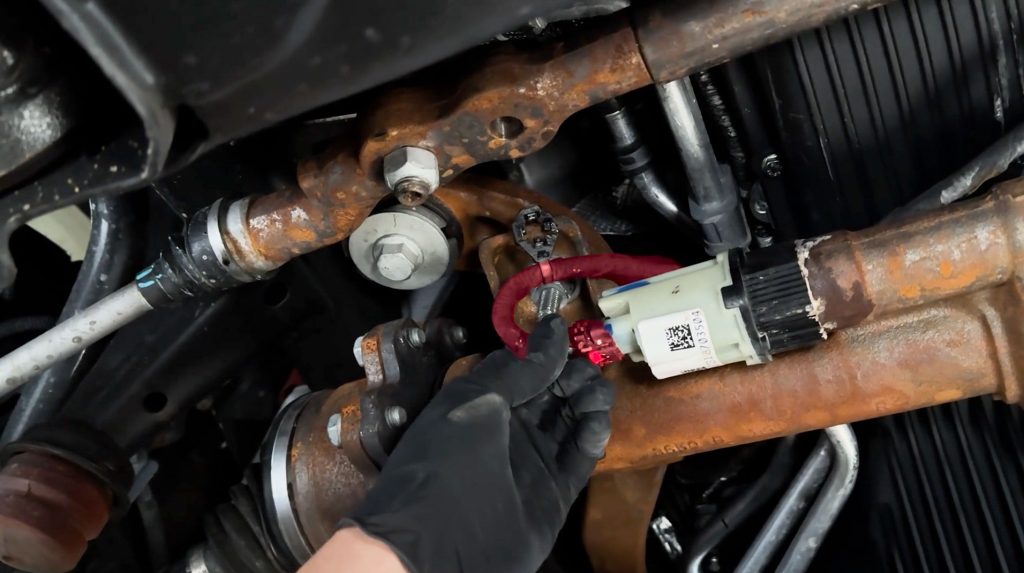
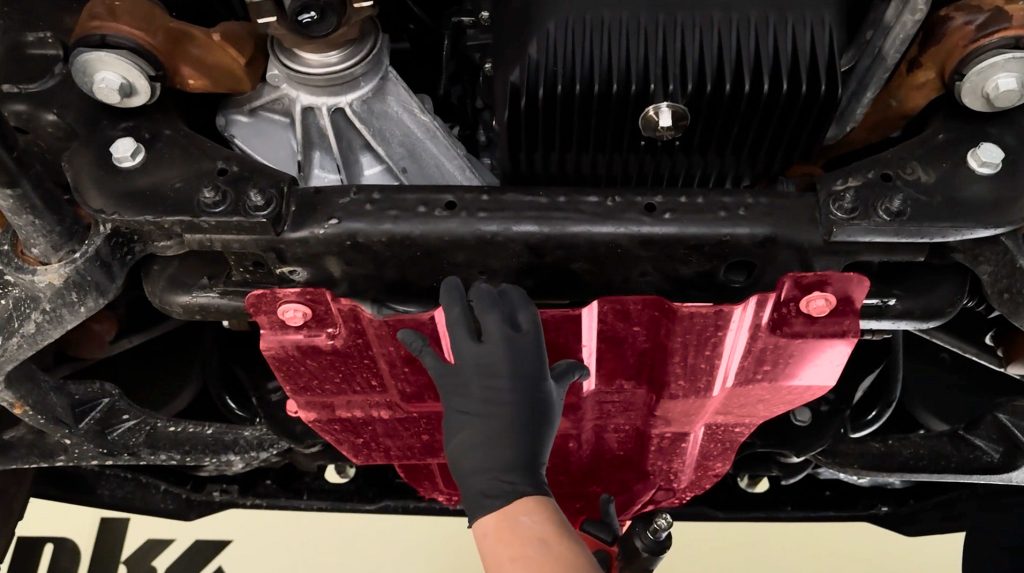
Bring the rear splash shield back to the truck.
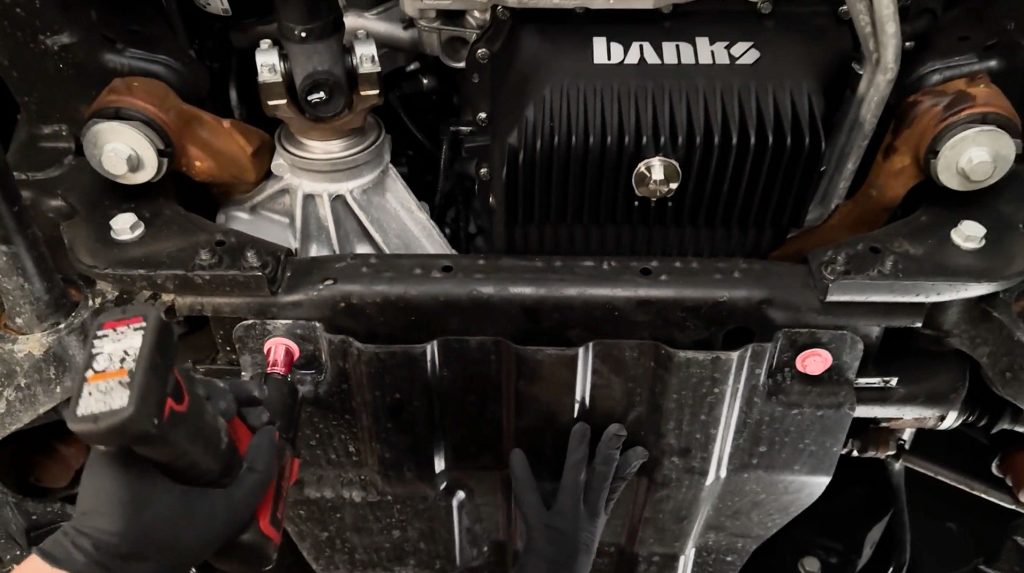
Install the two rear bolts to the cross member with a 15mm socket..
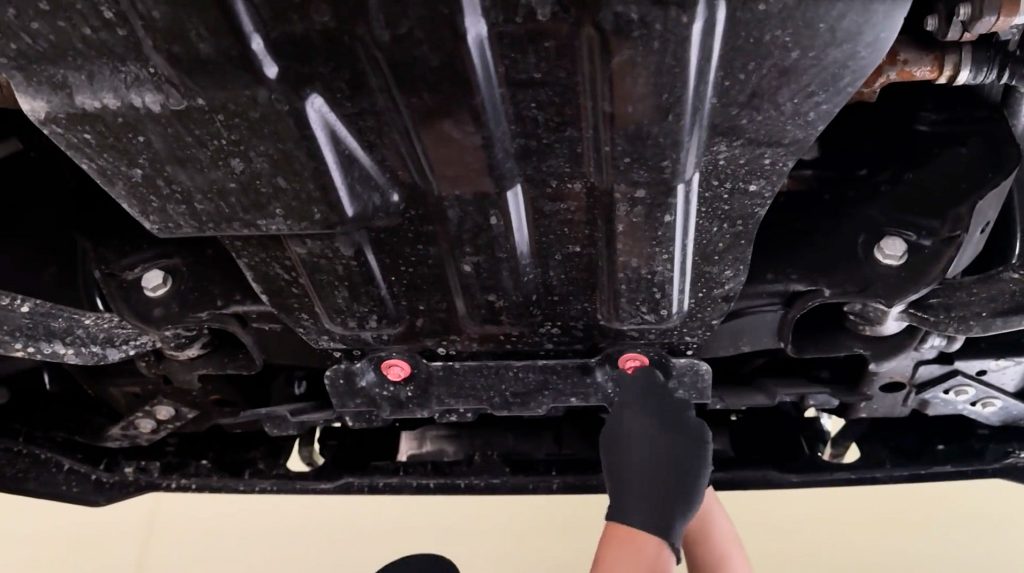
Do the same for the front splash shield.
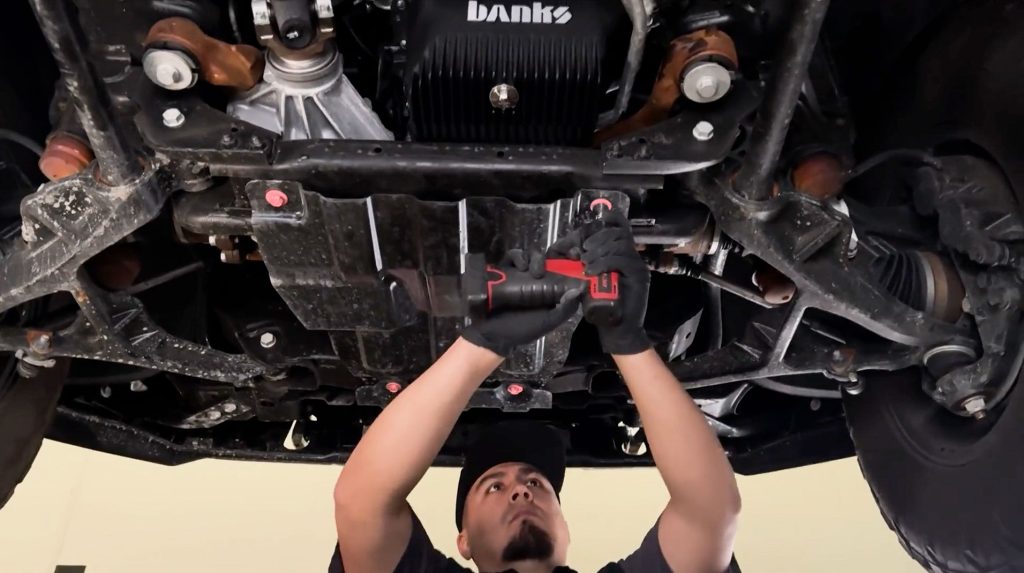
Once all the bolts are in, tighten snug.
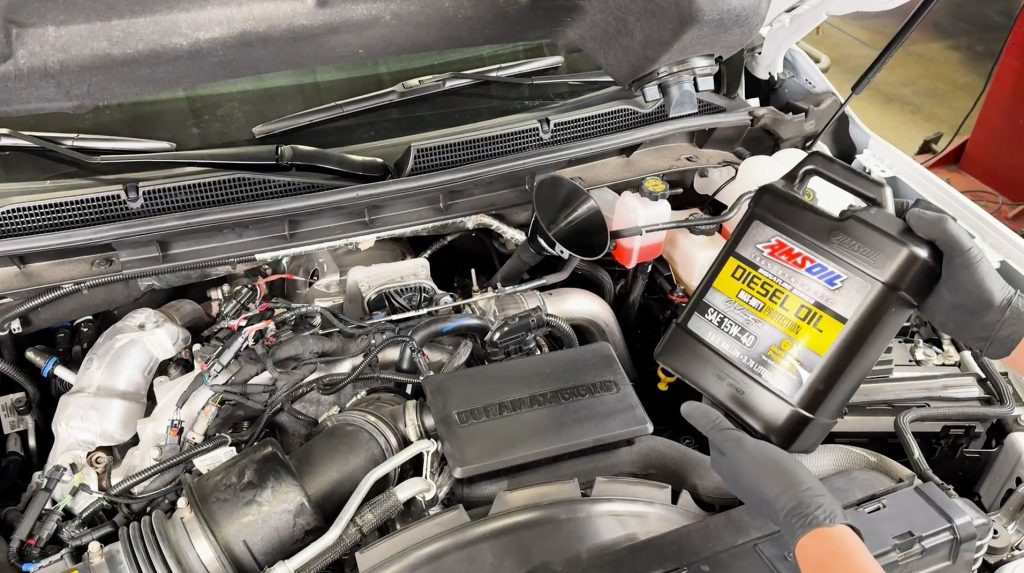
Allow RTV to cure for 24 hours before adding oil.
Refill the engine with 13 quarts of oil.
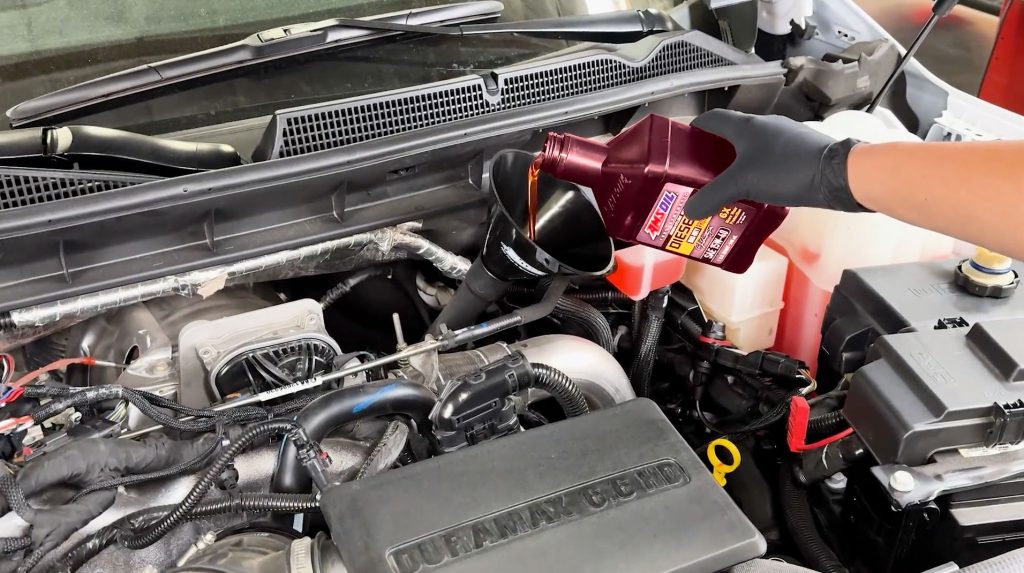
Check the oil level with the dip stick to ensure enough oil has been refilled.

