Instructions for updating your Banks iDash DataMonster or iDash Super Gauge.
Before updating your Banks iDash DataMonster or iDash Super Gauge, check to see if an update is needed. Please read through the instructions below before beginning the update process.
1. Download firmware file below
Firmware works with:
All iDash DataMonster and SuperGauge
IMPORTANT: If the current version of your iDash is 1.18.3 or older, you will be performing a major update. If you have created custom pages, these may need to be manually recreated after updating the firmware. It is recommended to take a photo of each custom page so that you can quickly recreate your previously saved pages, layouts, and parameters.
Official Release – OBD and Tuner versions
Download – iDash_6288X_05_1_24_0.zip
v1.24.0 Release Notes (12/16/2022):
- Added Support for Duramax LM2 2020+ SUVs and 2022+ Trucks
- Other minor improvements
v1.23.0 Release Notes (3/22/2022):
- Transmission Fluid Temp and Transmission Gear added for 2022+ Toyota Tundras
- Transmission Fluid Temp and Transmission Gear added for Ford V10 Motorhomes
- Other minor improvements
v1.22.0 Release Notes (9/8/2021):
- Added “Jeep” and “Duramax LM2 ‘21+” vehicle specific applications
- Nissan Frontier Trans Gear Commanded added in “Nissan”
- Third Gen Ford 6.7L Manual Regen improvements in “Ford 6.7L”
- Trans Fluid Temp added for 20+ Ram 6.7Ls in “Ram 6.7L”
v1.21.0 Release Notes (4/29/2021):
- Stationary Regen on Ford 6.7L vehicles 2019 and older
- Stationary Regen on EcoDiesel 3.0L vehicles 2017 and older
- Mobile Regen on EcoDiesel 3.0L vehicles 2017 and older
- Air Filter System Reset Command on Duramax vehicles 2020 and newer
- New EcoDiesel Derringer Support
- Added Toyota Vehicle Selection with Reverse Gear Support on specific models
- Added TCC Slip and Actual Torque PIDs added for RAM 6.7L 2019+
- Removed random characters popping up at the end of a “recall previous code” function
- Regen Status now displays as “OFF” instead of “OF” on 5 Square Layout
- Other minor improvements
v1.20.1 Release Notes (11/25/2020):
- Added ability to save Derringer EEPROM contents to SD card
- Derringer Error Popups made more visible
v1.20.0 Release Notes (10/22/2020):
- Add CEL recall features to view your most recent CEL
- Improve Ram 6.7 communication to resolve iDash going to sleep
- Improved 2017+ Ram 6.7 Trans Gear (reverse gear support for PedalMonster)
- Corrected Ford 6.7 losing parameters, or not always having all parameters available
- Minor bug fixes
v1.19.3 Release Notes (08/13/2020):
- Added 2019+ RAM 6.7 Transmission Gear Support
v1.19 Release Notes (6/24/2020):
- Support for PedalMonster
- Added new Engine configurations
- Added aftermarket support for ProEFI, Hondata, and MaxxECU
- Bug fixes
v1.18.3 Release Notes (2/19/2020):
- Added support for 2020 Duramax L5P Derringer
v1.18.1 Release Notes (9/19/2019):
- Improve power level display in tuner and SpeedBrake layout
- Improve PSIG to BAR unit conversion
v1.18 Release Notes (9/9/2019):
- Add support for 11-16 Derringer Ford 6.7 Powerstroke
- Improved support for Honda/Acura
- Add Active/Passive Regen Status
- Add Ethanol% for GM Flex-fuel (use GM Standard)
- Minor bug fixes
v1.17.2 Release Notes (6/20/2019):
- Set default engine configuration to Turbo, intercooled, throttle
- Increase support for up to 6 thermocouples
- Added support for 2017-19 Ford 6.7 Derringer
- Improvement for 2012 and older Ram 6.7 Vehicle specific firmware
- New engine configurations for density calculations
- New response rate calculated parameters
- Menu improvements
- Minor bug fixes
v1.16.2 Release Notes (5/8/2019):
- Resolves screen pixel shifting in rare instances
v1.16 Release Notes (3/11/2019):
- Added Duramax Colorado 2.8L vehicle-specific support (includes Regen)
- Change default density setting to J1349
- Fixed bug: Black font causes gauge settings to reset
v1.15 Release Notes (2/28/2019):
iDash v1.15 Firmware Tutorial from Banks Power on Vimeo.
Pages and Layout Theme Colors:
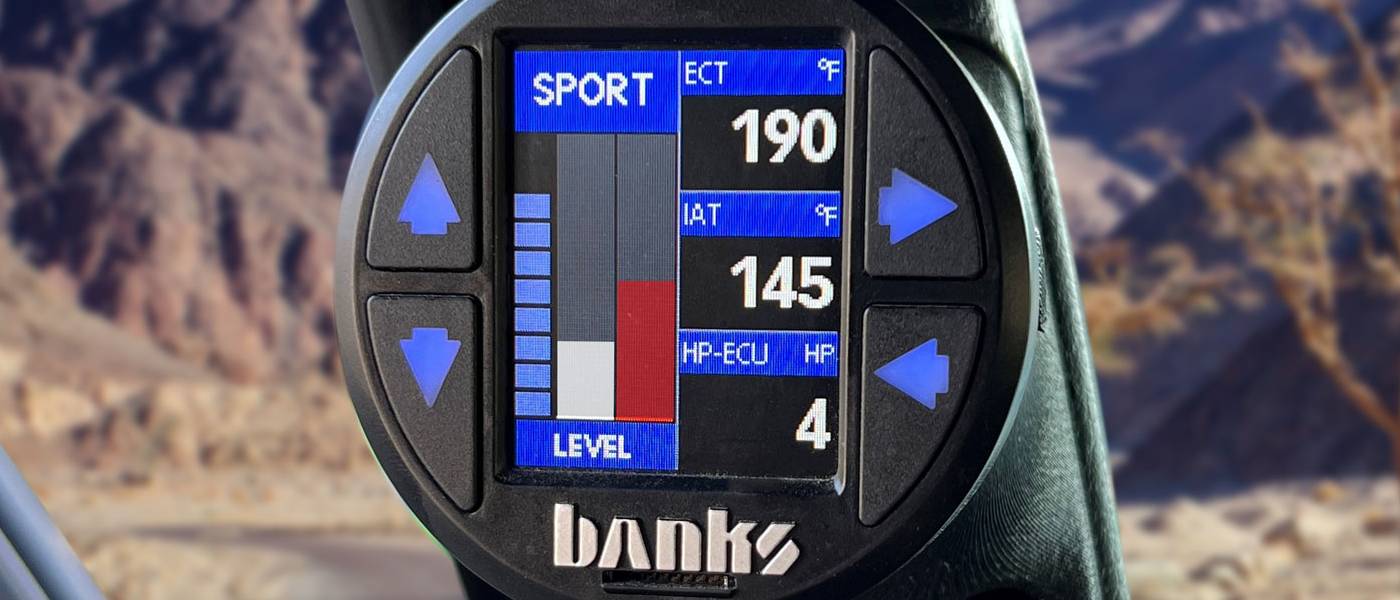
Once you load the new firmware, it will automatically enable five pages. Each page has a unique color theme that can be adjusted in the settings.
To switch between pages, hold the back button for 2 seconds. For each page, you can set up a unique gauge layout and parameter selection. Some ways to take advantage of this feature is to set up one page for your Derringer tuner parameters, a second page for temperature monitoring, a third for air density data, and a fourth for diagnostic data.
You have full control over how to configure the pages, so program them with the data that’s most important to you and your vehicle. If you want to disable a page, so it is skipped when you switch pages, you can do so in “Settings -> Custom Page Enable.” This way, you can skip unused pages if you only actively have a couple set up.
Load Banks Recommended Parameters:
Unsure of which parameters you want to monitor? We populated a preconfigured list for some of the most useful and interesting data. To do this, go to “Gauge Selection -> Load Custom Page -> Banks Recommended.” This will automatically configure your current page with some of the commonly monitored parameters.
Save/Load configurations to micro SD Card:
This is a handy way to transfer all your configurations to a new or second gauge. Once you set up a gauge with your favorite pages, theme colors, and other settings, go to “Settings -> Save/Restore Settings -> Save config to SD.” You can now insert that SD card into your secondary gauge and load all the settings by going to “Settings -> Save/Restore Settings -> Load config from SD.” Note: both gauges need to be on the same firmware version for this to work.
L5P Mobile Regen:
Unlike the stationary regen feature (which many Duramax 6.6L L5P owners are familiar with), the new mobile regen feature allows owners to trigger a regen while driving manually. This feature is particularly handy when the DPF Regen Trigger is below 100%. The mobile regen is also useful after a stationary regen has been executed as a way of completing the full regeneration process.
- Add new pages feature which allows
user to quickly switch between 5 uniquelayouts , parameter selection, and theme color configurations - Improved Layout Theme Colors configuration
- Add ability to load Banks recommended gauges to your layout
- Add the ability to save and load your configuration to micro SD card
- Add Categories as a new way to find the right parameter
- Add Duramax Colorado/Canyon 2.8L vehicle specific
- Add ability to offset values in 4 ch analog and thermocouple modules for calibration
- Add the ability to reset MPG for SixGun and EconoMind Tuners
- Add moving Regen for L5P
- Improved min/max log layout
- Add
psig to pressure setting option - Reorganized setting Menu to make settings easier to find
- Minor bug fixes
v1.14 Release Notes (12/14/2018):
- Resolves Parameters occasionally not showing up on
secondary gauge(s) - Improved response time for Fuel Tank Level change
- Corrected Estimated HorsePower calculation error
- Minor bug fixes
v1.13 Release Notes (11/15/2018):
- Add support for 4 Ch Analog and 4 Ch Thermocouple modules
- Add DURAMAX LML, LMM, and FORD 6.7L vehicle-specific parameters in vehicle selection
- Add logging rate to logging SD card filename
- Update display to shift to 1k scaling if exceeds digit limitation (ex. RPM on 5 square layouts)
- Add Estimate HP, Volumetric Efficiency, Fuel Weight, BSFC, and AFR menu
- Add Saturation pressure, and Vapor pressure.
- An improved method for inputting limits and other numeric settings
- Improved diagnostics message for Module troubleshooting
- Improved intermittent shutdown found on some
vehicles Improved SD card mounting- Minor bug fixes
v1.12 Release Notes (9/18/2018):
- Added support for Banks Bus 1 devices on 62885 Gauge (SixGun, EconoMind, and SpeedBrake)
- Added 6 and 7 Gauge Layouts
- Duramax LML, Duramax LMM and Ford 6.7 vehicle specific added
- Add support for 4WD operation with L5P Derringer (requires v5 L5P Derringer firmware)
- DataMonster addition
- User Selectable Data Log Rate of 1, 5, 10 or 20 Hz – New DataMonster splash screen
- Add Dew Point parameter for Ambient Air Density Module
- Added blinking button functionality and setting to alerts
- Minor bug fixes
V1.11 Release Notes (7/16/2018):
- Added L5P Stationary Regen functionality
- Added DPF Trigger
parameter - Added density altitude, pressure altitude, and grains H2O
- Improvements to Density layout
- Restructure menu navigation tree for improved usability
- Minor bug fixes
V1.10 Release Notes (5/23/2018):
- Improved “reset all”
- Add L5P in vehicle selection
- Improve auto-dimming between primary and secondary (secondary individual auto-dimming take effect faster)
- Minor bug fixes
V1.09 Release Notes (5/15/2018):
- Added 8 gauge layout – Add L5P Injector balance rates
- Added
Autolog feature - Added Freeze Frame data to diagnostic
- Alternate derringer power level text between ‘REGEN’ and ‘LEVEL x’ when regen
- Add cruise Control L5P Derringer functionality
- Density parameter changes (density ratio expressed as %, removed % Density)
- Minor bug fixes
V1.08 Release Notes (4/9/2018)
- Corrected EcoBoost Derringer Data issue (required for v3 EcoBoost Derringer Updates)
- Changed default screen from 2 Gauge to 5-Square
- Fixed 5-Square display problem with a value greater than 999
- Minor bug fixes
V1.07 Release Notes (4/4/2018)
- Add support for L5P Derringer
Add support for Aftermarket ECU: MEGASQUIRT, MOTEC, AEM, LINK G4 (1520), HALTECH, GBE 866T- Improve
SD card read/write speed and mount/unmount process - Combine Datalog file and playback file into 1 file for easy maintaining
- Add dynamic datalog file saving based on the speed of SD card to avoid losing data
- Minor bug fixes
V1.06 Release Notes (2/5/2018):
- Added Support for Banks Ambient Air Density Module
- Added new Layouts
- Added new units for Metric/English
- Added stored DTCs to vehicle diagnostics
- Added firmware version to the splash screen
- Added Data logging time as a displayable parameter
- Added user selectable BARO setting if not Ambient Pressure is not available
- Improved auto-dimming algorithm
- Minor bug fixes
v1.05 Release Notes (1/12/18):
- First released firmware