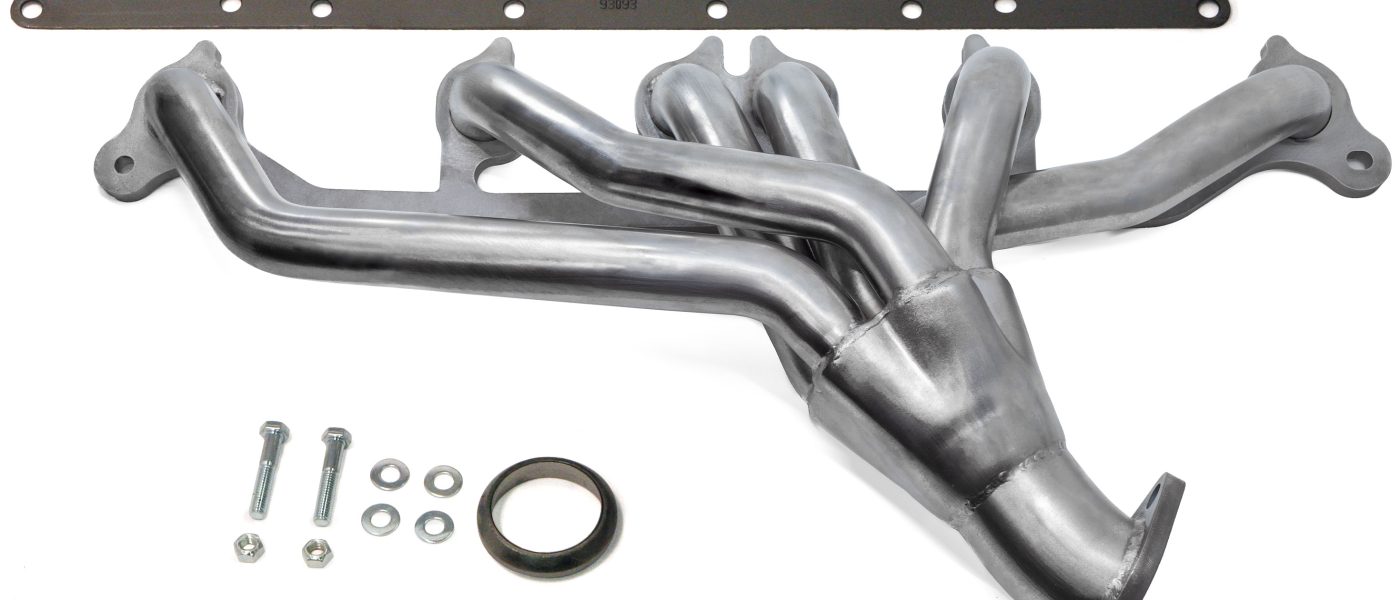
96433 Revolver® Exhaust Header with Hardware for 1991-1999 Jeep Wrangler 4.0L, 1991-1998 Cherokee
INSTALL INSTRUCTIONS
Part #s
51327
Banks TorqueTubes® System 1991-1999 Jeep Wrangler 4.0L, 1991-1998 Cherokee
Please read through the following instructions thoroughly before starting your installation. If you have any questions please visit our Support Page.
General Installation Practices

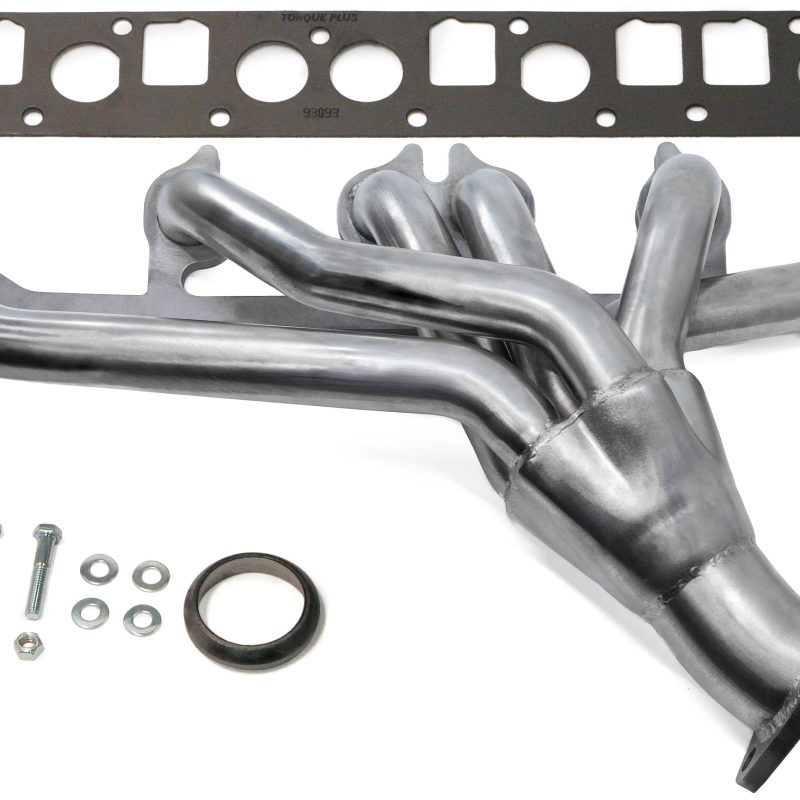
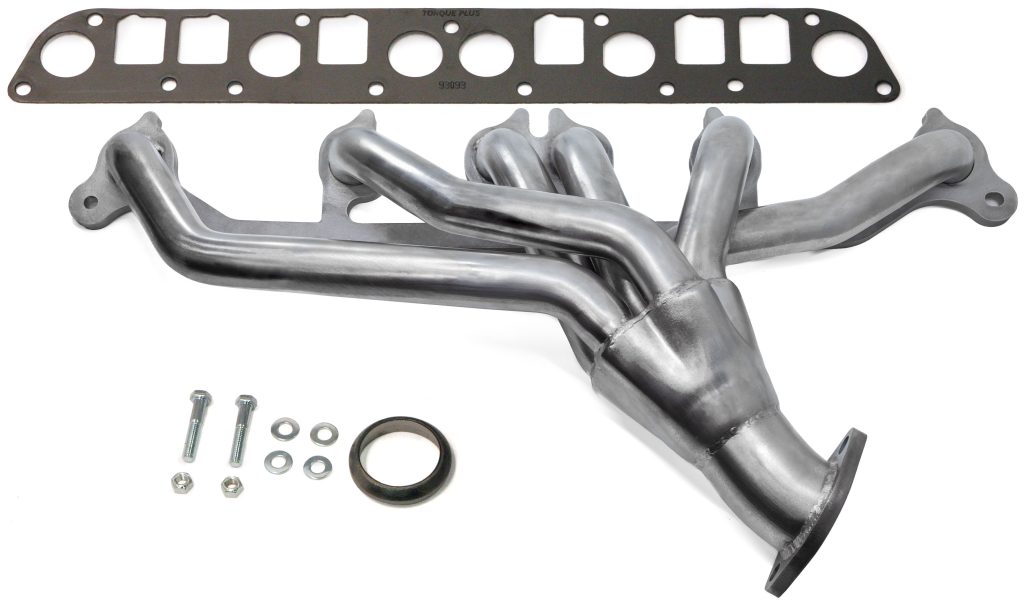
Bill of Materials
Exhaust Manifold Installation
NOTE: Do not wrap manifold. Wrapping the Revolver Manifold with exhaust wrap or thermo tape will void the Revolver Manifold warranty. Exhaust wrapping can cause the manifold to crack and rust. The Revolver Manifold has been designed to operate efficiently and protect the engine components without the use of wrapping.

1. Remove the air inlet hose from the throttle body and move it aside. On some models, the airbox assembly may need to be removed in order to relocate the air inlet hose.
2. On the intake manifold assembly, remove the throttle cable, transmission pressure cable, and cruise control cable (if equipped) located inside the engine compartment.
3. Disconnect any electrical connectors and vacuum lines on the intake manifold and throttle body. Be sure to label the lines to ensure the correct replacement.
4. Remove the fuel line. Some models may require a special tool. If necessary refer to the service manual for more info.
5. Disconnect and separate O2 sensor and coupling from mounting bracket as needed.
6. Loosen the power steering set screws located on the pump. Loosen the belt tensioner and remove the power steering belt. Next, disconnect the power-steering pump and bracket from the intake manifold.

7. Remove the hardware from the head pipe and disconnect the head pipe from the exhaust manifold.

8. Loosen intake/exhaust bolts 3, 6, and 7, but do NOT remove.
These bolts act as supports for the exhaust manifold. Remove all remaining intake/exhaust manifold bolts and set aside hardware for re-assembly (a 9⁄16” swivel socket may save time
9. Remove the intake manifold from the engine block. Remove the remaining bolts (bolts 3, 6, and 7) and remove the exhaust manifold.
10. Inspect the exhaust and intake mounting surfaces of the cylinder head and remove any rust or carbon that might prevent the TorqueTube or intake manifold from sealing. Be careful debris does not enter the engine ports.
11. Install the supplied gasket onto the cylinder head dowels. Place a small amount of anti-seize on the threads of each of the eleven (11) factory intake and exhaust bolts.
12. Install Banks Revolver Manifold onto the cylinder head and support with loosely installed bolts in locations 3, 6, and 7.
13. Install bolts 1, 2, 4, and 5 about three turns into the engine block. Guide the intake manifold onto the cylinder head dowels. Loosely install all remaining intake/exhaust factory bolts. Be sure Banks Revolver Manifold and intake manifold seats flush as bolts are tightened.
14. Torque all exhaust and intake manifold bolts to 25 ft-lbs in the sequence shown. Insert the supplied conical gasket onto the head pipe. Re-connect head pipe to the Revolver Manifold with the supplied 3⁄8” hardware.
15. If head pipe was removed, tighten and torque head pipe hardware to 35-ft-lbs.
16. Reinstall the power steering pump and mount the bracket to the intake manifold. Reinstall the belt and adjust the belt tensioner to the vehicle specification.
17. Reconnect all vacuum and electrical connections on the intake manifold. Reinstall the throttle cable, transmission pressure line cable, and cruise control (if applicable.)
18. Reinstall the fuel line. Reconnect the exhaust O2 sensor.
19. Reinstall the air inlet hose onto the throttle body. Reinstall the air cleaner assembly if removed.
20. Reconnect the battery. Start the engine and listen for exhaust leaks. Check the fuel line for any leaks. Once normal operating temperatures have been reached, drive the vehicle and listen for any leaks or rattles. Correct as necessary.

CARB EO LABEL
Please use the following CARB-approved emissions label and EO label location guidelines. We generally use the radiator shroud location.