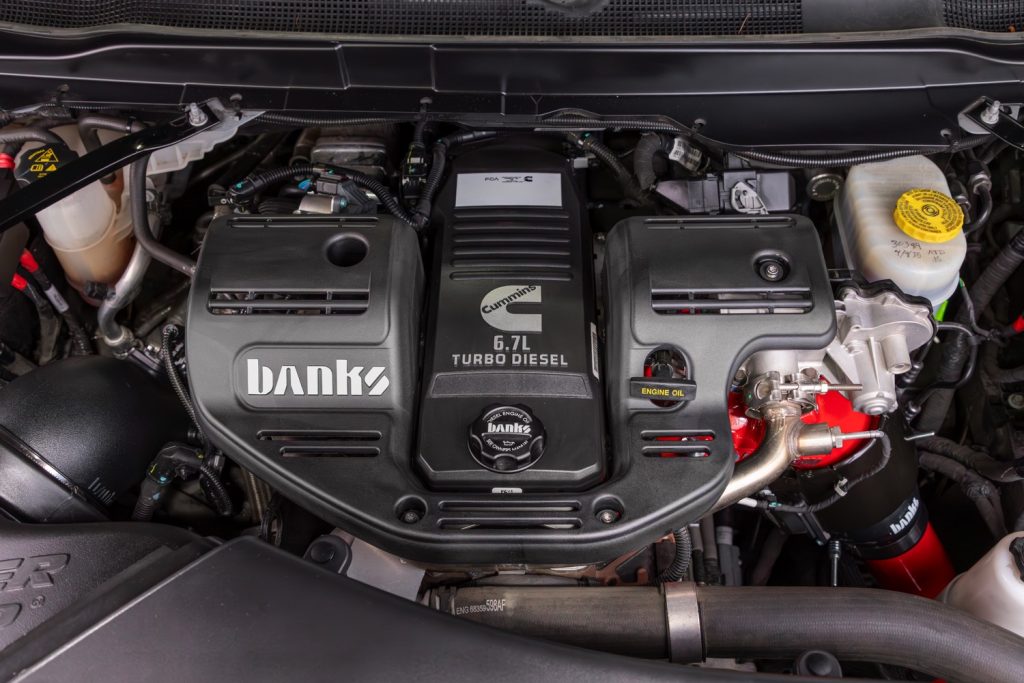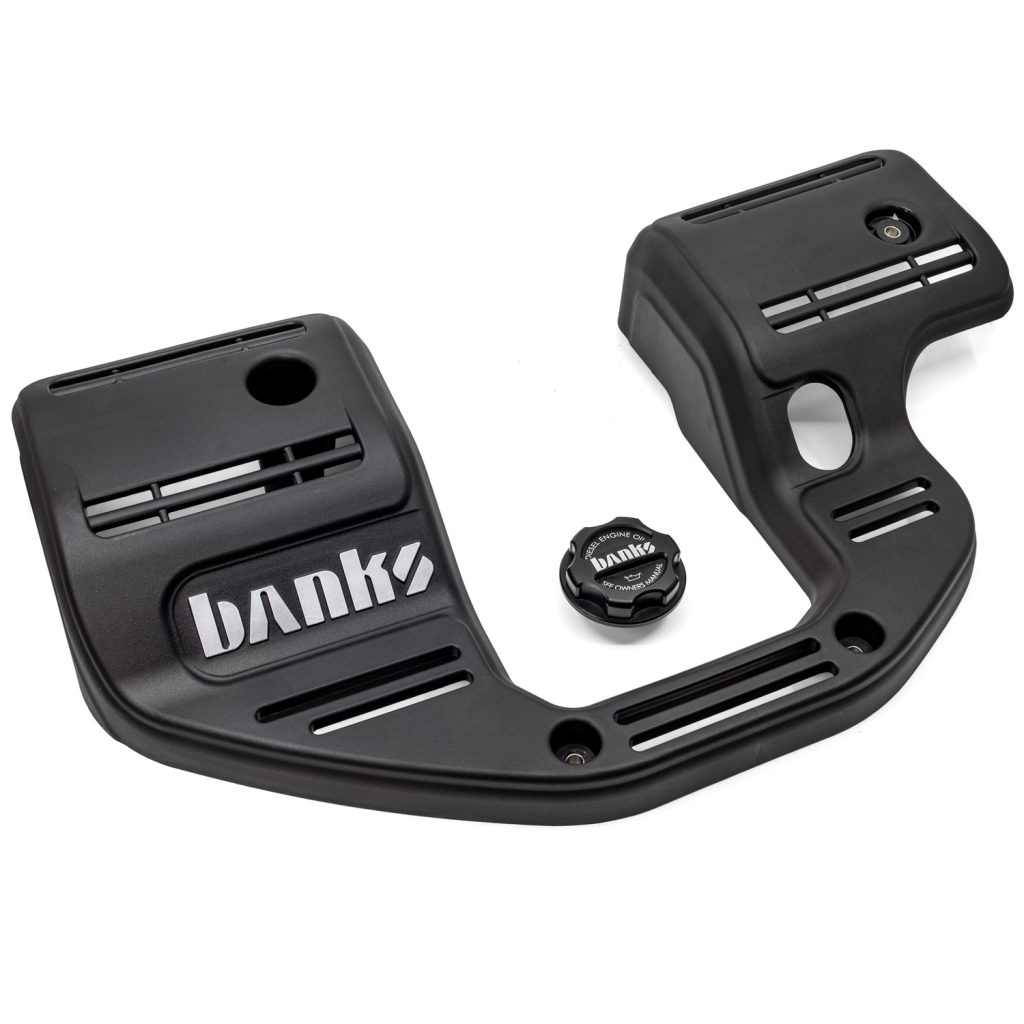
Note: For Alternate Mount Kit instructions, see section 4 below.
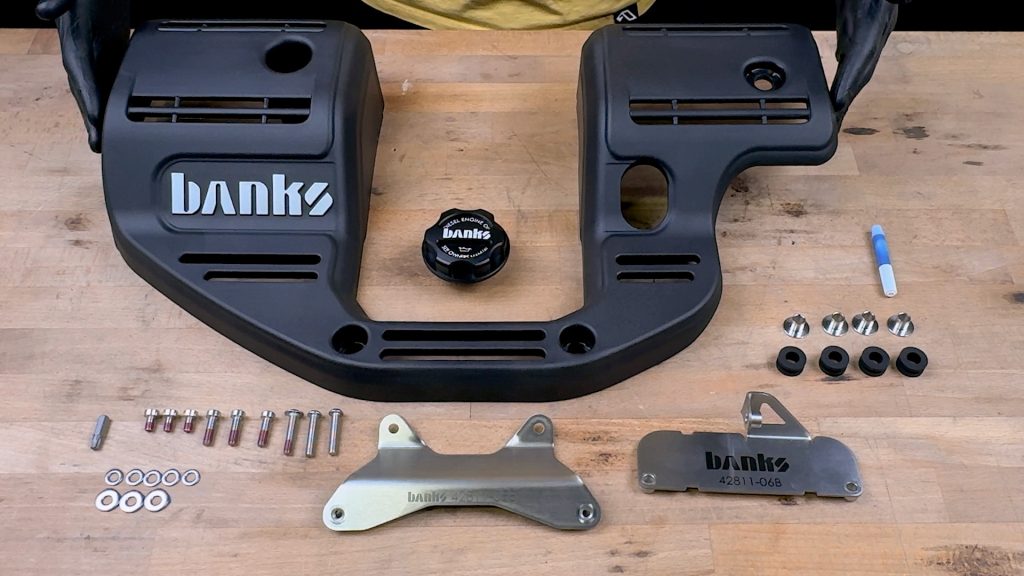
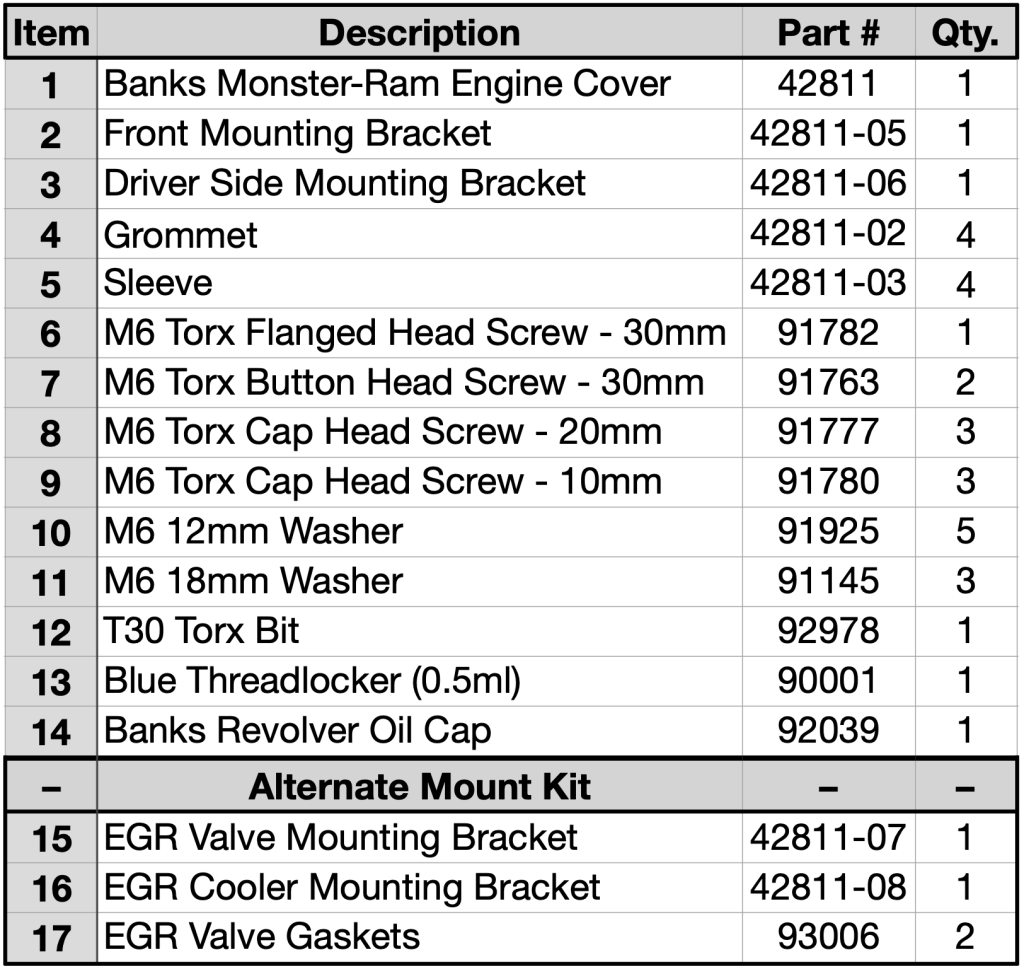
1. Before starting, familiarize yourself with the installation procedure by reading all of the instructions.
2. Disconnect the negative (ground) cable from the battery (or batteries, if there are two) before starting.
3. During installation, keep the work area clean. Do not allow anything to be dropped into intake, exhaust, or lubrication system components while performing the installation, as foreign objects will cause immediate engine damage upon start-up.

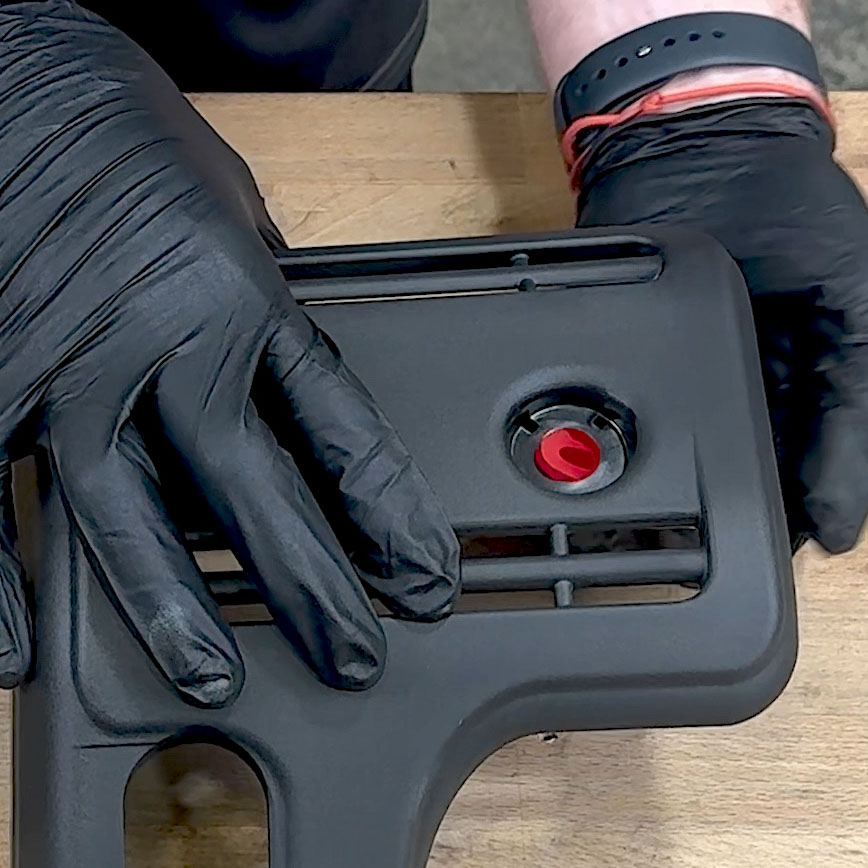
1. Pinch the rubber gromets to install them into the engine cover.
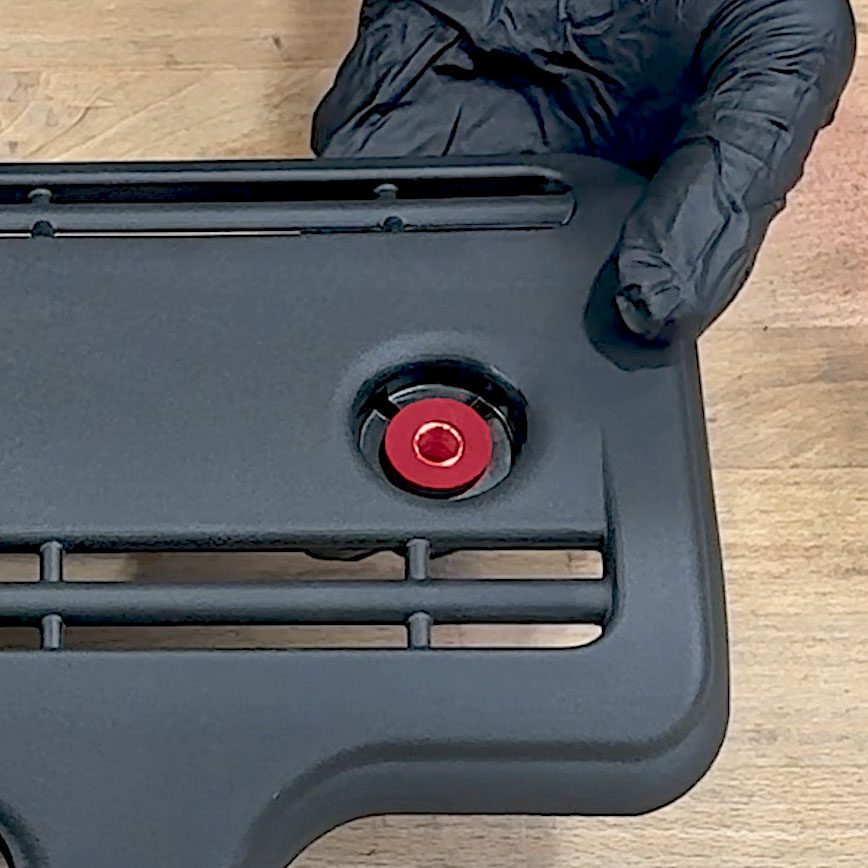
2. Then slide the steel sleve into the grommet.
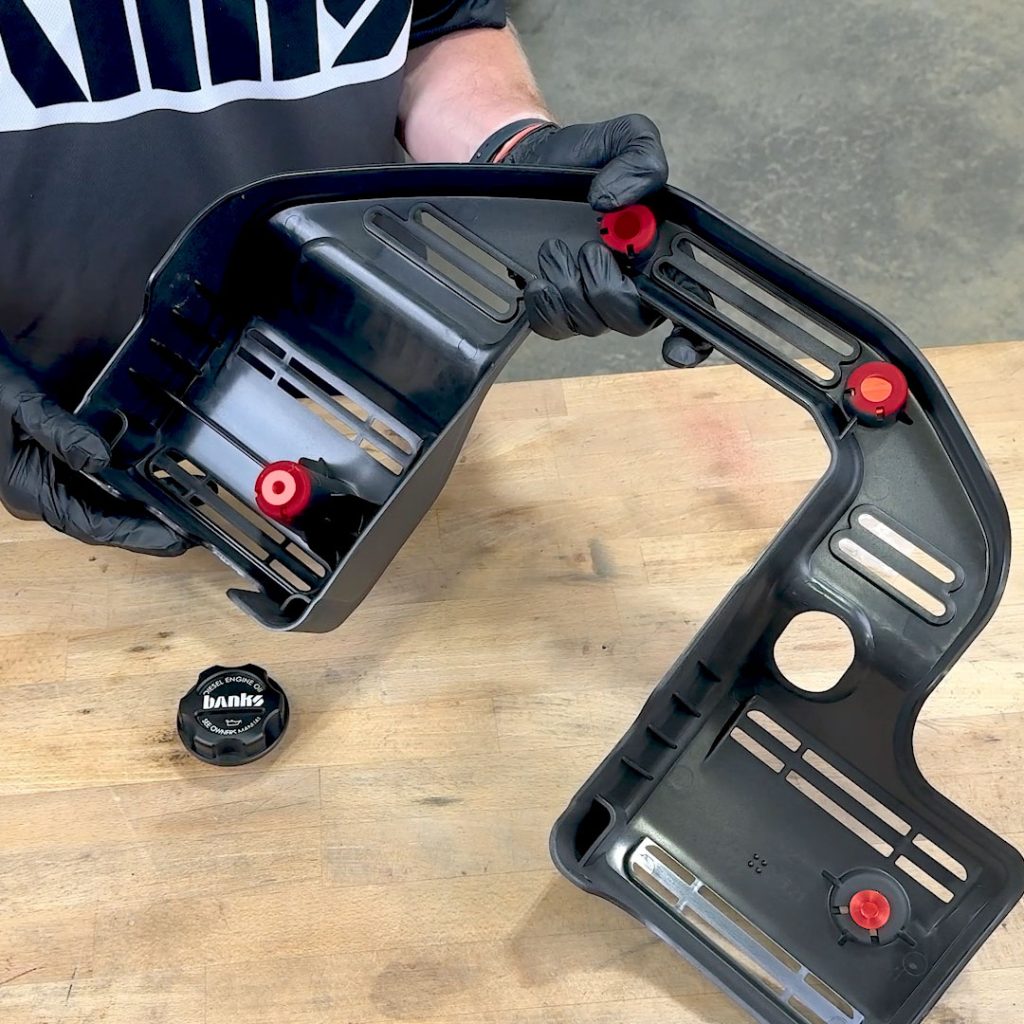
3. Repeat for the remaining 3 mounting postitions.
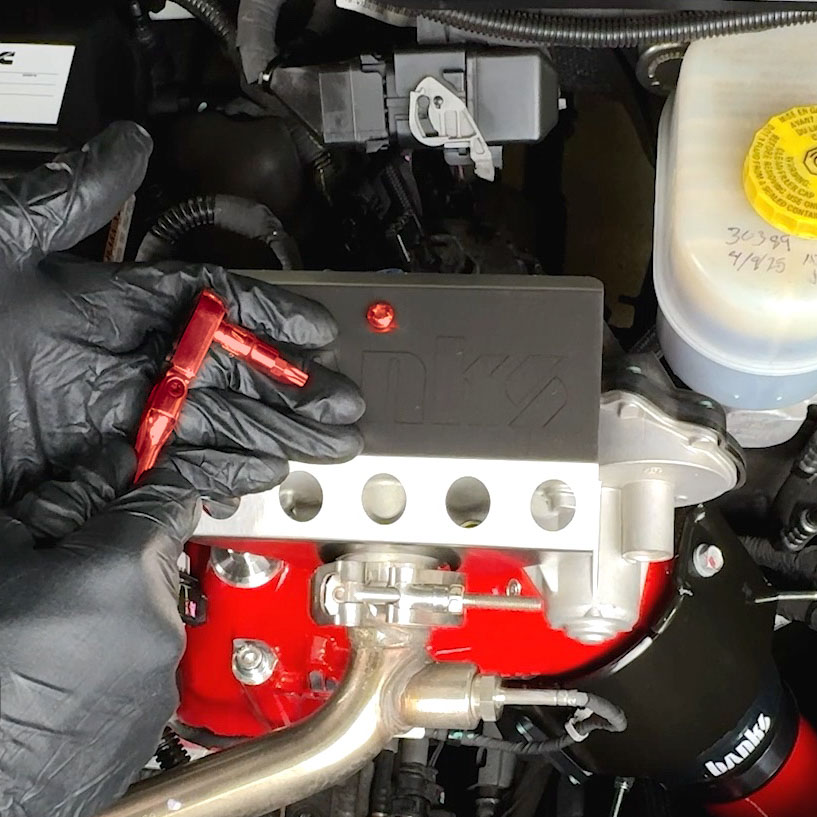
1. Use the supplied T30 Torx bit to remove the top screw on the Monster-Ram EGR heat-shield.
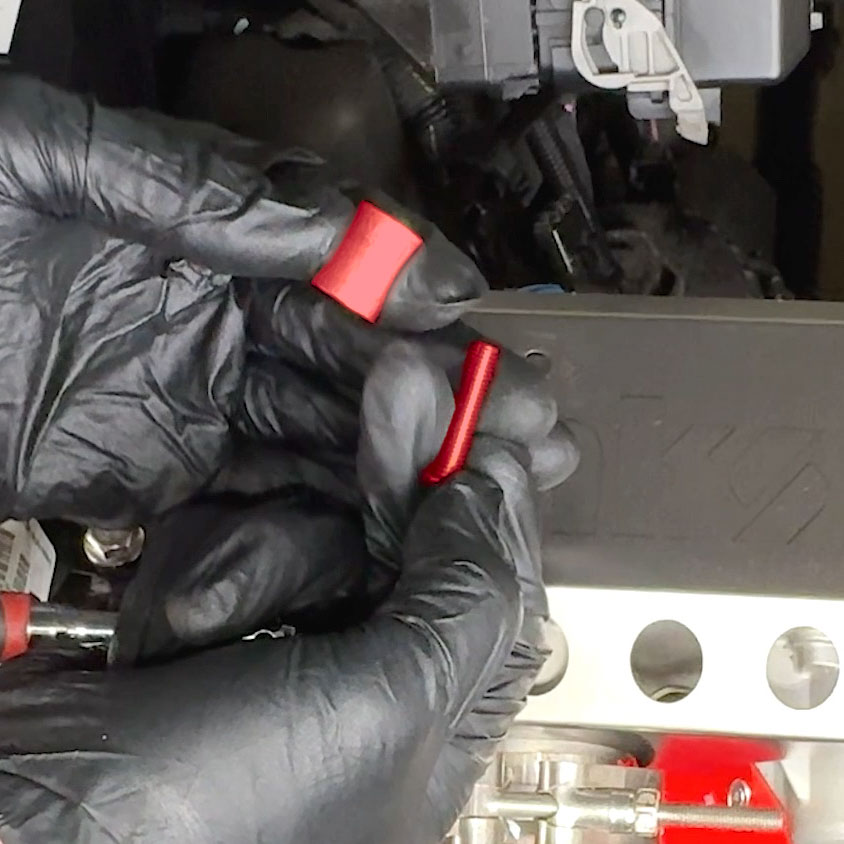
2. Be sure to remove both the screw and the spacer underneath.
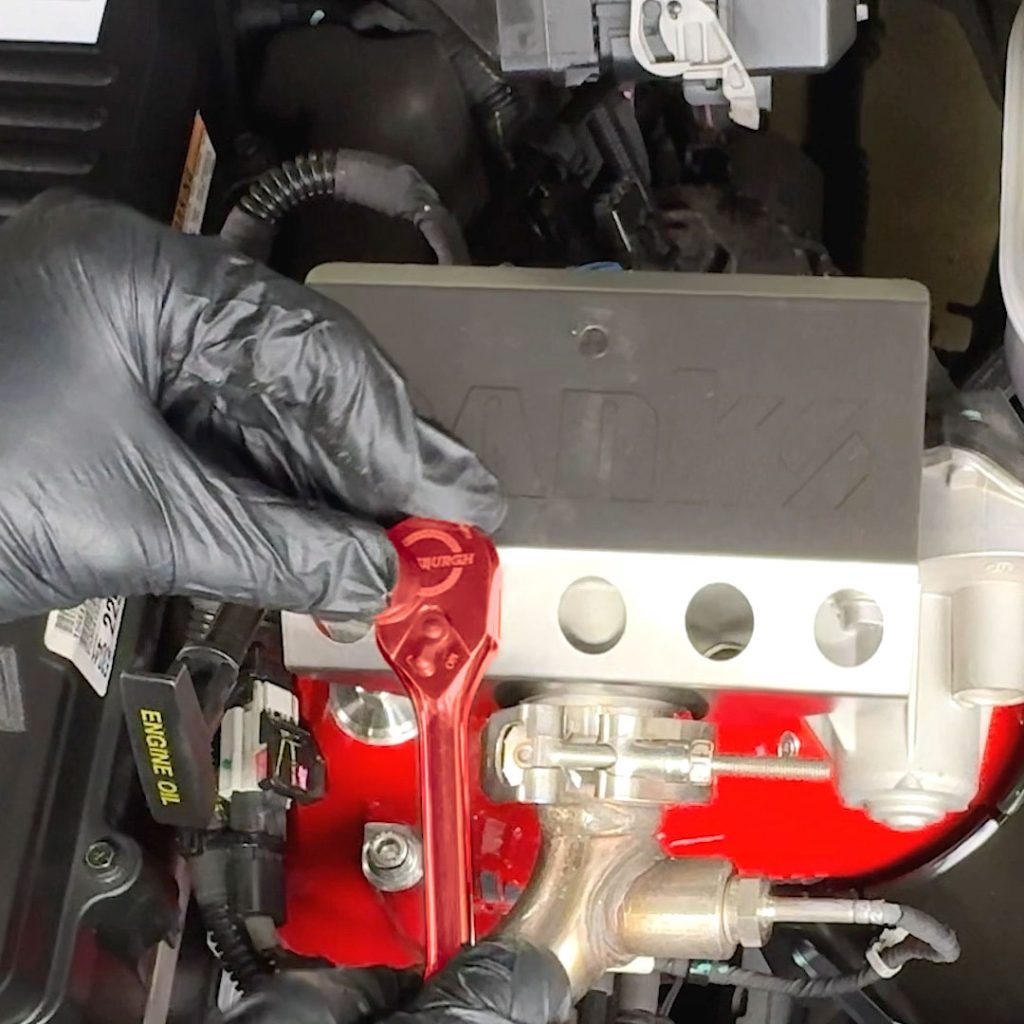
3. With a 10mm socket and extension. Remove the two front bolts holding the EGR heat-shield to the EGR valve.
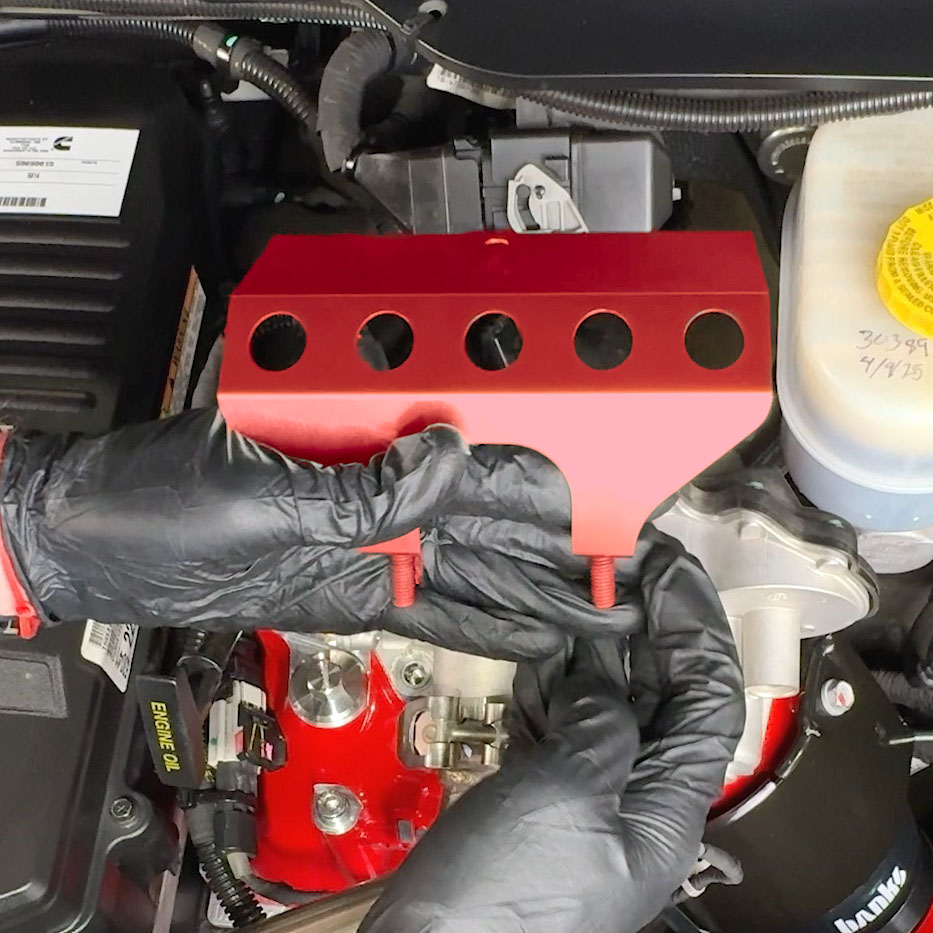
4. Remove the EGR heat-shield from the Monster-Ram.
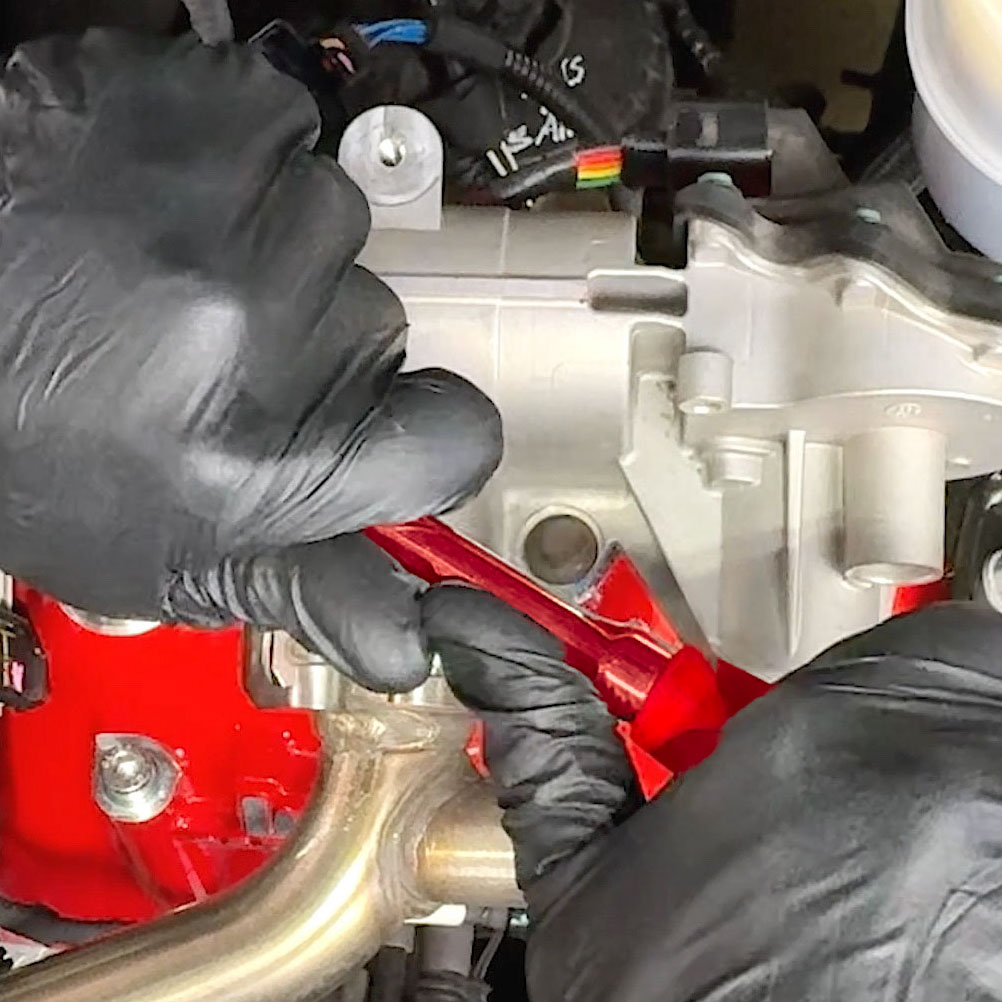
5. Apply a small drop of the included threadlocker to the threads, then retorque the two bolts to 18-20 ft-lbs.
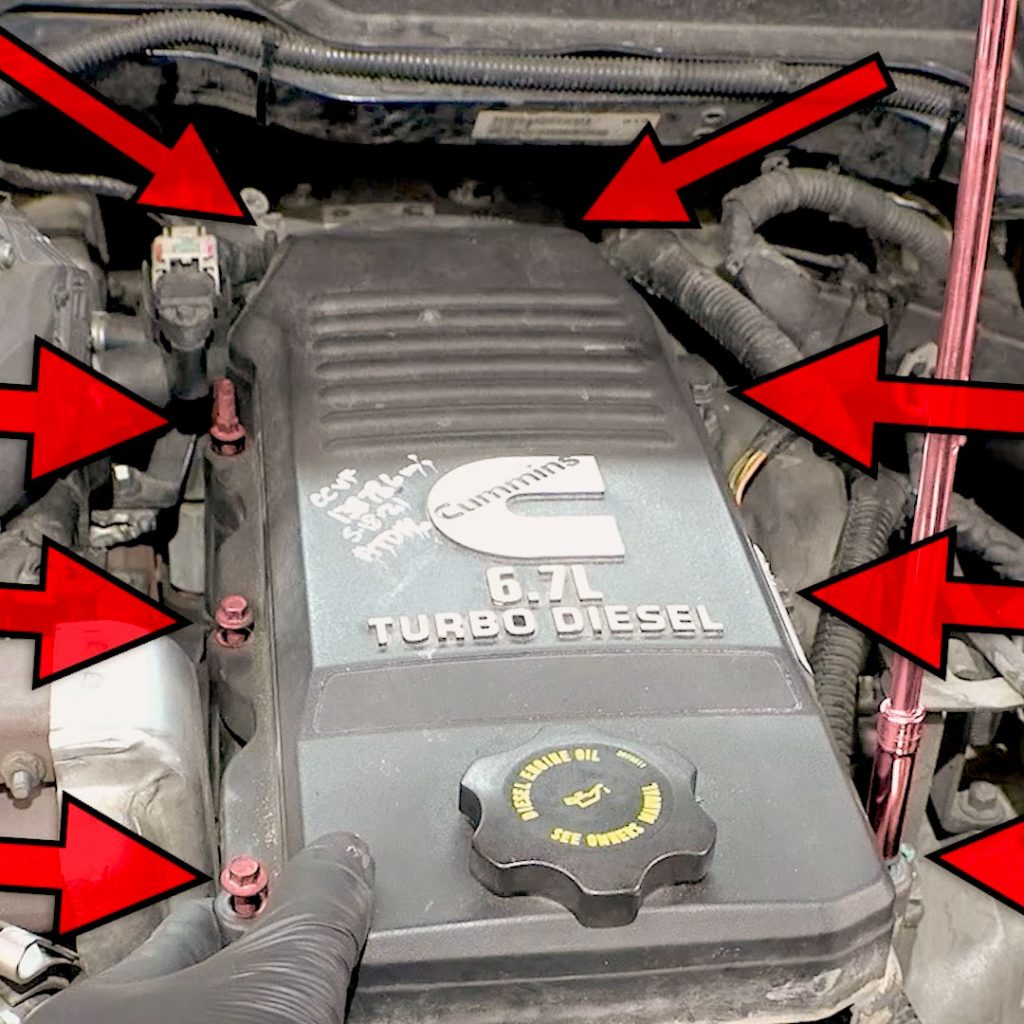
1. To install the front support bracket, you will have to temporarily remove all 8 bolts and studs from the valve cover.
The front 6 bolts are easy to get to, the rear two will require either a wobble socket or an 8mm wrench.
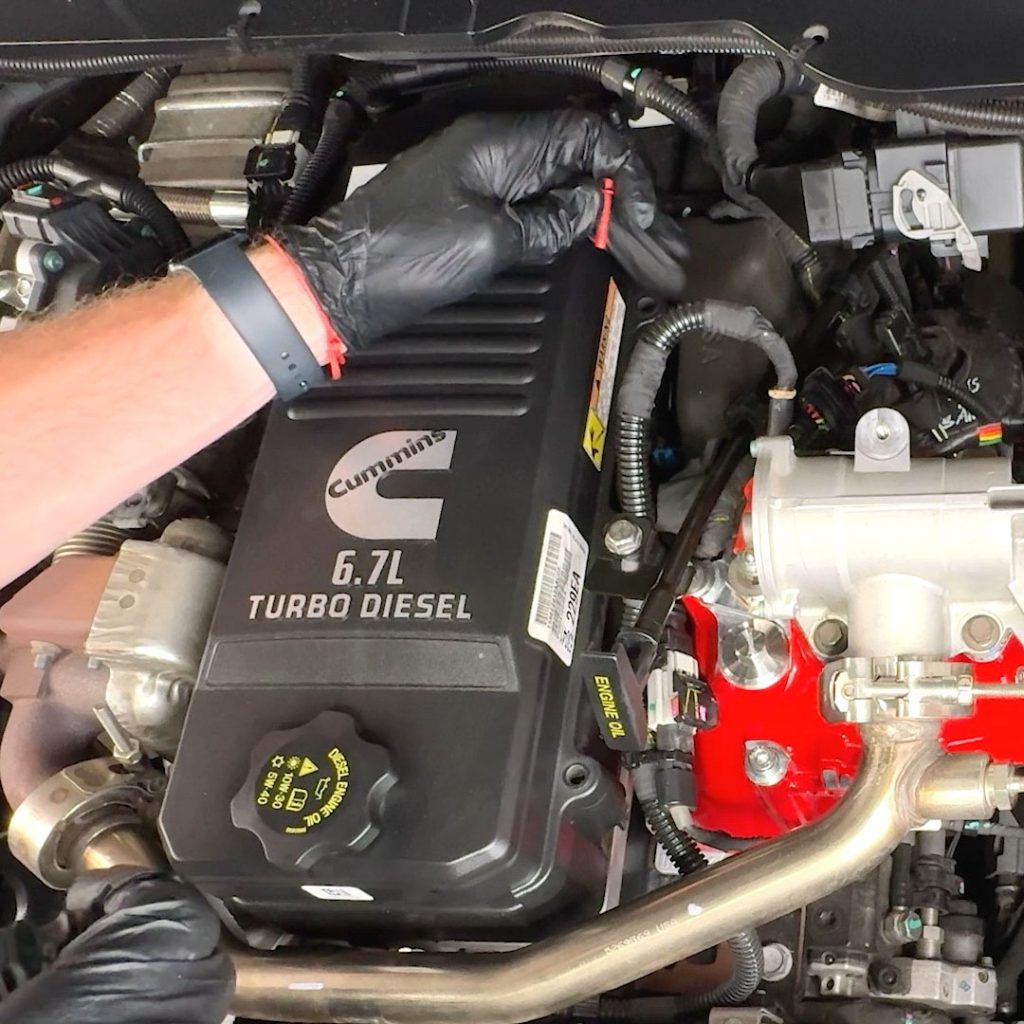
2. Start removing the front valve cover bolts and set them aside.
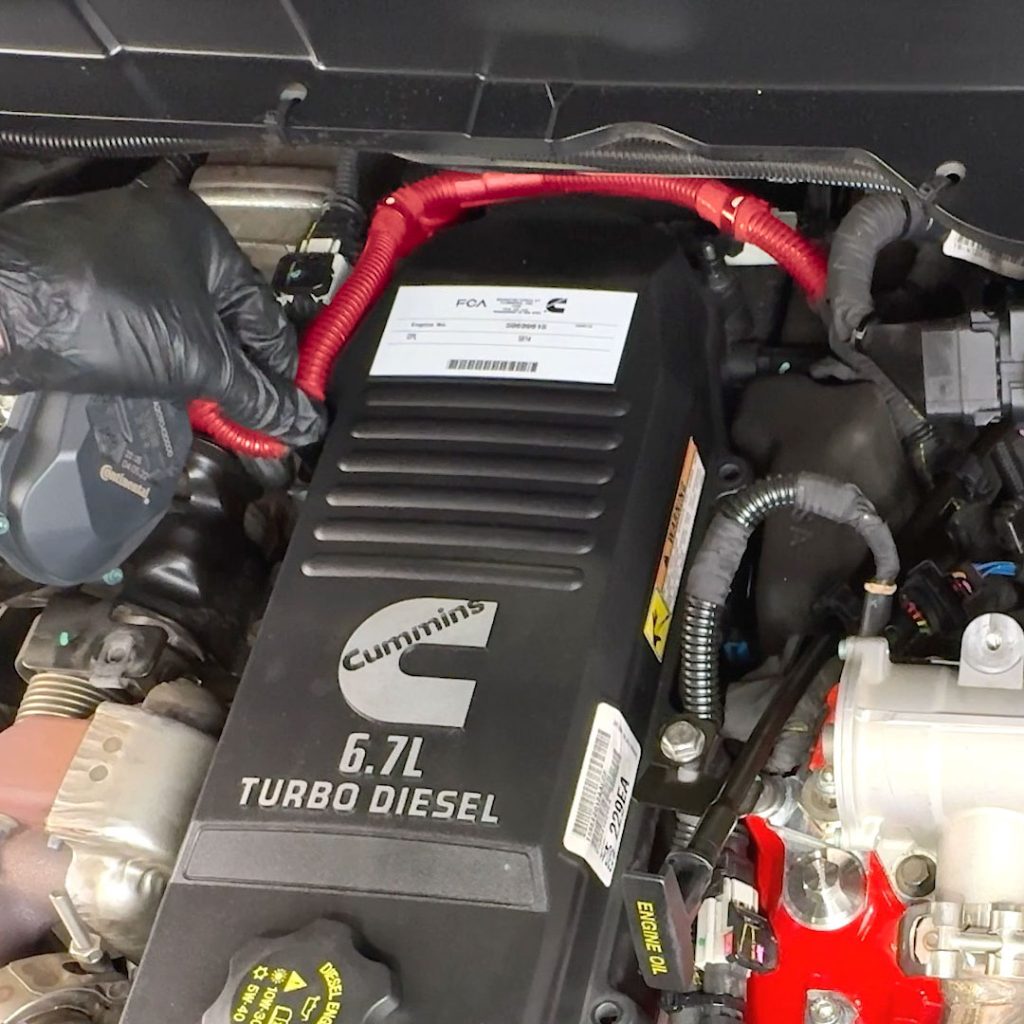
3. Move the rear engine harness off the studs to expose the rear bolts.
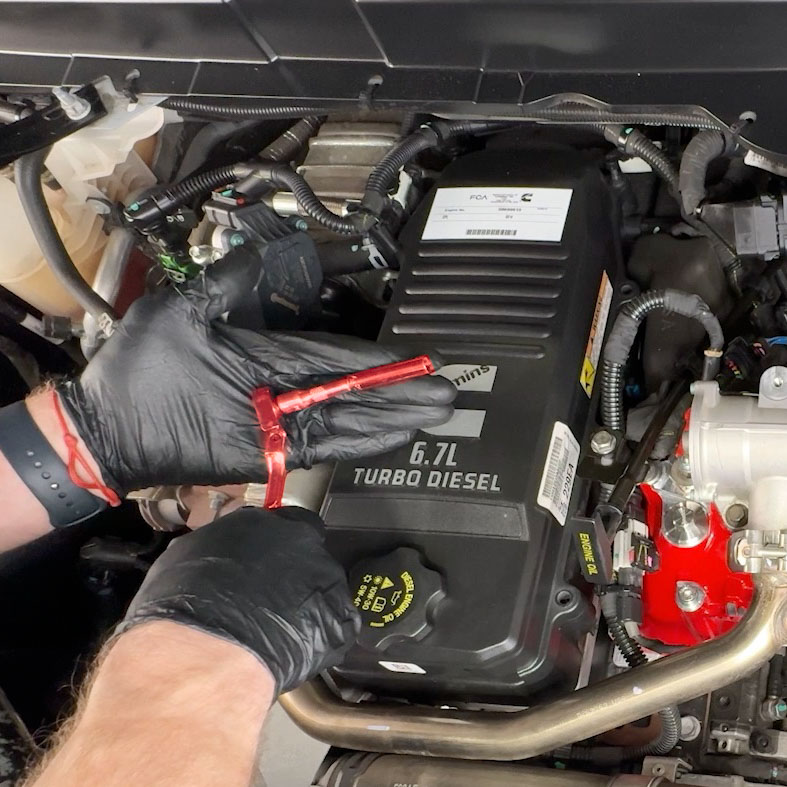
4. Depending on the year of your truck, some of the bolts may include studs and will require a deep 8mm socket with a wobble head or a gear wrench.
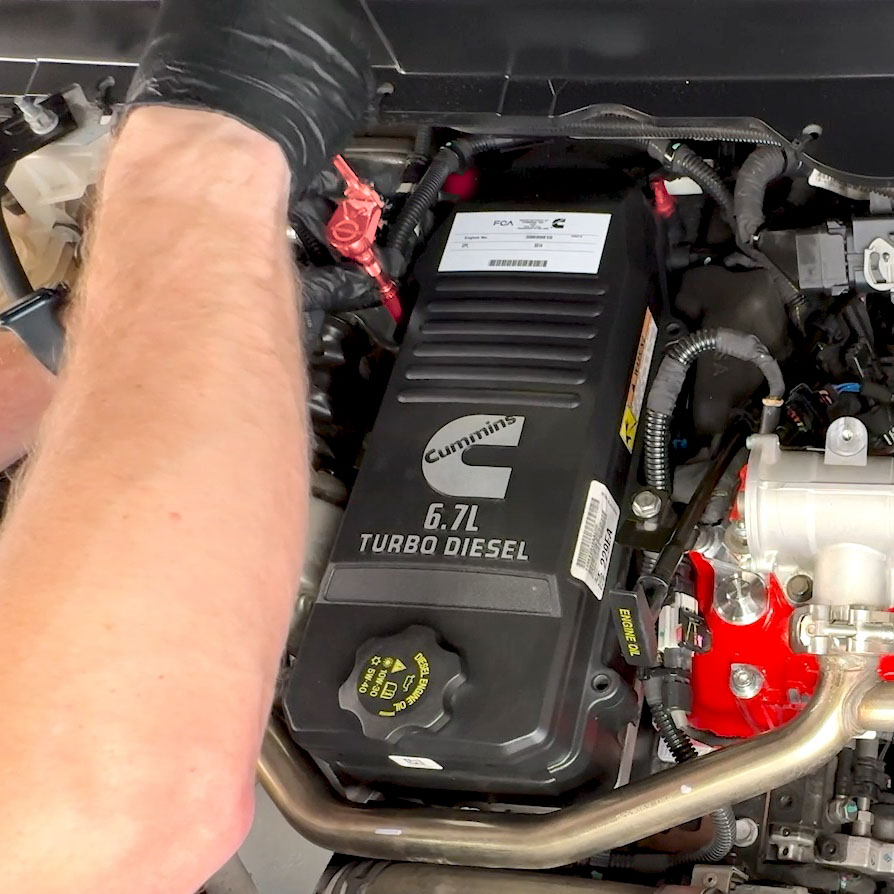
5. Continue removing the bolts that hold the rear of the valve cover on.
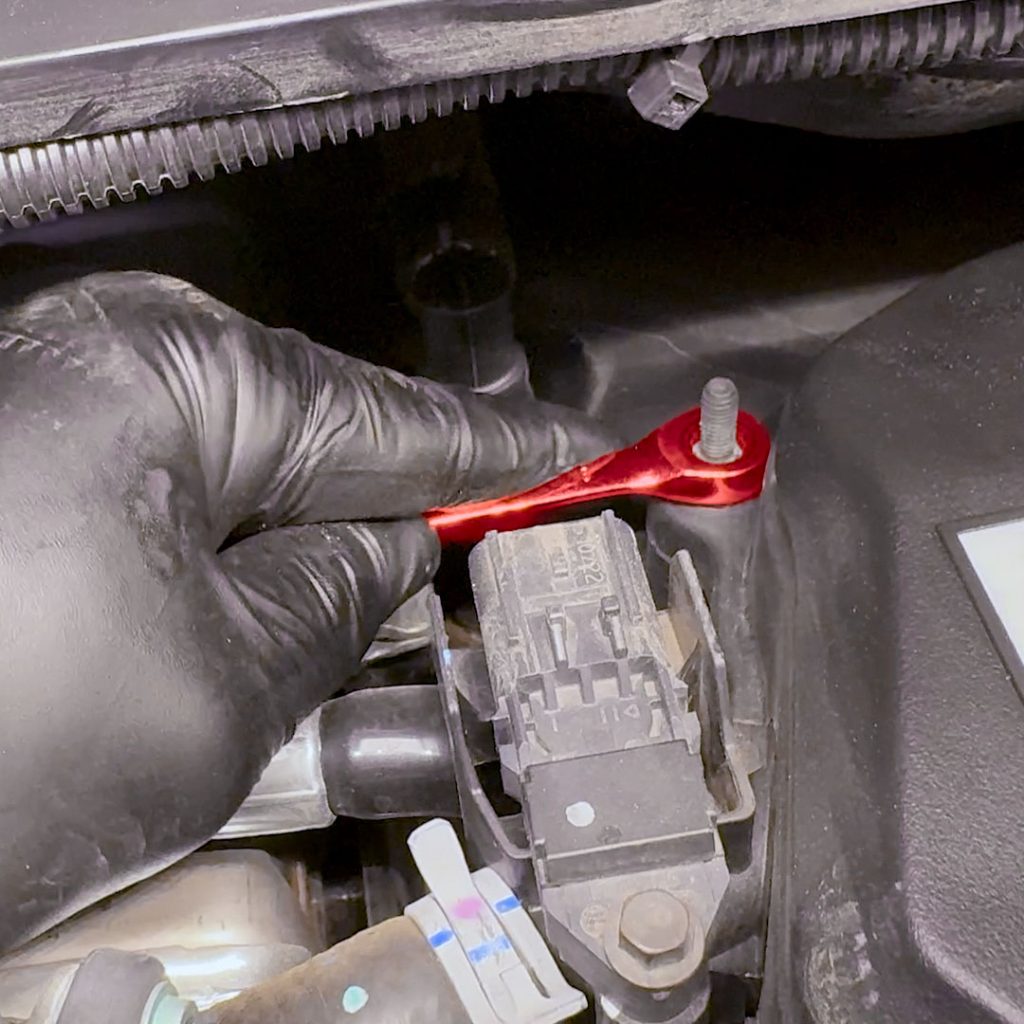
6. For the rear two bolt/studs, a wobble socket or a gear wrench is needed to provide adequate clearance.
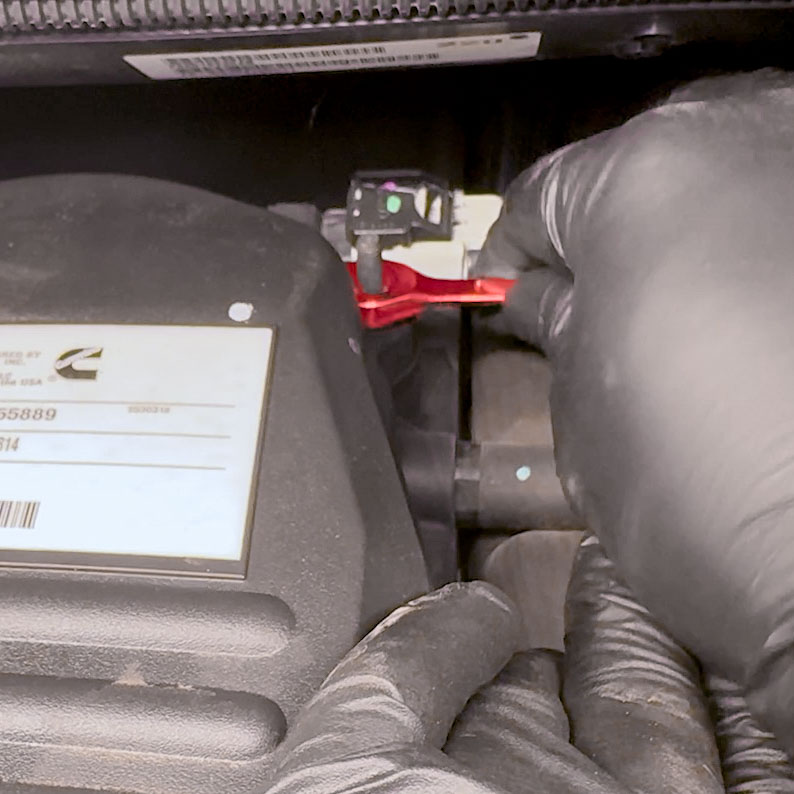
7. Remove the two rear bolts/studs and set them aside.
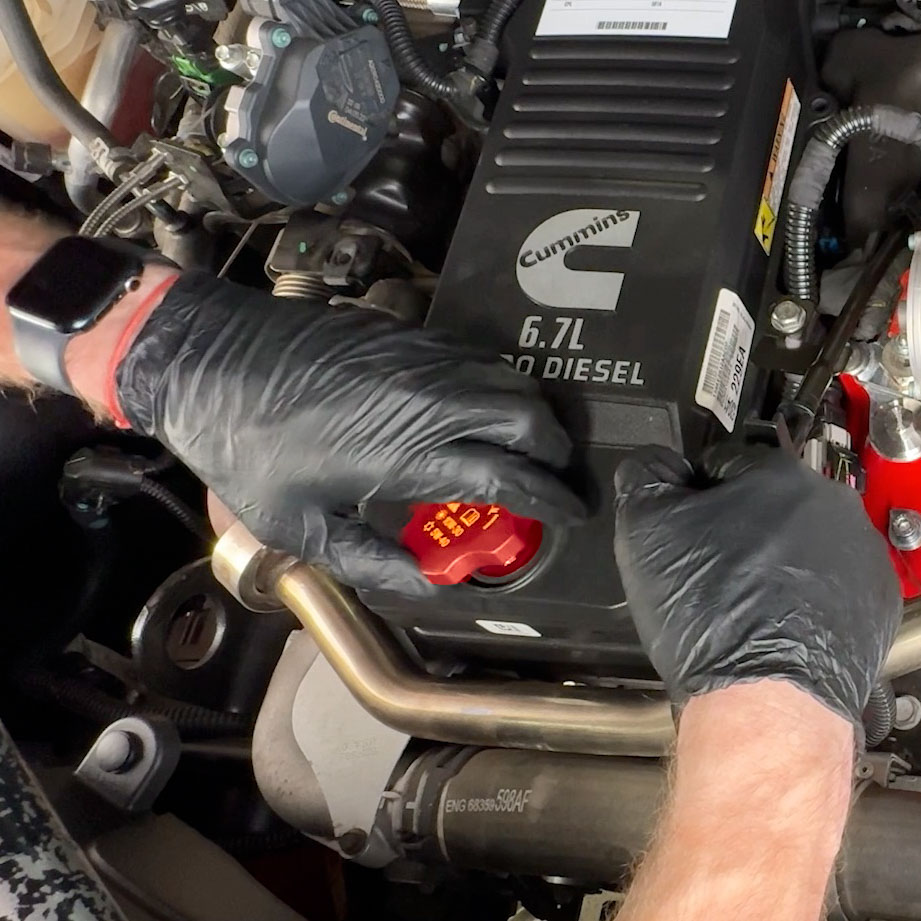
8. Remove the oil cap.
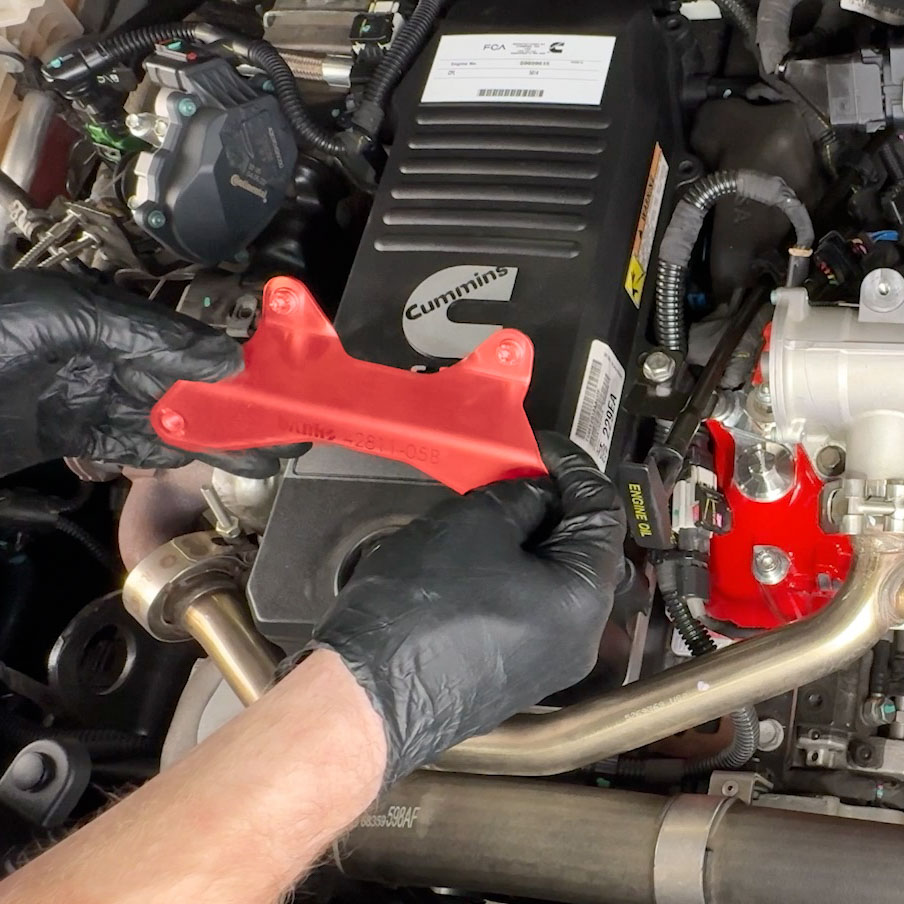
9. Grab the front bracket for the Banks Engine Cover.
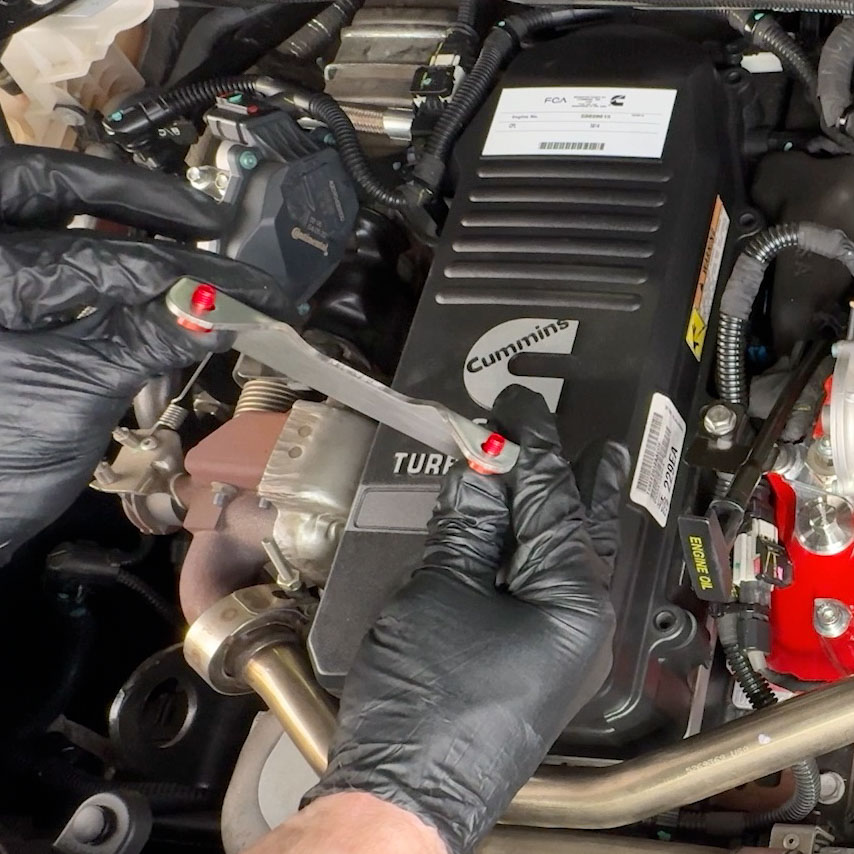
10. Pre-insert two small 10mm cap head torx screws with washers.
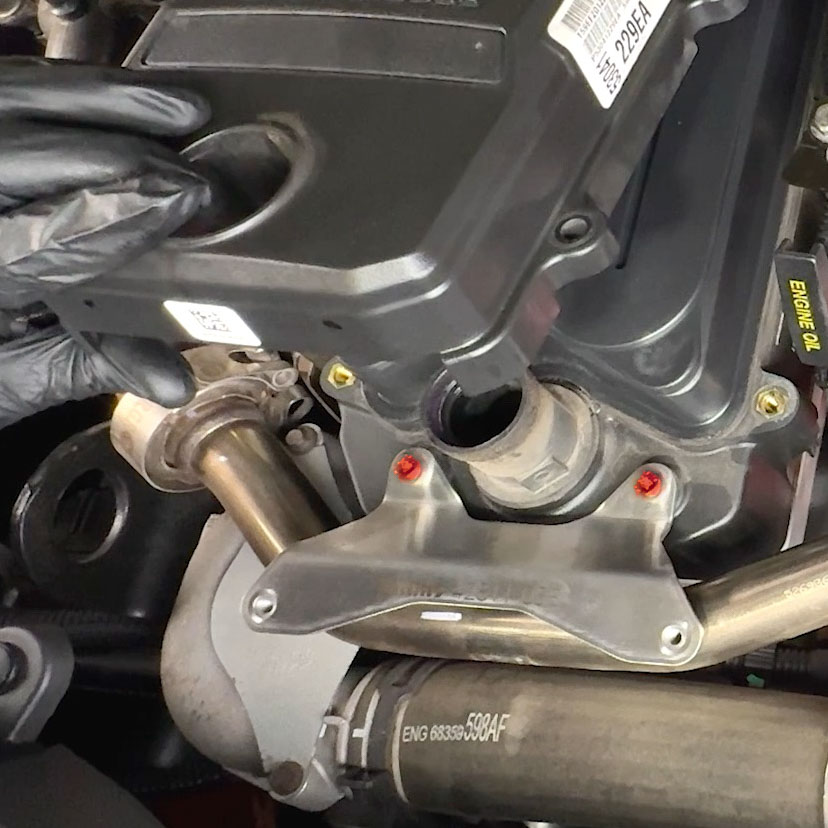
11. Start threading the torx screws in by hand.
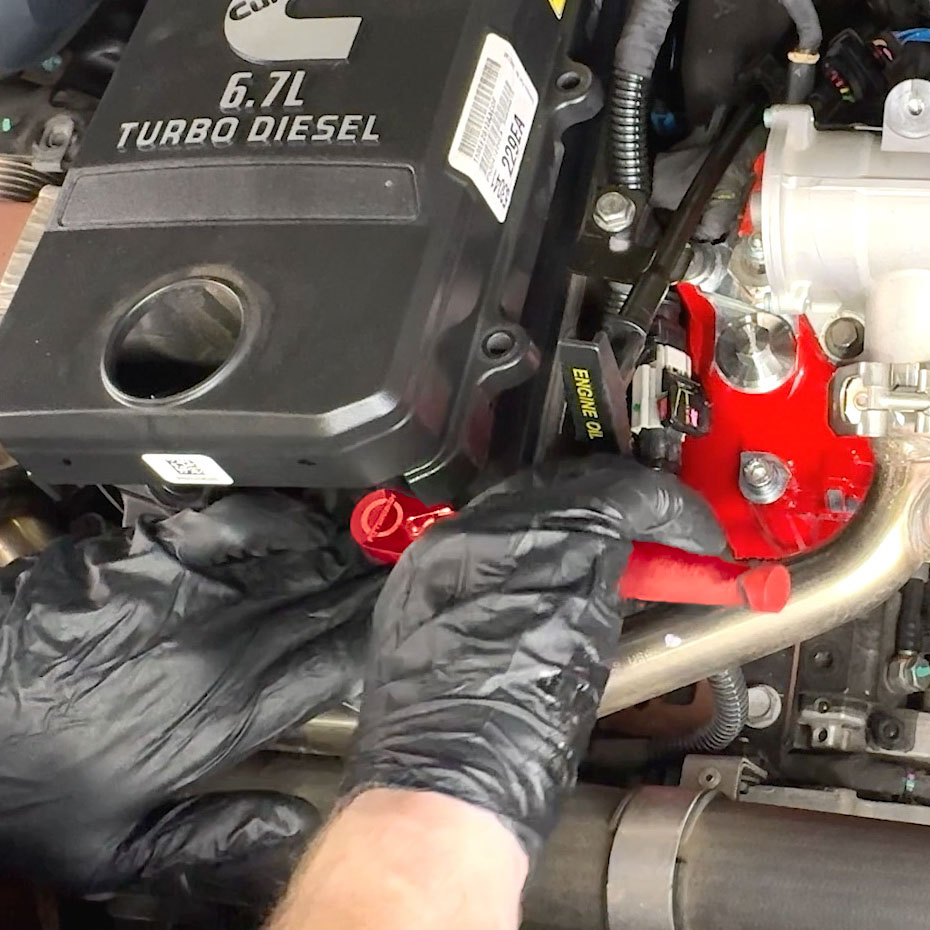
12. Then secure them in place with the provided T30 torx bit.
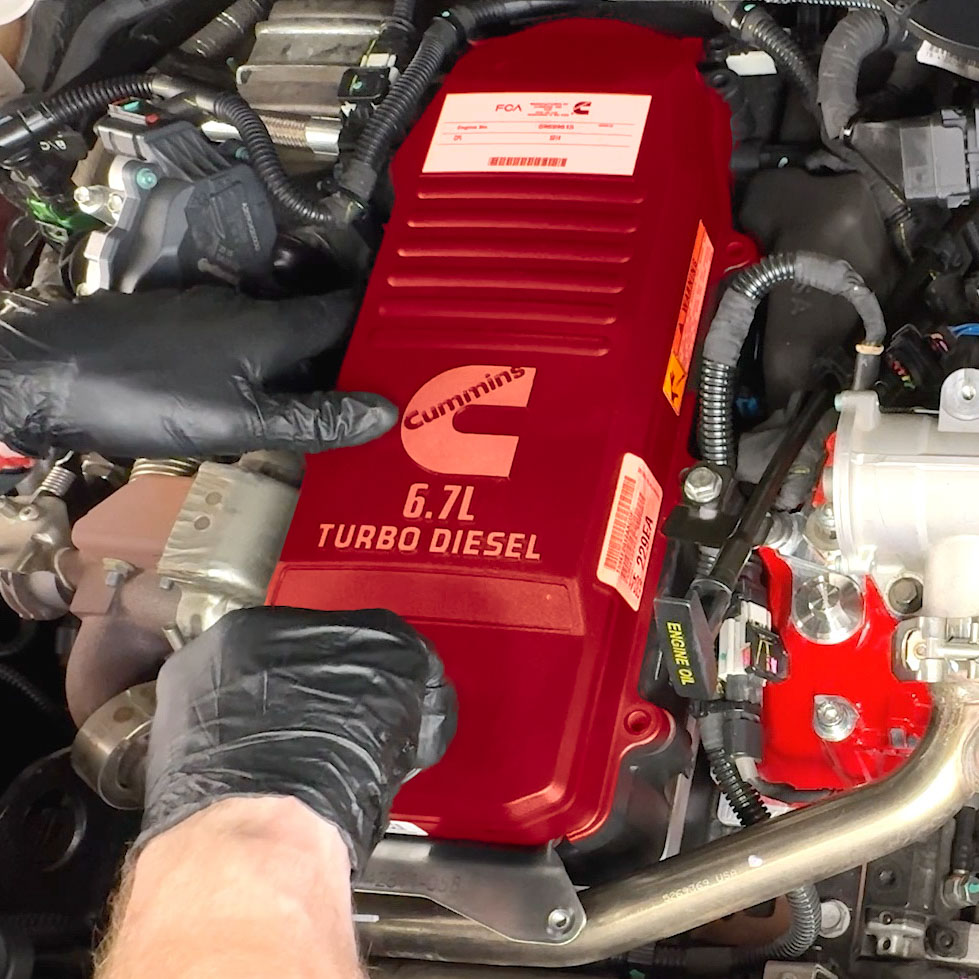
13. Reinstall the oil cap while you line the valve cover back in place.
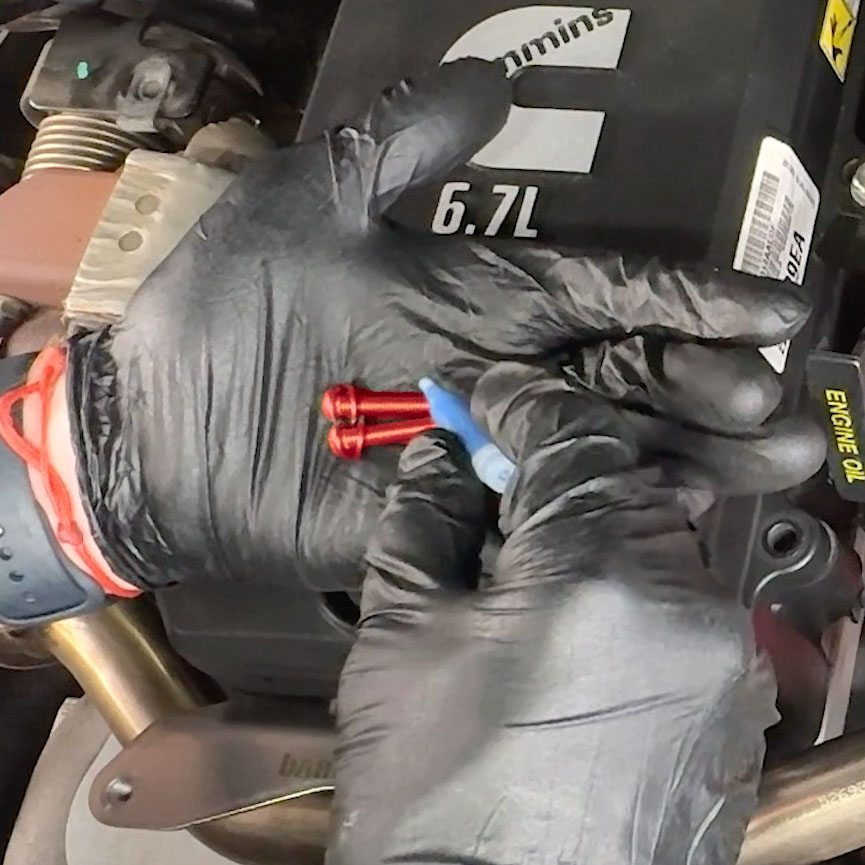
13. Apply some blue lock tight on two of the longer 30mm button head cap screws.
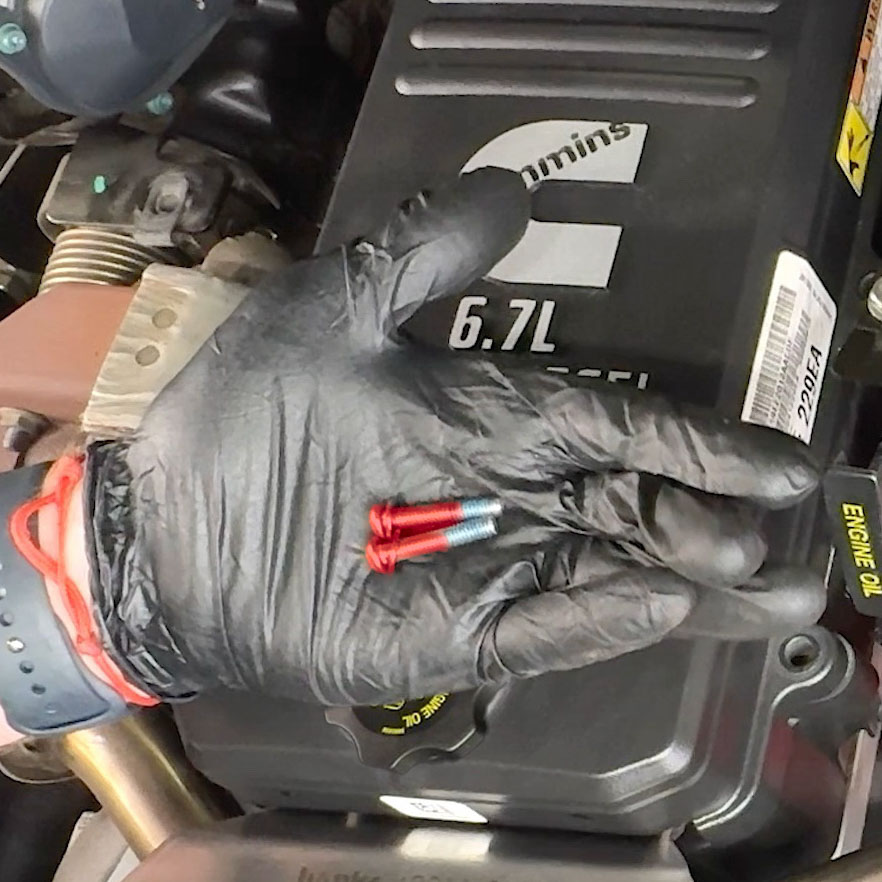
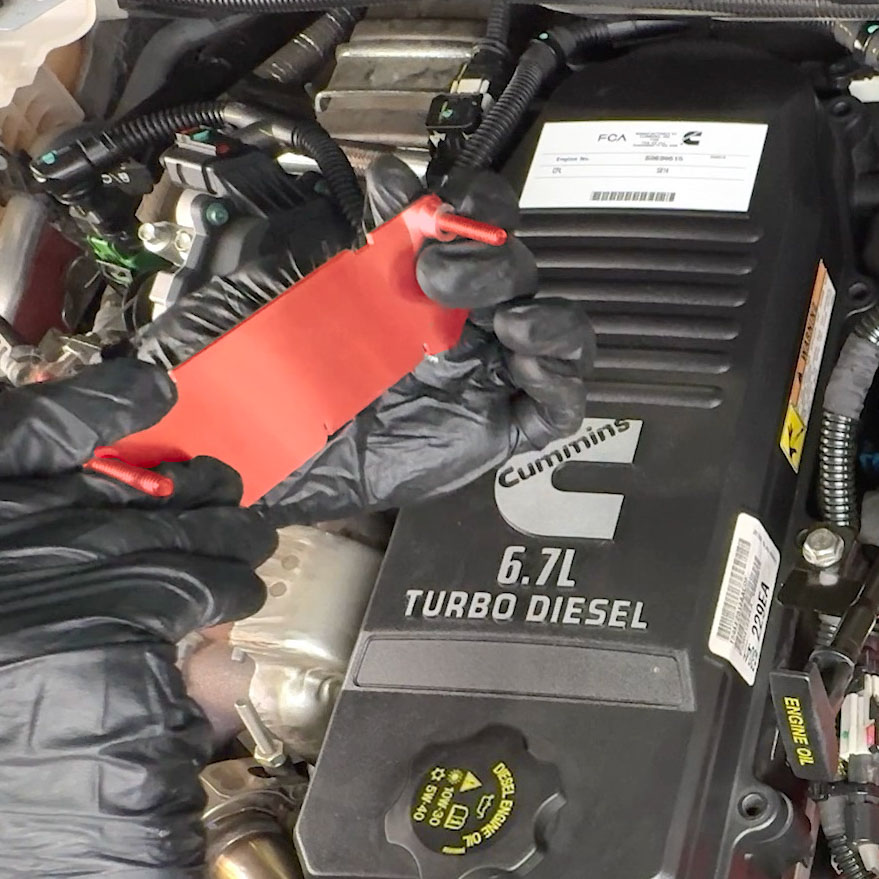
14. Preinstall the 30mm screws with washers into the driver side bracket.
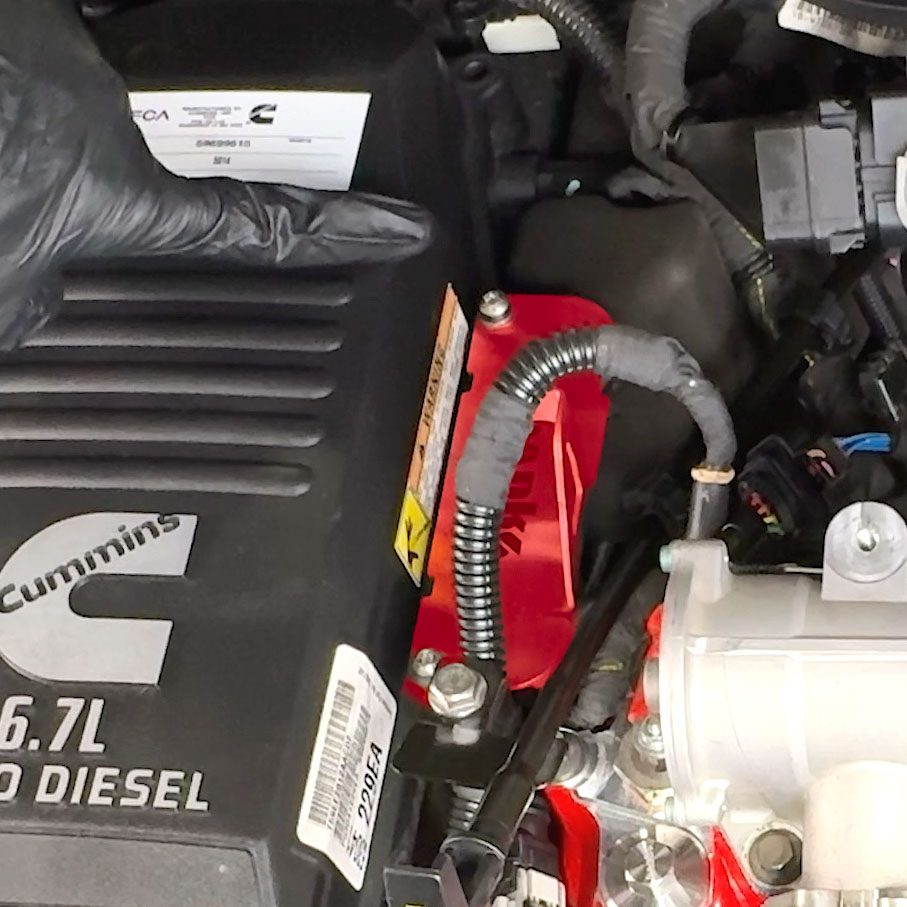
15. Line up the bracket over the second and third-to-last holes in the valve cover on the driver’s side, and start tightening them by hand.
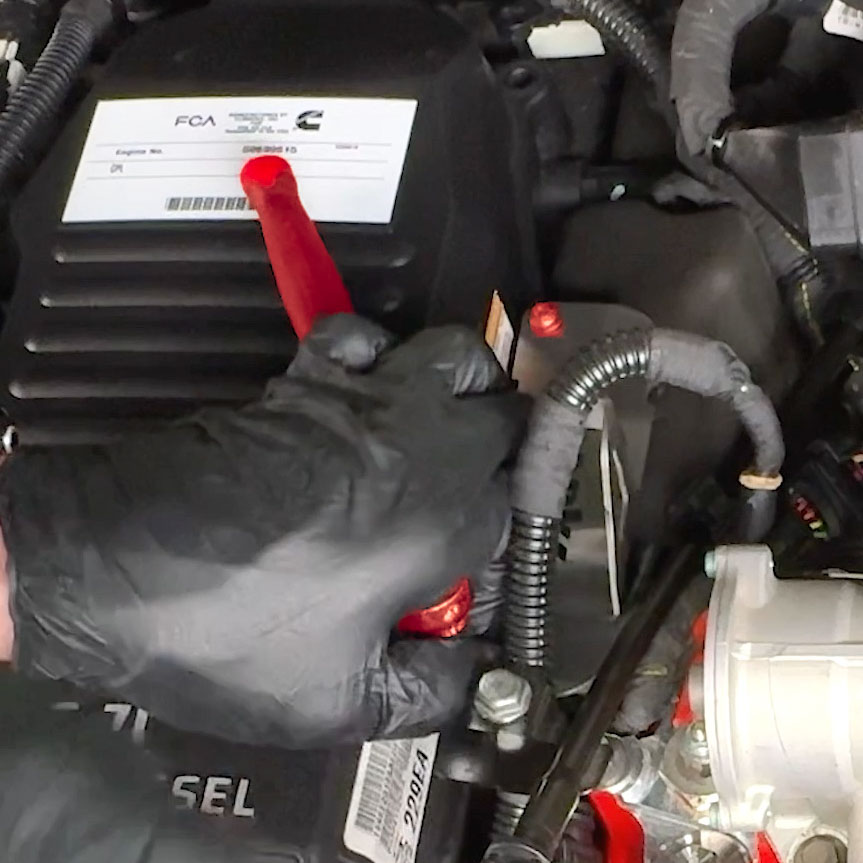
16. Tighten the driver side bracket down with the supplied T30 torx bit.
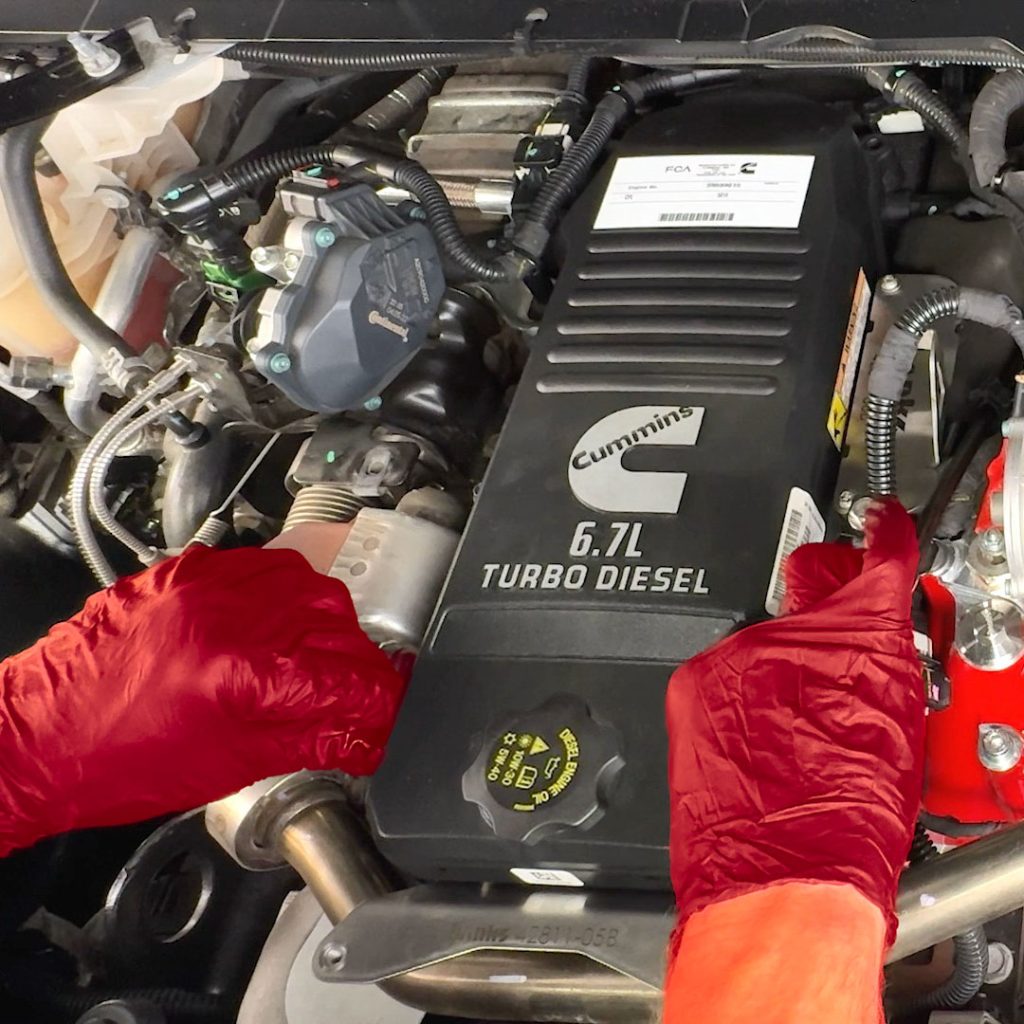
17. Continue to reinstall the remaining factory bolts for the valve cover.
Note: If installing the alternate mounting kit, do not install the middle bolt and stud on the passenger side of the engine yet. These will be reused later.
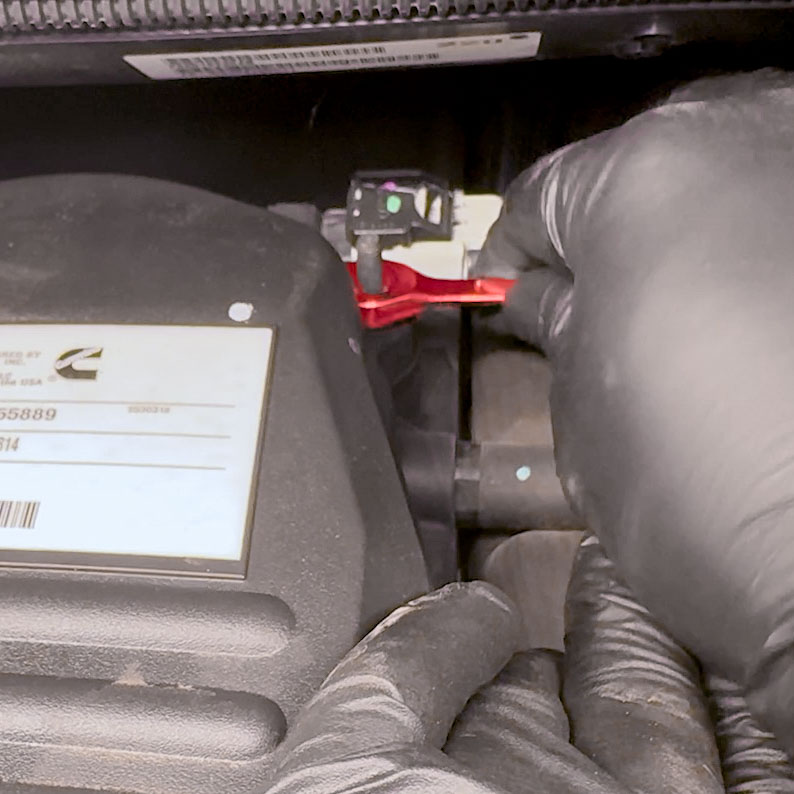
18. Use your wobble socket or gear wrench for the rear two bolts, and reattach the engine harness to the studs.
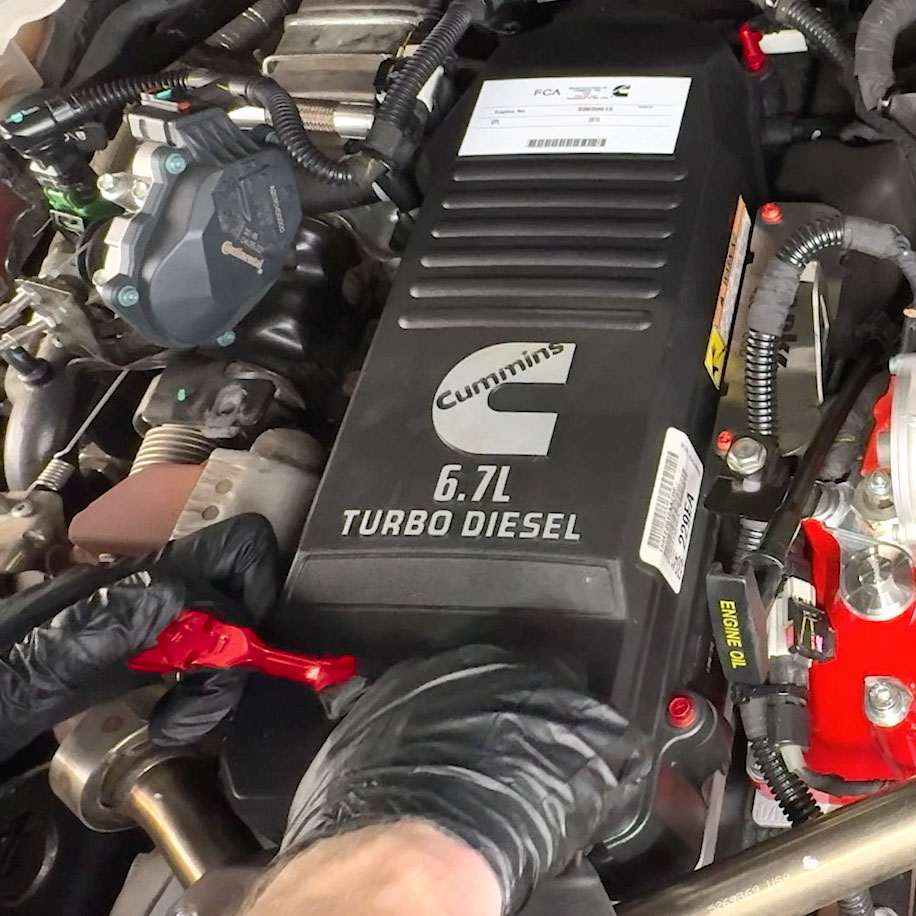
19. Check that all valve cover bolts/studs are snug.
For those who require the alternate mount kit (Items 15, 16, and 17), install the two additional brackets now.
Otherwise skip to part 4.
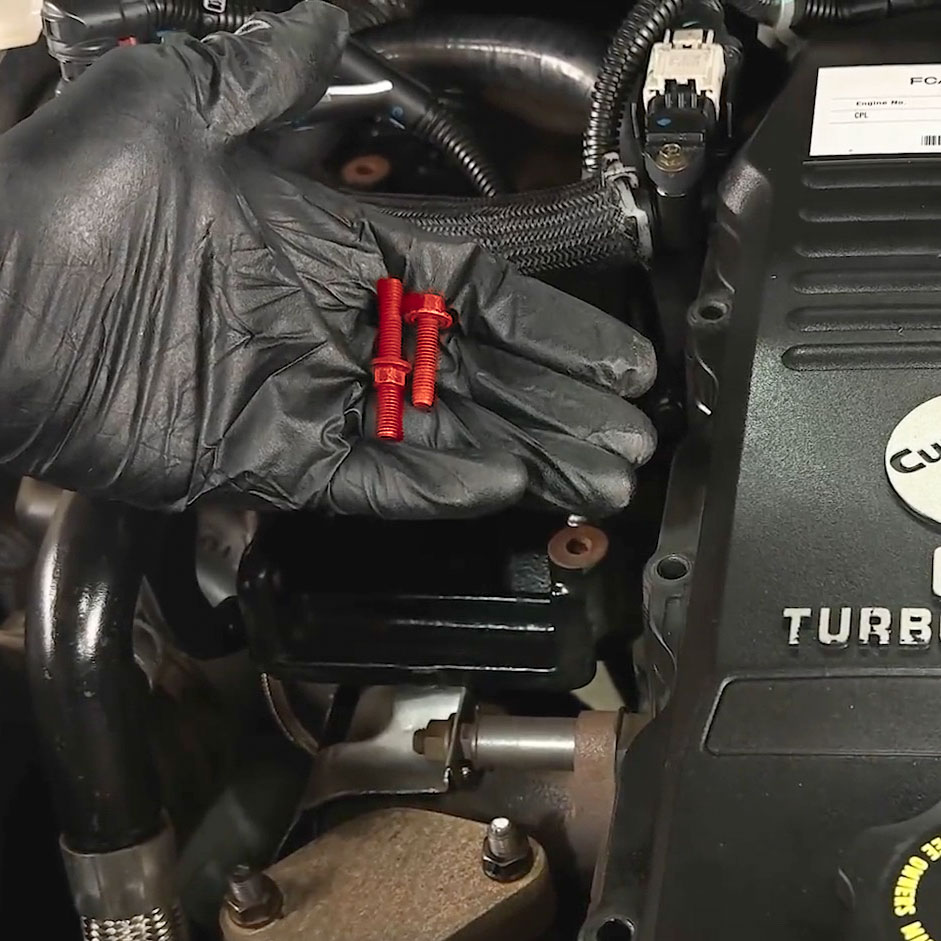
1. Grab the factory bolt and stud used on the middle-passenger side of the engine.
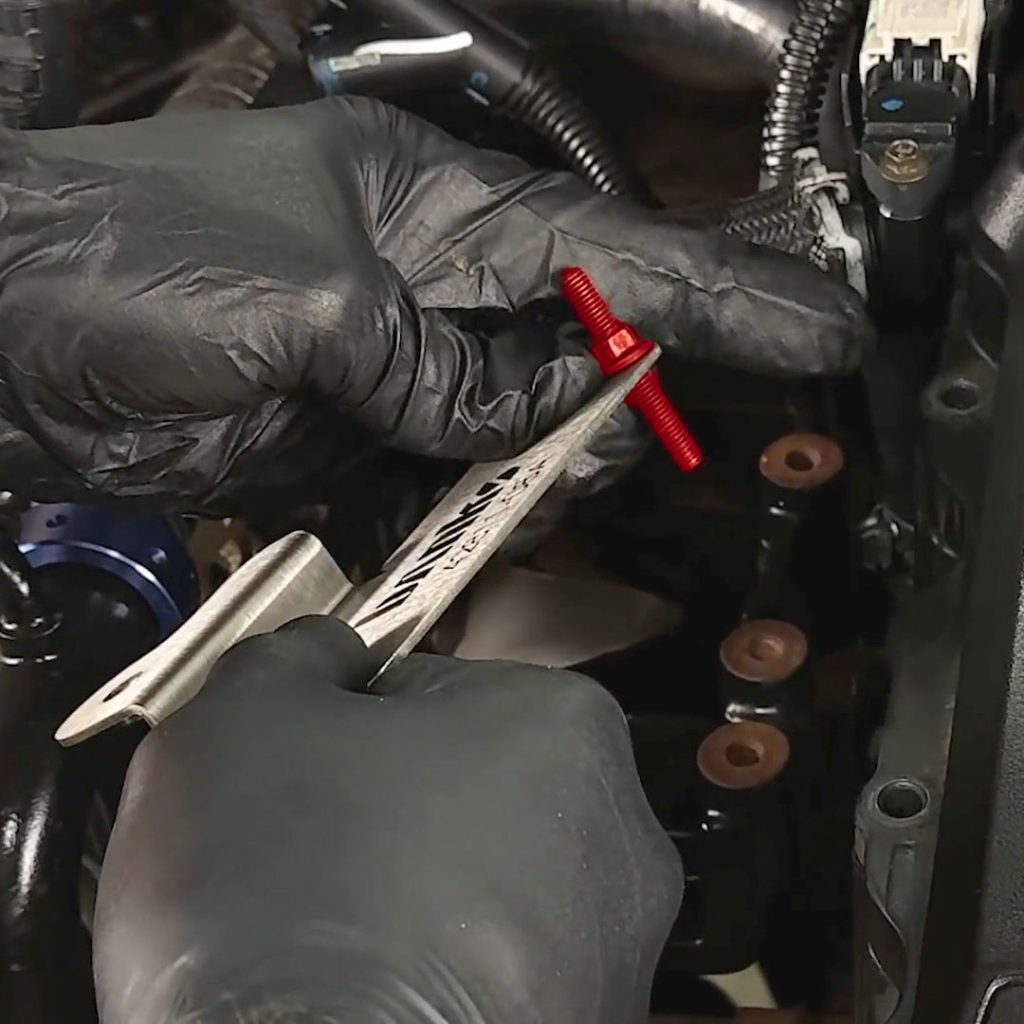
2. Grab item 16 and place the factory stud in the hole closer to the firewall.
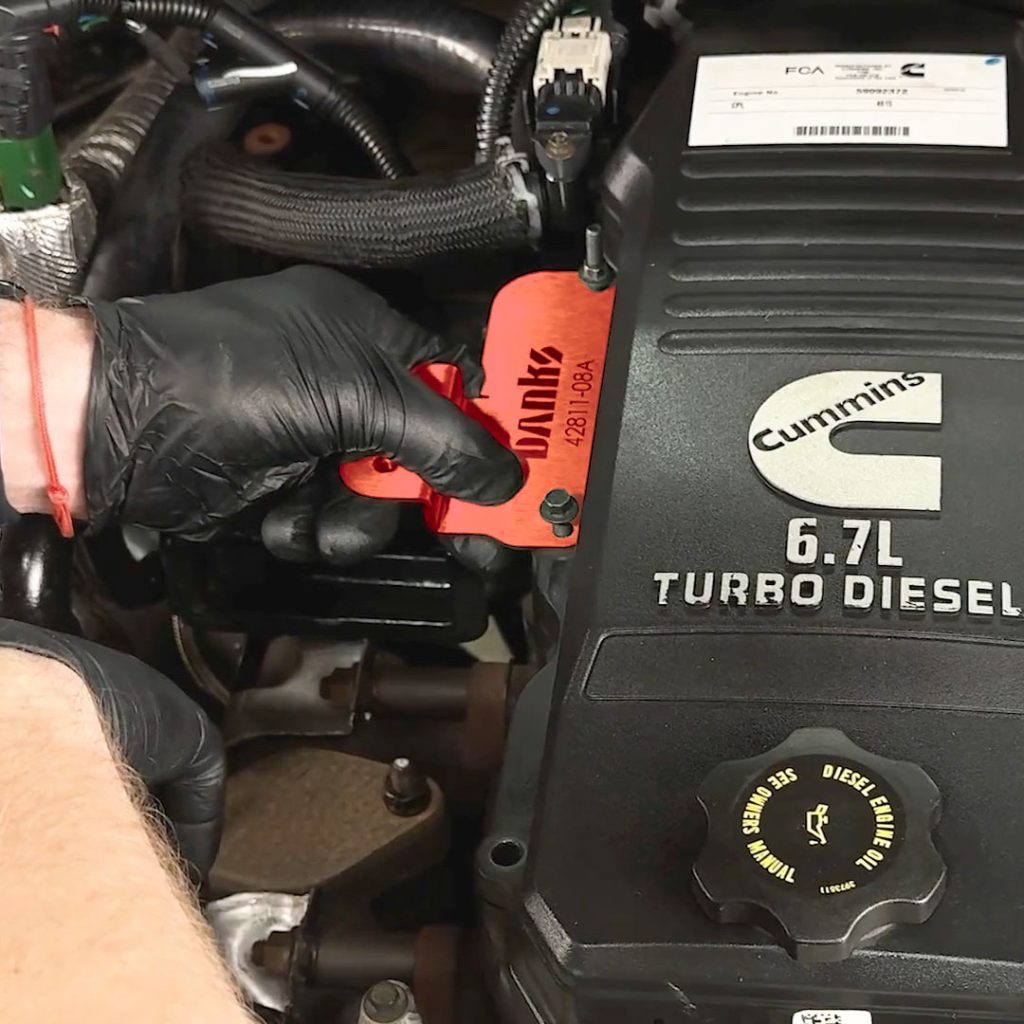
3. Start threading the stud in by hand; the remaining factory bolt will go on the other side.
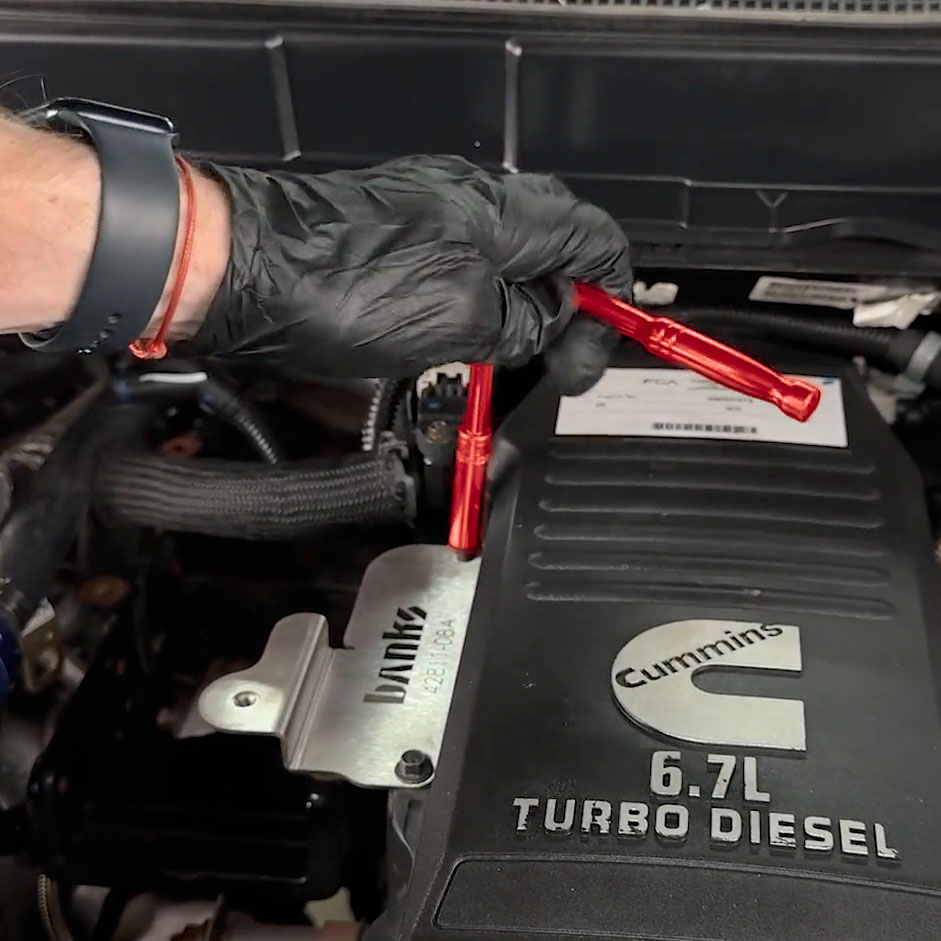
4. Snug the bolt and stud down with an 8mm deep socket.
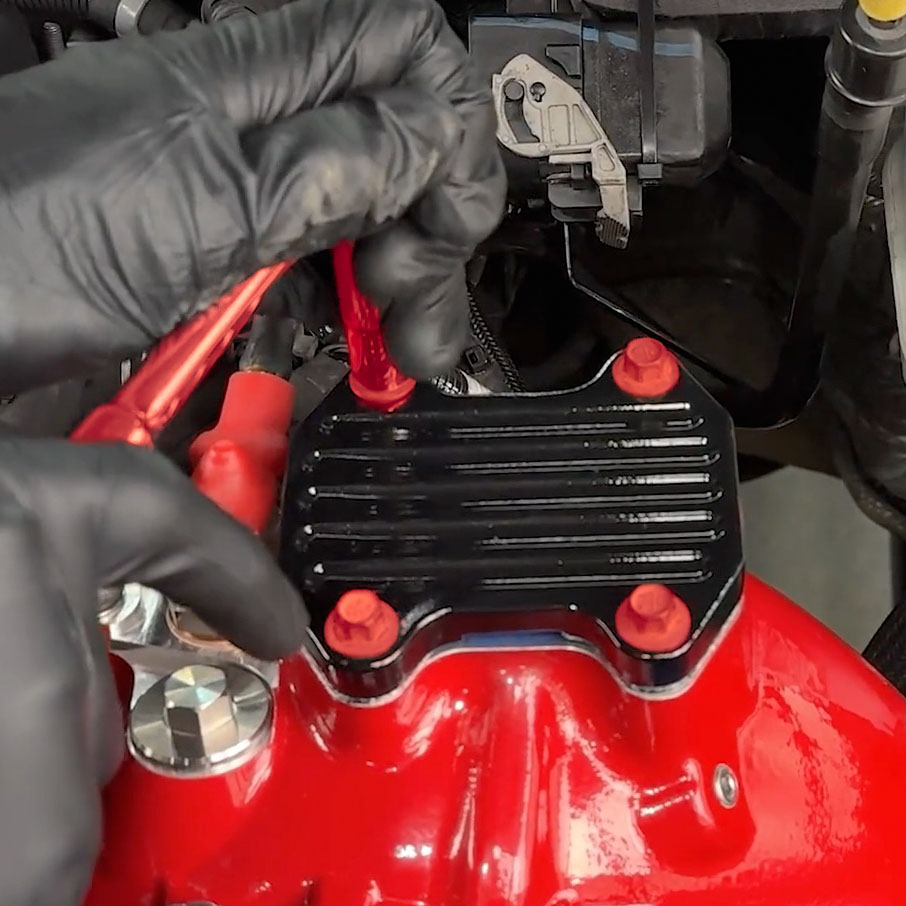
5. Remove the four 10mm bolts on top of the Monster-Ram.
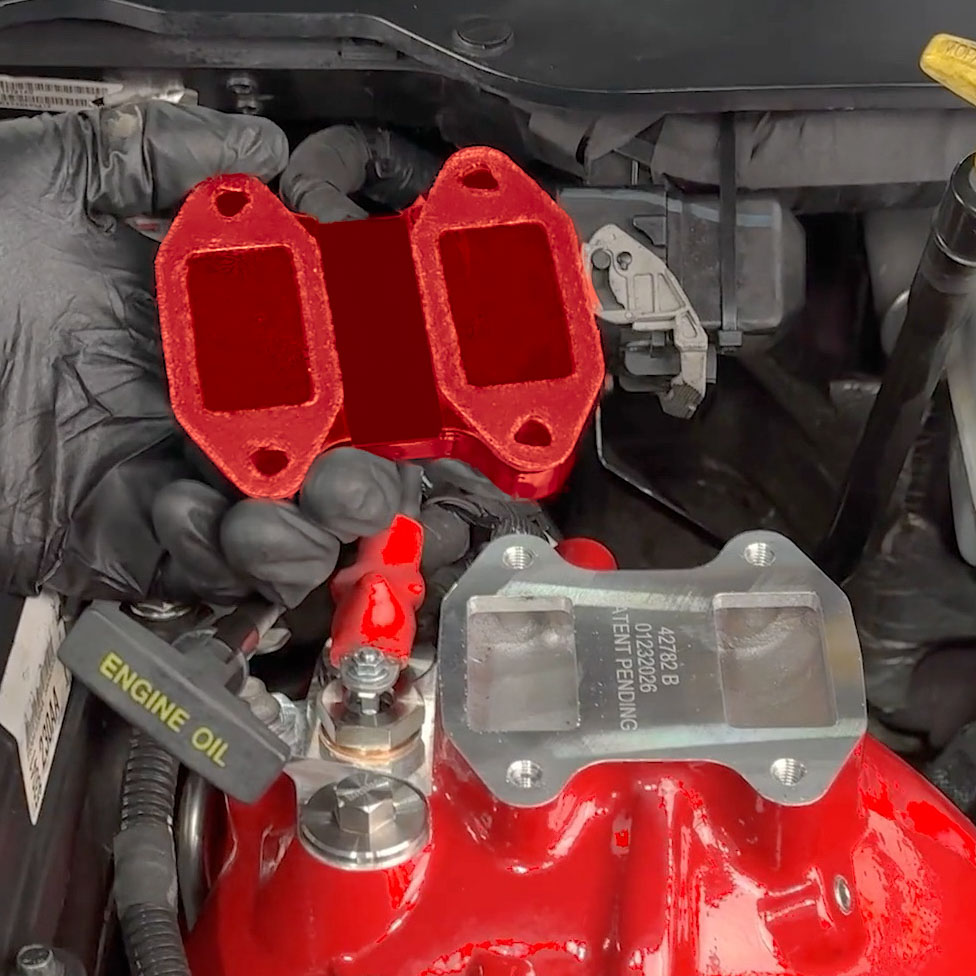
6. Take care not to damage the gaskets when removing the plate; they will be reused.
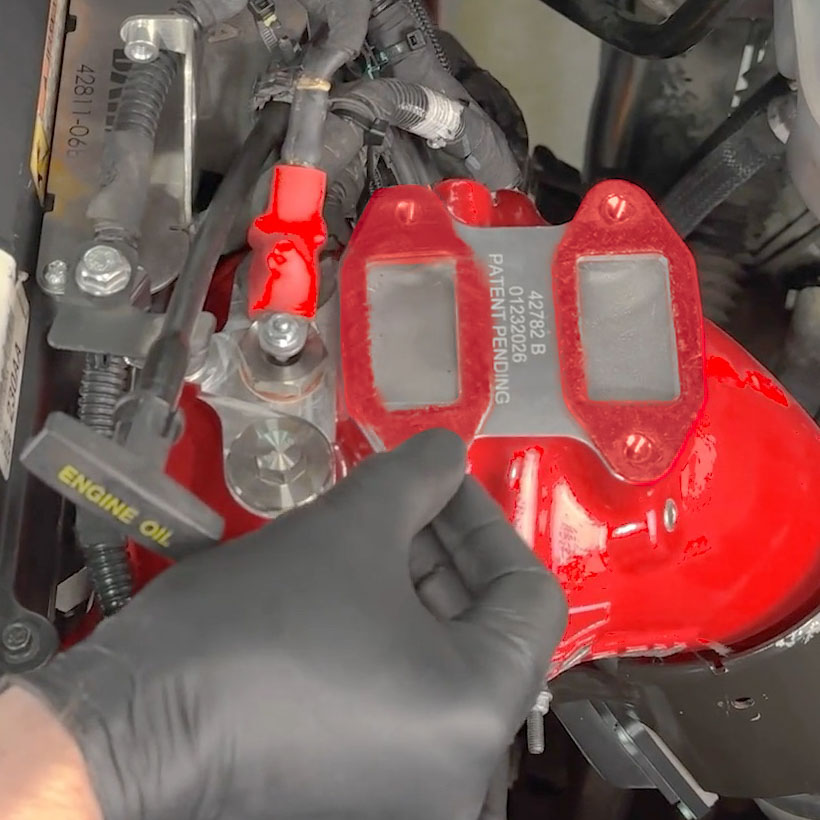
7. Line up the two new supplied gaskets on top of the Monster-Ram.
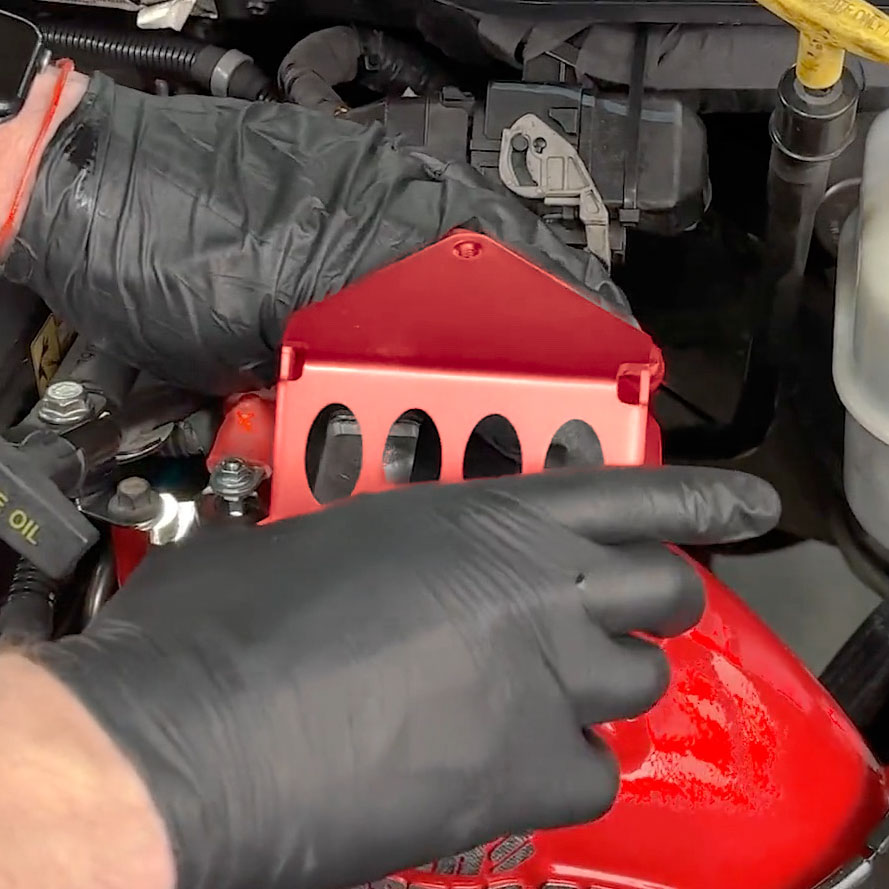
8. Carefully line up item 15 on top of the two gaskets.
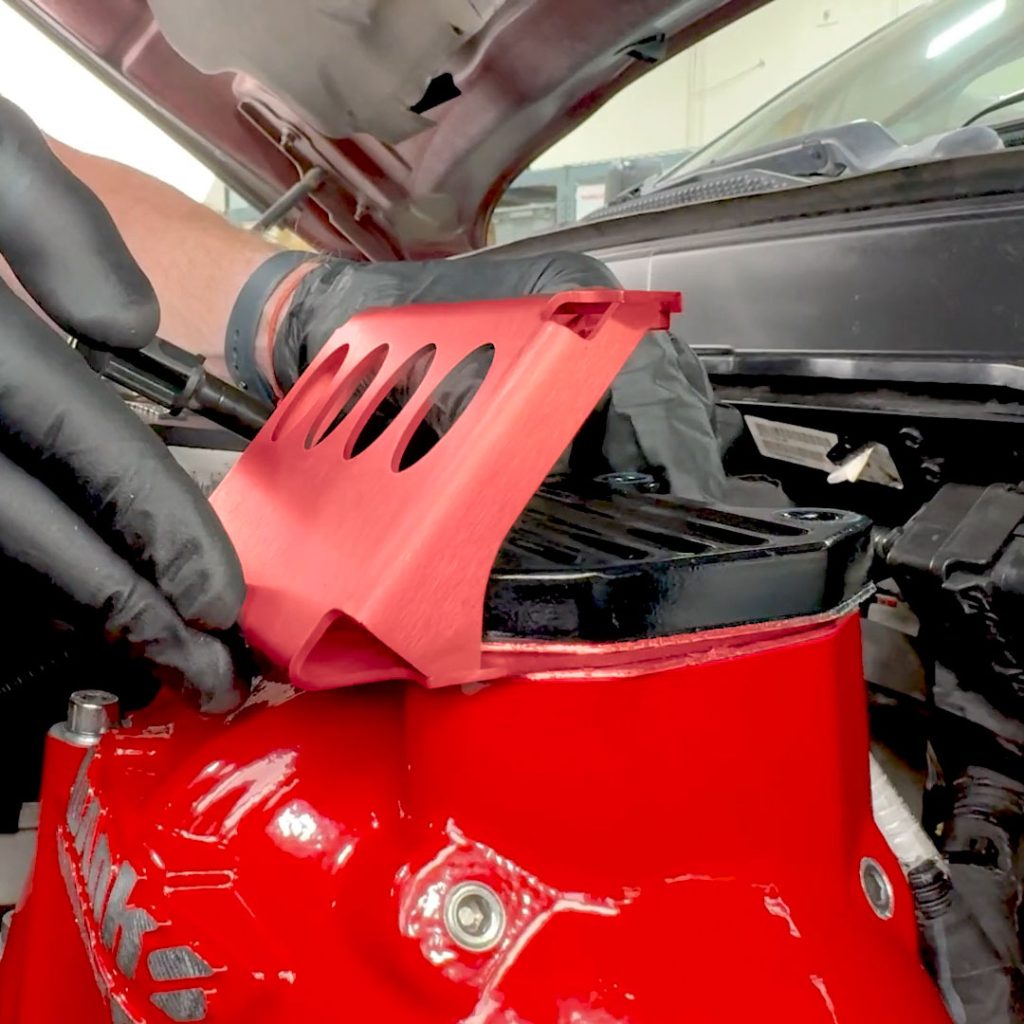
9. Carefully line up the plate with its two gaskets.
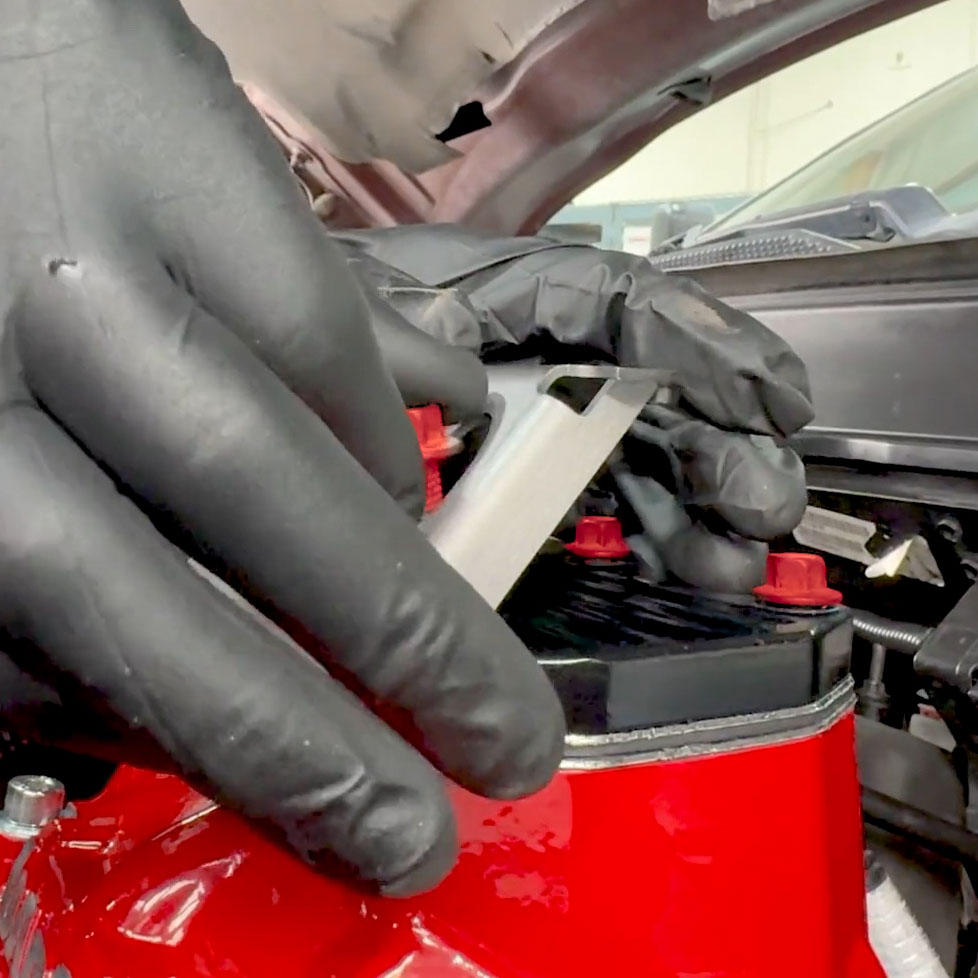
10. Thread in the four 10mm bolts by hand.
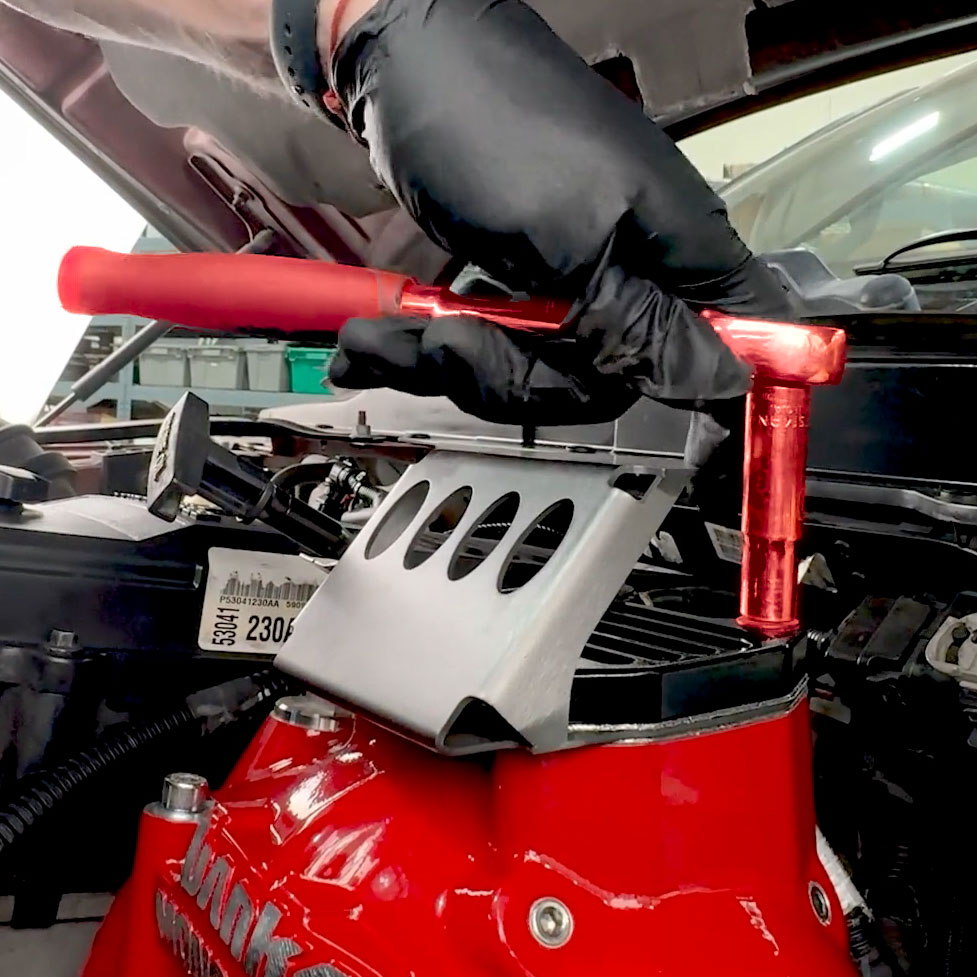
11. With a 10mm deep socket, snug them down.
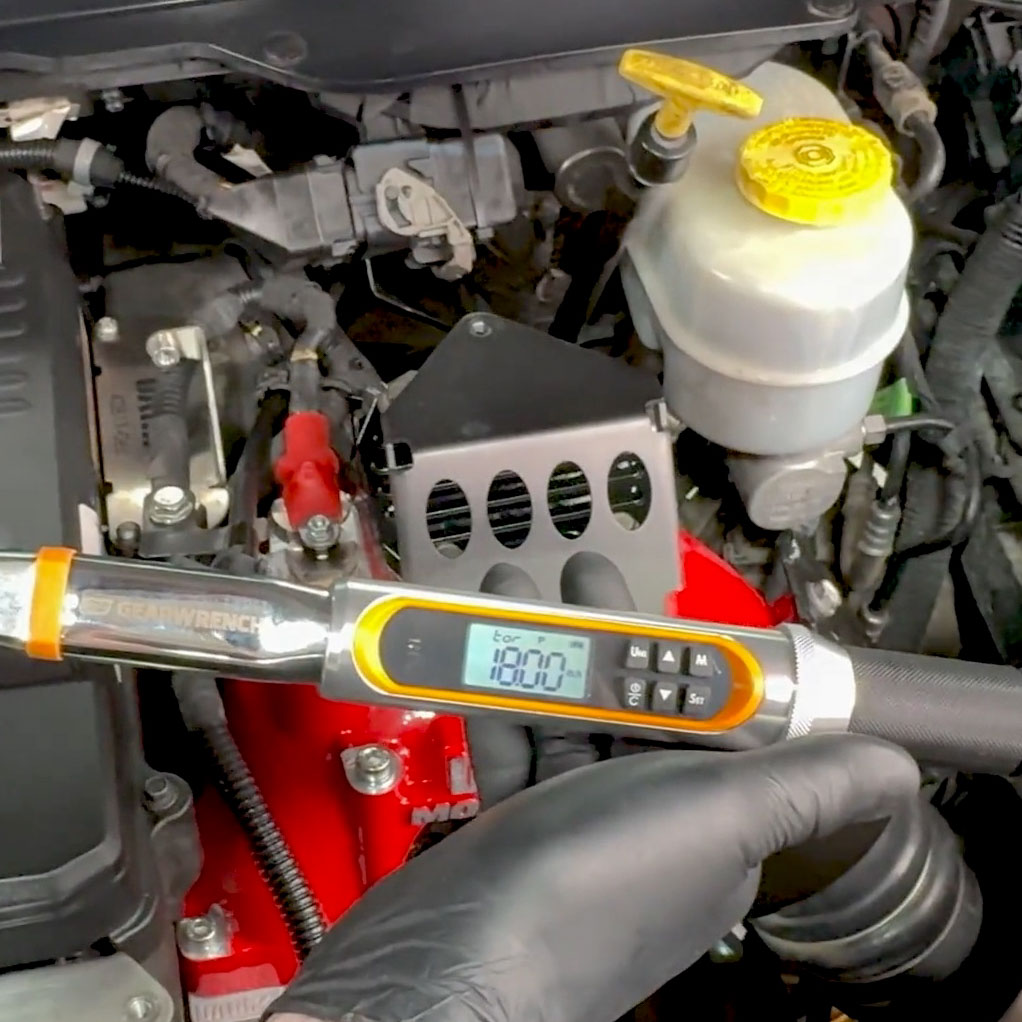
11. Retorque all 4 bolts to 18 ft-lbs.
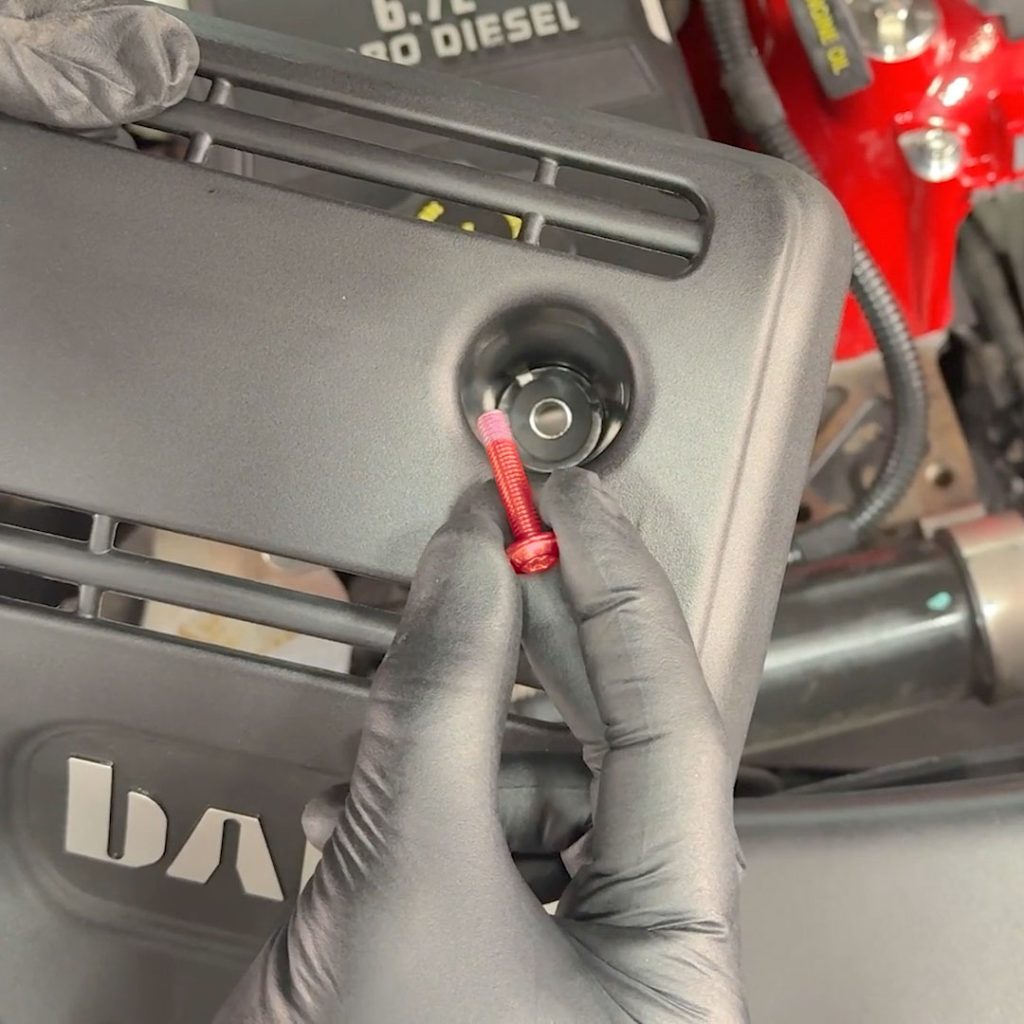
1. Drop the flanged 30mm T30 screw into the Banks Engine Cover on the passanger side.
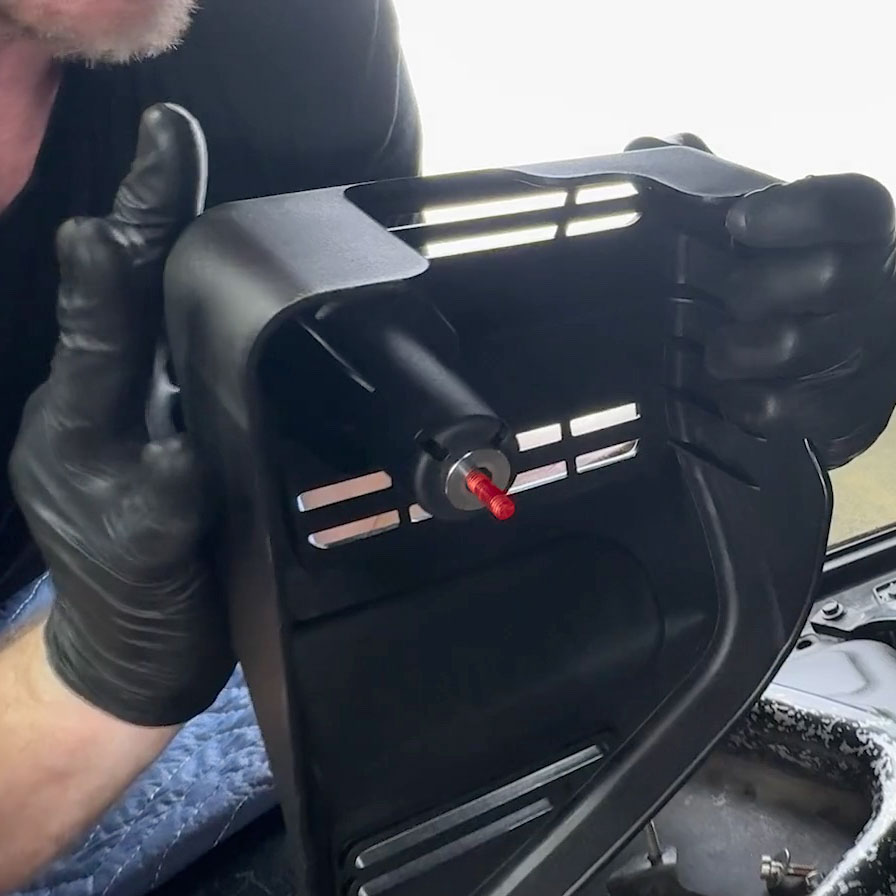
2. With the flanged screw poking out the bottom, and supporting it with your T30 torx on an extension, carefully bring the engine cover over the engine.
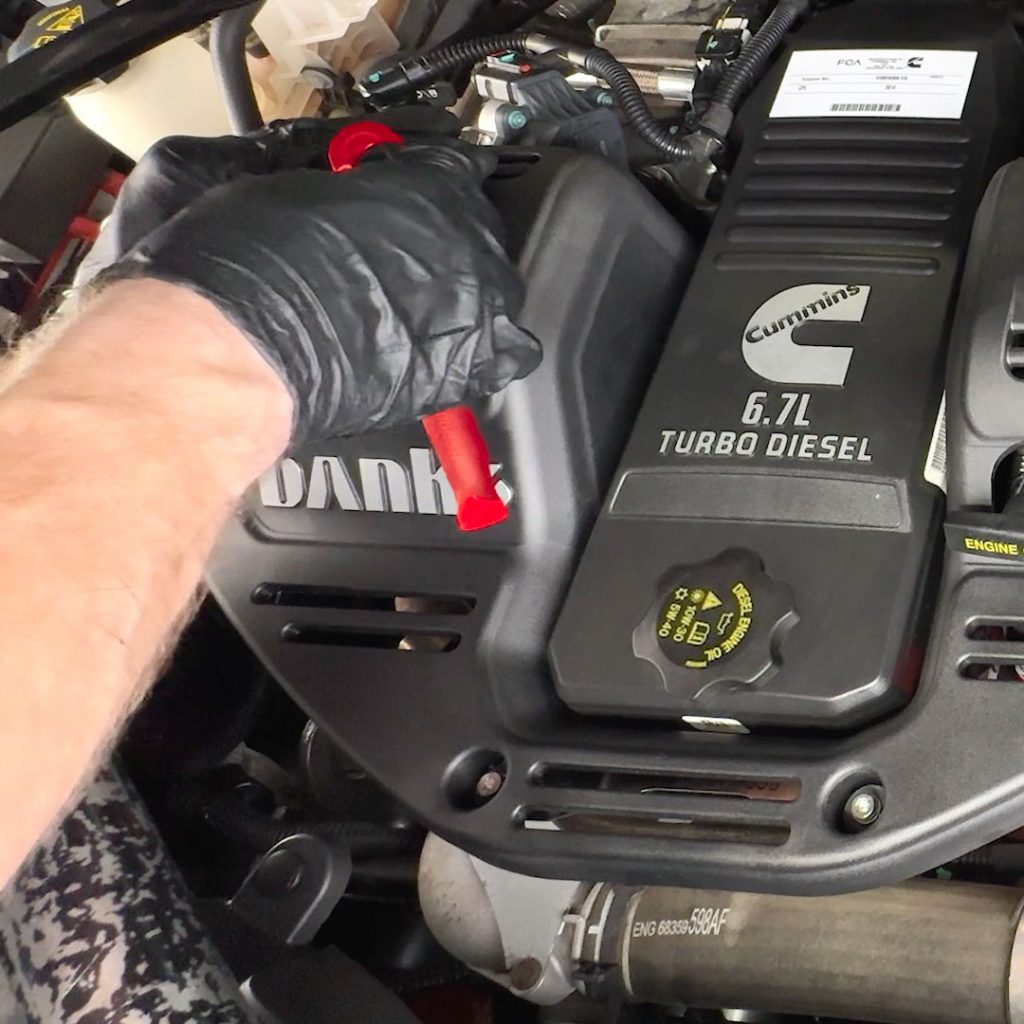
3. Carefully thread in the T30 screw and washer into the passenger side. Don’t fully snug the bolt down yet.
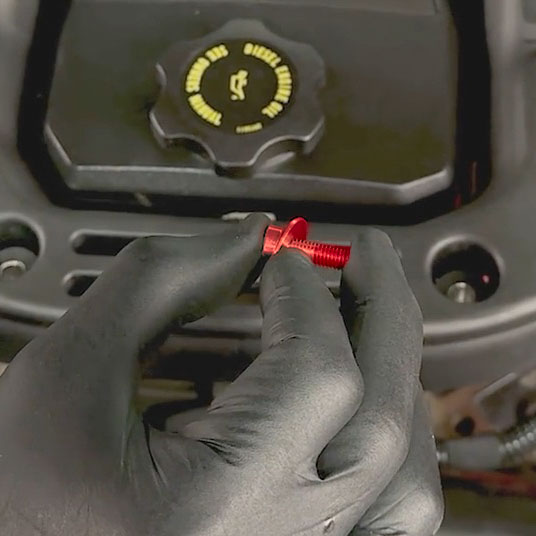
4. Continue onto the other 3 locations with the 20mm Torx screws, each with one of the larger 18mm washers.
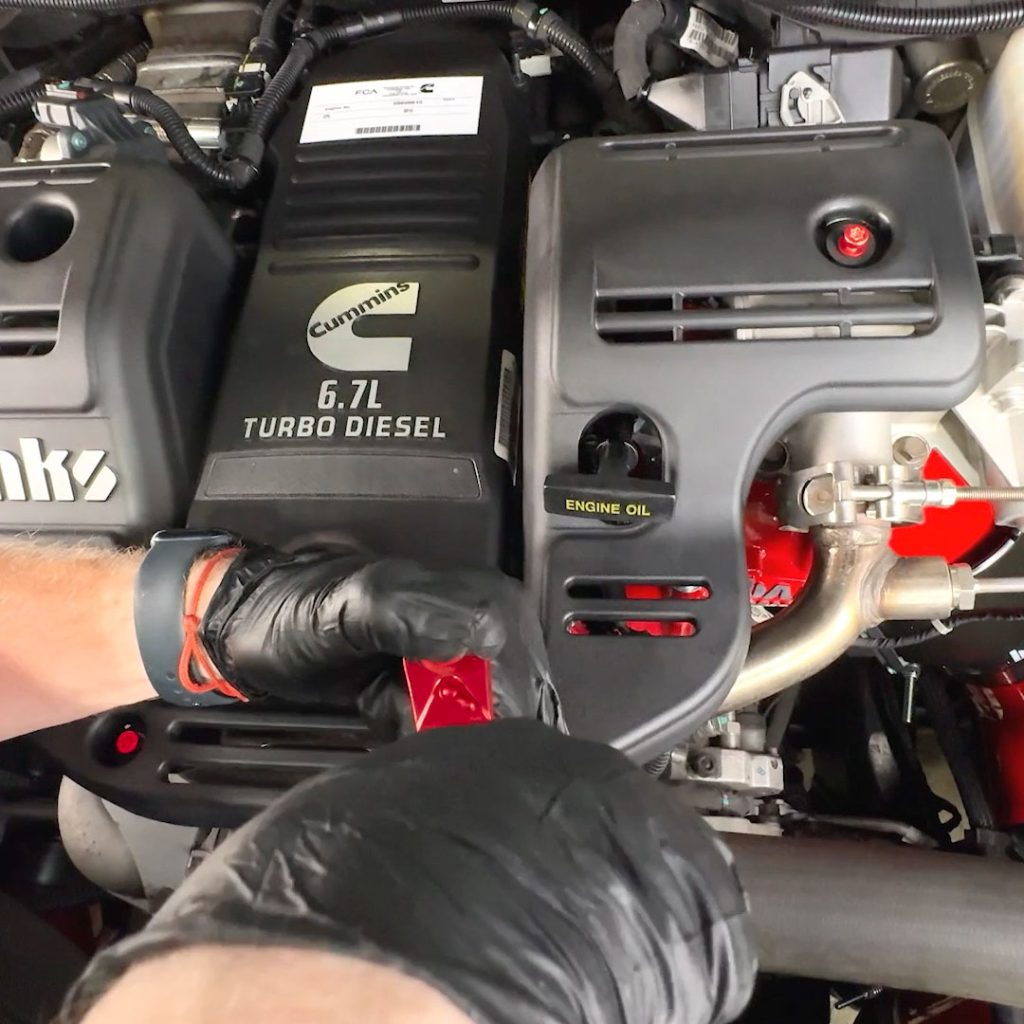
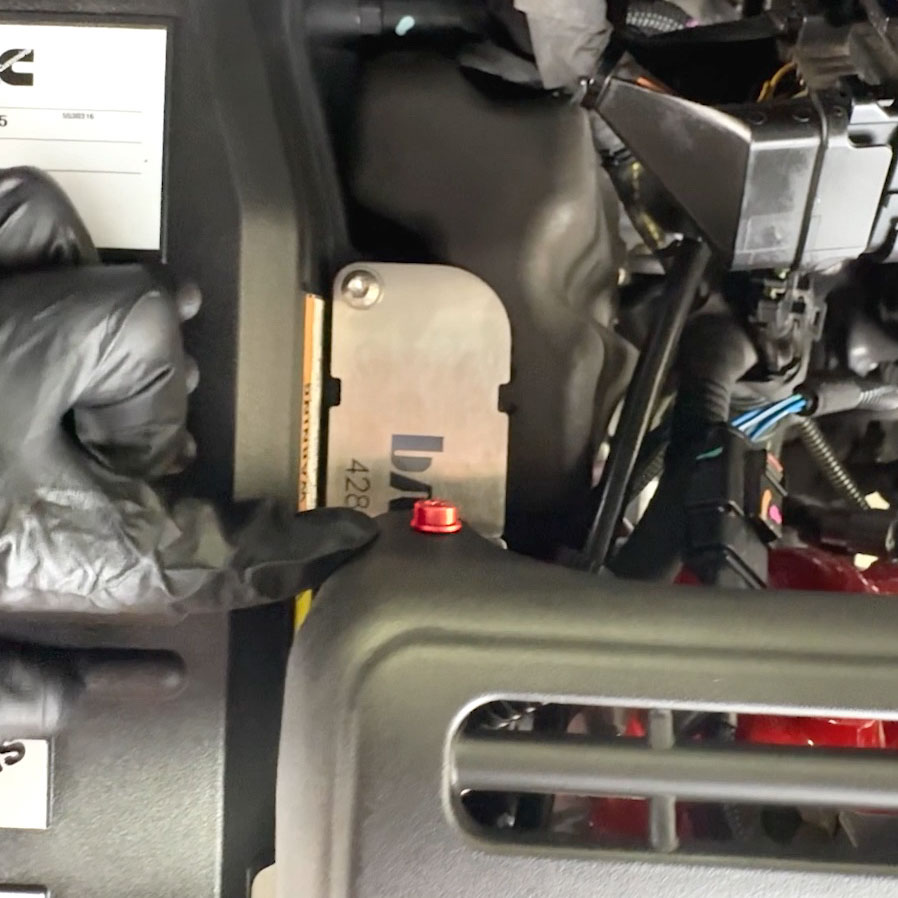
5. The last T30 torx screw and small washer thread in on the back side, near the Monster-Ram.
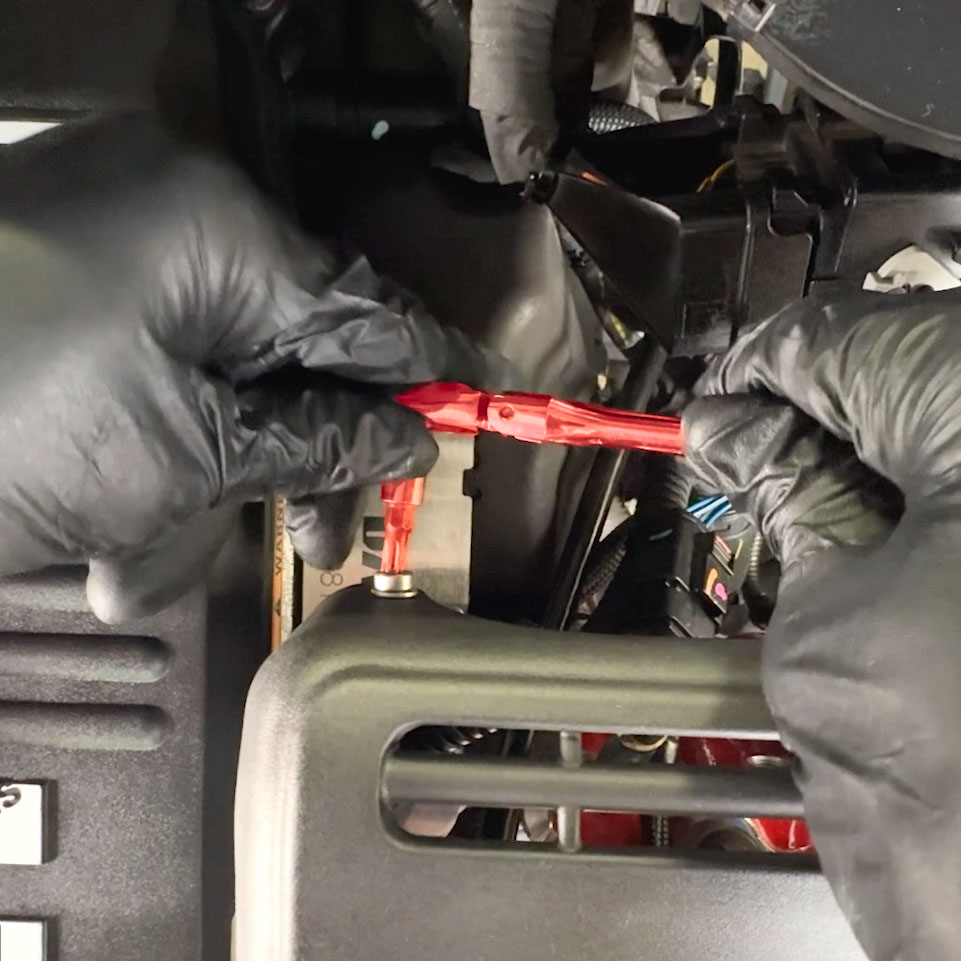
6. Snug it down with the supplied T30 torx bit. Then snug down the remaining torx screws.
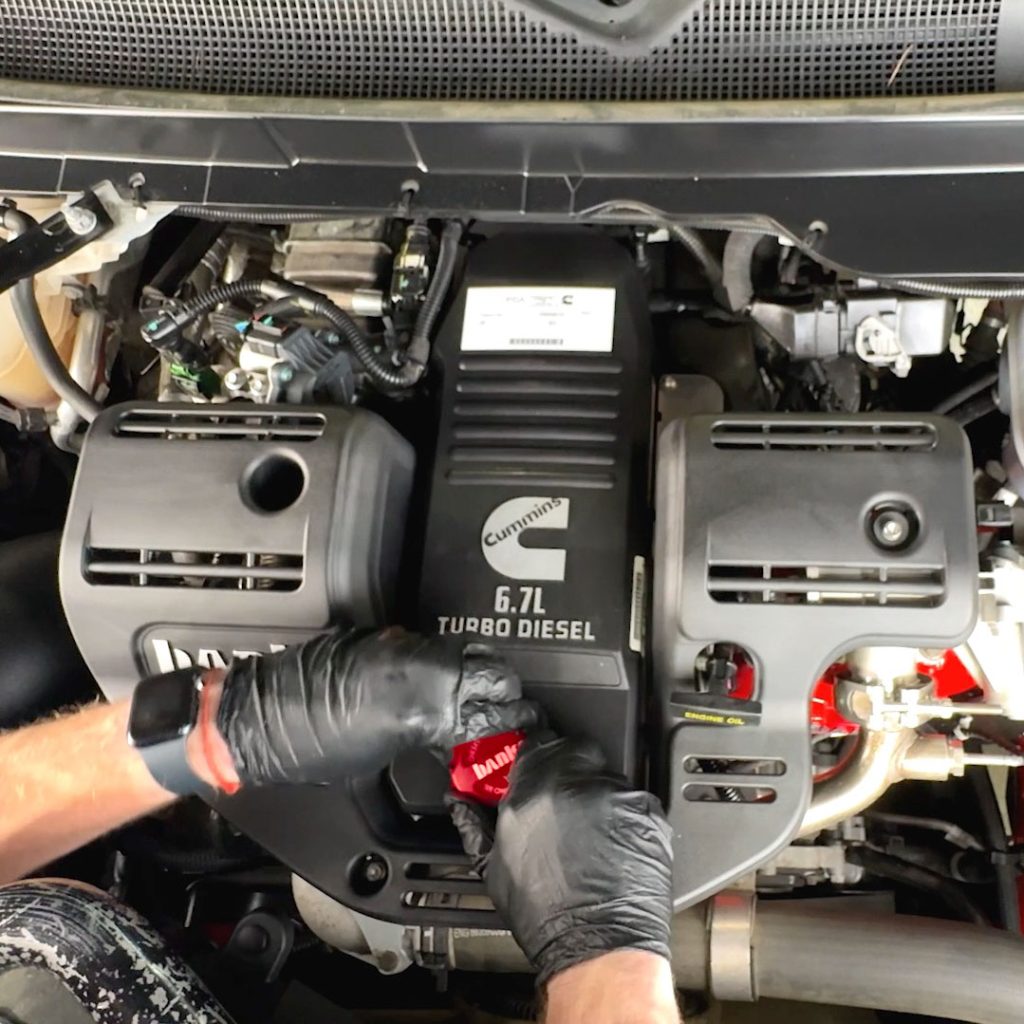
7. Don’t forget to install your new Banks Revolver Oil Cap to complete your installation.
Tighten the cap until it clicks and rotate it around to the front. Twist the cap counter-clockwise slightly if needed to get the Banks logo straight.