



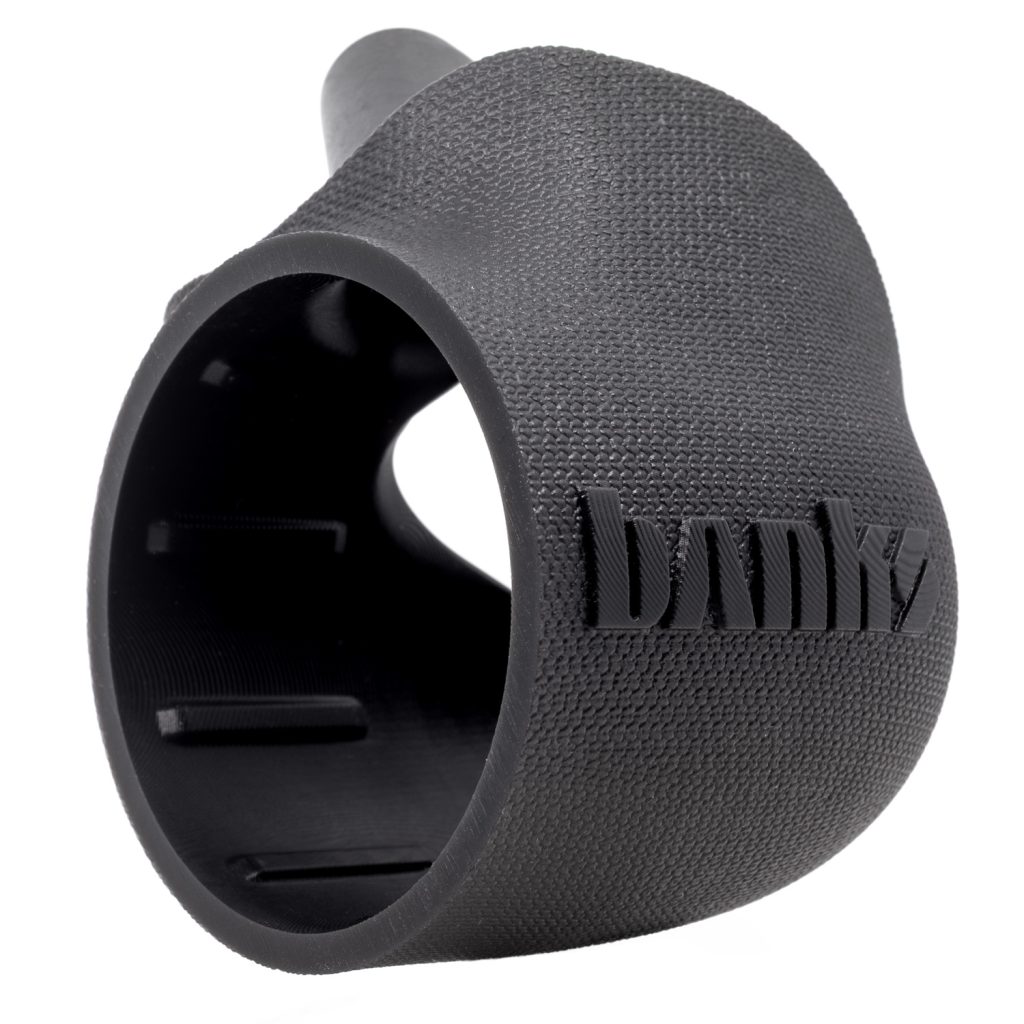

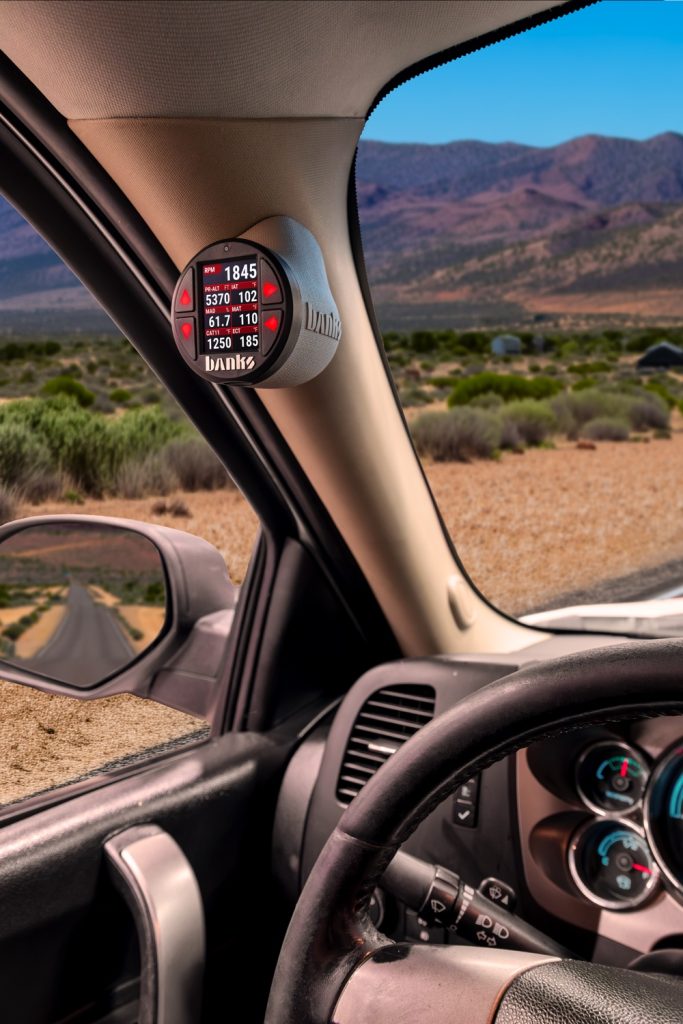
Fits the driver side upper A-pillar bolt found in:
• 2007-2013 Chevrolet Avalanche
• 2007-2014 Chevrolet Silverado
• 2007-2014 Chevrolet Suburban
• 2007-2013 Chevrolet Tahoe
• 2007-2014 GMC Sierra
• 2007-2013 GMC Yukon
• 2007-2013 GMC Yukon XL
If anything is missing, please call us at 800-601-8072 immediately!
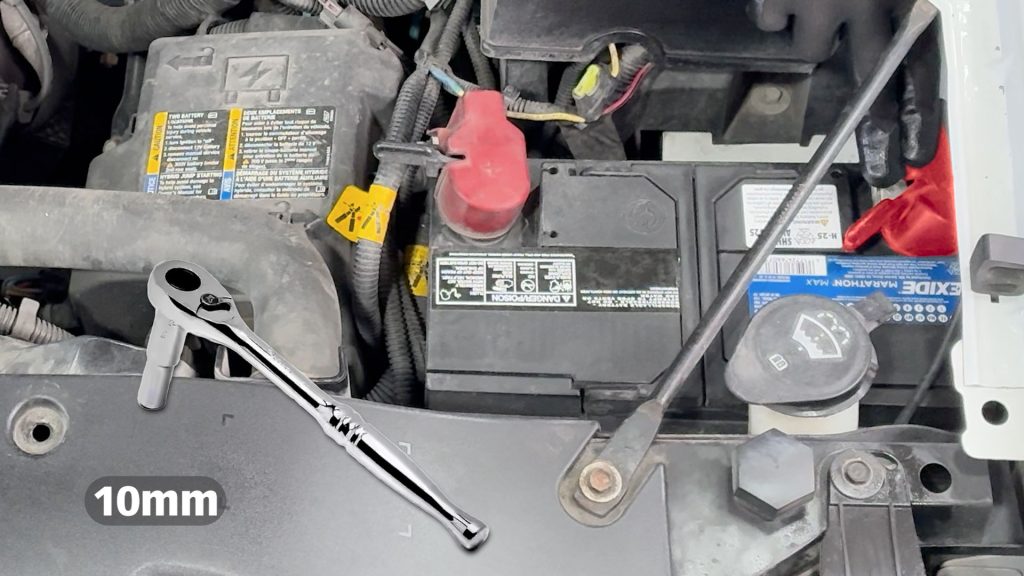
1. Before working on any electrical components, it is always advisable to disconnect the negative terminal on the 12V battery.
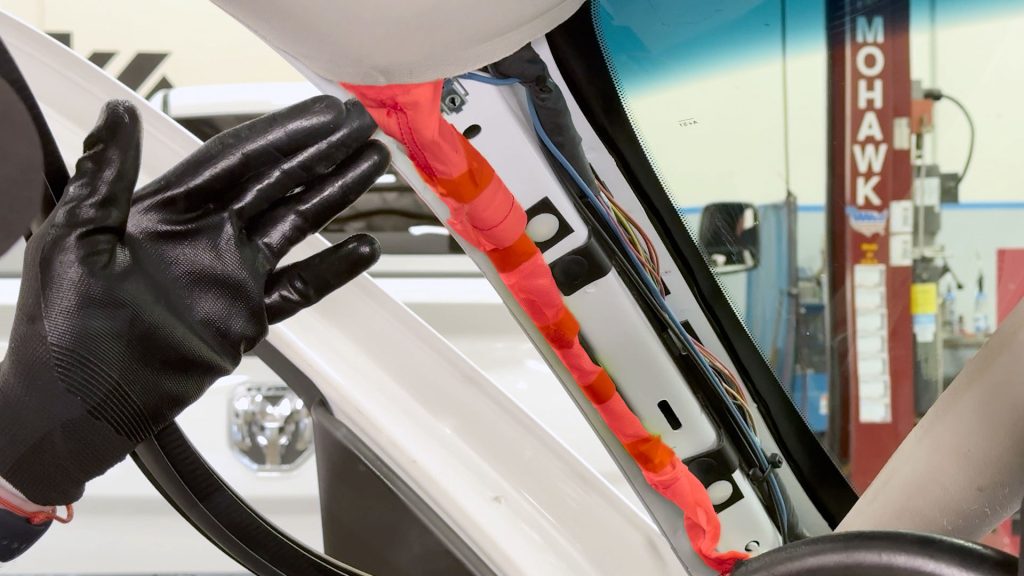
This is because we will be working around an airbag and would not want it to go off by accident.
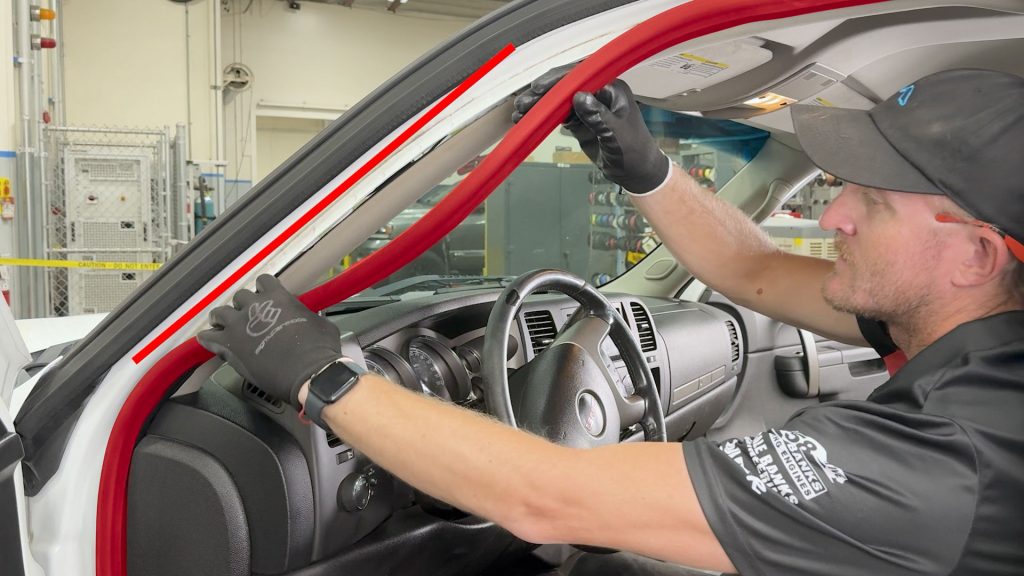
2. Pull back about 2 feet of weather stripping from the door frame.
It is held on by friction and will pop right off.
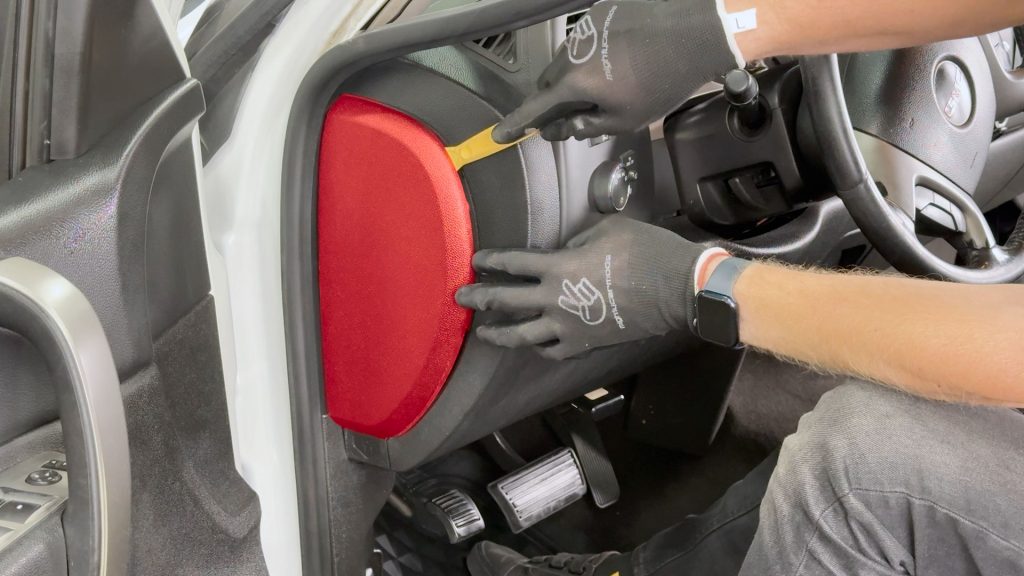
3. With a plastic pry tool, pop off the side panel of the dashboard.
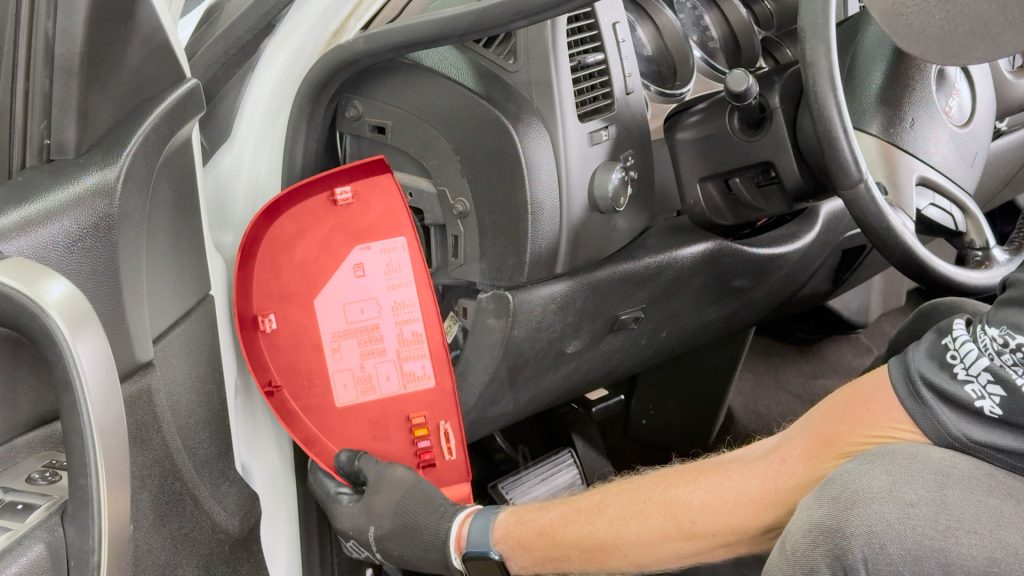
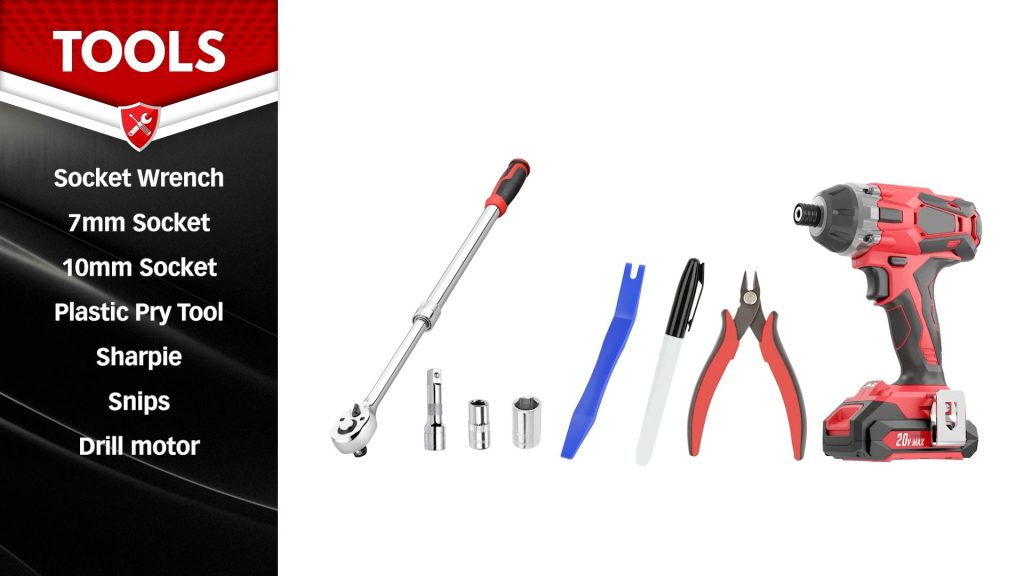
4. With a 10mm socket, remove the single bolt that secures the A-pillar.
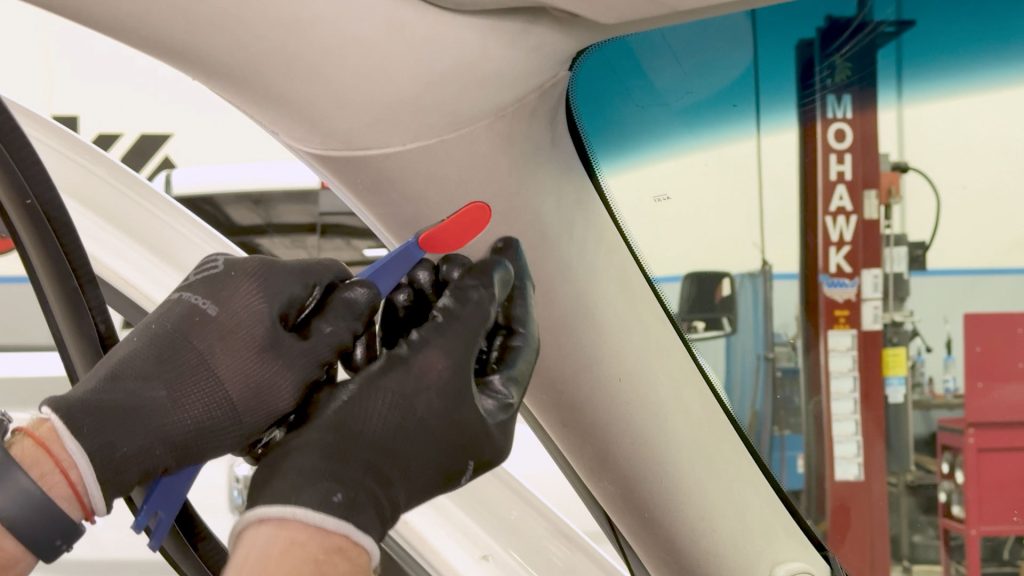
5. Once the bolt is removed, slide your hands around the back side and give the cover a tug.
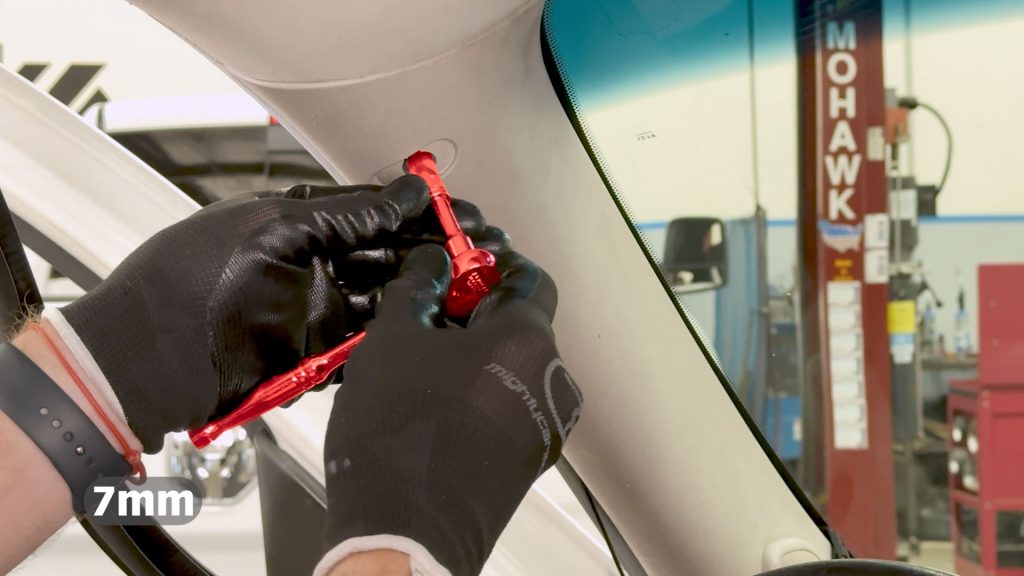
6. With a 7mm socket, remove the single bolt that secures the A-pillar.
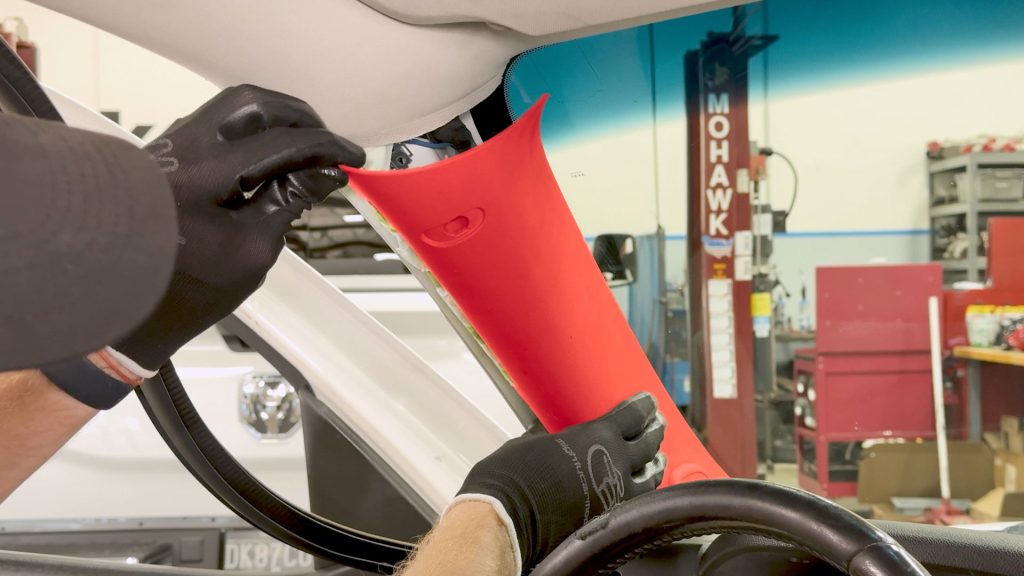
7. Depress the small tab at the plug end to disconnect the tweeter from the harness.
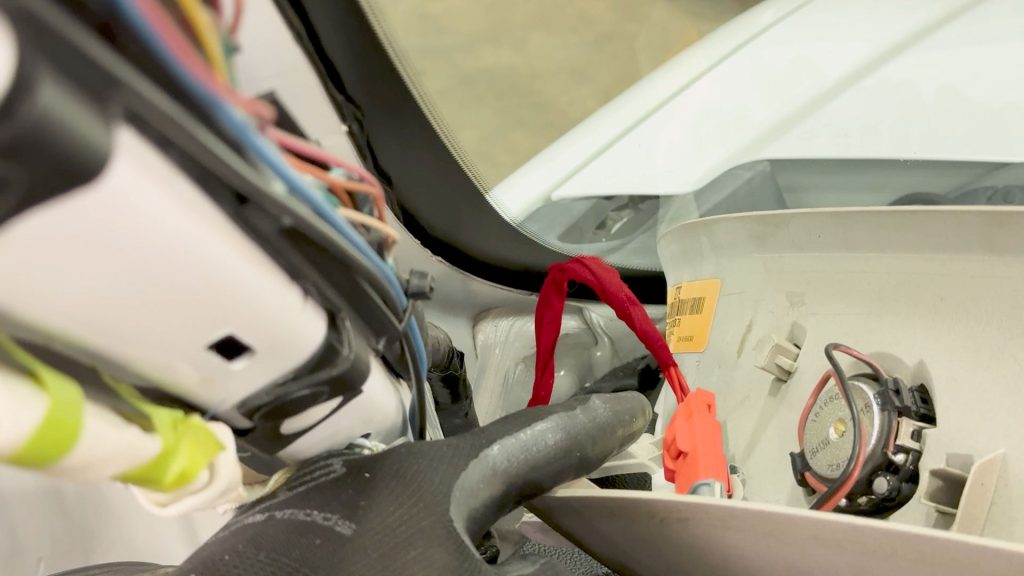
8. Take care, there is a speaker that is still connected at the base of the A-pillar. It will pop free from its single plastic clip.
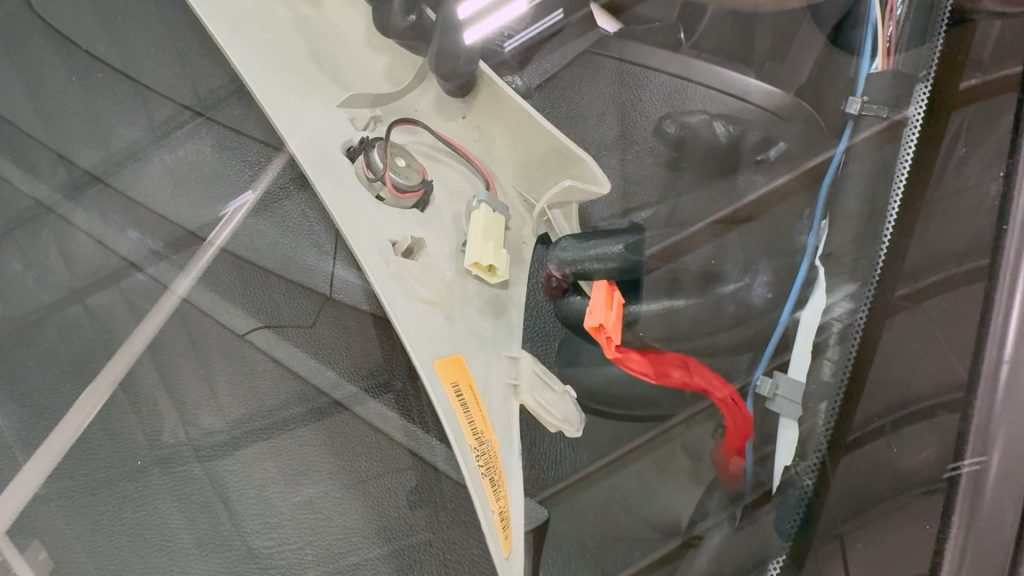
8. Carefully lift it up and out of the truck and bring it to a non-slip workbench.
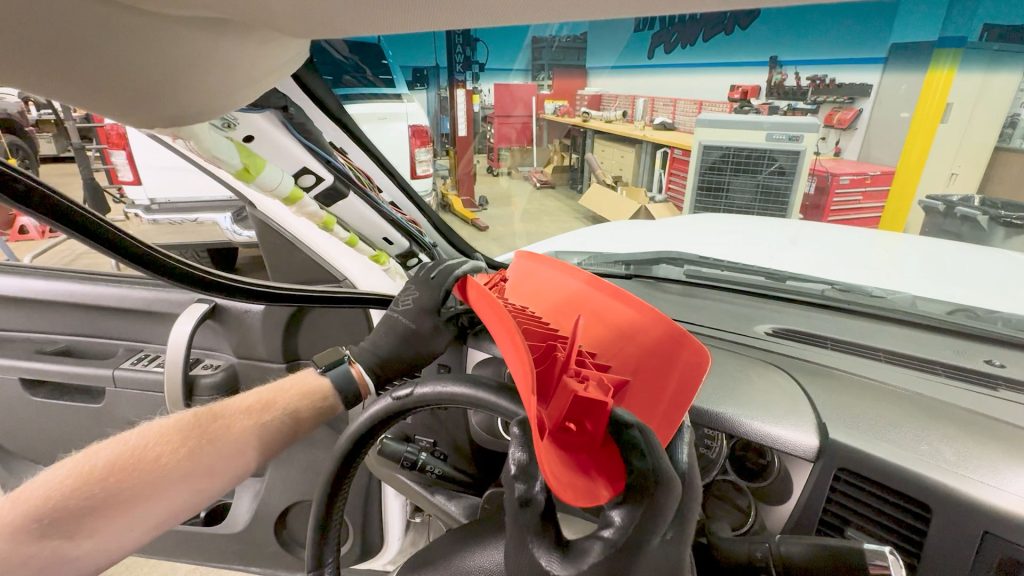
8. Carefully lift it up and out of the truck and bring it to a non-slip workbench.
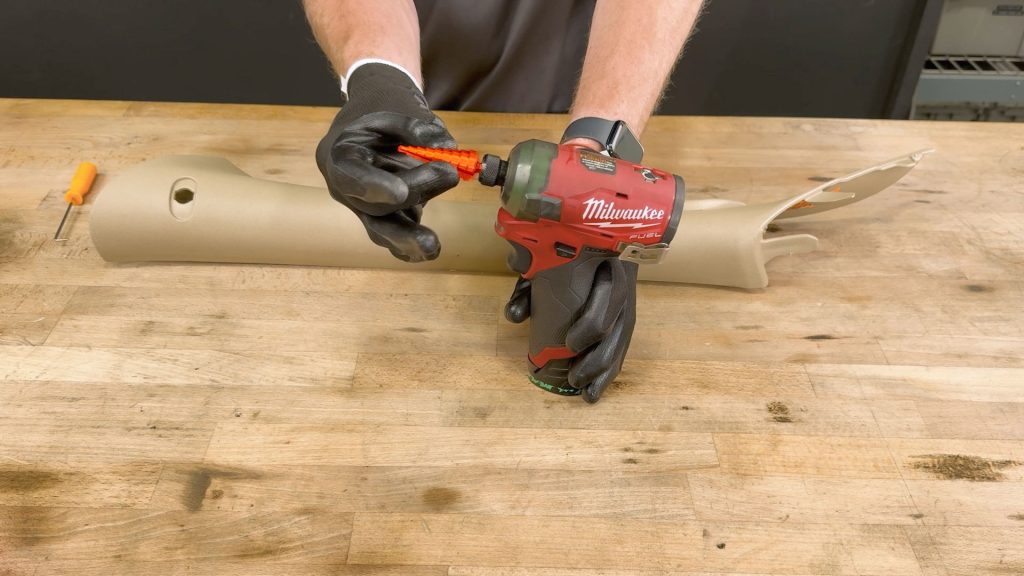
9. Load the step bit into your drill.
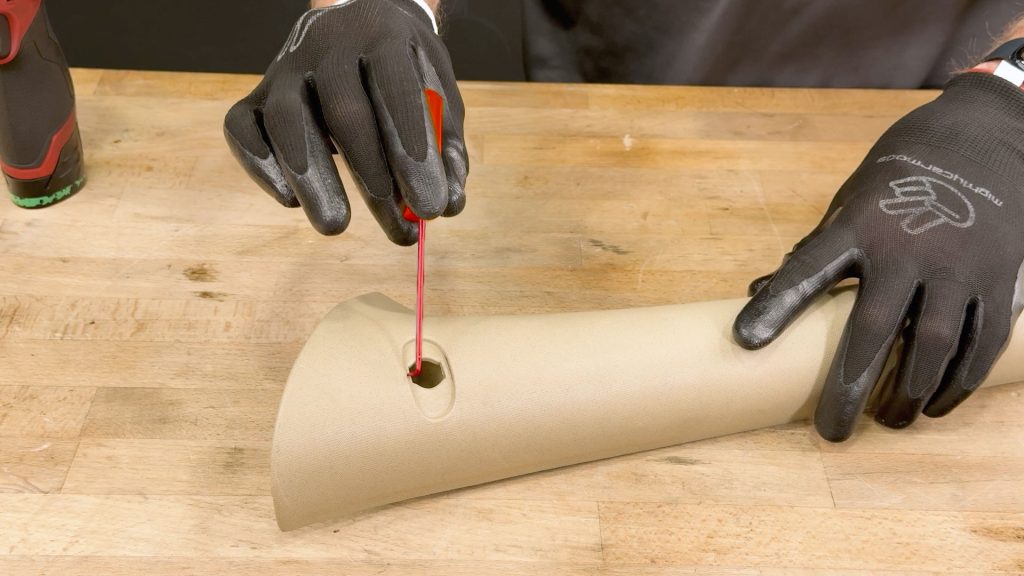
10. Take note, you’ll have to slightly oval out the hole for the post of the Stealth Pod to fit in. You will be widening the side that is towards the short end of the pillar.
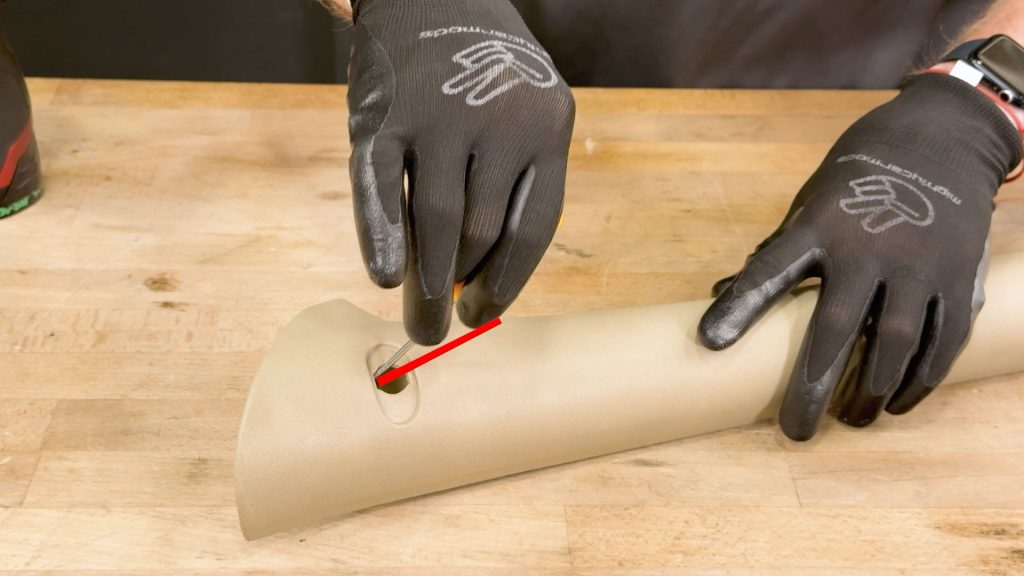
11. You will end up drilling at a slight angle, applying outward pressure as the step bit bites into the plastic to widen the hole a few millimeters.
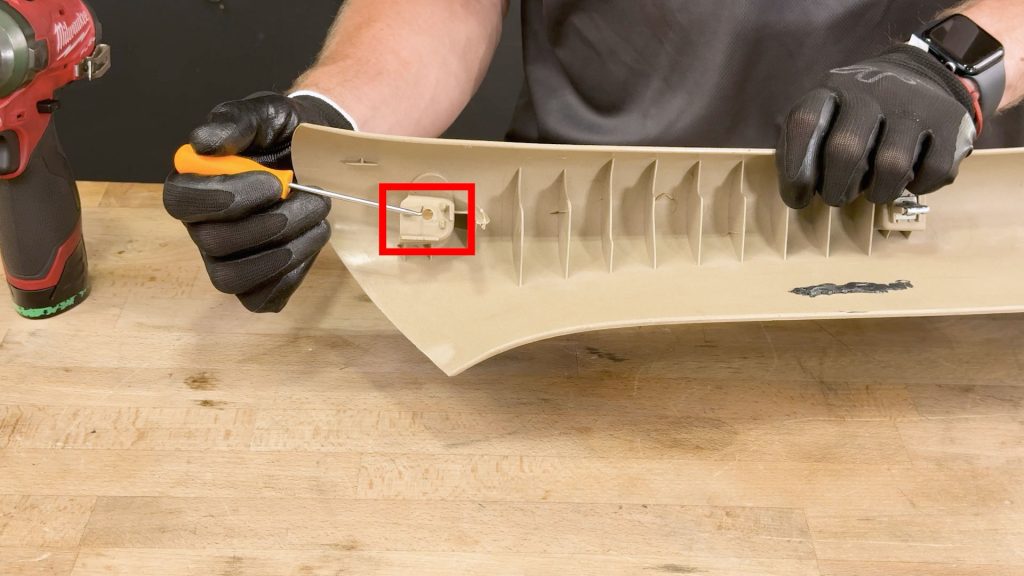
12. You do NOT want to plunge the step bit straight down into the hole and damage the mounting plastic on the other side.
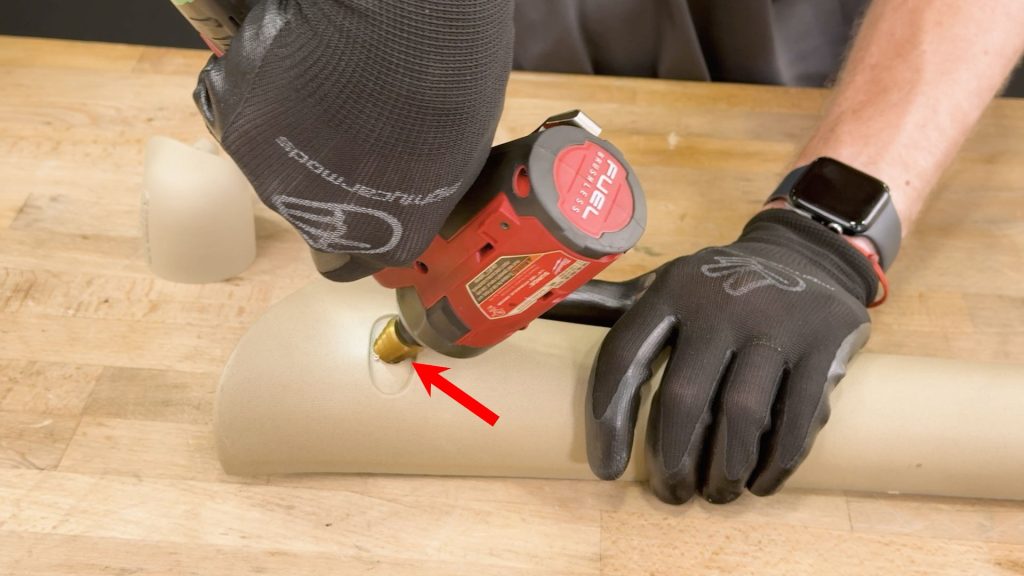
13. Hold the pillar firm with one hand, and begin widening the hole.
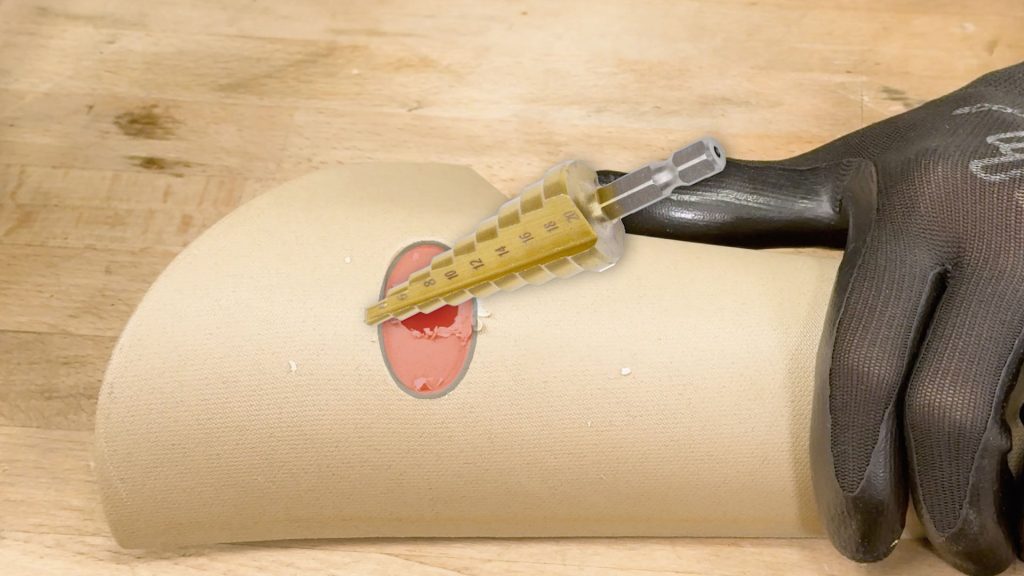
14. Continue cutting until the hole is large enough to fit the pillar post all the way down the hole and flush against the mounting surface.
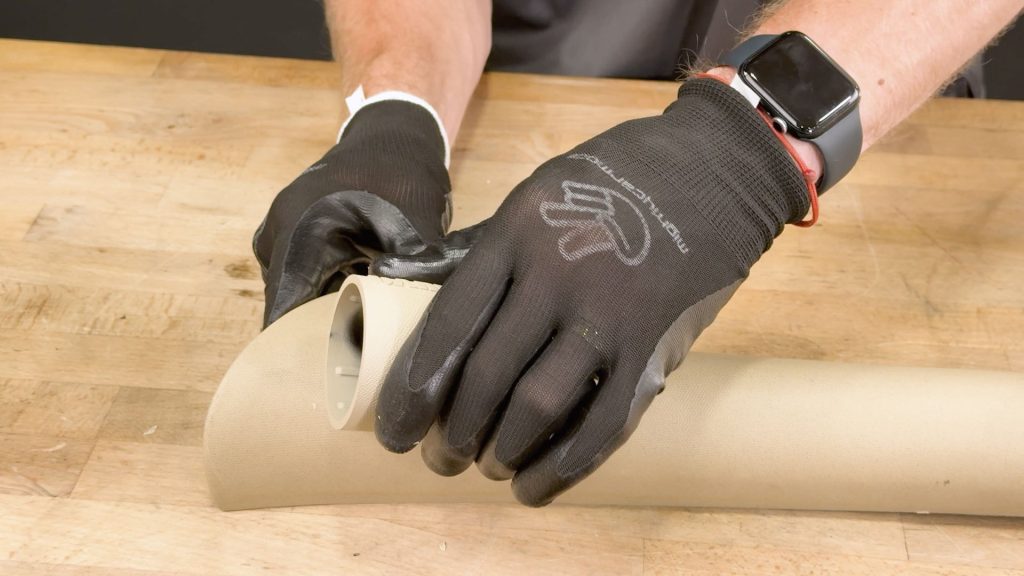
15. Stop and check often; you don’t want to overcoat the material and leave a visible mark.
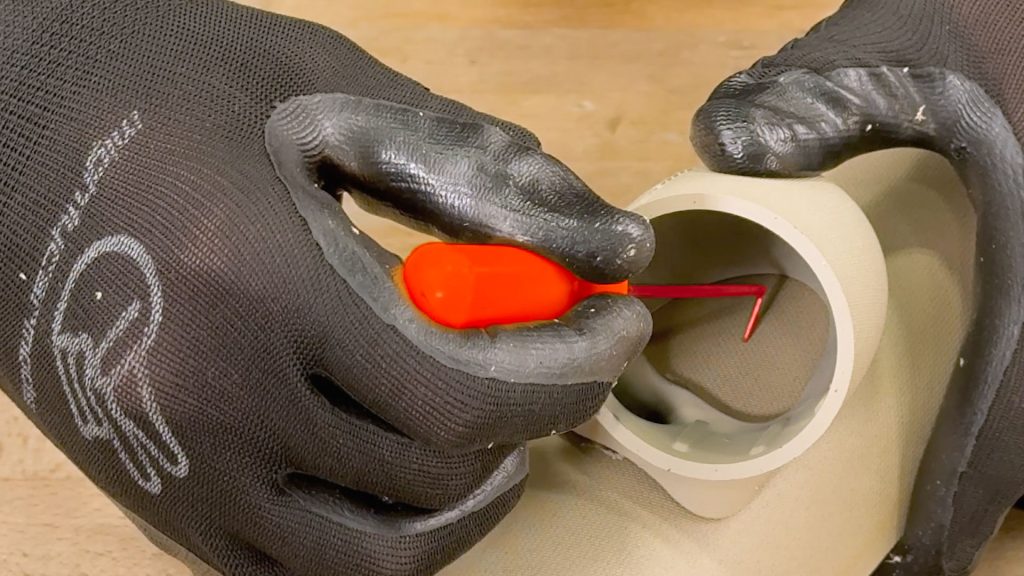
16. Once you are satisfied with your Stealth Pod fitment, place a mark in the center of the Pod’s Cable Access hole; this is where you will start your drilling.
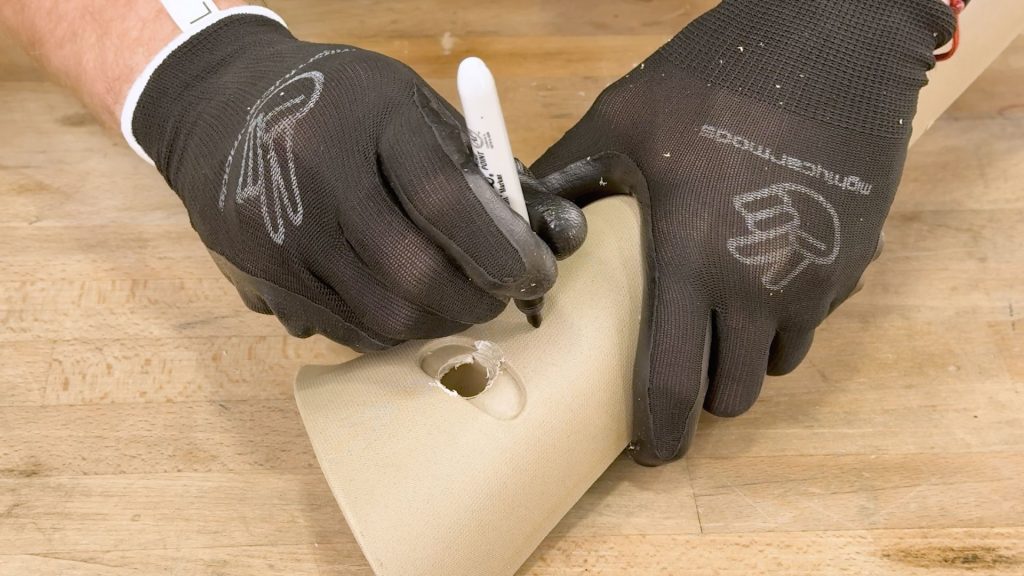
17. Place a dot in the center of your mark.
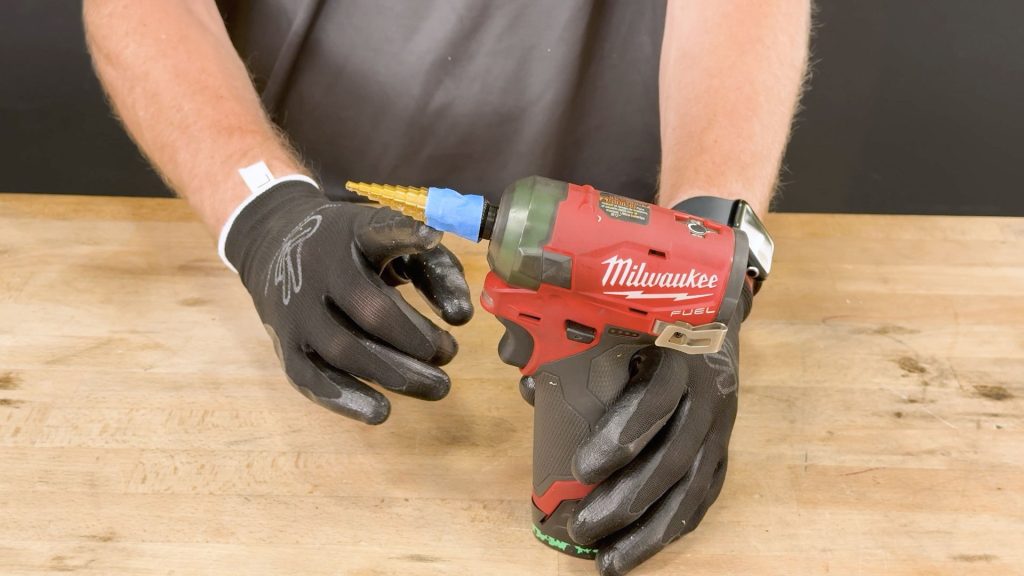
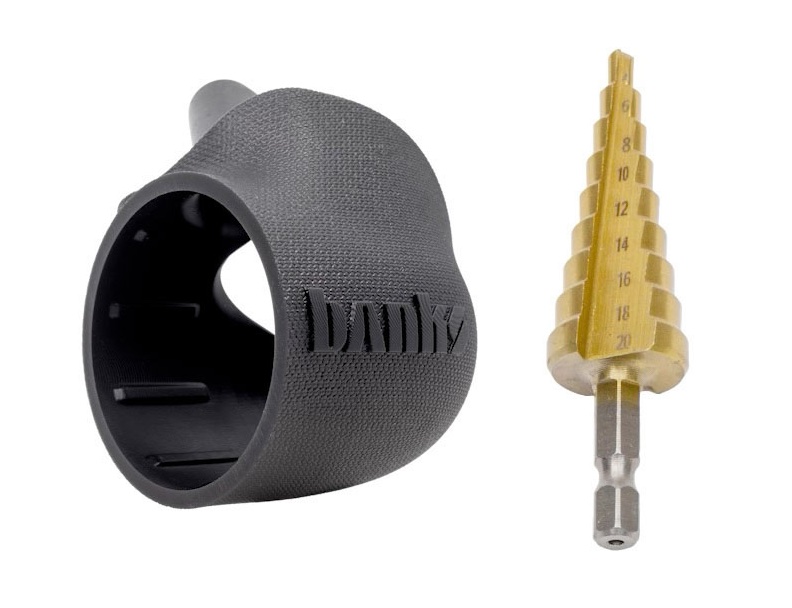
18. As a precaution, place some painter’s tape around the end of the provided step bit so you don’t accidentally plunge the bit deeper than needed.
16mm for running a single cable, or 18mm if running two.
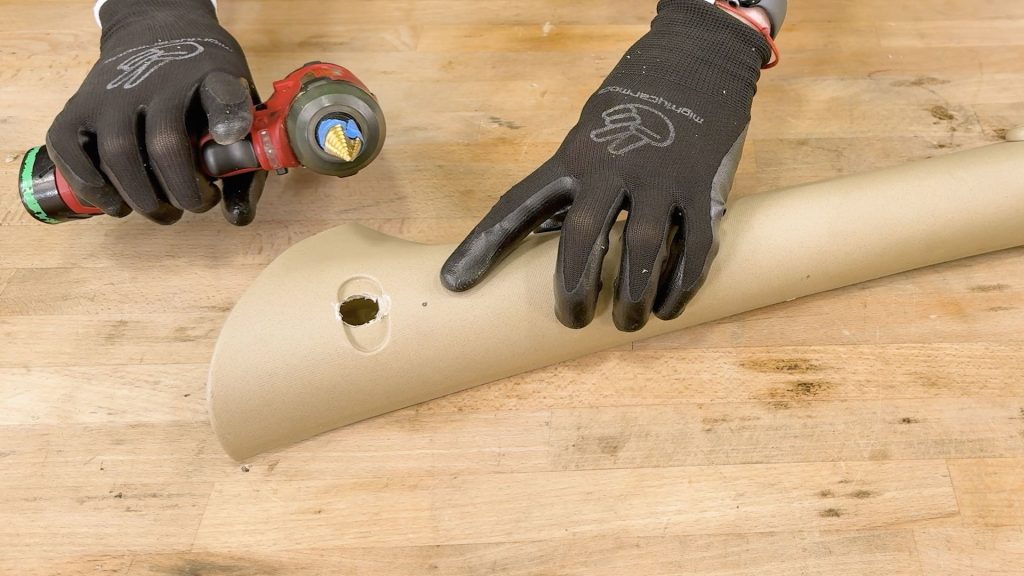
19. Keep your A-pillar steady, and start your drilling right on the black dot.
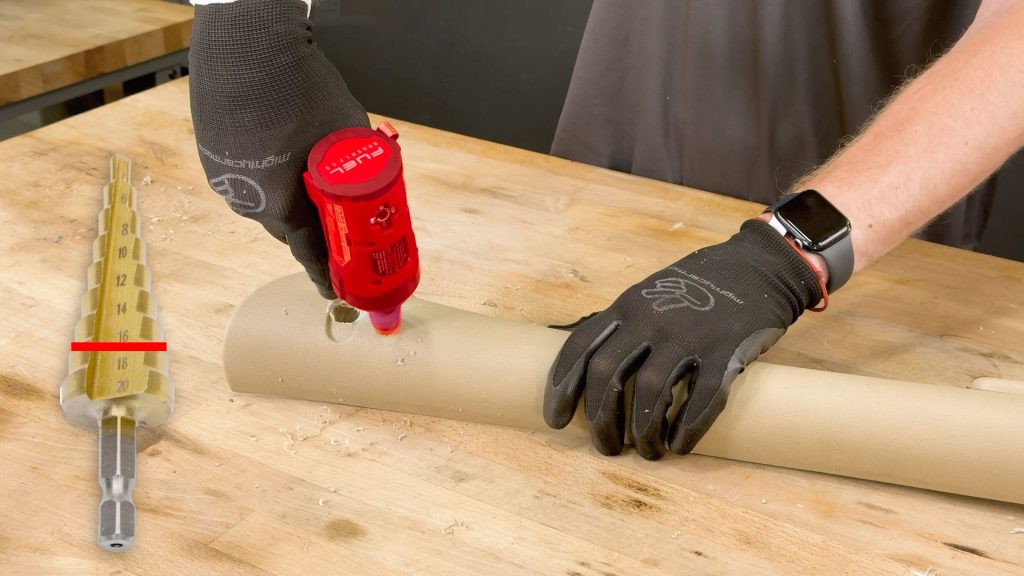
20. Begin drilling your cable access hole, start slow and only drill as large as you need to.
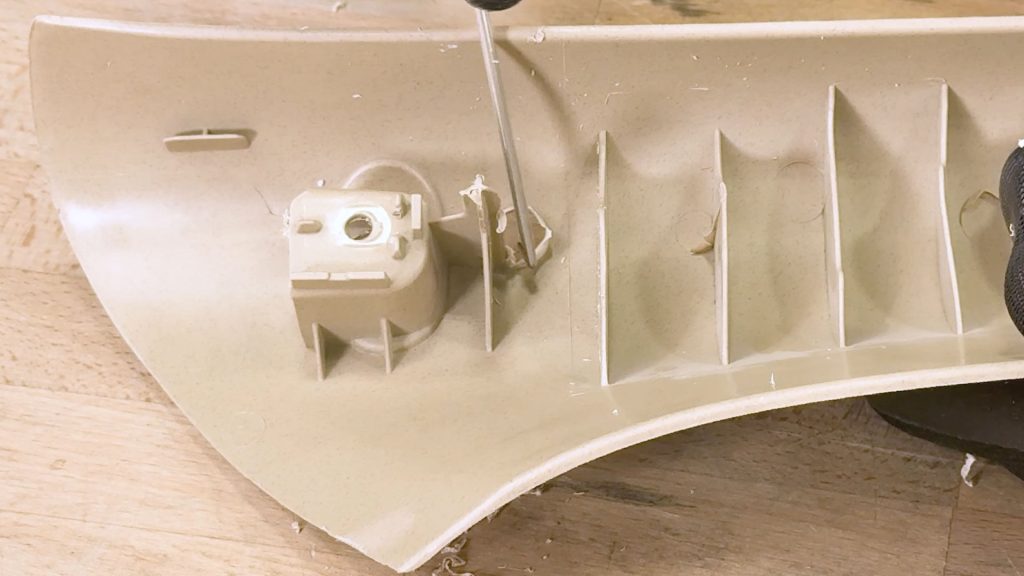
21. Check the back side for excess material.
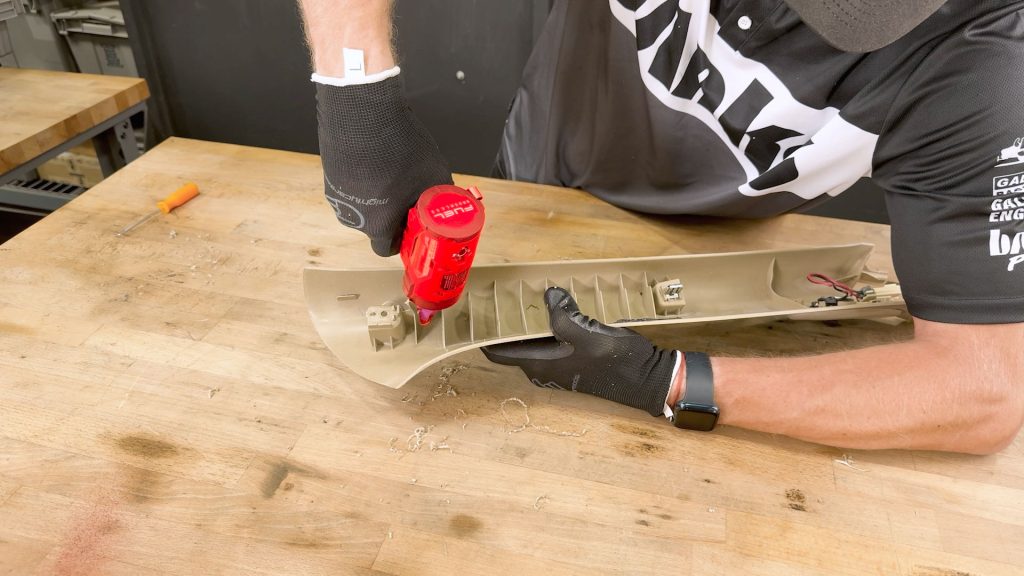
22. Re-drill from the back side to clean up any excess.
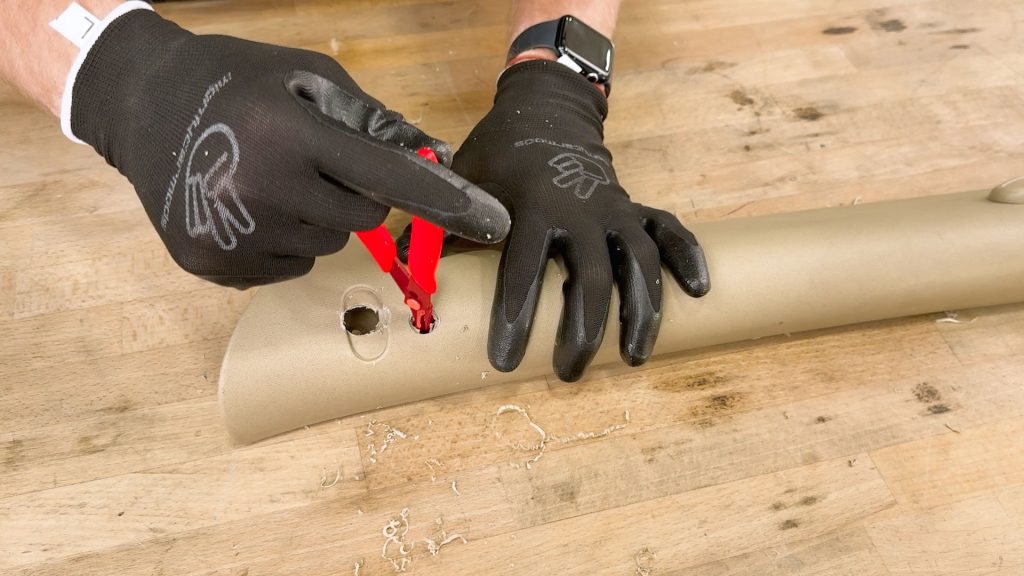
23. You can use a pair of flush cutters to snip away any small strips of plastic left over.
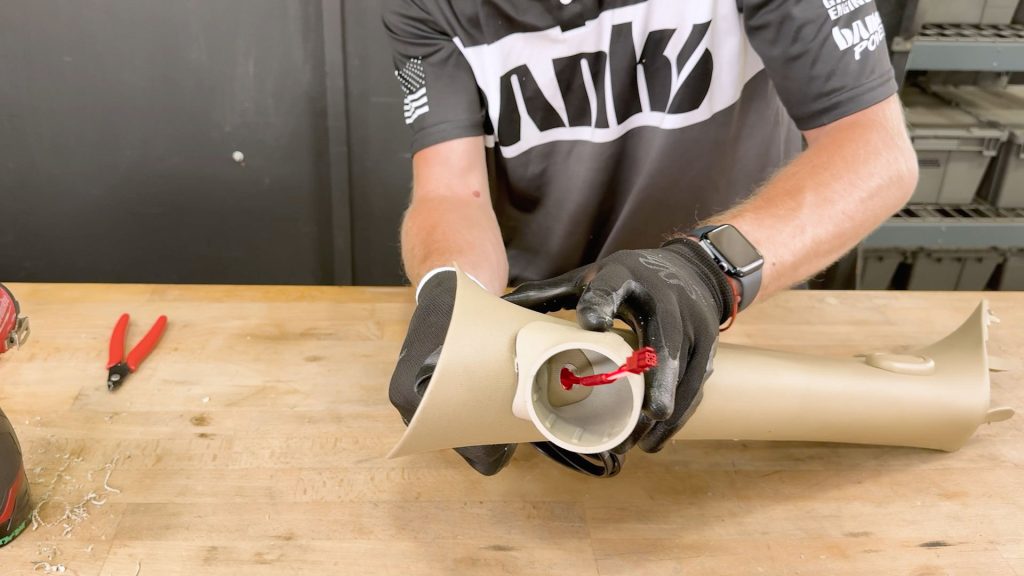
24. Check that your data cable(s) can easily pass through the hole you cut, enlarge if needed, then return to the truck.
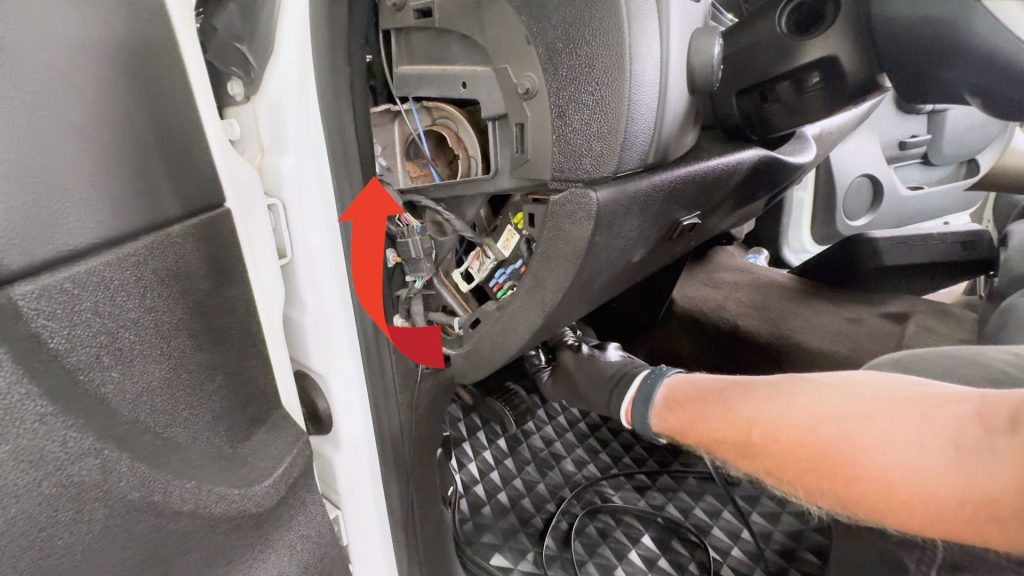
25. Back at your truck, thread the small 4-pin part of the Banks OBD-II cable through the underside of the knee panel.
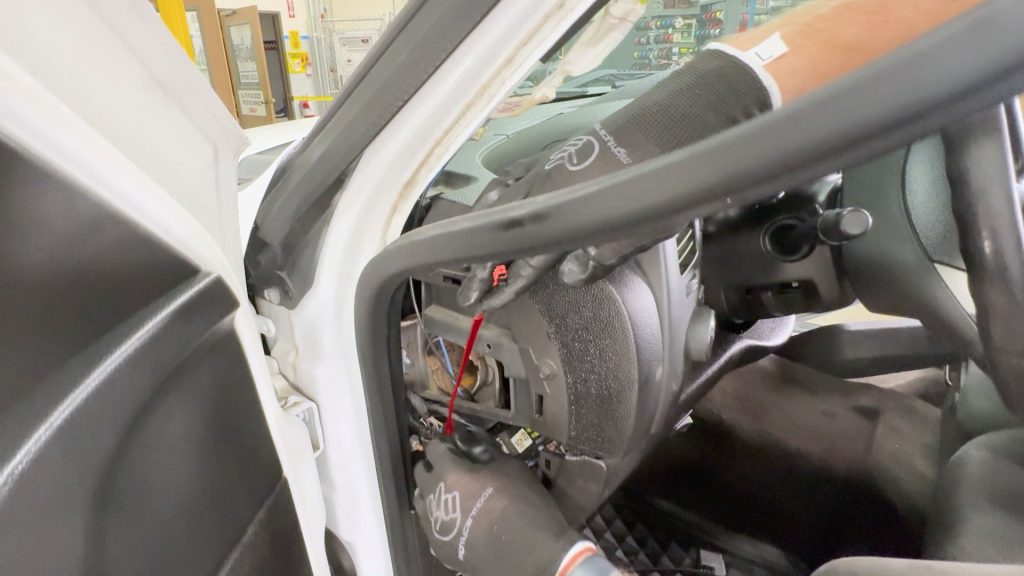
26. Run the 4-Pin end of the cable up through the side, taking care to avoid any spot where the cable could get pinched or snagged when the plastic cover is put back on
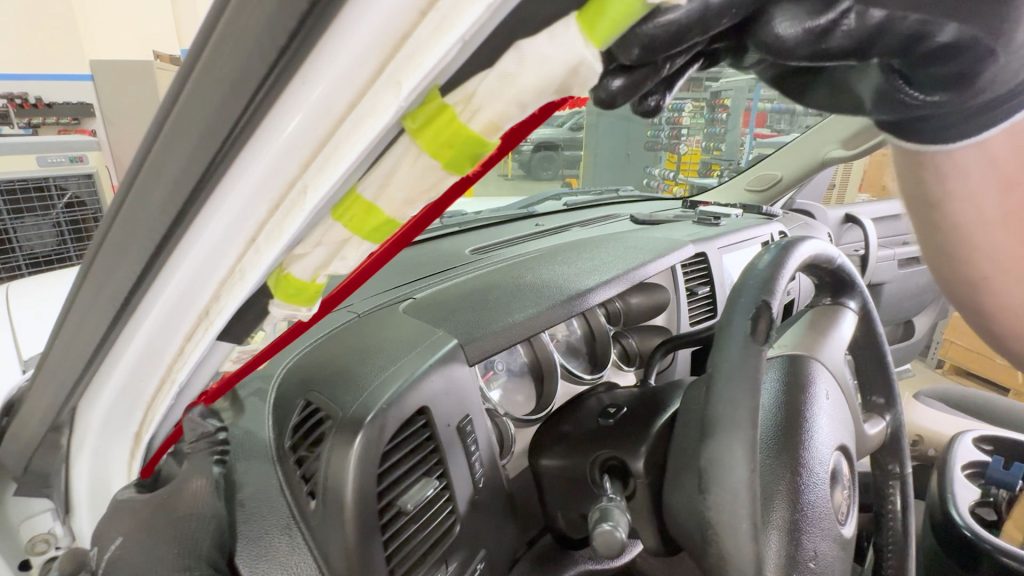
27. Run enough of the cable up the side of the A-pillar to about where it will poke out of the stealth pod.
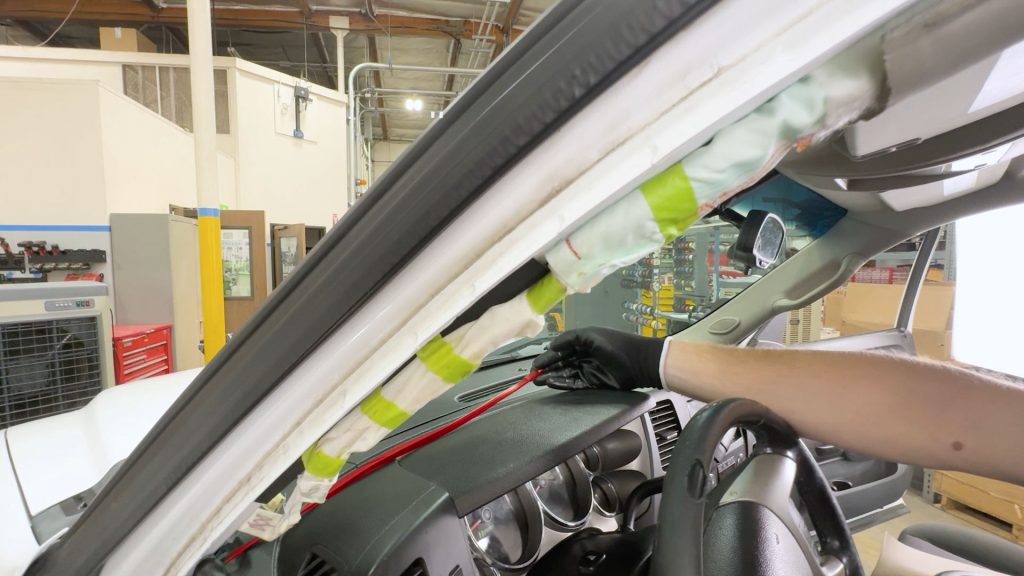
28. Then drape it across the dashboard for now.
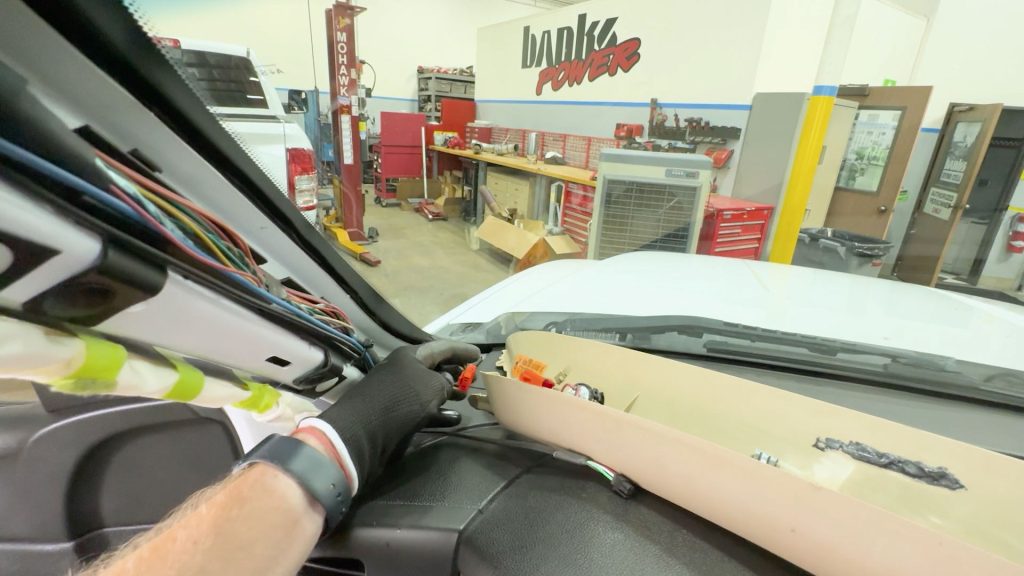
29. Reconnect the speaker to the factory harness.
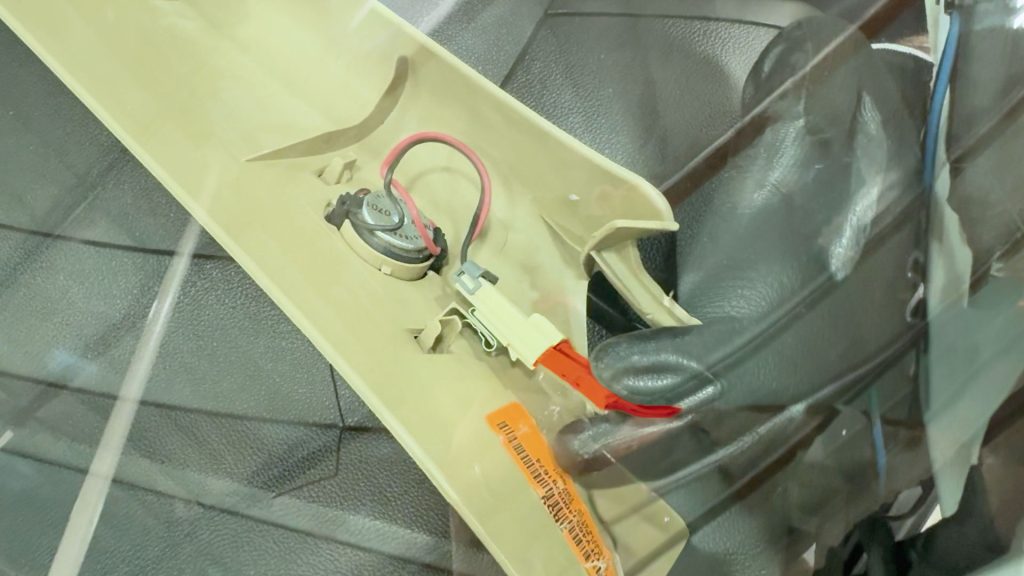
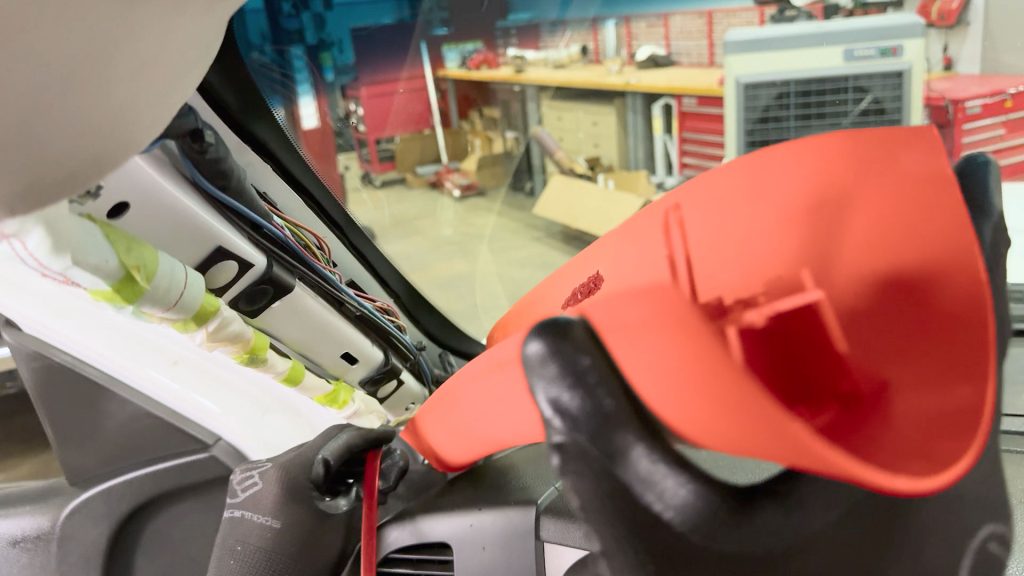
30. Carefully line up the A-pillar to its alignment tabs in the dashboard, and keep the 4-Pin OBD-II cable inside as you line it back up the vehicle.
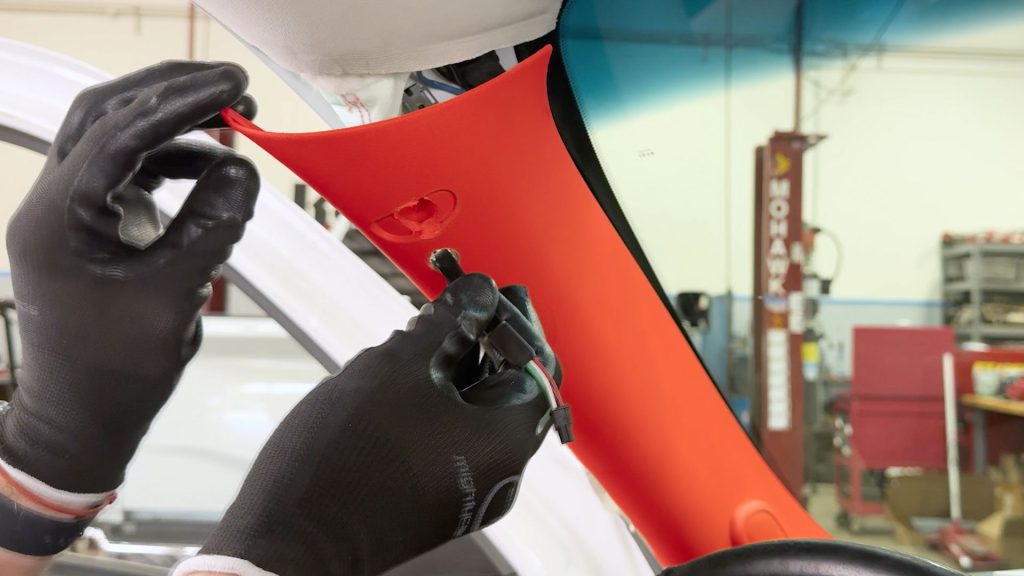
31. Thread the 4-pin end of the OBD-II cable out of your cable access hole.
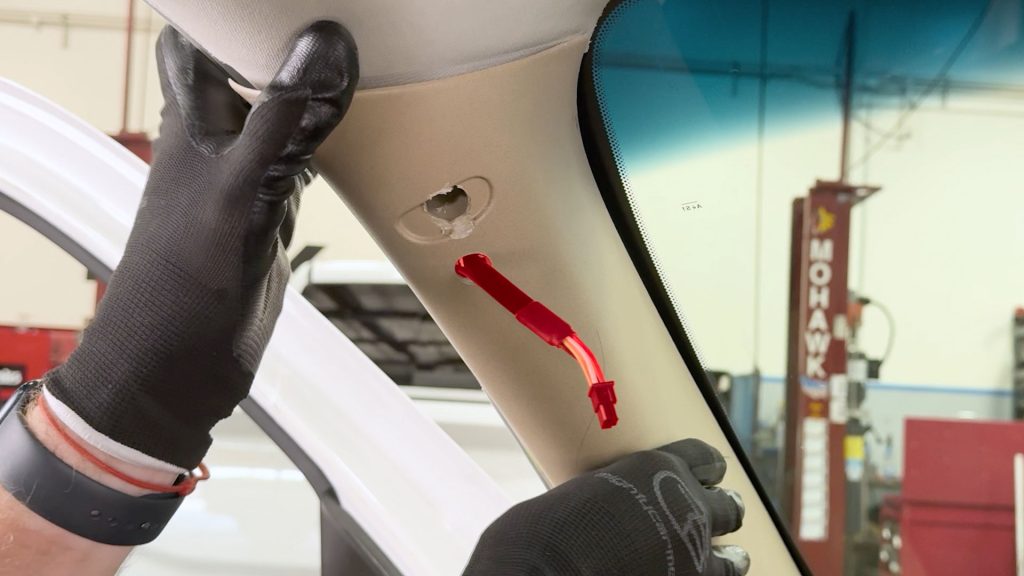
32. Line up and snap the plastic A-pillar back into place, making sure the 4-pin OBD-II cable isnt sticking out or stuck in the way.
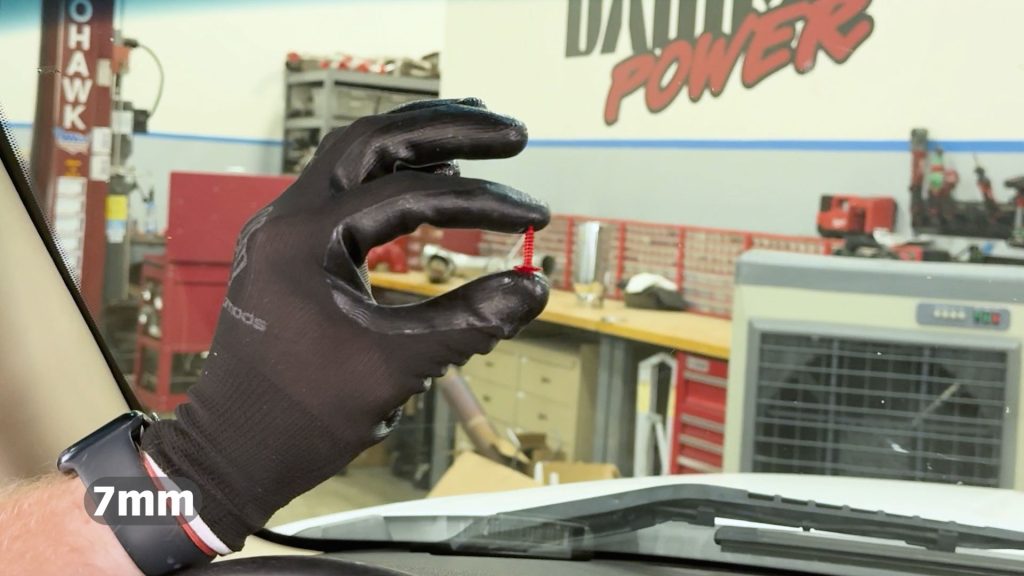
33. Grab the factory 7mm bolt that secures the A-pillar.
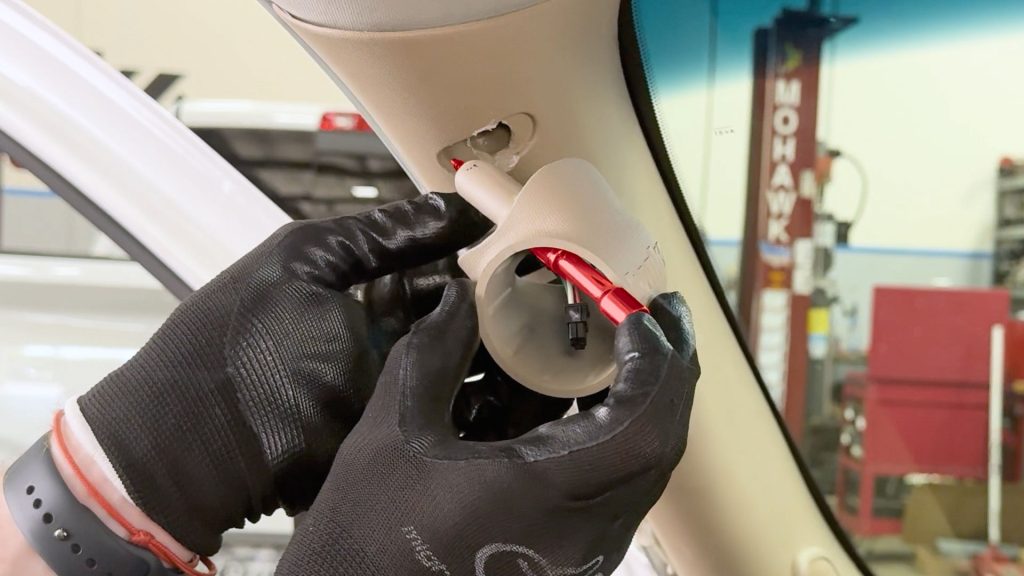
34. Place the 7mm bolt back through the Stealth Pod, and hold it in place with a short extension as you secure the pod to the vehicle.
Note: Take extra care when you’re tightening this bolt through the Stealth Pod. The clearance between your extension and your painted pod can be very close, and you wouldn’t want to scuff up your new paint during this final step.
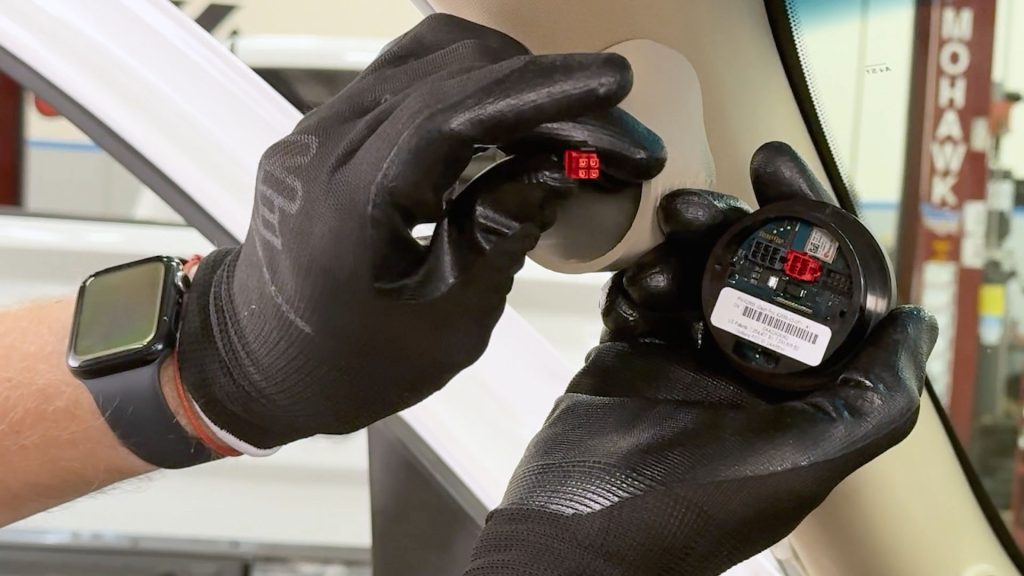
35. Grab your iDash and locate the 4-pin port for the Banks 4-pin OBD-II Cable.
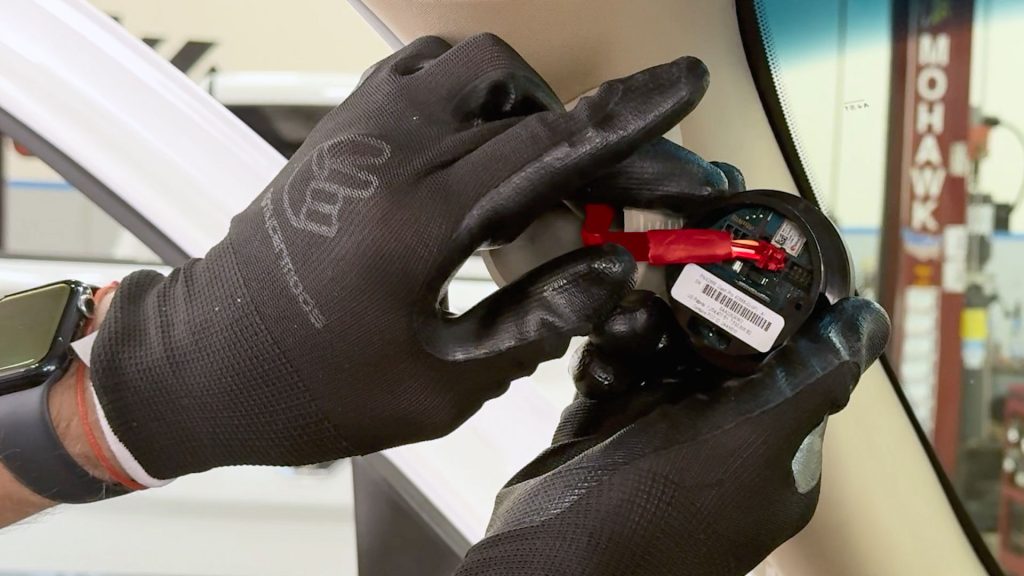
36. Plug the two together.
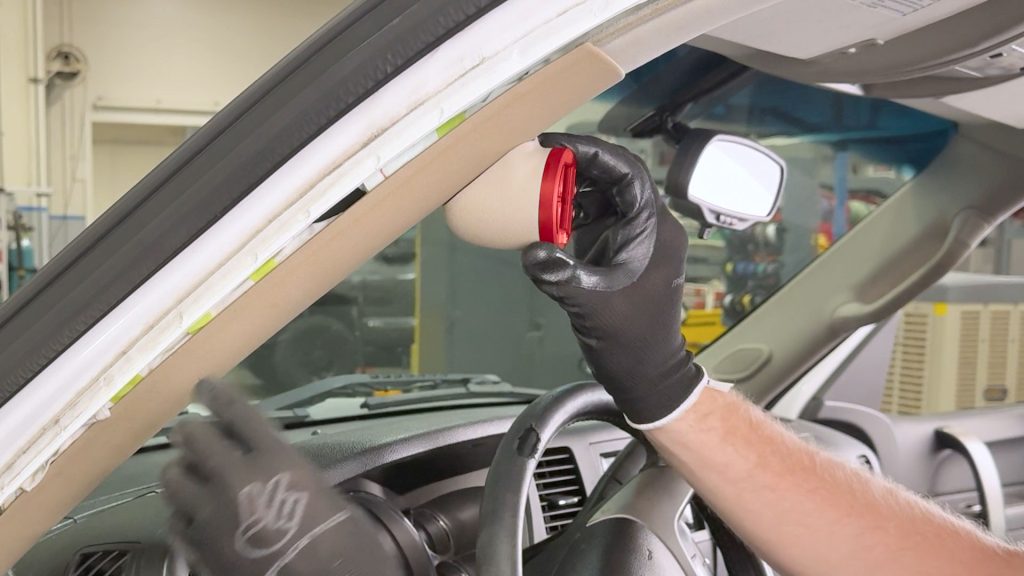
37. Slide the iDash into the Stealth Pod, taking up any extra slack as you go. Leave just enough so you can remove the pod later if needed.
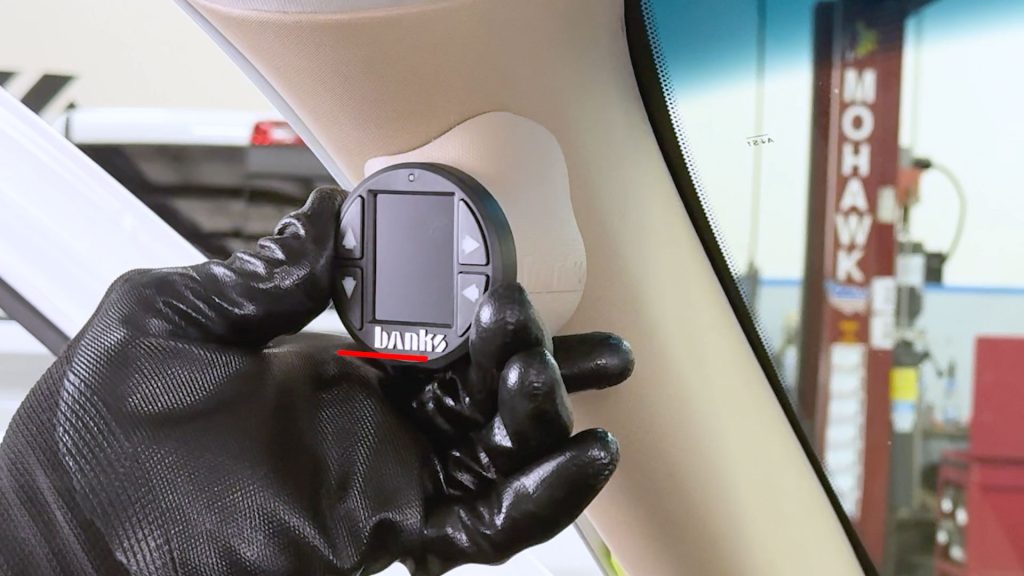
38. Check that the iDash is straight and level.
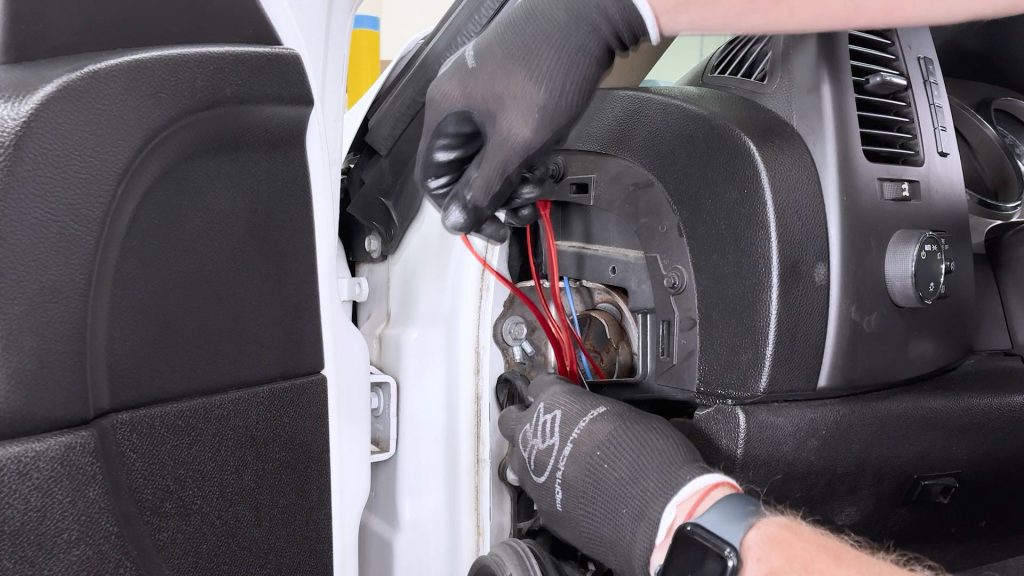
39. Tidy up the excess length of cables.
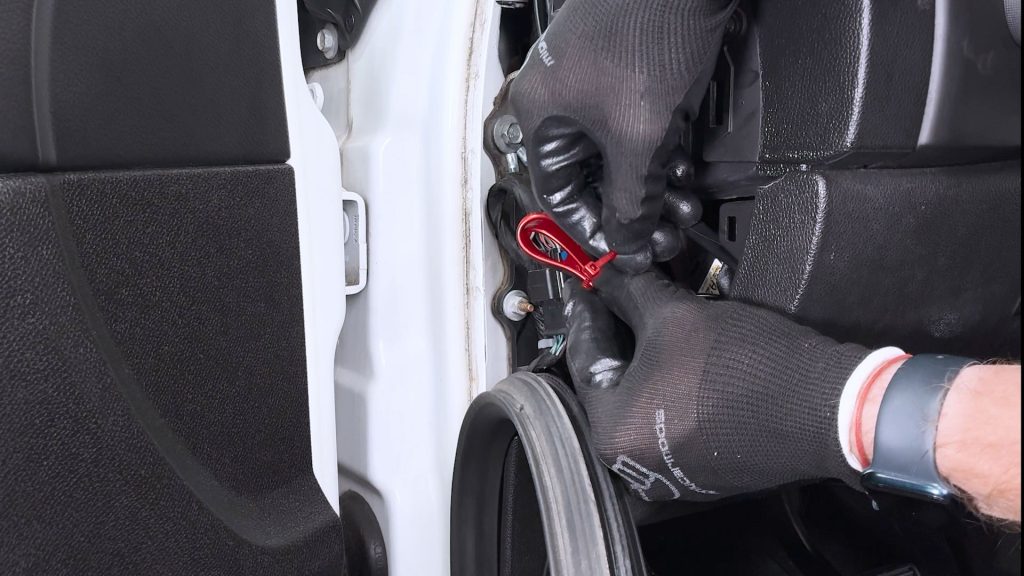
40. Secure it to a stationary spot of the body, so it won’t rattle, come loose, or interfere with closing the side access panel.
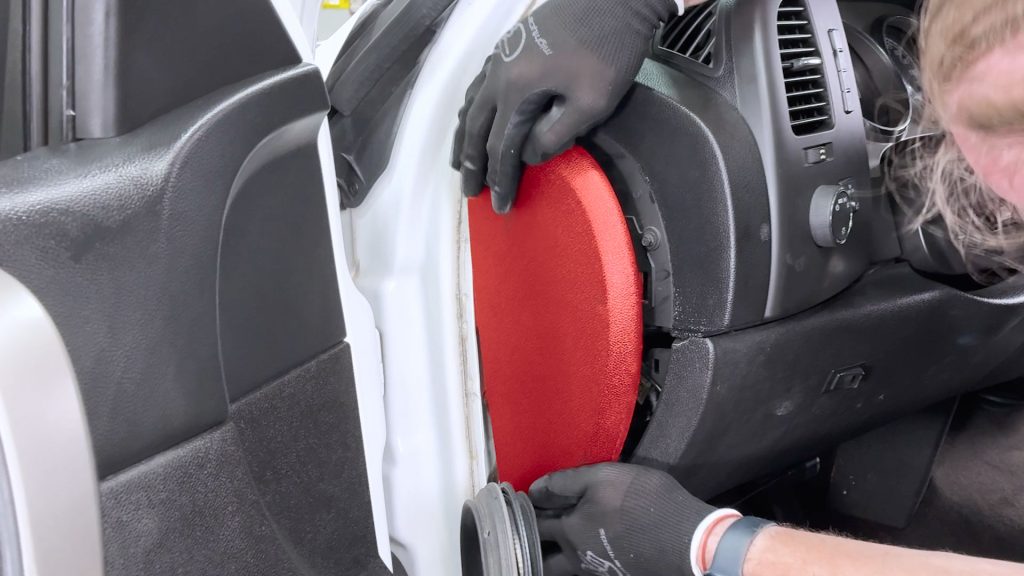
41. Reinstall the side access panel; it will snap back into place.
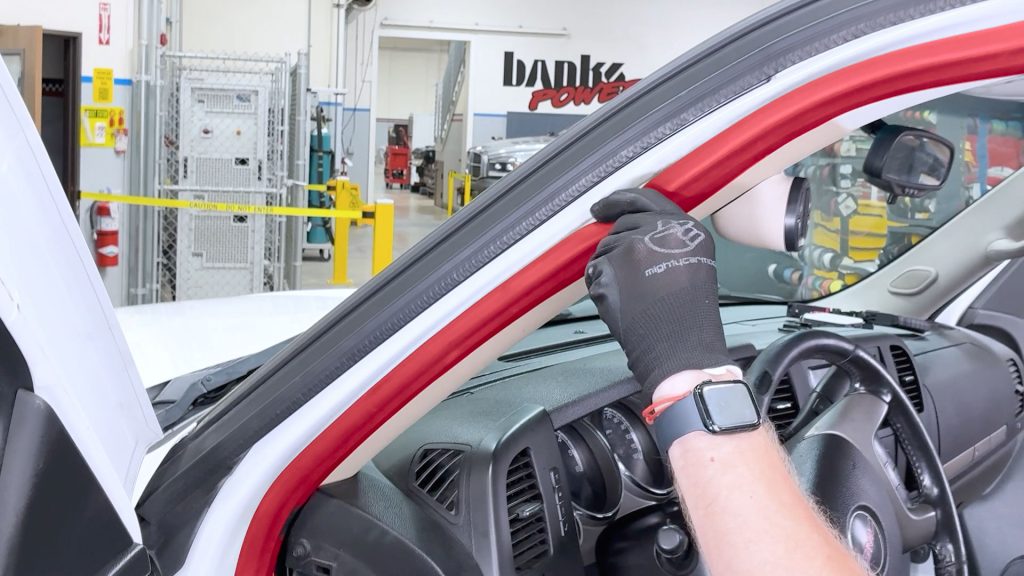
42. Press the weather strip material back into the door frame.
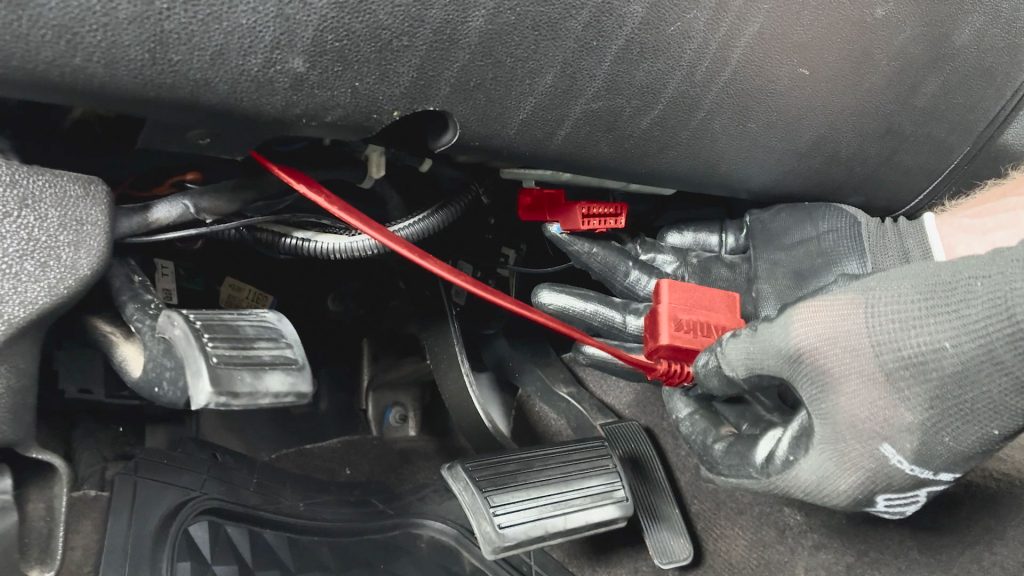
43. Connect the OBD-II cable to the OBD-II port. There should be just enough slack left over to connect without the wire hanging in the way.
44. Reconnect the battery with a 10mm socket.
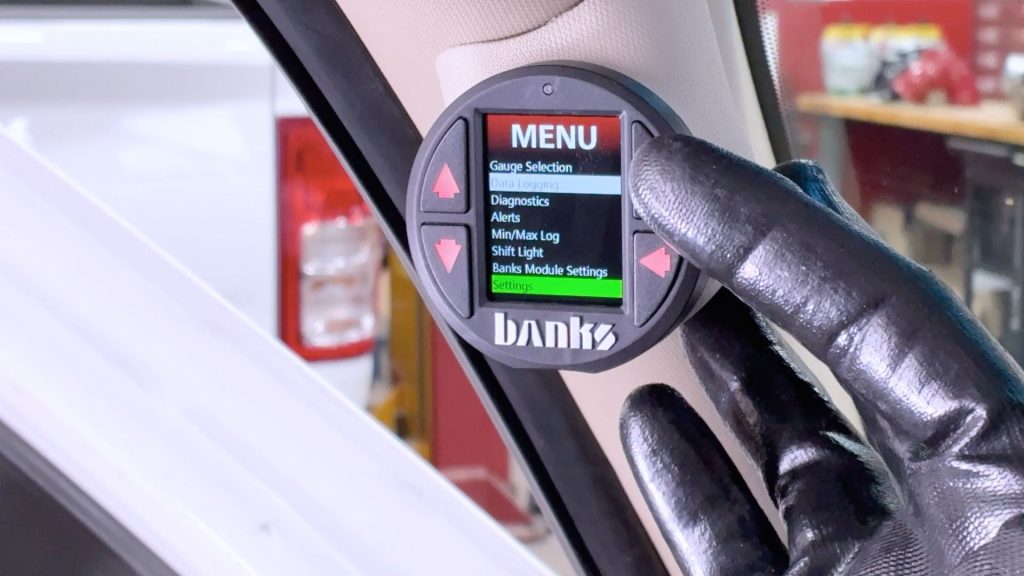
45. Start the truck and return to your iDash. Be sure its set to the correct setting for your GM truck. Scroll down to “Settings”
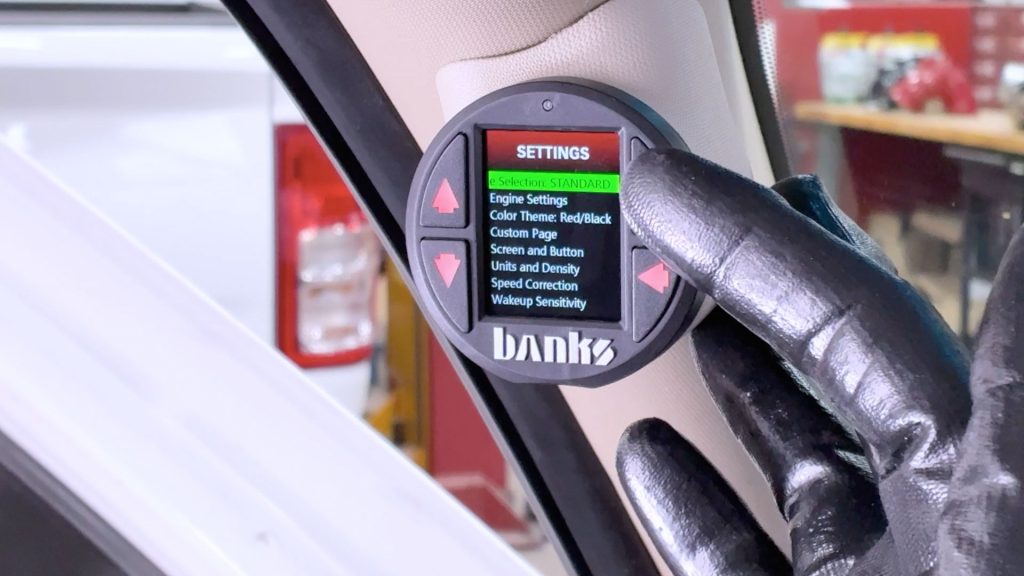
46. Then go to “Vehicle Selection”.
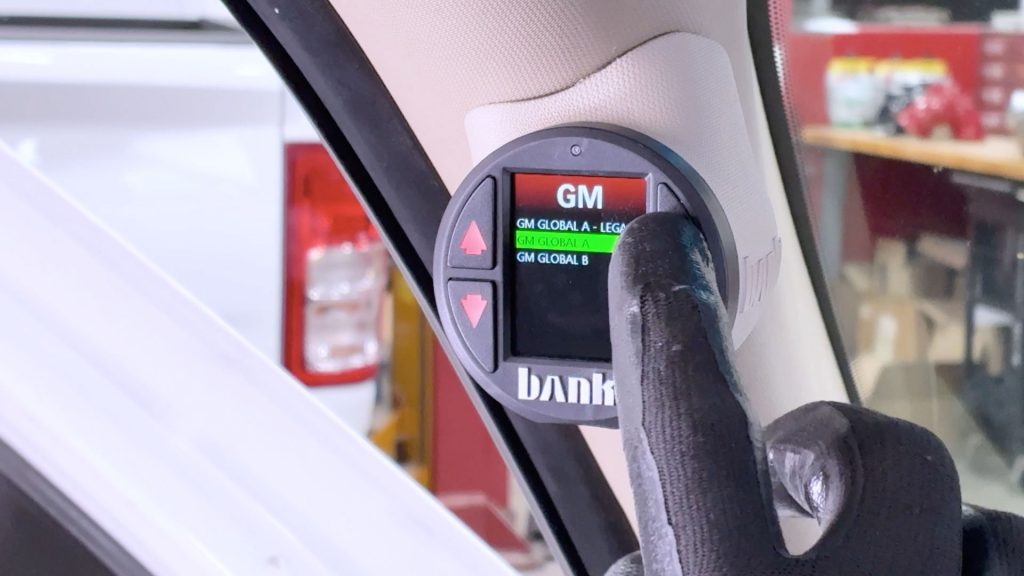
47. Then select GM Global A. The iDash will reboot, and your Stealth Pod installation is complete.