



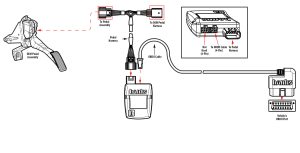
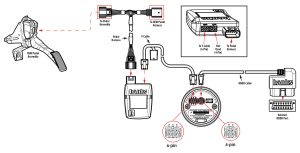
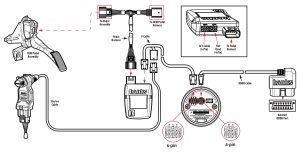
Please note: these steps will be used for any configuration of the PedalMonster.
1. Power off the vehicle and open the driver’s door. Leave the vehicle alone for a minimum of 15 minutes prior to installing the PedalMonster to ensure the vehicle system is asleep to avoid setting off Check Engine Light.
Some cars have a proximity system that is triggered if a transponder car key is within a certain distance of the vehicle. Place the proximity car key a minimum of 10 feet away to prevent the vehicle electronics from powering on.
If the vehicle does not go to sleep, it’s best to disconnect the battery or batteries. Note that some vehicles have an auxiliary 12V battery that is in a different location, so refer to your vehicle’s owner’s manual.
Just note that disconnecting the 12V battery will also reset any emission monitors the vehicle may have.
2. Locate the connector at the top of the accelerator pedal. While some connectors face the driver, others may face up toward the dash or to the left.
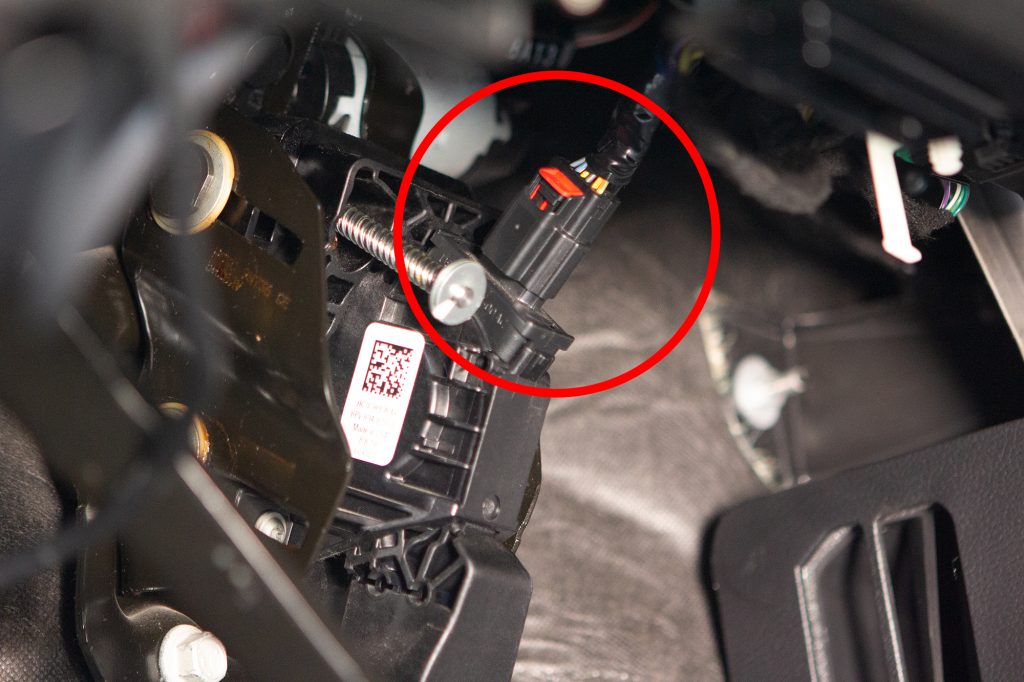
3. If the connector has a locking tab, slide the locking tab outwards to unlock. This will expose a black plastic button you will pinch to unlatch. Remove the connector from the accelerator pedal.
Below are three common pedal connectors. Most manufacturers use a slide lock to ensure the connector doesn’t accidentally get kicked loose.
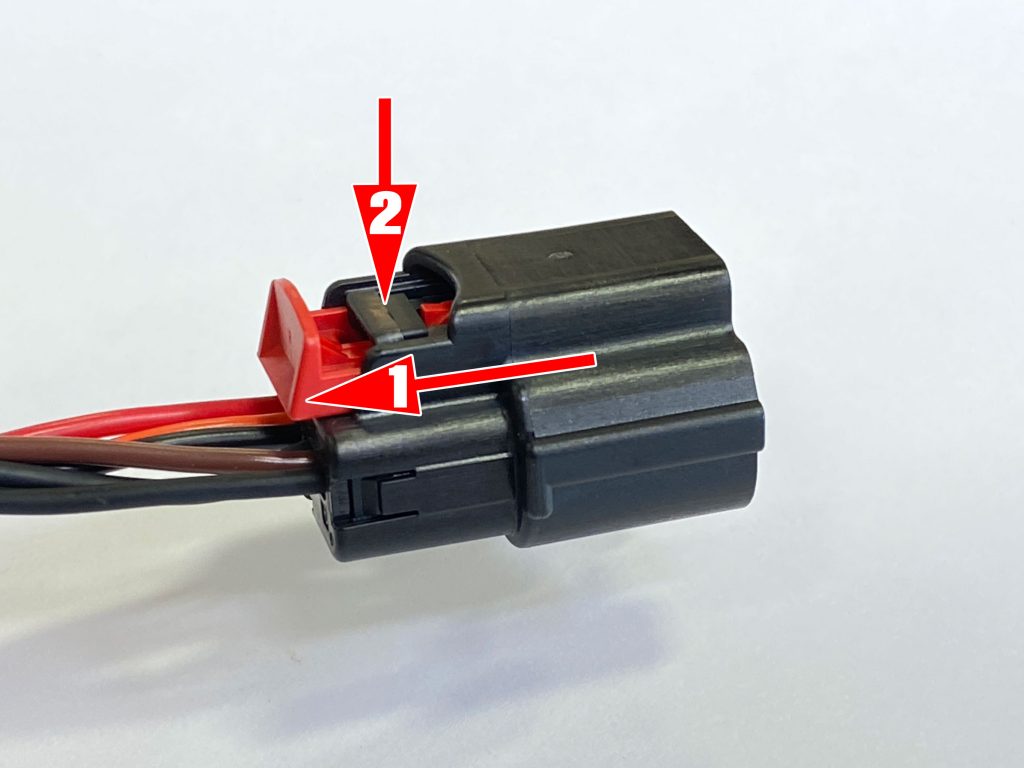
Example 1:
Slide-out the grey lock approx 1/8″. Squeeze the black tab. This will release the connector.
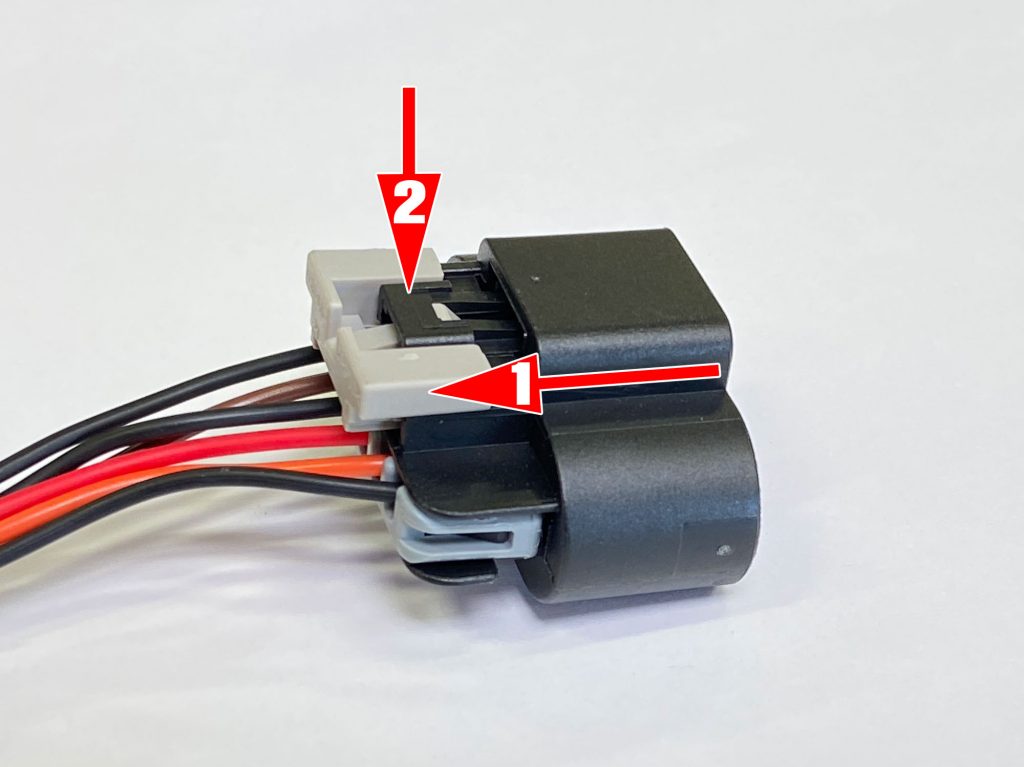
Example 2:
Slide-out the grey lock approx 1/8″. Squeeze the black tab. This will release the connector.
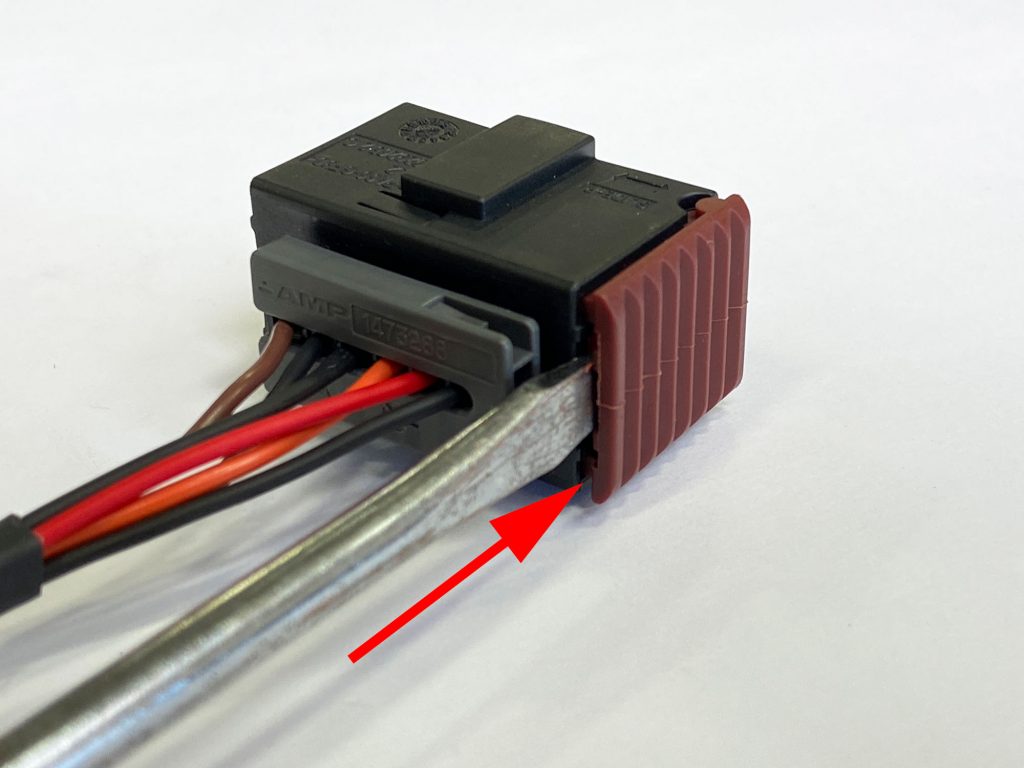
Example 3:
Insert small flat-blade screwdriver or pick tool.
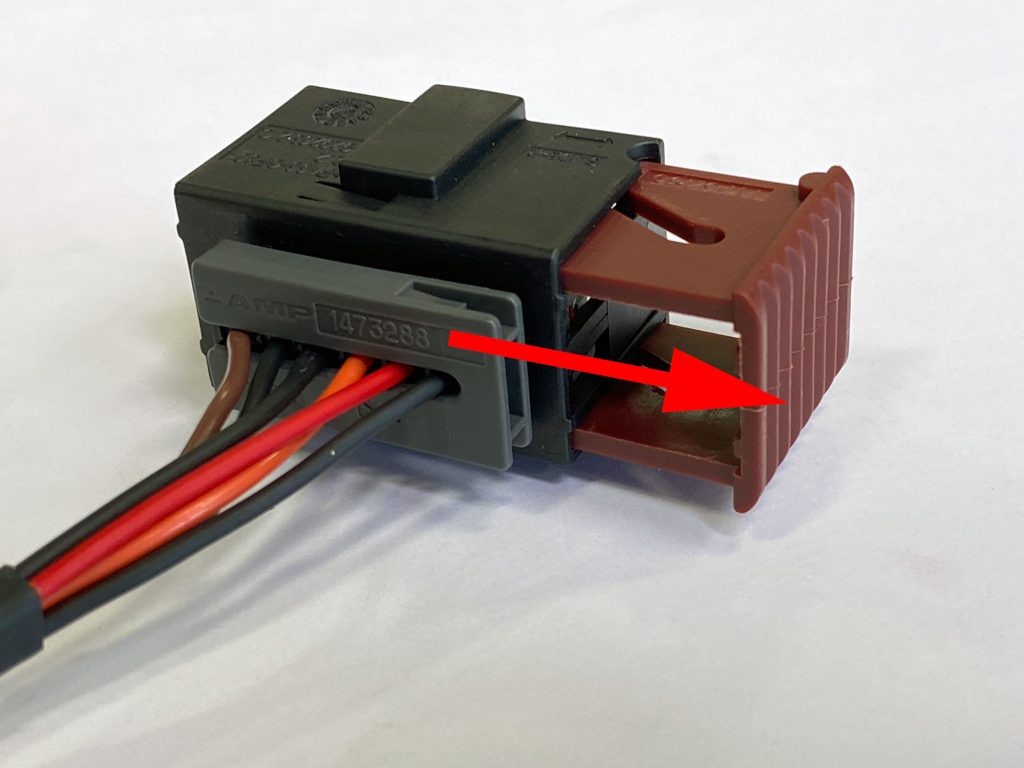
Example 4:
Remove the tool and slide out the locking mechanism about 1/2″ with your fingers.
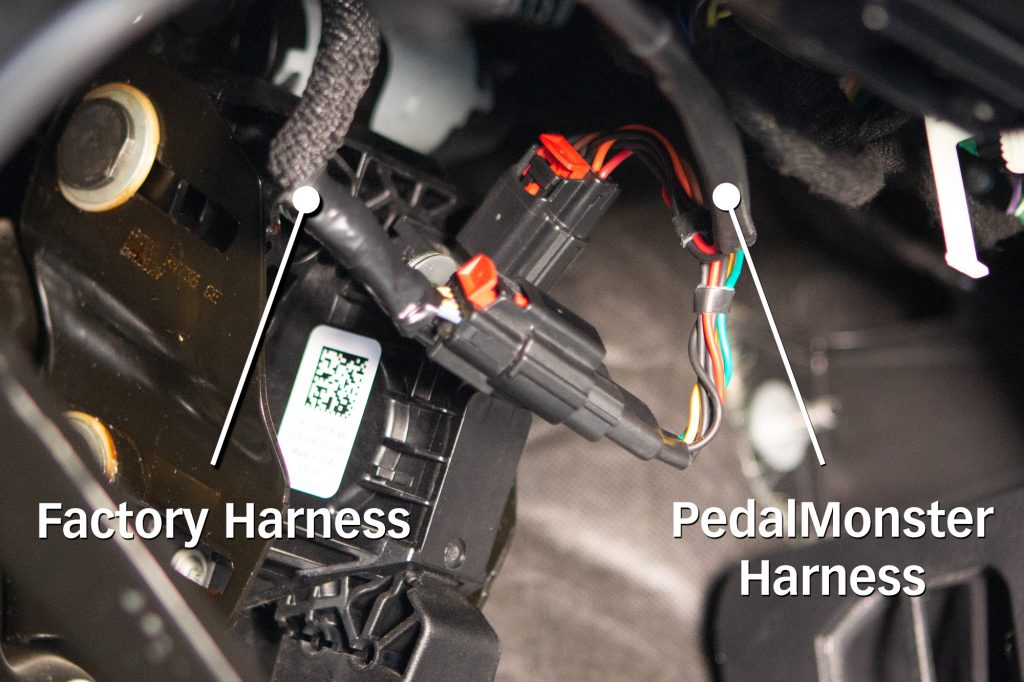
4. Plug the female PedalMonster connector to the accelerator pedal. Connect the male PedalMonster connector to the vehicle’s female connector. Ensure both male and female connectors on the PedalMonster module are securely connected to the vehicle’s connectors.
Step 5
Reinsert the locking tab on the connectors if applicable.
1. Download the Banks mobile app from Apple App Store or Google Play Store.
2. Turn on the vehicle’s ignition but do not start the engine.
3. Activate Bluetooth on the phone and start the Banks app.
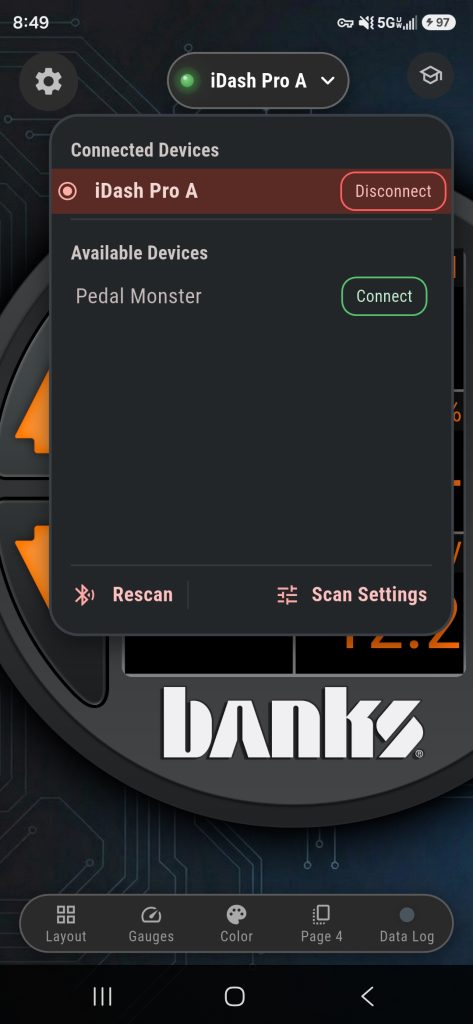
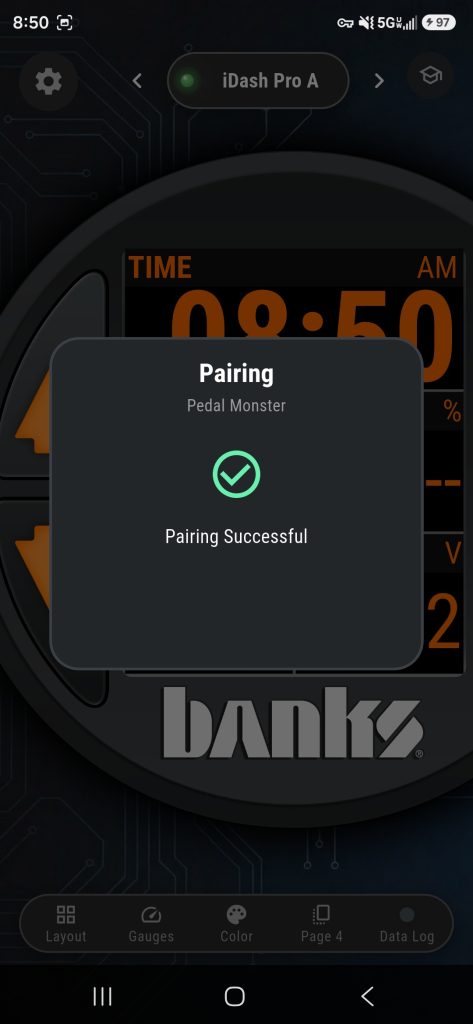
4. Connect to the PedalMonster via the app, then press the pairing button on the bottom of the PedalMonster module when prompted by the Banks app.
This allows the pairing process to complete by sharing a security key between the PedalMonster module and the phone app.
Pressing the pairing button is not necessary on subsequent connections but is required when making a new connection between a PedalMonster Module and your phone. The mobile app will automatically store 5 pairing keys.
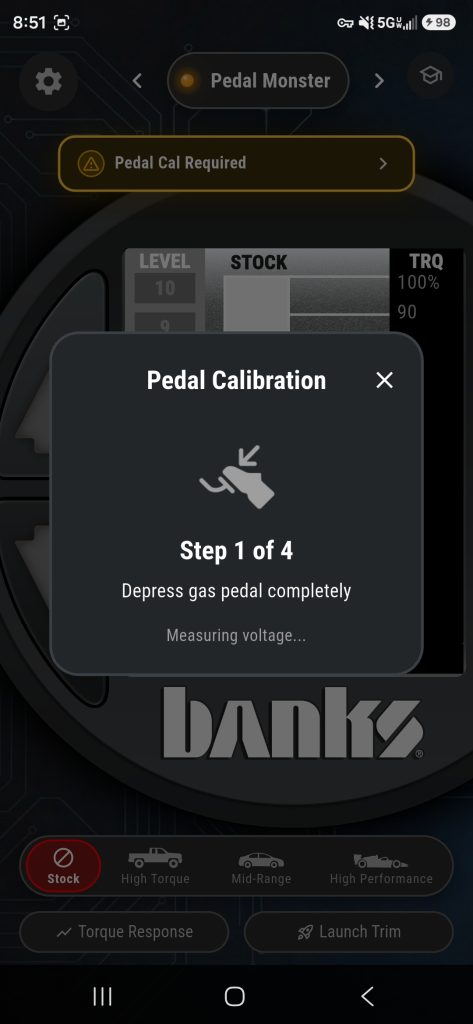
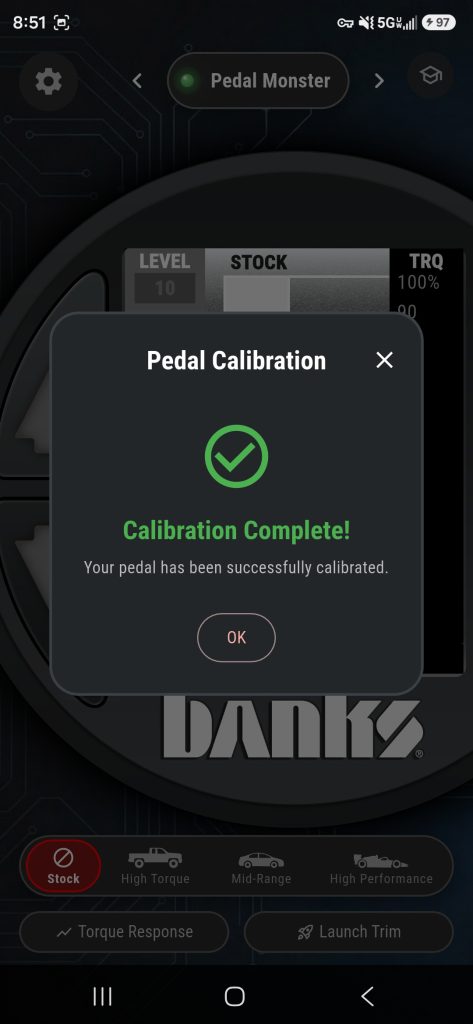
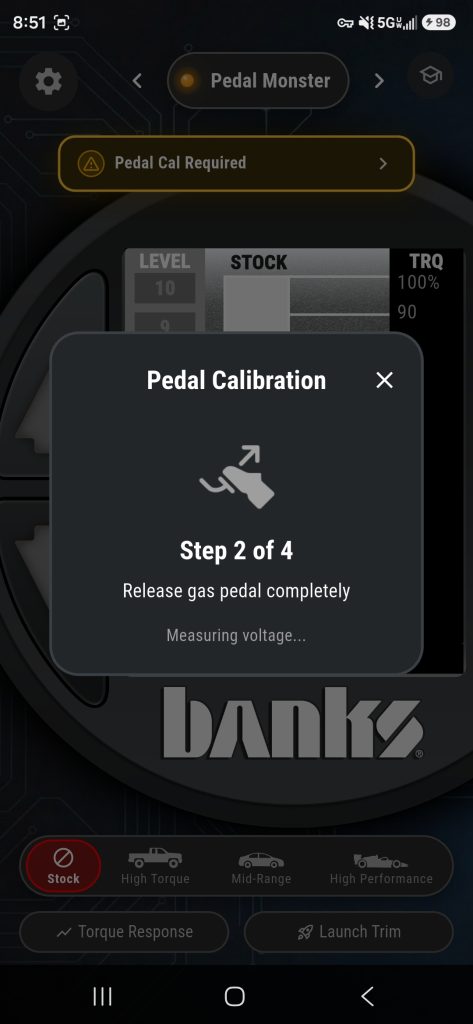
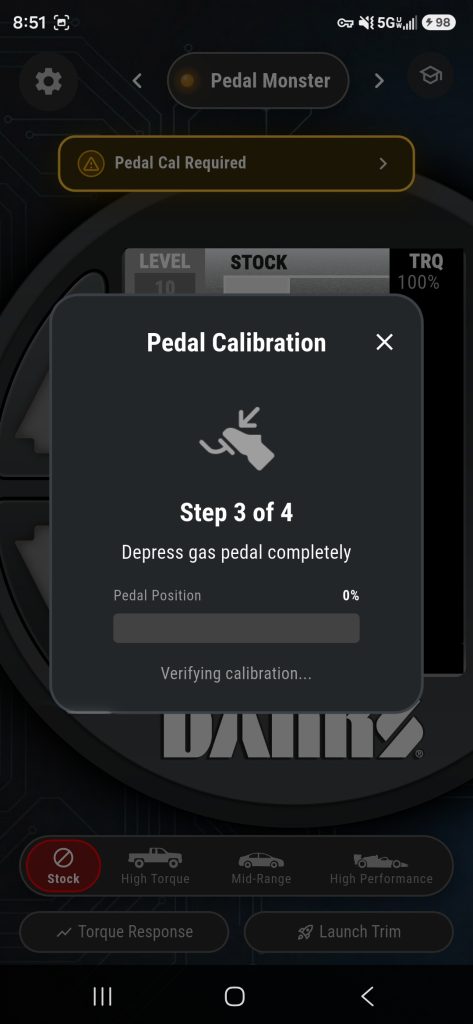
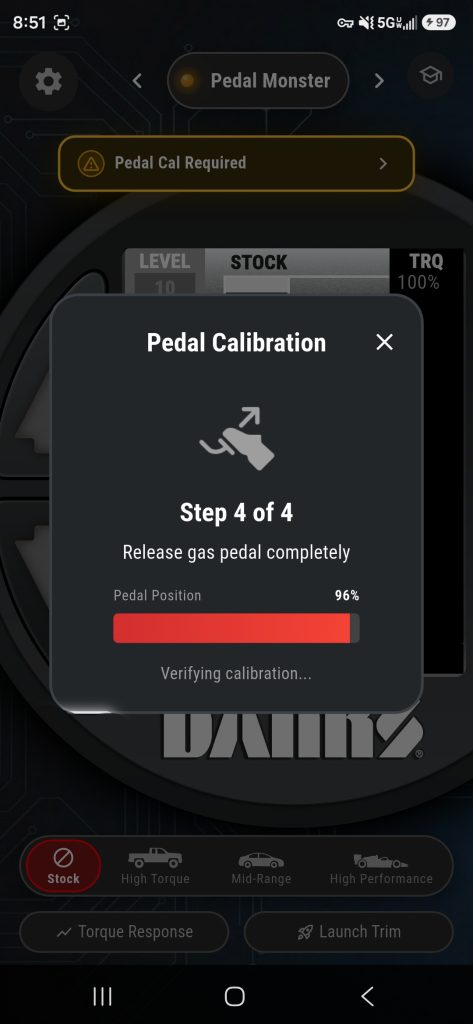
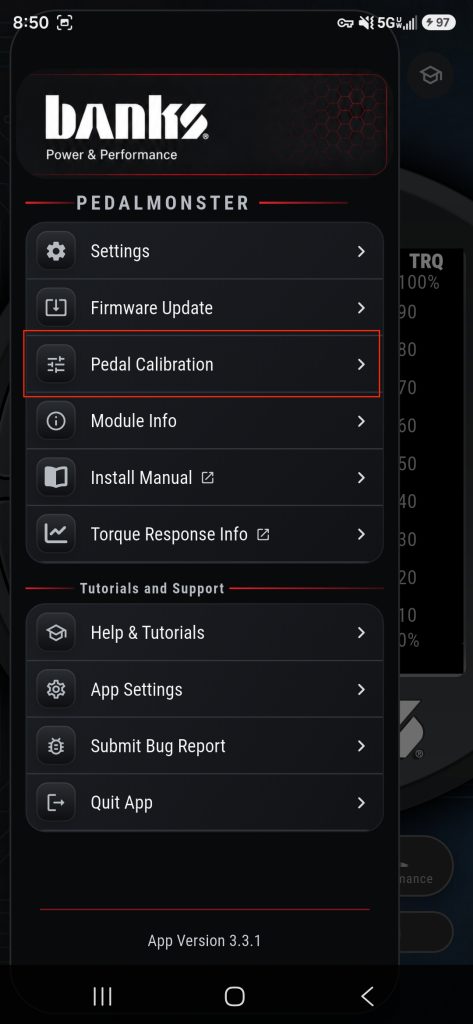
5. When prompted by the app or by pressing the pedal calibration icon, fully depress the accelerator pedal and release pedal.
Click on the CONTINUE icon to acknowledge the completed step. Fully depress and release the pedal again to confirm the pedal range and complete the calibration process.
6. Once the PedalMonster is connected and communicating with the app, use the supplied zip ties to secure the module and cables under the dash or in a side panel compartment. Make sure the cables do not get in the way of the steering column, throttle, brake, or clutch pedals.
Detecting your vehicle type
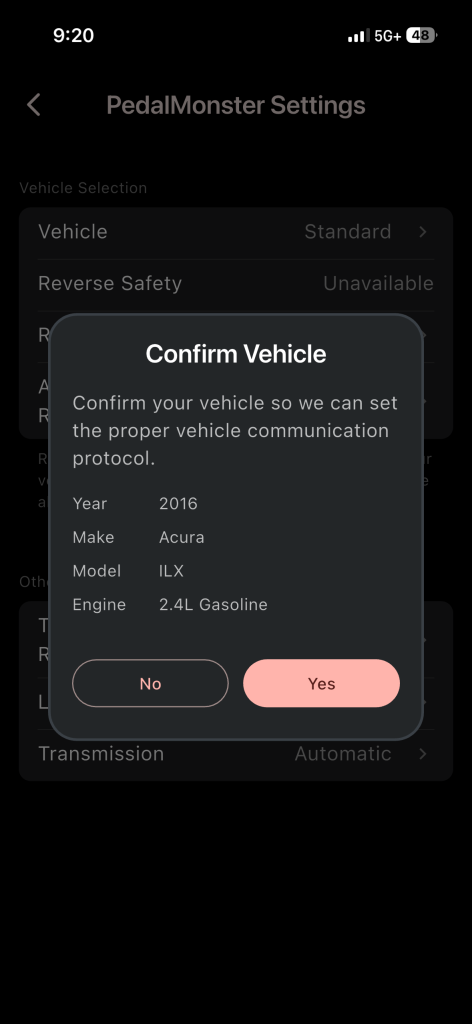
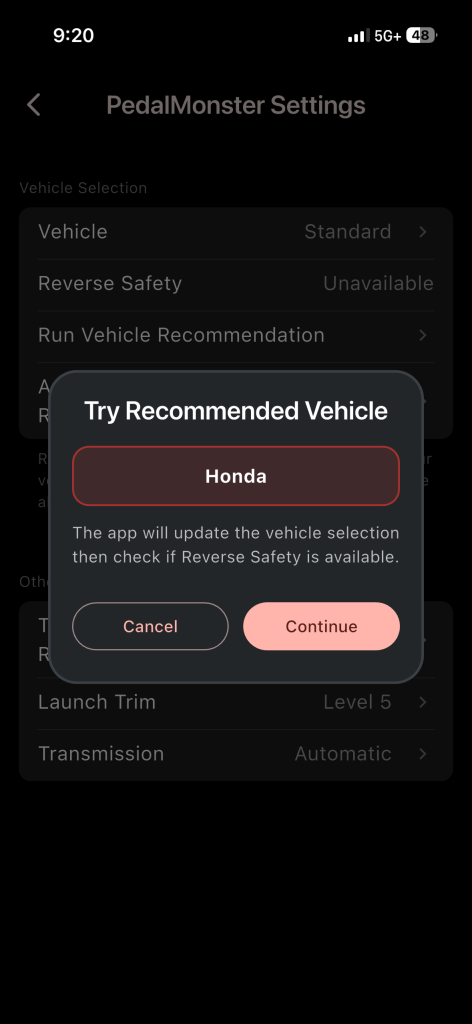
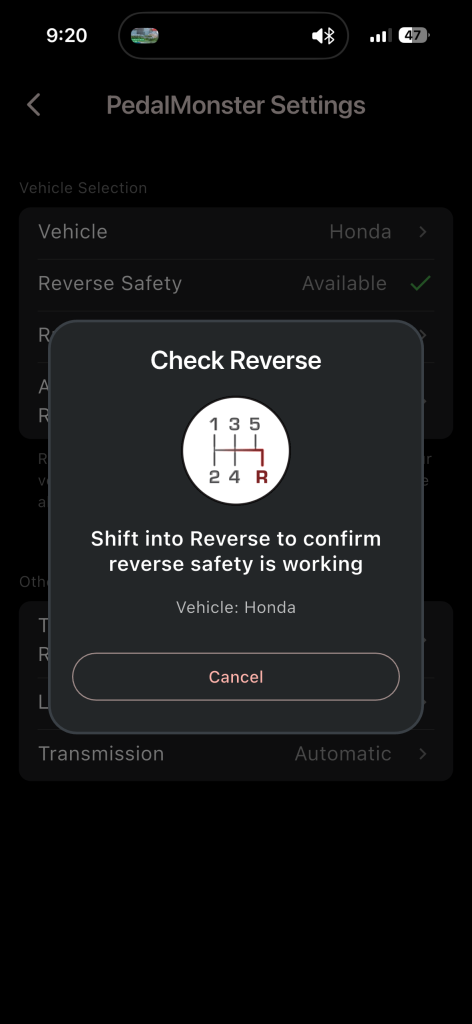
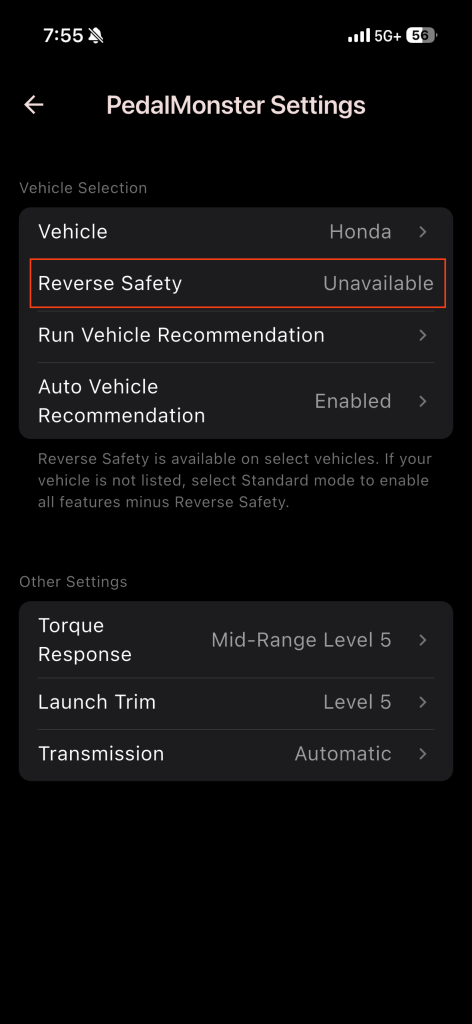
The app will then automatically perform a vehicle auto-detect. PedalMonster will query the vehicle’s ECM to obtain its VIN, year, make, model, speed, and gear information. Confirm your vehicle, settings, and that reverse gear has been detected.
If PedalMonster does not detect Reverse Gear, it will land on Standard.
Recalibration
If the app asks you to recalibrate the pedal, open the menu, tap Settings, tap Recalibrate, and follow the instructions.
Mobile App Explained
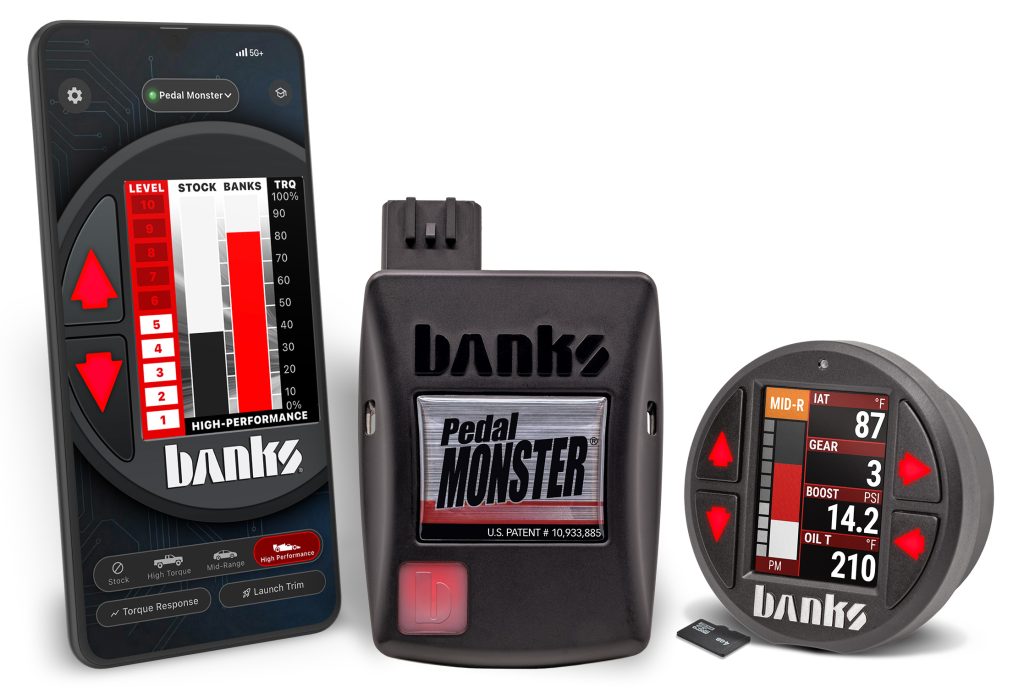
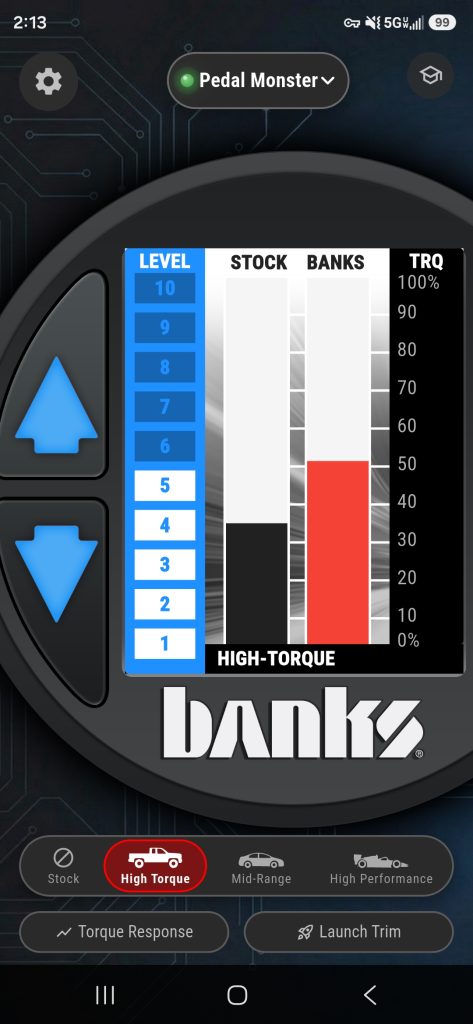
Starting in High-Torque mode, PedalMonster increases the throttle’s commanded torque sensitivity. It is recommended to begin in High-Torque mode and increase sensitivity using the up and down arrows.
NOTE: To change modes or increase or decrease sensitivity levels, you must have your foot off the accelerator. The same is true when controlling the PedalMonster via iDash.
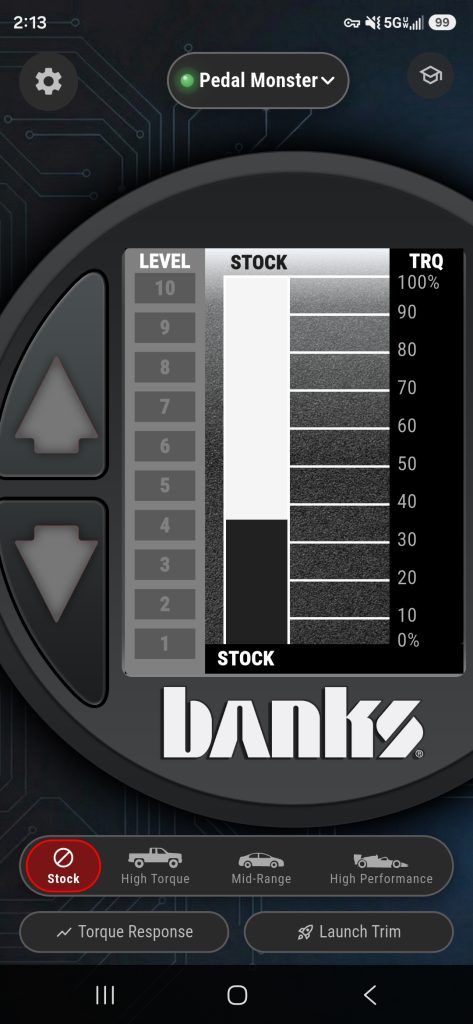
The bar graph on the left (STOCK) displays the commanded torque at the pedal. The bar graph on the right (BANKS) displays the commanded pedal torque being sent to the ECM. As sensitivity is increased, the disparity between the graphs will grow.
If the mobile app is disconnected from the PedalMonster module, an on-screen message will prompt you to reconnect.
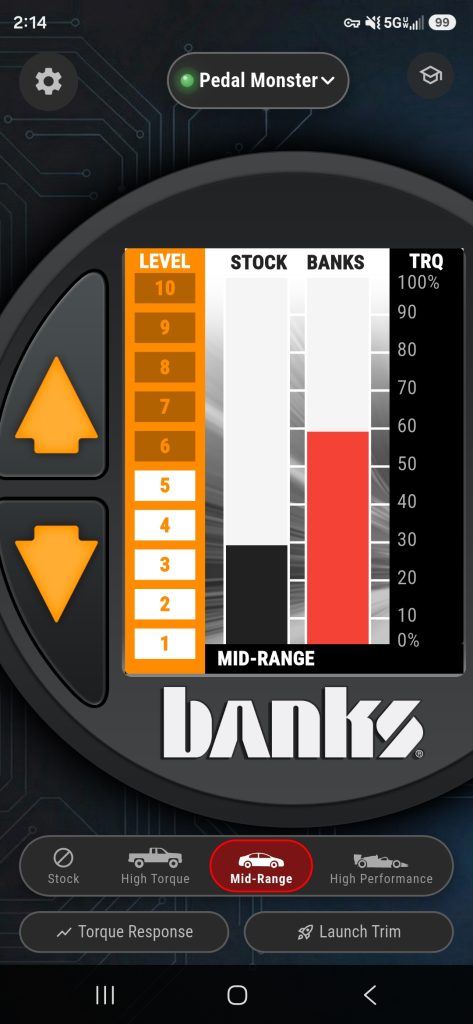
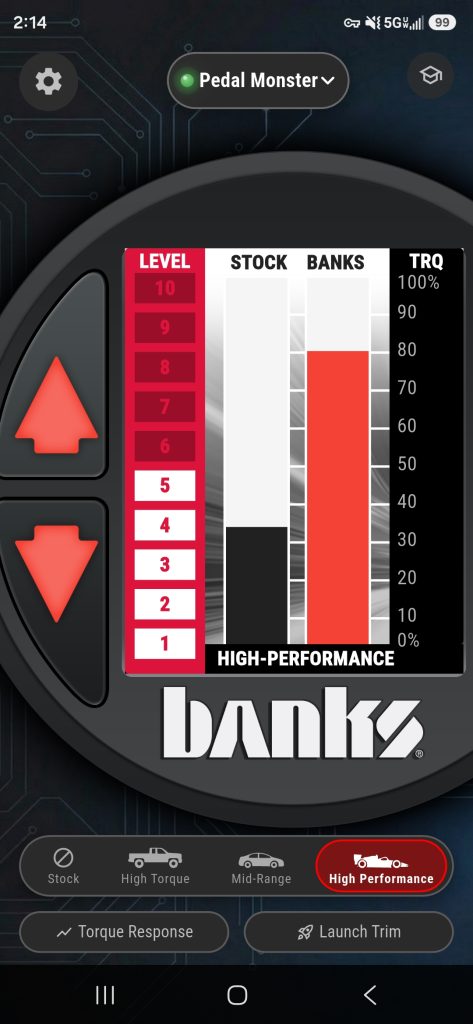
PedalMonster increases commanded torque in ten increments, beginning with High Torque level 1 being the least sensitive and High Performance level 10 being the most sensitive.
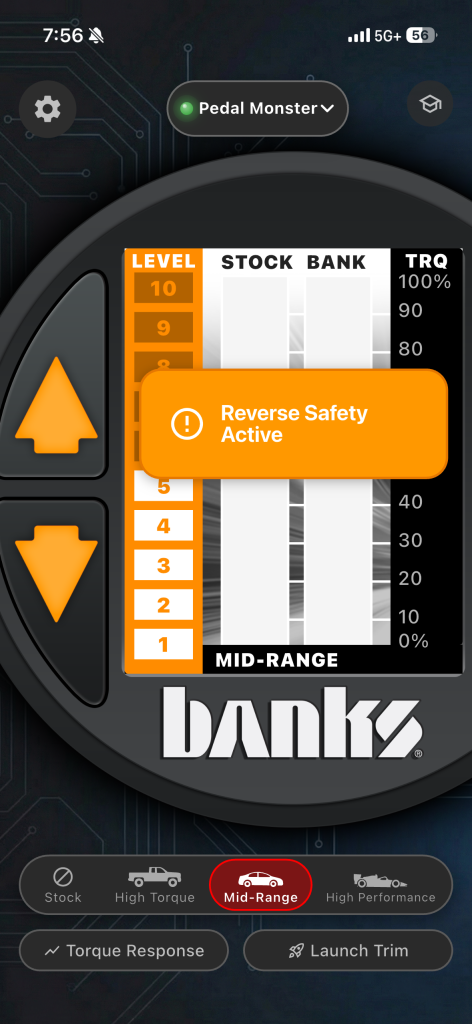
If your vehicle supports Reverse Safety, then any time you switch into reverse, you will be prompted with the “Reverse Safety Active” alert on screen. This confirms your vehicle has returned to stock when backing up, regardless of what torque curve you have set your PedalMonster to.
Launch Trim
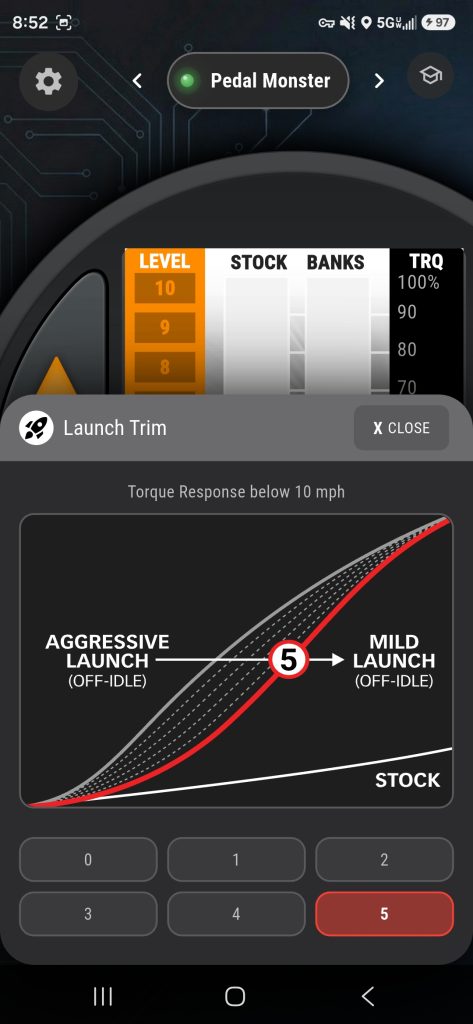
Launch Trim reduces PedalMonster’s added commanded torque below 10 MPH. This function comes in handy for starting at a stop light, driving through a parking lot, towing or driving on slick surfaces. Launch Trim offers 5 levels, with level 1 removing the least amount of added throttle sensitivity and level 5 removing all of the PedalMonster’s added sensitivity below 10 MPH.
Example: Let’s say you prefer Mid-Range level 8. This is the level you enjoy driving with every day. However, you don’t want a touchy pedal when accelerating from a stop or when pulling your boat. This is the perfect situation for Launch Trim. Set Launch Trim to level 5. This maintains stock commanded torque until you exceed 10 MPH.
To access Launch Trim via the mobile app, tap the lower right icon in the corner.
1. Turn on the vehicle’s ignition but do not start the engine.
2. Press any button on the iDash to wake it up.
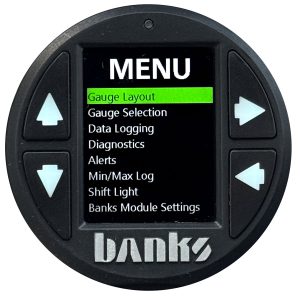
3. Press the Right Arrow on the iDash to navigate into MENU–>BANKS MODULES–>PEDAL MONSTER–>CALIBRATE.
4. Press the Right Arrow to acknowledge YES and confirm the calibration process. Fully depress the accelerator pedal and release the pedal. Repeat the process by fully depressing and releasing the pedal. You should see “SUCCESS. CALIBRATION PROCESS IS COMPLETE.”
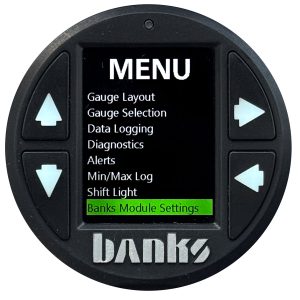
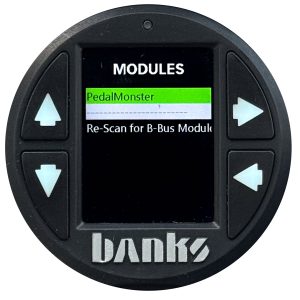
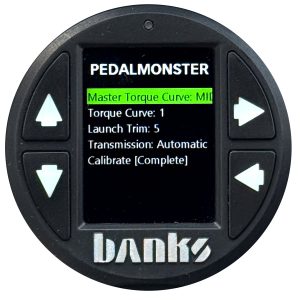
The available selections are Stock, High Torque, Mid-Range, and High Performance. Stock mode will retain factory pedal sensitivity.
High Torque mode has a mild sensitivity increase across the pedal travel. High Performance mode has the most aggressive increase.
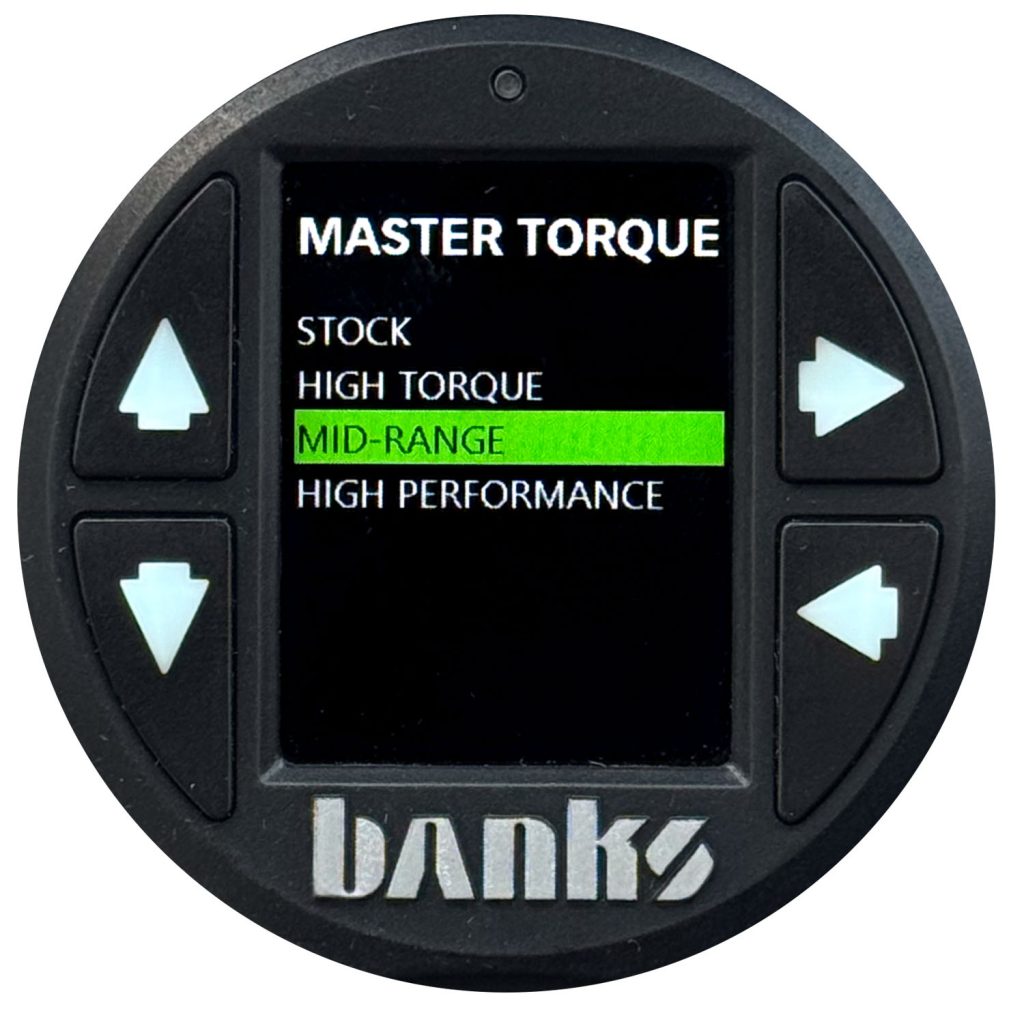
Each mode has 10 incremental levels
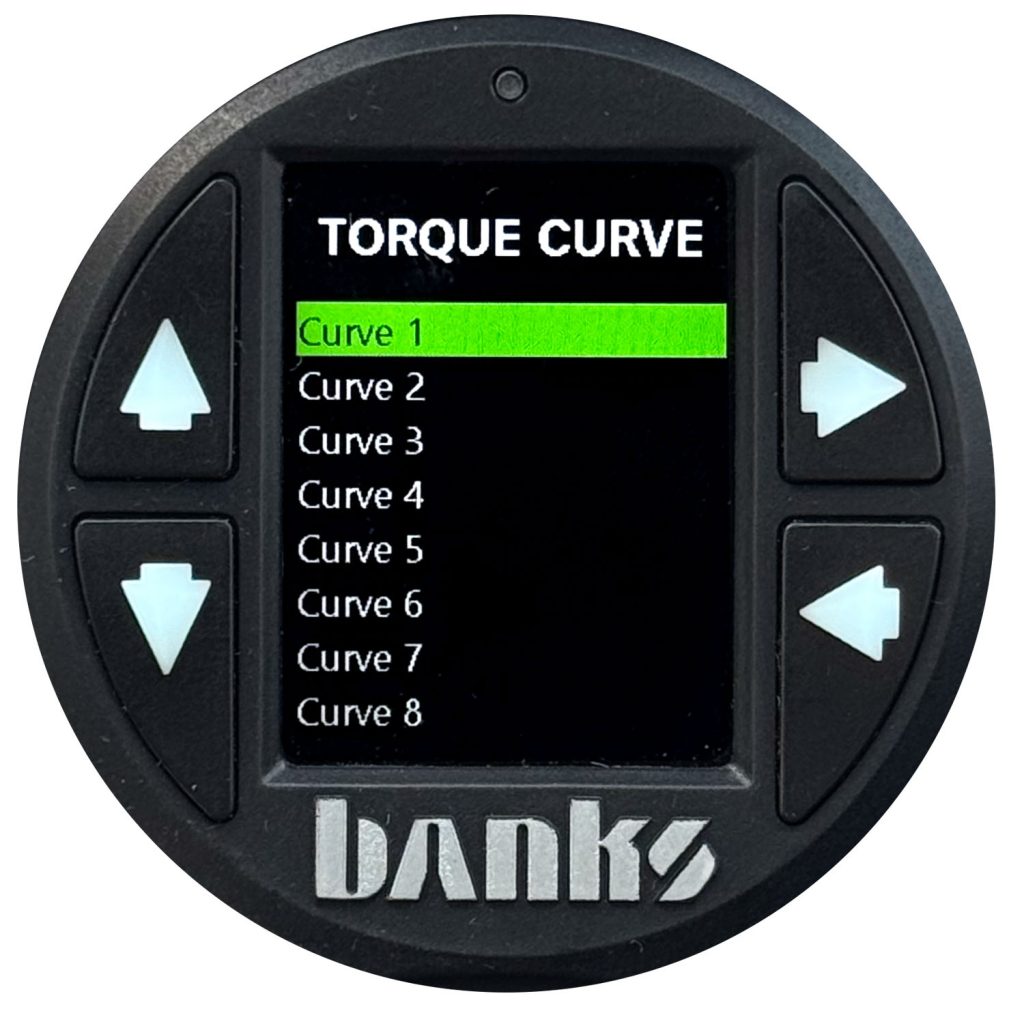
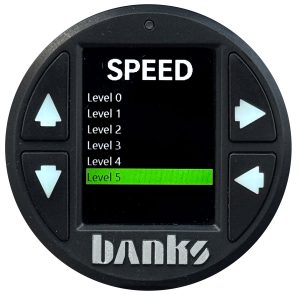
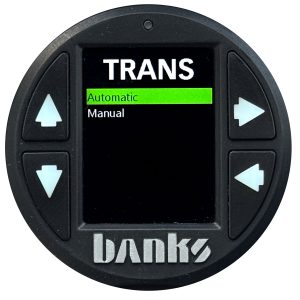
Choose between manual or automatic transmission.
Manual transmission setting reduced PedalMonster’s effect in the 0-20% of the pedal travel compared to the Automatic. This is to improve the drive-ability during clutch engagement in manual transmission vehicles.
Tip: Automatic transmission vehicles can opt to use the MANUAL setting as it offers a different characteristic and some users might find it more suitable.
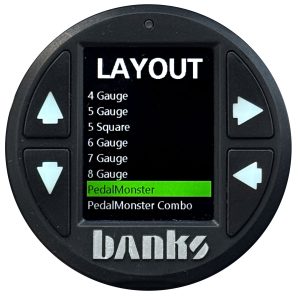
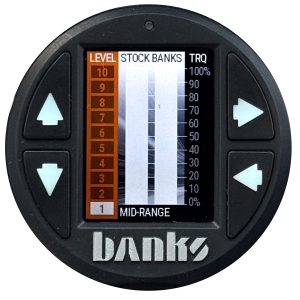
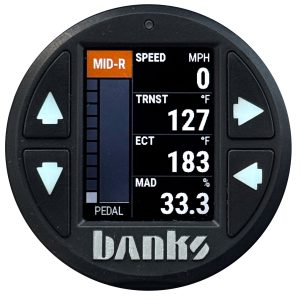
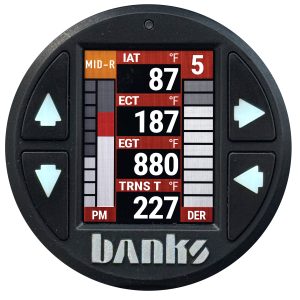
Press UP / DOWN ARROWS to increase or decrease levels. Pressing UP on Level 10 or STOCK will roll over to next Mode. Likewise, pressing DOWN at Level 1 will go to the previous Mode.
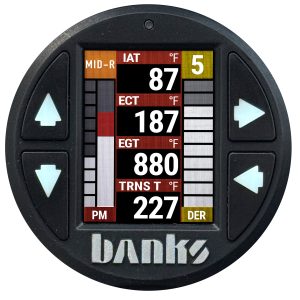
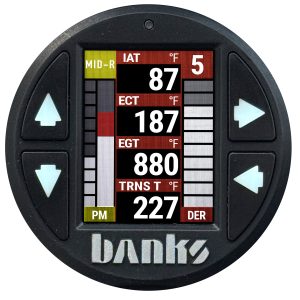
PEDALMONSTER STATUS LED
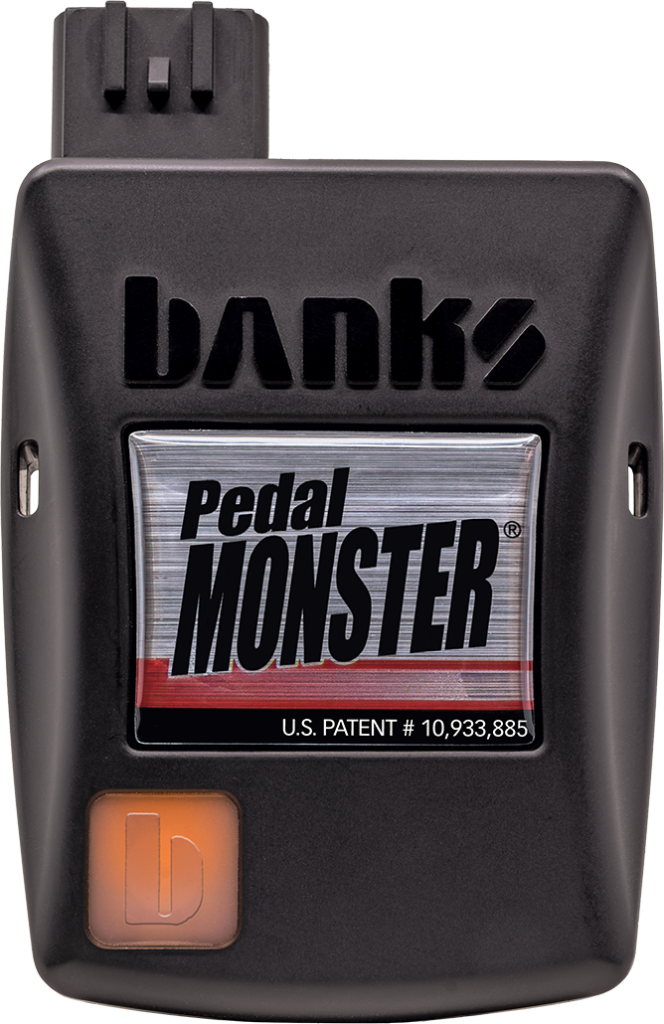
Pairing Status
The “[b]” Banks button LED will flash ORANGE if the module is in pairing mode after being pressed once. It will flash GREEN when paired with a device and no faults are detected.
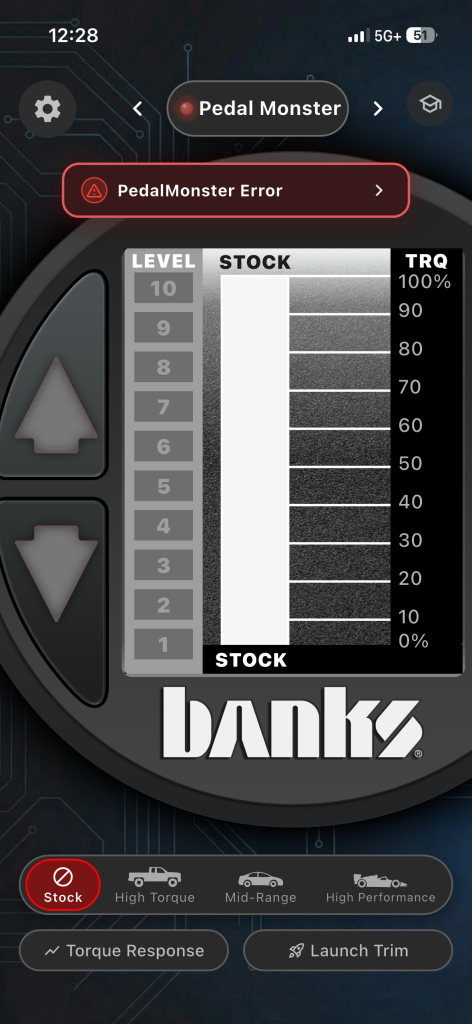
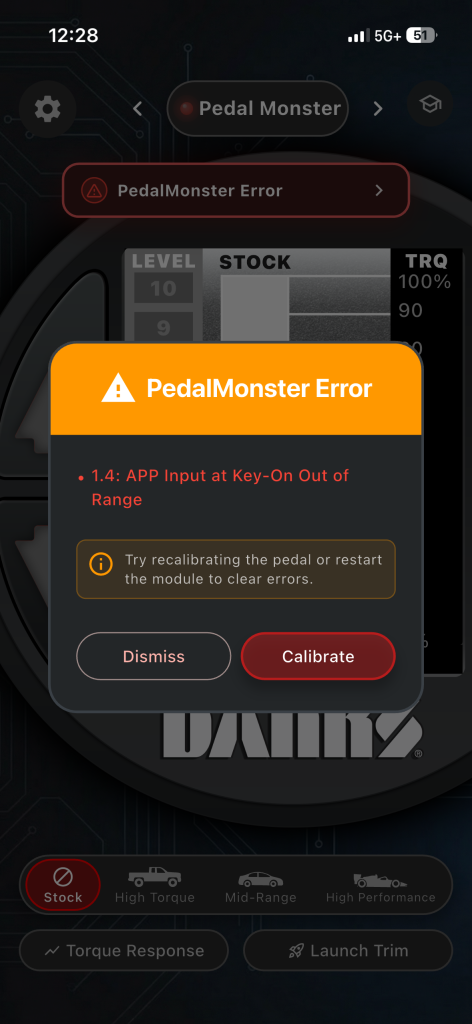
PedalMonster Module Status with App
When faults are detected, “[b]” Banks button LED will flash a error code.
We recommend you look at your Banks App for full error explanations and troubleshooting steps.

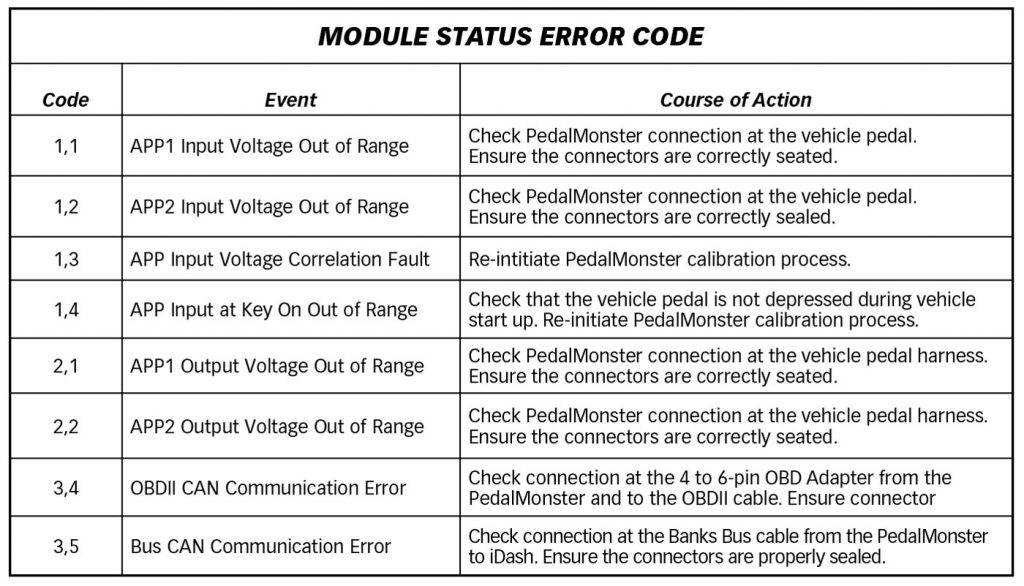
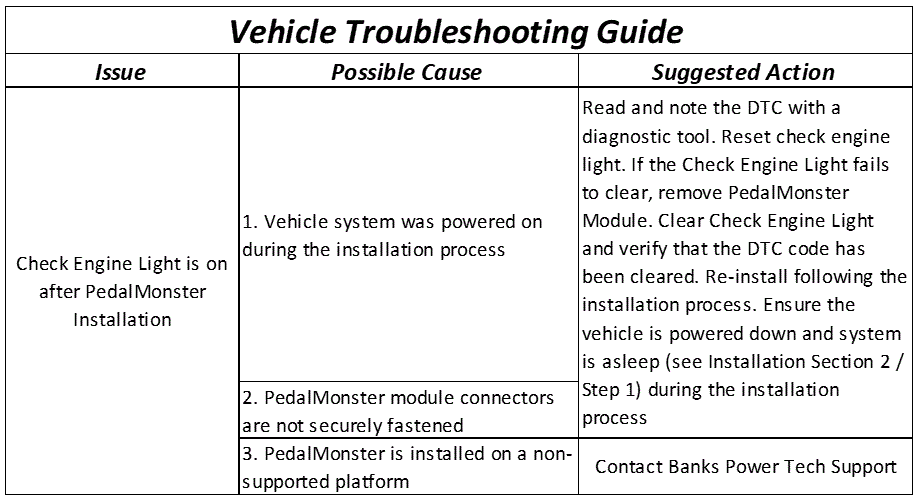
PedalMonster Module Status Troubleshooting
As a fallback, the front “[b]” button will act as a backup should a connection to the mobile app not be established.
Error codes are comprised of 2 digits. Each digit is expressed by the flashing RED LED.
A code can be determined by counting the number of RED flashes displayed before the LED flashes GREEN for the first digit and the number of RED flashes after the LED flashes GREEN for the second digit. After the error code is displayed, additional codes will be displayed in sequence, separated by 4 seconds with the LED off. Once you have written down all error codes being displayed, consult the following tables for a description of code along with the action to be taken.
Clearing PedalMonster Error Codes
The PedalMonster will clear any error codes after a power cycle if the conditions that induced the code are no longer present. Note: some vehicles take 5-10 min to power off the ECU. The PedalMonster LEDs should be monitored to confirm that PedalMonster has completely shut down before turning the ignition back on to complete a key cycle.
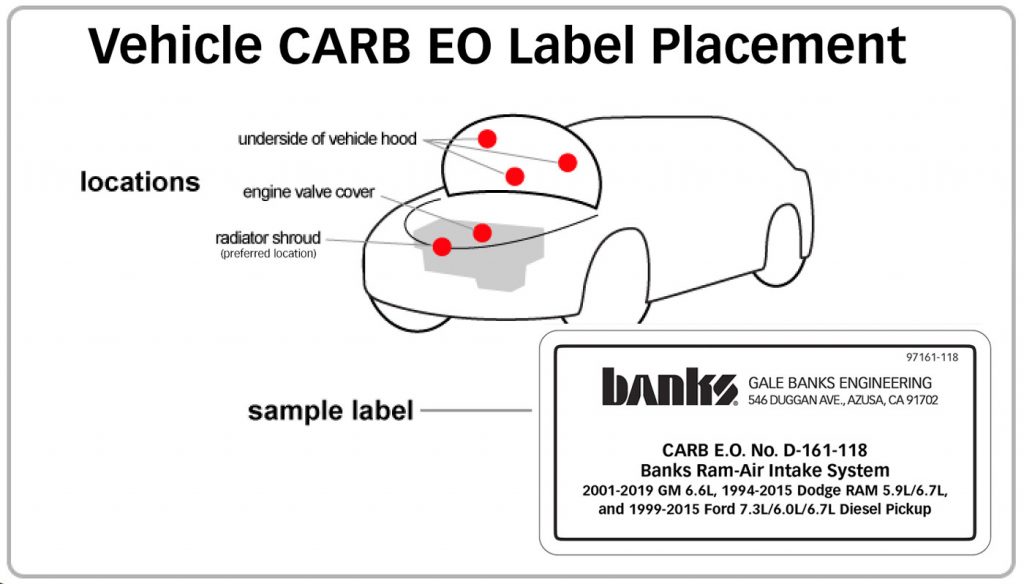
CARB EO Label
Please use the following CARB-approved emissions label and EO label location guidelines. We generally use the radiator shroud location.