



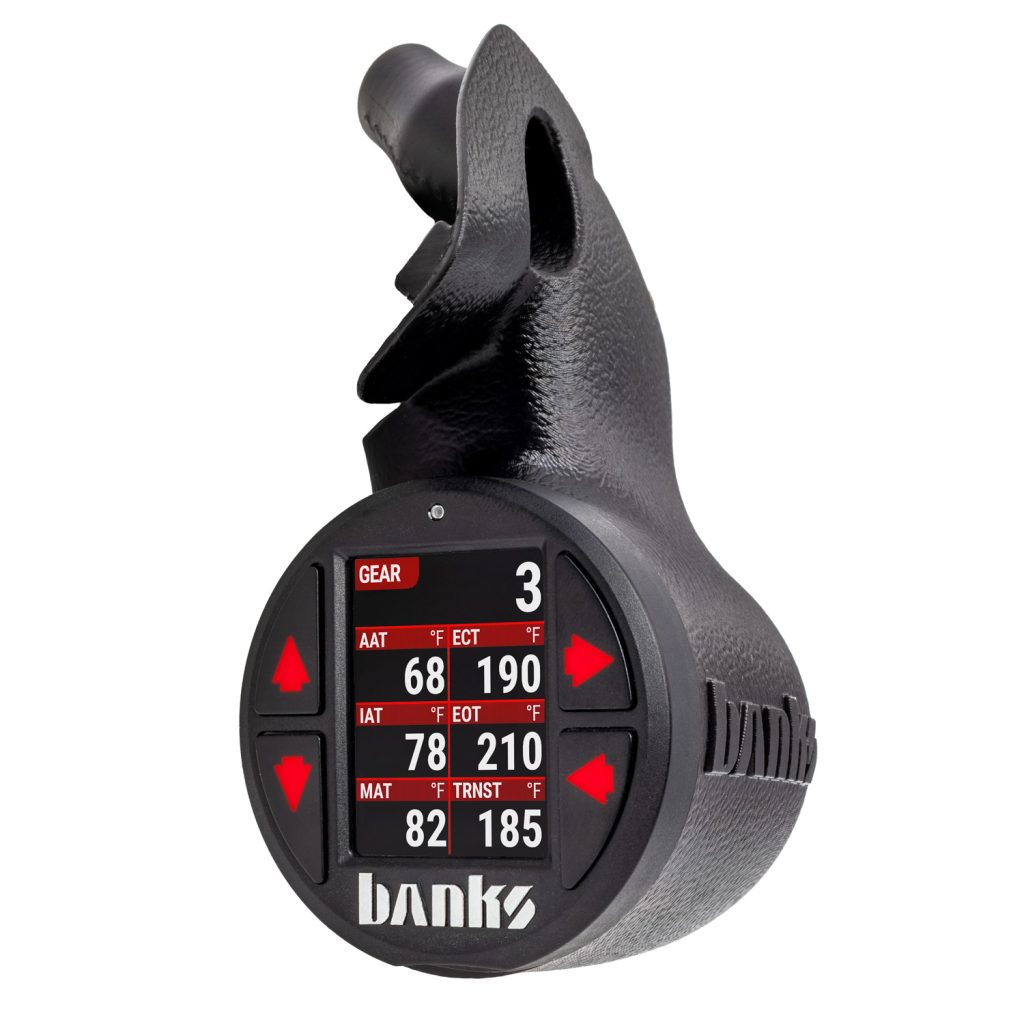
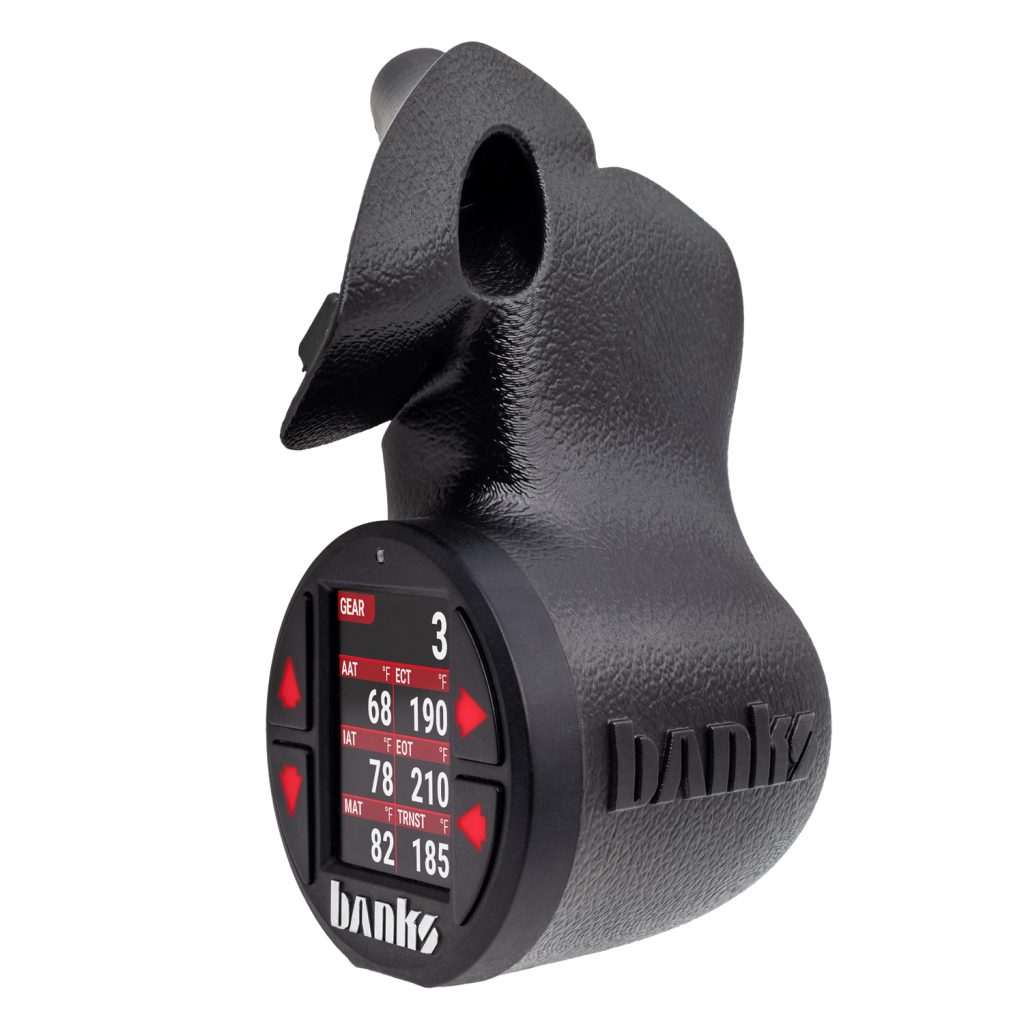
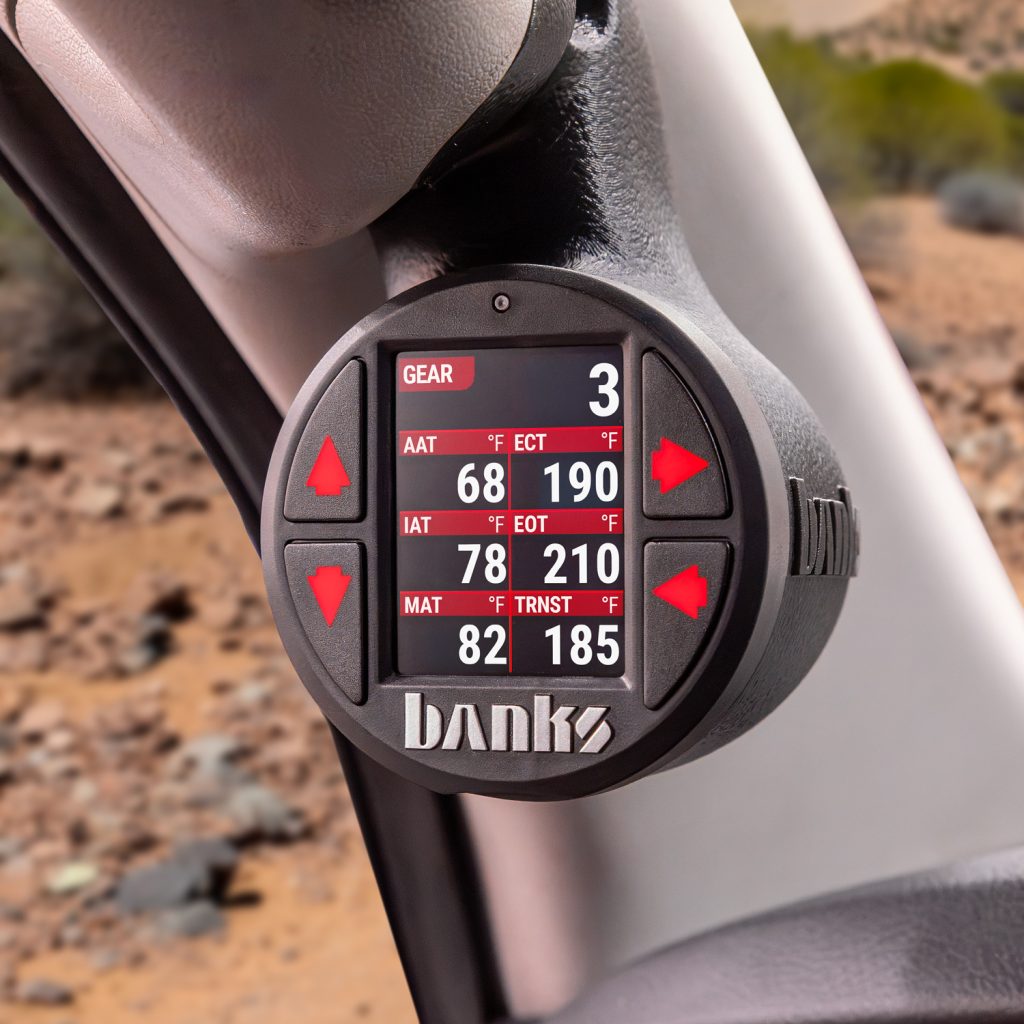
Fits the A-Pillar below found in the:
• 2007-2021 Toyota Tundra
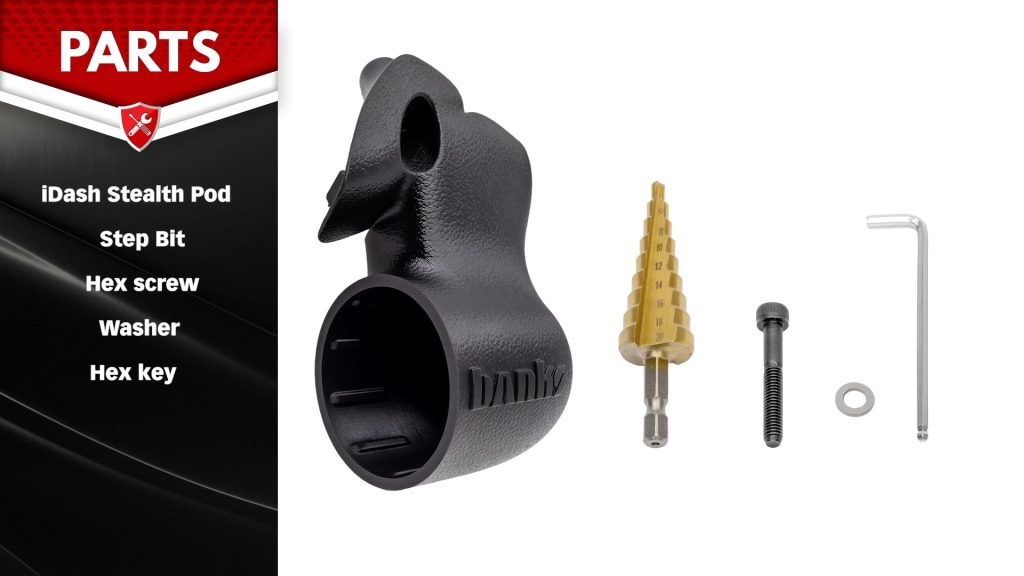
If anything is missing, please call us at 800-601-8072 immediately!
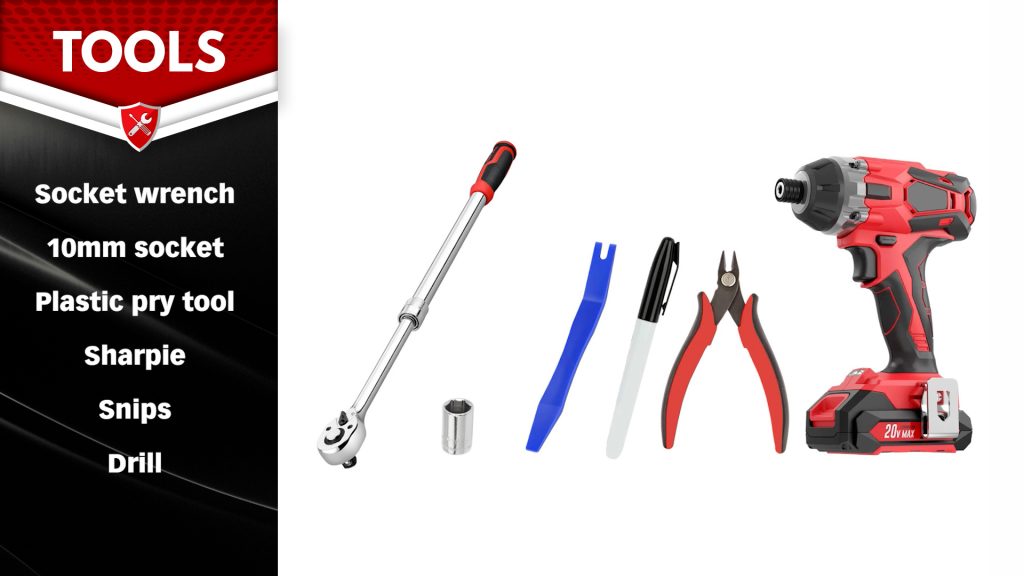
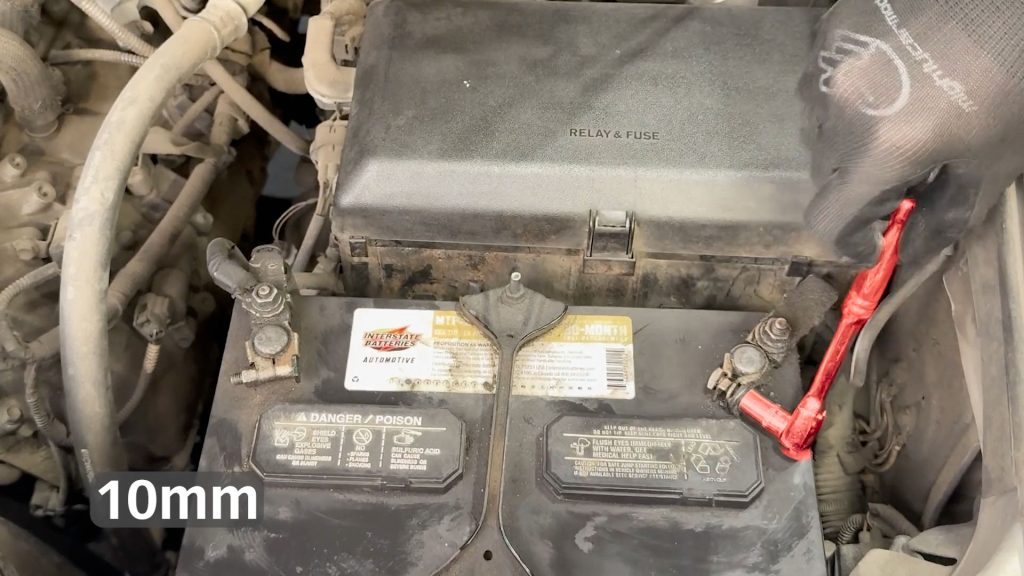
1. Before starting the installation, use your 10mm socket to remove the negative terminal on the battery.
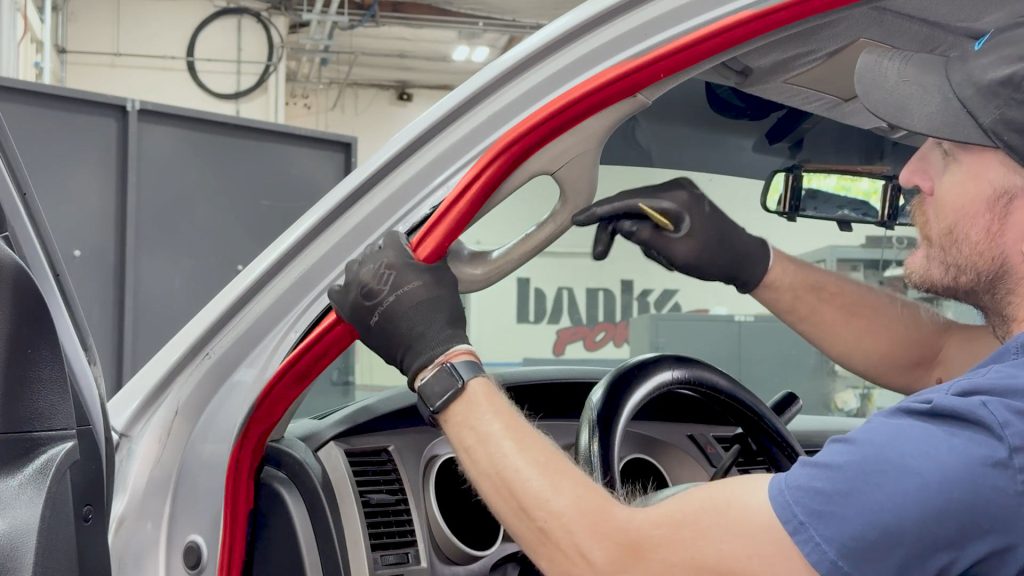
2. Pull off about three feet of the weather stripping from just below the dashboard to the top of the A-pillar. The weather seal is held in with pressure and will pop right out with your finger tips.
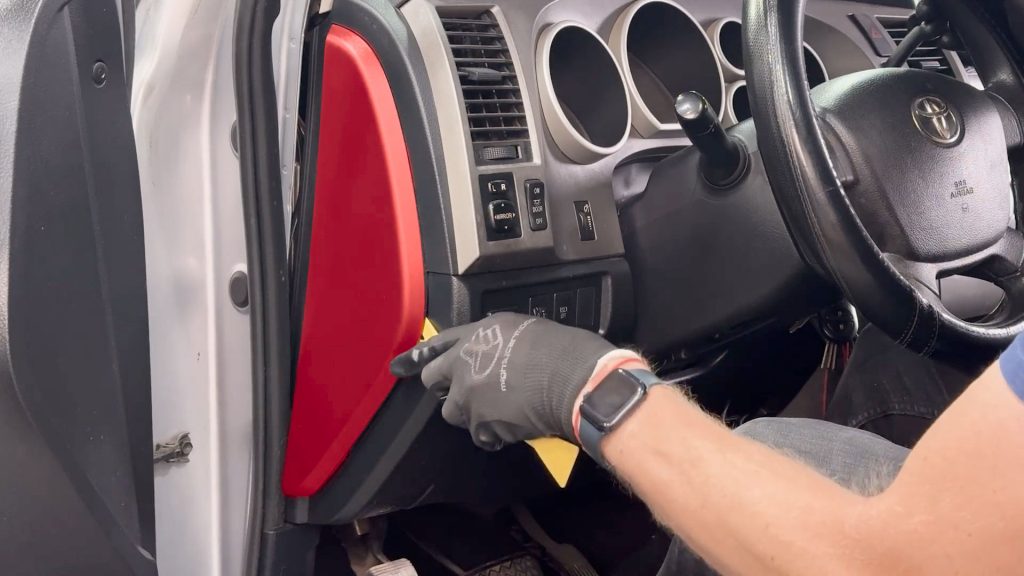
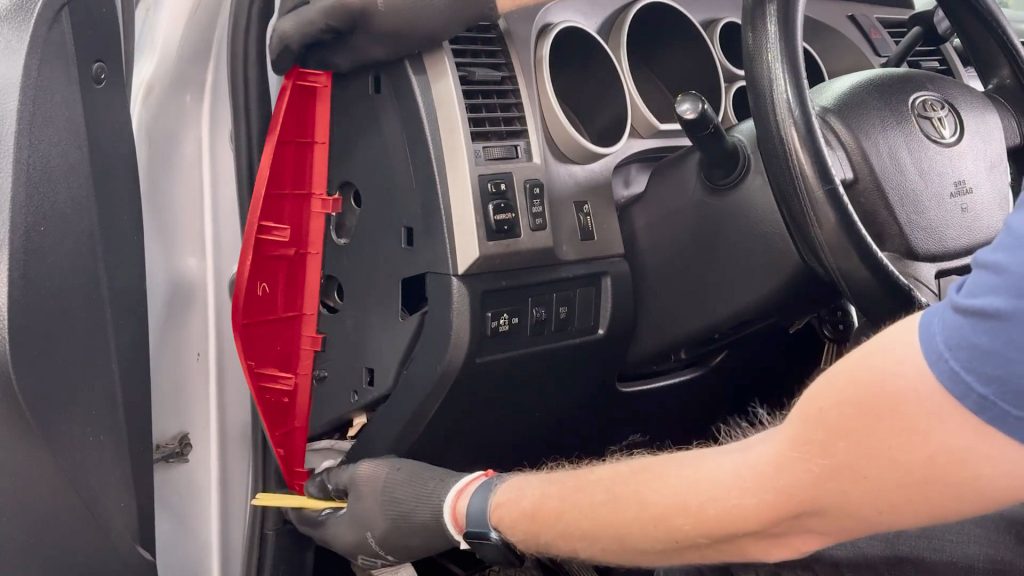
3. With a plastic pr tool, pop the side cover door off.
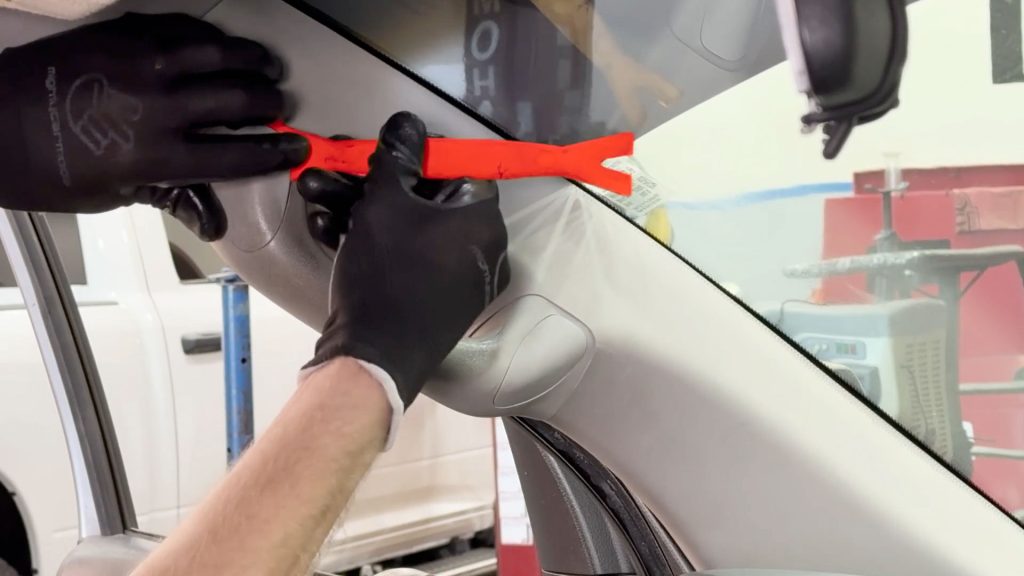
3. Remove the plastic plugs that cover the A Pillar bolts.
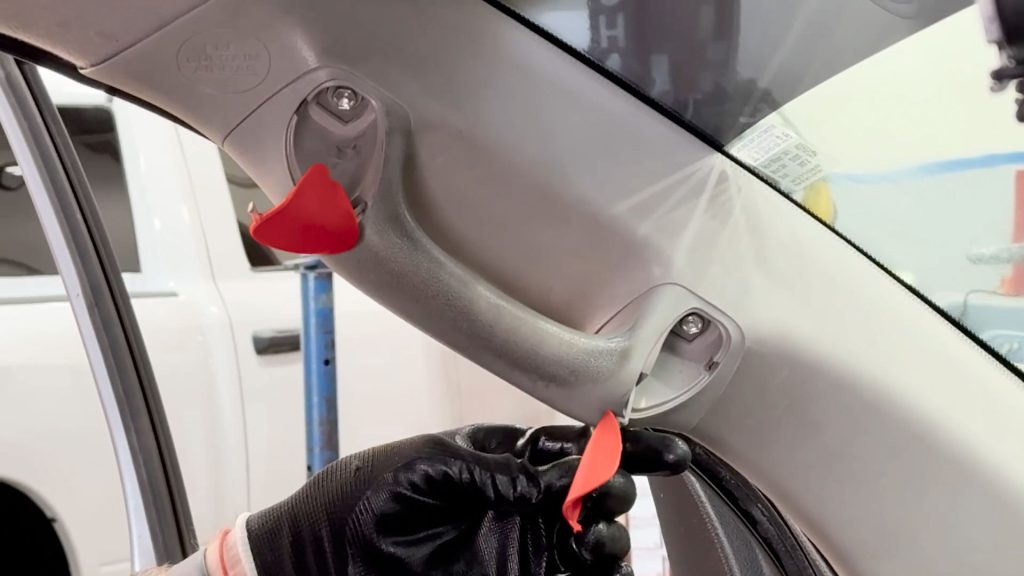
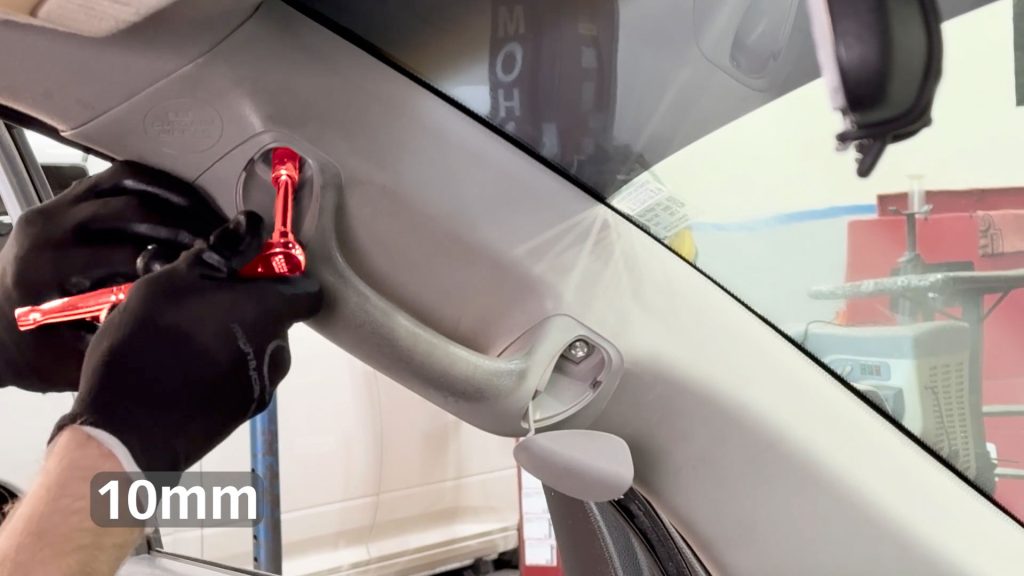
4. With a 10mm socket, remove both bolts.
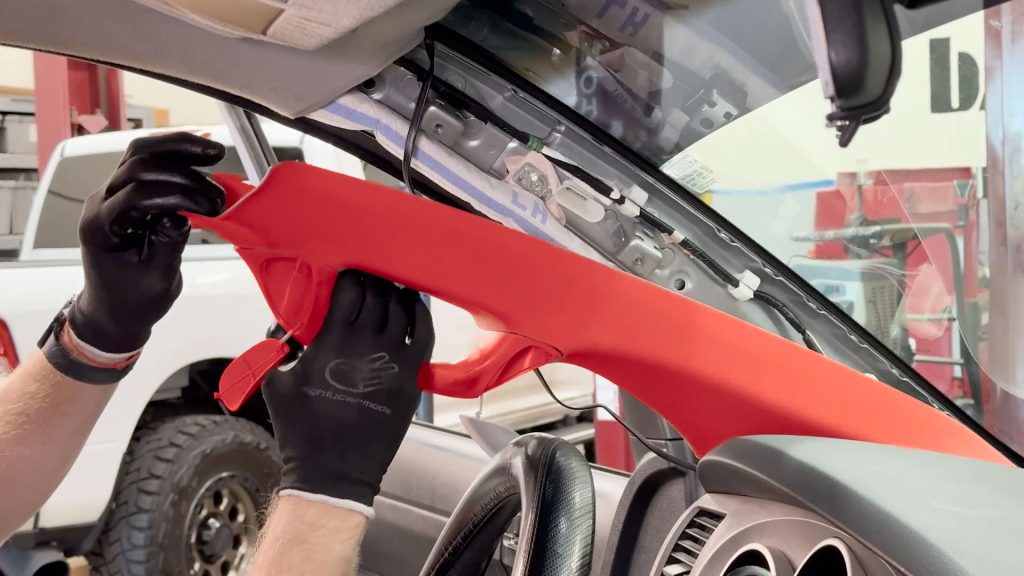
5. Pop the A-Pillar free from the truck.
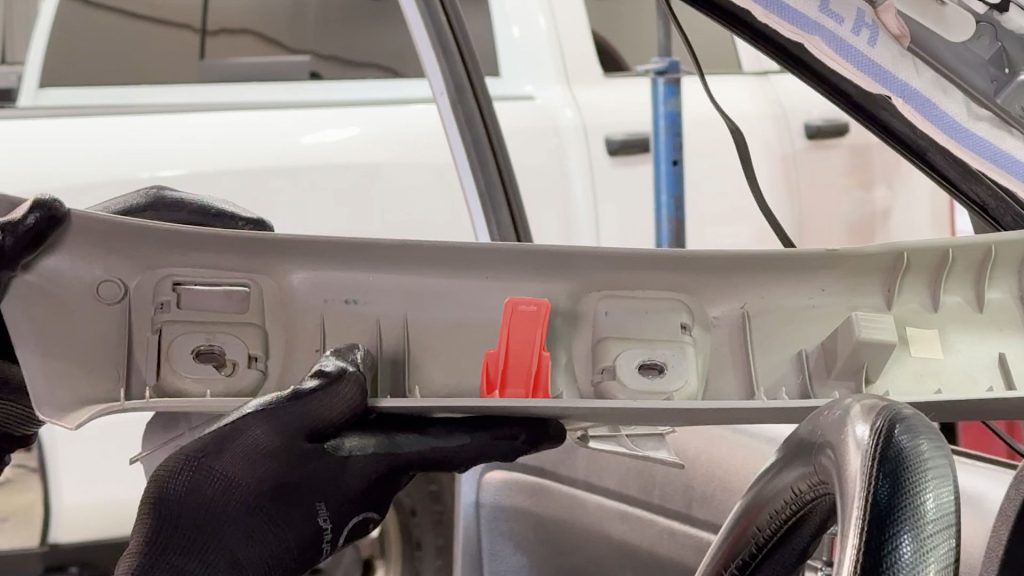
It is held on by a small plastic tab on the top. A firm tug will free it from the vehicle.
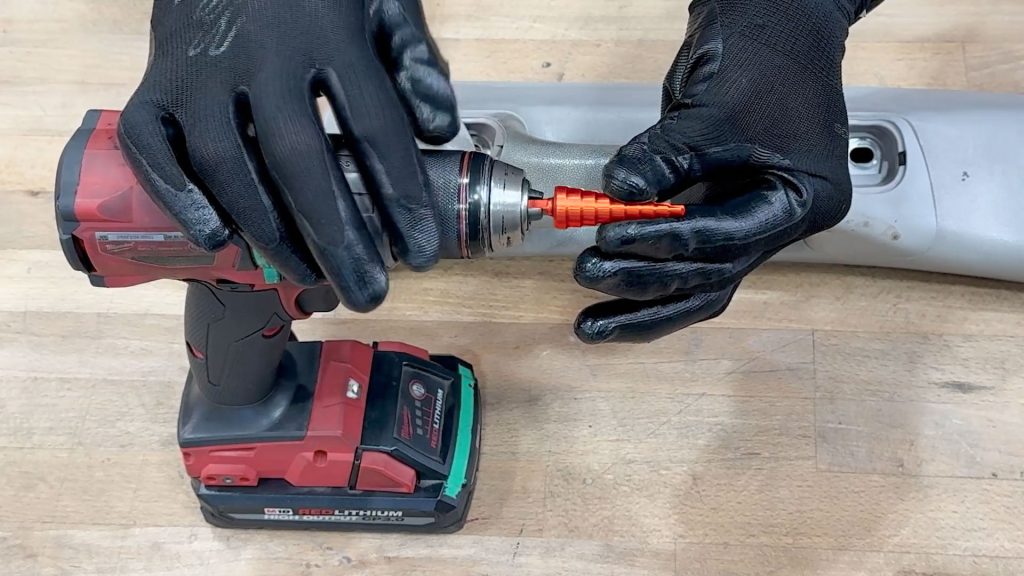
7. Place the step drill bit in your drill.
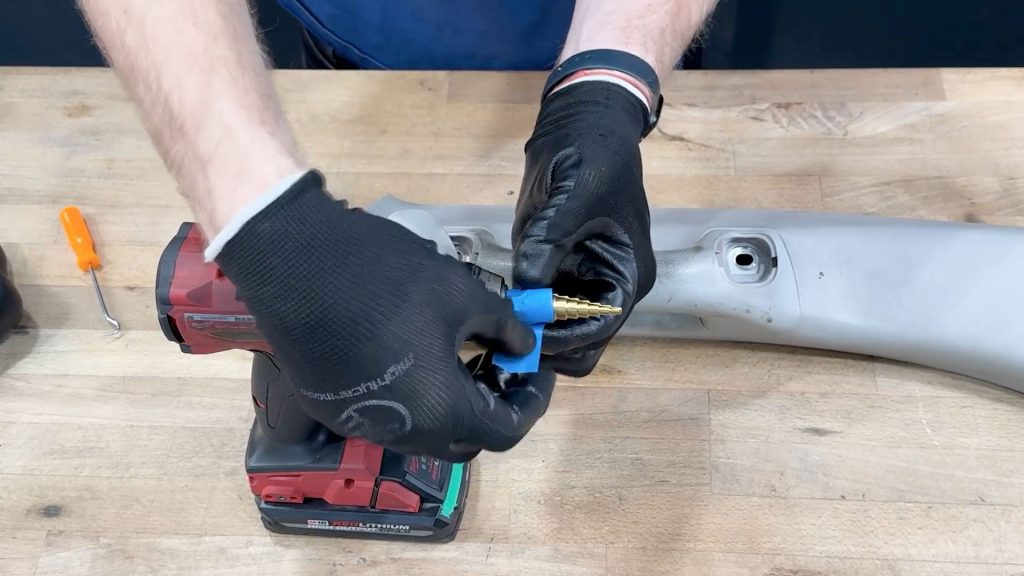
Use a piece of masking tape and mark the appropriate diameter.
16mm for a single iDash cable
18mm for dual iDash Cables.
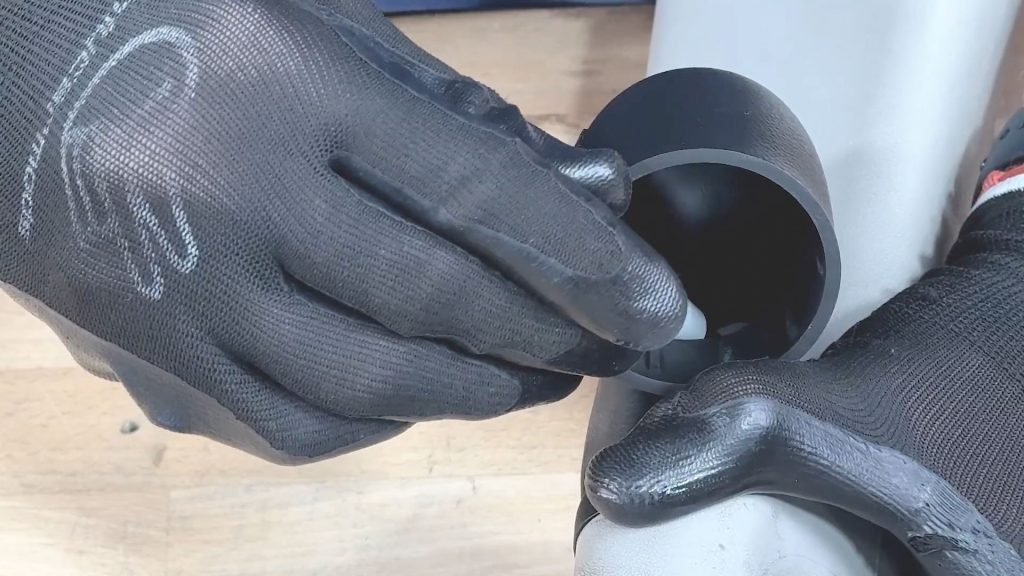
8. With a marker, place a dot in the middle of the Stealth Pods cable access hole.
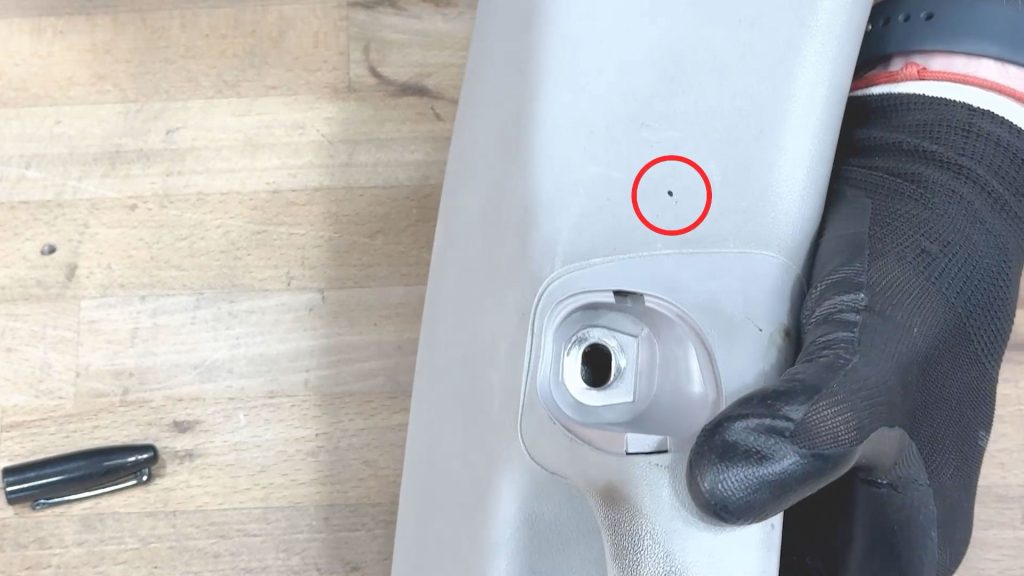
The center of the dot is where you will drill.
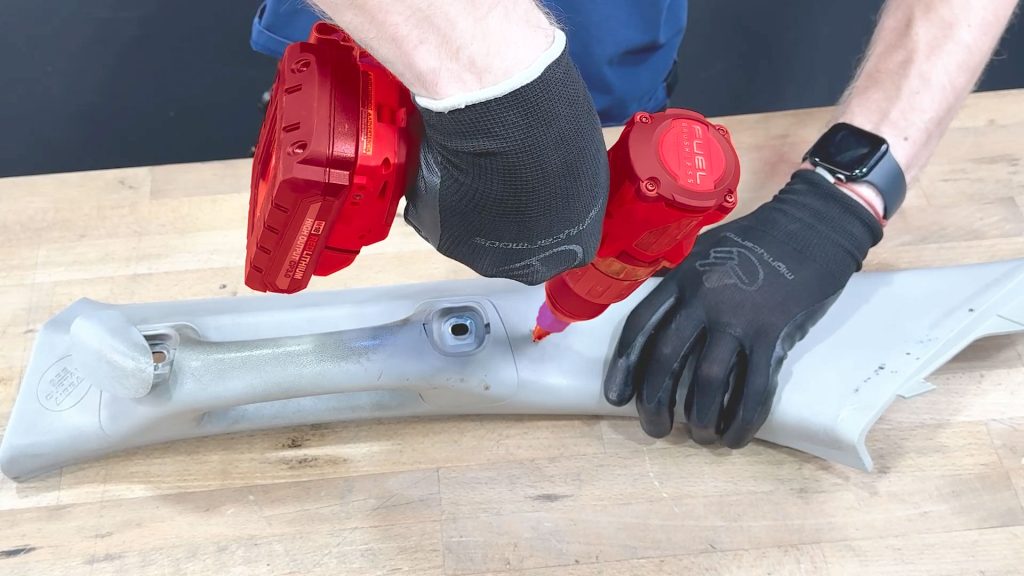
9. Drill cable access hole.
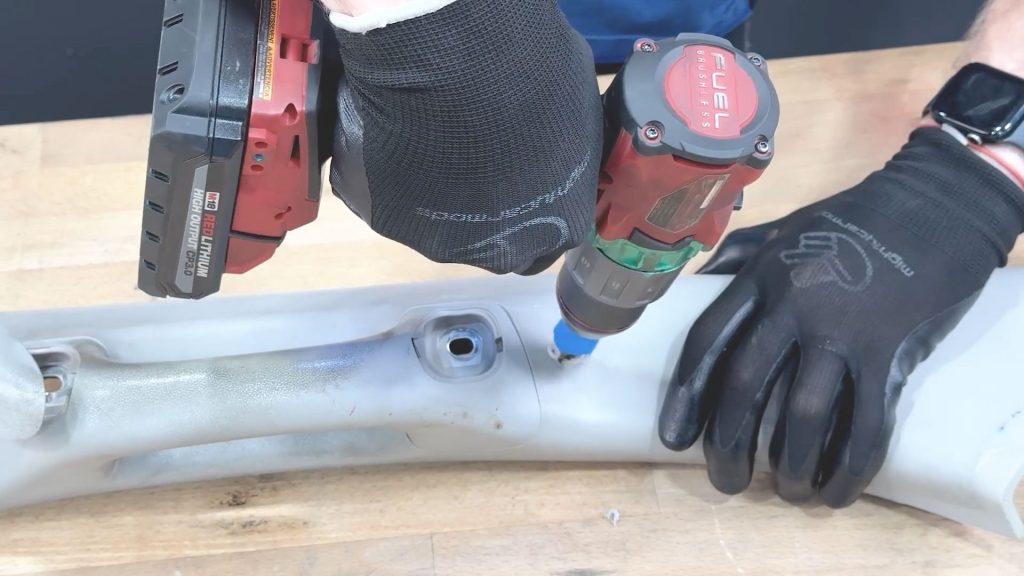
Drill until the 16mm or 18mm step.
16mm for a single cable or 18mm for two.
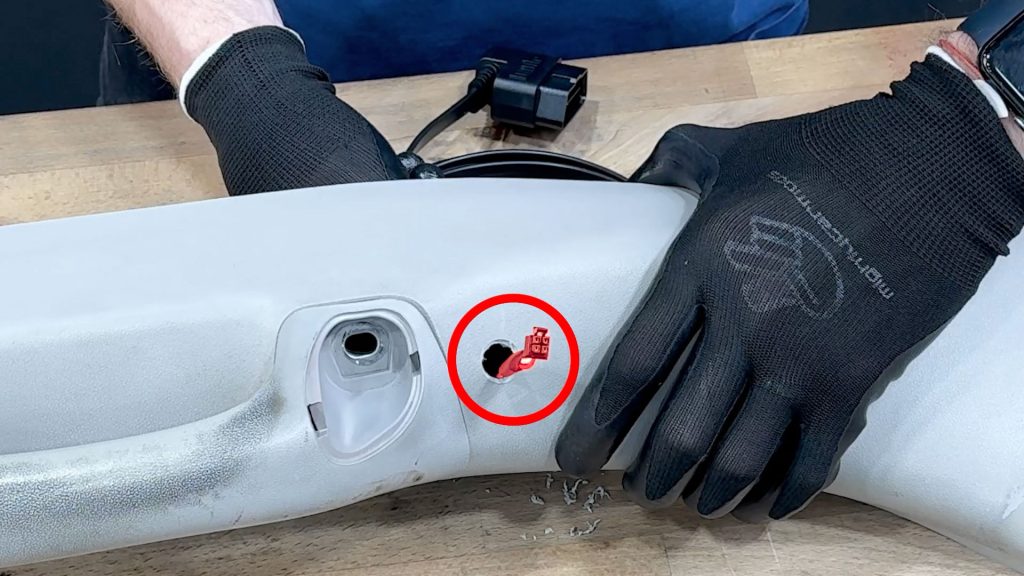
Check the hole you drilled is large enough for your cables. Then return to your truck.
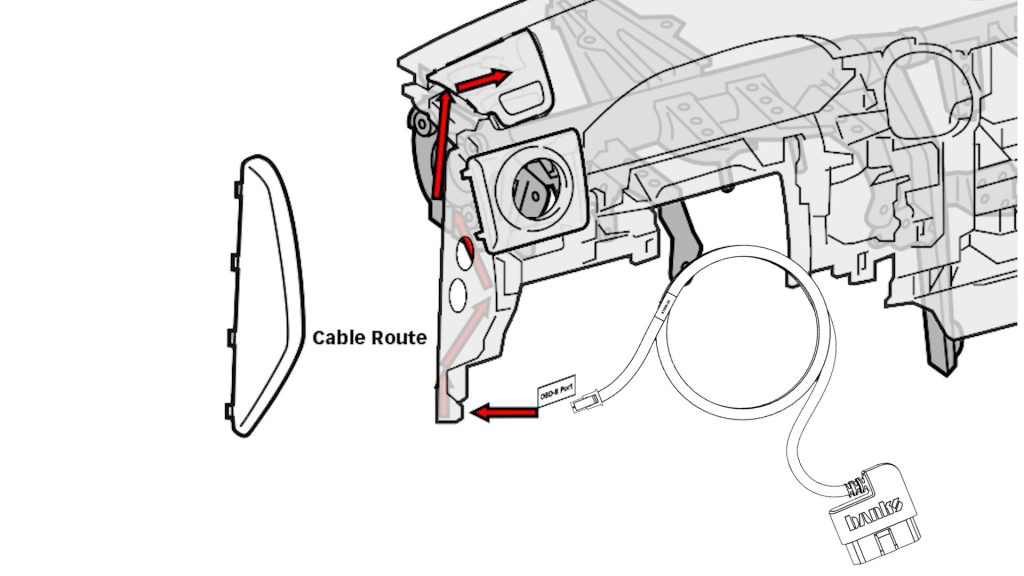
Routing the OBD-II cable up through the side will take a bit of care as it has to be fished behind a plastic trim piece. There are access holes you can use to help guide it up, and once you do you can get the end to reach all the way up to the dash board.
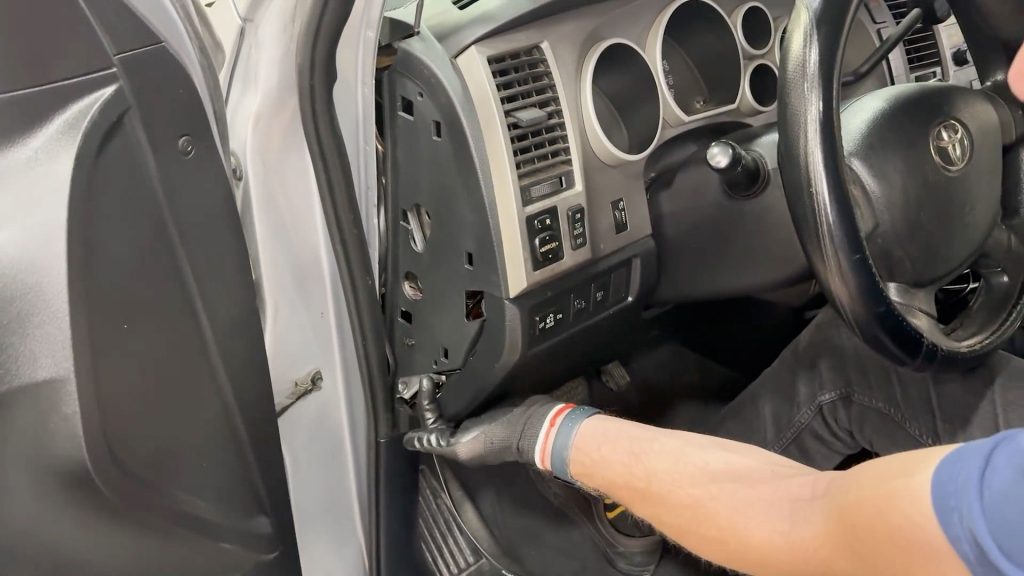
10. Run the cable from underneath, and behind the plastic dashboard trim piece.
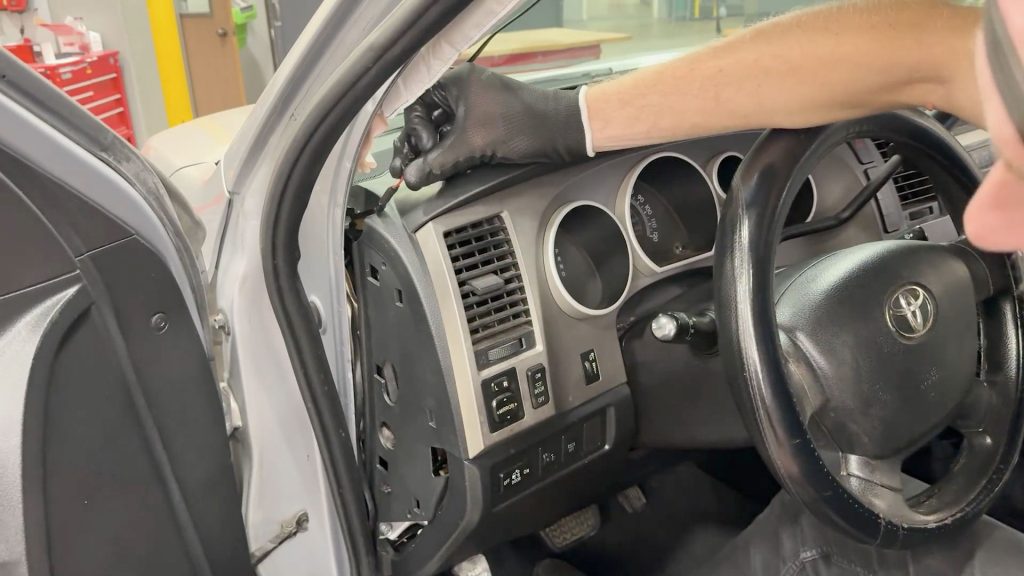
Keep working the cable up through the side untill it reaches the top where the dash board it.
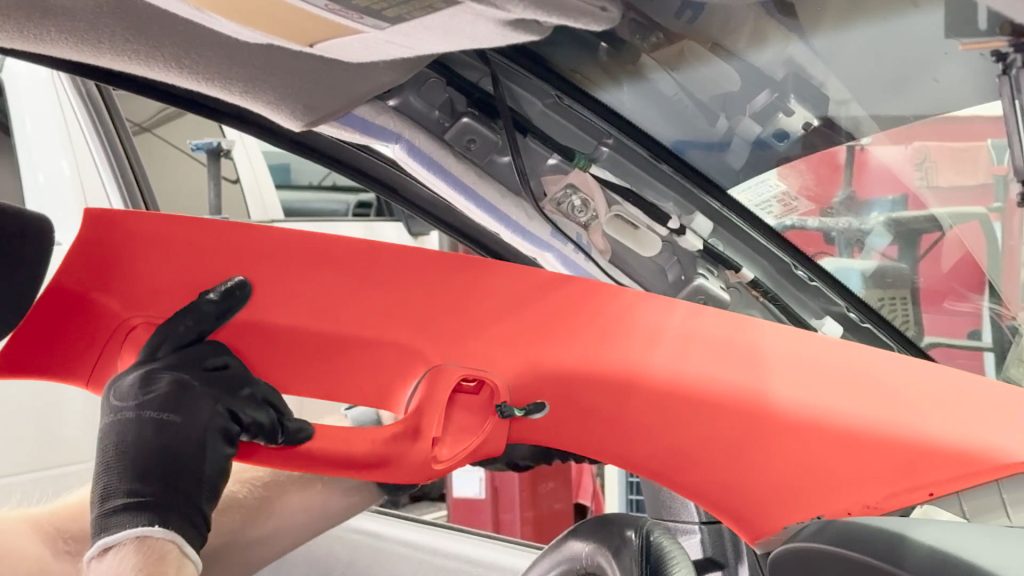
11. Bring the A-pillar back to the truck, and slide the 4-pin end of the OBD cable through the hole you drilled.
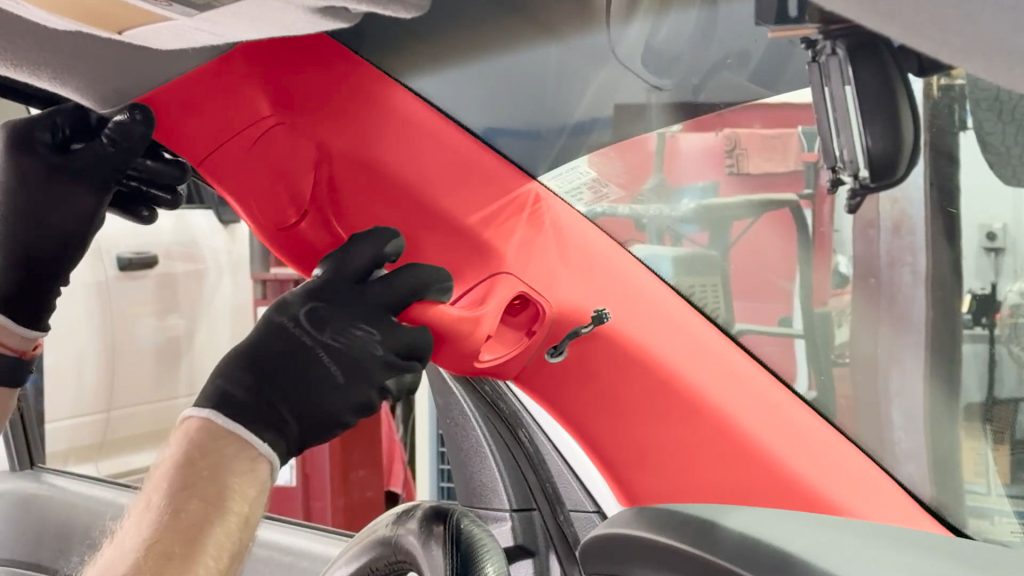
12. Align and snap the A-pillar back into the vehicle with about 4″ of cable poking through.
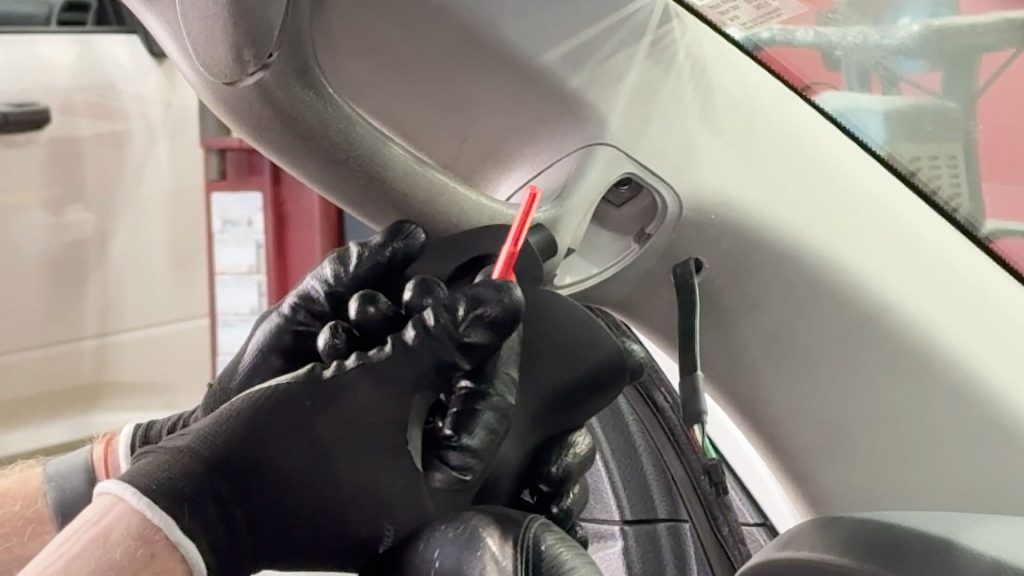
13. Grab your stealth pod and the supplied hex-head bolt and washer. Thread the bolt through the Stealth Pod and carefully thread it into the vehicle.
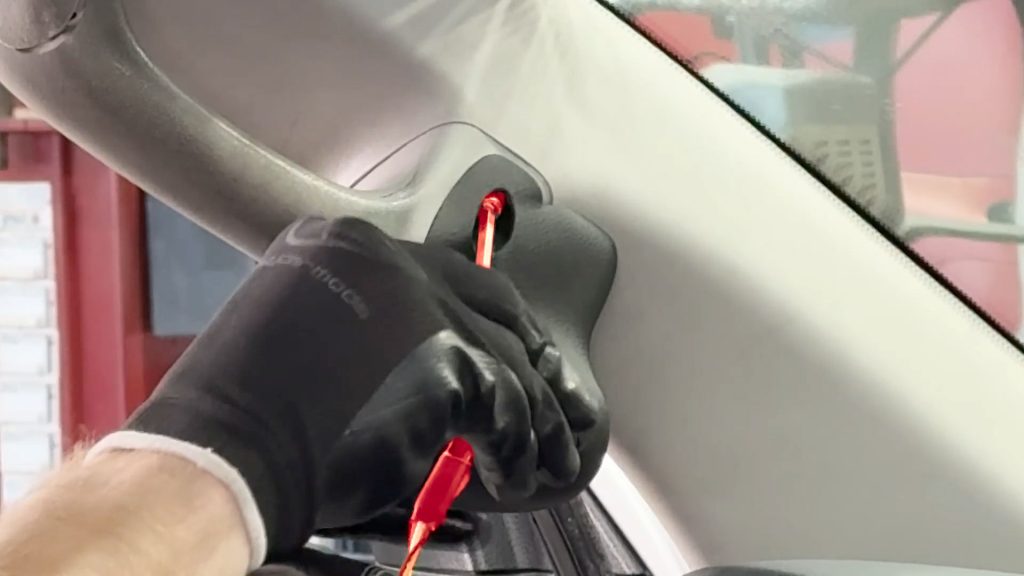
Note: The hex head bolt should thread in smoothly. If it feels like it is binding, back it out and adjust. You do not want to cross-thread the screw and damage the vehicle.
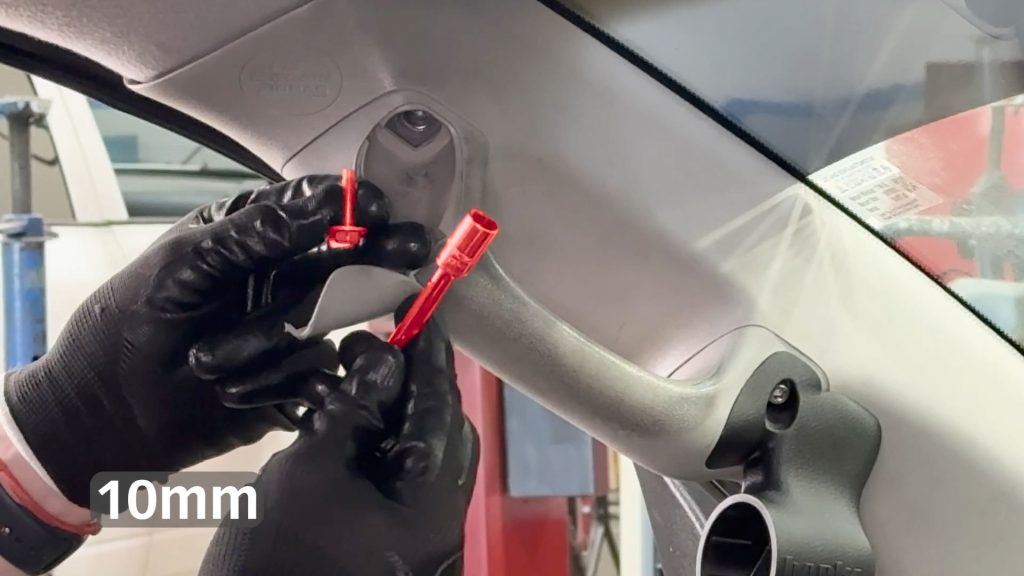
14. Grab the stock 10mm bolt and tighten it into the top grab handle location with a 10mm socket.
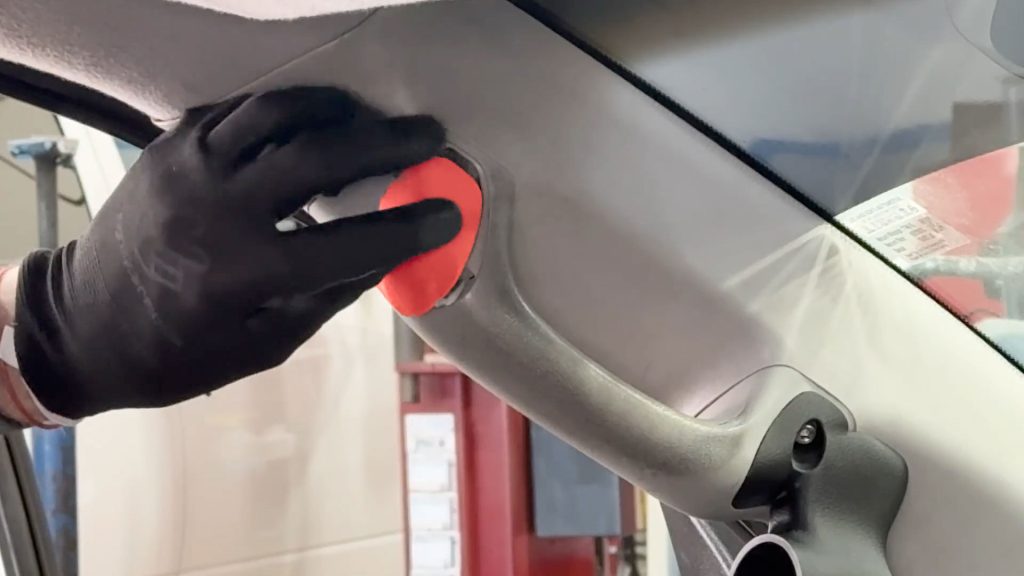
Dont forget to snap the cover back on over the top bolt location.
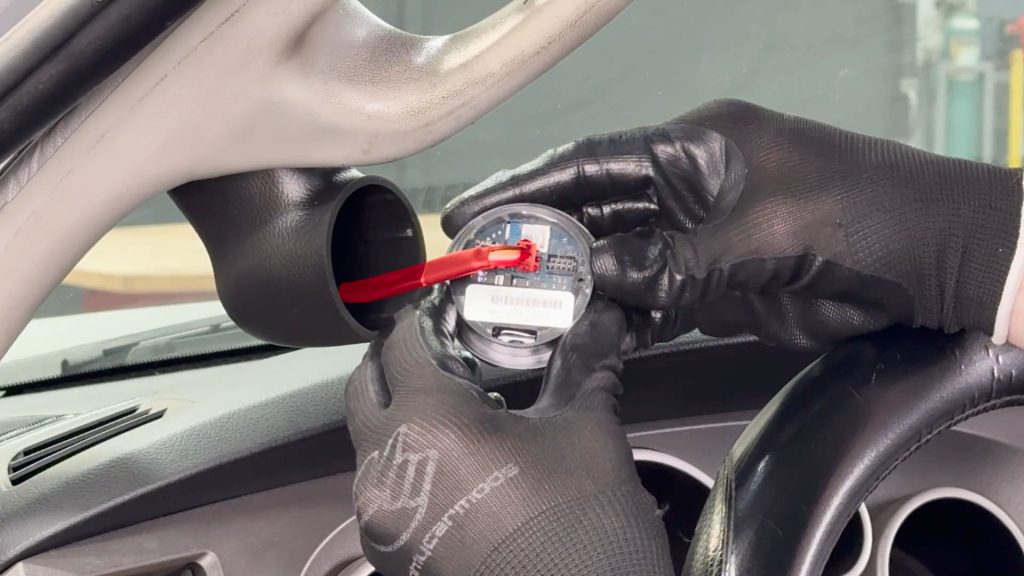
15. Install your iDash.
Connect the data cable to the 4 pin and/or 6 pin connections on the back of the iDash.
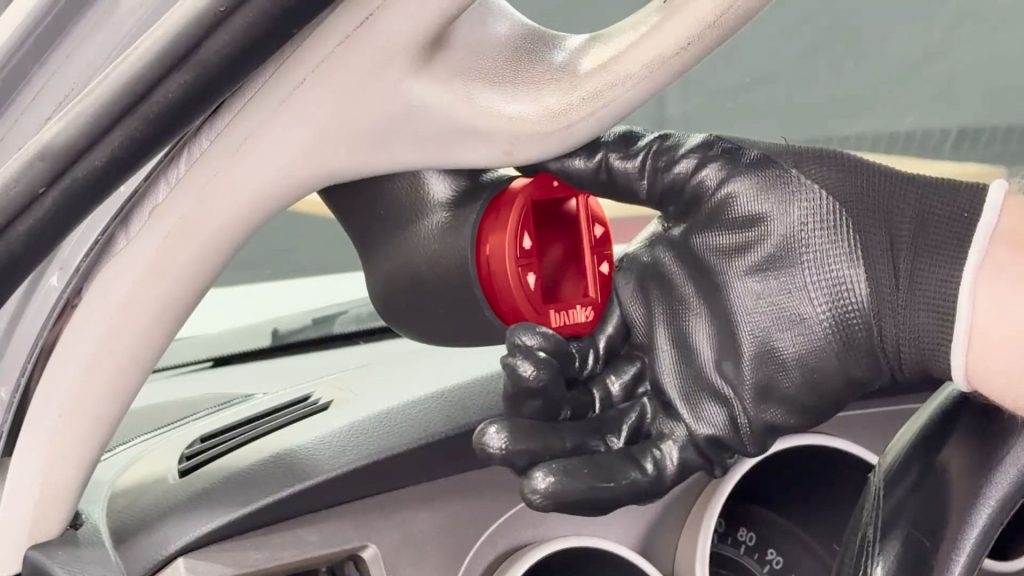
16. Slide in your iDash, making sure the logo is straight and level.
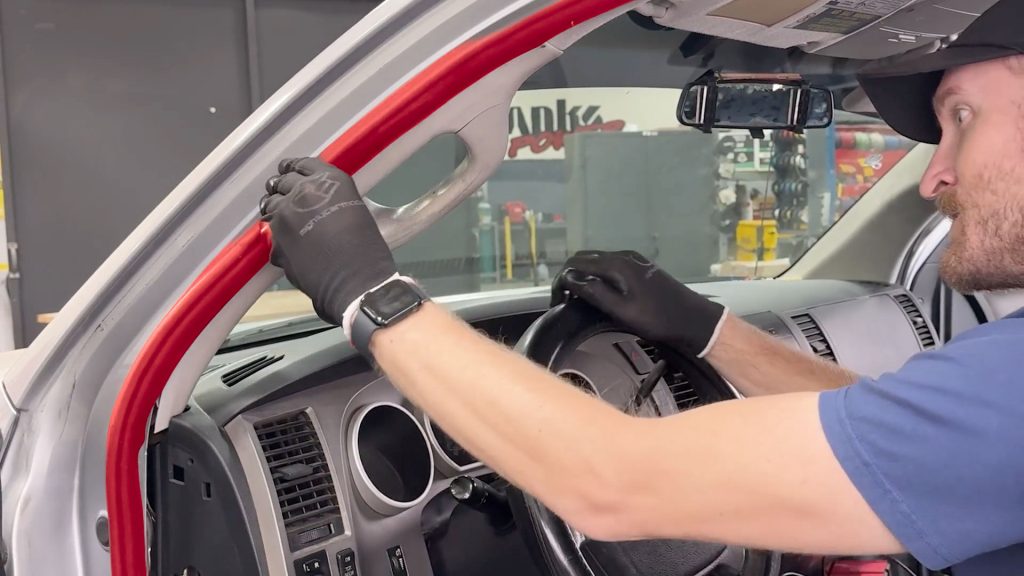
17. Press the weather strip material back in.
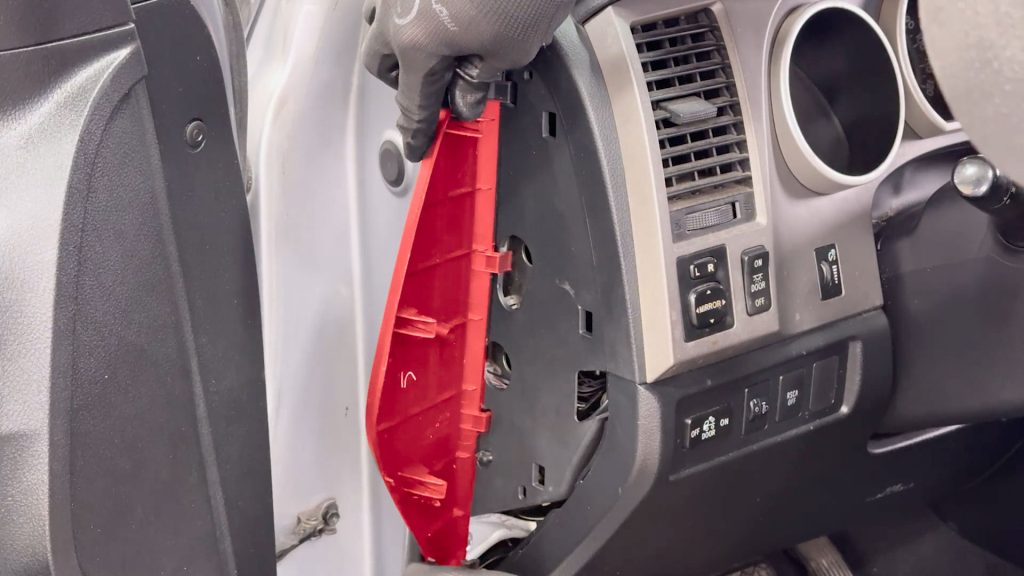
18. Re install the side dashboard door.
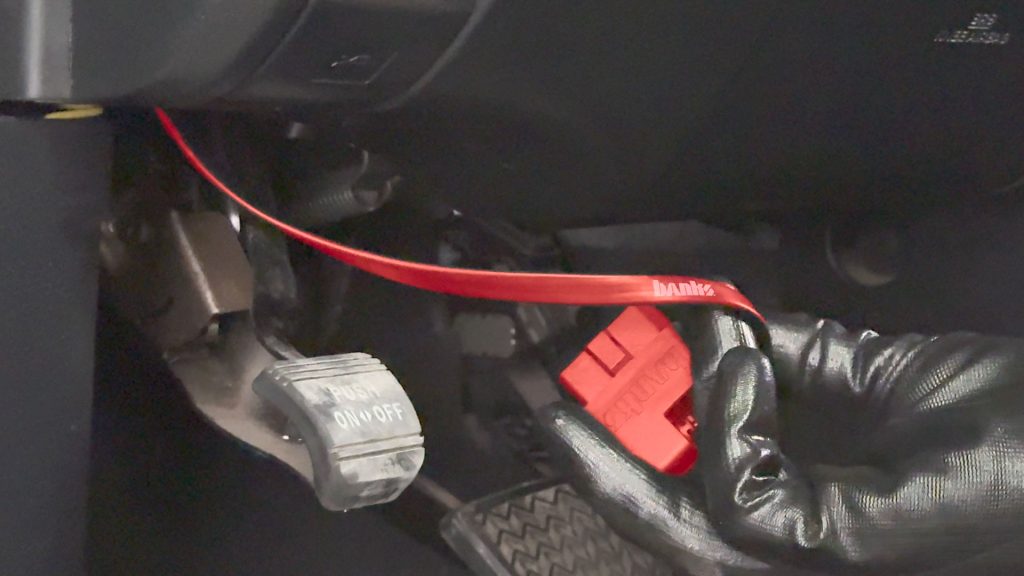
19. Connect the OBD-II cable to the vehicle’s OBD-II port. Take care to have just enough slack to reach the port. Coil up and zip-tie any extra cable up and out of the way.
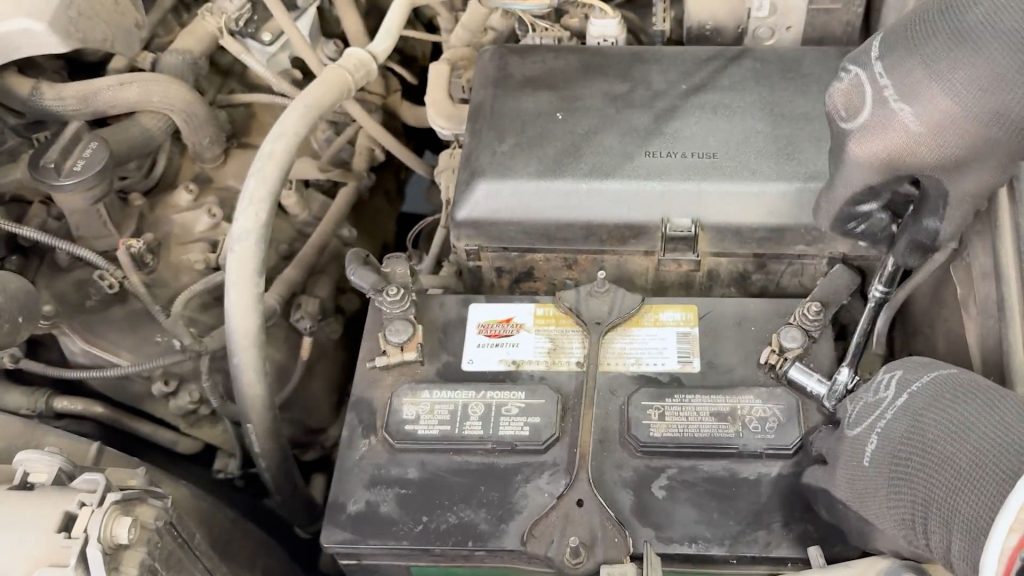
20. Reconnect the battery with a 10mm socket.
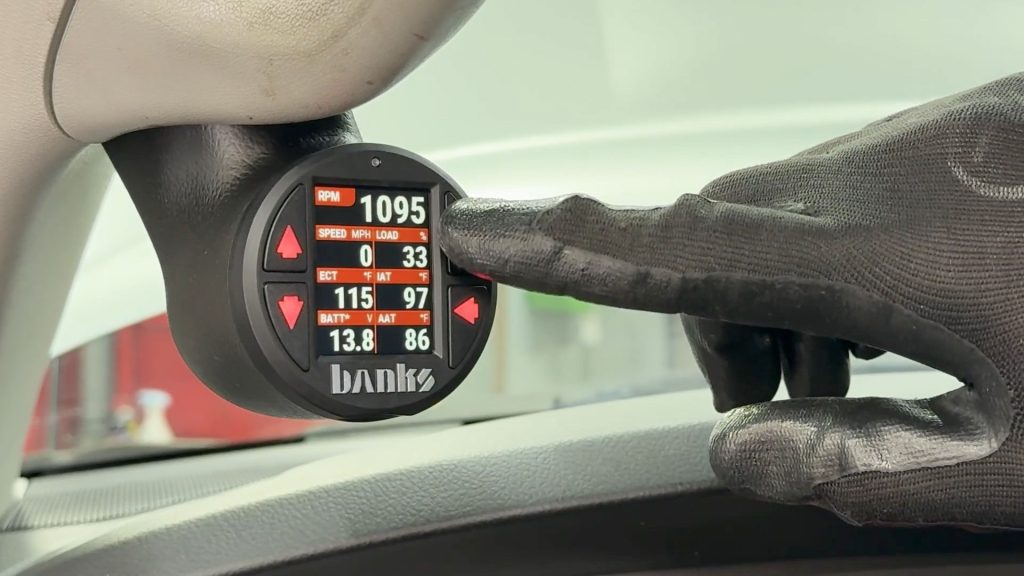
21. Start the truck, then press the top right button on the iDash to enter the menu.
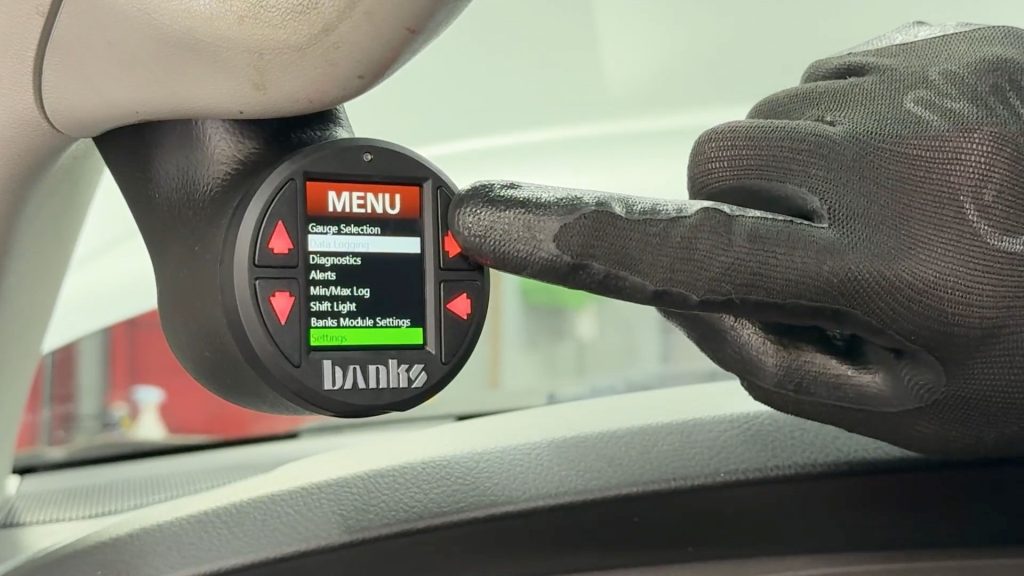
22. Scroll down and select settings.
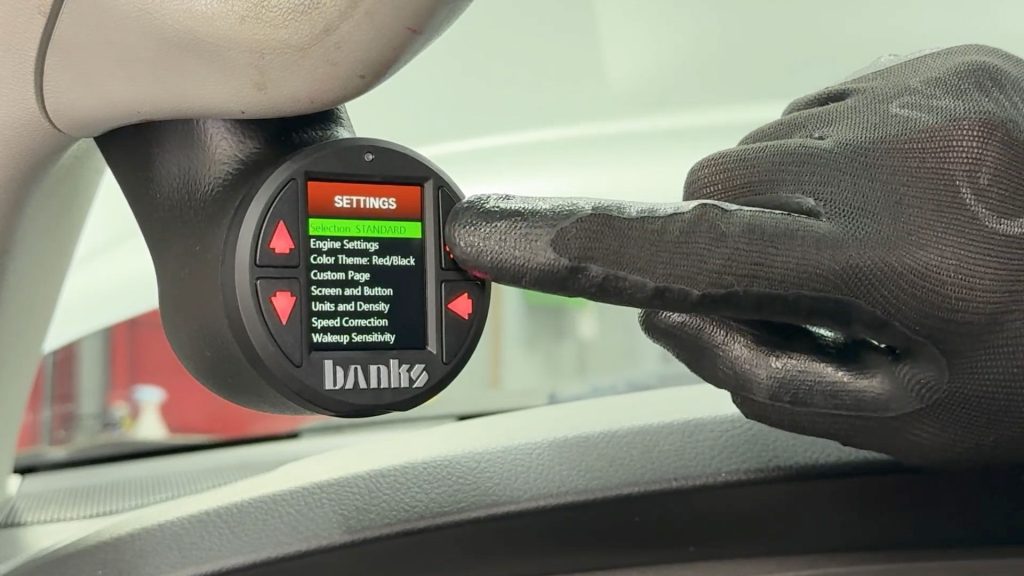
23. Select Vehicle Selection.
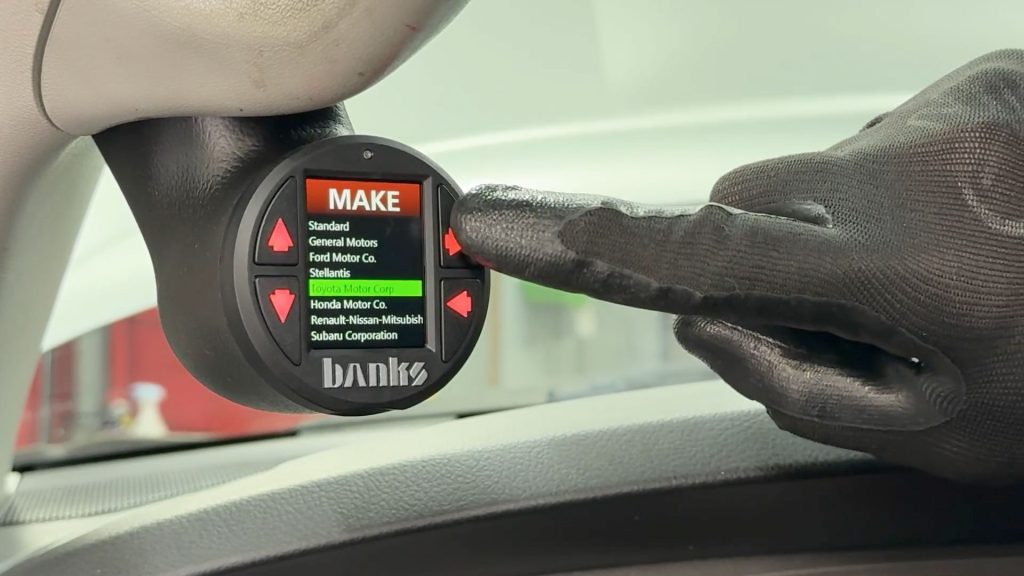
24. Then select Toyota, your iDash will restart, and the install is complete.