


97732 Jeep Stealth Pod Installation Guide
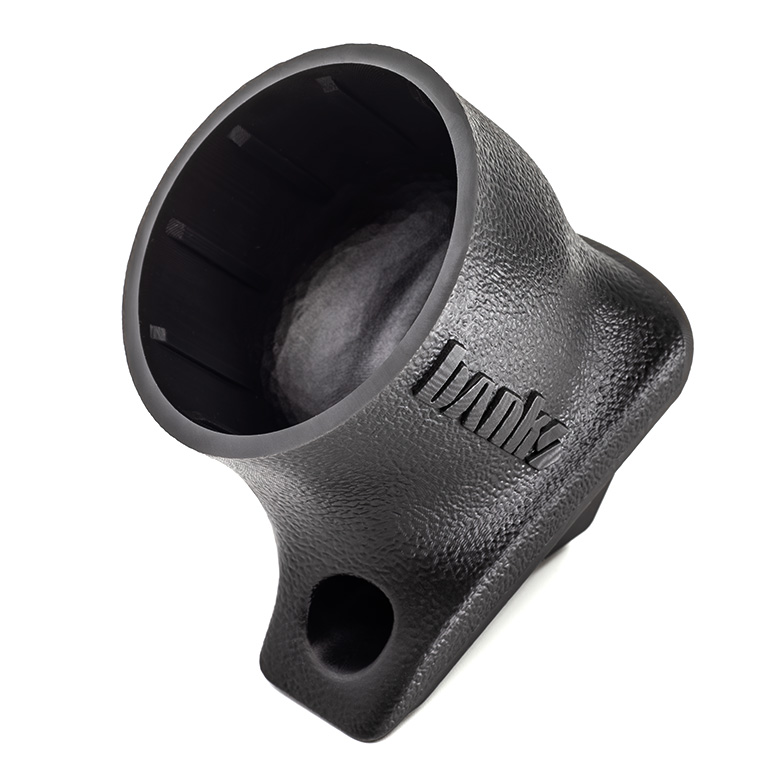
Part Number: 63371
Fits the A-Pillar upper location commonly found in the following vehicles:
• 2018-23 Jeep Wrangler JL
• 2020-23 Jeep Gladiator

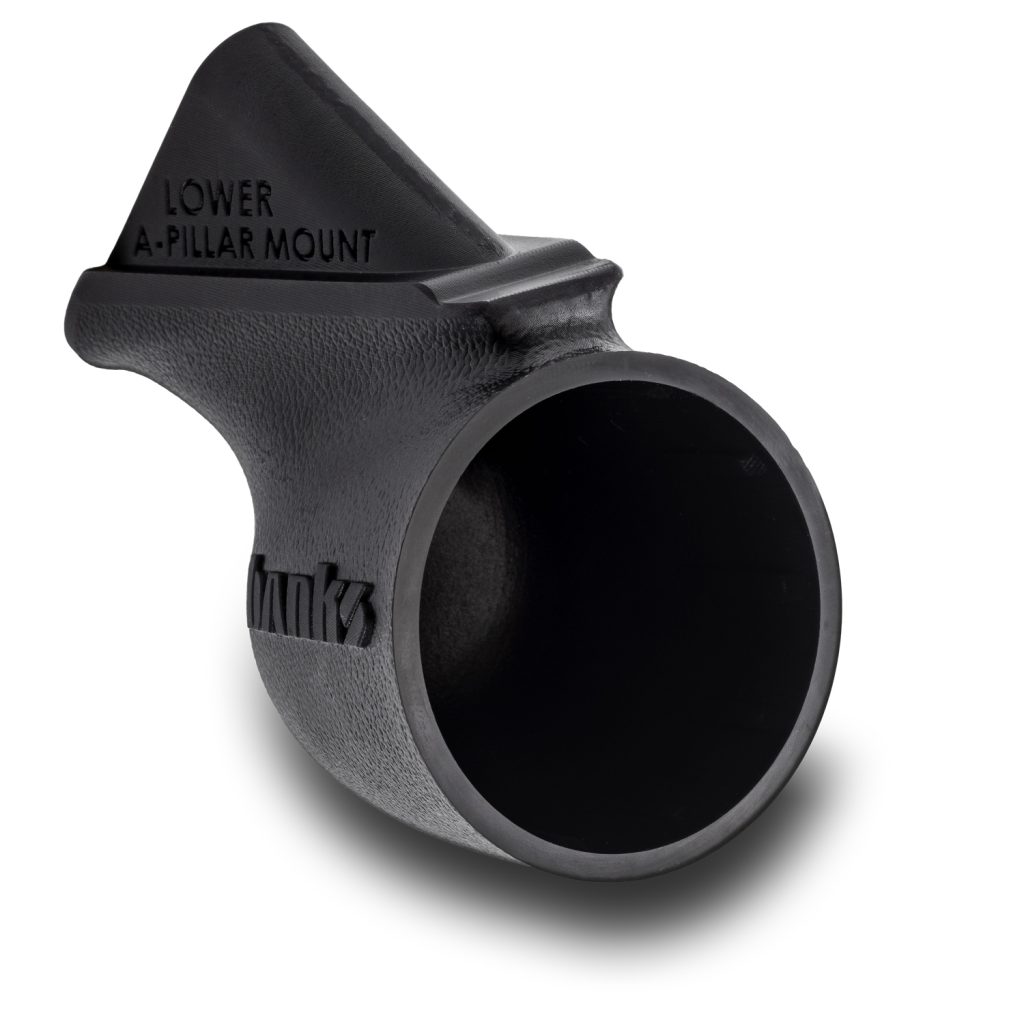
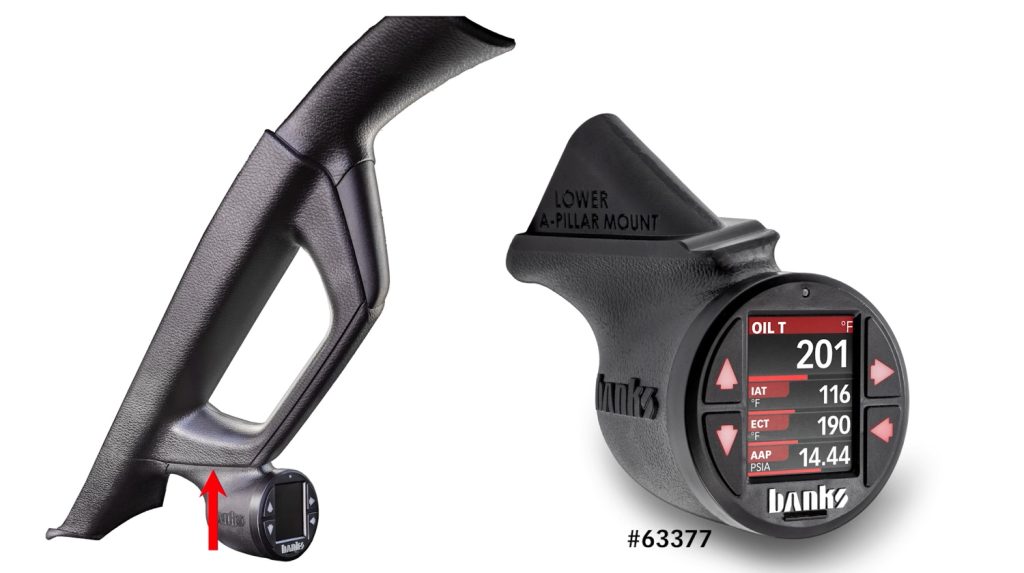
Part Number: 63377
Fits the A-Pillar lower position commonly found in the following vehicles:
• 2018-23 Jeep Wrangler JL
• 2020-23 Jeep Gladiator

Installation Guide
Note: If you’ve chosen to paint the pods yourself, please visit bankspower.com/paint to get perfectly matched spray paint. No primer is needed just three to four light coats.
What’s Included
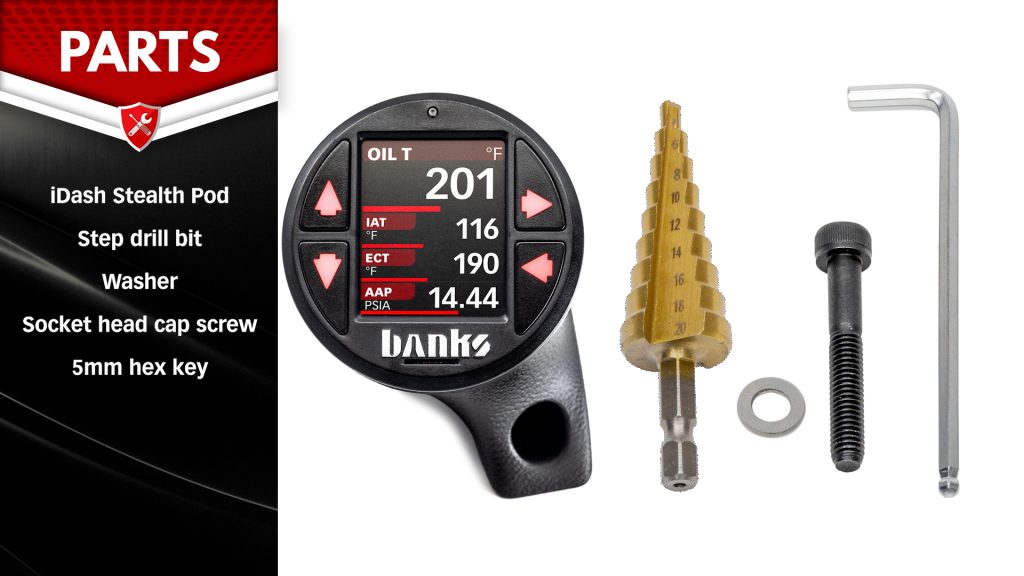
If anything is missing, please call us at 800-601-8072 immediately!
Tools Required

Step-by-step Installation
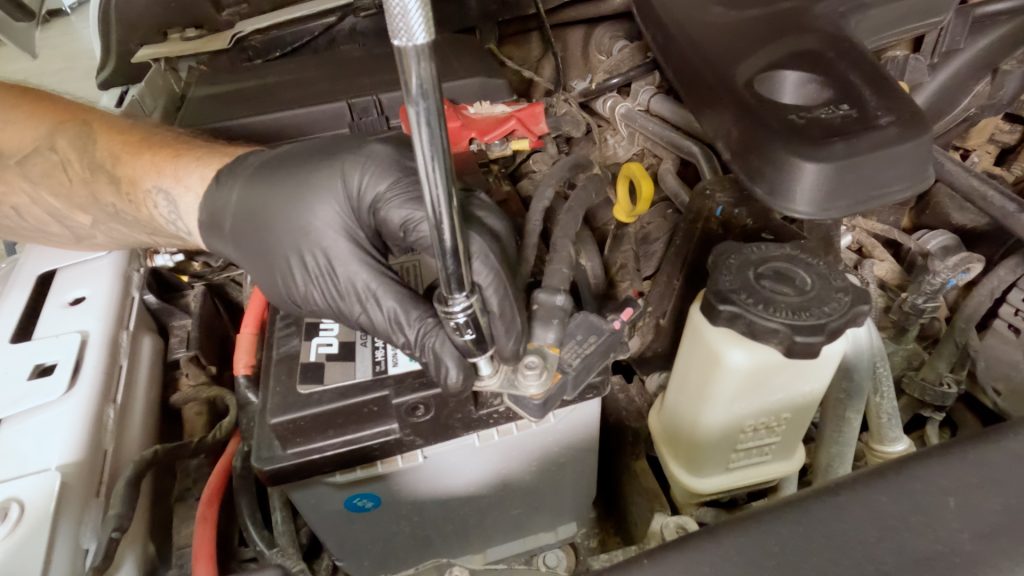
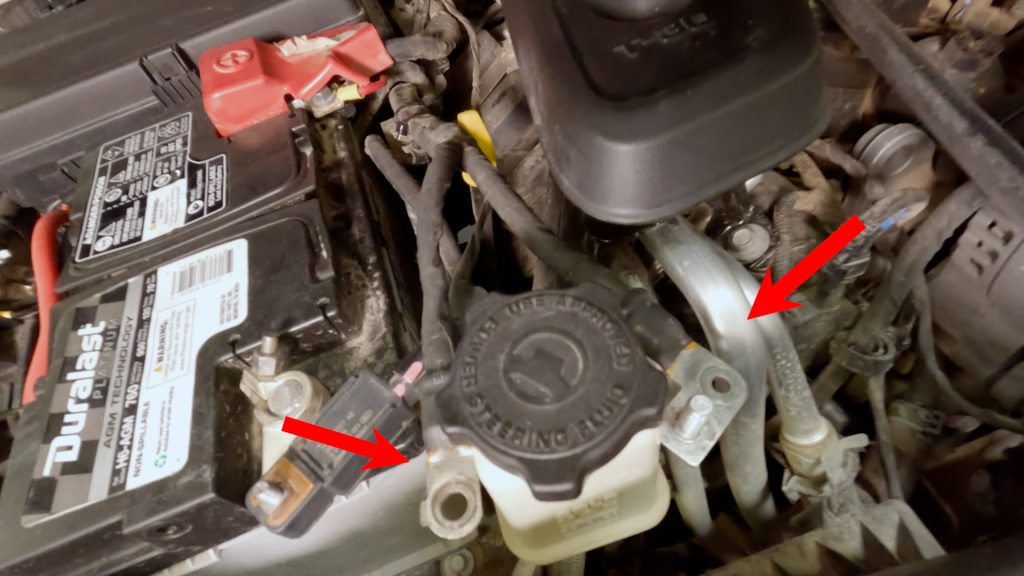
1. Use your 10mm and 13mm socket to remove the terminal and disconnect the battery.
This is important because you’ll be working near an airbag and you don’t want it to go off.
2. If your Jeep has auto start-stop, be sure to isolate the two ground leads from touching.
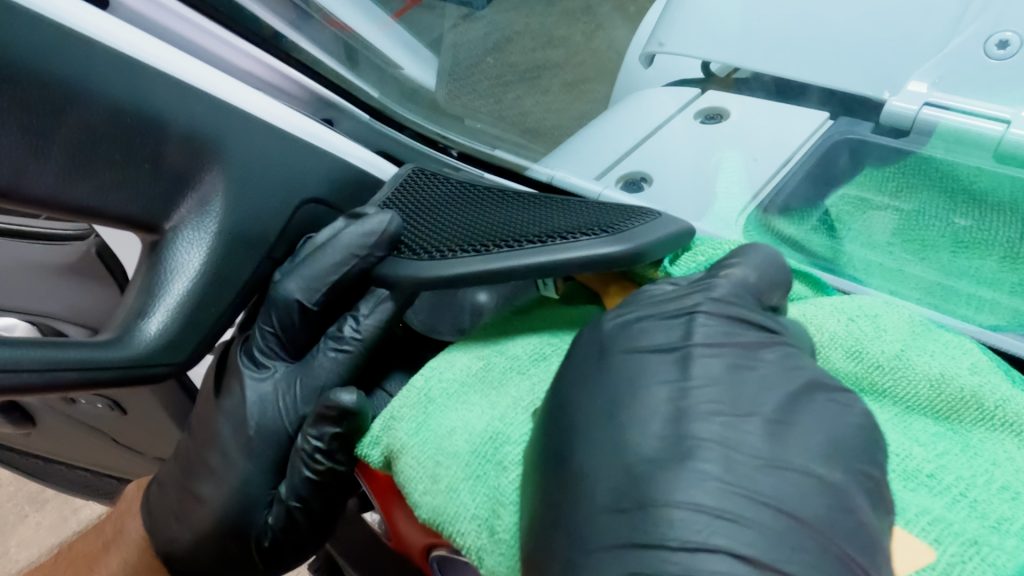
3. Remove the speaker cover on the left side of the dashboard.
Use your pry tool to pop it free.
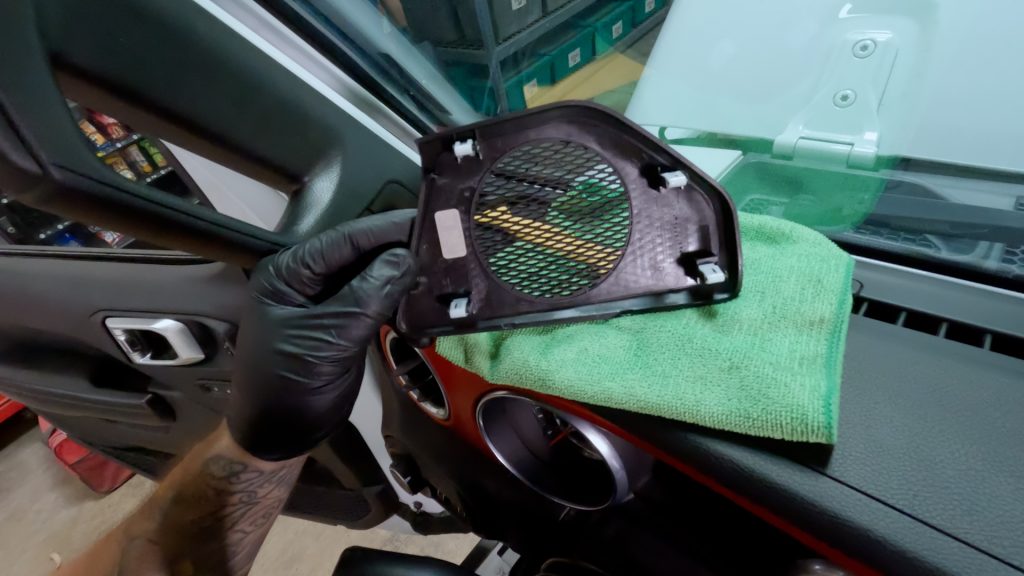
4. The cover has 4 snaps that need to be popped free.
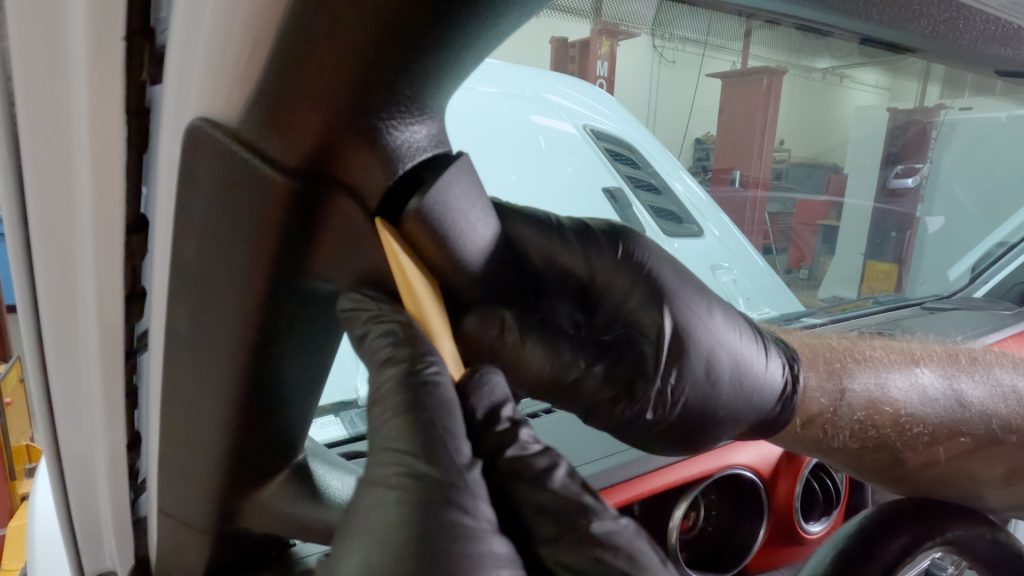
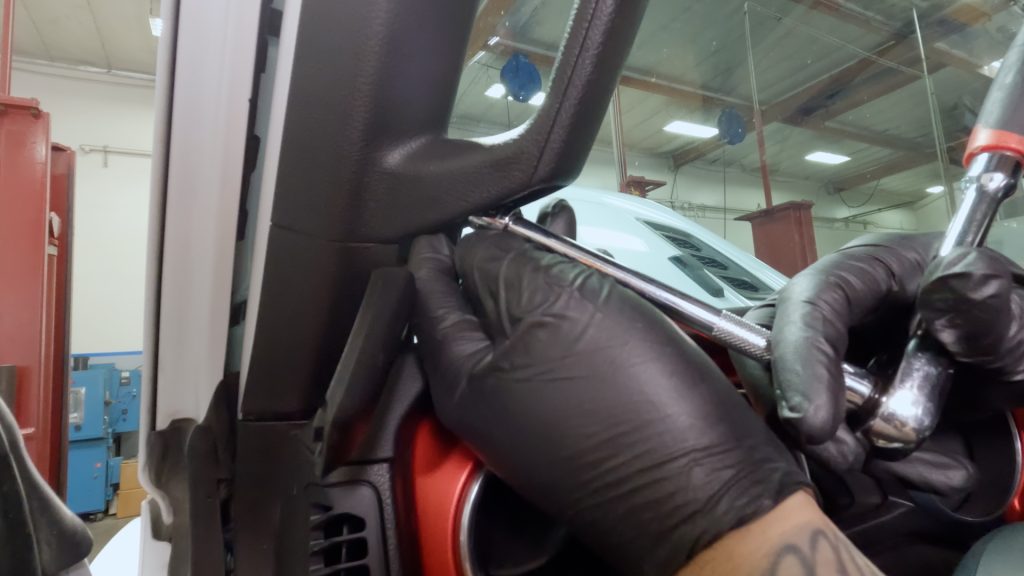
5. Using a plastic pry tool or flathead screwdriver, pry off the plastic covers that hide the bolts which secure the pillar to the frame.
Beware: If you use a screwdriver, it could leave a mark on the soft plastic.
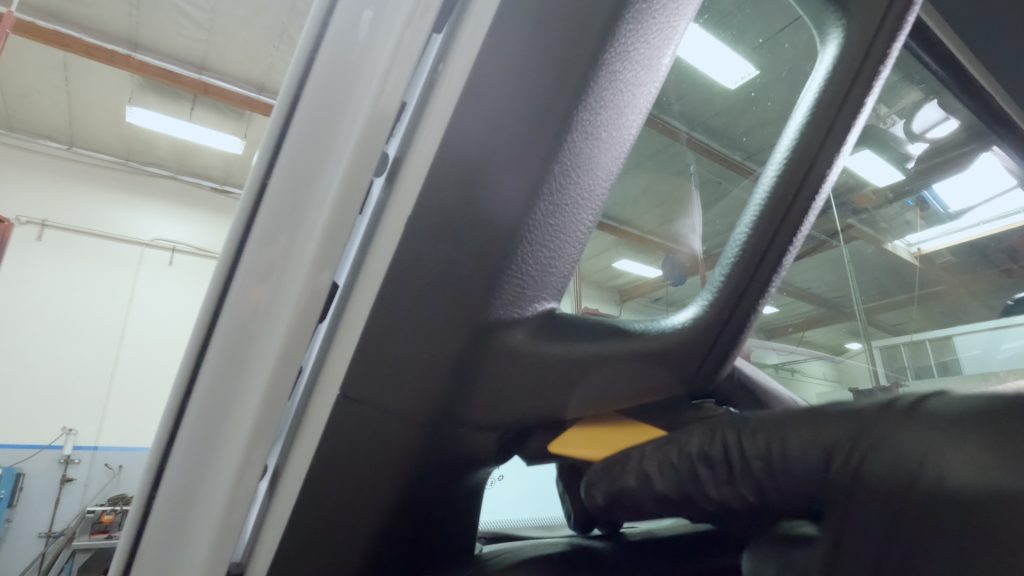
6. Do the same for the lower bolt cover.
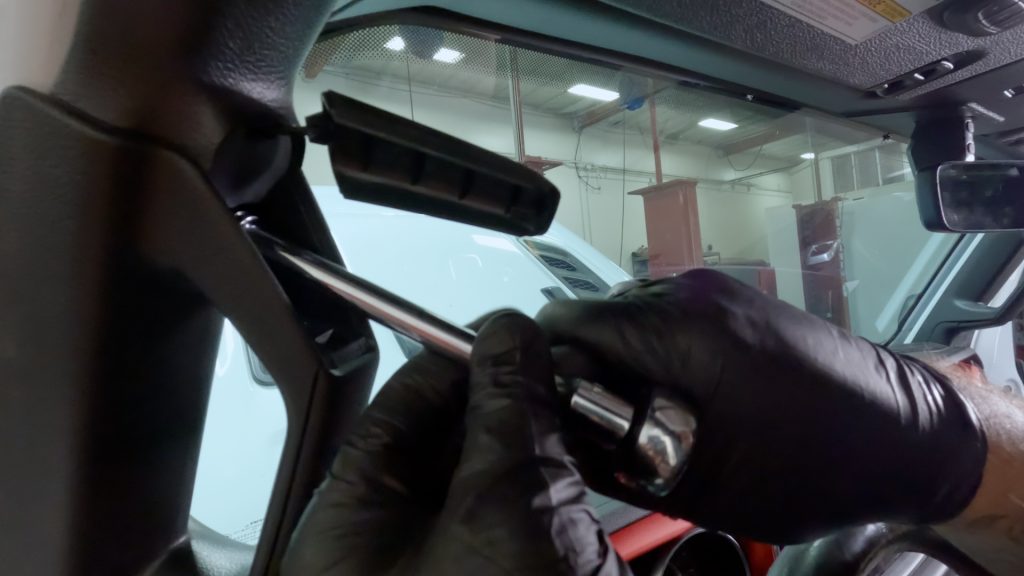
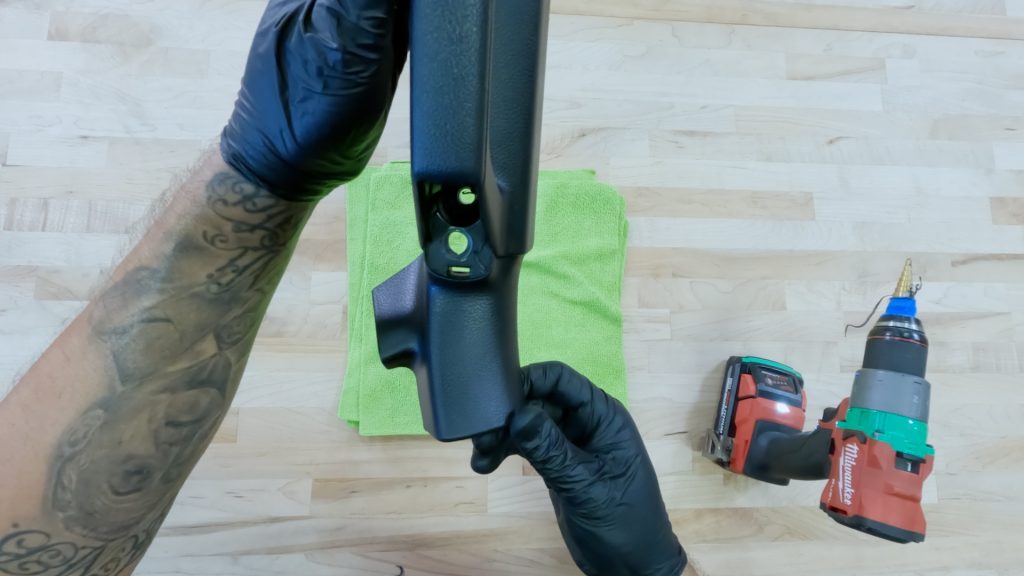
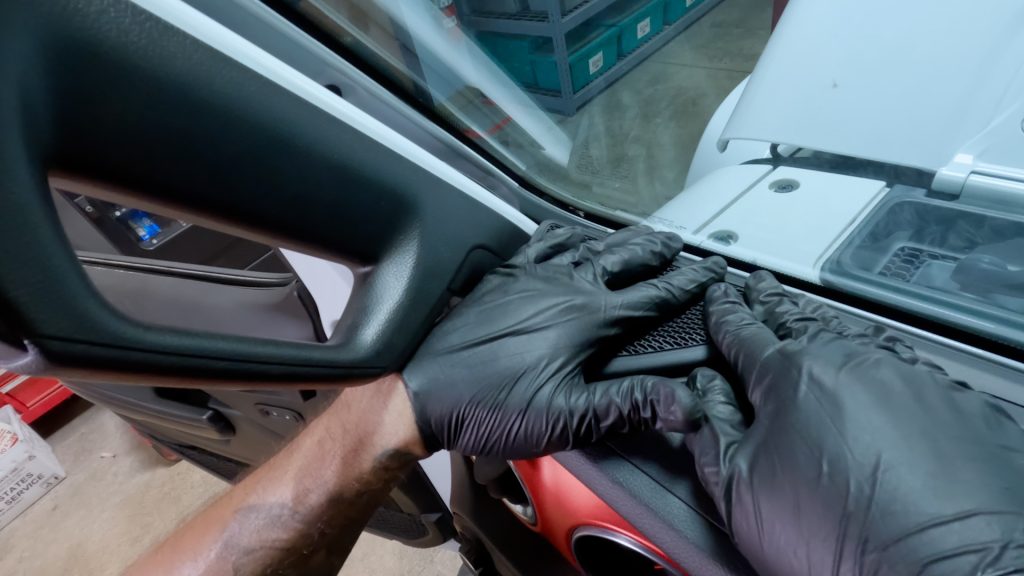
7. With your extension and 10mm socket, remove the bolt to free the handle.
8. Take note not to lose the bolt on removal. Do the same for the lower bolt as well.
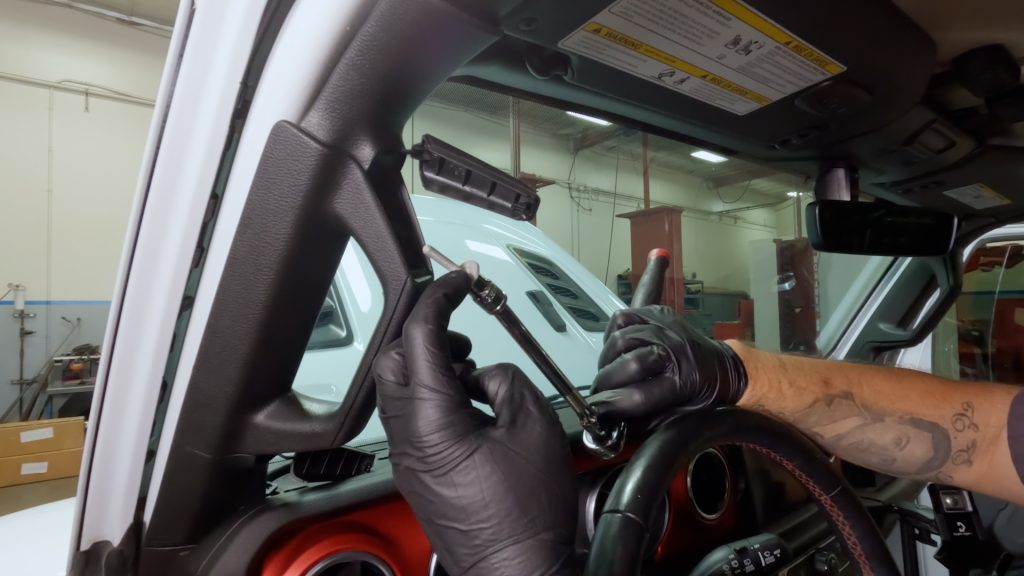
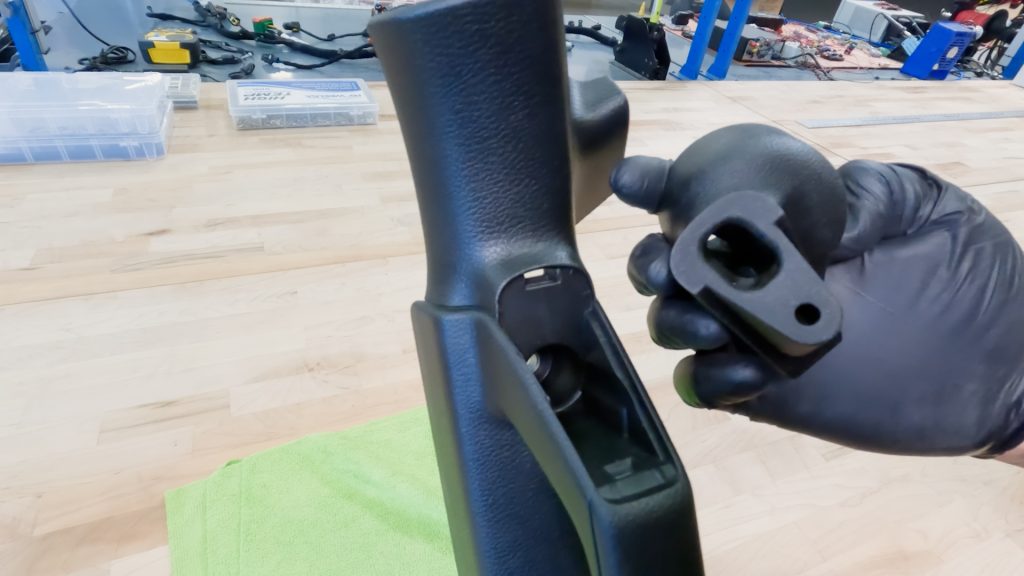
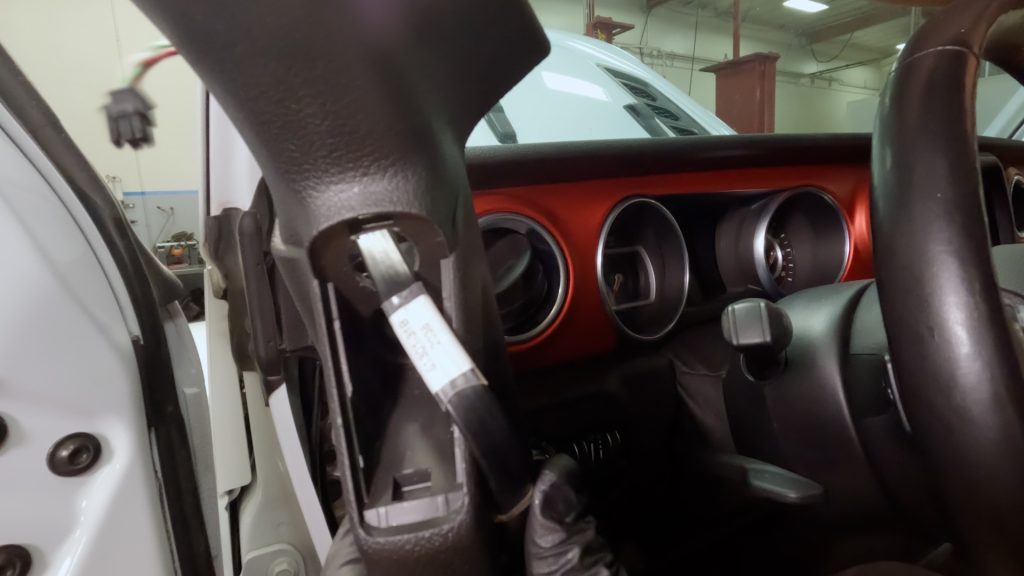
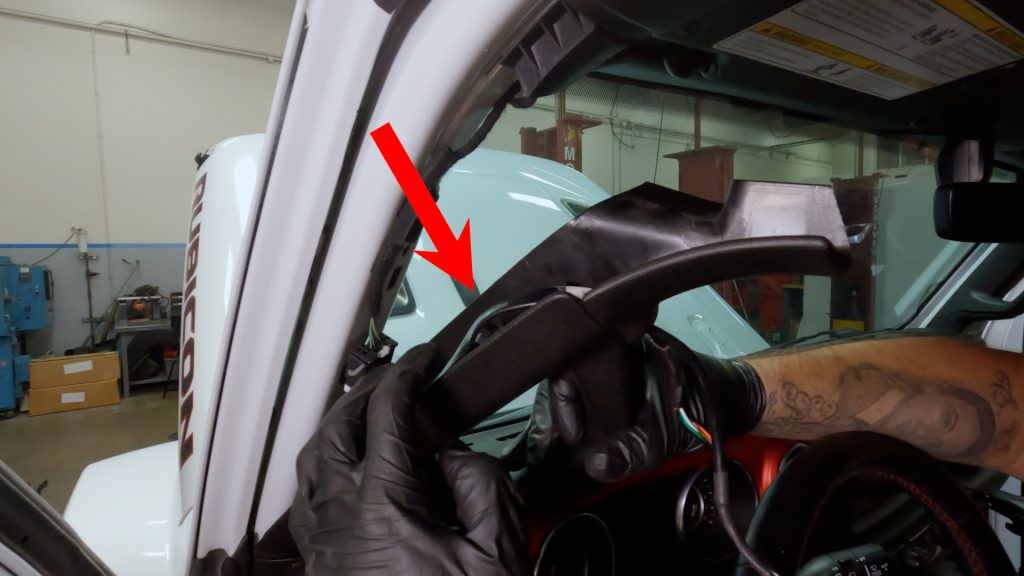
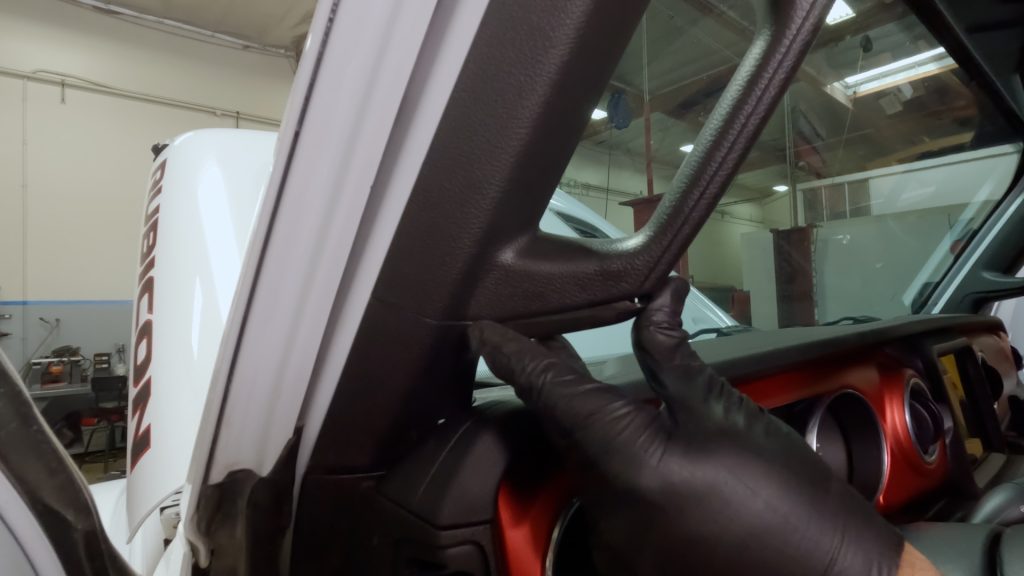
9. One both bolts are removed, grab the handle and give it a yank away from the A-Pillar.
A center clip is all that is holding it on.
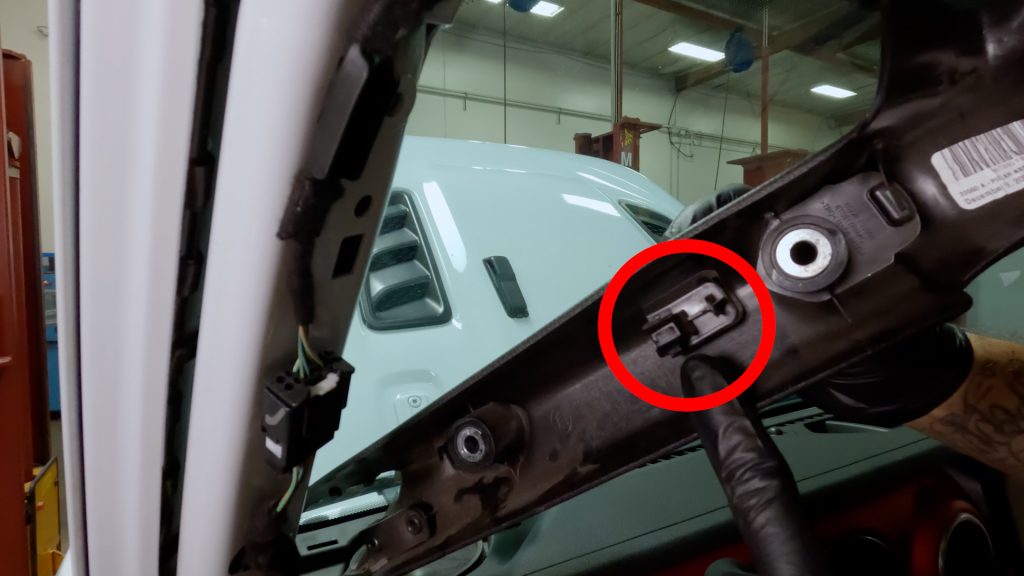
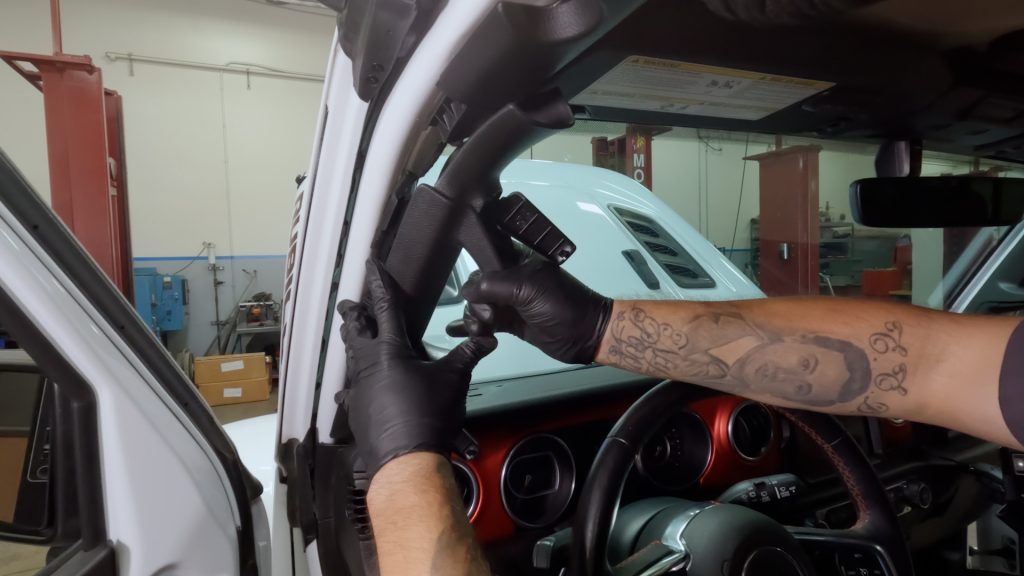
10. This plastic clip is what was holding the handle on.
A-Pillar Drilling Locations
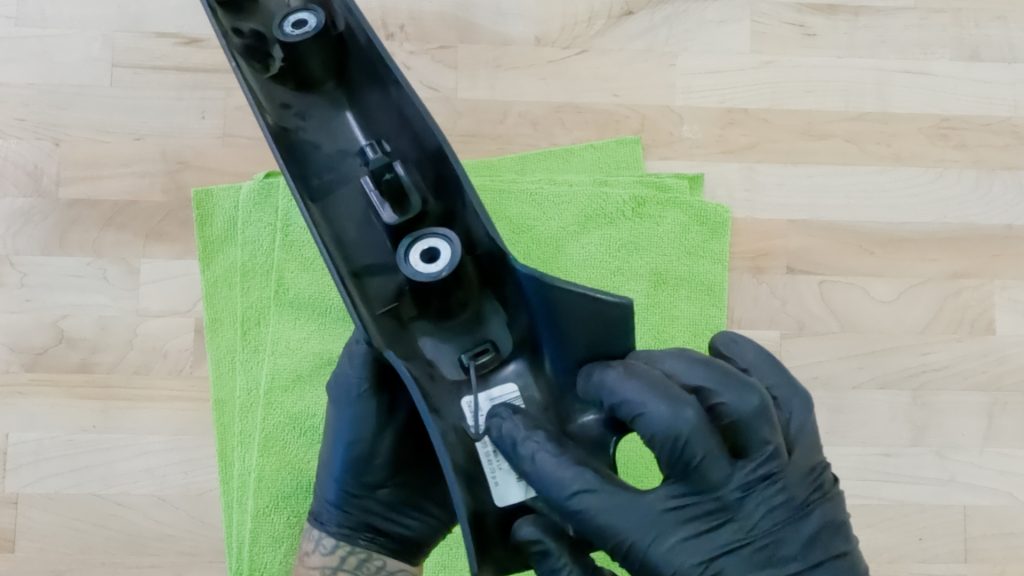
1. Pinch the plastic tab that retains the bolt cover to the handle and remove it.
You may need it in the future if you return to stock.
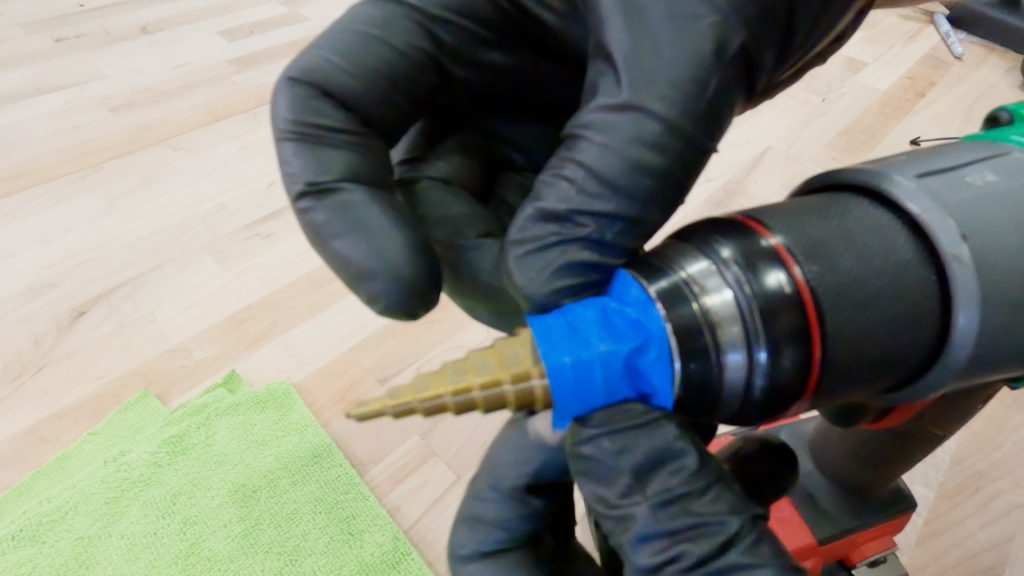
2. Use masking tape to mark off the 16mm step on the bit.
63371: Upper Mount Drilling Location
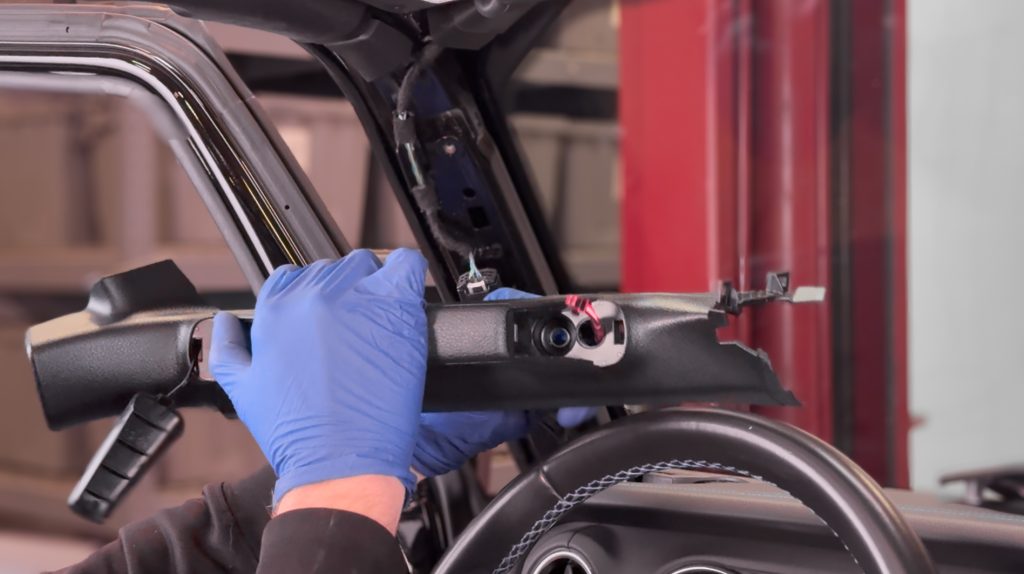
3a. Grab your Stealth Pod, and test fit it into the Grab Handle.
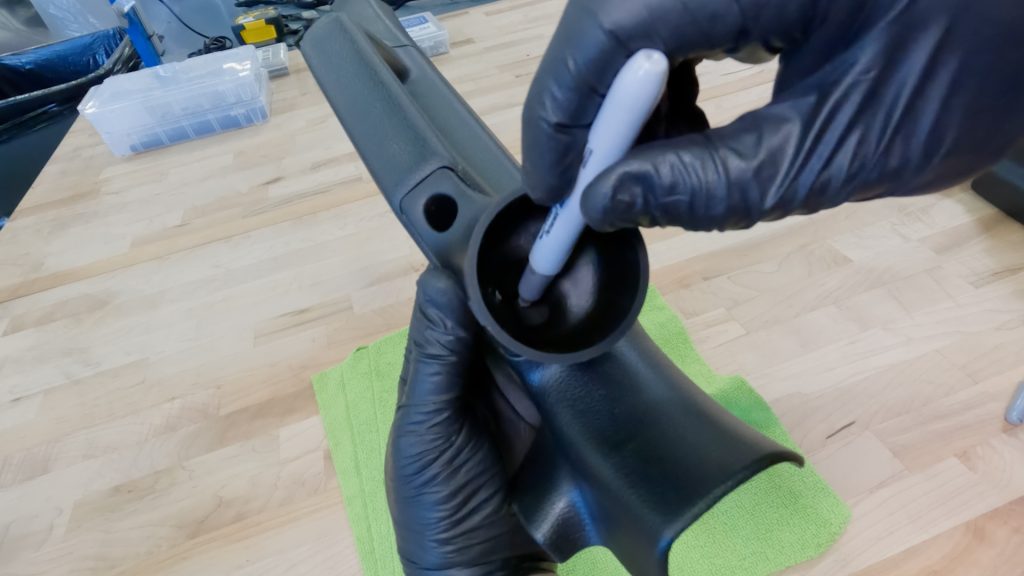
4a. Using a marker, outline the access hole so you can easily see where you need to cut.
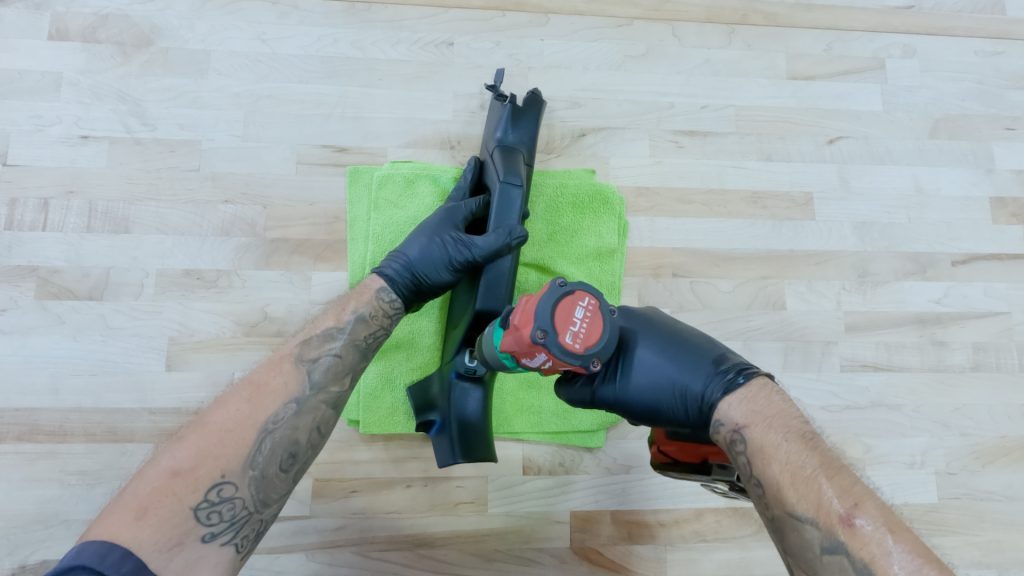
5a. Drill down to the 16mm step.
Start small and only enlarge if you need to. If your running 2 cables through the pillar (for an iDash + PedalMonster Combo for example), 18mm will provide extra clearance for cables.
The hole will be completely covered by the Stealth Pod.
Be sure it is aligned with your Stealth Pods access hole so the wires can pass through.
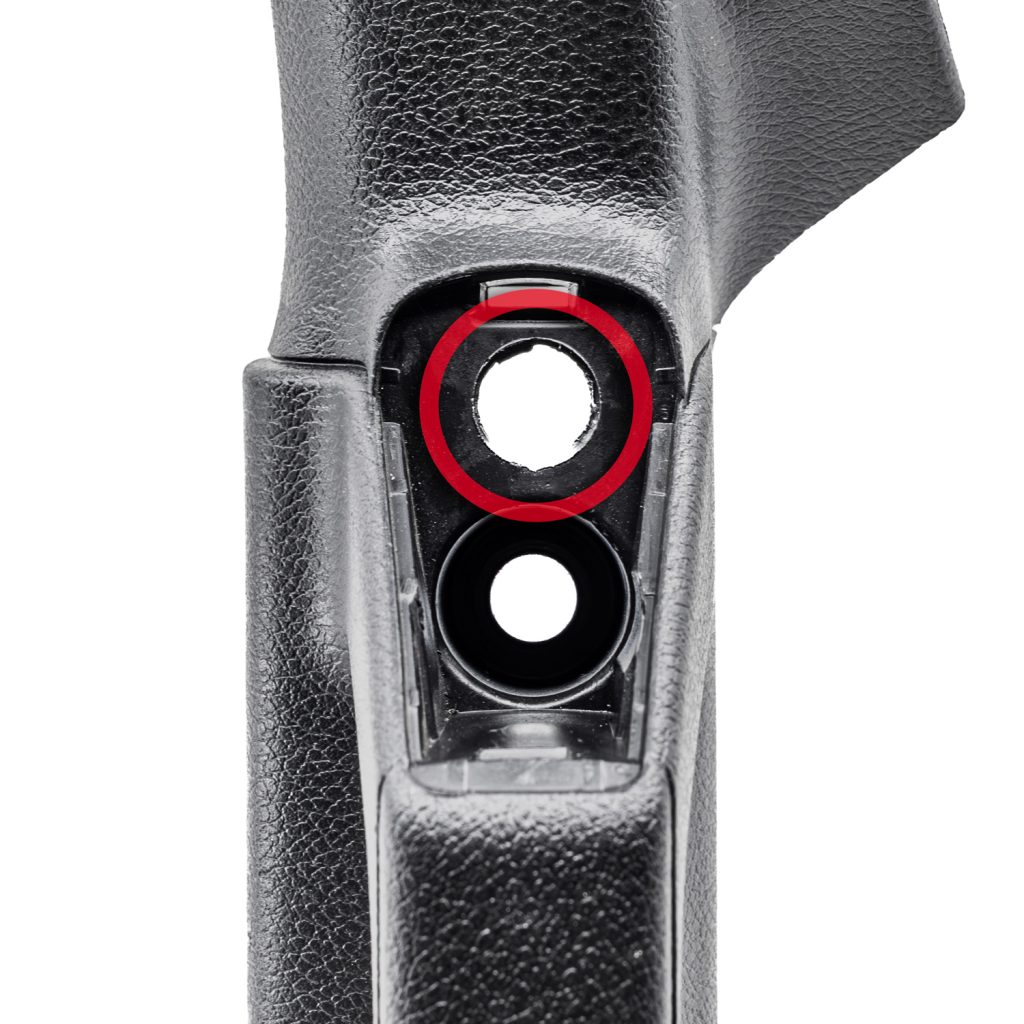
63377: Lower Mount Drilling Location
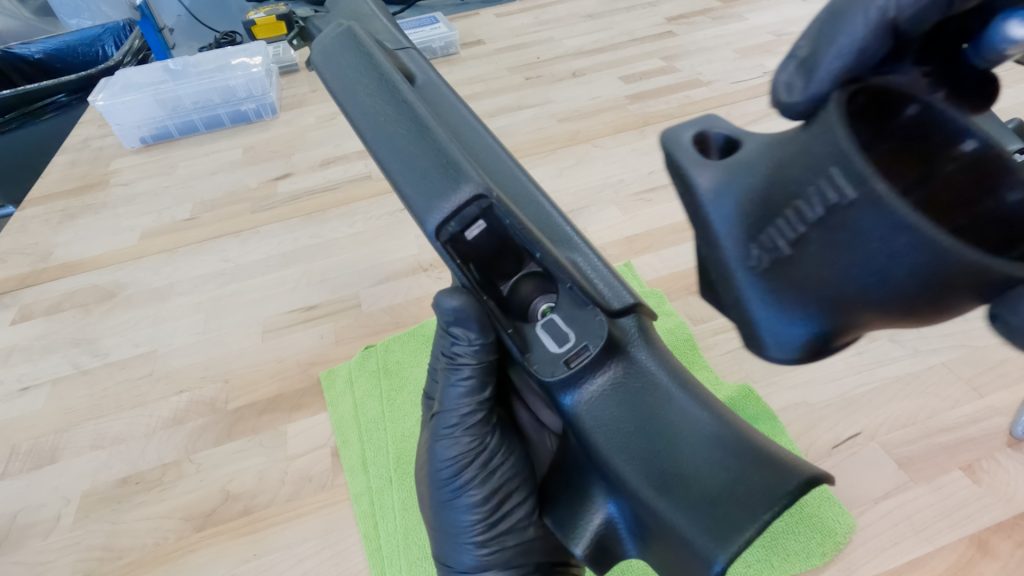
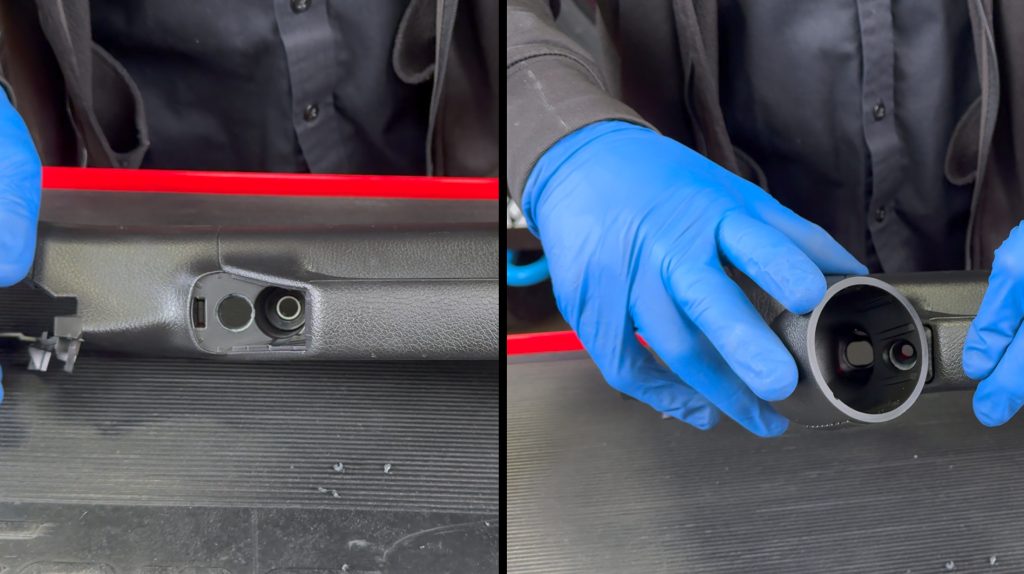
3b. Remove the plastic cap over the lower bolt location, and slide your Lower Stealth Pod in to check fitment.
Note how the Lower Stealth Pod sits evenly and flush with the grab handle. Your pod should look like this after installation to your Jeeps A-Pillar.
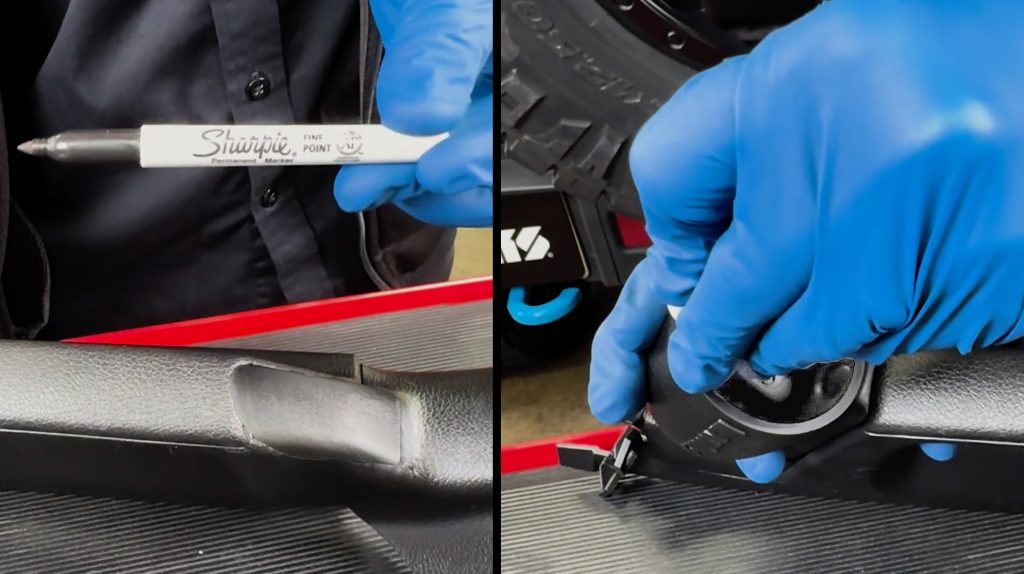
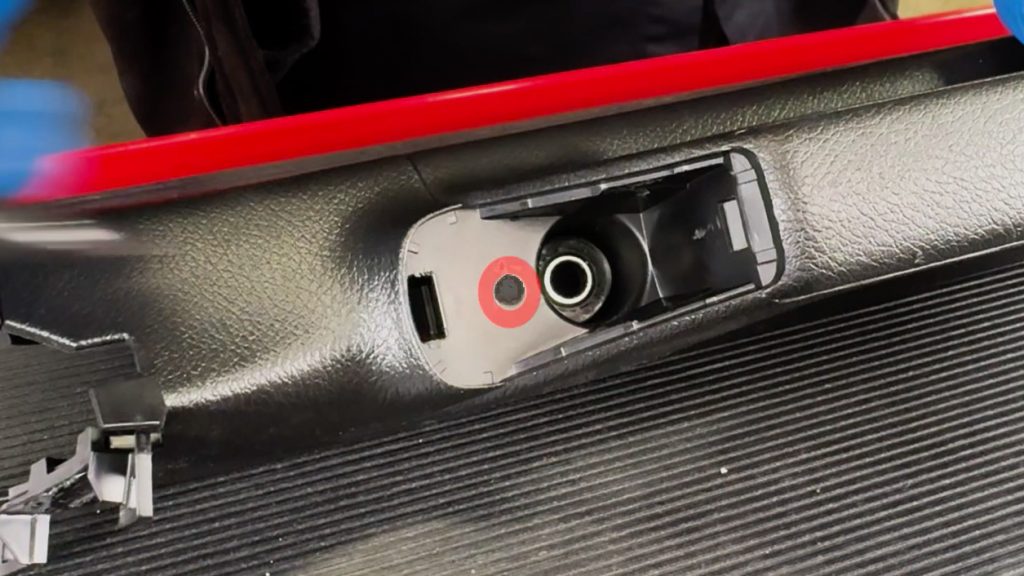
4b. Using a marker, dot the center of the access hole so you can easily see where you need to drill.
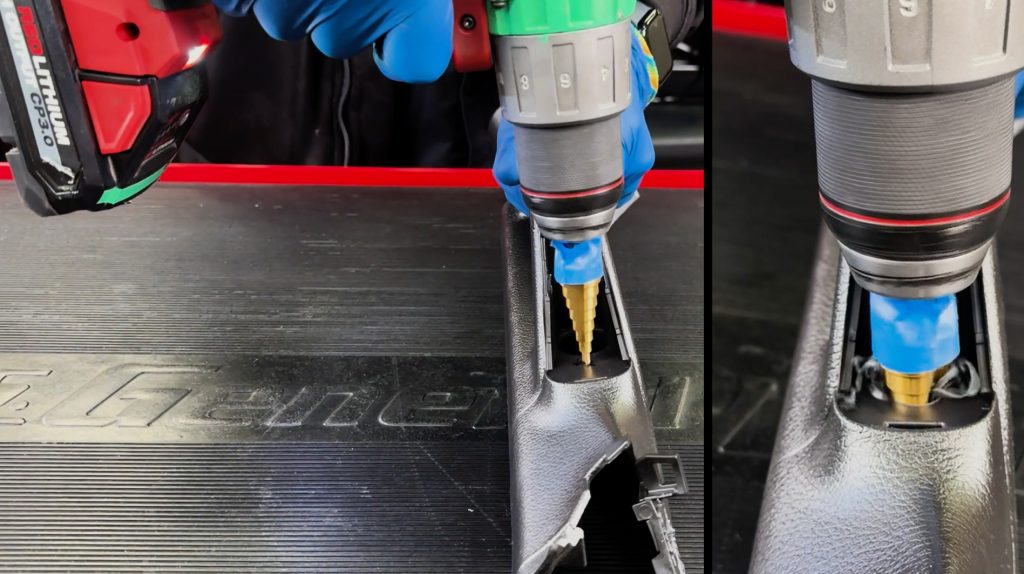
5b. Drill down to the 16mm step on the bit.
Start small and only enlarge if you need to. If your running 2 cables through the pillar (for an iDash + PedalMonster Combo for example), 18mm will provide extra clearance for cables.
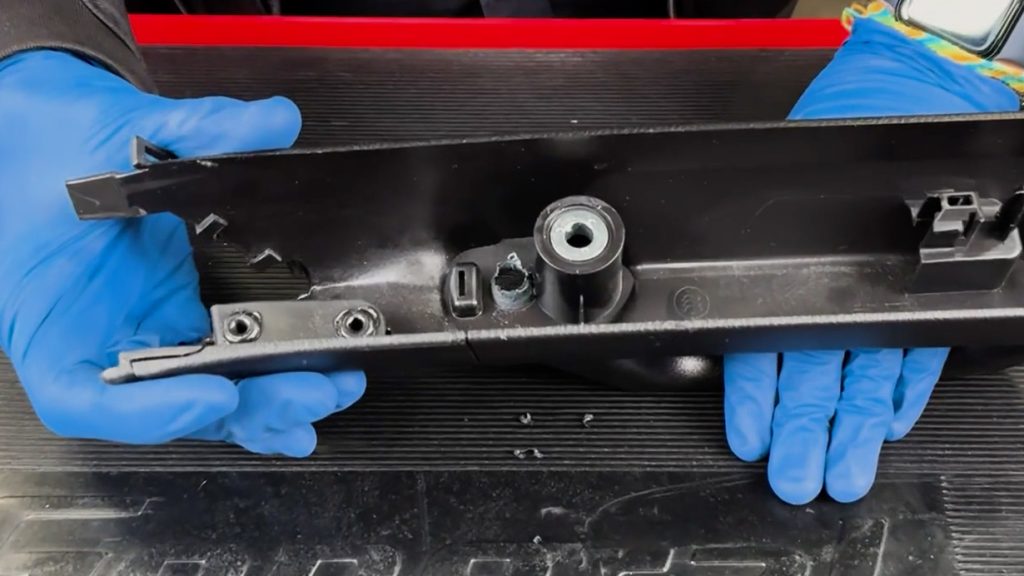
Check the back side of your hole. Finish drilling your access hole from the rear to de-burr any remaining plastic.
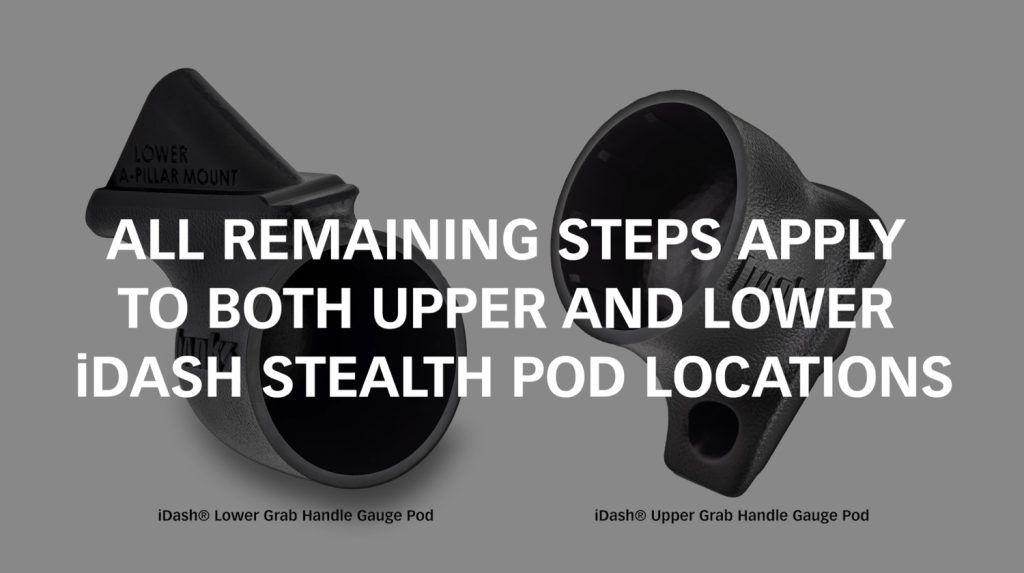
While the installation location is different for each pod, the procedure is the same.
Panel Removal and Wiring
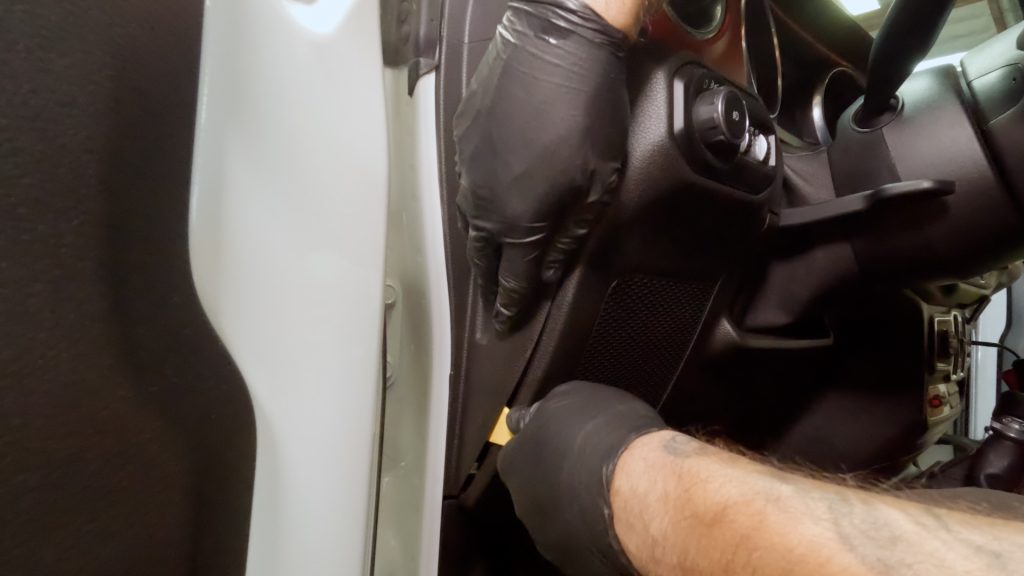
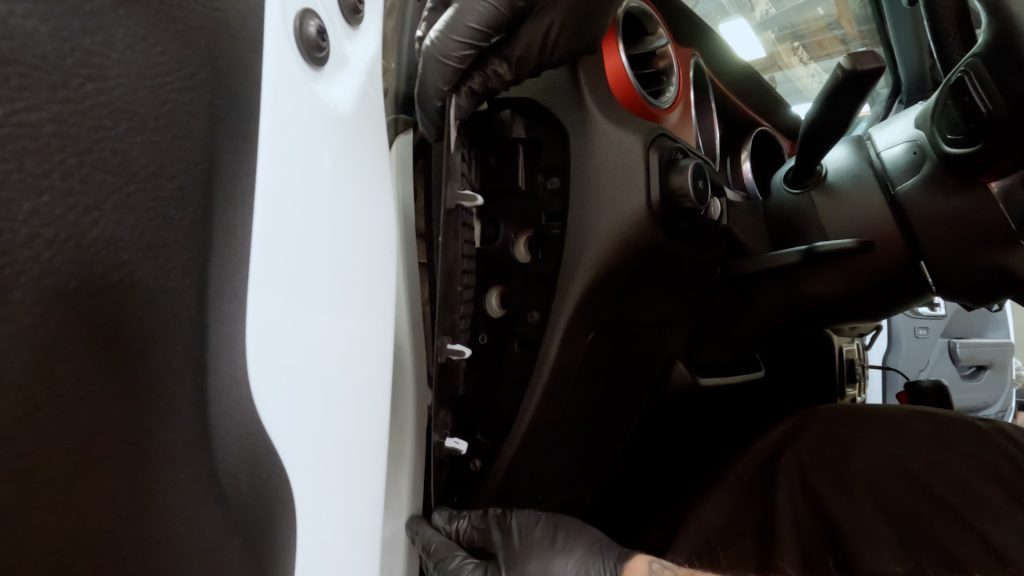
1. Using your panel popper tool and hands, remove the side panel on the driver side.
This is where you will route your OBD-II Cable.
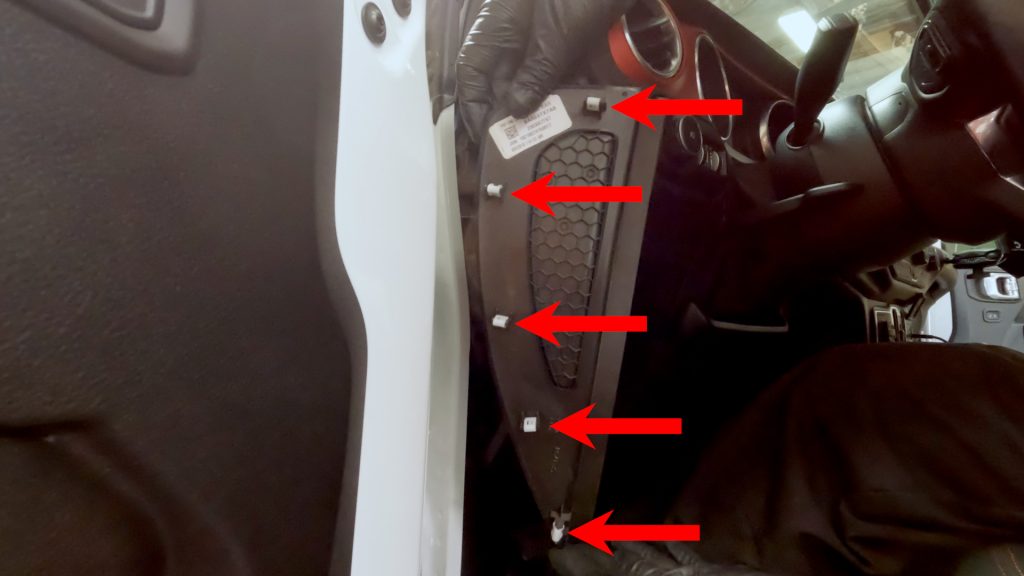
2. There are 5 locations that need to be popped free.
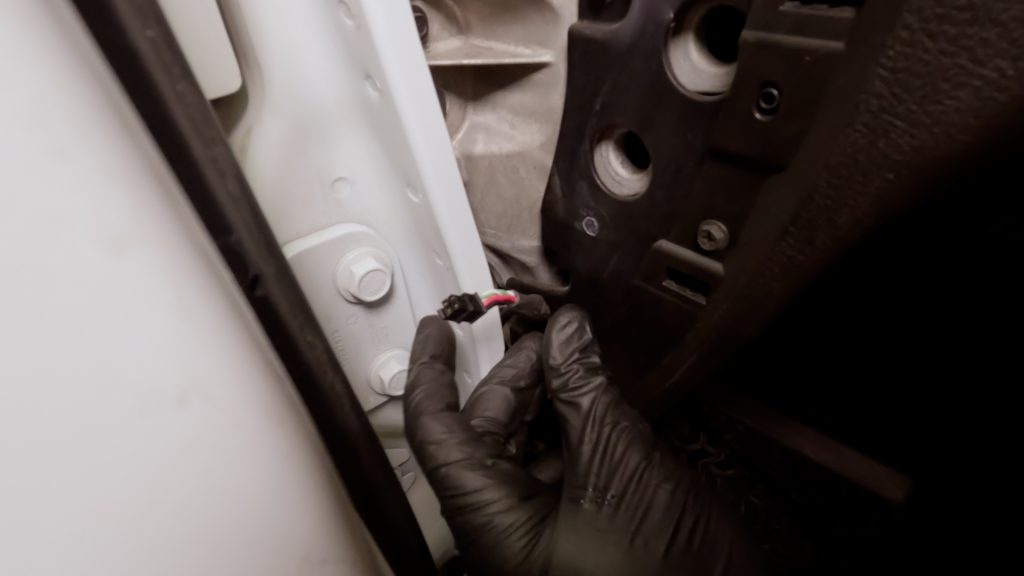
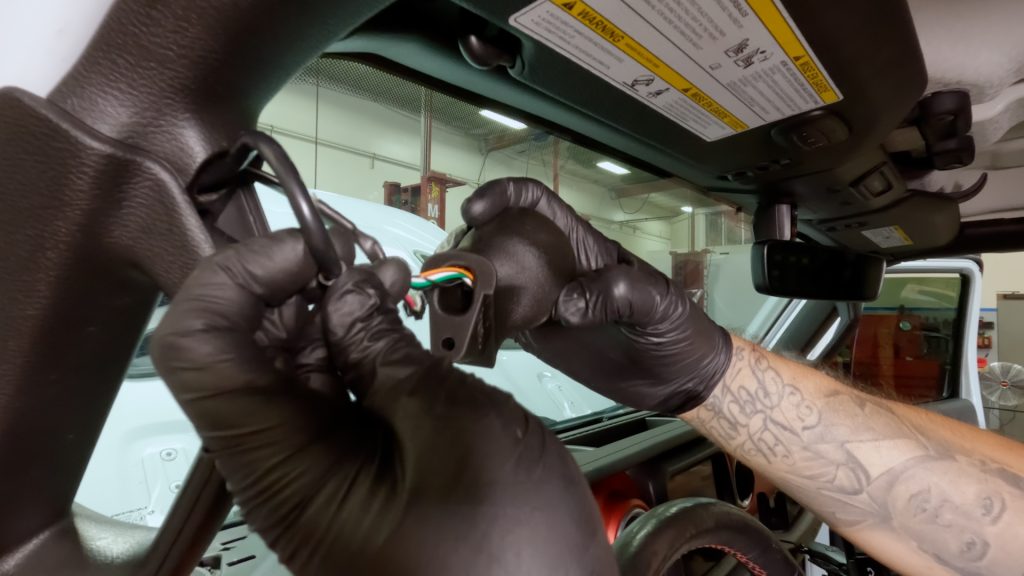
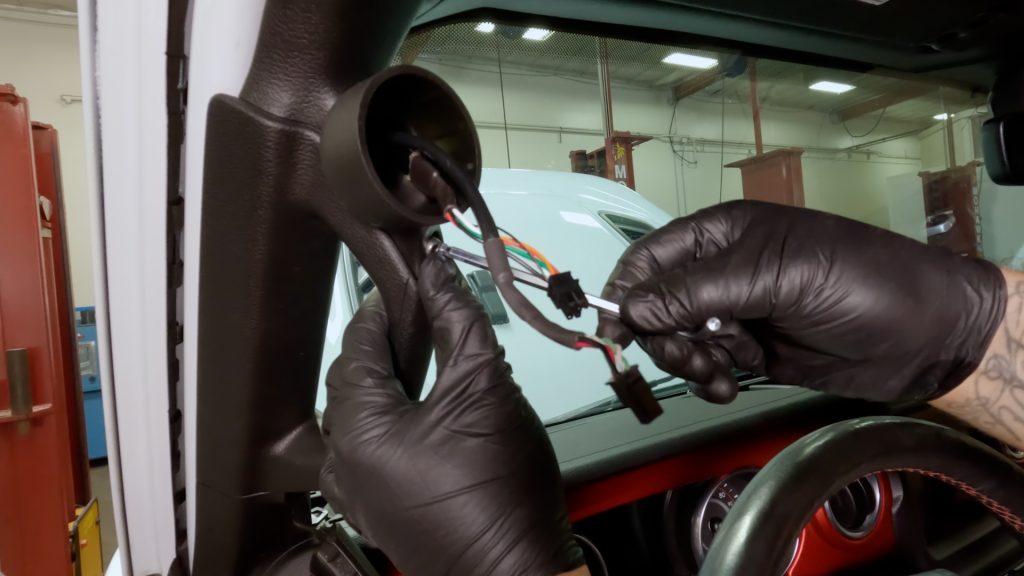
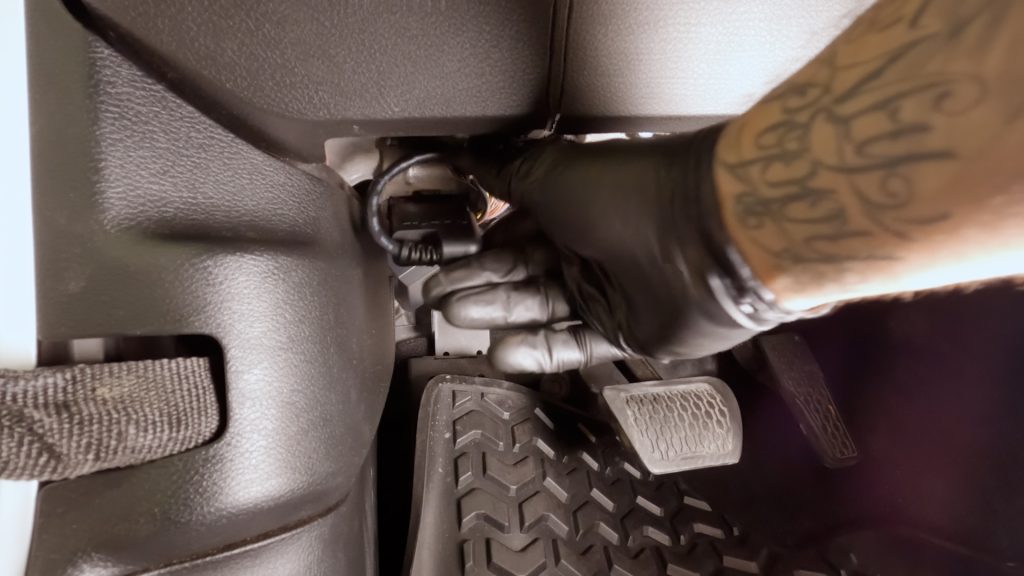
3. Carefully fish your Banks OBD-II cable up the side of the A-Pillar.
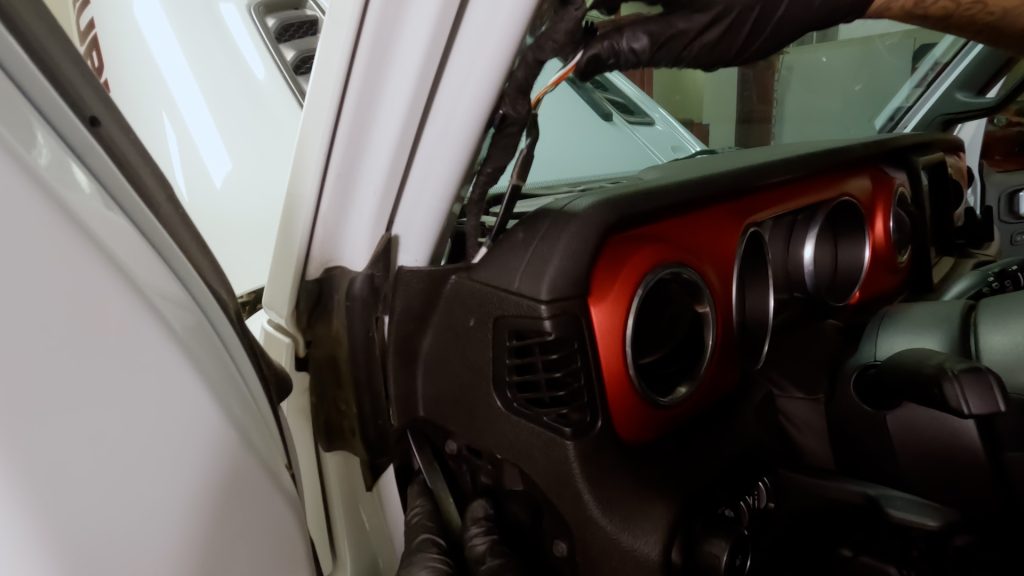
4. Continue as shown, routing the cables through the cavity towards the dash.
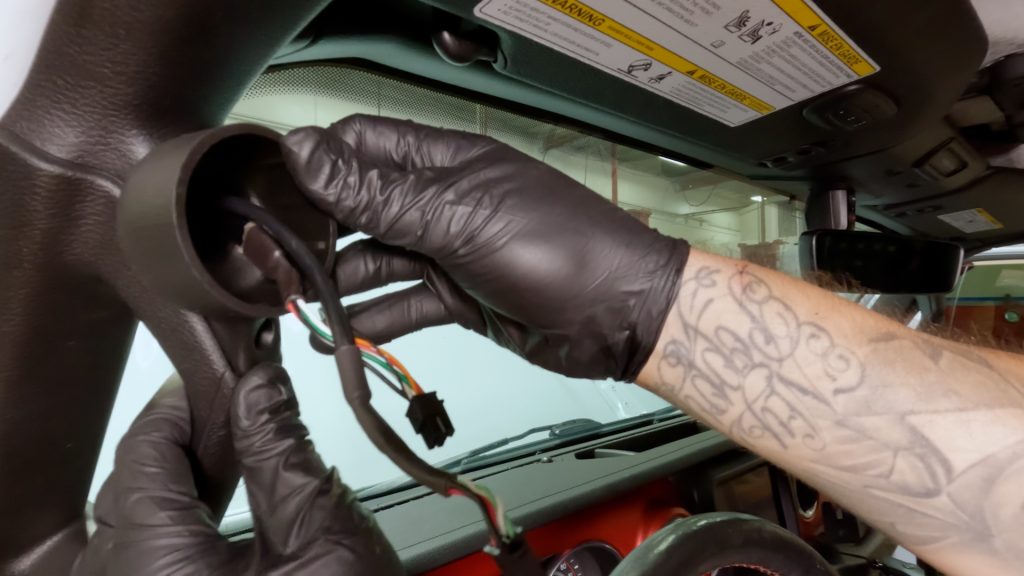
5. Now run your wires through the hole you cut in your OEM A-Pillar trim.
For a lower pod, Your wires will run through the bottom hole.

6. Be sure there is enough slack to allow the iDash to be removed later if needed, but not too much so that it kinks the cables.
6. Take care the cables are not interfering with the center plastic clip.
This clip is what aligns and snaps your handle back to the frame.

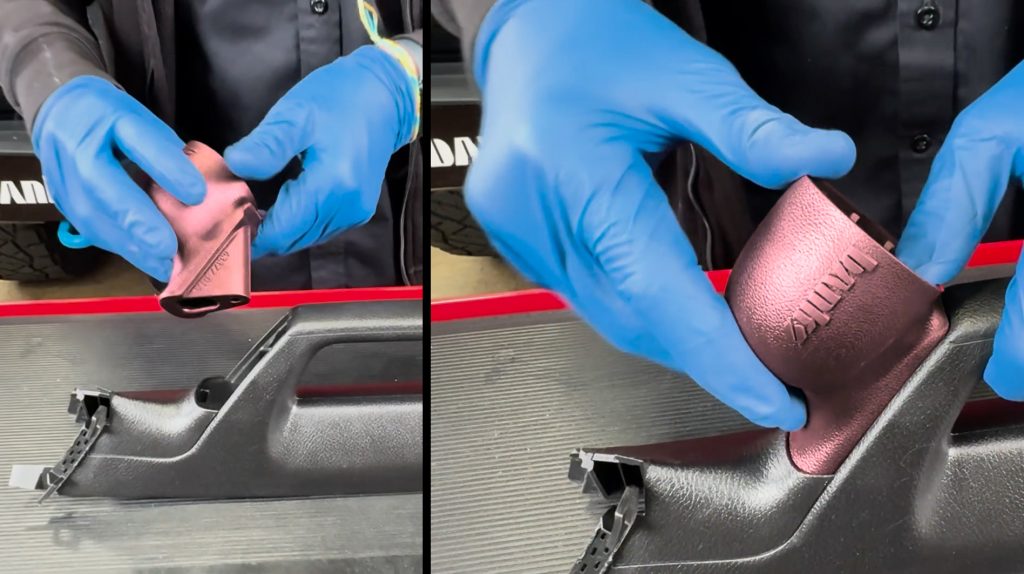
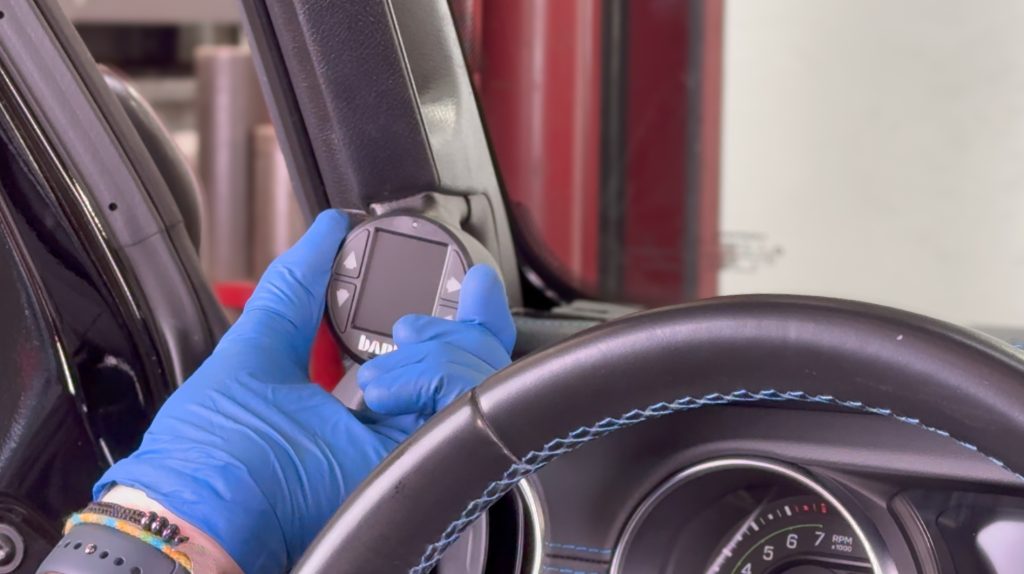
Installing the Banks iDash Stealth Pod
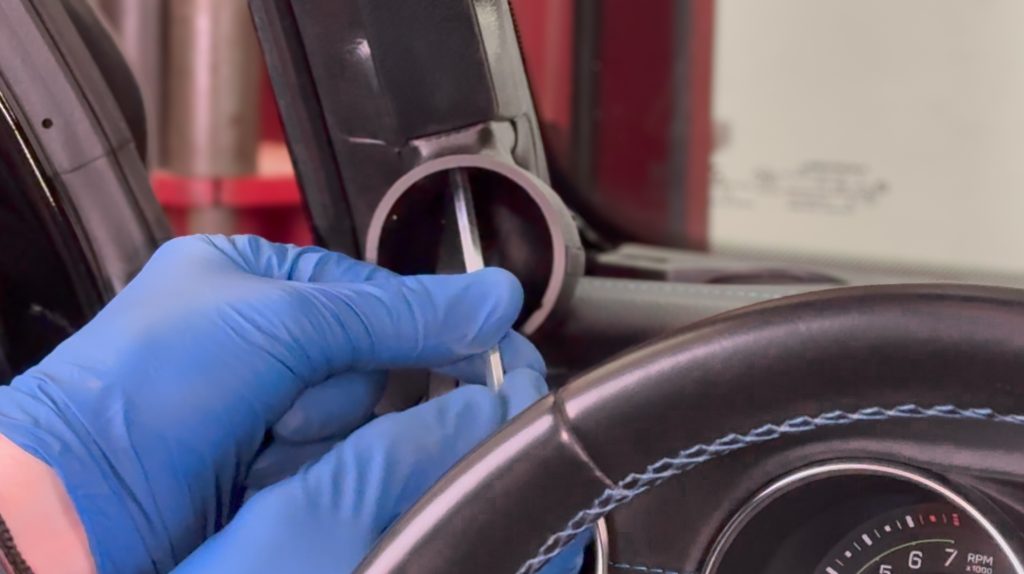
1. Run the cable(s) through the hole in the iDash Stealth Pod.

Lower Stealth Pod
Upper Stealth Pod

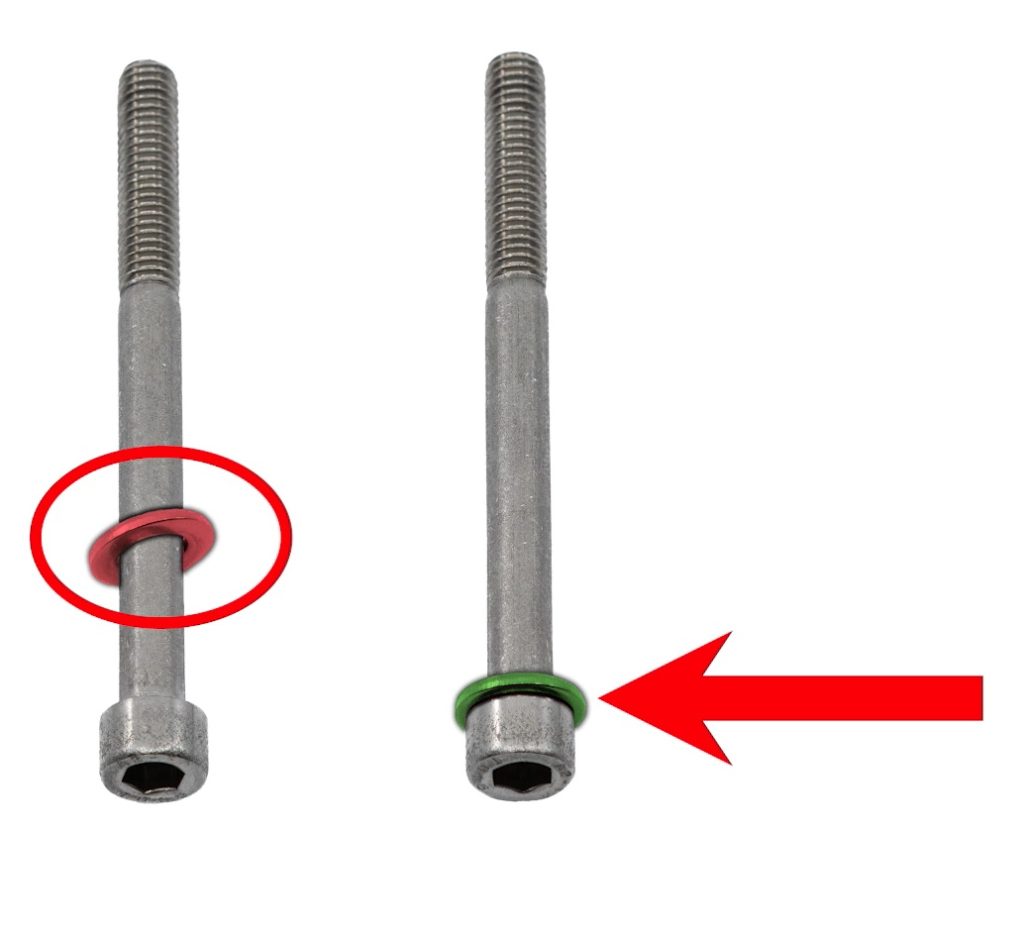
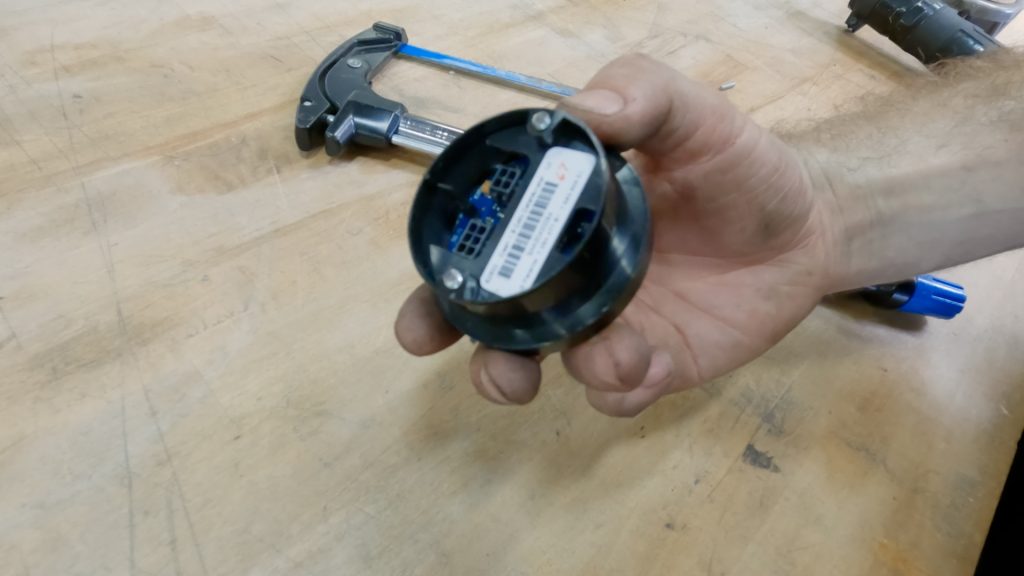
2. Once your wires are through, tighten the hex bolt with the supplied 5mm key.
Lower Pod Note:
Take care when installing the Lower Stealth Pods hex bolt. The washer can bind if it is not fully seated on the head of the bolt.
The lower pod should fit flush with the A-Pillar with no gaps, and feel secure to pillar. If it feels loose, reseat the bolt and washer and try again.
3. The goal is to leave just enough slack so you can pull out the iDash if needed.
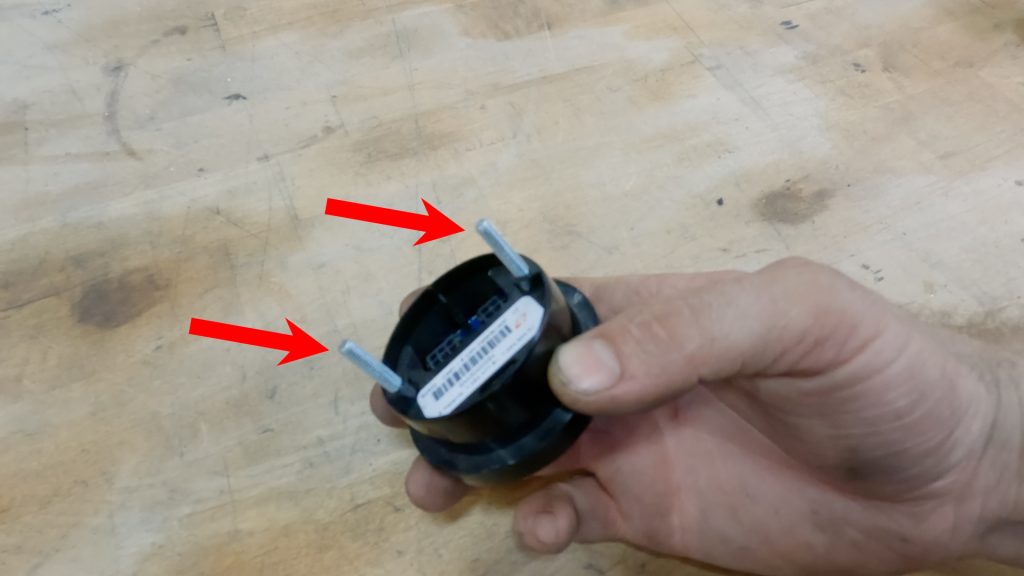
Upper Pod Note: Due to the ultra-low profile of the Upper Jeep iDash Stealth Pod design, the iDash’s two studs need to be removed.
These are friction welded in and need to be cut off to provide clearance.
If installing a Lower Stealth Pod, Skip to step 5.
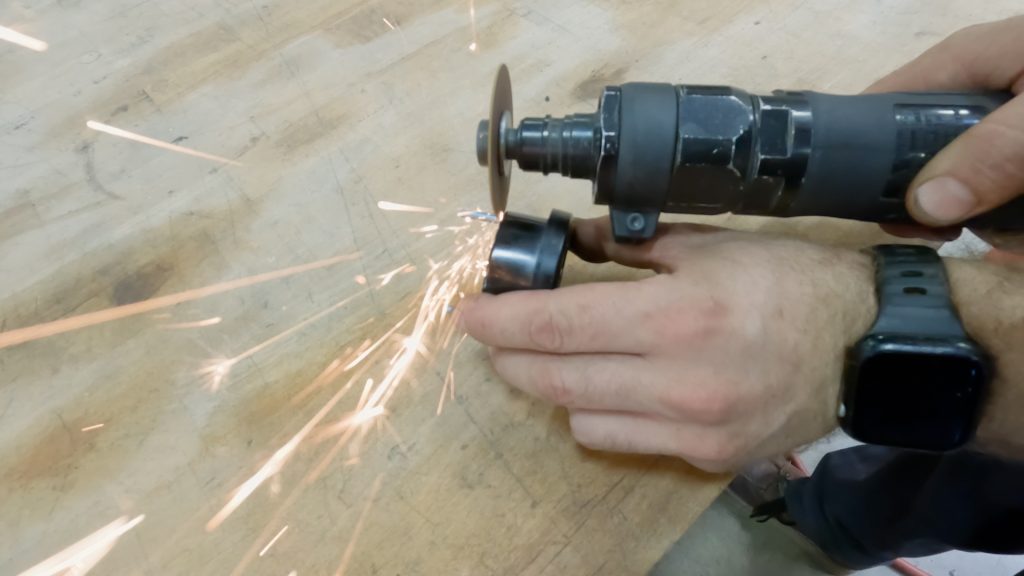
4. A Dremel with a cut-off wheel or hack saw will make quick work of these studs.
The iDash should look like this when your done cutting.
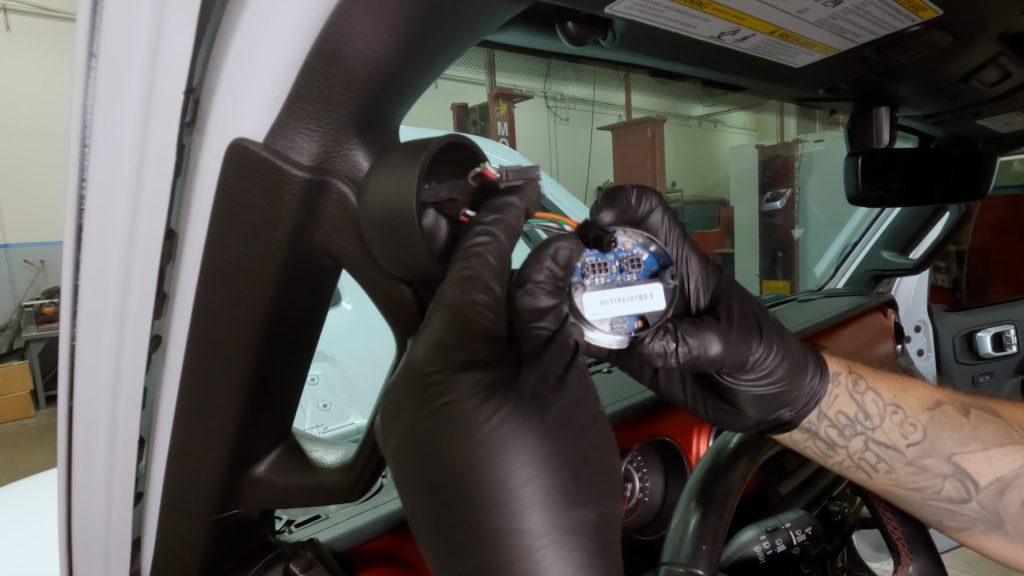
5. Now connect your one or two Banks Cables to your iDash.

Lower Pod
6. Feed the iDash wires back through the Stealth Pod.
Gently pull any extra slack in the wires from the driver-side access panel. There should be just enough to remove the iDash if needed.
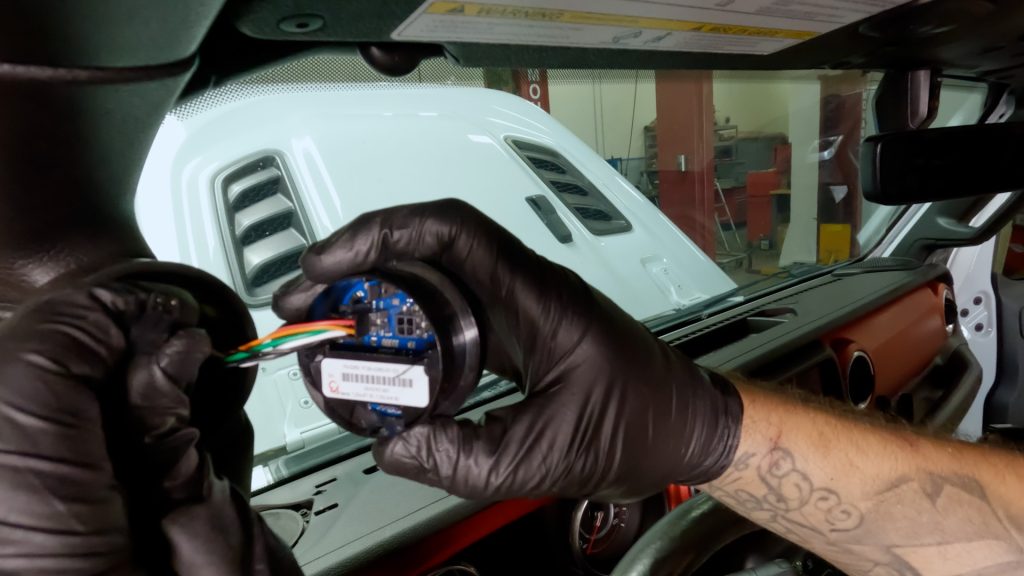
7. Press the iDash into place, taking care to route the cables back to through the hole and into the pillar as you go.
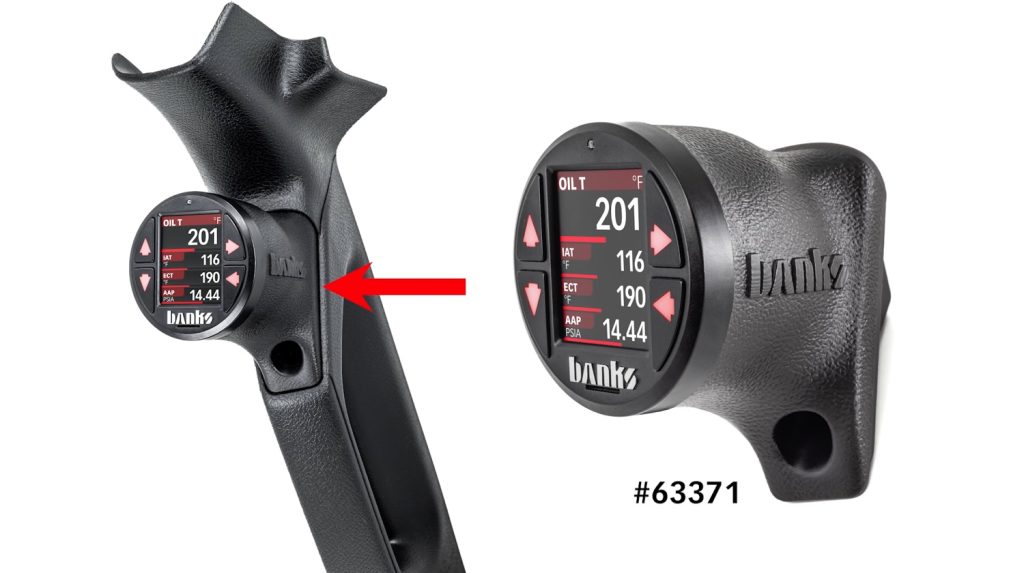
Twist the iDash so that its level with the Banks logo on the side of the Stealth Pod.
Lower Pod
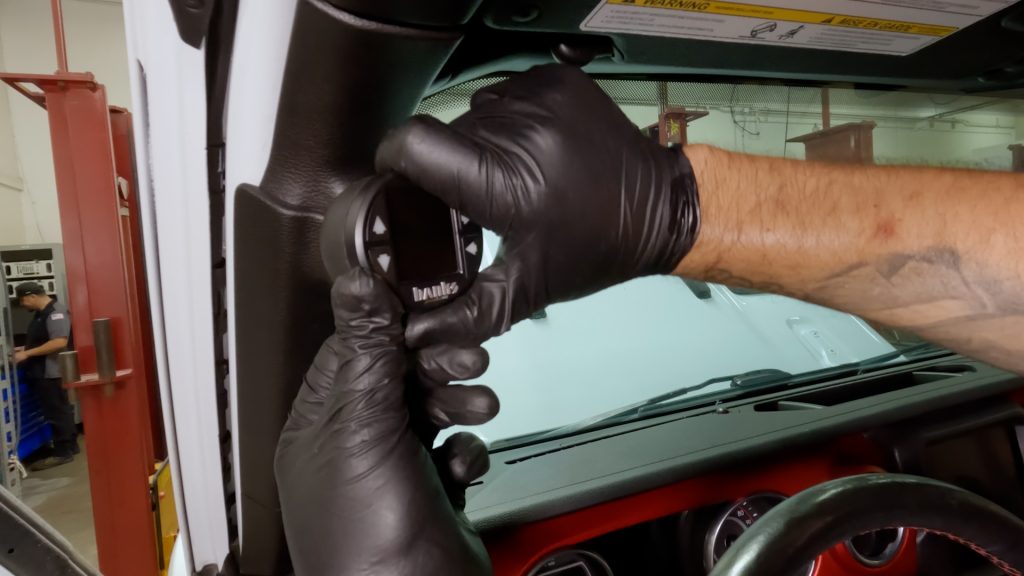
8. Tighten the remaining bolt.

Lower Pod
9. Replace the remaining bolt cover.
10. Reinstall the driver side panel, and snap the 5 clips into place.
11. Re attach the driver side speaker cover.
12. Plug in your OBD-II Data cable.
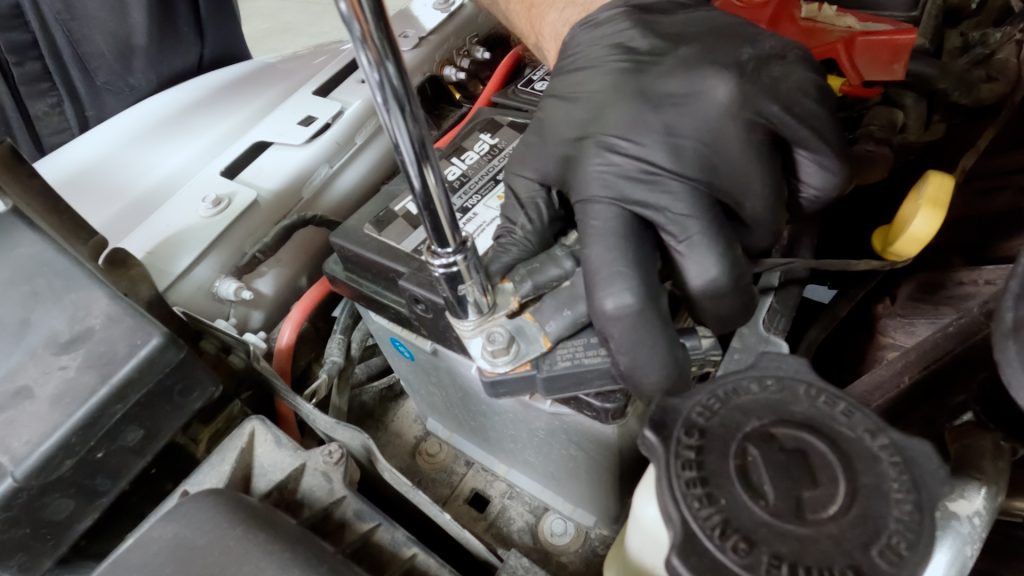
13. Reconnect your battery.
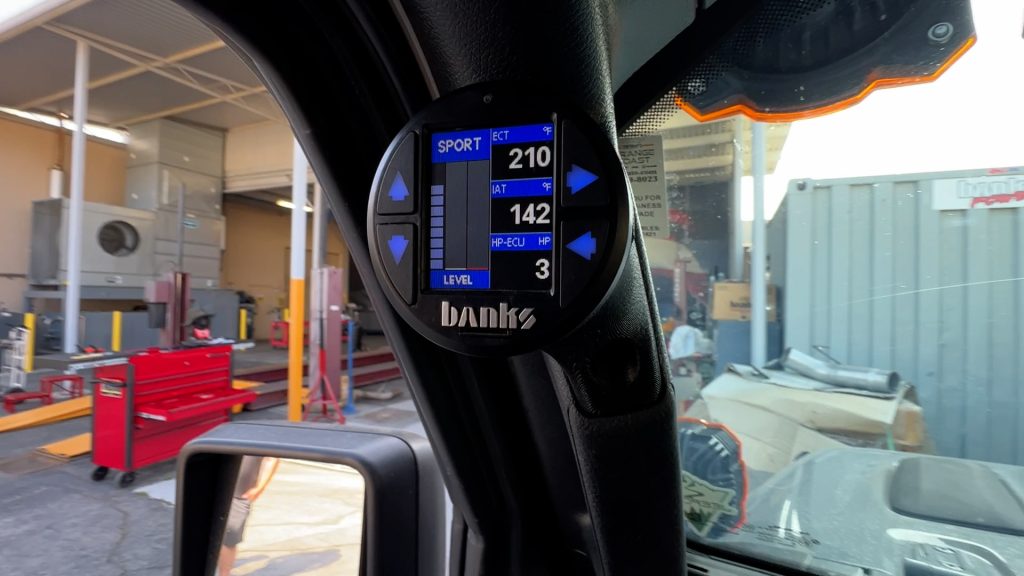
14. Enjoy your newly installed Banks iDash Stealth Pod.