



1. For ease of installation of your Banks Ram-Air system, familiarize yourself with the procedure by reading the entire manual before starting work.
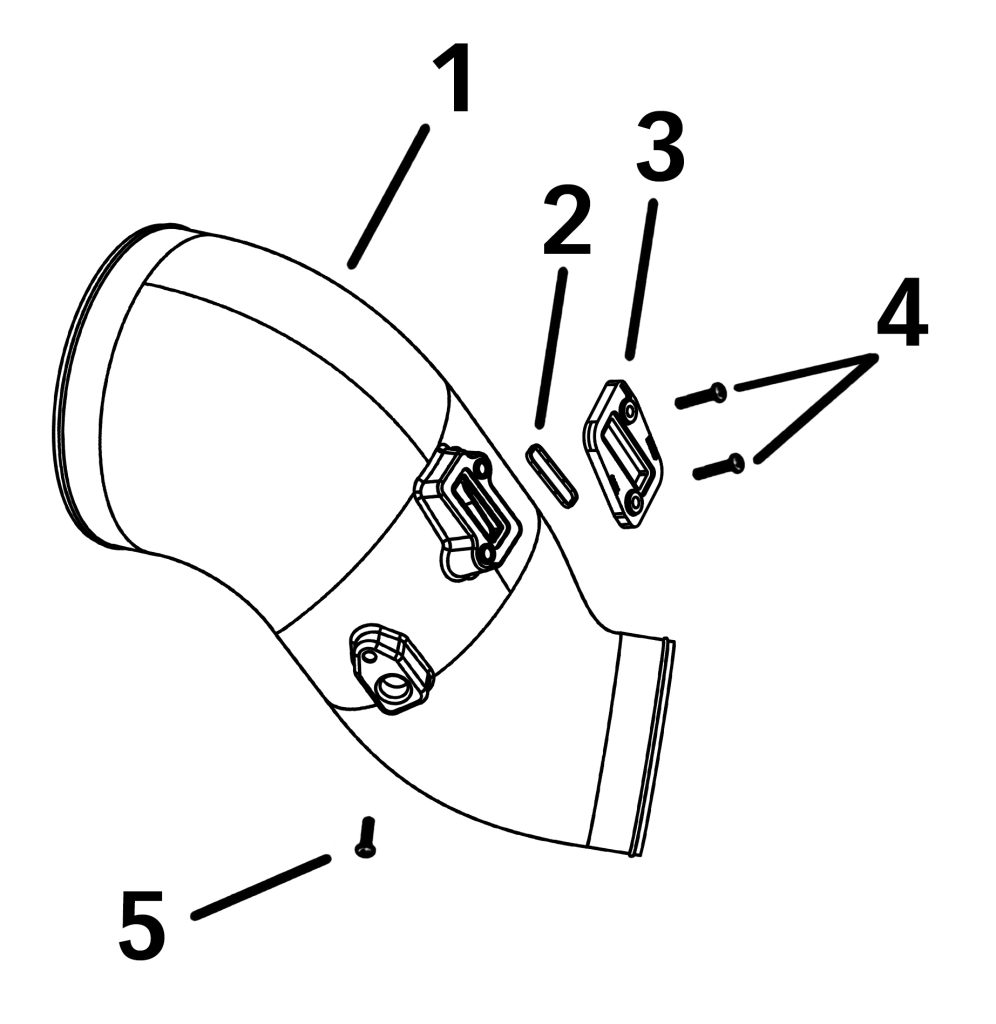
2. The exploded view of the Banks Ram-Air assembly provides only general guidance. Refer to each step and section diagram in this manual for proper instruction.
3. Throughout this manual, the left side of the vehicle refers to the driver’s side and the right side to the passenger’s side.
4. Disconnect the ground cable(s) from the battery(s) before beginning work.
If there are two batteries, disconnect both.
5. Route and tie wires and hoses
Maintain a minimum of six inches distance from exhaust heat, moving parts, and sharp edges. Clearance of eight inches or more is recommended where possible.
6. During installation, keep the work area clean.
If foreign debris are transferred to any Banks component, clean it thoroughly before installing.
7. When raising the vehicle, support it on properly weight-rated safety stands, ramps, or a commercial hoist.
Follow the manufacturer’s safety precautions. Take care to balance the vehicle to prevent it from slipping or falling. When using ramps, be sure the front wheels are centered squarely on the topsides; put the transmission in park; set the parking brake; and place blocks behind the rear wheels.
CAUTION:
Do not use floor jacks to support the vehicle while working under it. Do not raise the vehicle onto concrete blocks, masonry, or any other item not intended specifically for this use.
WARNING:
Vehicles that come with a Vehicle Emissions Control Information (VECI) label affixed to the Original Equipment Manufacturer’s (OEM) air intake system airbox must replace the VECI label when installing a Banks Ram-Air® Intake System. A missing VECI label will prevent the vehicle from passing a smog inspection. A replacement VECI label can be obtained from the dealership. Replacement VECI labels must be in a location that is readily visible, on a painted surface in the engine bay, and shall not be affixed to any equipment that is easily detached from the vehicle.
Tools Required:
8mm Socket
Ratchet Extension
Philips Screw Driver
T20 Torx Screwdriver
Use caution when working in the engine compartment. Make sure the engine has been OFF for several hours and cool. Some components from the stock air intake system will remain in service.
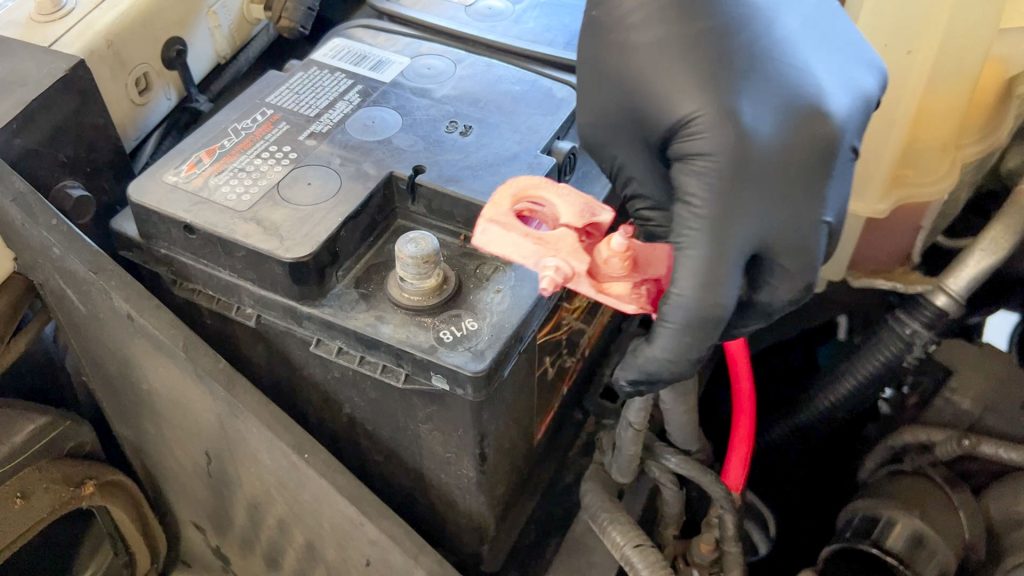
1. Disconnect negative battery cables. (both batteries)
NOTE: Wait for 15 minutes before proceeding to allow the ECM to fully discharge.
Disconnecting sensors before the ECM is fully powered down can result in Check Engine Codes or starting in “Limp Mode” after install is complete.
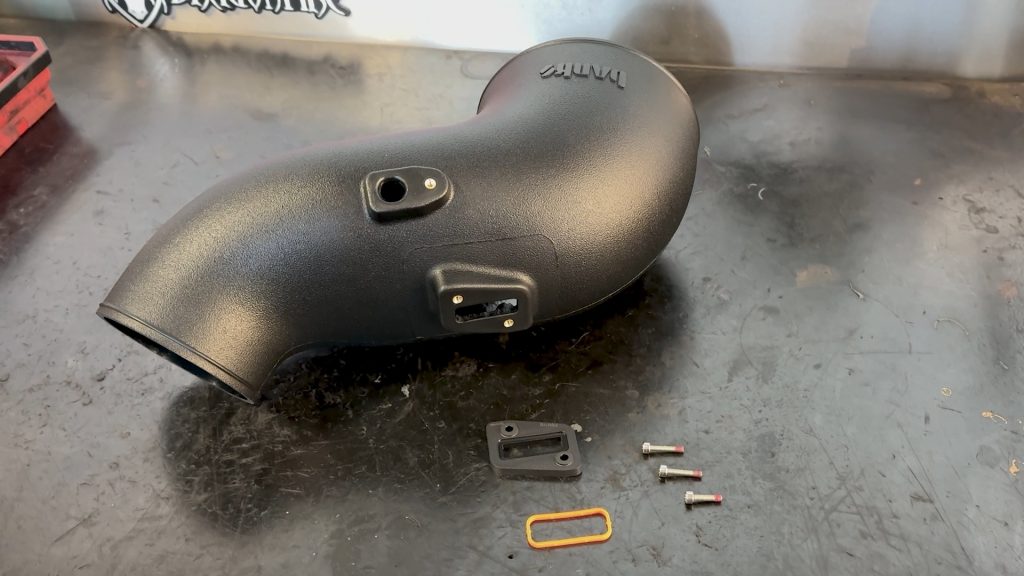
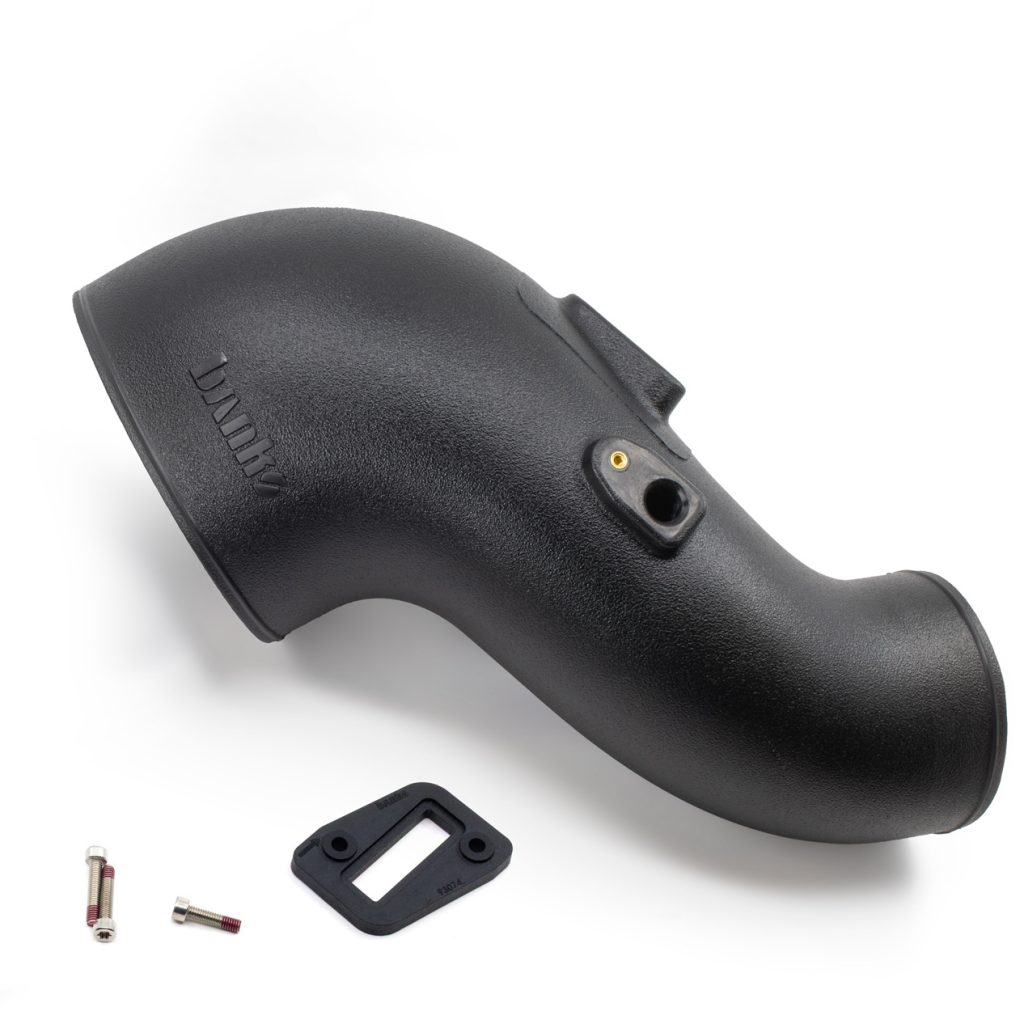
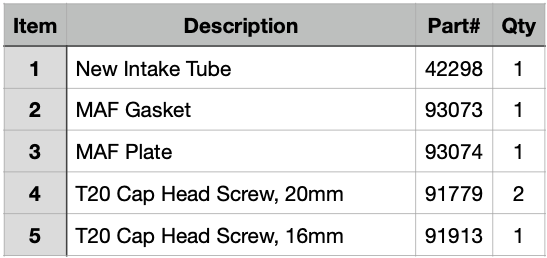
2. Lay out the new parts.
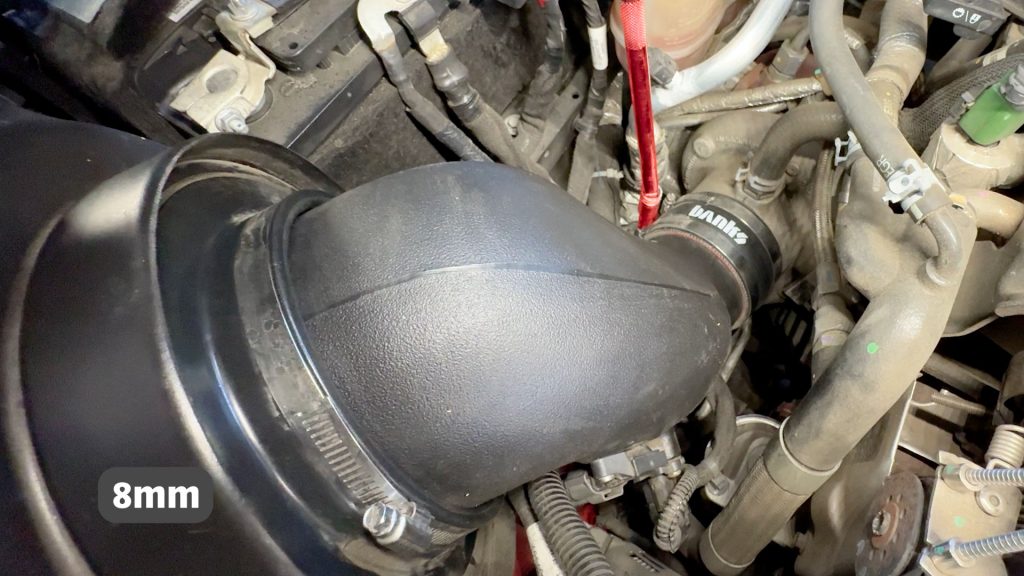
3. With an 8mm socket and extension, loosen the hose clamp by the turbo inlet thats holds the intake tube.
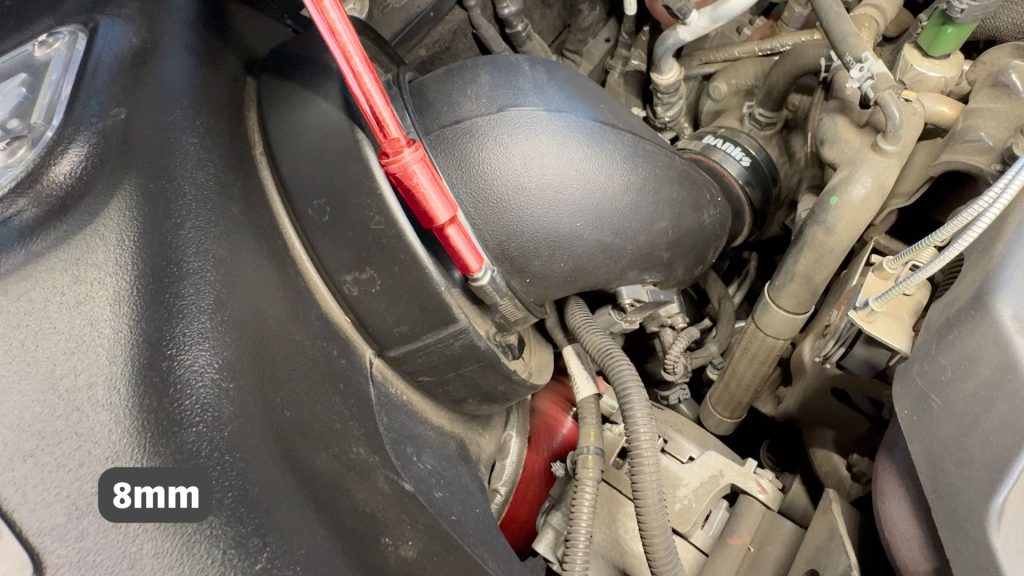
4. With an 8mm socket, loosen the hose clamp that holds the tube onto the filter.
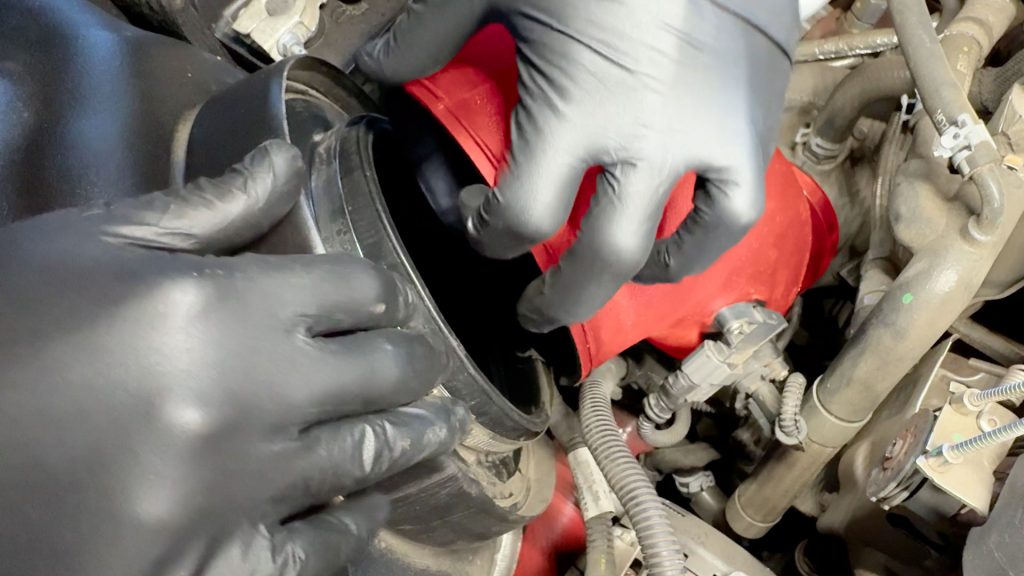
5. Separate the tube from the filter and turbo inlet.
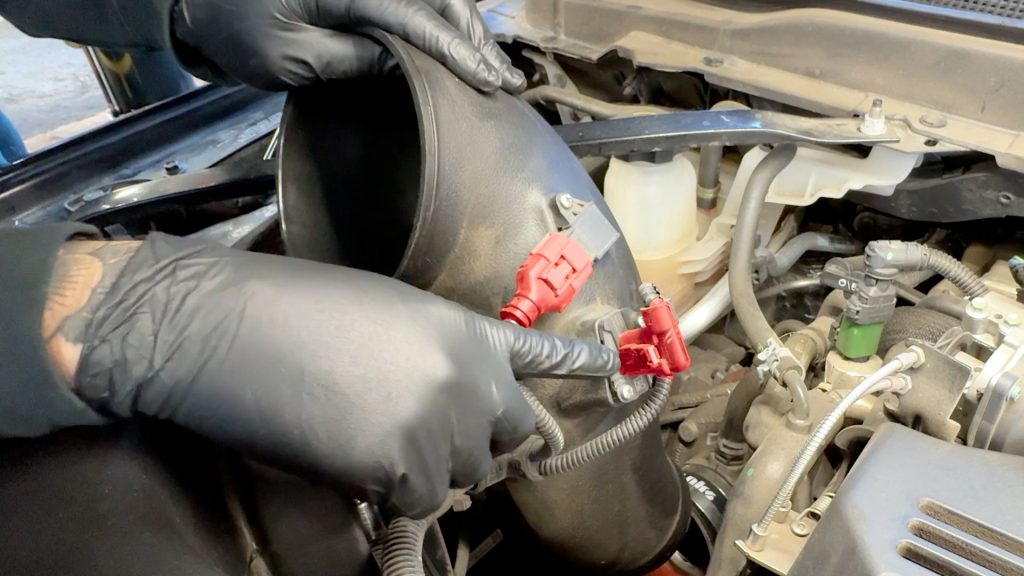
6. Unplug the MAP and MAF sensor, then bring the old tube to a workbench.
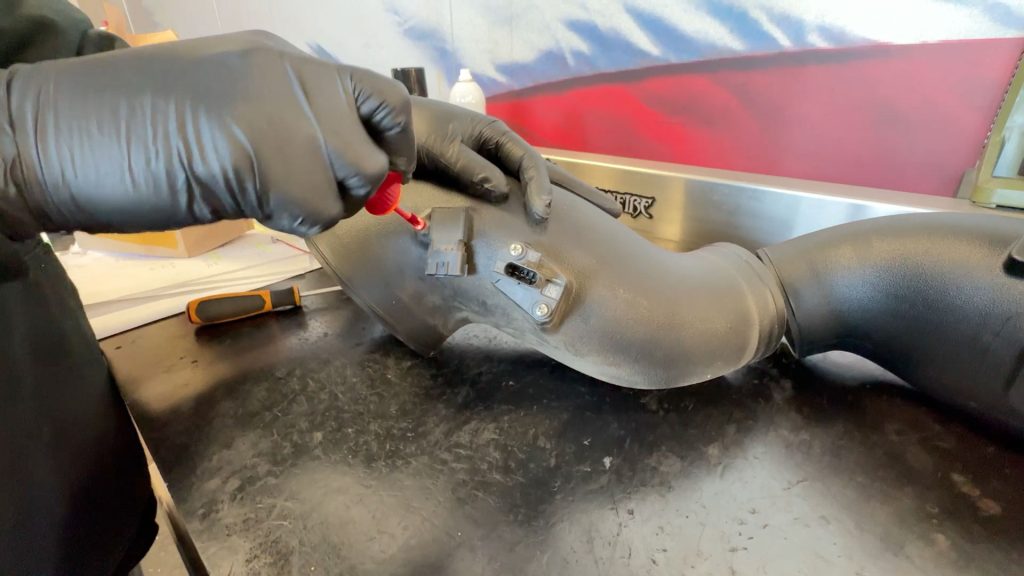
7. With a screwdriver, remove the MAP sensor. This screw will not be reused.
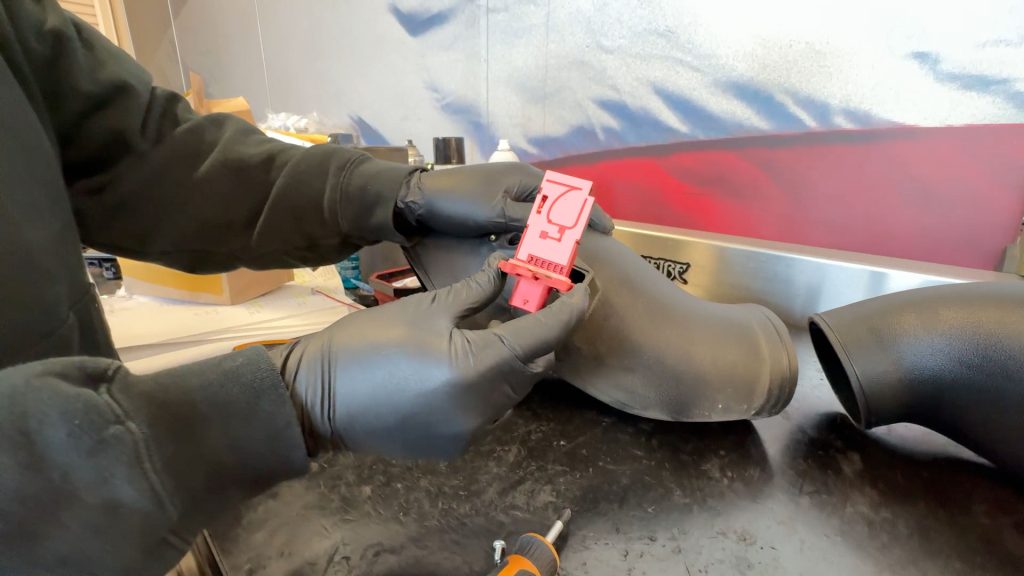
8. With a screwdriver, remove the MAF sensor. These screws will not be reused.
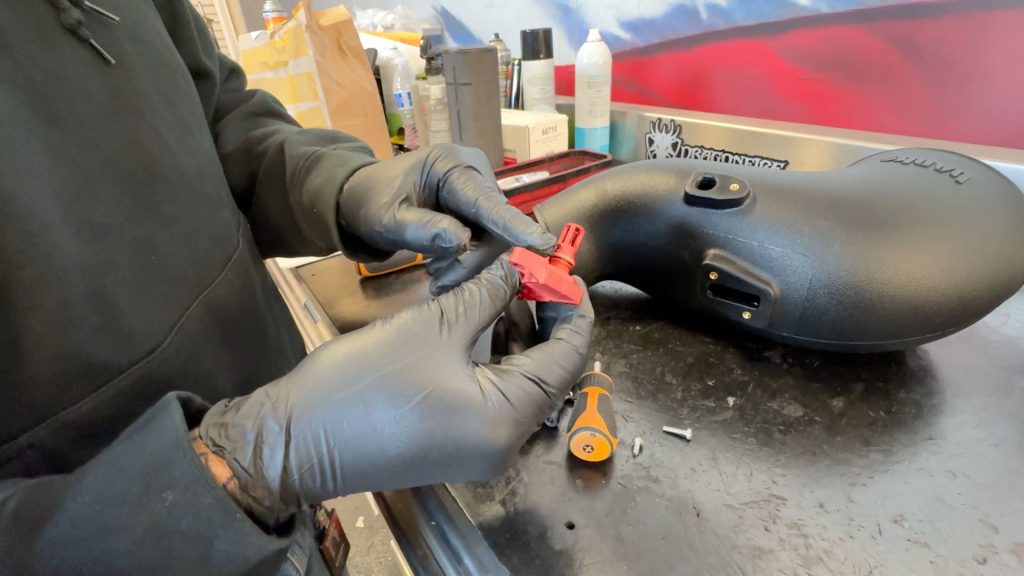
9. Clean the MAP sensor if it looks dirty. Use Mass Air Flow cleaner if needed.
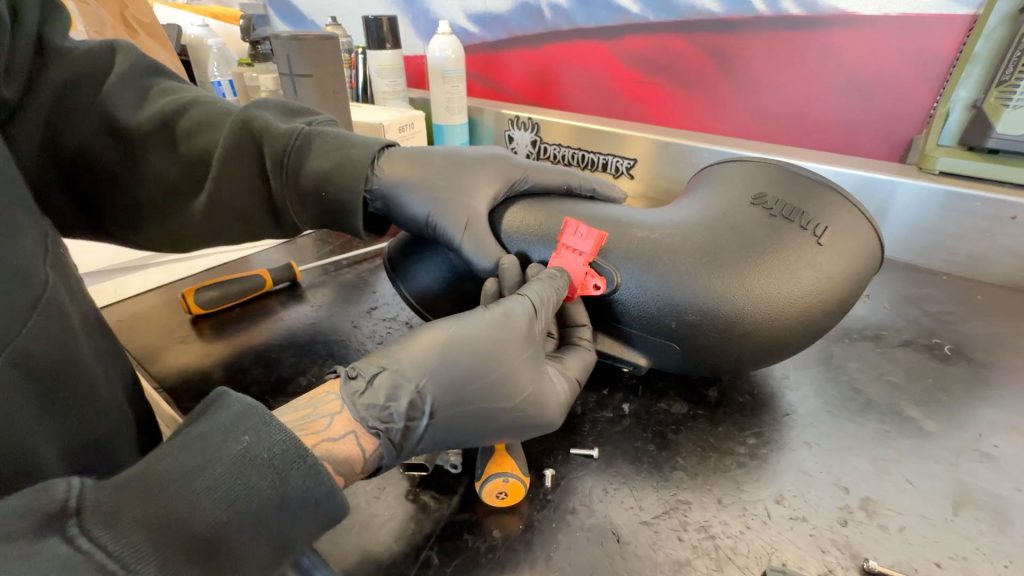
10. Install the MAP sensor into the new Banks tube.
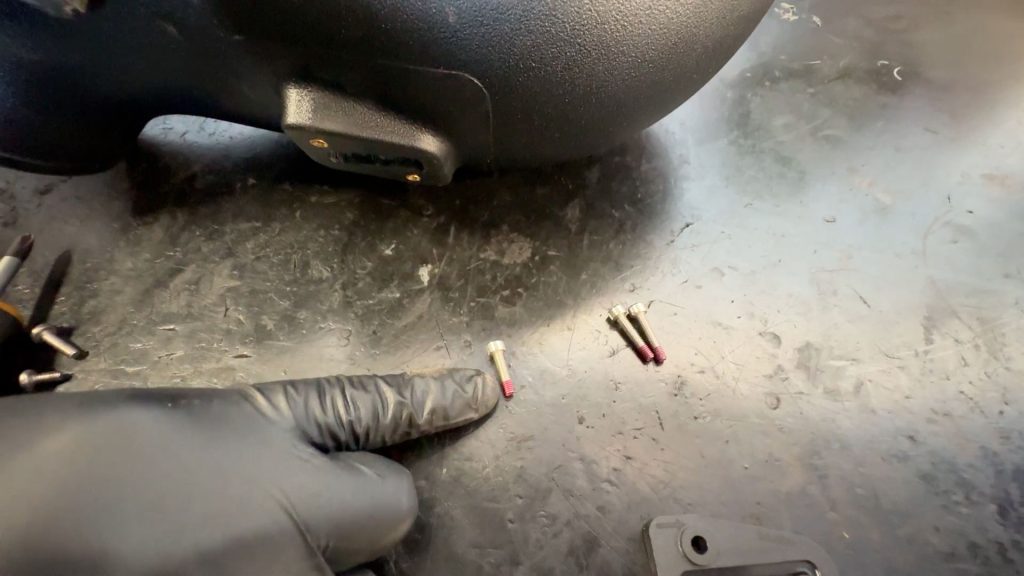
11. Use the shorter T20 Torx screw.
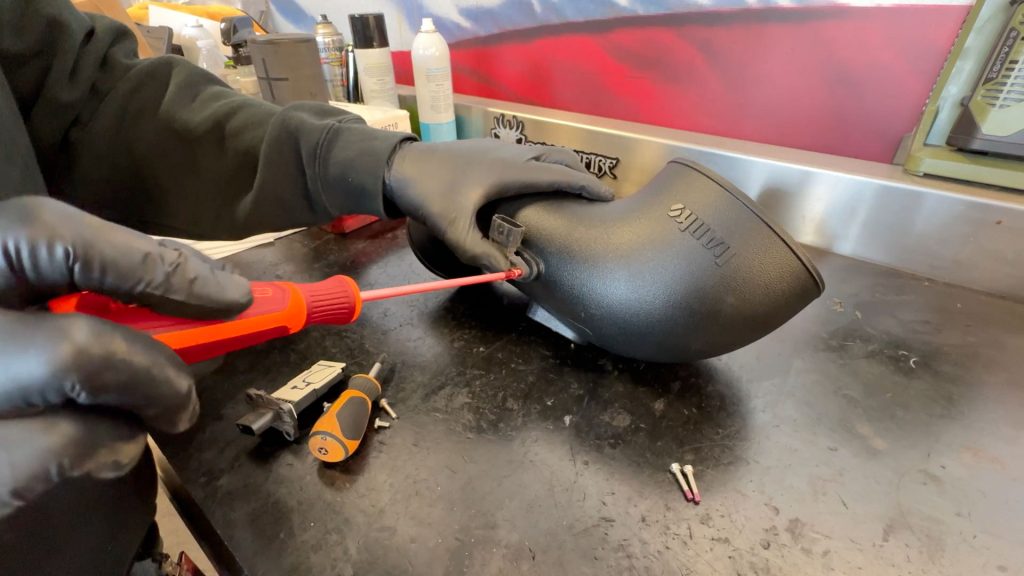
12. Secure the MAP sensor with the new T20 Torx screw.
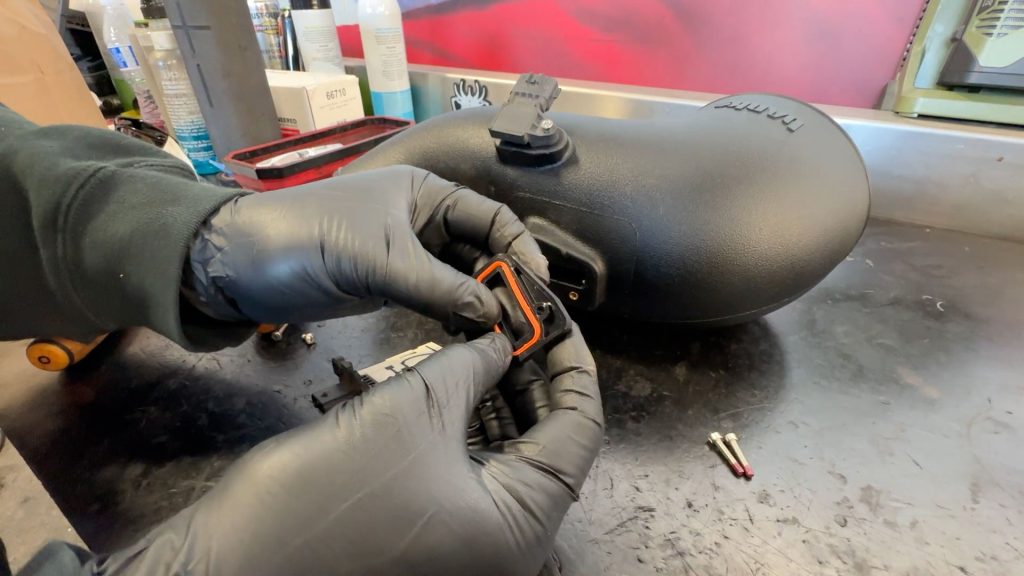
13. Put the gasket into the MAF spacer plate.
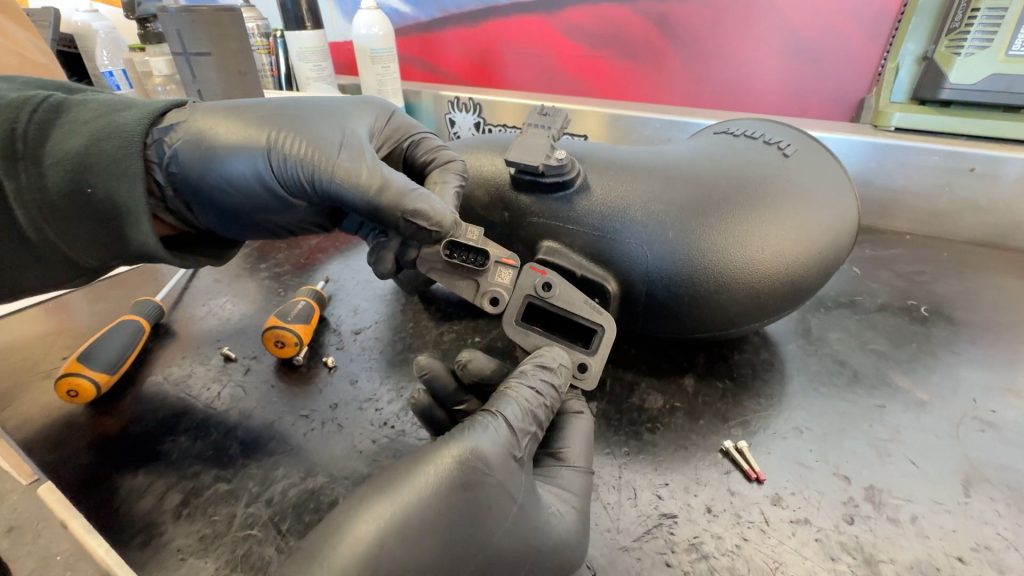
14. Notice there is an arrow on both the MAF sensor and the MAF spacer plate.
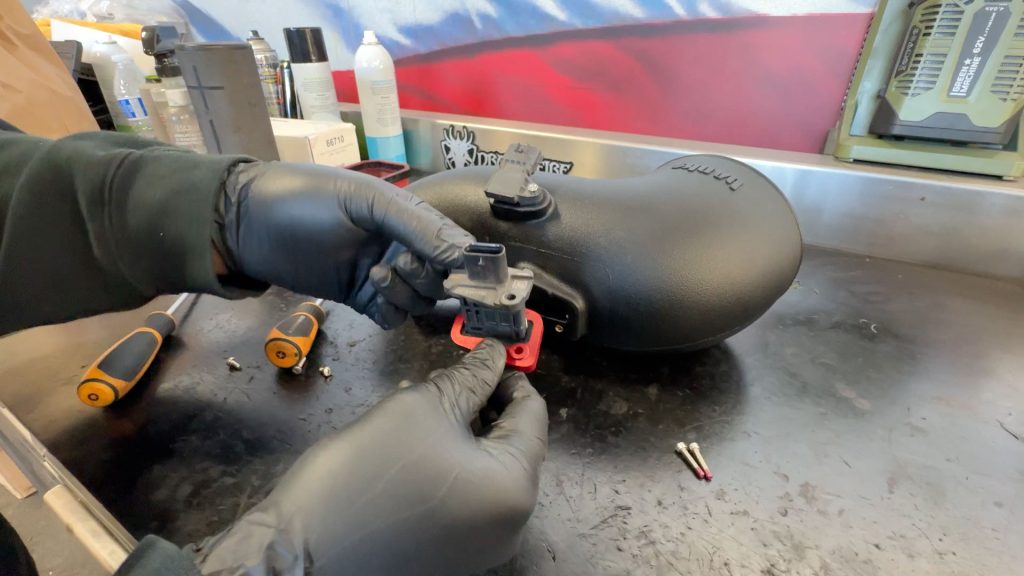
15. Insert the MAF sensor into the plate; these two arrows should face the same direction.
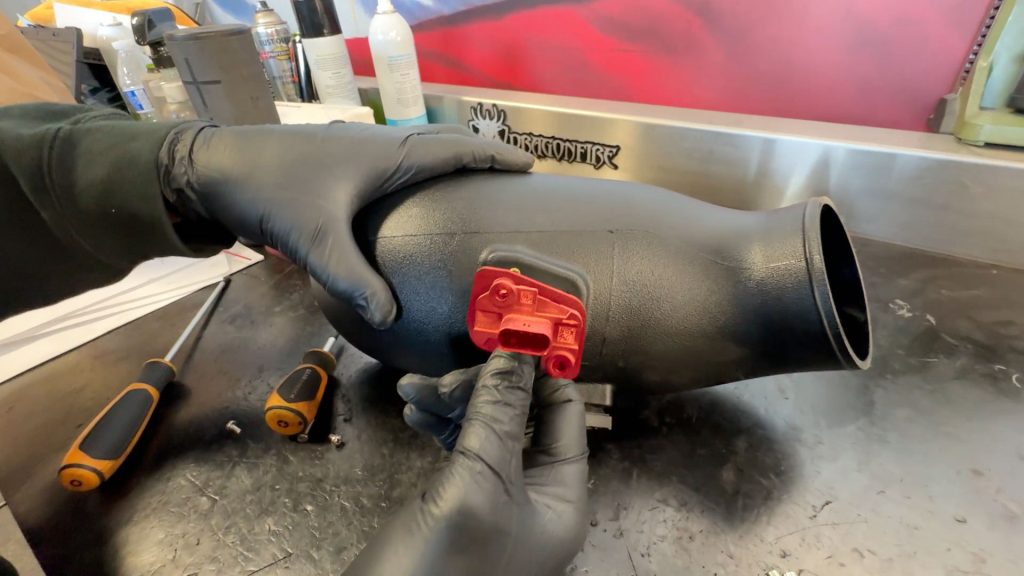
16. Insert both into the new Banks tube, the arrows should be pointing towards the turbo.
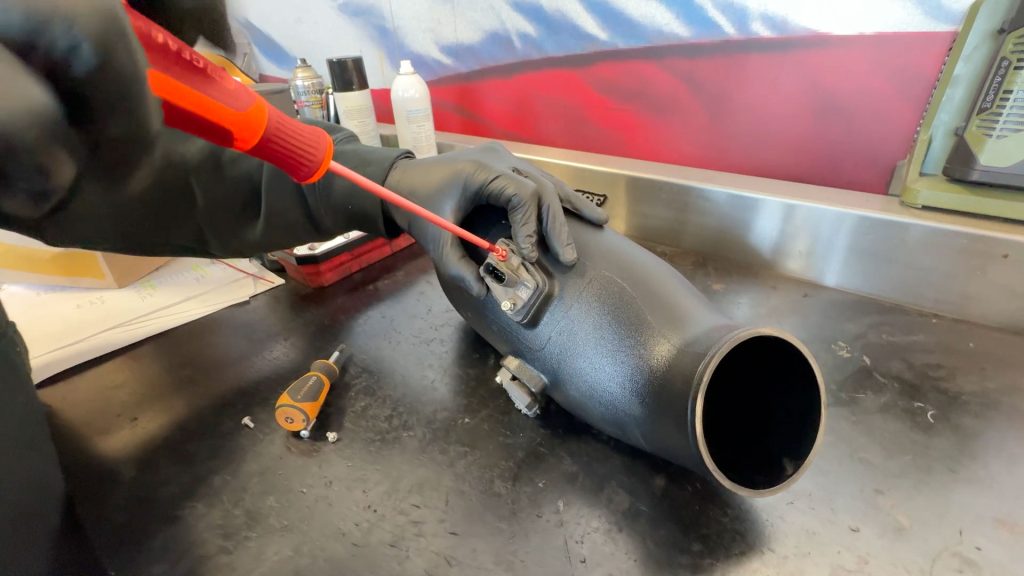
17. Secure the MAF sensor with the two longer T20 Torx screws.
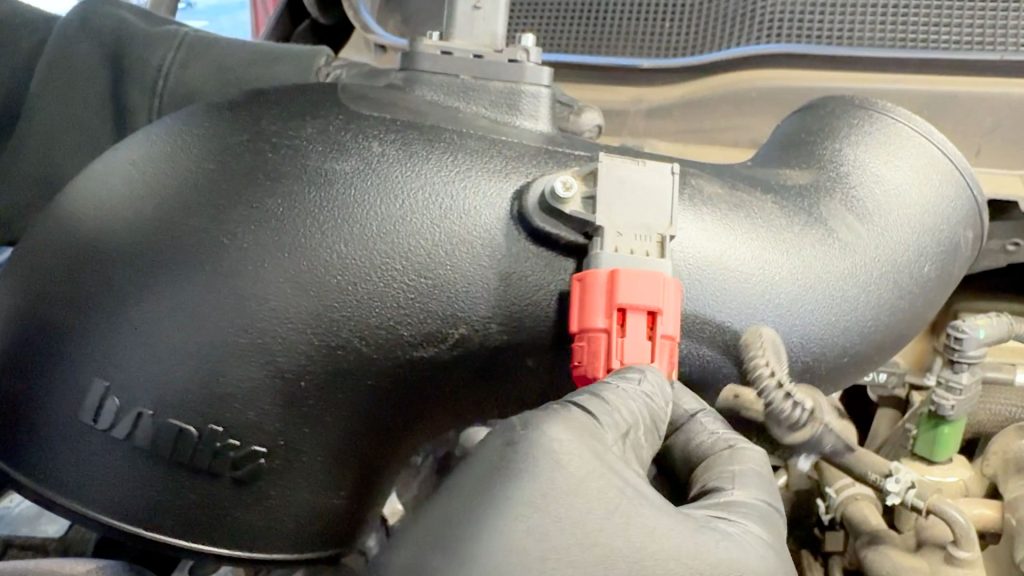
18. Plug the MAP sensor back into the truck.
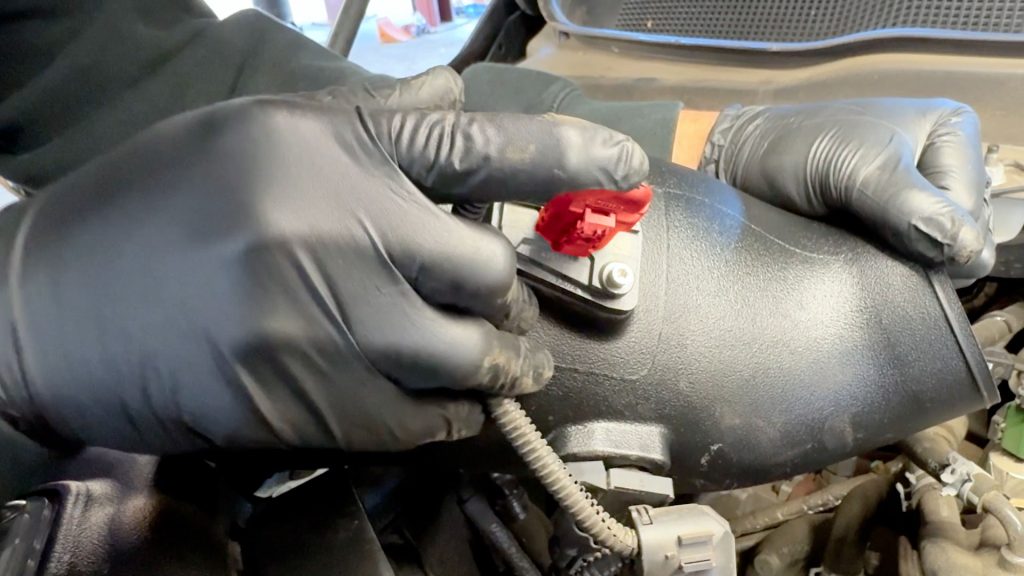
19. Plug the MAF sensor back into the truck.
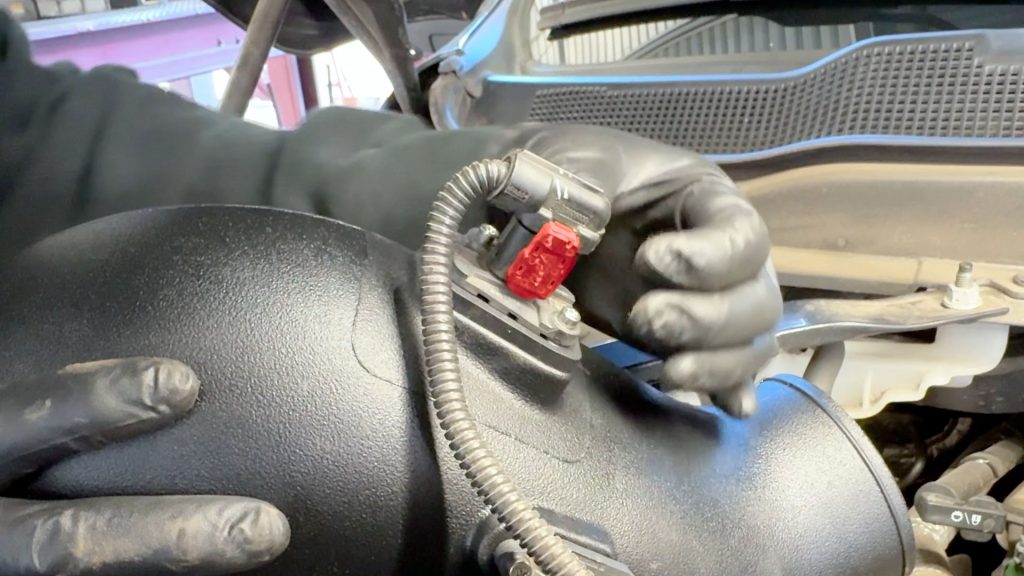
20. Dont forget to replace the cap over the MAF plug.
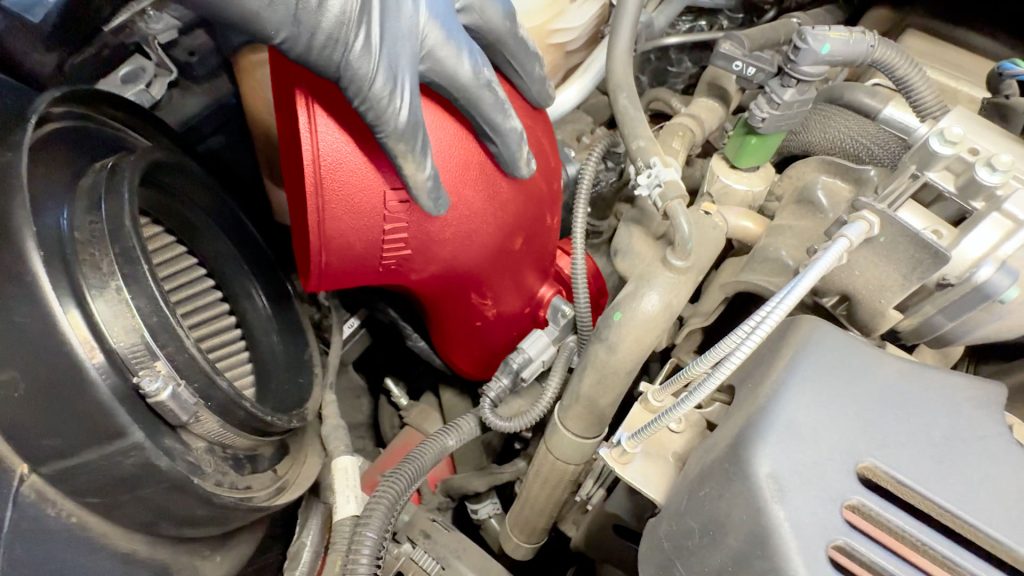
21. Slide the new tube back into the hose on the turbo inlet.
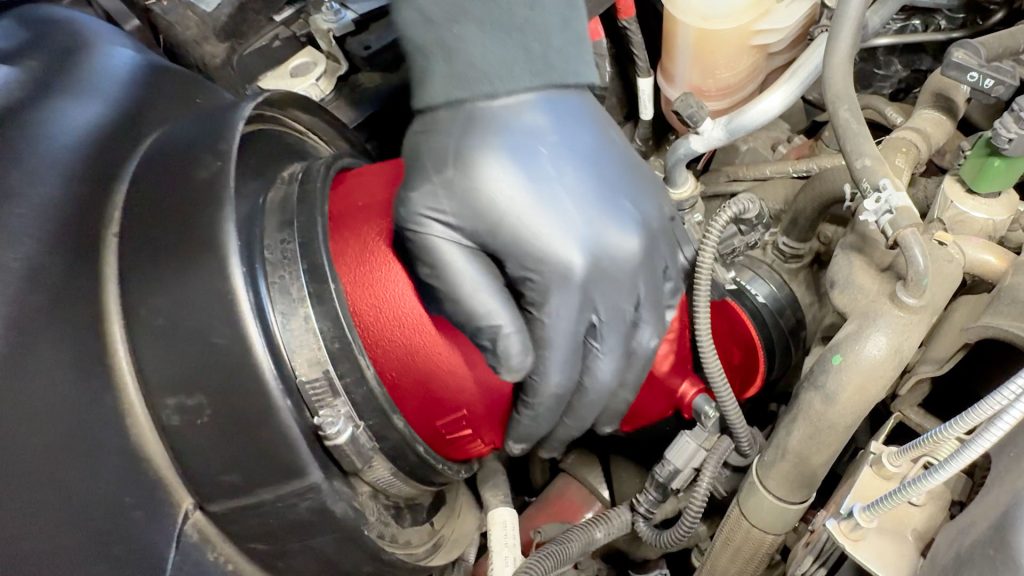
22. Then slide the tube back into the air filter.
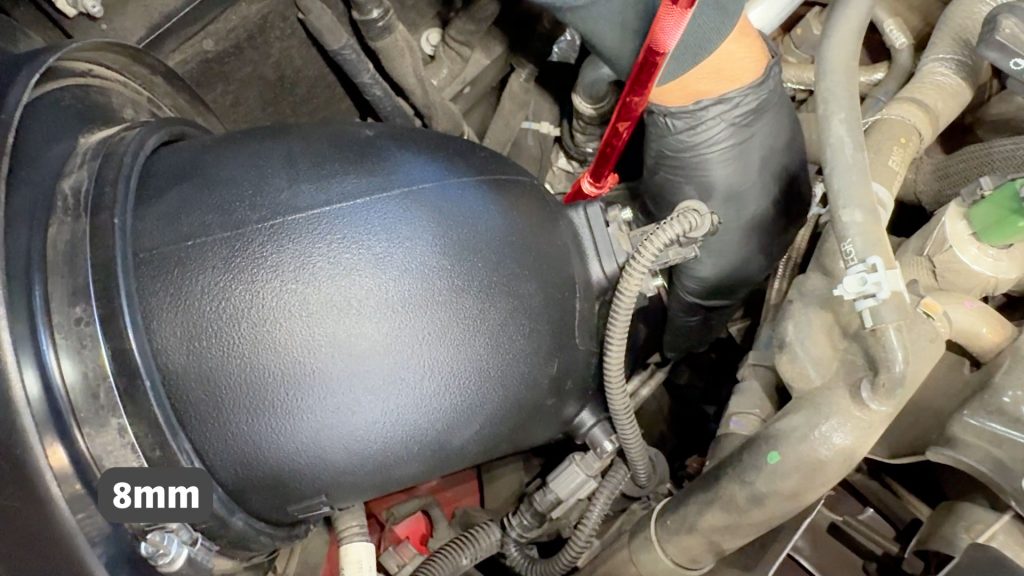
23. With an 8mm socket and extension, tighten the clamp by the turbo inlet.
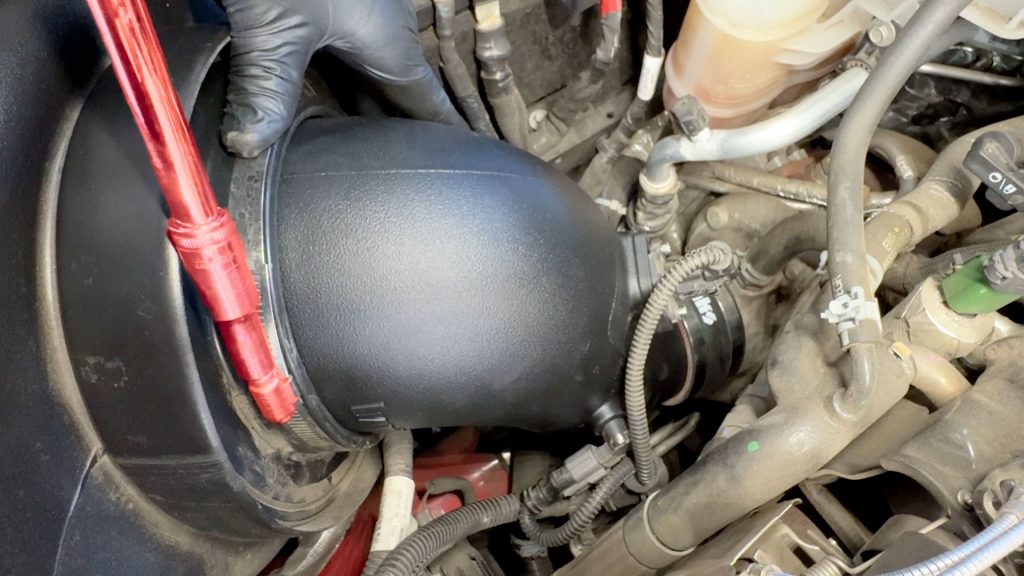
24. With an 8mm socket and extension, tighten the clamp by the filter.
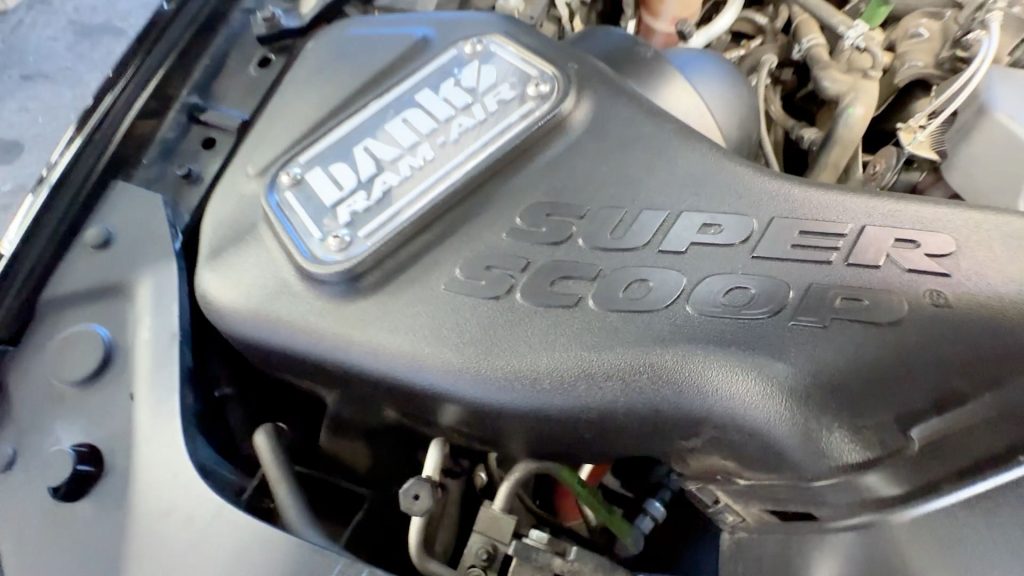
25. Check that everything is secure and free from any moving parts, and reconnect both batteries.