97662 Banks Boost Tube Upgrade Kit 25993 for 2012-2016 Chevy/GMC 2500/3500 6.6L Duramax
INSTALL INSTRUCTIONS
Part #s
25993
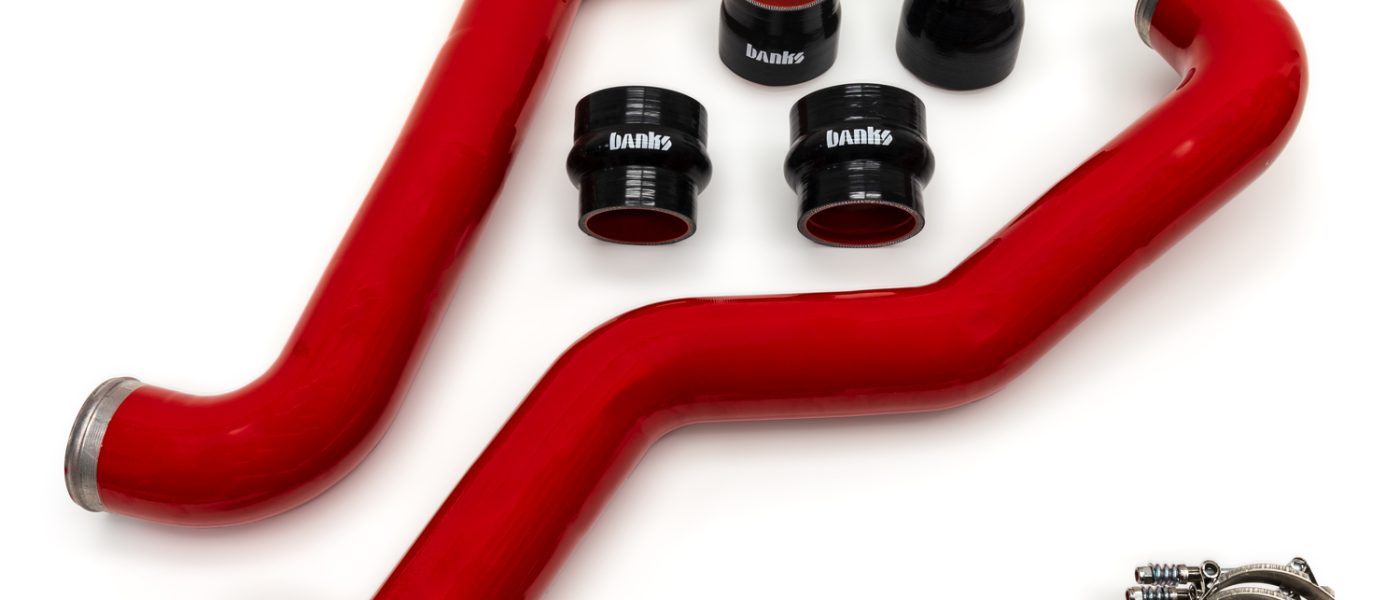
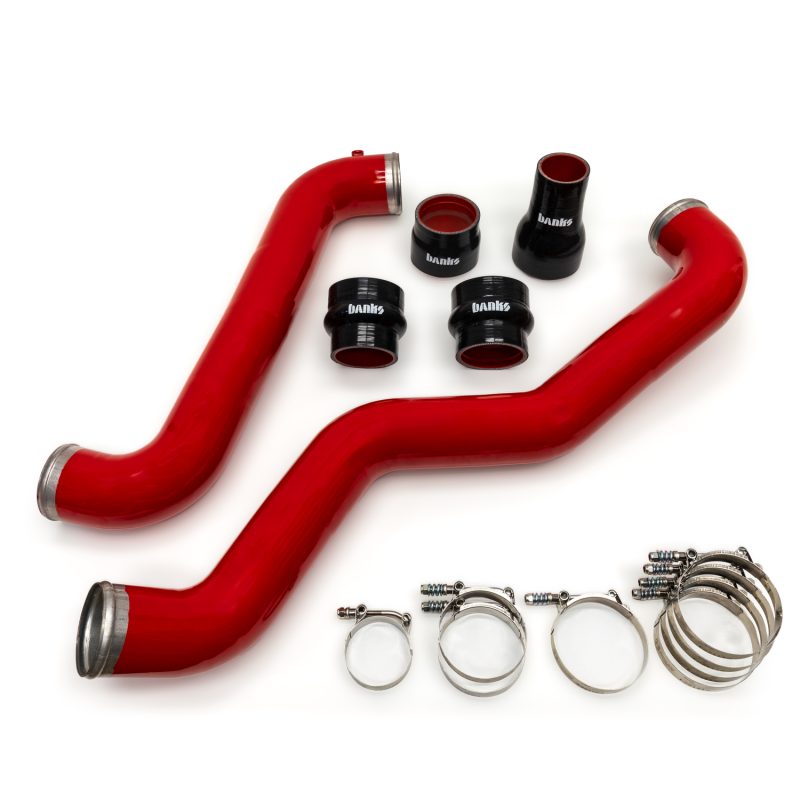
Banks High-Flow Boost Tubes
2012-2016 Chevrolet Silverado 2500/3500 6.6L Duramax
2012-2016 GMC Sierra 2500/3500 6.6L Duramax
Please read through the following instructions thoroughly before starting your installation. If you have any questions please visit our Support Page.

Required Tools
- ½” Breaker Bar
- 7, 10, 11, 22mm Sockets
- 14mm wrench
- Ratchet and extension
- Flat blade screwdriver
- T-15 Torx
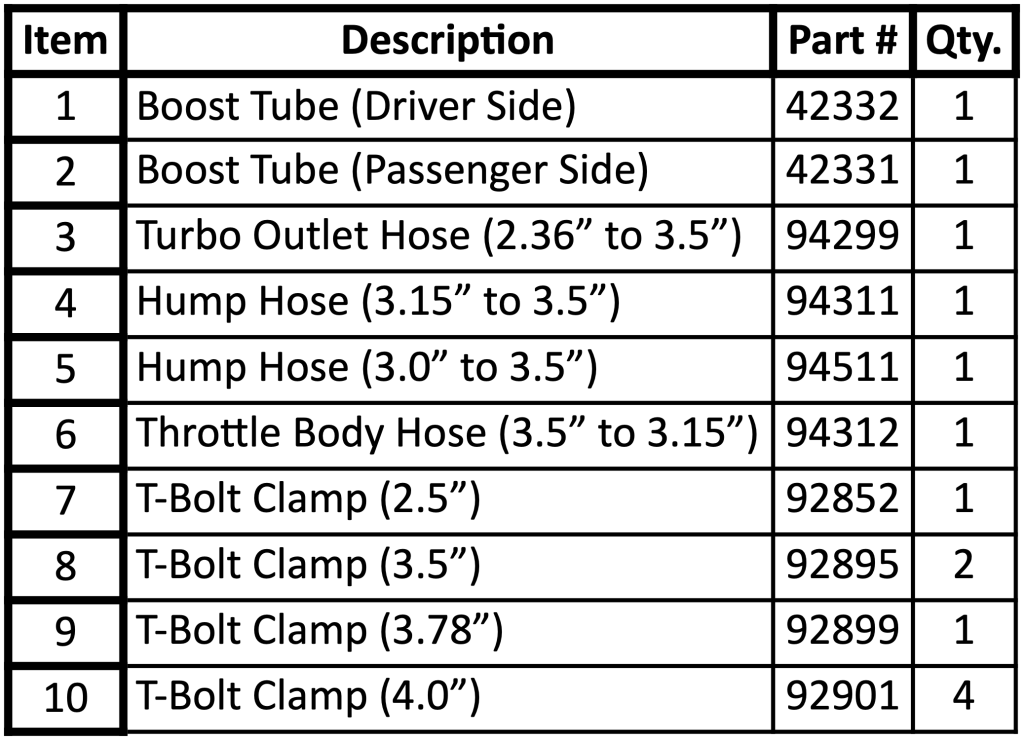
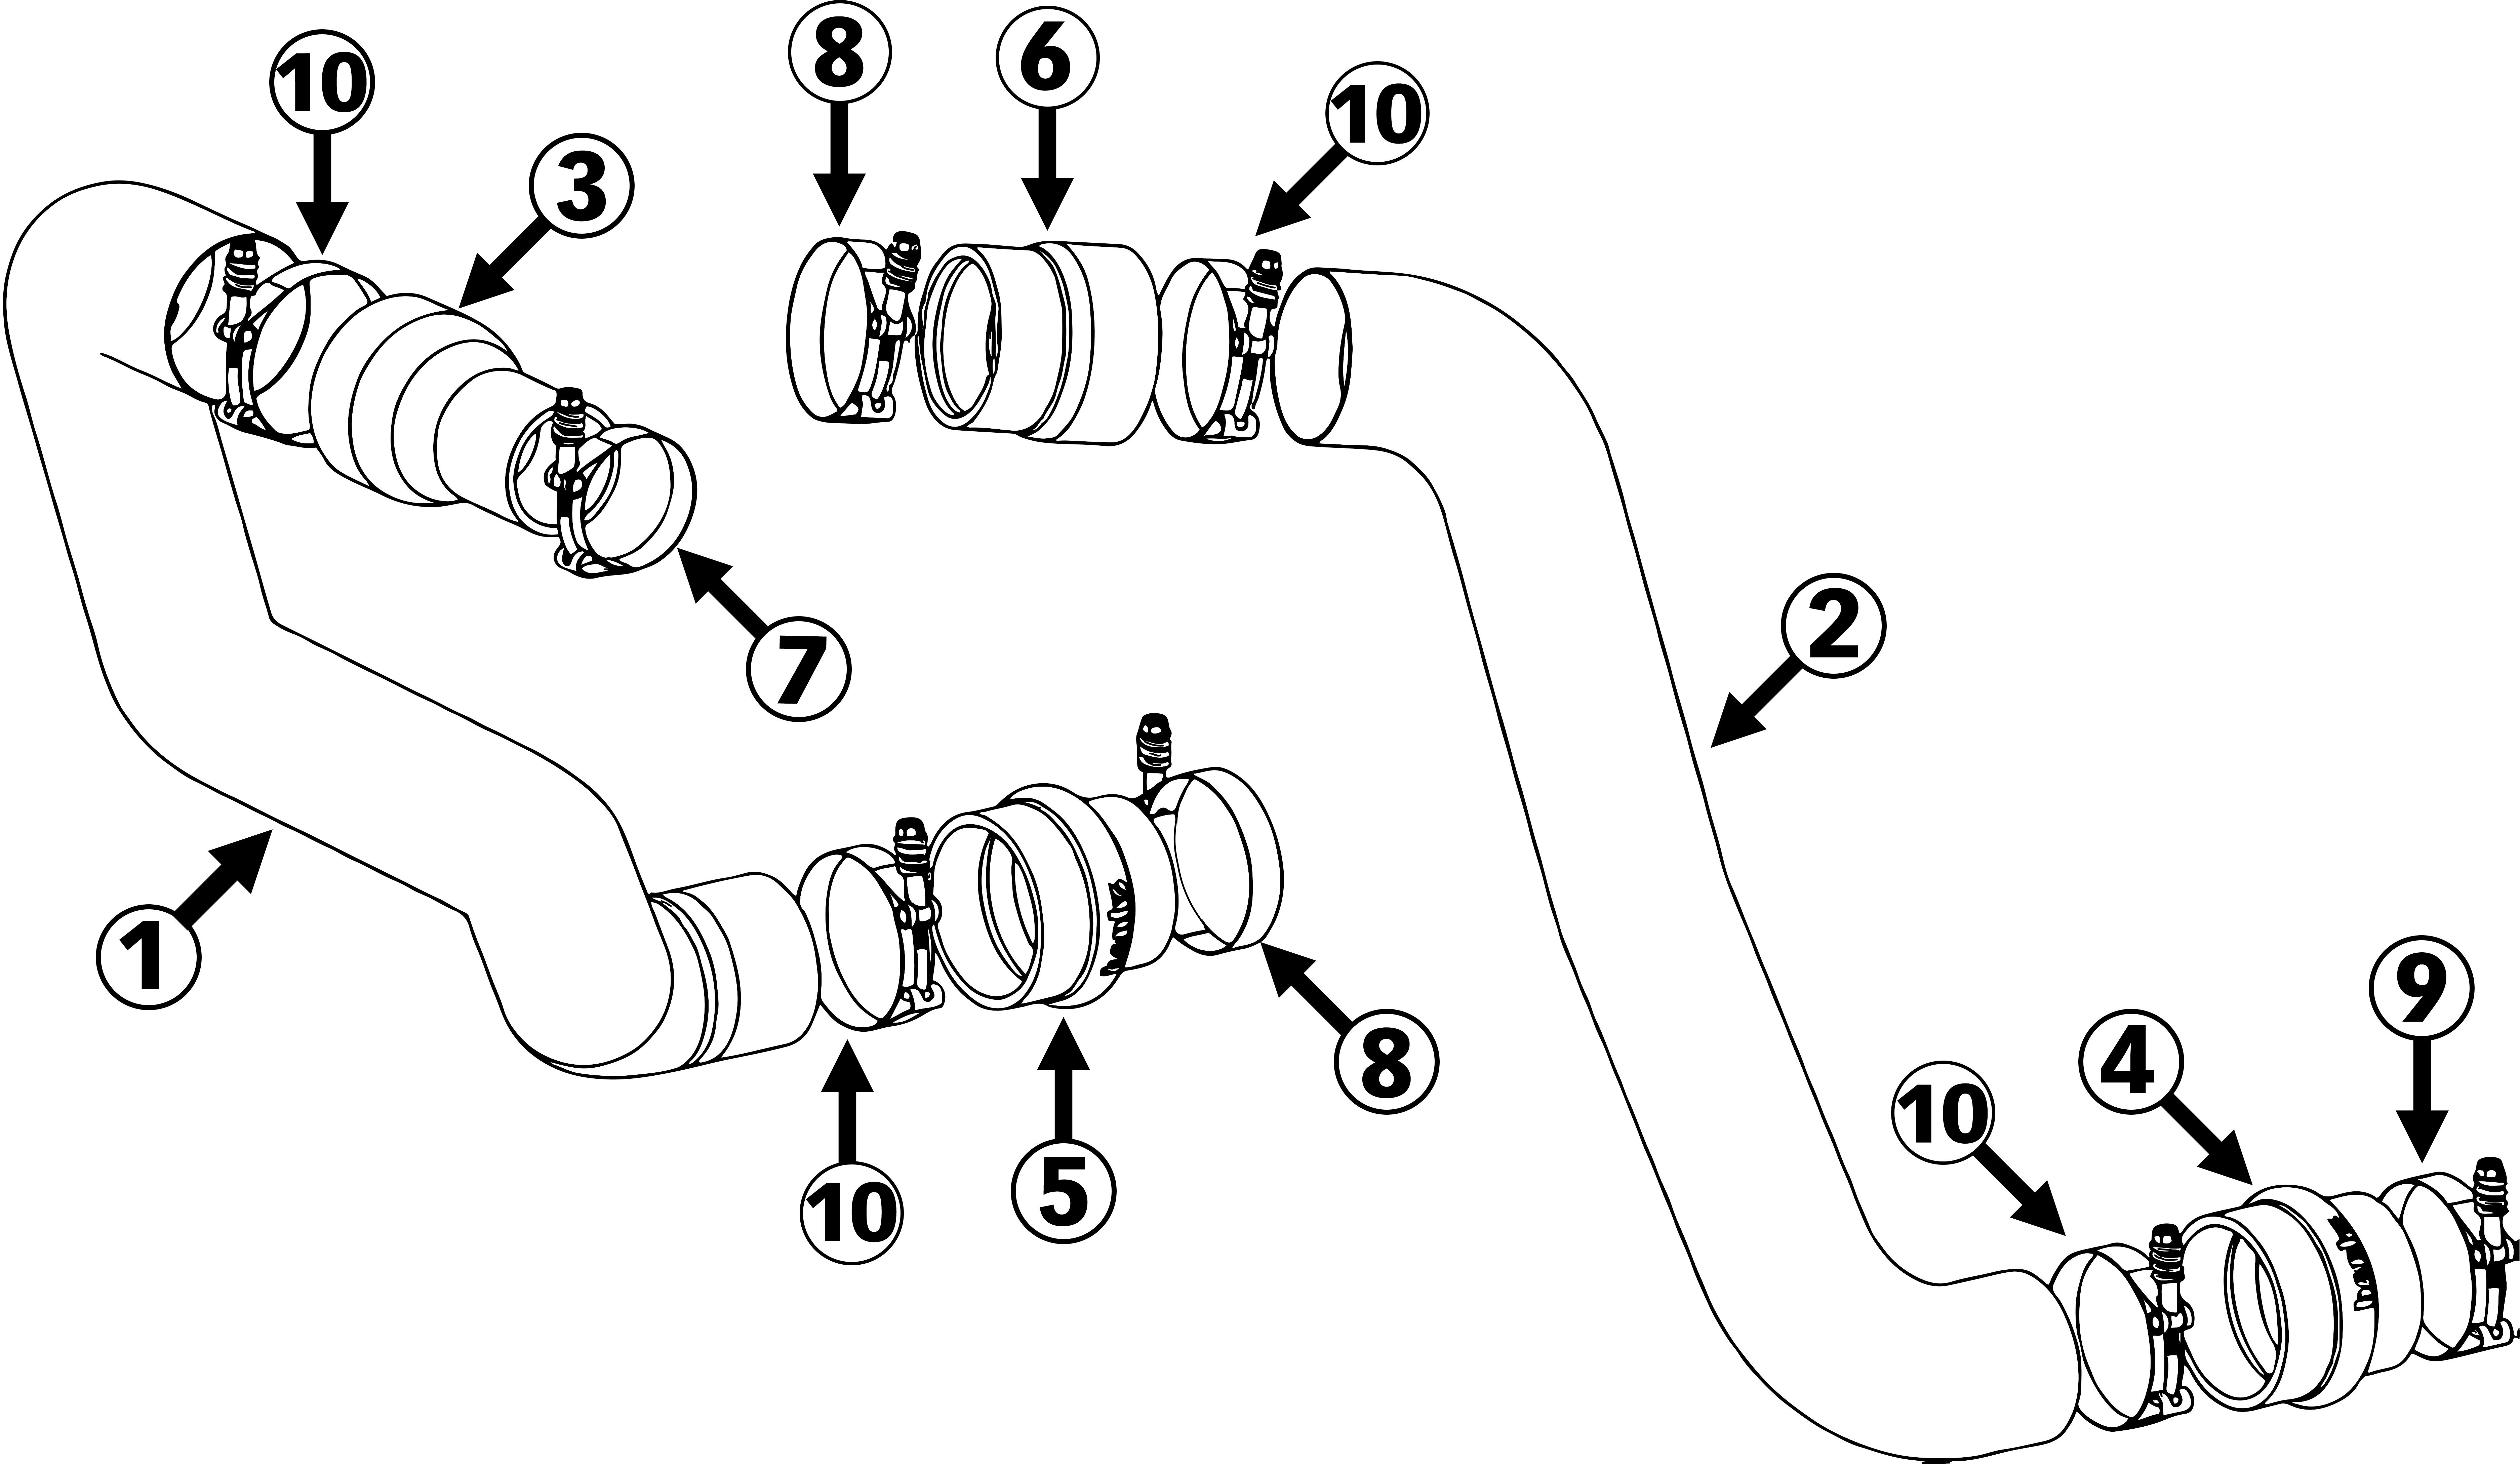
Bill Of Materials
Section 1: Preparing for Installation
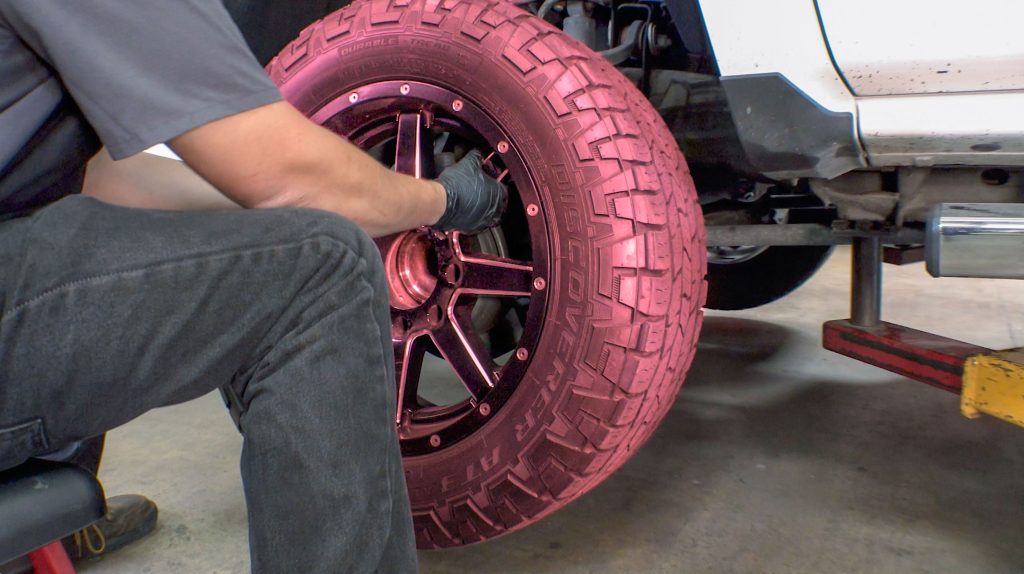
1. Secure the truck on a lift and remove both front wheels to allow for full access.
To remove the fender well, you will need a T-15 Torx bit.
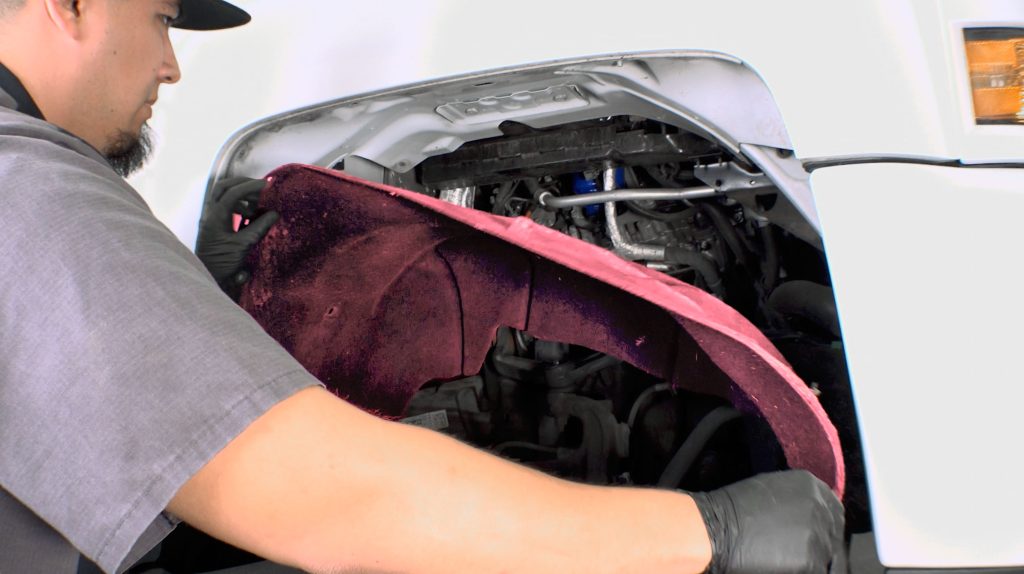
2. Remove both of the front fender liners.
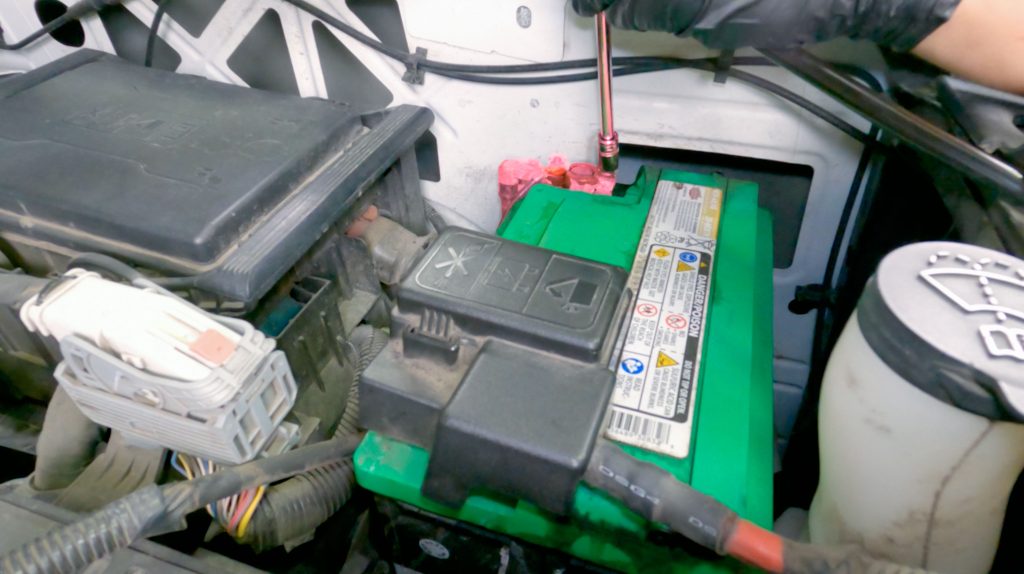
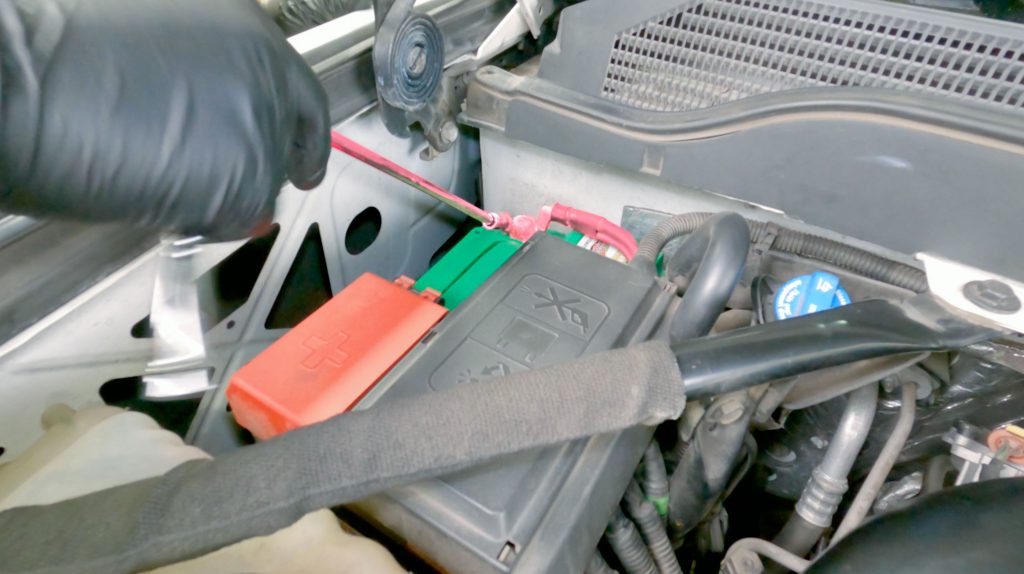
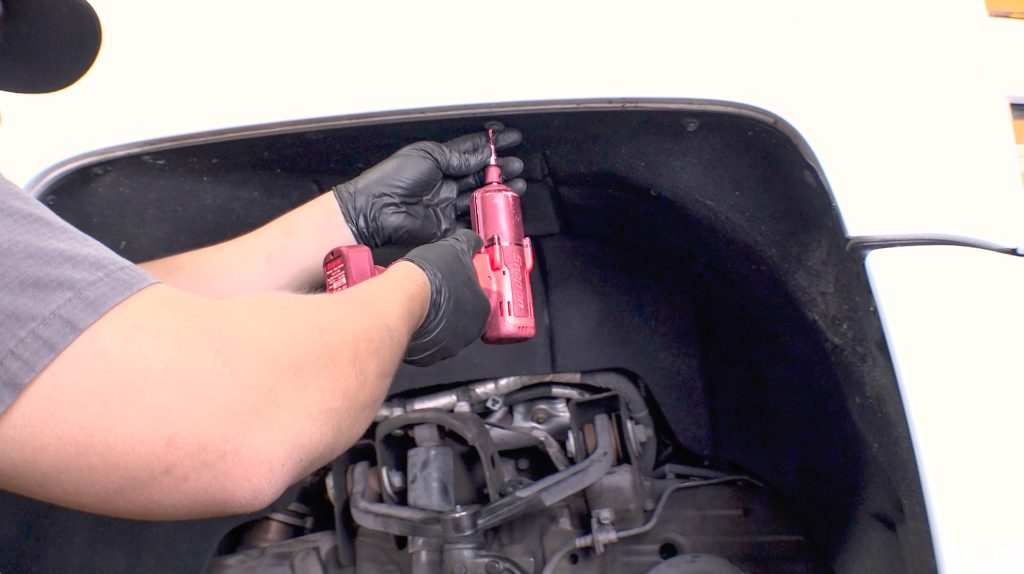
3. Using a 10mm socket, loosen and remove the negative terminal on the driver’s side battery.
Then move to the passenger’s side, and do the same on the 2nd battery.
Section 1: Removal of the OEM hot side tube
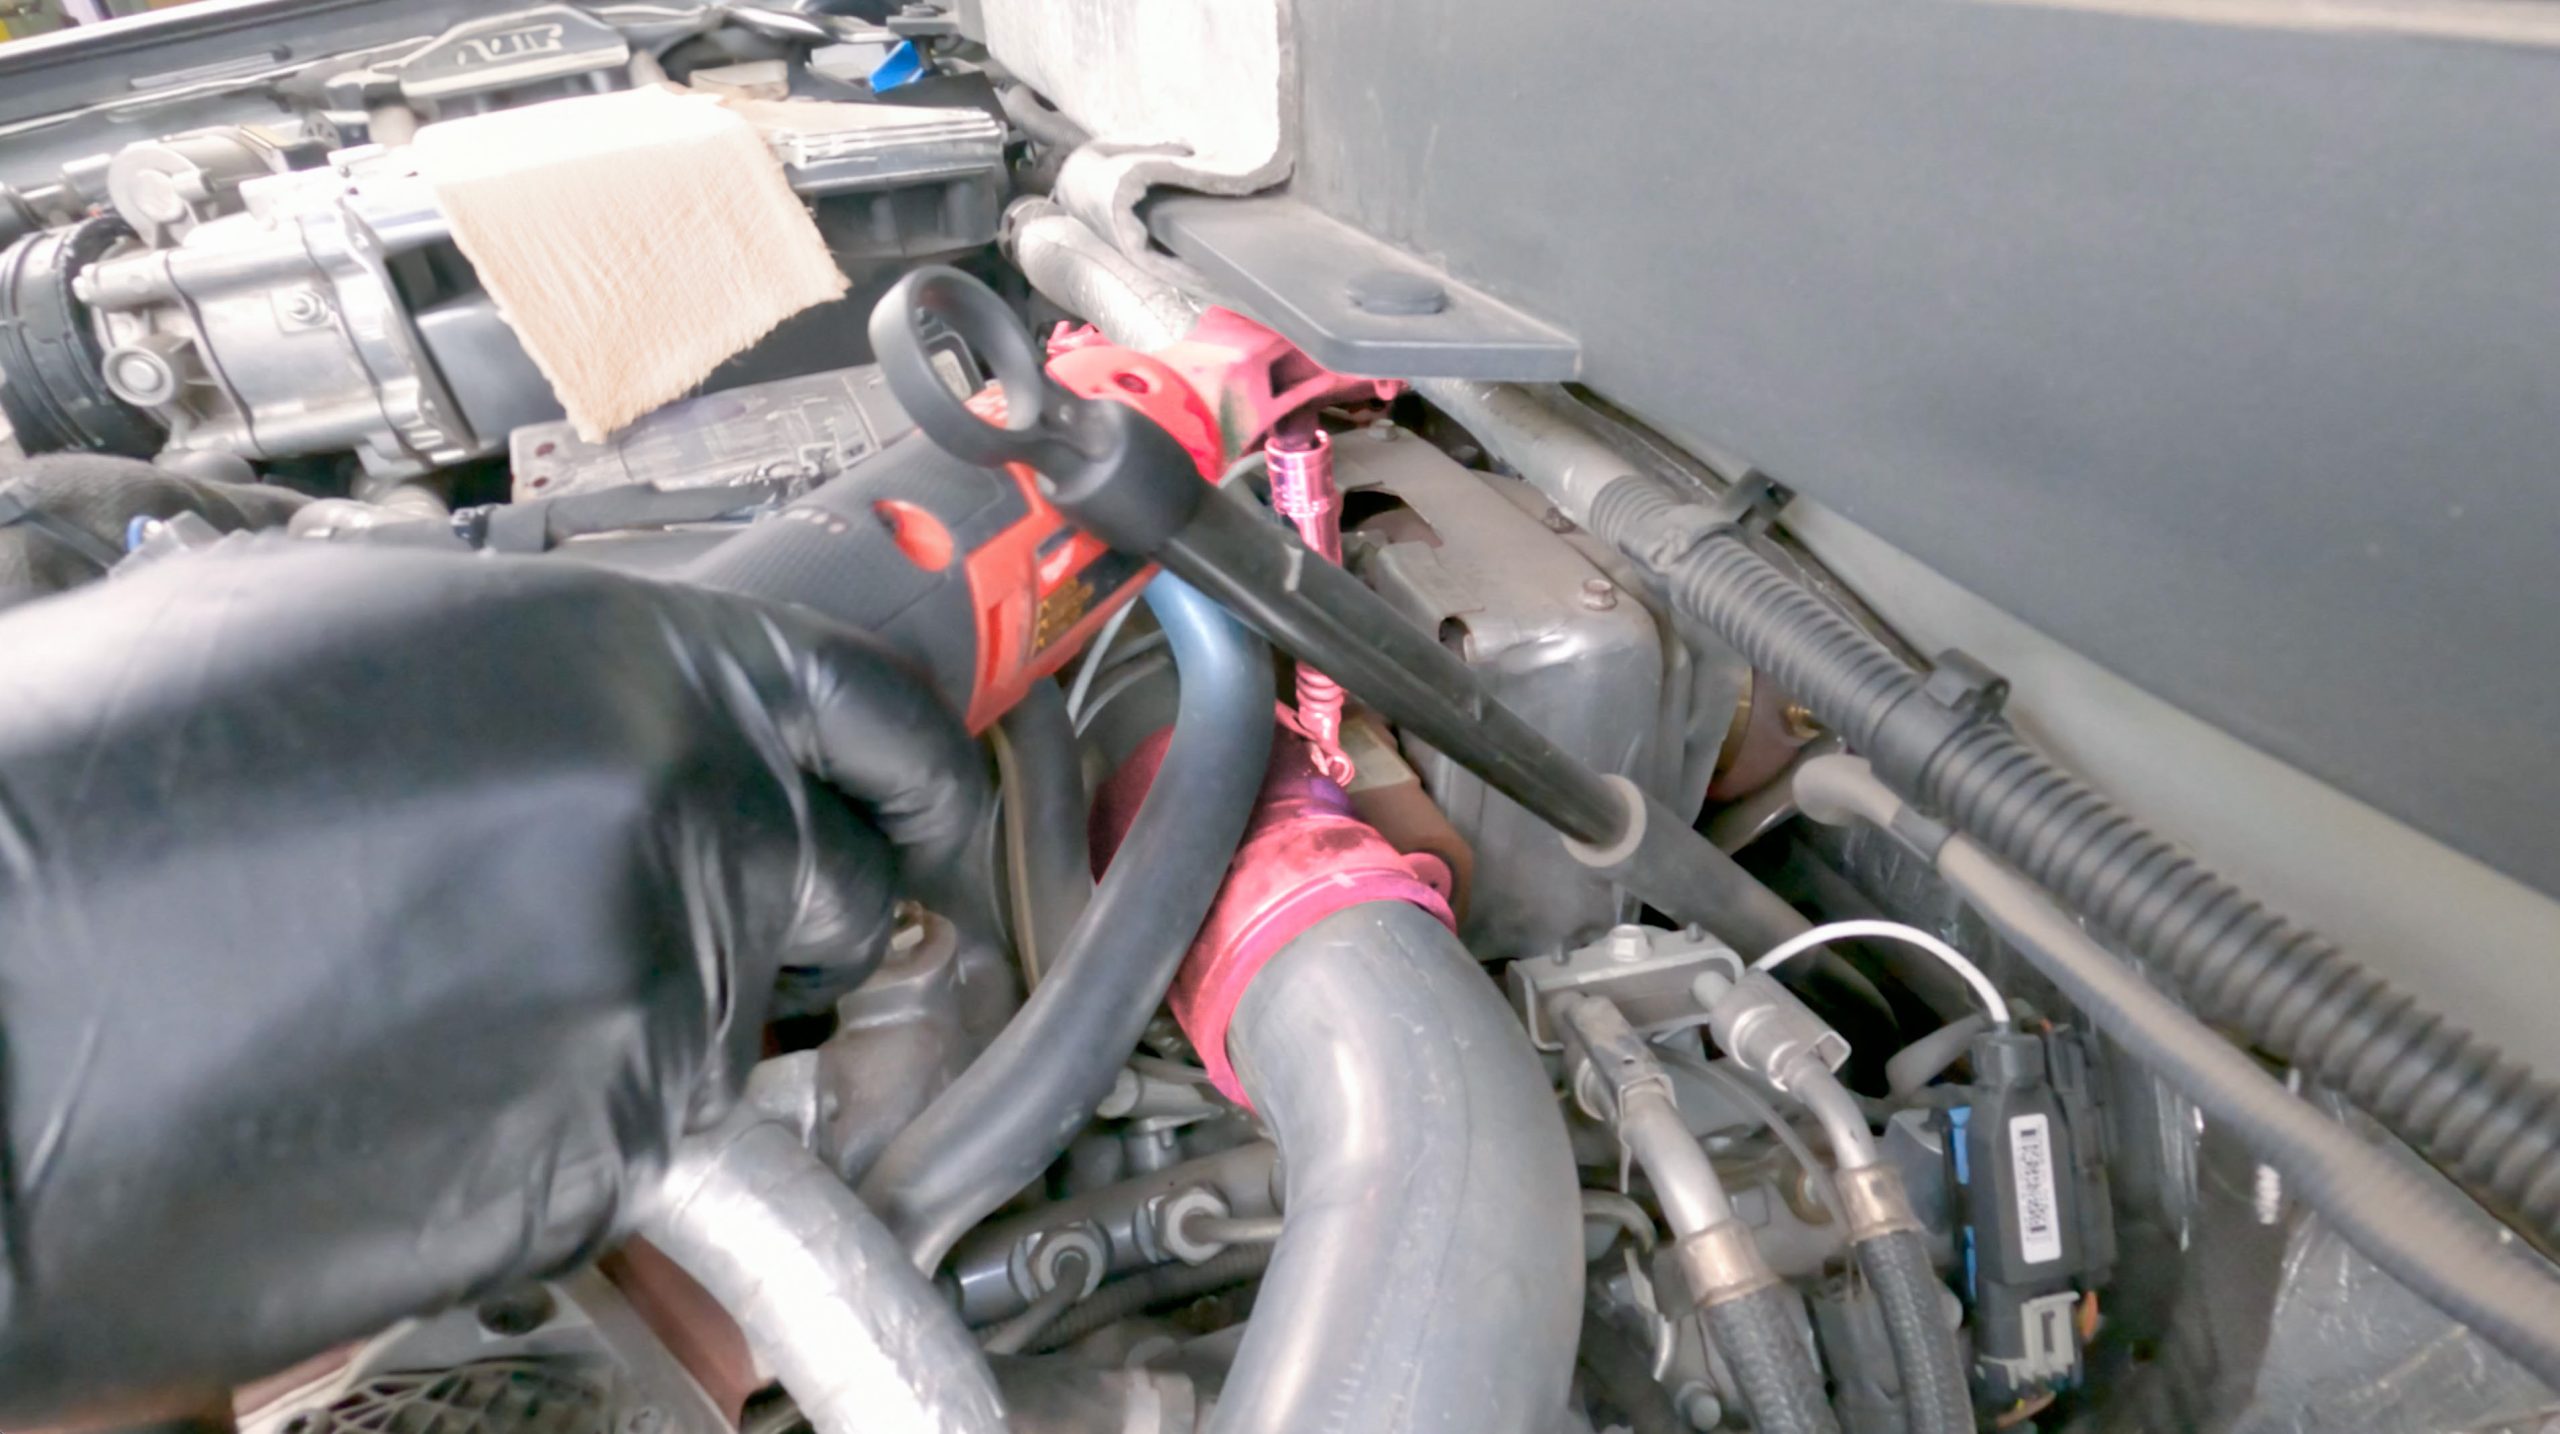
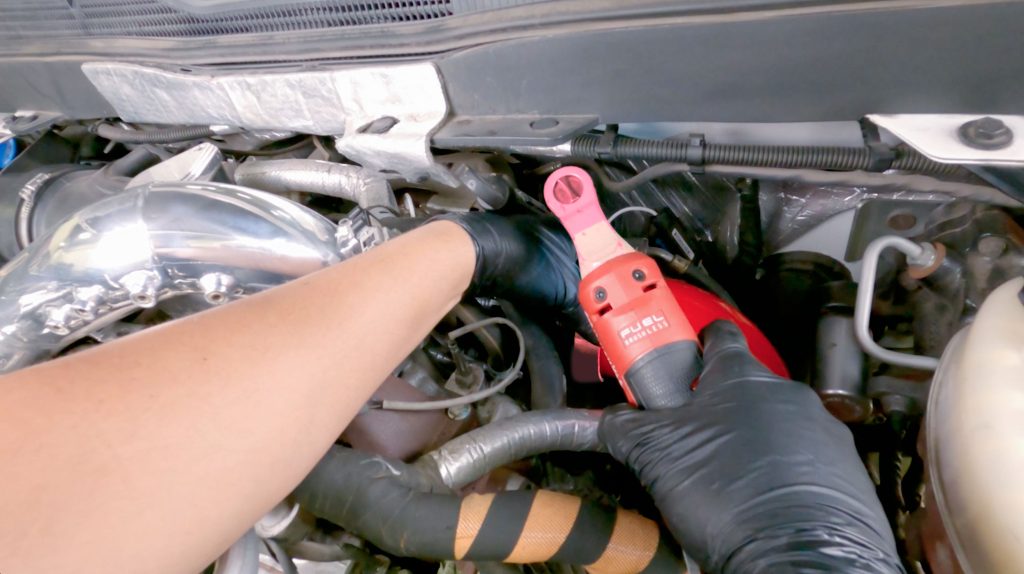
1. Undo the hose clamp holding the top of the OEM hot side tube to the turbo outlet.
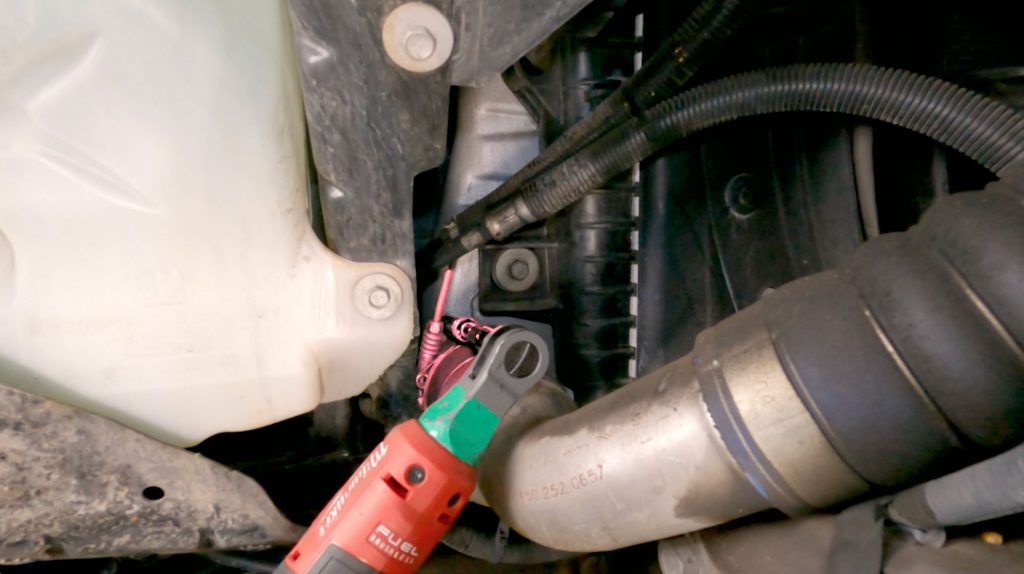
2. Undo the hose clamp holding the bottom of the OEM tube to the charge air cooler Inlet.
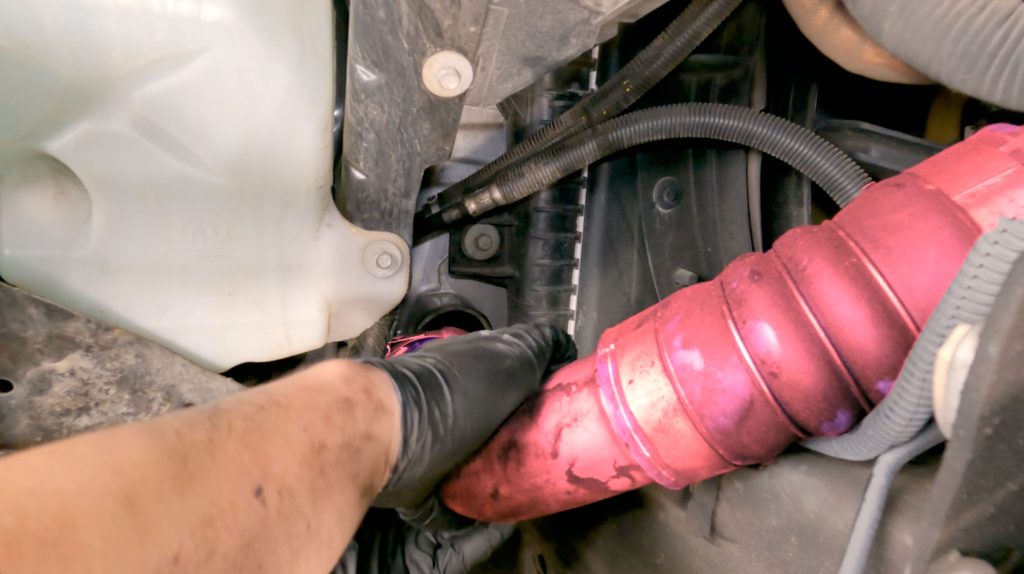
3. With a side-to-side motion, pull back until it’s free.
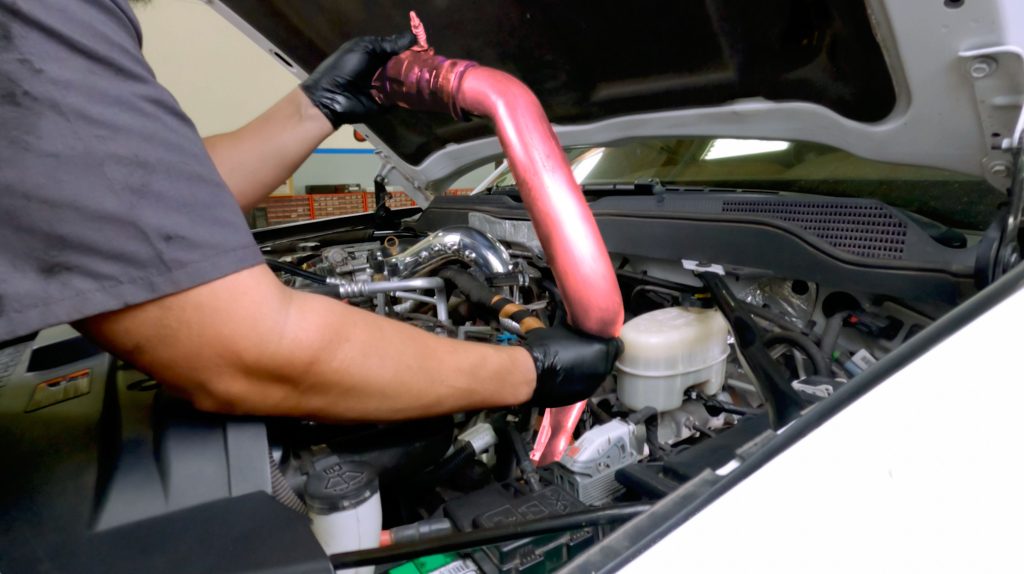
5. Now pull the entire OEM hot side tube up and out from the Truck.
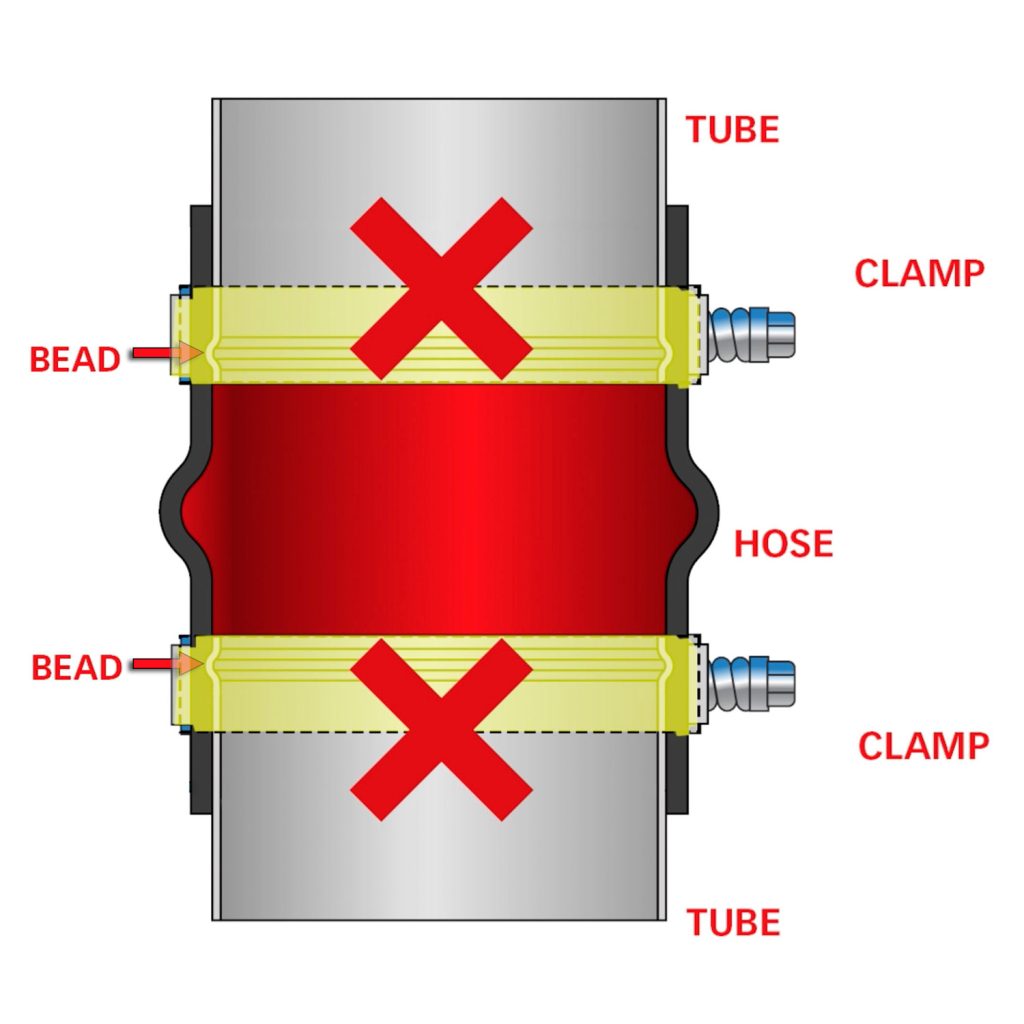
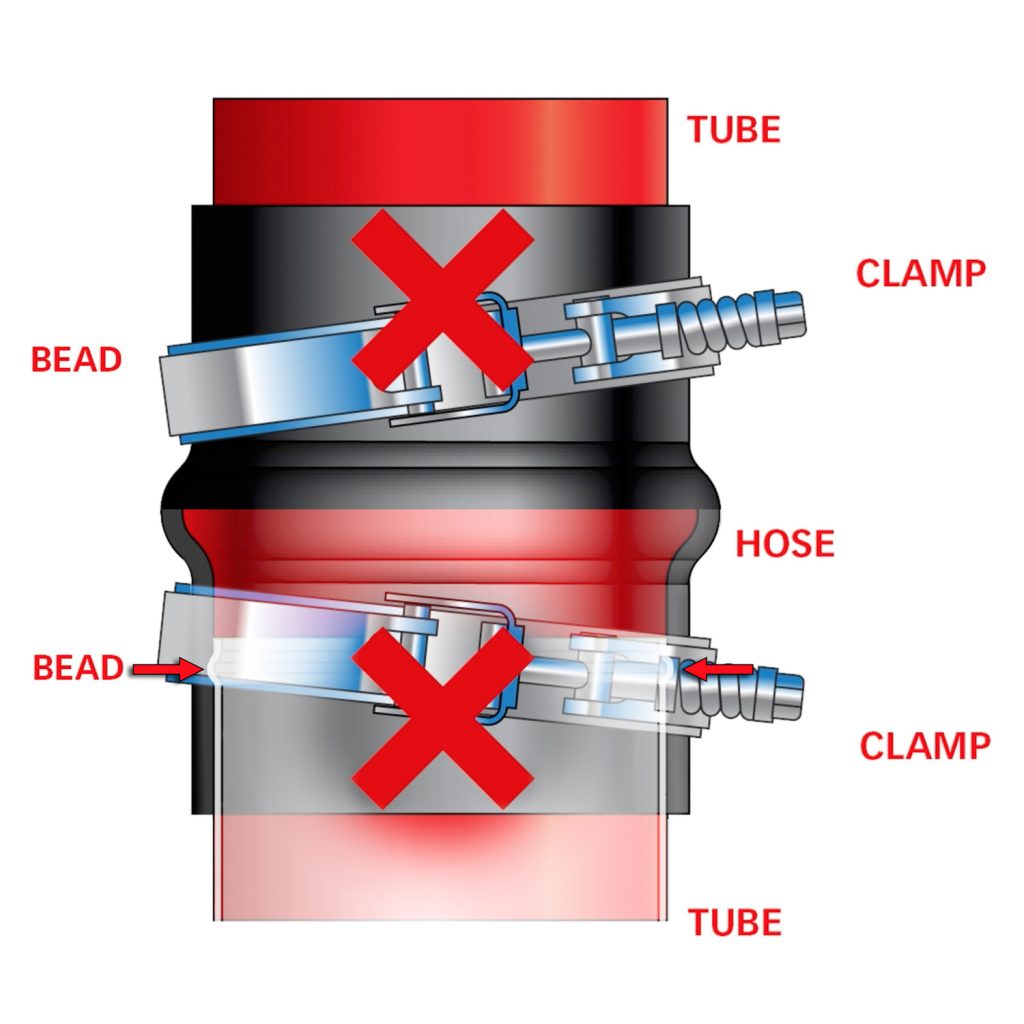
ATTENTION: Boost-Tube Clamps
When Installing the clamps, be sure the hose and clamps go on far enough to clear the bead on each end.
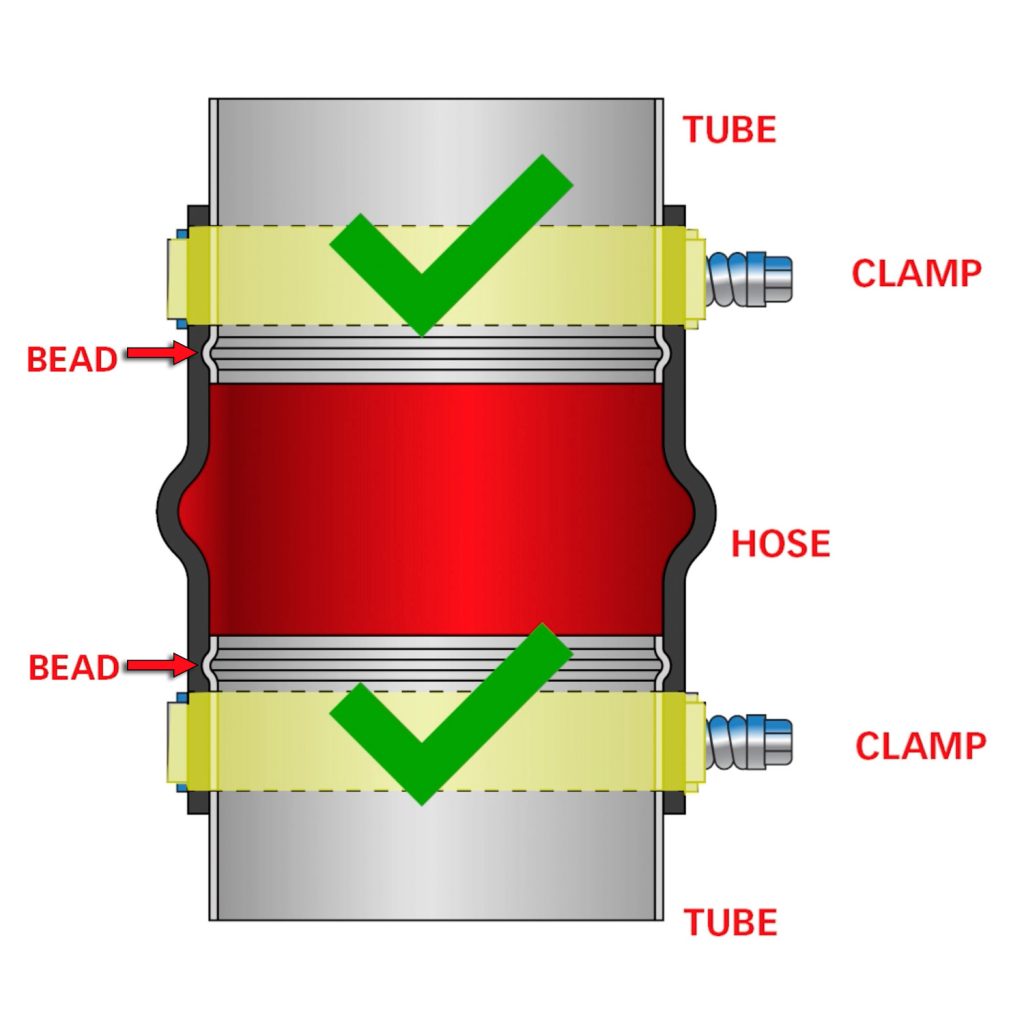
An improper installation, such as a clamp sitting directly on a bead or crossed diagonally, will result in a boost leak.
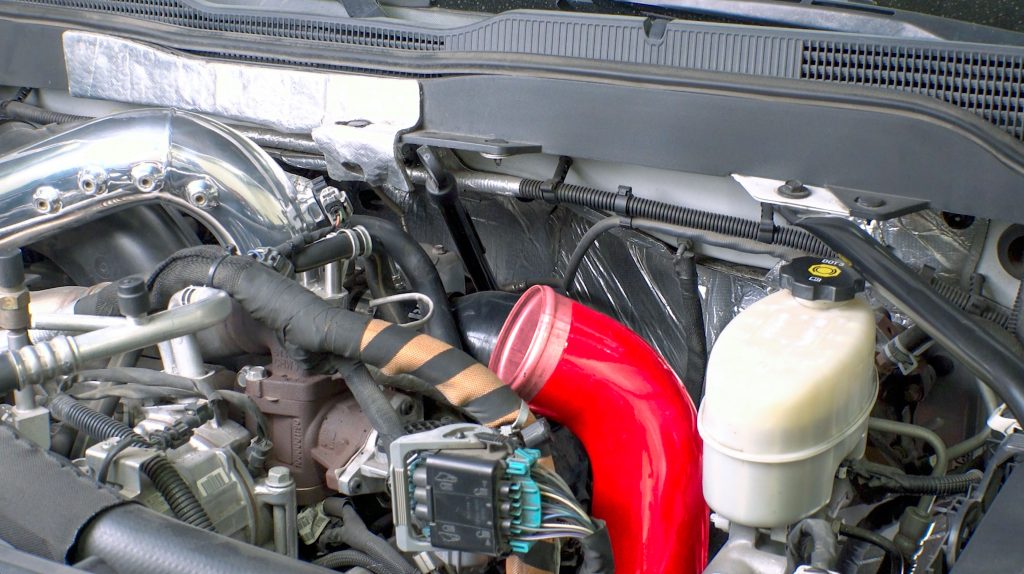
Section 2: Installation of the Banks Hot Side Boost Tube
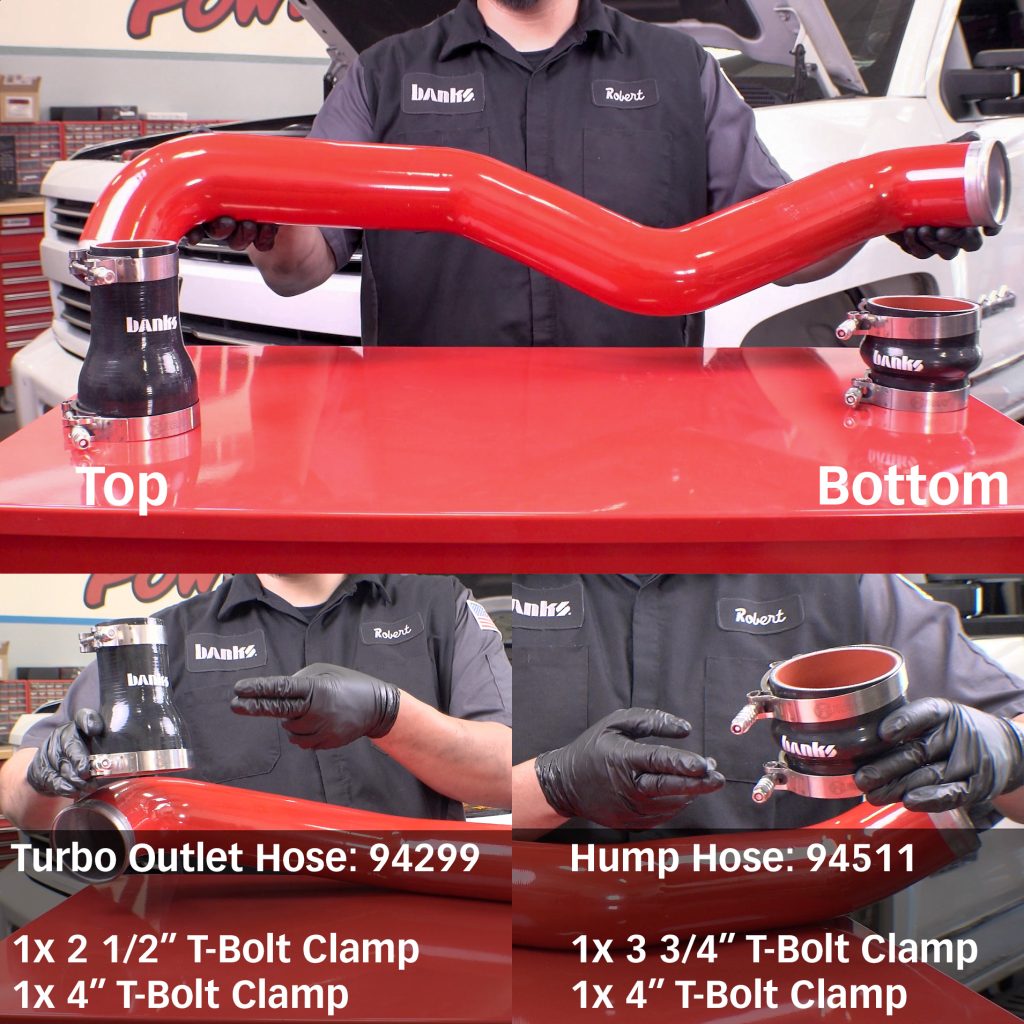
Grab the Banks Hot-Side Boost-Tube, its 4 Hose Clamps and 2 Hoses
6. Slide the smaller end of hump hose #94511 with a 3-1/2 inch clamp (#92895) onto the Charge Air Cooler.
Once over the bead and secure, tighten the clamp to 5-ft/lb.
7. Slip on a 4-inch clamp on the larger side, leave it loose for now.
8. Slide the smaller end of the Banks Turbo Outlet Hose (#94299) and 2-1/2 inch clamp (#92852) onto the turbo outlet.
Once over the bead and secure, tighten the clamp to 5-ft/lb.
9. Slip on a 4-inch clamp on the larger end, leave it loose for now.
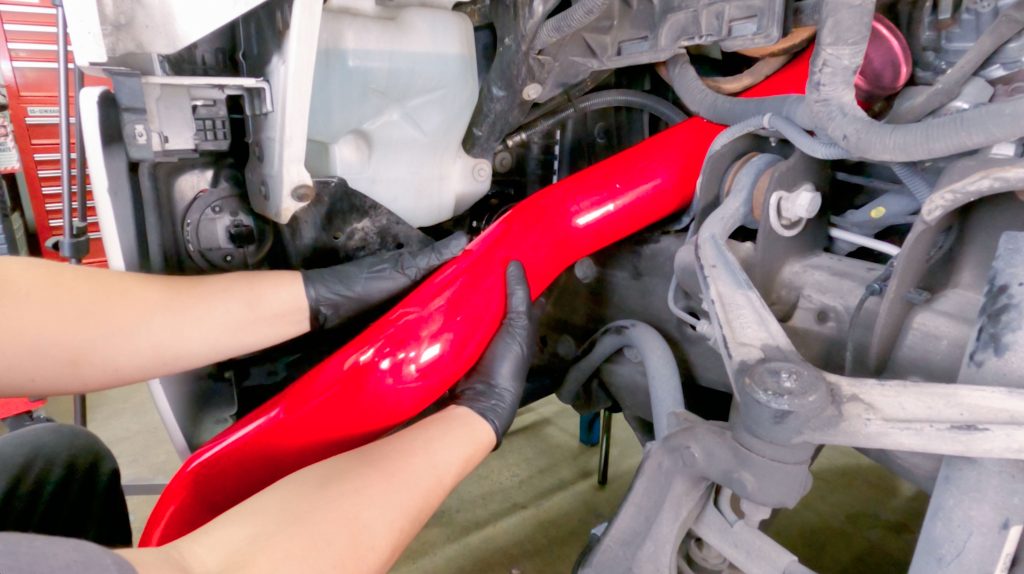
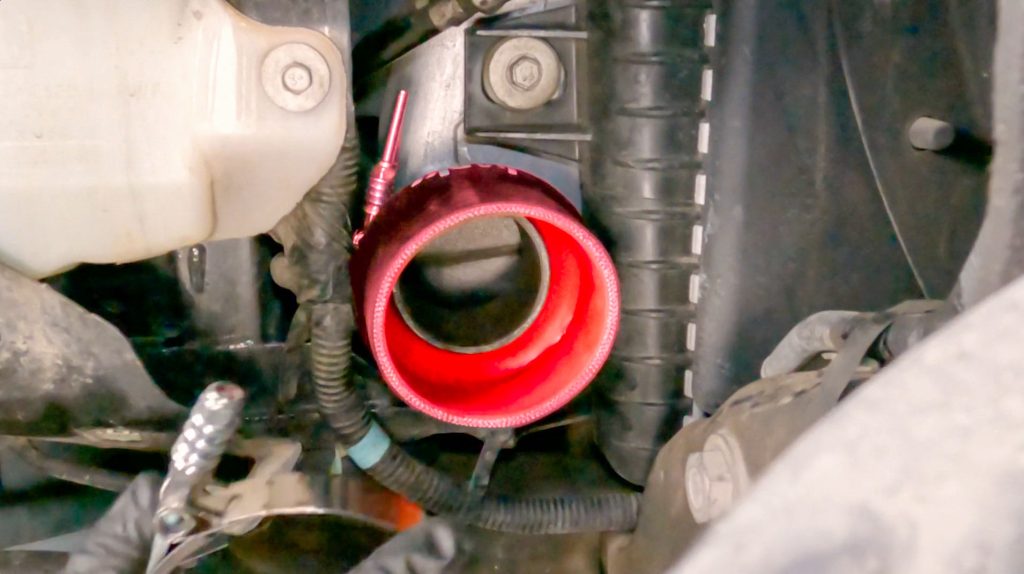
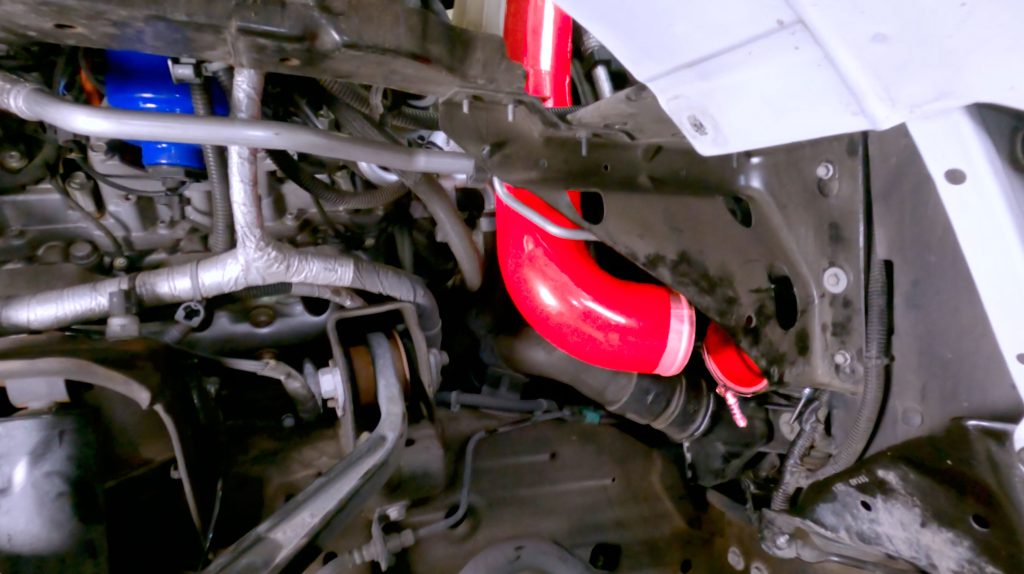
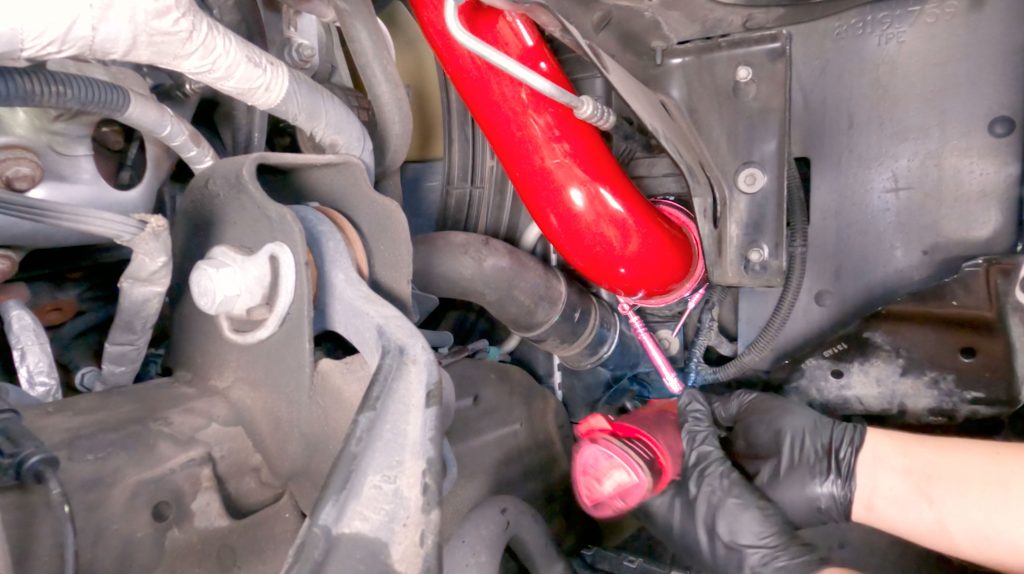
10. From underneath the truck, work the Banks Driver Side Boost Tube up through the wheel well.
11. Rotate the tube until the top can slip into the turbo outlet hose.
A flathead screwdriver can be used to help pry the hose over the tube.
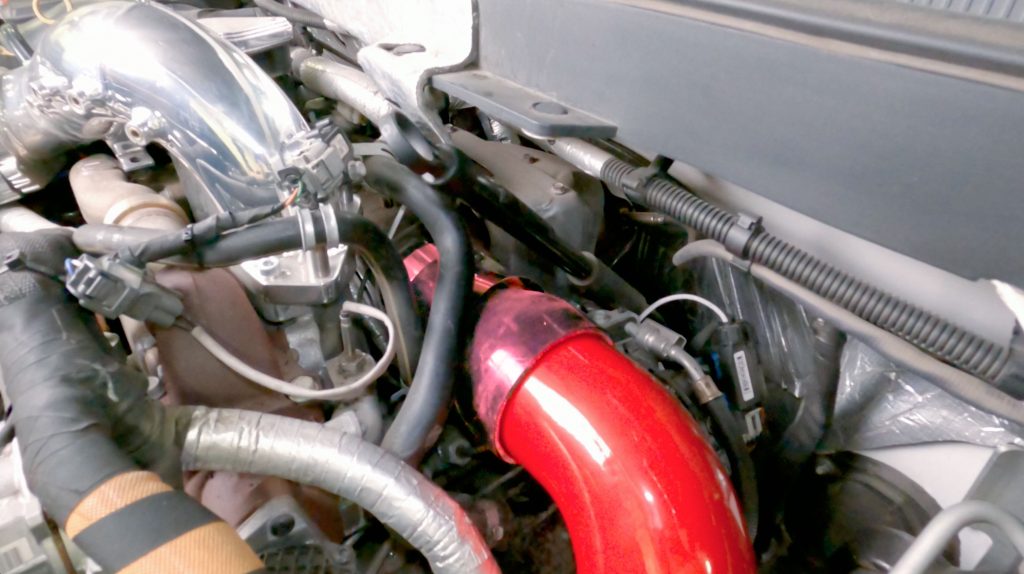
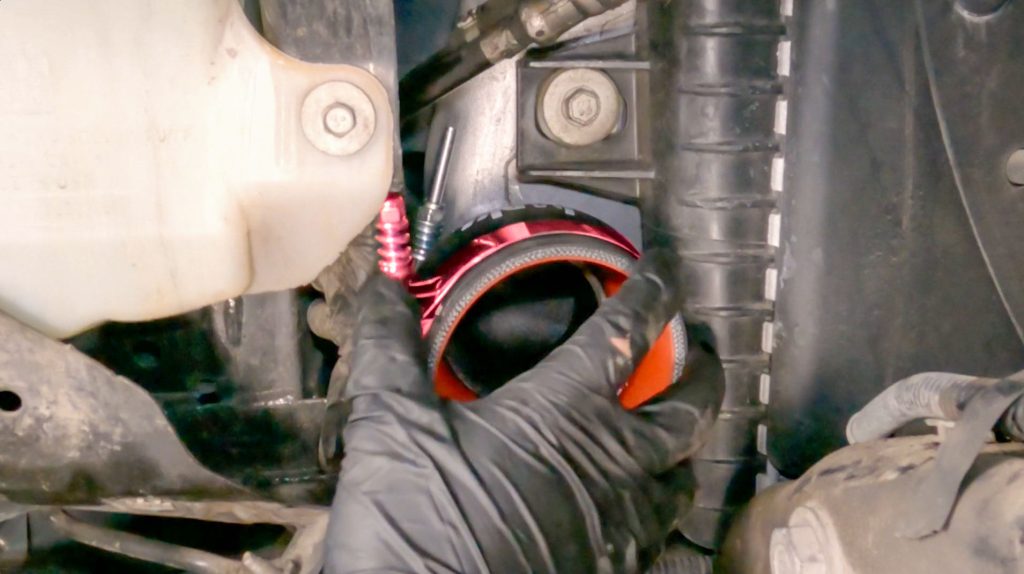
12. Be sure the turbo outlet hose slides over the tube far enough for the clamp to clear the bead.
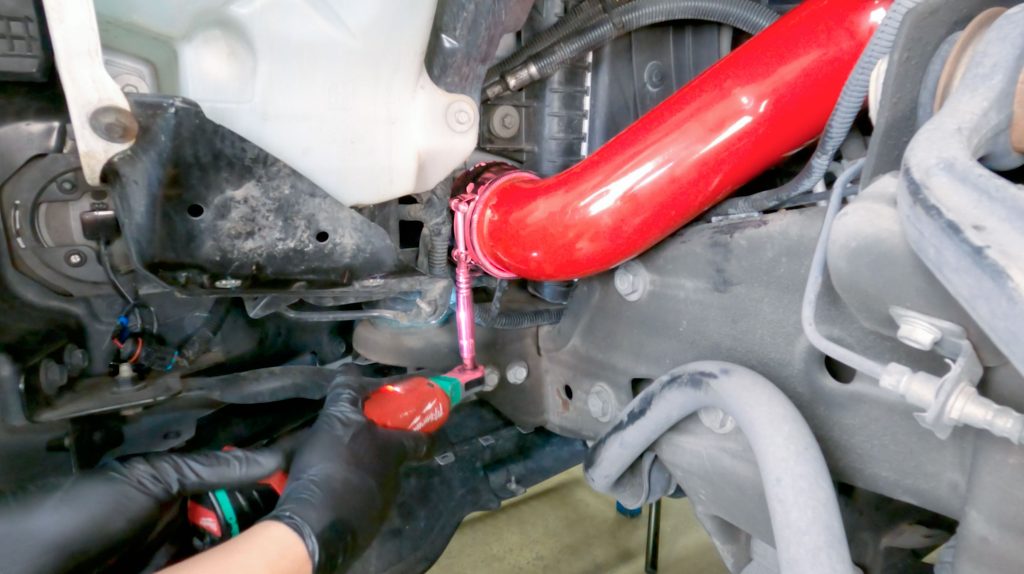
13. Slip the lower hose onto the Boost tube. Be sure it slides in far enough for the clamp to clear the bead. Tighten to 5-ft/lb.
14. With the lower clamps secure, return to the top clamps and tighten to 5-ft/lb.
Section 3: Removal of the OEM cold side tube
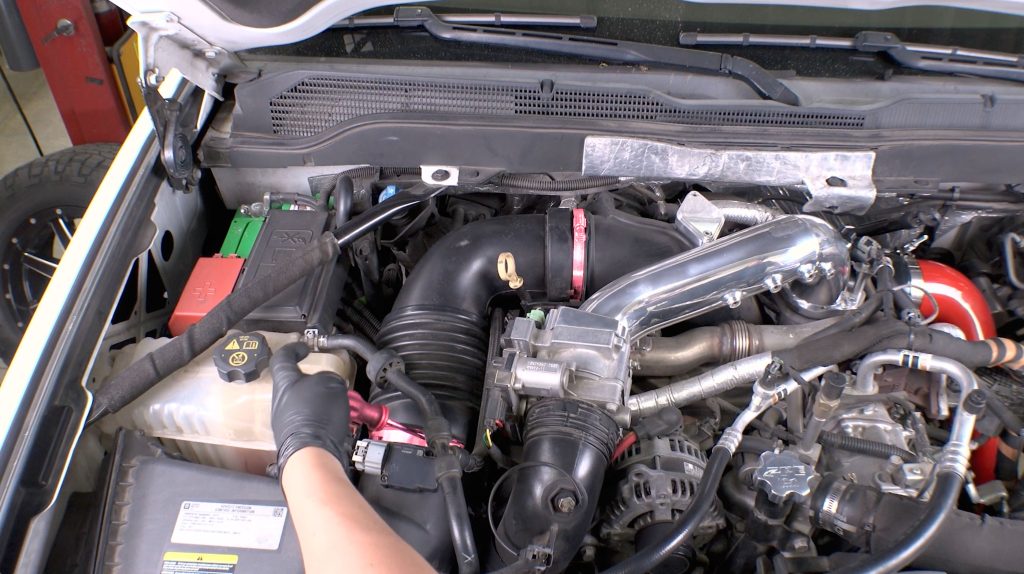
1. Start by loosening the two clamps on the factory intake tube.
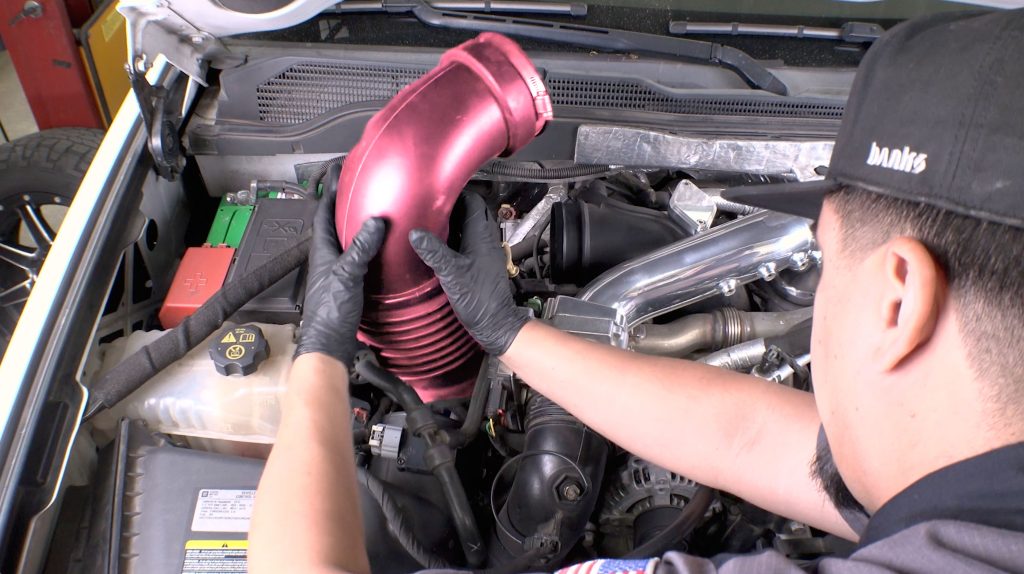
2. Lift and remove the factory air intake tube from the truck.
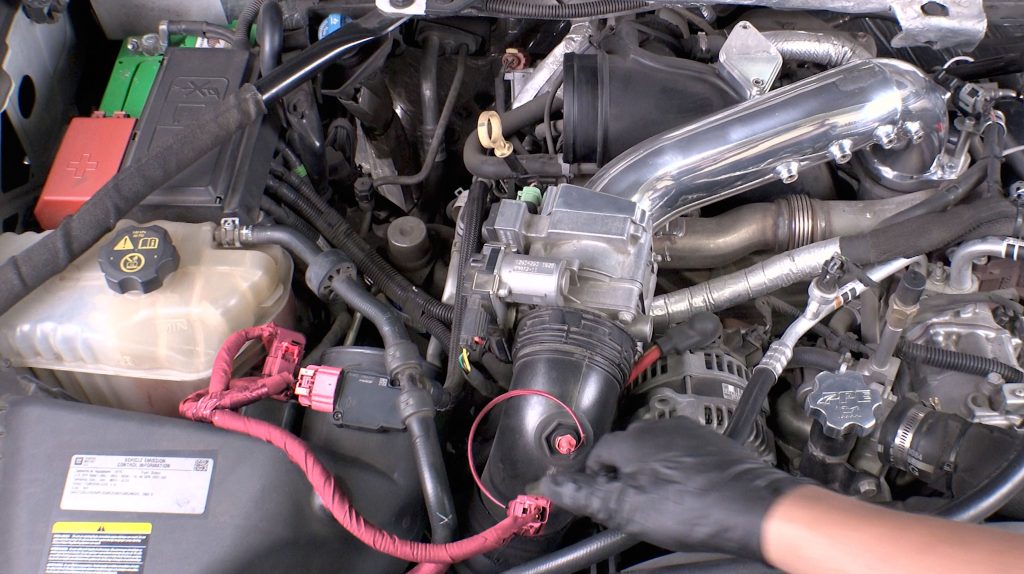
3. Unplug the 3 Air Intake Sensors on the factory air box and cold side boost tube.
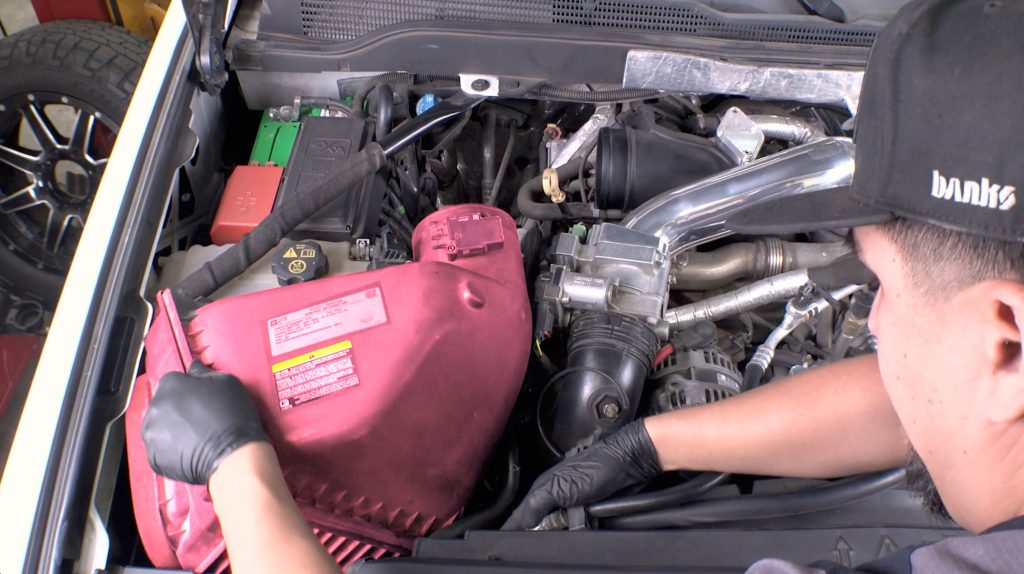
4. Lift up and remove the factory airbox from the truck.
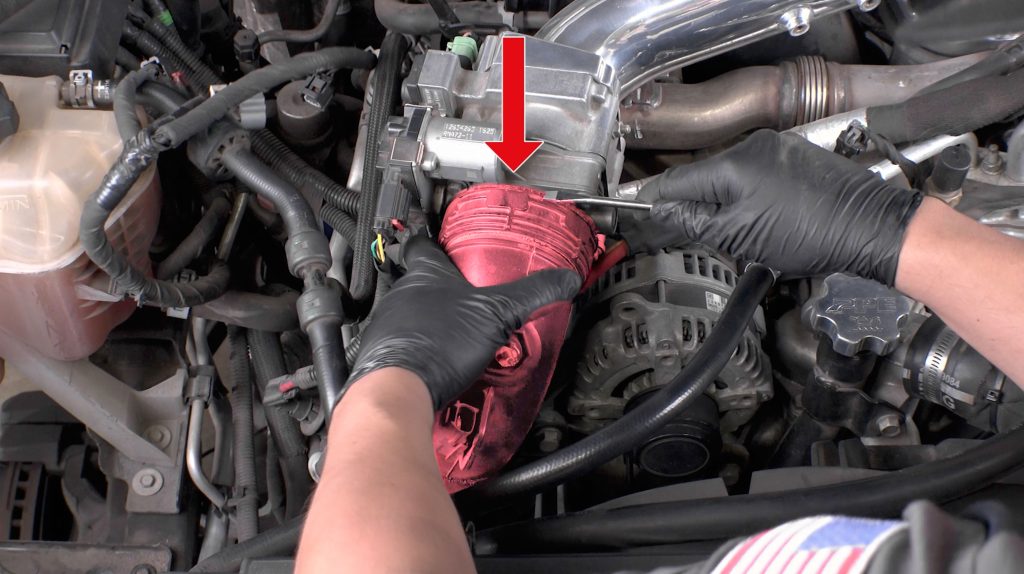
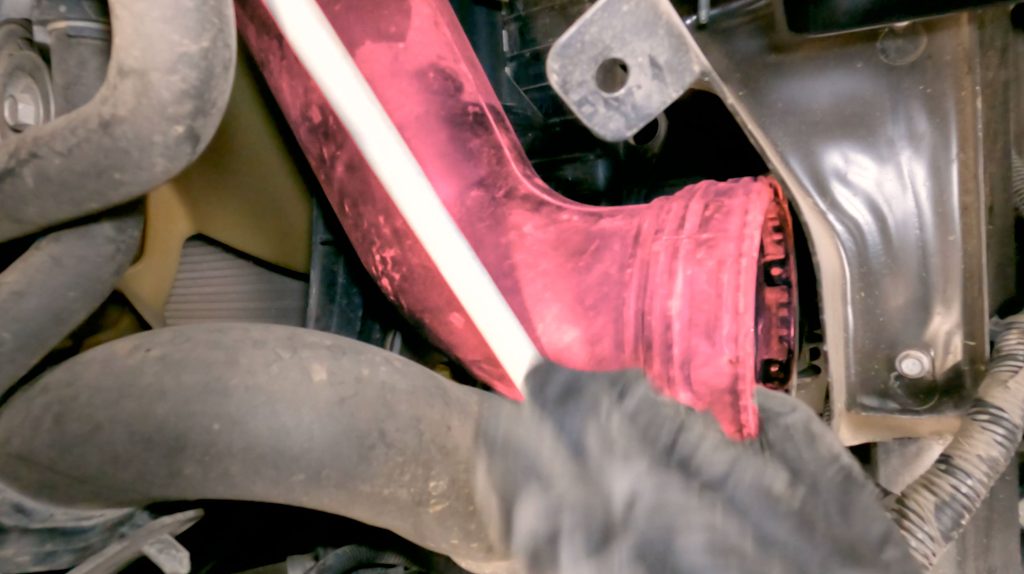
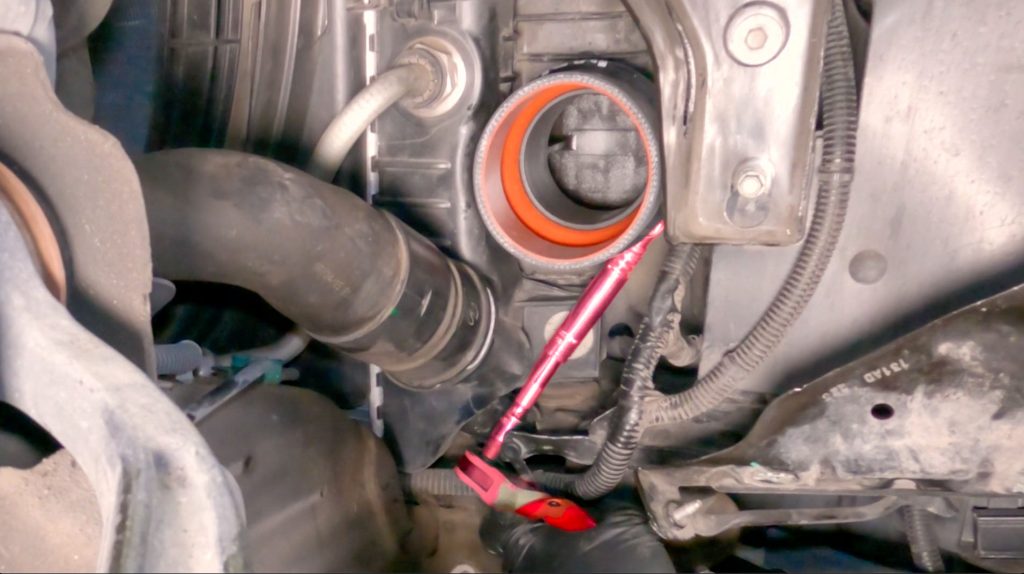
5. With a flathead screwdriver, tap the locking ring counter clockwise to unlock it from the throttle.

6. Loosen the lower retaining clip of the passenger side boost tube by rotating it counter clockwise.
7. Rotate and free the OE cold side boost tube.
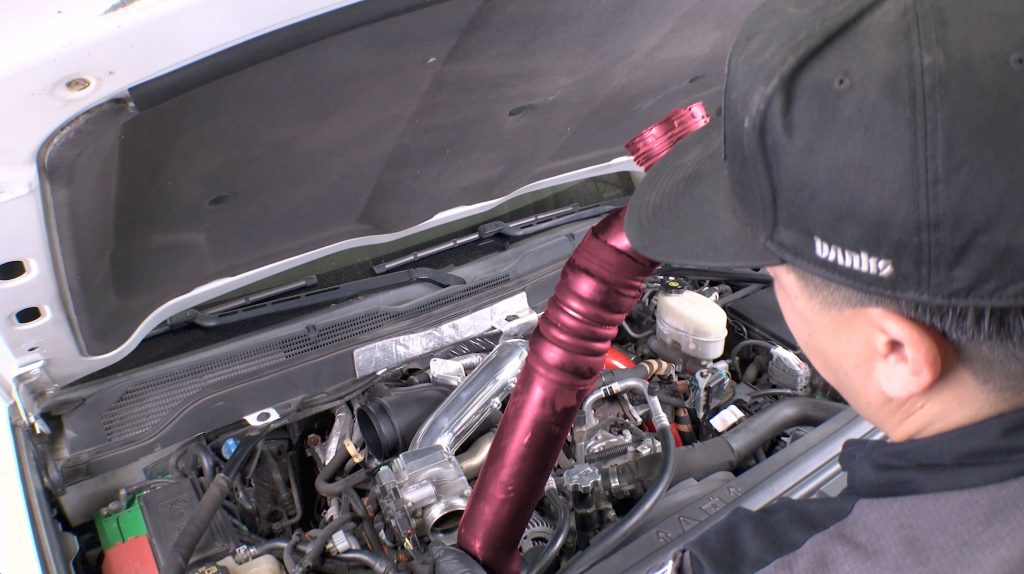
8. Remove the Cold-Side Boost-Tube through the top of the truck.
9. Transfer the Intake Air Temp sensor to the Banks Cold-Side Boost-Tube
Section 4: Installing the Banks Cold Side Boost Tube
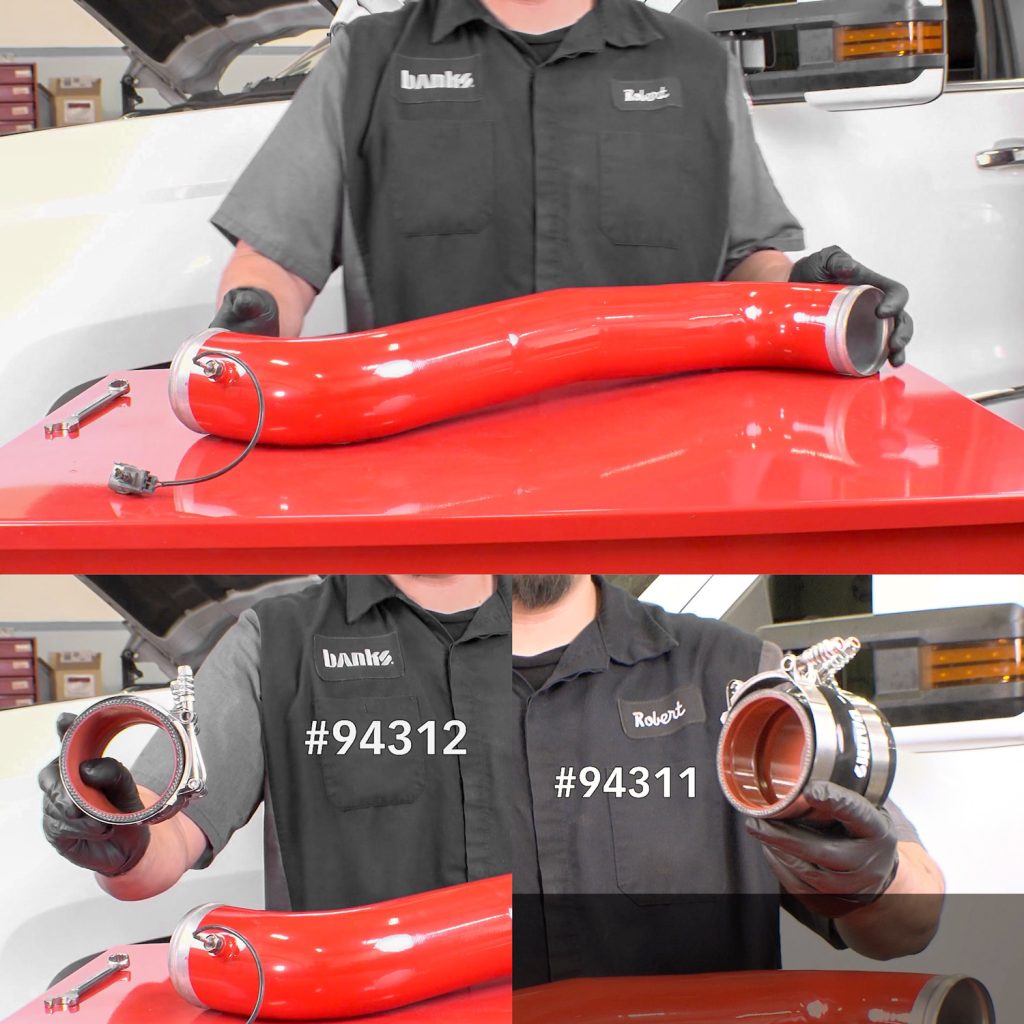
10. Grab all 4 Hose Clamps, the 2 Hoses, and the Banks Cold-Side Boost-Tube.
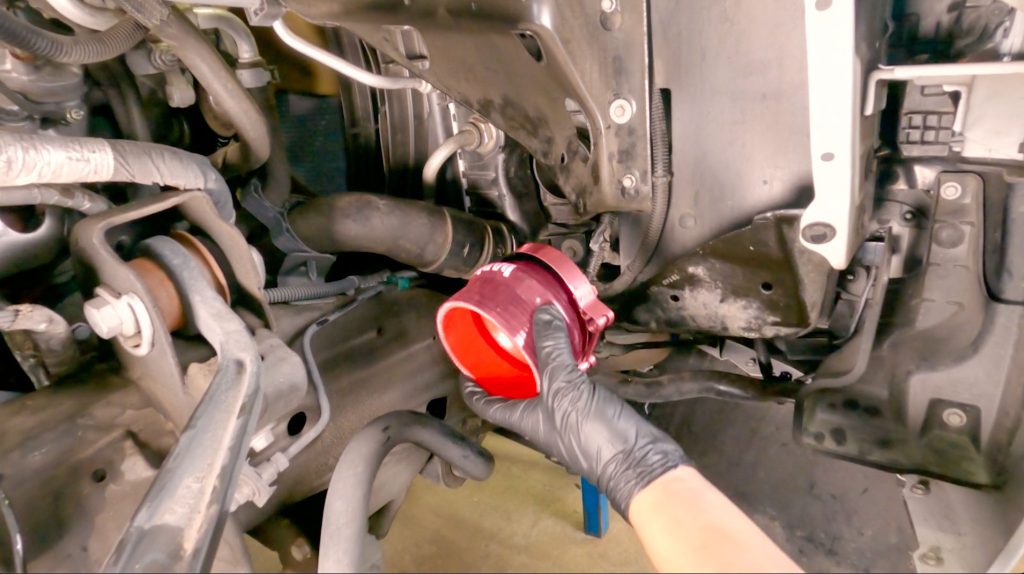
10. Slip the smaller end of the lower cold side hose (94311) and 3.78″ Clamp (92899) onto the charge air cooler outlet.
11. Tighten the clamp to 5-ft/lb.
12. Slip a 4-inch clamp onto the other end, but leave it loose for now.
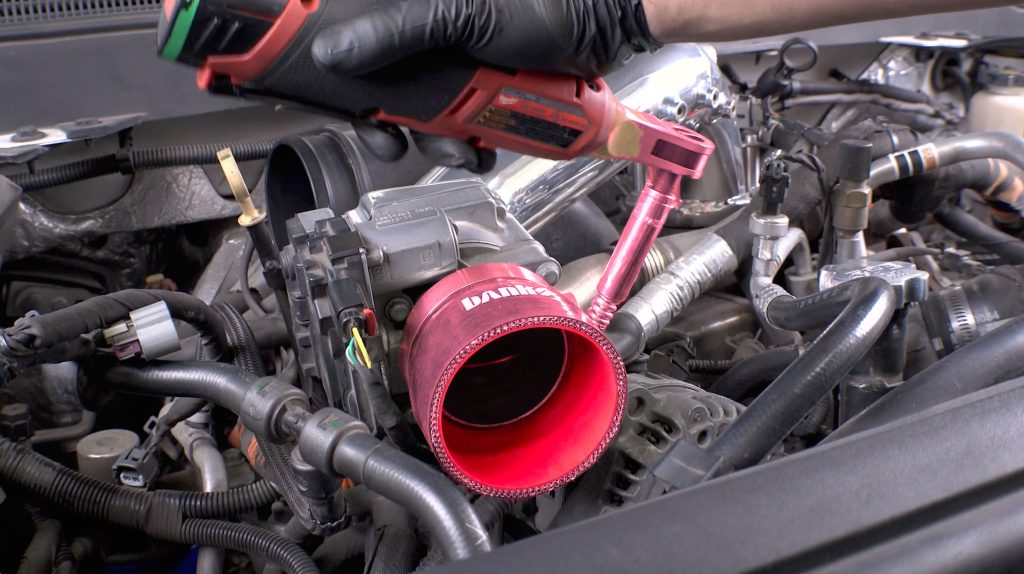
13. Slip the smaller end of the throttle body hose (94312) and 3.5″ clamp (92899) onto the throttle body. Tighten to 5 ft/lbs
14. Loosely install the 4-inch clamp on the other end.

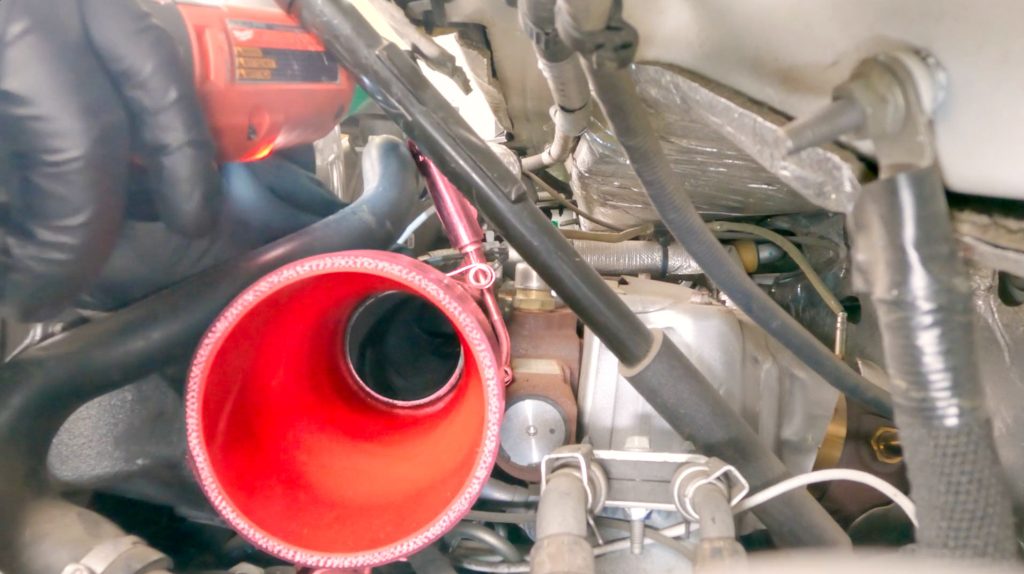
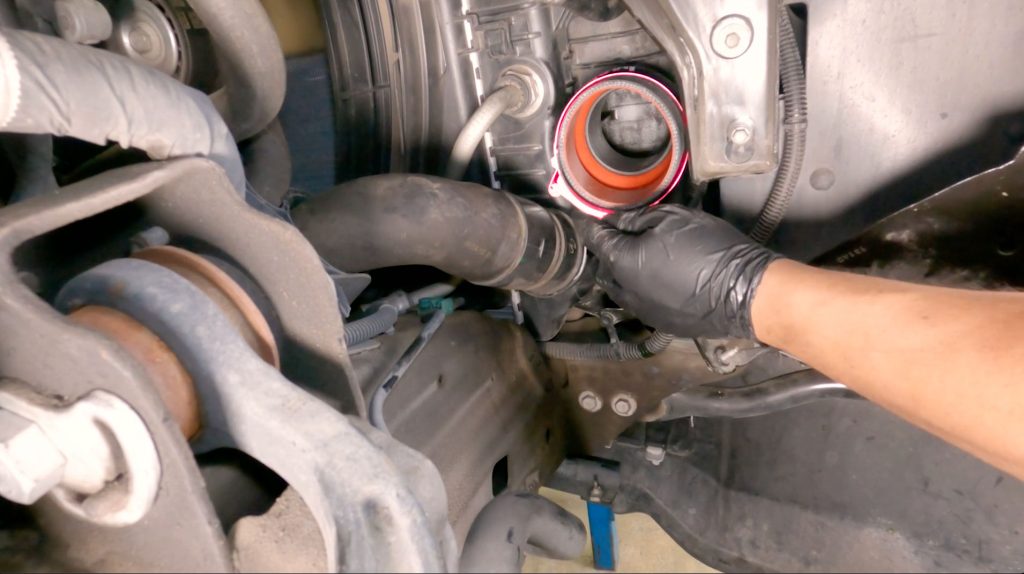
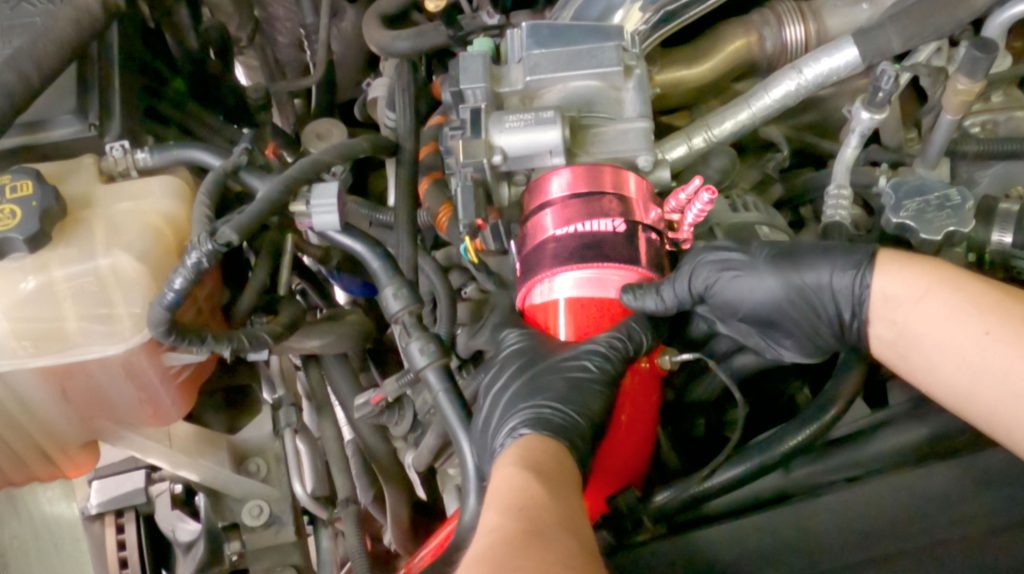
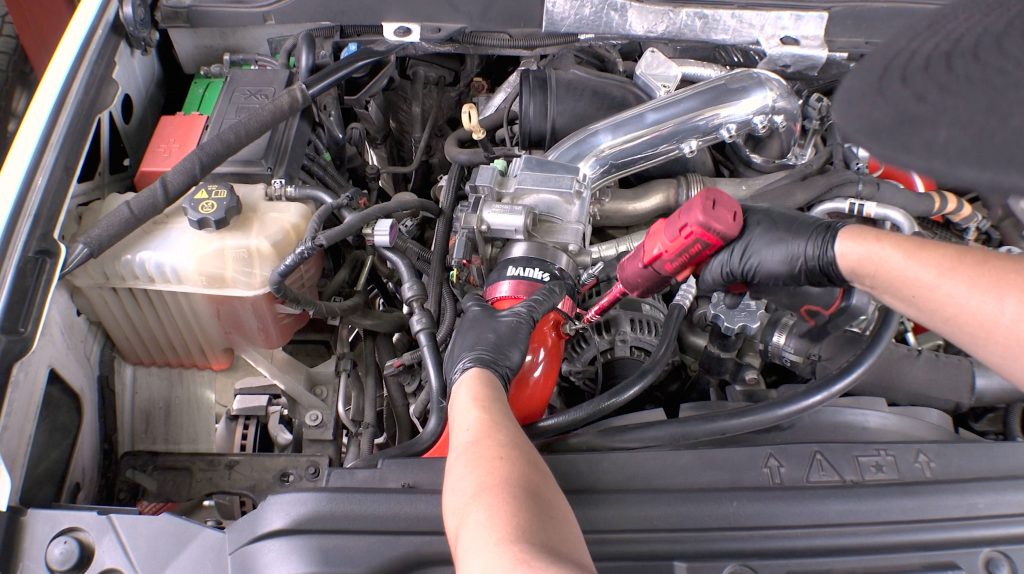
15. From the top of the truck, slide the Banks cold side Boost Tube down and into position with the lower cold side hose.
16. Slip the lower hose on, be sure it slides in far enough for the clamp to clear the bead.
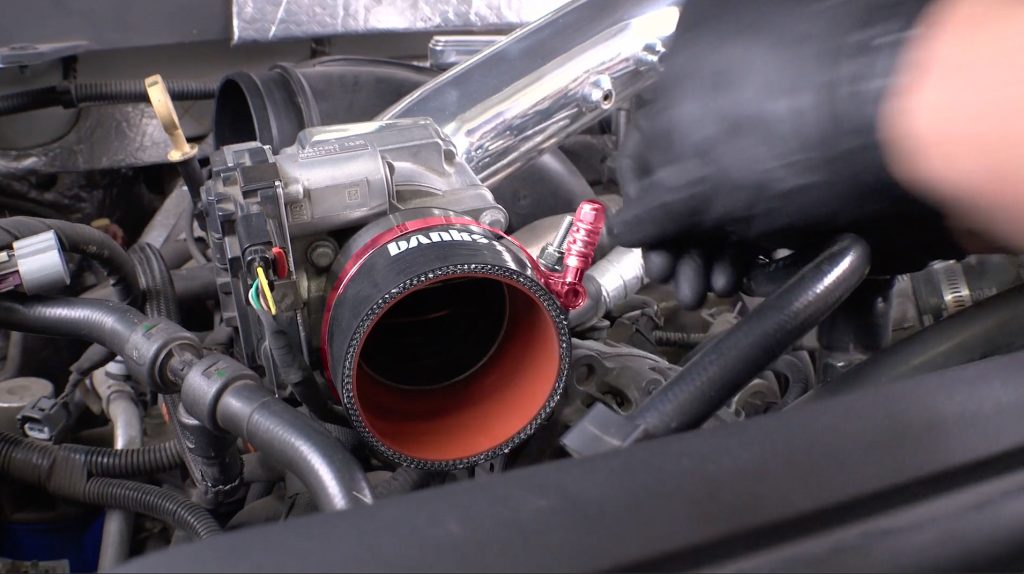
17. Slip the hose onto the top of the Boost Tube. Be sure it slides in far enough for the clamp to clear the bead.
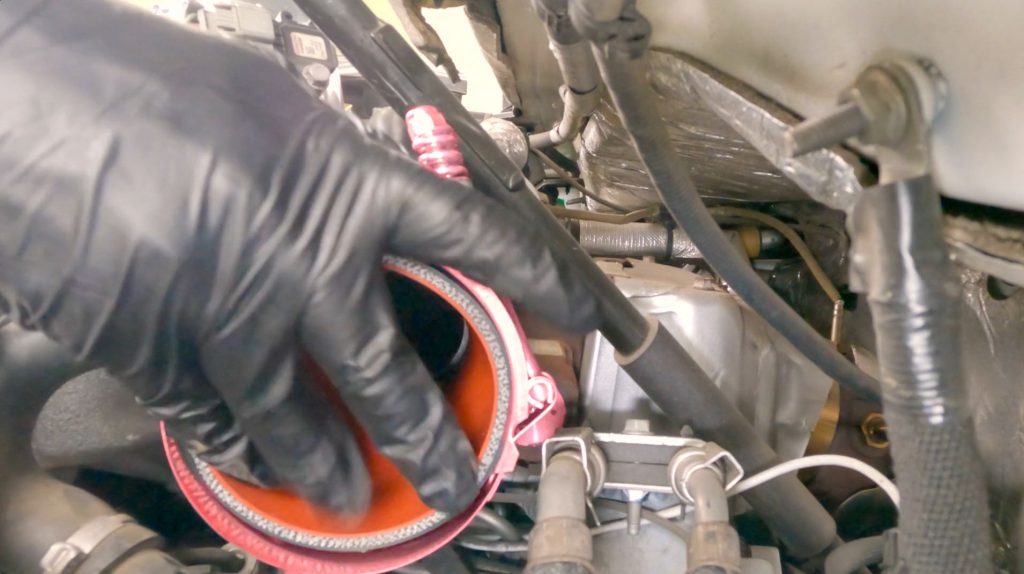
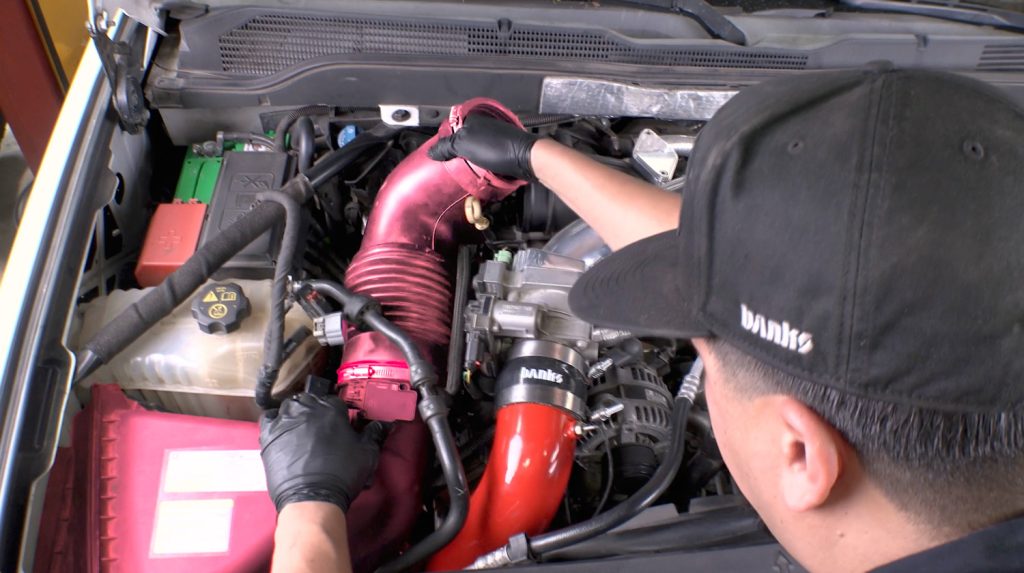
18. Adjust the Boost Tube as needed for fitment, and be sure the beads are fully seated into the hoses before tightening the clamps to 5 ft-lbs.
19. Tighten the top clamps to 5 ft-lbs.
20. Drop in and re-install the air intake system.
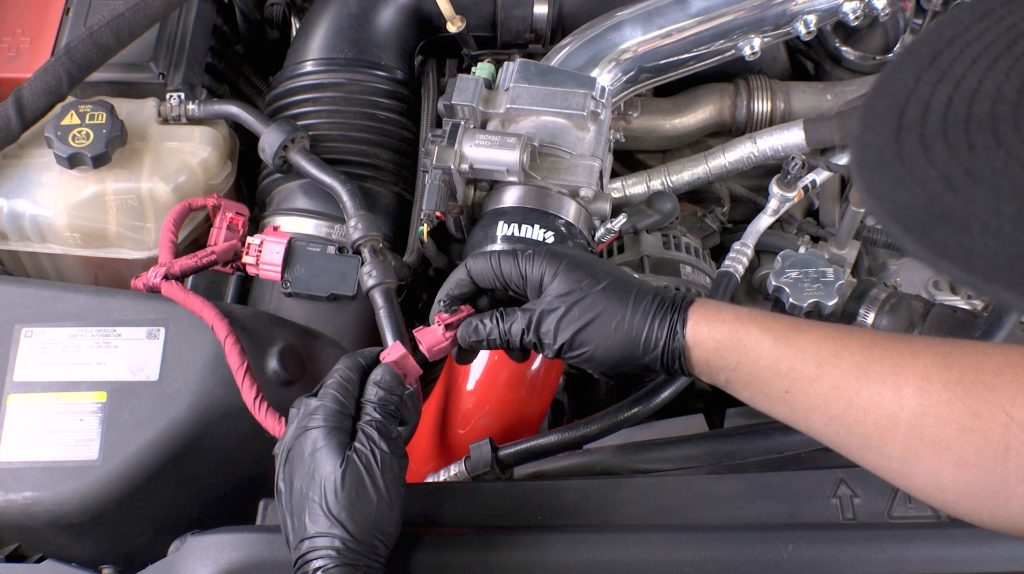
19. Plug in the 3 air intake sensors.
20. Reinstall the fender liners.
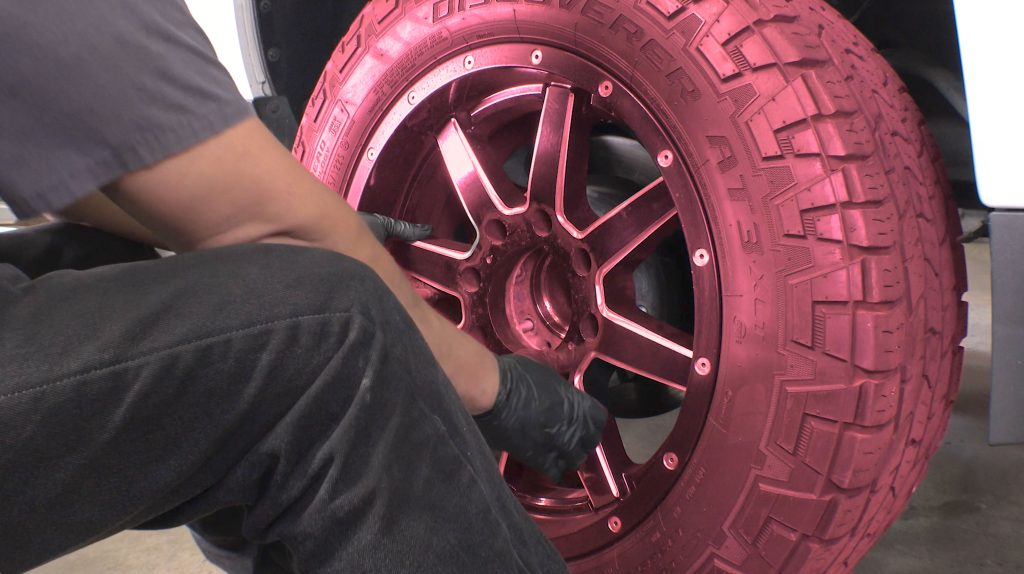
22. Reinstall the front wheels.
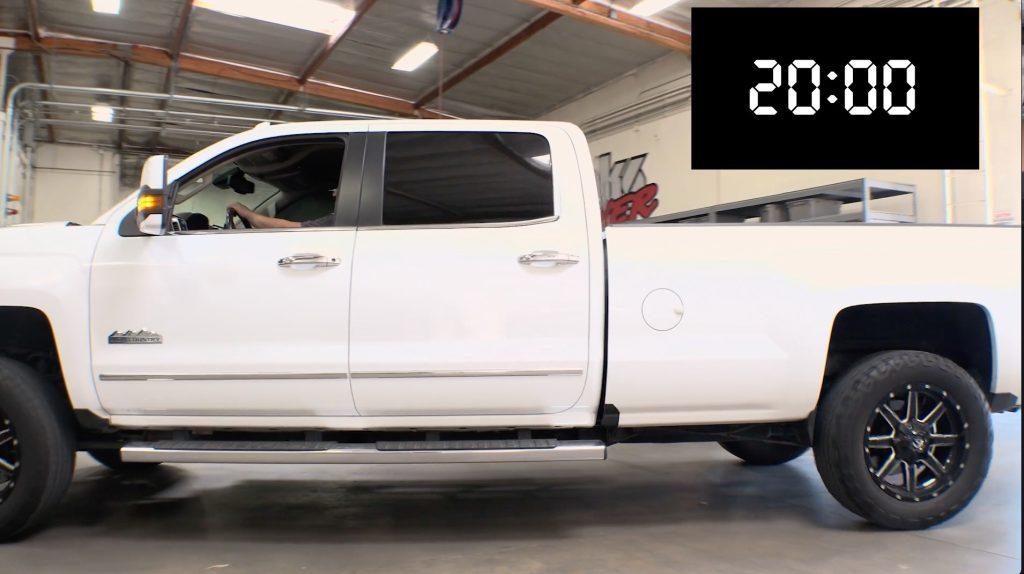
23. Go for a 20-minute test drive to check for any boost leaks, and re-tighten all clamps as they may shift slightly once the vehicle warms up for the first time.