97681 – Banks AAM Ram-Air Rear Differential Cover
INSTALL INSTRUCTIONS
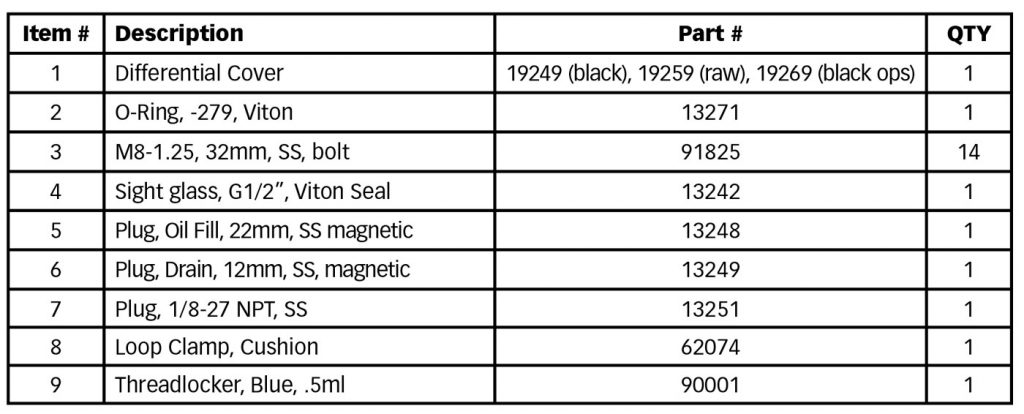
Part #s
19249, 19259, 19269
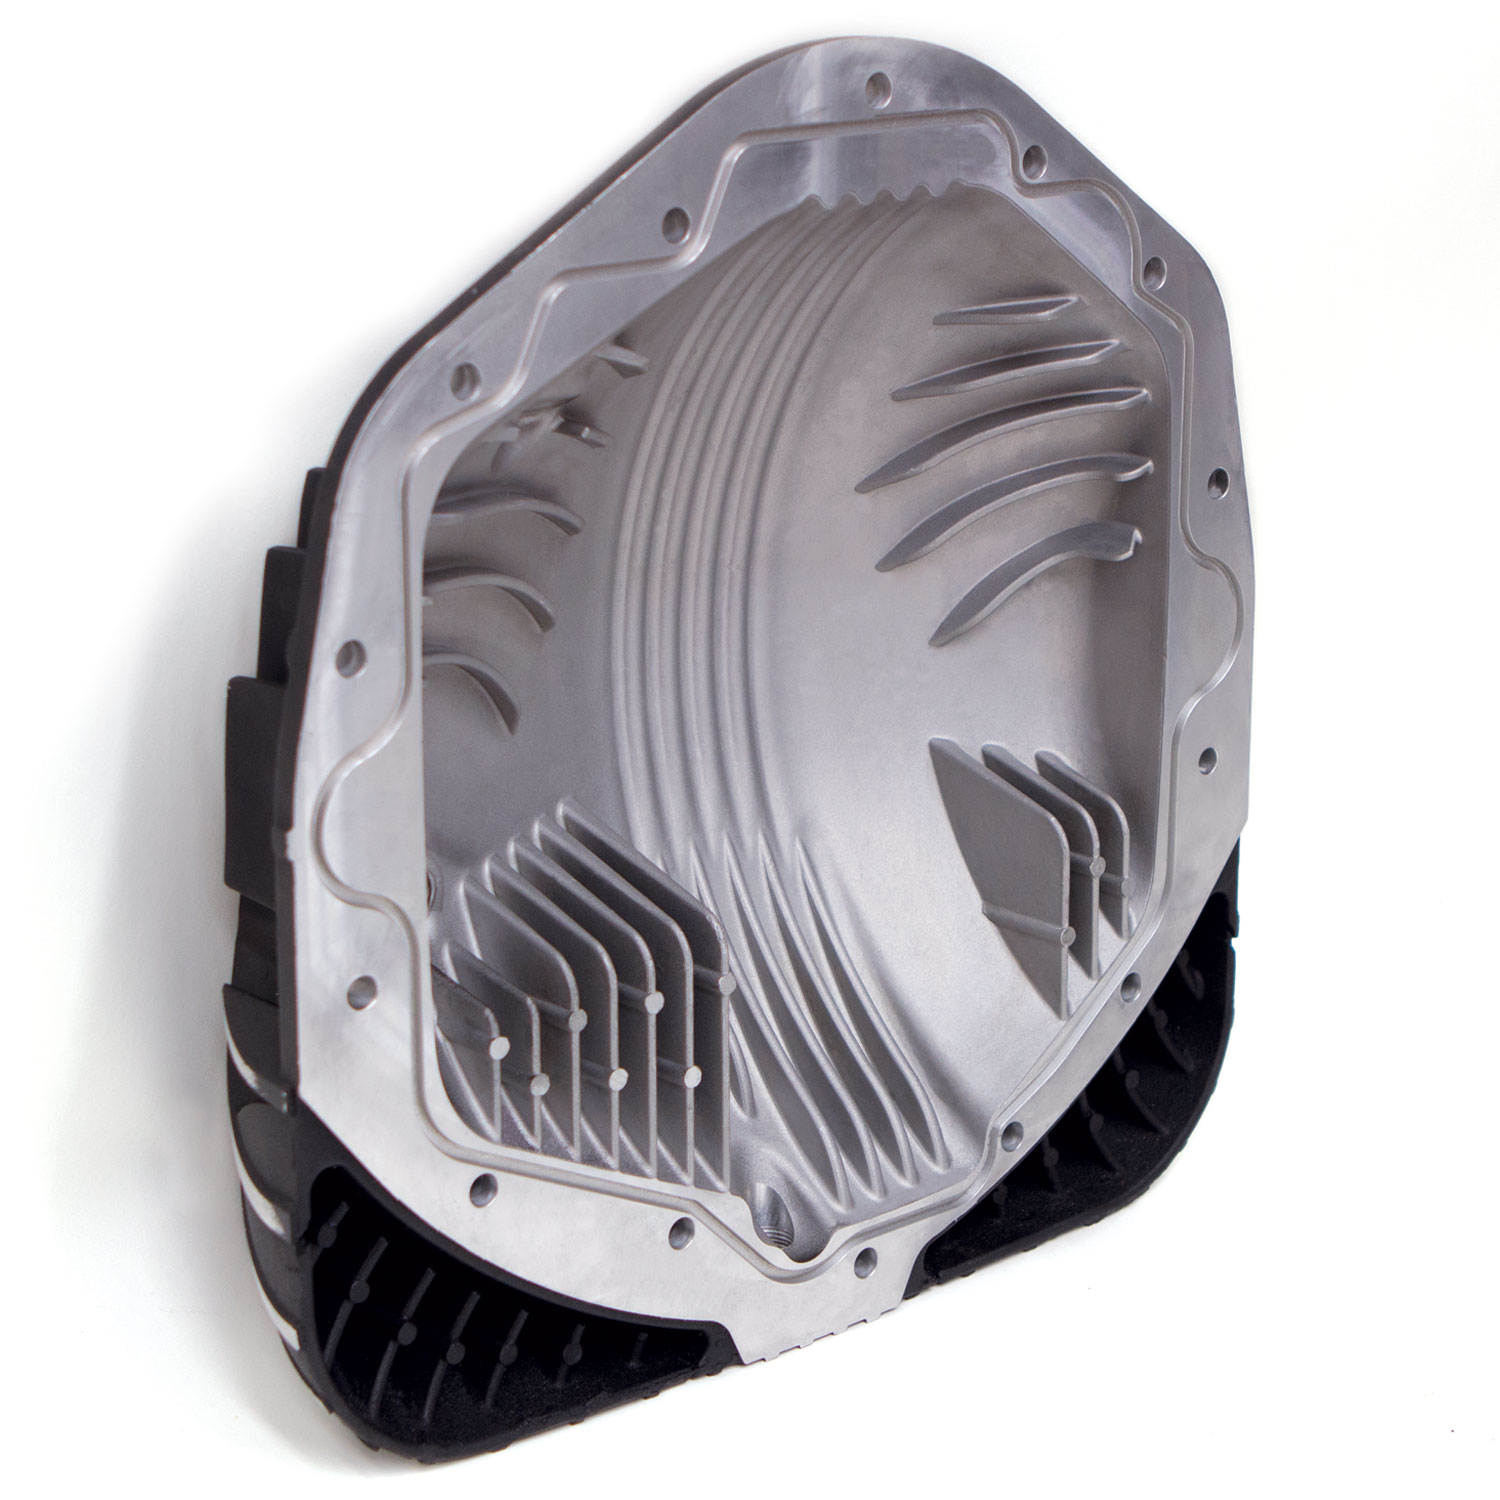
Banks Ram-Air® Differential Cover 2001-2019 Chevy/GMC/Dodge/Ram and 2019-2024 RAM 2500 6.4L Gas with AAM 11.5" and 11.8" 14 Bolt Rear Axle
Does Not Fit: 2019-2024 RAM 6.7L Diesel Do Not.
Be sure to confirm fitment.
Please read through the following instructions thoroughly before starting your installation. If you have any questions please visit our Support Page.

- A power or manual driver
- Oil pan
- 3/8" Socket wrench and short extension
- Torque wrench
- 10mm socket
- 13mm socket
- 14mm socket
- Flathead screwdriver
- Cleaning rags
- Additional tools required for service:
- 12mm socket - drain plug
- 5mm hex key - sensor port plug
ATTENTION: FILL LEVEL
In some applications, our recommended fill level may not agree with the vehicle owner’s manual fill level. If this happens, honor the factory fill level, not Banks.
ATTENTION: SIGHT GLASS
The primary purpose of the sight glass is to view the clarity of the gear oil, not to measure the fill level. Generally, the sight glass will display the correct fill level. However, in some applications, the proper fill level may be above or below the middle of the sight glass. The sight glass may not indicate the proper level if the truck is lifted or lowered, including factory off-road or heavy duty suspension packages. Changes in the pinion angle will result in the oil level above or below the sight glass. This is why we recommend filling to your truck’s factory recommended fill level.
General Installation Practices
1. Before starting work, familiarize yourself with the installation procedure by reading all of the instructions.
2. Disconnect the negative (ground) cable from the battery (or batteries, if there are two) before beginning work.
3. When raising the vehicle, support it on properly weight-rated safety stands, ramps, or a commercial hoist. Follow the manufacturer’s safety precautions. Take care to balance the vehicle to prevent it from slipping or falling. When using ramps, be sure the front wheels are centered squarely on the topsides; put the transmission in park; set the hand brake; and place blocks behind the rear wheels.
⚠️ CAUTION! ⚠️
Do not use floor jacks to support the vehicle while working under it. Do not raise the vehicle onto concrete blocks, masonry, or any other item not intended specifically for this use.
4. During installation, keep the work area clean. Do not allow anything to
be dropped into the rear differential while performing the installation, as foreign objects will cause immediate damage upon start-up.
General Assembly

Note: RAM trucks equipped with a rear sway bar require the installation of a *spacer kit (PN19249-2) to provide proper clearance between the sway bar and the differential cover.

Rear Differential Cover Installation
- RAM trucks equipped with a rear sway bar require the installation of a sway bar spacer kit (Part #: 19249-2) before continuing. This will provide proper clearance between the sway bar and the differential cover. Use the longer bolts included with the spacer kit to replace the stock sway bar mounting bolts. (See Figure 3)
- Position an oil pan under the differential cover to catch fluids drained during installation.
- If the differential has a drain plug, remove the drain plug using a 3/8″ square drive and allow the fluid to fully drain from inside the axle housing. If no drain plug is equipped, proceed to the next step.
- Using a flat-head screwdriver to assist in loosening the push-on retaining ring, remove the P-clamp underneath. Next, remove the bolts sealing the cover and brake line bracket using a 13mm socket, and remove the stock differential cover. (See Figure 4)
Note: If the vehicle has no drain plug, open the cover partially from the bottom and allow fluid to drain before removing the cover.

- Clean and inspect the axle housing sealing surface. It should be flat and free of all debris, rust, residue, and sealant to ensure a proper O-ring sealing. (See Figure 5)

- Apply a thin coat of differential fluid on the O-ring. Install the O-ring in the Banks differential cover. Be careful not to damage the O-ring. (See Figure 6)

- Install the Banks cover and re-attach brackets to the cover using the included M8 bolts. Apply a small amount of thread locker on the bolts. Torque the bolts to 12 lb/ft (16 N.m) using a 10mm 12 pt socket.
- Fill the differential housing with four quarts of the manufacturer’s specified lubricant using a funnel or a fluid dispenser. The fluid level should be at the center of the sight glass when the vehicle is parked on level ground. (See Figure 7)
Note: The fluid level may not appear in the center of the sight glass if the vehicle is parked on a hill, the chassis is raised by a jack or lift, or the suspension has been modified. The modifications affect the angle of the differential housing. This Ram-Air cover fits a wide range of trucks with differing heights and wheelbases. Therefore, it’s possible that the factory-specified amount of lubrication will be above the center of the sight glass. This is NORMAL. Remember the main purpose of the sight glass is to check the fluid’s condition (color).

- Clean up any spilled oil and check for any leaks around the cover, fill/drain plugs, and sight glass.